Articles
How To Create A Blanket From Fabric
Modified: August 27, 2024
Learn articles on how to create a cozy and beautiful blanket using fabric. Discover step-by-step instructions and tips for making your own homemade blanket.
(Many of the links in this article redirect to a specific reviewed product. Your purchase of these products through affiliate links helps to generate commission for Storables.com, at no extra cost. Learn more)
Introduction
Welcome to the world of DIY crafting! If you have a passion for sewing and creativity, then creating your own blanket from fabric is a rewarding and fulfilling project. Whether you’re looking to personalize a blanket for yourself or create a heartfelt gift for someone special, this article will guide you through the process of making a blanket from scratch.
Creating a blanket from fabric allows you to choose the design, size, and materials that perfectly suit your preferences. You can explore a variety of fabric options, colors, and patterns to match your home decor or express your unique style. From cozy fleece blankets to elegant quilted throws, the possibilities are endless.
The process of making a blanket involves selecting the fabric, measuring and cutting the material, sewing the pieces together, adding any additional embellishments, and adding the finishing touches. Whether you’re an experienced seamstress or a beginner, this step-by-step guide will provide you with the necessary instructions to successfully complete your own homemade blanket.
So, grab your sewing machine, gather your materials, and let’s get started on this exciting journey to create a beautiful and cozy blanket that you can cherish for years to come!
Key Takeaways:
- Unleash Your Creativity: Crafting a homemade blanket from fabric allows you to express your unique style, showcase your sewing skills, and add personalized embellishments for a truly one-of-a-kind creation.
- Cozy Comfort, Personalized Style: By selecting the right fabric, measuring accurately, and sewing with precision, you can create a beautiful and functional blanket that reflects your personality and brings warmth to any space.
Read more: How Much Fabric Do I Need For A Blanket
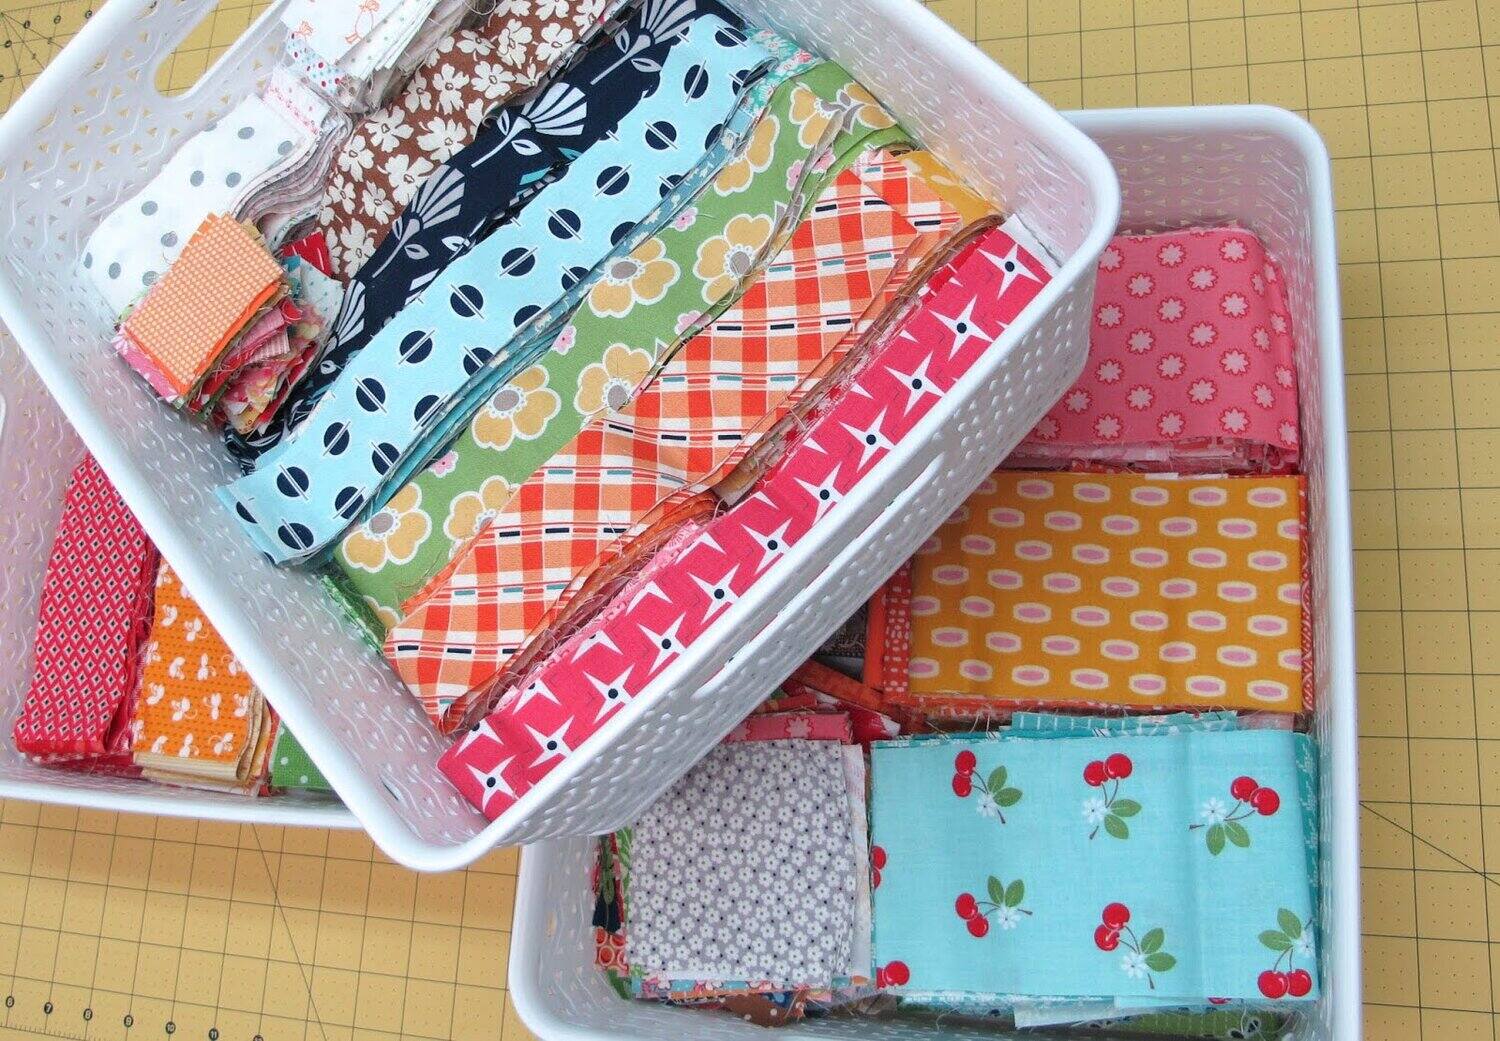
Selecting the Fabric
Choosing the right fabric is essential for creating a comfortable and visually appealing blanket. The fabric you select will determine the overall feel, warmth, and durability of the finished product. Here are some factors to consider when selecting your fabric:
- Material: There are a variety of fabric materials to choose from, such as cotton, flannel, fleece, or even minky. Consider the purpose of your blanket and the desired level of warmth and softness. Cotton is a versatile option that works well for all-season blankets, while flannel provides a cozy touch for colder climates.
- Pattern and Design: Think about the aesthetic you want to achieve with your blanket. Do you prefer solid colors, bold prints, or subtle patterns? Consider the color scheme and the overall theme of your space or the recipient’s taste.
- Texture: Pay attention to the texture of the fabric. Some fabrics have a smooth feel, while others have a plush or textured surface. Consider how the texture will add to the comfort and aesthetic appeal of the blanket.
- Care Instructions: Read the care instructions for the fabric you choose. Ensure that it can be machine washed, as blankets often require regular cleaning.
- Budget: Consider your budget when selecting fabric. Some materials may be more expensive than others, so it’s important to find a balance between quality and affordability.
When shopping for fabric, feel the material with your hands to gauge its softness and thickness. Look for fabrics that are durable and easy to work with, ensuring that they won’t fray or tear easily during the sewing process. Additionally, consider purchasing extra fabric to account for any mistakes or for future repairs.
Remember, the fabric you choose will greatly impact the final result, so take your time to explore different options and find the perfect fabric that meets your needs and preferences.
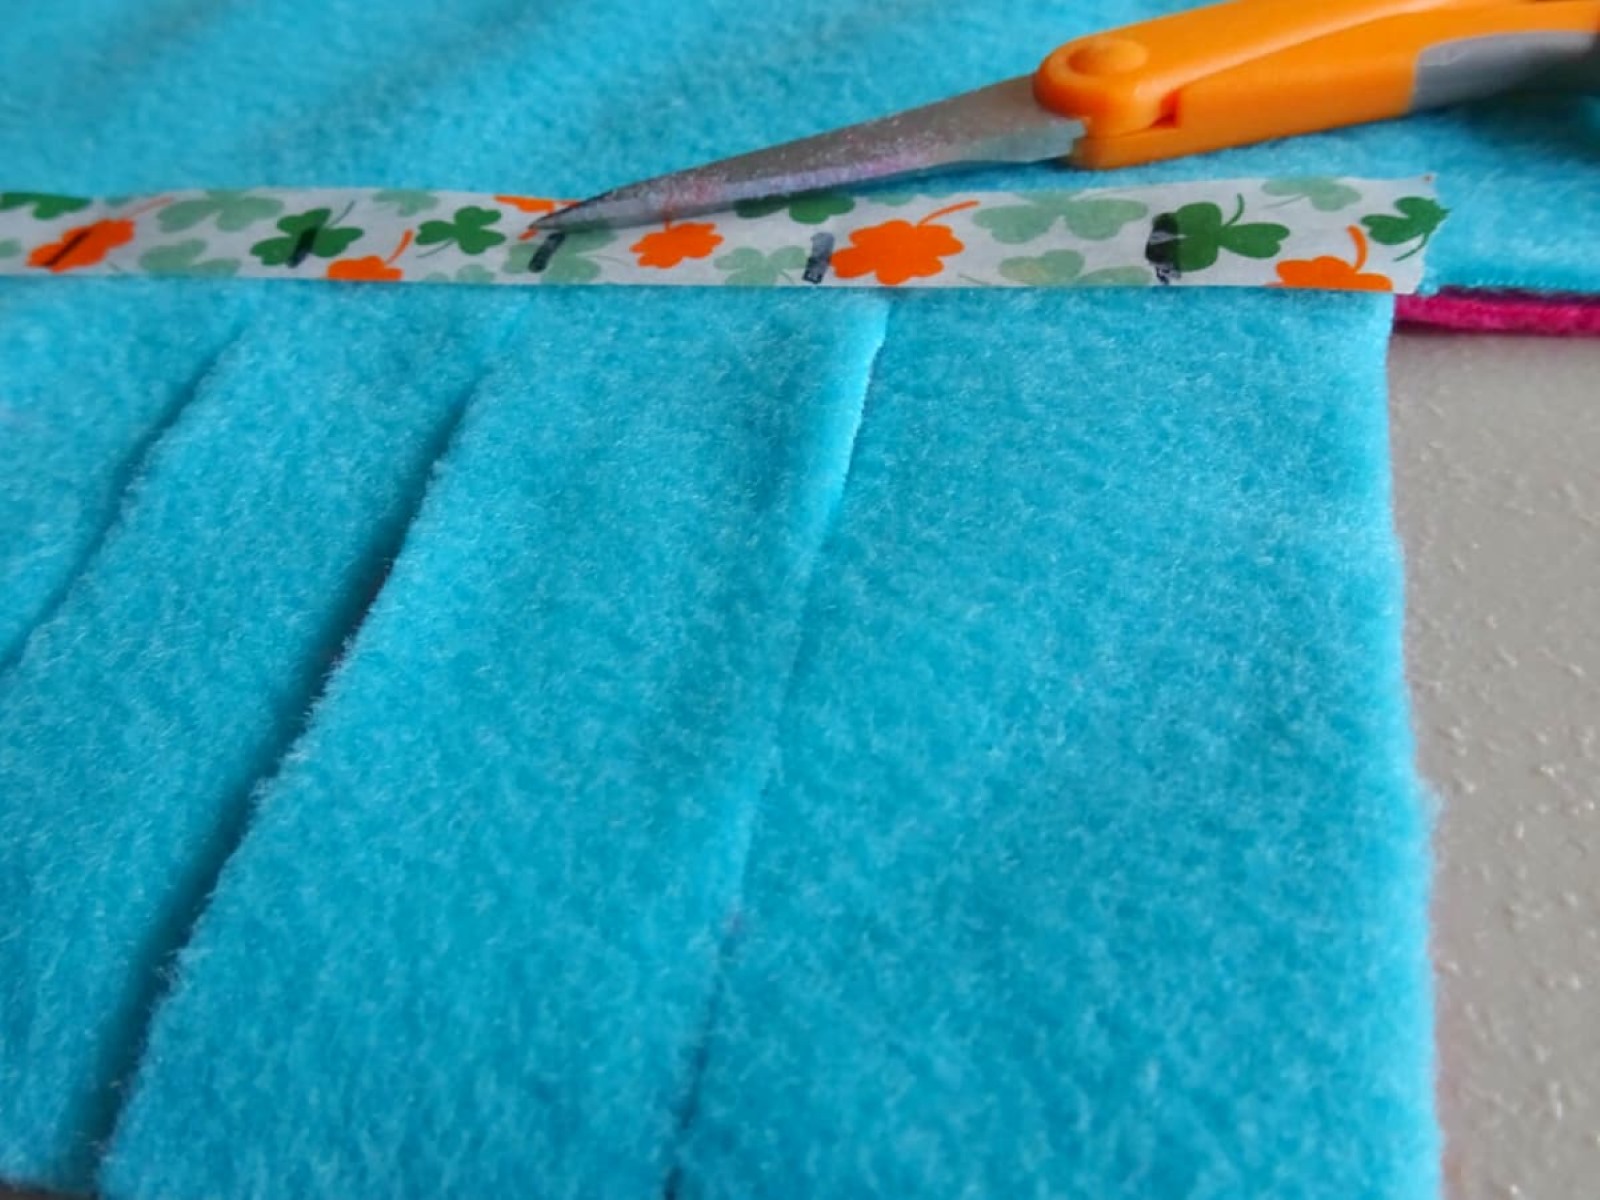
Measuring and Cutting
Once you have selected your desired fabric, it’s time to measure and cut it to the appropriate size for your blanket. Follow these steps to ensure accurate measurements and precise cutting:
- Determine the Size: Decide on the dimensions of your blanket. Consider its intended use, whether it’s for a baby, a lap, or a queen-sized bed. Measure the desired length and width, making sure to account for any seam allowances.
- Prepare the Fabric: Lay your fabric flat on a clean, spacious surface. Smooth out any wrinkles or creases, ensuring that the fabric is fully extended and flat.
- Measure and Mark: Use a measuring tape or ruler to measure and mark the dimensions of your blanket on the fabric. It’s helpful to use fabric chalk or pins to make clear and visible marks.
- Cutting: Once you have marked the dimensions, carefully cut along the lines using sharp fabric scissors. Take your time and make precise cuts to ensure clean edges.
It’s essential to double-check your measurements before cutting to avoid any errors. Remember that you can always trim off excess fabric if needed, but once it’s cut, you cannot add more fabric. Take your time during this step to ensure accuracy and precision.
In addition to the main fabric piece, consider if you want to add border or binding to your blanket. This can add a decorative touch or provide a finished edge. If you decide to include a border, measure and cut the fabric separately to the desired width and length before attaching it to the main piece.
Keep in mind that the measurements and cutting process may vary depending on the style and design of your blanket. Some patterns may require additional fabric pieces or intricate cuts. Always refer to the specific instructions or patterns you are following to ensure the correct dimensions and cutting technique.
By measuring and cutting your fabric accurately, you lay the foundation for a well-proportioned and visually pleasing blanket.
Sewing the Blanket Pieces Together
Now that you have your fabric pieces cut to the desired size, it’s time to sew them together to create your blanket. Follow these steps to sew the pieces together:
- Prepare your Sewing Machine: Set up your sewing machine with the appropriate thread and needle for the fabric you are using. Refer to your sewing machine’s manual for instructions on how to thread the machine and select the stitch type and length.
- Pin the Pieces Together: Align the edges of the fabric pieces together with the right sides facing each other. Use straight pins to secure the pieces in place, ensuring that they won’t shift during sewing.
- Start Sewing: Begin sewing along one of the edges, leaving a seam allowance of about ¼ inch or according to your pattern’s instructions. Use a straight stitch or a zigzag stitch for added durability. Backstitch at the beginning and end of the seam to secure the stitches.
- Continue Sewing: Sew along the remaining edges, removing the pins as you go. Take your time and sew slowly to maintain even stitches and prevent any puckering or gathering of the fabric.
- Finishing the Seams: Once you have sewn all the edges together, consider finishing the seams to prevent fraying. You can use a serger or an overlock stitch on your sewing machine. Alternatively, you can use pinking shears to trim the raw edges, or fold and press the edges inward and sew a seam to create a clean finish.
Take care to maintain a consistent seam allowance throughout the sewing process to ensure that your blanket is evenly sewn together. It’s helpful to press the fabric with an iron as you sew to create crisp and professional-looking seams.
Keep in mind that the sewing process may vary depending on the style and design of your blanket. Some patterns may require additional sewing techniques or intricate details. Always refer to the specific instructions or patterns you are following to ensure the correct stitching technique.
By sewing the fabric pieces together with precision and attention to detail, you are transforming the separate pieces into a beautiful and functional blanket.
When creating a blanket from fabric, pre-wash and iron the fabric to prevent shrinkage and ensure a smooth finish. Consider using a sewing machine for faster and more secure stitching.
Adding any Additional Embellishments
Now that your blanket is sewn together, you have the option to add any additional embellishments to enhance its aesthetic appeal. Here are some ideas to consider:
- Trim or Binding: If you haven’t already, you can add a decorative trim or binding to the edges of your blanket. This can be done with a coordinating fabric or a contrasting color to add a pop of visual interest.
- Embroidery or Appliqué: Personalize your blanket by adding embroidery, appliqué, or patches. This can be a monogram, a favorite design, or a meaningful symbol. Use embroidery floss or fabric glue to attach the embellishments securely.
- Pom Poms or Tassels: Add a playful touch to your blanket by attaching pom poms or tassels to the corners or edges. These can be made from yarn or purchased pre-made from a craft store.
- Quilting: If you have chosen a fabric that is suitable for quilting, consider adding some quilted designs to your blanket. This can be done by stitching through all the layers of the fabric, creating beautiful patterns and added texture.
- Embroidered Labels or Tags: Sew on a custom label or tag to mark the blanket as your own creation. This adds a professional touch and can serve as a signature mark on your handmade masterpiece.
When adding embellishments, it’s essential to choose materials that are appropriate for the fabric and will withstand regular use and washing. Take care to sew or attach the embellishments securely, ensuring that they won’t come loose with time.
Think about your personal style and the overall theme or purpose of the blanket. The embellishments you choose should complement the fabric and reflect your personality or the intended recipient’s taste.
Remember that you have creative freedom when it comes to adding embellishments. Let your imagination run wild and have fun experimenting with different ideas to make your blanket truly unique and special.
Read more: How To Remove Stains From A Blanket
Finishing Touches
Now that your blanket is sewn together and any additional embellishments are added, it’s time to give it the finishing touches that will make it look polished and ready to use. Here are some final steps to complete your homemade blanket:
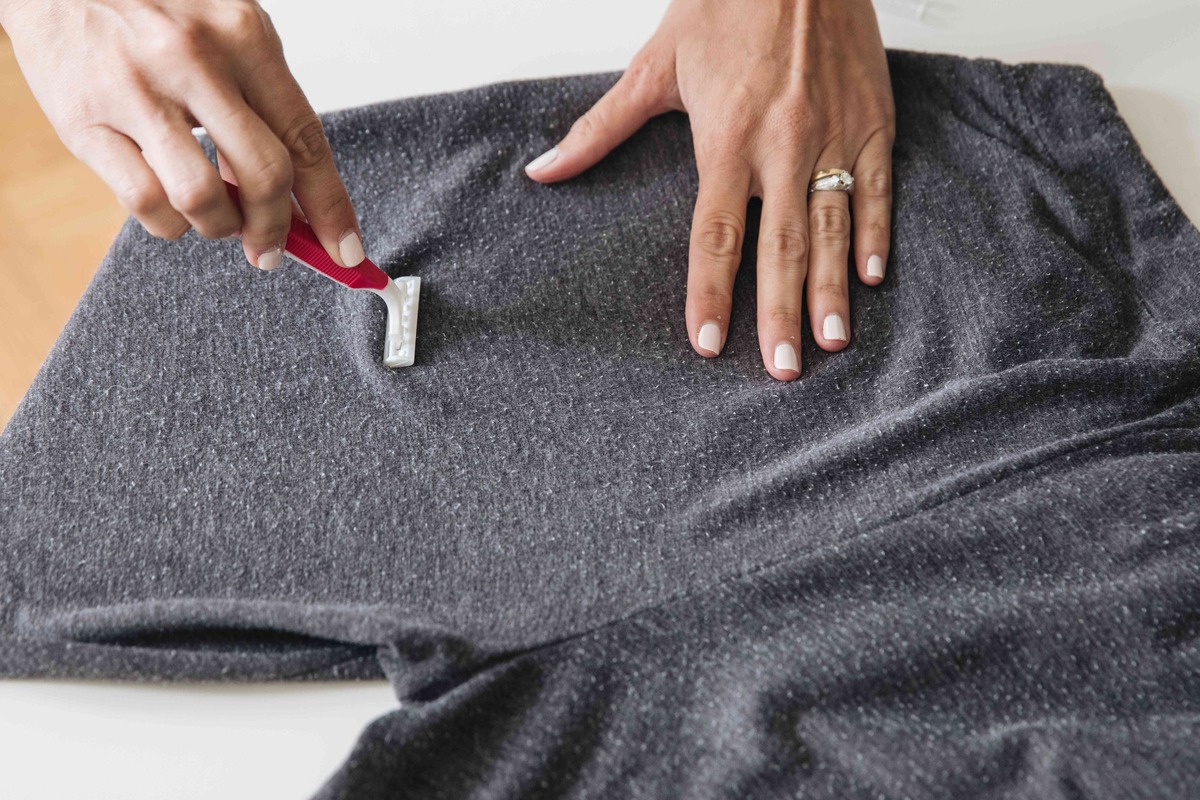
- Trim Loose Threads: Take a close look at your blanket and carefully trim any loose threads or excess fabric. This will give your blanket a neat and clean appearance.
- Press the Blanket: Use an iron to press the entire blanket. This will smooth out any wrinkles and give it a professional finish. Be sure to follow the ironing instructions for your specific fabric to avoid any damage.
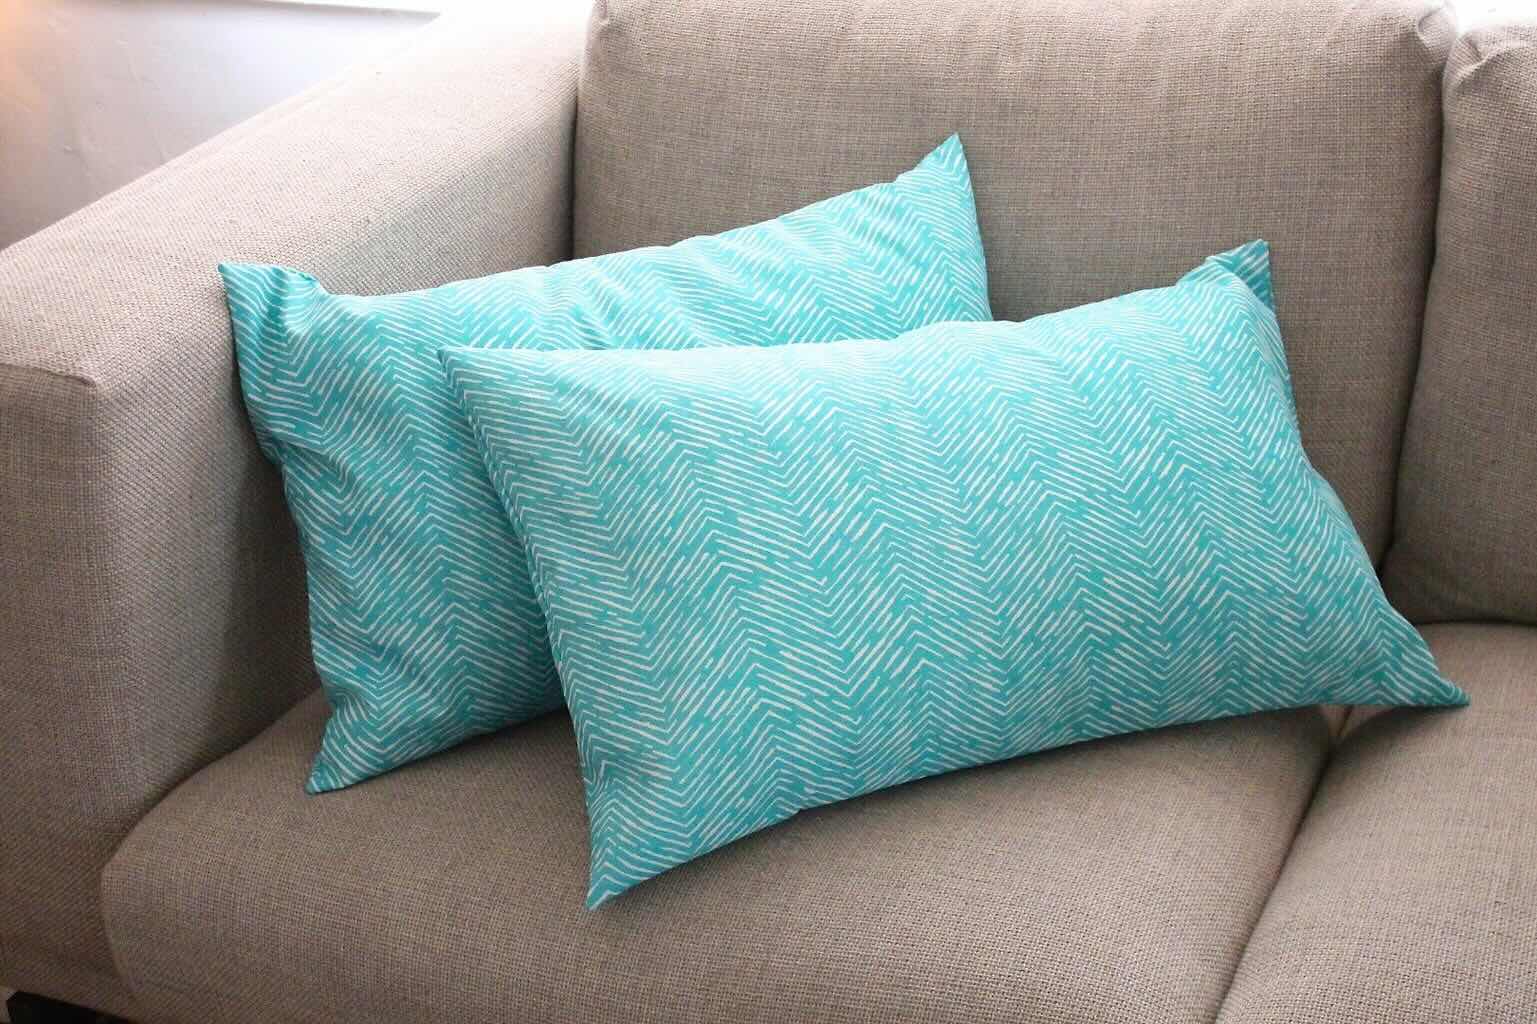
- Give it a Test Run: Take your newly completed blanket for a test run! Wrap yourself in its cozy embrace or lay it out on a bed or couch to see how it looks and feels in its intended space.
- Make any Necessary Adjustments: If you notice any areas that need repair or adjustments, take the time to fix them. This could involve resewing a seam, reinforcing an embellishment, or making any other necessary alterations.
- Clean and Store: Before using or gifting your blanket, make sure it is clean and ready to be enjoyed. Follow the care instructions for the fabric and either hand wash or machine wash it accordingly. Once clean, fold the blanket and store it in a cool, dry place to keep it in good condition.
As you finish your blanket, take a moment to appreciate the time and effort you put into creating something unique and meaningful. Your finished blanket will not only provide comfort but will also serve as a reminder of your creativity and craftsmanship.
Remember, the joy of crafting doesn’t end here. You can always make more blankets or explore other sewing projects to continue honing your skills and unleashing your creativity.
So, sit back, relax, and enjoy the cozy comfort of your finished homemade blanket!
Conclusion
Congratulations! You have successfully learned how to create a beautiful blanket from fabric through this step-by-step guide. By selecting the right fabric, measuring and cutting with precision, sewing the pieces together, adding embellishments, and giving it the perfect finishing touches, you have transformed simple materials into a cozy and personalized masterpiece.
Creating your own blanket allows you to unleash your creativity and showcase your sewing skills. Whether you’re making a blanket for yourself or as a heartfelt gift for a loved one, the process of designing and crafting something by hand is truly rewarding.
Through this project, you have discovered the importance of selecting the right fabric, measuring accurately, sewing with meticulousness, and adding those special embellishments that reflect your personal style. We hope this experience has ignited a passion for sewing and has inspired you to continue exploring the world of DIY crafting.
Now that you possess the knowledge and skills to create a blanket, feel free to experiment with different fabrics, patterns, and techniques. The possibilities are endless, and each blanket you create will be a testament to your uniqueness and creativity.
Remember to enjoy the journey and embrace any imperfections along the way. The beauty of handmade items lies in their individuality, and your homemade blanket is a true reflection of your personal touch.
So gather your materials, set up your sewing machine, and let your creativity soar as you embark on the exciting adventure of making your own blankets from fabric. Happy crafting!
Frequently Asked Questions about How To Create A Blanket From Fabric
Was this page helpful?
At Storables.com, we guarantee accurate and reliable information. Our content, validated by Expert Board Contributors, is crafted following stringent Editorial Policies. We're committed to providing you with well-researched, expert-backed insights for all your informational needs.