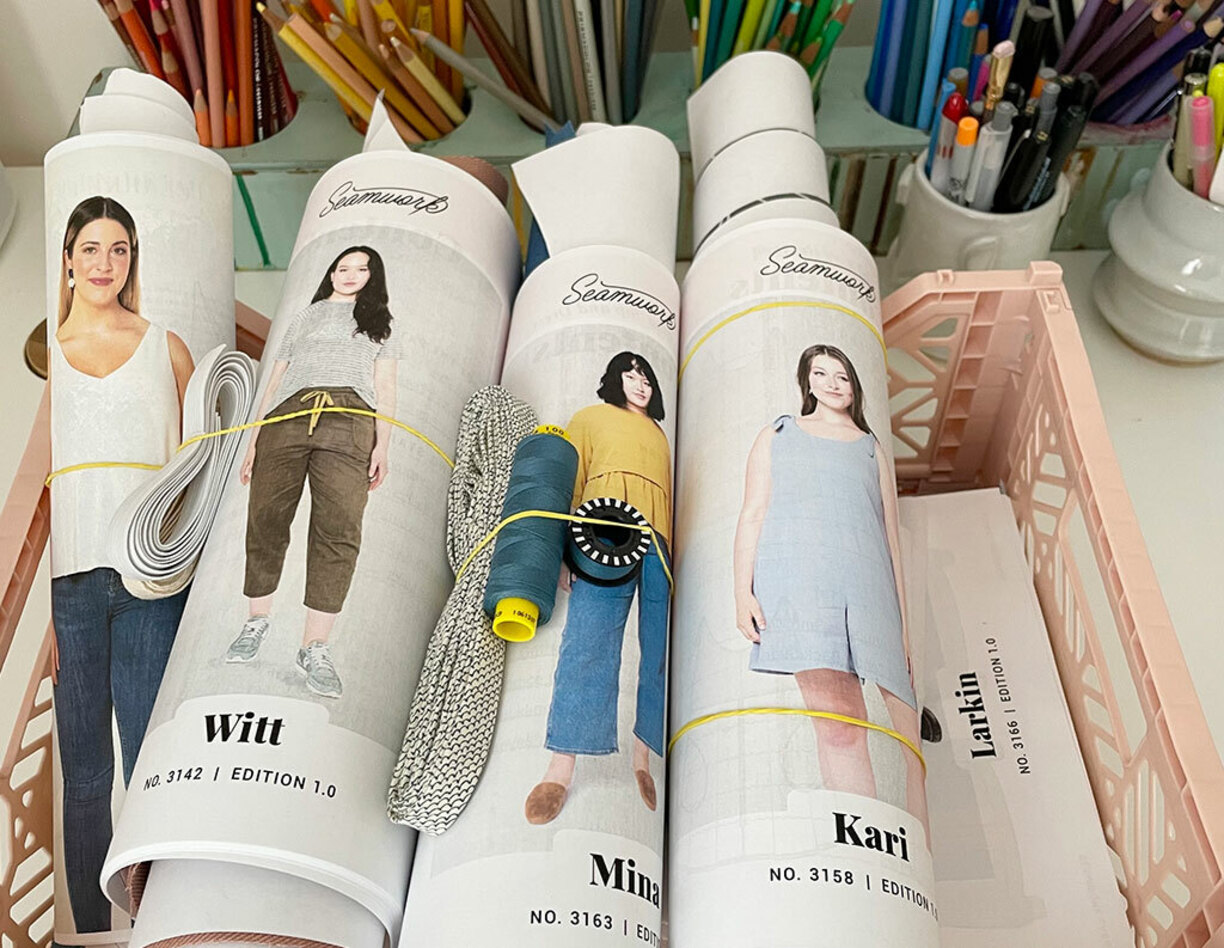
Articles
How To Sew A Blanket
Modified: November 1, 2024
Learn how to sew a blanket with our informative articles. Find step-by-step instructions and helpful tips on creating cozy blankets. Master the art of blanket-making today!
(Many of the links in this article redirect to a specific reviewed product. Your purchase of these products through affiliate links helps to generate commission for Storables.com, at no extra cost. Learn more)
Introduction
Welcome to the world of sewing! If you’ve ever wanted to create a cozy and personal blanket, this article is for you. Sewing a blanket is not only a fun and rewarding project, but it also allows you to customize the design, size, and fabric to perfectly suit your preferences. Whether you’re a beginner or an experienced seamstress, this step-by-step guide will help you through the process of sewing a beautiful and functional blanket.
Before we dive into the exciting world of sewing, let’s make sure you have all the materials you need to get started.
Key Takeaways:
- Create a cozy and personalized blanket by choosing the perfect fabric, preparing it with care, and adding unique embellishments. Sewing a blanket is a rewarding and creative journey that brings warmth and comfort to your home.
- Master the art of sewing a beautiful and functional blanket with step-by-step guidance. From measuring and cutting the fabric to adding personalized details and finishing the edges, this article equips you with the skills and confidence to embark on future sewing projects.
Read more: How To Sew A Hole In A Blanket
Materials Needed
Before you start sewing your blanket, gather the following materials:
- Fabric: Choose a fabric that suits the purpose of your blanket. You can opt for cozy flannel, soft cotton, or even a luxurious fleece. Make sure to measure the desired dimensions of your blanket and purchase enough fabric accordingly.
- Thread: Select a thread that matches or complements the color of your fabric. A high-quality thread will ensure the durability and longevity of your blanket.
- Scissors: Invest in a sharp pair of fabric scissors for accurate and clean cuts.
- Measuring Tape: This essential tool will help you measure and mark the dimensions of your blanket.
- Sewing Machine: While it is possible to hand-sew a blanket, using a sewing machine will save you time and ensure a more secure and professional finish.
- Pins or Clips: These will help you keep the fabric in place while sewing, ensuring accurate alignment.
- Iron and Ironing Board: Pressing your fabric before and during the sewing process will result in a neater and more polished finished product.
- Optional: Embellishments such as lace trims, ribbons, or decorative buttons can be added to enhance the aesthetic appeal of your blanket.
Once you have gathered all the necessary materials, it’s time to choose the fabric that will be the foundation of your cozy creation.
Choosing the Fabric
The fabric you choose for your blanket will greatly influence its overall look and feel. Consider the following factors when selecting the fabric:
- Texture: Determine the level of softness or thickness you desire for your blanket. If you want a warm and cozy blanket, consider fabrics like flannel or fleece. For a more lightweight and breathable option, cotton or linen can be a good choice.
- Color and Pattern: Think about the color scheme and pattern that will complement your home decor or the recipient’s preferences. Solid colors can offer a timeless and versatile look, while patterns can add visual interest and personalization.
- Durability: Consider the durability of the fabric, especially if the blanket will be subjected to frequent use or laundering. Opt for fabrics that are sturdy and can withstand regular wear and tear.
- Care Instructions: Check the care instructions for the fabric you are considering. Make sure it is suitable for machine washing or if it requires special handling.
Take your time to browse through a variety of fabrics and envision how they will look and feel as a finished blanket. Don’t be afraid to touch and feel the fabric to gauge its texture and quality. Once you have chosen the perfect fabric, it’s time to move on to preparing the fabric for sewing.
Preparing the Fabric
Before you start cutting and sewing your fabric, it’s important to prepare it properly to ensure the best results. Follow these steps to get your fabric ready:
- Pre-Wash: If you’re working with a fabric that has a tendency to shrink, such as cotton or flannel, it’s recommended to pre-wash the fabric before cutting. This will prevent any unexpected shrinking after the blanket is sewn.
- Ironing: Iron the fabric to remove any wrinkles or creases. This will make it easier to handle and provide more precise cutting and sewing. Pay attention to the temperature setting on your iron to avoid damaging the fabric.
- Square Up the Edges: Use a square ruler or measuring tape to ensure that the edges of the fabric are square and aligned. Trim off any uneven edges or excess fabric to create clean and straight lines.
- Fold and Align: Fold the fabric in half, aligning the selvage edges or the raw edges if there is no selvage. This will create a double-layered fabric that will serve as the front and back of the blanket.
- Secure with Pins or Clips: Use straight pins or fabric clips to secure the layers of fabric together along the edges. This will prevent them from shifting or moving during cutting and sewing.
With the fabric properly prepared, it’s time to measure and cut the fabric into the desired dimensions for your blanket.
Measuring and Cutting
Accurate measuring and cutting are crucial steps in creating a well-proportioned and neatly finished blanket. Follow these steps to measure and cut your fabric:
- Measure the Dimensions: Use a measuring tape to determine the desired length and width for your blanket. Make sure to account for seam allowances if you plan to sew the fabric together.
- Mark the Fabric: Use fabric chalk or a washable fabric marker to mark the measurements on the wrong side of the fabric. Double-check the markings to ensure accuracy.
- Cut the Fabric: Following the marked lines, use fabric scissors to carefully cut along the edges. Take your time to create neat and straight cuts, as they will impact the final appearance of the blanket.
- Trim Excess Fabric: If you’re working with a large piece of fabric, consider trimming any excess material to reduce bulkiness. This will make it easier to manage while sewing.
Once you have successfully measured and cut the fabric, you’re ready to move on to the exciting part – sewing the pieces together!
When sewing a blanket, use a walking foot attachment on your sewing machine to help prevent the layers of fabric from shifting and ensure even stitching.
Read more: How To Sew On Blanket Binding
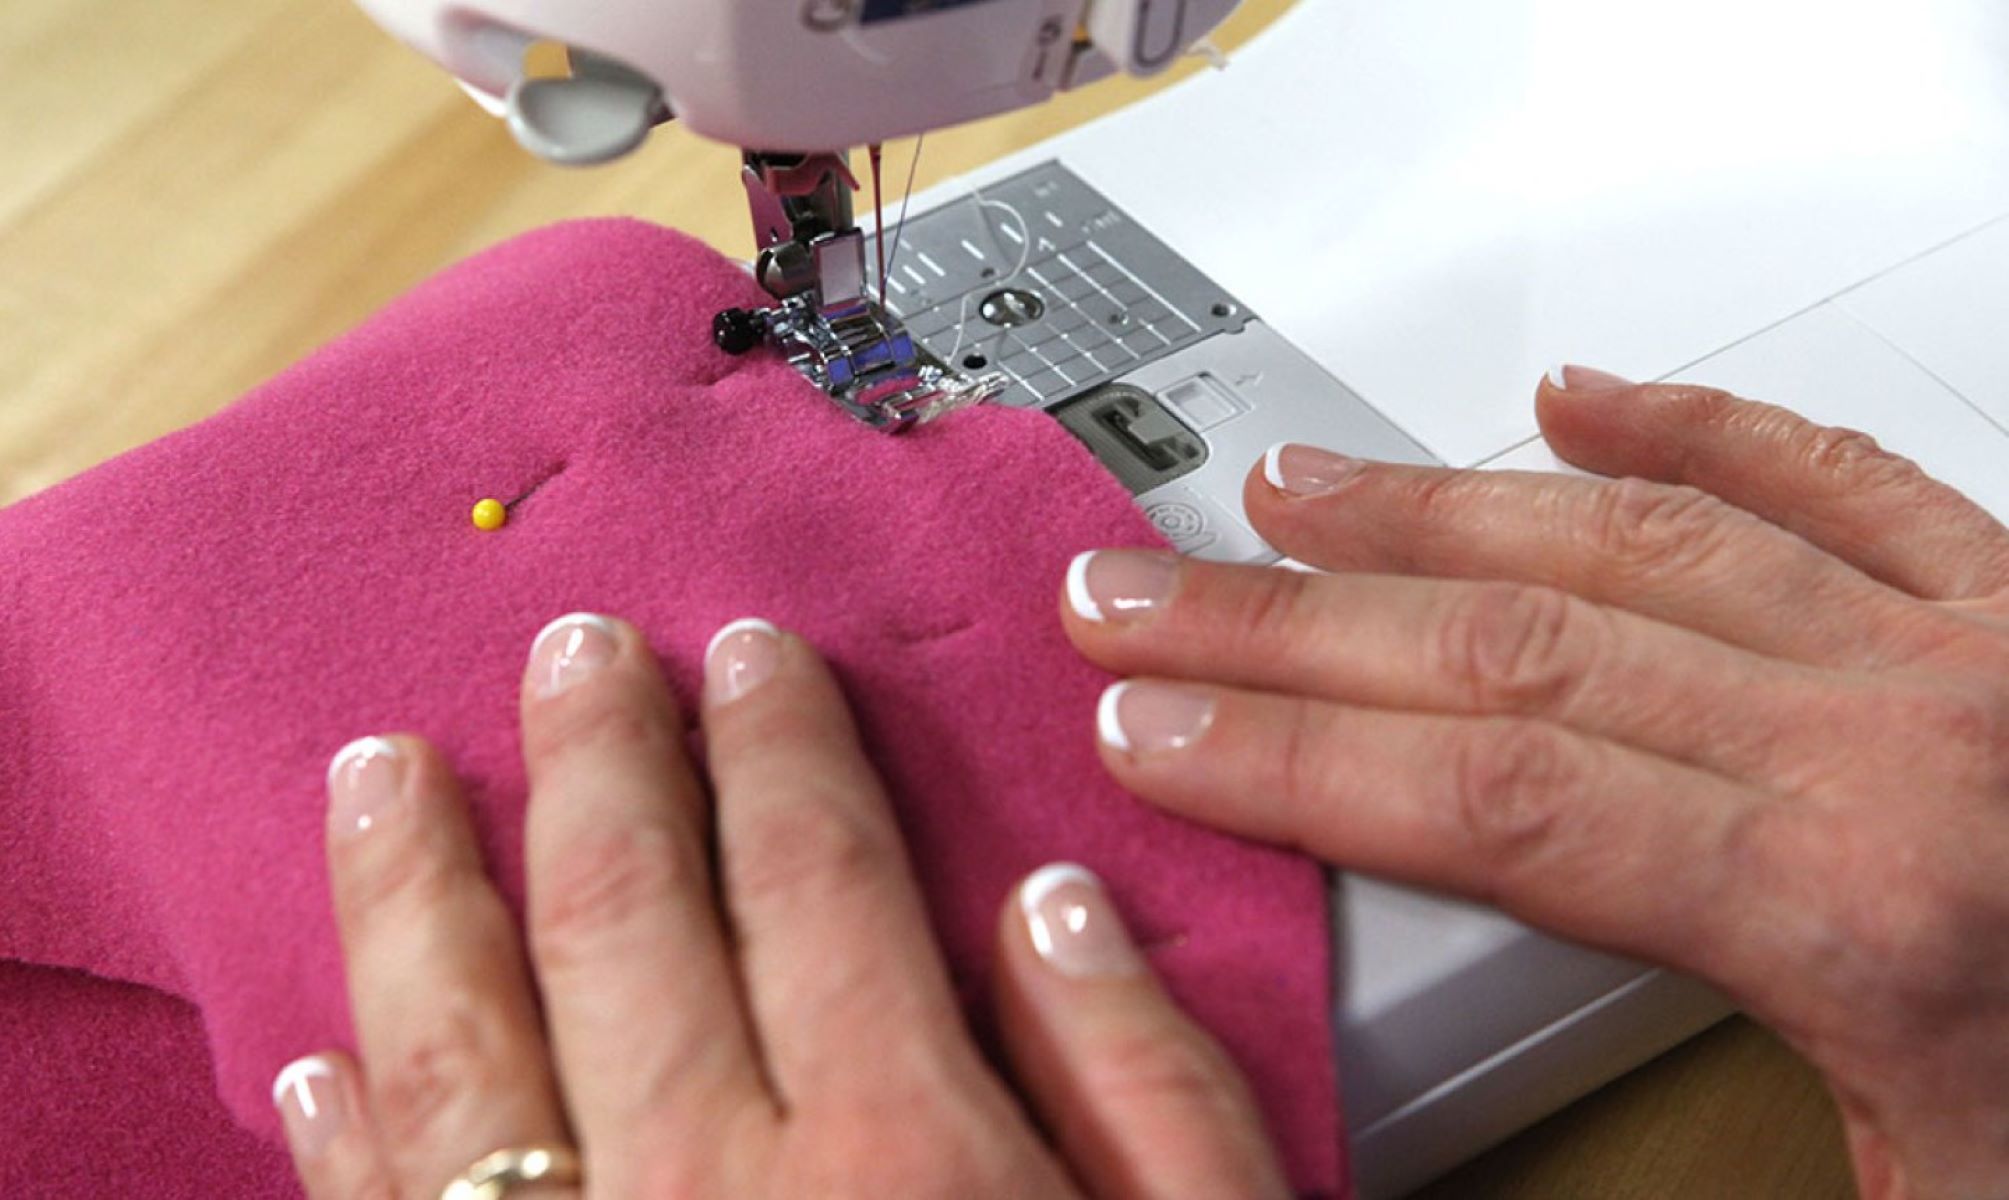
Sewing the Pieces Together
Now that your fabric pieces are cut to the desired dimensions, it’s time to sew them together to create your blanket. Follow these steps for successful sewing:
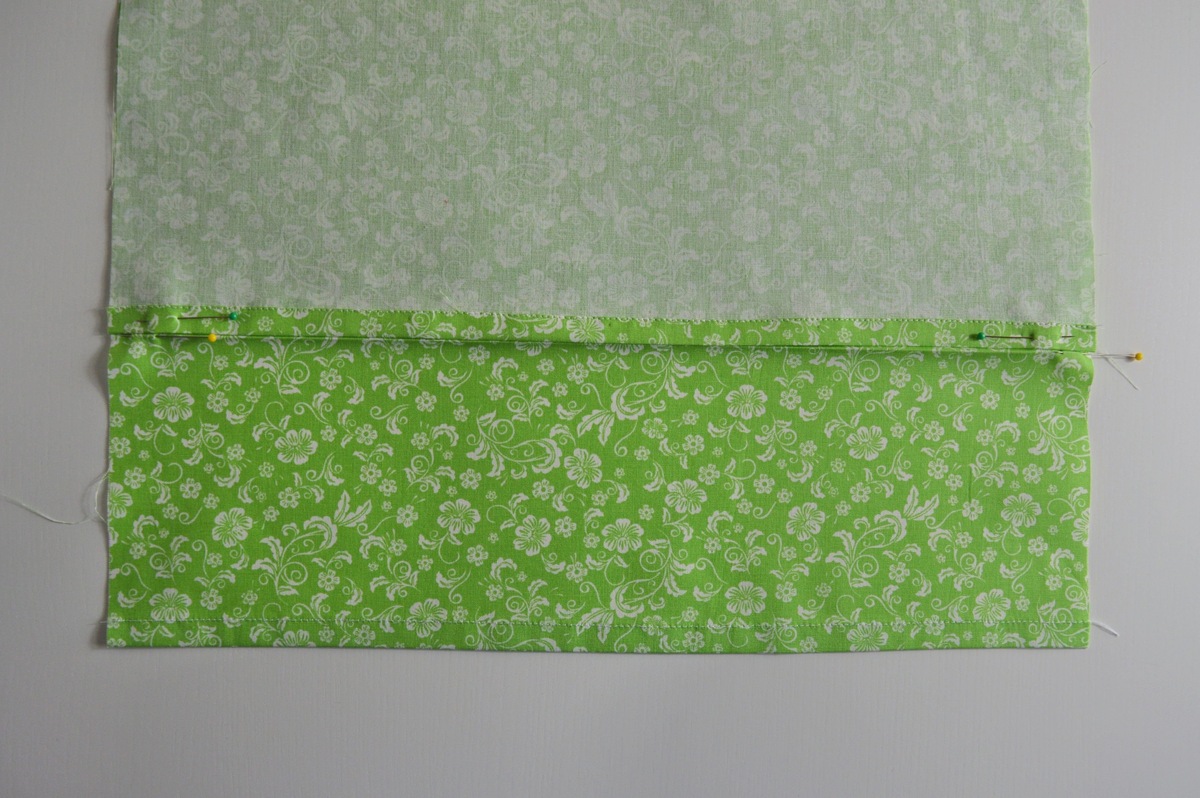
- Align the Pieces: Lay the fabric pieces on top of each other with the right sides facing each other. Make sure all the edges are aligned and secure them with pins or clips.
- Sew the Edges: Start sewing along one of the edges, leaving a 1/2 inch seam allowance. Use a straight stitch or a zigzag stitch, depending on the type of fabric you’re working with. Backstitch at the beginning and end to secure the seam.
- Continue Sewing: Sew along the remaining edges, leaving an opening for turning the blanket right-side out. You can leave the opening at the middle of one edge or in a corner, depending on your preference.
- Trim Excess Threads: After sewing, trim any excess thread tails for a tidy finish. Be careful not to cut into the fabric.
- Turn the Blanket Right-Side Out: Carefully reach through the opening and pull the fabric through to turn it right-side out. Use a chopstick or a blunt object to push out the corners for a smooth shape.
- Press the Seams: Iron the blanket to remove any wrinkles and press the seams for a crisp and polished look.
- Hand Stitch the Opening: Fold in the raw edges of the opening and hand stitch it closed using a blind stitch or a ladder stitch. Make sure to hide the stitches within the seam allowance for an invisible finish.
Now that your blanket is sewn together, you can choose to add any desired details or embellishments to further personalize your creation.
Adding Detail or Embellishments
Adding unique details or embellishments to your blanket can enhance its aesthetic appeal and make it truly one-of-a-kind. Here are some ideas to consider:
- Embroidery: Add a personal touch by embroidering designs, patterns, or initials onto the fabric. You can use embroidery floss or a sewing machine with embroidery capabilities to create beautiful and intricate designs.
- Appliqué: Incorporate fabric appliqués to decorate your blanket. Cut out shapes or designs from contrasting fabric and secure them to the blanket using a machine or hand stitch.
- Pom-Pom Trim: Attach a playful and whimsical pom-pom trim along the edges of your blanket. This adds a fun and decorative element to the finished product.
- Ribbon Accents: Sew decorative ribbons or trims onto the fabric to create unique borders or patterns. You can use different colors and textures to add visual interest.
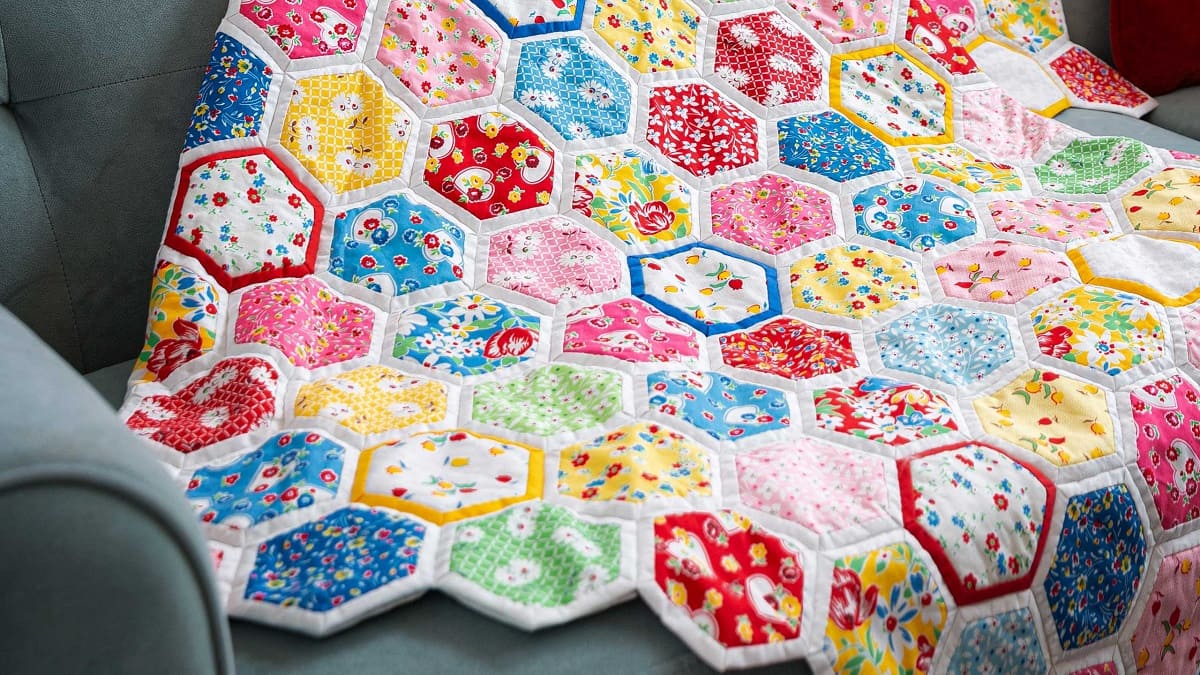
- Quilting: If you’re feeling ambitious, try quilting your blanket by adding a layer of batting between the fabric layers. Quilting can create a beautiful textured look and provide extra warmth.
- Personalized Labels: Sew in personalized labels or tags with your name or a special message to make the blanket truly your own or to create a thoughtful gift for someone else.
Remember, the choice of embellishments is entirely up to your creativity and personal style. Take the time to explore various options and techniques to find the perfect touches for your blanket. Once you’re satisfied with the added details, it’s time to move on to finishing the edges.
Finishing the Edges
The final step in sewing your blanket is to finish the edges. This not only adds a polished look but also helps prevent fraying and ensures the longevity of your creation. Here are a few common edge-finishing techniques:
- Serged Edge: If you have a serger machine, use it to neatly finish the raw edges of your blanket. A serged edge can give a clean and professional look to your project.
- Narrow Hem: Create a narrow hem by folding the raw edge of the fabric twice towards the wrong side and sewing close to the fold. This method works well for lightweight fabrics.
- Bias Binding: Use bias binding along the edges for a decorative and sturdy finish. Align the raw edges of the binding with the raw edge of the blanket and sew in place.
- Blanket Stitch: Another decorative option is to hand-stitch a blanket stitch along the edges. This adds a charming handmade touch and prevents fraying.
- Overcast Stitch: If you do not have a serger or prefer a more secure finish, use an overcast stitch on your sewing machine. This stitch encases the raw edge and prevents fraying.
Choose the edge-finishing technique that best suits your style and the fabric you’re working with. Take the time to carefully sew along the edges, ensuring that the stitches are even and secure. Once you finish the edges, give your blanket a final press with an iron to create a smooth and neat appearance.
Congratulations! You have successfully sewn a beautiful and cozy blanket. Enjoy the warmth and comfort of your creation or delight a loved one with a thoughtful and handmade gift. Sewing blankets opens up a world of creativity, and with practice, you can explore various designs, patterns, and techniques to create unique and personalized pieces. Happy sewing!
Conclusion
Congratulations on completing your sewing journey and creating your very own blanket! Sewing a blanket allows you to showcase your creativity, showcase your style, and add a personal touch to your home or gift-giving. By following these step-by-step instructions, you have gained the skills and confidence to embark on future sewing projects.
Throughout the process, you learned how to choose the perfect fabric, prepare it for sewing, measure and cut accurately, sew the pieces together, add personalized details or embellishments, and finish the edges like a pro. The end result is a cozy and beautiful blanket that you can be proud of.
Remember to practice patience and take your time, especially if you’re a beginner. Sewing is a skill that improves with practice, so don’t be discouraged if your first attempts aren’t perfect. Embrace the learning process and enjoy the journey as you watch your sewing skills grow.
Now that you have completed your blanket, feel free to explore other sewing projects, such as pillows, curtains, or even garments. The possibilities are endless, and sewing allows you to unleash your creativity and bring your ideas to life.
Whether you keep your blanket for yourself or gift it to someone special, it’s sure to bring warmth and comfort. Sewing is not only a practical skill, but it also provides a sense of accomplishment and joy as you create something with your own hands.
So, dive into your next sewing adventure, and remember to have fun, embrace your creativity, and continue to expand your sewing skills. Happy sewing!
Frequently Asked Questions about How To Sew A Blanket
Was this page helpful?
At Storables.com, we guarantee accurate and reliable information. Our content, validated by Expert Board Contributors, is crafted following stringent Editorial Policies. We're committed to providing you with well-researched, expert-backed insights for all your informational needs.