Articles
How To Make A Cape From A Blanket
Modified: January 9, 2024
Learn how to make a stylish cape from a simple blanket with our step-by-step guide. Find articles on DIY cape making and unleash your inner fashionista!
(Many of the links in this article redirect to a specific reviewed product. Your purchase of these products through affiliate links helps to generate commission for Storables.com, at no extra cost. Learn more)
Introduction
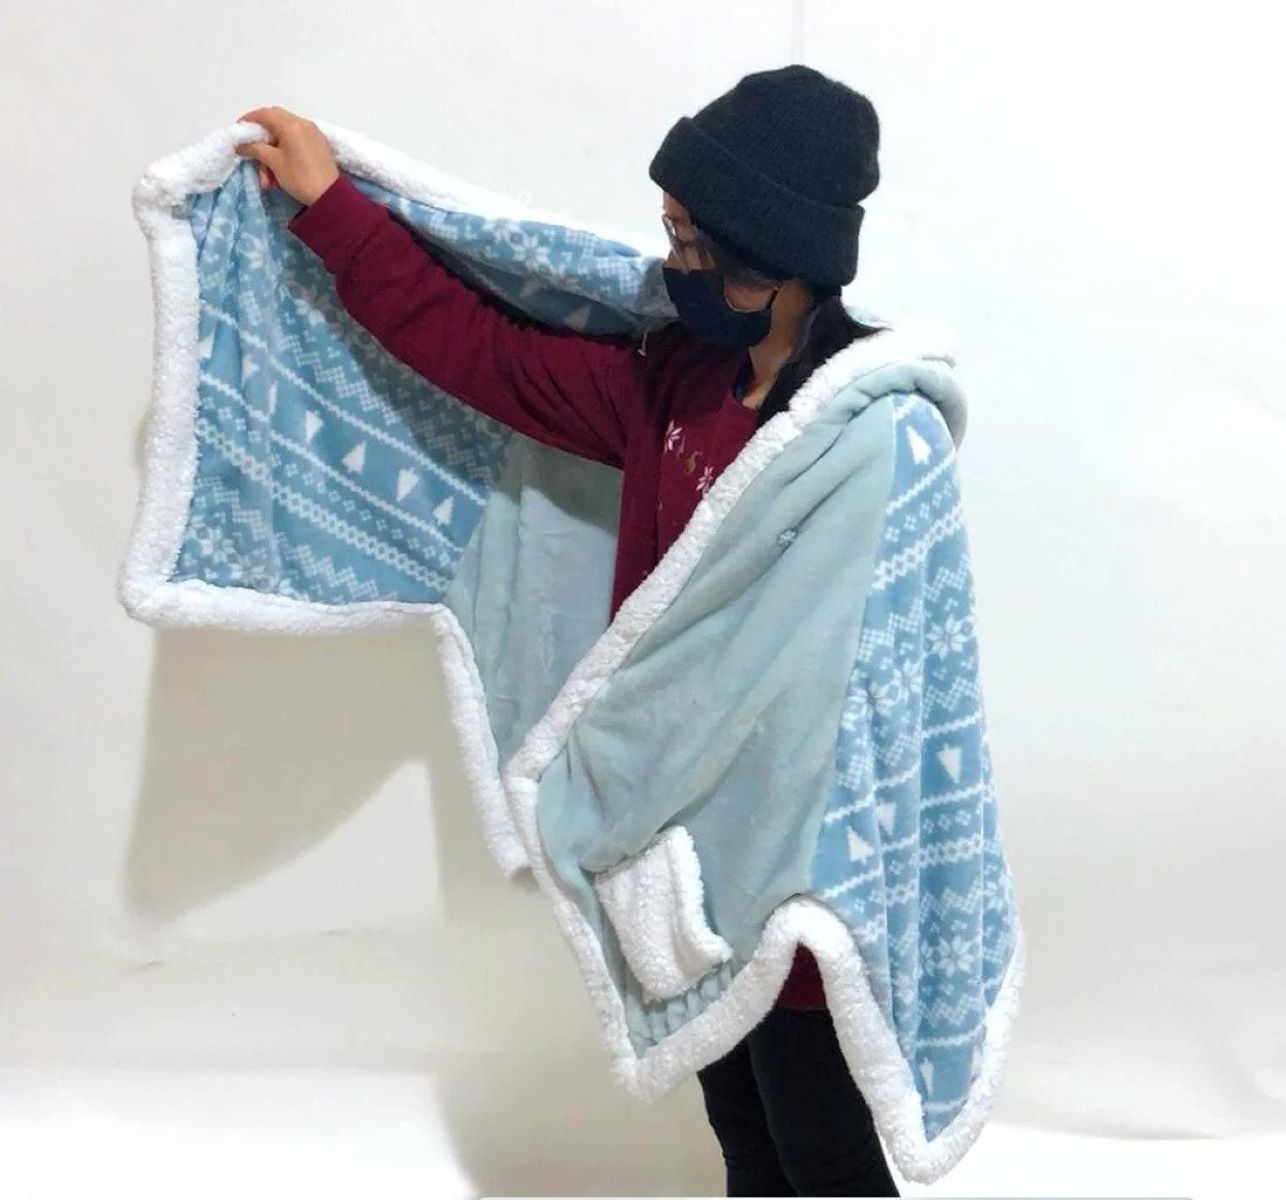
Have you ever wanted to transform a cozy blanket into a fashionable cape? Well, with a little creativity and some basic crafting skills, you can turn that ordinary blanket into a unique and stylish accessory. Whether you’re looking to add a touch of whimsy to your everyday outfits or preparing for a themed costume party, making a cape from a blanket is a fun and budget-friendly project.
Not only will you be recycling an old blanket, but you’ll also end up with a versatile piece that can be worn during colder seasons or as a statement accessory for special occasions. Plus, with a wide variety of blanket materials and patterns available, you can customize your cape to match your personal style.
In this step-by-step guide, we’ll walk you through the process of making a cape from a blanket. From choosing the right blanket to adding closures and decorations, we’ll cover all the necessary steps to ensure your cape turns out beautifully. So gather your supplies and let’s get started!
Key Takeaways:
- Transform an ordinary blanket into a stylish and unique cape by following the step-by-step guide. Embrace creativity, customize, and repurpose to create a fashionable accessory that reflects your personal style.
- Enjoy the rewarding and environmentally-friendly process of making a cape from a blanket. Showcase your craftsmanship, experiment with decorations, and wear your handmade cape with pride.
Read more: How To Make A Blanket
Supplies Needed
Before diving into the cape-making process, make sure you have the following supplies on hand:
- A blanket: Choose a blanket that is at least 60 inches long and wide enough to wrap around your shoulders comfortably. Opt for a fabric that is sturdy enough to hold its shape, such as fleece, wool, or cotton.
- Scissors: A sharp pair of fabric scissors will make it easier to cut through the blanket and trim any excess material.
- Measuring tape: Use a measuring tape to ensure the cape is the right length and width for your preference.
- Pins or clips: These will be useful for holding the blanket in place while you measure, cut, and sew.
- Needle and thread or sewing machine: Depending on your sewing skills and preference, choose the appropriate tool for attaching closures or making any necessary adjustments.
- Closure options: Decide on the type of closure you want for your cape. You can use buttons, snaps, hook and loop fasteners, or even a fancy brooch.
- Decorative elements (optional): If you want to add some flair to your cape, gather some decorative elements like ribbons, lace, or fabric appliques.
Double-check that you have all the necessary supplies before you begin, as this will ensure smooth progress throughout the project. Once you’re ready, let’s move on to the next step: choosing the right blanket!
Step 1: Choosing the Right Blanket
Choosing the right blanket is essential for creating a stylish and functional cape. When selecting a blanket, consider the following factors:
- Size: Look for a blanket that is at least 60 inches long as it will provide adequate coverage for your cape. Additionally, make sure the width is sufficient to wrap comfortably around your shoulders.
- Material: The material of the blanket will determine the look and feel of your cape. Fleece, wool, and cotton blankets are popular choices due to their warmth and durability. Consider the occasion and desired level of comfort when selecting the material.
- Pattern and color: Decide on the pattern and color that aligns with your personal style or the desired theme. Solid-colored blankets may provide a classic and versatile look, while patterned blankets can add a touch of personality and uniqueness.
- Weight: Consider the weight of the blanket. Lighter weight blankets may be suitable for indoor wear, while thicker blankets can provide warmth for outdoor occasions.
- Texture: Pay attention to the texture of the blanket. Some materials may have a soft and fuzzy texture, while others may be smoother and more structured. Choose a texture that suits your preference and the overall look you want to achieve.
Once you have considered all these factors, you’ll have a better understanding of the type of blanket you need for your cape. Remember to also take into account any specific requirements or preferences you have. Now that you have chosen the perfect blanket, let’s move on to preparing it for the cape-making process.
Step 2: Preparing the Blanket
Before you start transforming your blanket into a cape, it’s important to prepare it properly. Follow these steps to ensure a smooth and successful crafting process:
- Wash and dry the blanket: If your blanket is brand new or hasn’t been washed recently, it’s a good idea to give it a gentle wash and dry to remove any dust, odors, or potential shrinkage. Follow the care instructions on the blanket’s label to maintain its quality.
- Iron or steam the blanket (if needed): Depending on the material, your blanket may have wrinkles or creases. Iron or steam it lightly to smooth out any imperfections. Be cautious with heat-sensitive fabrics and use a low heat setting or steam if necessary.
- Spread the blanket flat: Lay the blanket on a clean and spacious surface, such as a table or the floor. Smooth out any folds or wrinkles that may have appeared during the washing and drying process.
- Secure the edges (optional): If you’re working with a frayed blanket or want to prevent fraying during the cutting process, consider using fabric tape or a sewing machine to secure the edges of the blanket.
By preparing the blanket beforehand, you’ll have a clean and well-prepared canvas for the rest of the cape-making process. Once you’ve completed these steps, it’s time to move on to measuring and cutting the blanket to create the desired cape shape. Grab your measuring tape and scissors, and let’s get started!
Step 3: Measuring and Cutting
Measuring and cutting the blanket is a crucial step in creating the perfect cape shape. Follow these steps to ensure accurate measurements and clean cuts:
- Measure your desired length: Decide how long you want your cape to be. Use a measuring tape to determine the desired length. It’s recommended to measure from the base of your neck to the desired hemline, keeping in mind the intended coverage and style.
- Mark the length: Once you have determined the desired length, mark it on the blanket using fabric chalk or pins. Ensure the mark is straight and visible.
- Measure and mark the width: Measure the width of your shoulders and add a couple of inches for a comfortable fit. Make another mark on each side of the blanket to indicate the width.
- Draw the cape shape: To create the cape’s shape, draw a curved line connecting the width marks to the bottom length mark. You can use a ruler or improvise with a freehand curve, depending on the style you want to achieve. Take your time to ensure the curve is smooth and proportionate.
- Cut along the marked lines: Carefully cut along the marked lines using sharp fabric scissors. Follow the curve of the drawn line to create a smooth and even shape. Take your time to maintain accuracy and avoid any accidental slips.
After completing these steps, you should have a basic cape shape cut from the blanket. Remember, it’s always better to trim less initially and make adjustments later if needed. Now that your cape shape is taking form, it’s time to move on to the next step: adding a closure to secure the cape around your neck.
When making a cape from a blanket, be sure to choose a blanket that is large enough to drape comfortably over your shoulders and reach your desired length. It’s also helpful to use a sewing machine for a more secure and professional finish.
Read more: How To Make A Blanket Scarf
Step 4: Adding a Closure
Adding a closure to your cape not only provides a secure fit but also adds a stylish element to the overall design. Follow these steps to attach a closure of your choice:
- Choose your closure: There are various closure options to choose from, depending on your preference and the style of your cape. Common options include buttons, snaps, hook and loop fasteners, or even a decorative brooch. Select a closure that complements the look and functionality of your cape.
- Decide on the placement: Place the cape around your shoulders and determine the most comfortable and aesthetically pleasing position for the closure. It’s typically located at the front of the cape, near the neck area.
- Mark the placement: Once you have decided on the placement, mark it lightly with fabric chalk or pins. Ensure the marks are on both the cape and the closure to ensure alignment.
- Attach the closure: Follow the instructions provided with your chosen closure to attach it to the cape. This may involve sewing, gluing, or snapping it into place. Take your time and be meticulous to ensure a secure attachment.
- Test the closure: Once the closure is attached, test it by putting on the cape and fastening it. Ensure it is comfortable and holds the cape securely in place. Make any necessary adjustments if the closure feels too loose or tight.
Adding a closure not only adds functionality to your cape but also gives it a polished finish. Let your creativity shine by selecting a closure that elevates the overall look and matches your personal style. After successfully attaching the closure, it’s time to move on to the next step: decorating your cape to make it uniquely yours.
Step 5: Decorating the Cape
Now that you have created the basic structure of your cape, it’s time to add some decorative elements to make it truly unique and personalized. Follow these steps to add embellishments to your cape:
- Choose your decorations: Decide on the type of decorations you want to add to your cape. Options include ribbons, lace, fabric appliques, patches, or even hand embroidery. Consider the overall theme and style you want to achieve.
- Plan the placement: Visualize where you want to place the decorations on your cape. You can create a border along the edges, add accents on the shoulders, or scatter them randomly for a more eclectic look. Use fabric chalk or pins to mark the desired positions.
- Attach the decorations: Depending on the type of decorations you choose, you can use fabric glue, sewing techniques, or iron-on adhesive to attach them to the cape. Follow the instructions provided with each decoration to ensure a secure and durable attachment.
- Experiment and get creative: Don’t be afraid to experiment and try out different arrangements and combinations of decorations. Play around with different colors, textures, and sizes to achieve the desired visual effect. Step back and assess the look from time to time to make sure you’re happy with the overall design.
- Let it dry and set: Once you have attached all the decorations, allow them to dry or set according to the instructions provided with the specific materials you used. This will ensure that the decorations stay firmly in place during wear and washing.
Adding decorative elements to your cape allows you to showcase your creativity and make it a true reflection of your personal style. Have fun with this step and enjoy the process of making your cape uniquely yours. Once the decorations are in place and have properly set, it’s time to move on to the next step: trying on the cape and adjusting the fit if necessary.
Step 6: Trying on and Adjusting the Fit
Now that your cape is almost complete, it’s essential to try it on and ensure that it fits comfortably and flatters your figure. Follow these steps to try on and make any necessary fit adjustments:
- Put on the cape: Slide your arms through the armholes and drape the cape over your shoulders, securing the closure. Make sure the cape sits comfortably on your shoulders and falls at the desired length.
- Assess the fit: Take a moment to assess the fit of the cape. Check if the length is appropriate and if the neckline and armholes allow for ease of movement. Pay attention to any areas that feel too loose or tight.
- Adjust the fit: If you find any areas that need adjustments, use fabric pins or clips to temporarily mark the desired alterations. You may need to take in or let out certain areas, such as the neckline, armholes, or side seams.
- Remove the cape and make alterations: Carefully remove the cape and make the necessary alterations as per your markings. Use a needle and thread or a sewing machine to sew along the new lines, ensuring a secure and neat finish.
- Try on the cape again: Put the cape back on to assess the fit adjustments. Take note of how the alterations have improved the fit and make any further adjustments if needed.
Remember to take your time during the fitting process and make gradual adjustments as necessary. It’s better to make small alterations incrementally to avoid overdoing it. Once you are satisfied with the fit of your cape, it’s time to move on to the final steps: adding finishing touches and sharing your creation with the world!
Step 7: Final Thoughts and Tips
Congratulations on completing your handmade cape! As you put the finishing touches on your project, here are some final thoughts and tips to keep in mind:
- Finishing touches: Take a moment to examine your cape and ensure that all the closures are secure, decorations are well-attached, and any loose threads are trimmed. This final inspection will ensure the longevity and durability of your creation.
- Show it off: Now that your cape is complete, it’s time to wear it with pride! Whether you’re attending a costume party or simply want to elevate your everyday style, embrace your creativity and enjoy the attention your unique cape will receive.
- Embrace customization: Don’t be afraid to add your personal touch and customize your cape further. You can experiment with different decorative elements, add pockets, or even embellish it with embroidery or unique trims. Let your imagination run wild!
- Care instructions: Every fabric has different care requirements, so make sure to follow the manufacturer’s instructions for cleaning and maintaining your cape. Handle delicate materials with care and dry clean if necessary to preserve the cape’s quality.
- Repurpose and upcycle: If you have any leftover materials from the blanket or scraps from the cutting process, consider repurposing them into other accessories like scarves, headbands, or even a matching bag. Minimize waste and maximize your crafting potential!
- Inspire others: Share your cape-making journey with others. Display your creation on social media or participate in local craft fairs to inspire fellow DIY enthusiasts. You never know who might be inspired to create their own cape from a blanket!
Remember, making a cape from a blanket is not only a cost-effective way to add a unique piece to your wardrobe, but it’s also a rewarding and creative process. Enjoy the journey, cherish your finished cape, and continue exploring your crafty side with future projects. Happy cape-making!
Read more: How To Make A Baby Blanket
Conclusion
Turning a simple blanket into a stylish cape is a fun and creative way to add a unique touch to your wardrobe. By following the step-by-step process outlined in this guide, you can transform an ordinary blanket into a fashionable accessory that reflects your personal style.
From choosing the right blanket to measuring, cutting, and adding closures, each step plays a crucial role in creating a well-fitted and visually appealing cape. Incorporating decorative elements further enhances the uniqueness of your creation, allowing you to showcase your creativity and craftsmanship.
Remember to take your time, experiment with different styles and decorations, and focus on achieving a comfortable fit. Don’t be afraid to embrace customization and make the cape truly your own. Whether you’re wearing it for a costume party or to elevate your everyday outfits, your handmade cape is sure to draw attention and compliments.
Additionally, creating a cape from a blanket is an environmentally-friendly choice, as it repurposes an item that may otherwise go to waste. By recycling and upcycling, you’re contributing to a more sustainable lifestyle.
So, gather your supplies, let your creativity flow, and embark on this exciting cape-making adventure. Share your journey with others and inspire them to explore their own DIY projects. Enjoy the process, and most importantly, have fun wearing and showcasing your unique handmade cape!
Frequently Asked Questions about How To Make A Cape From A Blanket
Was this page helpful?
At Storables.com, we guarantee accurate and reliable information. Our content, validated by Expert Board Contributors, is crafted following stringent Editorial Policies. We're committed to providing you with well-researched, expert-backed insights for all your informational needs.