Home>Articles>How To Crochet A Blanket Using Single Stitches
Articles
How To Crochet A Blanket Using Single Stitches
Modified: February 24, 2024
Learn how to crochet a beautiful blanket using single stitches with our helpful articles. Start creating your cozy masterpiece today!
(Many of the links in this article redirect to a specific reviewed product. Your purchase of these products through affiliate links helps to generate commission for Storables.com, at no extra cost. Learn more)
Introduction
Have you ever wanted to create a cozy and beautiful blanket with your own hands? Crocheting a blanket using single stitches is a perfect project for both beginners and experienced crocheters. With just a few basic materials and some simple techniques, you can create a timeless keepsake that will envelop you in warmth and comfort.
In this article, we will guide you through the step-by-step process of crocheting a blanket using single stitches. Whether you are a beginner looking to learn a new skill or an experienced crocheter searching for a relaxing and fulfilling project, this guide is for you.
Before we begin, let’s gather the materials you will need to get started.
Key Takeaways:
- Create a timeless keepsake and unleash your creativity by crocheting a cozy blanket using single stitches. Follow the step-by-step guide to master essential techniques and personalize your project with color changes and decorative edges.
- Embrace the rewarding journey of crocheting a blanket using single stitches, from mastering the foundational chain stitch to adding polished edges. With practice and quality materials, you can create a comforting and beautiful heirloom to cherish for years to come.
Read more: What Crochet Stitch Is Best For A Blanket?
Materials Needed
Before you embark on your crochet journey, it’s important to gather all the necessary materials. Here are the items you will need to crochet a blanket using single stitches:
- Yarn: Choose a soft and durable yarn in your desired color or colors. The amount of yarn you need will depend on the size of the blanket you wish to make.
- Crochet hook: Select a crochet hook size that is appropriate for the yarn you have chosen. The size of the crochet hook is usually indicated on the yarn label.
- Scissors: A pair of sharp scissors will be needed to cut the yarn.
- Tapestry needle: A tapestry needle with a large eye will be used for weaving in ends and finishing touches.
- Measuring tape: A measuring tape will come in handy to ensure your blanket is the desired size.
- Stitch markers (optional): Stitch markers can be useful for marking the beginning and end of each row.
Once you have gathered all the necessary materials, you are ready to start crocheting your blanket using single stitches.
Step 1: Chain Stitch
The chain stitch is the foundation of your crochet project. It forms the starting row from which you will build upon with other stitches. Follow these steps to create the chain stitch:
- Hold the crochet hook in your dominant hand and make a slip knot at the end of your yarn.
- Insert the hook into the slip knot and tighten it slightly.
- Yarn over by bringing the yarn over the hook from back to front.
- Using the hook, pull the yarn through the slip knot loop, creating a new loop on the hook.
- Repeat steps 3 and 4 until you have reached the desired number of chain stitches. Each loop on the hook represents one chain stitch.
- When you have completed the desired number of chain stitches, you are ready to move on to the next step.
The chain stitches will serve as the foundation for the subsequent single crochet stitches that you will be working into in the following steps. Ensure that your chain stitches are not too tight or too loose, as it can affect the overall tension of your blanket.
Now that you have mastered the chain stitch, let’s move on to learning the single crochet stitch, which will form the main body of your blanket.
Step 2: Single Crochet Stitch
The single crochet stitch is one of the basic stitches in crochet and will be the main stitch used to create your blanket. Follow these steps to create the single crochet stitch:
- Insert the hook into the second chain stitch from the hook.
- Yarn over by bringing the yarn over the hook from back to front.
- Using the hook, pull the yarn through the chain stitch, creating two loops on the hook.
- Yarn over again.
- Pull the yarn through both loops on the hook, completing one single crochet stitch.
- Repeat steps 1 to 5 across the row, working into each chain stitch.
- At the end of the row, chain one stitch and turn your work.
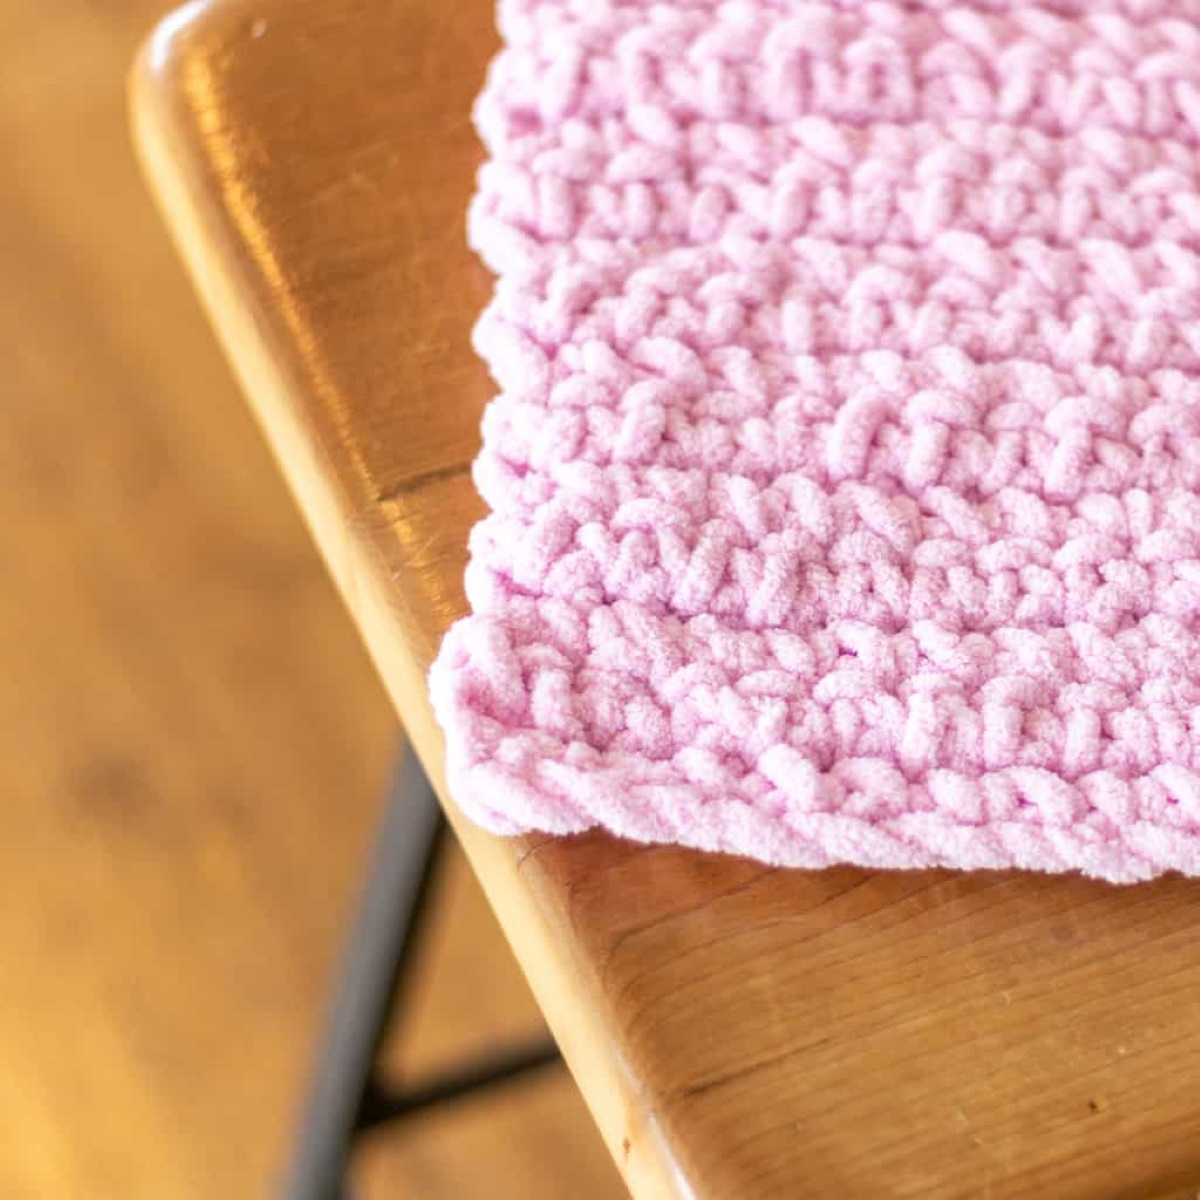
The single crochet stitch creates a dense and sturdy fabric, perfect for a cozy blanket. Make sure to keep your tension consistent throughout the row to ensure uniformity in your stitches.
Now that you have mastered the single crochet stitch, you are ready to start crocheting your blanket!
Step 3: Starting the Blanket
With the chain stitch and single crochet stitch under your belt, it’s time to begin crocheting your blanket. Follow these steps to start your blanket:
- Make a slip knot at the end of your yarn and insert the hook into the first chain stitch of the previous row.
- Yarn over and pull the yarn through the chain stitch, creating two loops on the hook.
- Yarn over again and pull through both loops on the hook, completing a single crochet stitch.
- Continue working single crochet stitches into each chain stitch across the row.
- At the end of the row, chain one stitch and turn your work.
- Repeat the process of working single crochet stitches into each stitch across the row, chaining one stitch and turning your work at the end of each row.
Continue this pattern until your blanket reaches the desired length. Remember to keep your tension consistent and check your work periodically to ensure the blanket is turning out the way you envisioned.
The starting rows of your blanket will begin to take shape, and you will start to see the beautiful texture and pattern created by the single crochet stitches.
Now that you have started your blanket, let’s move on to the next step of crocheting the rows.
When crocheting a blanket using single stitches, be sure to keep your tension consistent to ensure an even and uniform appearance throughout the entire project.
Step 4: Crocheting the Rows
As you continue crocheting your blanket, you will be working row by row to build the length and width. Follow these steps to crochet the rows:
- After completing a row of single crochet stitches, chain one stitch and turn your work.
- Insert the hook under the top two loops of the first stitch in the previous row.
- Yarn over and pull the yarn through the stitch, creating two loops on the hook.
- Yarn over again and pull through both loops, completing a single crochet stitch.
- Repeat this process by working a single crochet stitch into each stitch across the row.
- At the end of the row, chain one stitch and turn your work.
- Continue working the rows by repeating steps 2 to 6 until your blanket reaches the desired width.
As you progress with each row, make sure to maintain consistent tension and check your work for any mistakes or inconsistencies. Crocheting the rows will gradually build up the fabric of your blanket, creating a cozy and comforting piece.
Once your blanket has reached the desired width, you can move on to the next step of changing colors to add visual interest to your project.
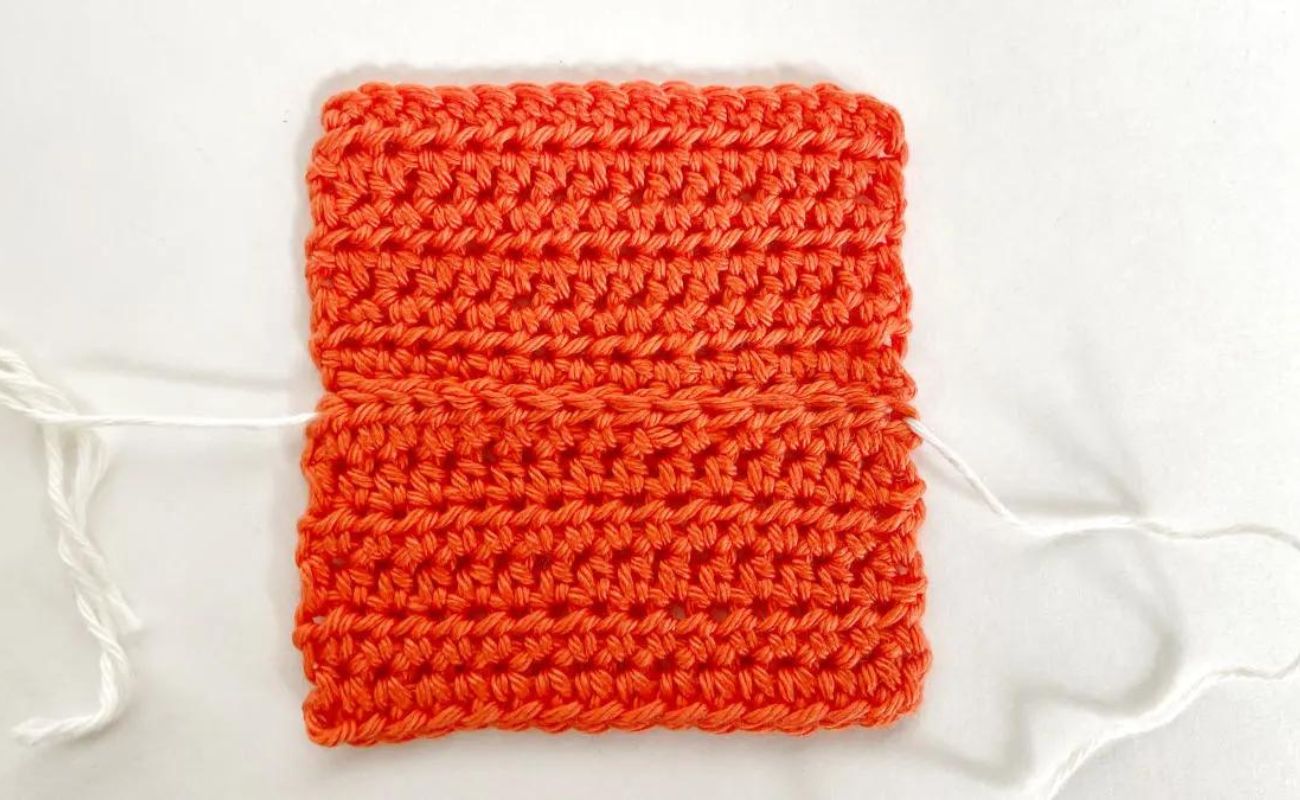
Step 5: Changing Colors
Changing colors in your blanket can add a fun and visually appealing element to your project. Follow these steps to change colors:
- Before completing the last single crochet stitch of a row, leave two loops on your hook.
- Take the new color of yarn and fold it into a loop.
- Place the loop of the new color on your hook and pull it through the two loops of the previous color.
- Continue working single crochet stitches with the new color across the row.
- When you reach the end of the row, chain one stitch and turn your work.
- Continue crocheting with the new color for the desired number of rows.
- To switch back to the previous color, repeat steps 1-3, replacing the new color with the original color.
- Continue alternating between colors as desired, creating stripes or patterns in your blanket.
Changing colors allows you to get creative with your design and personalize your blanket. Whether you prefer bold contrasting colors or a subtle gradient effect, the choice is yours. Remember to weave in the loose ends of yarn as you go to keep your work neat and tidy.
Now that you have learned how to change colors, let’s move on to the final step of crocheting the edges of your blanket.
Step 6: Crocheting the Edges
The final step in crocheting your blanket is to add a finished and polished look to the edges. Follow these steps to crochet the edges:
- Start at any corner of your blanket.
- Insert the hook into the stitch closest to the corner.
- Yarn over and pull the yarn through the stitch, creating two loops on the hook.
- Yarn over again and pull through both loops, completing a single crochet stitch.
- Continue working single crochet stitches evenly along the edges of the blanket, making sure to space them out evenly.
- At the corners, you can work additional stitches to create a rounded or decorative edge.
- Continue working along all the edges of the blanket until you reach the starting point.
- To finish off, slip stitch into the first single crochet stitch to join the round.
- Cut the yarn, leaving a short tail, and pull it through the loop to secure it.
Crocheting the edges of your blanket not only adds a professional touch but also helps to stabilize the edges and prevent them from fraying over time. Feel free to experiment with different stitch patterns or add a border to further enhance your blanket’s aesthetic appeal.
Congratulations! You have successfully completed crocheting your blanket using single stitches. Take a moment to admire your handiwork and enjoy the warmth and comfort it will provide you for years to come.
Conclusion
Crocheting a blanket using single stitches is a rewarding and fulfilling project that allows you to unleash your creativity and create a beautiful, cozy, and personalized piece. By following the steps outlined in this article, you have learned the essential techniques and skills needed to crochet a blanket from start to finish.
Remember, practice makes perfect. Don’t be discouraged if your first attempt isn’t perfect. With time and practice, your crochet skills will improve, and you’ll be able to create intricate designs and unique patterns.
As you embark on your crochet journey, don’t forget to choose quality materials and colors that inspire you. Whether you opt for a classic single-color blanket or experiment with different color combinations and stitch patterns, the final result will be a reflection of your own style and creativity.
So gather your materials, follow the steps provided, and enjoy the process of turning yarn into a warm and comforting blanket. Crocheting a blanket using single stitches is not only a productive and relaxing hobby, but it also allows you to create a timeless keepsake that can be passed down through generations.
Now it’s time to pick up your crochet hook, select your favorite yarn, and start crocheting. Get ready to wrap yourself in the warmth and love of your very own handcrafted blanket!
Frequently Asked Questions about How To Crochet A Blanket Using Single Stitches
Was this page helpful?
At Storables.com, we guarantee accurate and reliable information. Our content, validated by Expert Board Contributors, is crafted following stringent Editorial Policies. We're committed to providing you with well-researched, expert-backed insights for all your informational needs.
0 thoughts on “How To Crochet A Blanket Using Single Stitches”