Articles
How To Make A Blanket Rack
Modified: January 3, 2024
Discover helpful articles on how to make a stylish and functional blanket rack for your home. Expert tips and step-by-step guides await!
(Many of the links in this article redirect to a specific reviewed product. Your purchase of these products through affiliate links helps to generate commission for Storables.com, at no extra cost. Learn more)
Introduction
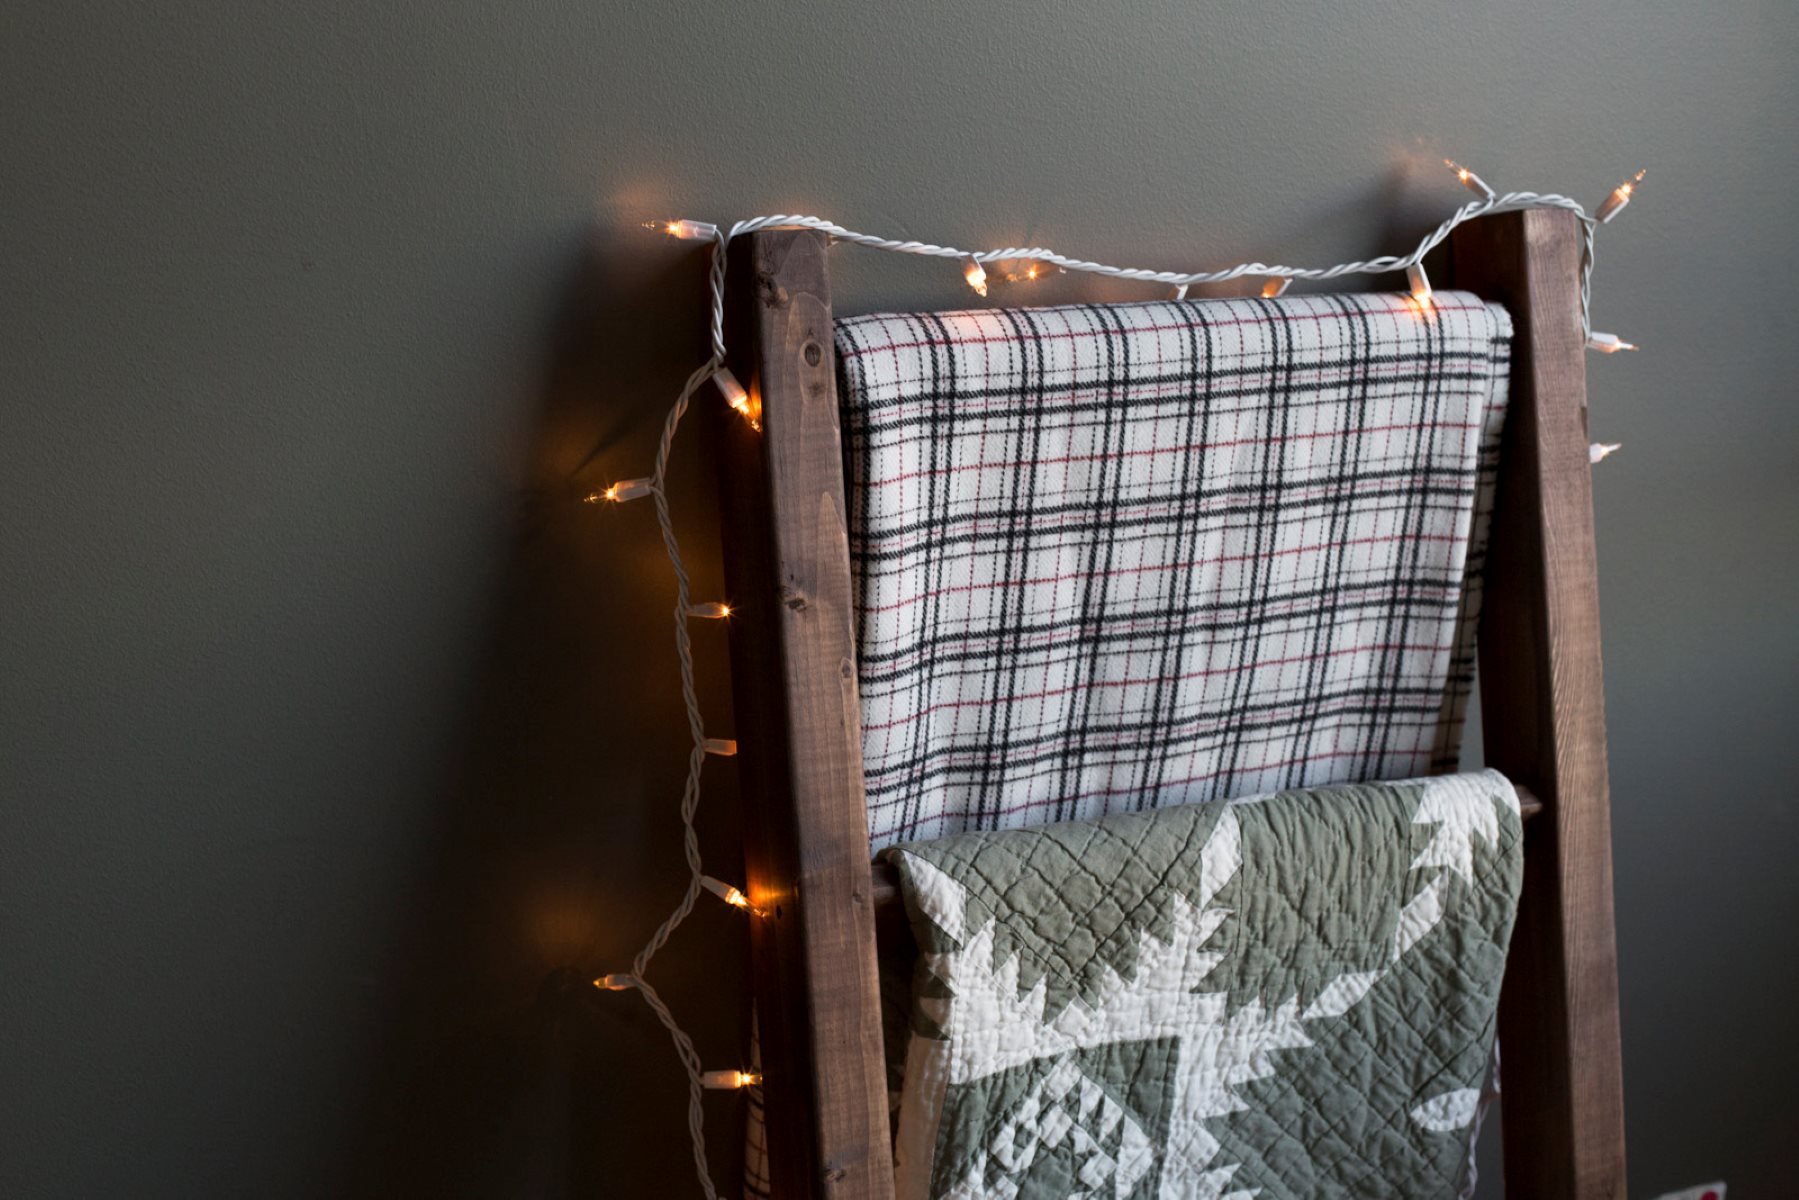
Blankets are a cozy and essential addition to any home. They not only provide warmth, but also add a touch of comfort and style to a room. However, finding a proper place to store and display your blankets can be a challenge. This is where a blanket rack comes in handy. A blanket rack is a decorative and functional piece of furniture that allows you to keep your blankets organized and easily accessible.
In this article, we will guide you through the process of making your own blanket rack. Whether you are a seasoned DIY enthusiast or a beginner looking for a fun project, this step-by-step guide will help you create a beautiful and sturdy blanket rack that complements any decor style.
Key Takeaways:
- Create a custom blanket rack to add style and organization to your home. Personalize it with decorative elements and enjoy the convenience of easily accessible blankets.
- Building a blanket rack is a fun DIY project that combines functionality and creativity. From measuring and cutting wood to adding finishing touches, you can customize your rack to match your decor style.
Read more: How To Make A Blanket
Materials Needed
Before you begin making your own blanket rack, gather all the necessary materials. Here’s a list of what you’ll need:
- Wooden planks – You will need two planks for the base and two planks for the supports. The size and thickness of the planks depend on your preference.
- Dowel rods – These are the bars where you will hang your blankets. The number of dowels depends on the desired capacity of your blanket rack.
- Sandpaper – You will need sandpaper to smooth the edges and surfaces of the wood.
- Stain or paint – Choose a stain or paint color that matches your decor style. This will give your blanket rack a finished and polished look.
- Wood glue – You will need wood glue to securely attach the different parts of the blanket rack.
- Screws – Make sure to have screws that are long enough to secure the base and supports to the dowel rods.
- Drill – You will need a drill to create the necessary holes for the dowel rods and screws.
- Measuring tape – A measuring tape will help you accurately measure the size of the planks and dowel rods.
- Paintbrush – Use a paintbrush to apply the stain or paint onto the wood.
Make sure to gather all these materials before you start building your blanket rack. Having them ready and within reach will make the process smoother and more efficient.
Step 1: Measure and Cut Wood
The first step in making your blanket rack is to measure and cut the wooden planks. These will serve as the base and supports for your blanket rack. Follow these steps:
- Measure the desired length and width for your blanket rack base. Use a measuring tape to ensure accurate measurements.
- Mark the measurements on the wooden plank and use a saw to cut it accordingly. Remember to wear safety goggles and gloves while cutting the wood to protect yourself.
- Repeat the process to cut another wooden plank of the same size for the base.
- Next, measure and cut the wooden planks for the supports. These will hold the dowel rods in place.
- Decide on the height of your blanket rack and mark the measurements on the wooden planks for the supports.
- Use a saw to cut the supports to the desired length. Make sure to cut two equal-sized pieces.
Once you have cut all the wooden planks to the appropriate sizes, double-check the measurements to ensure they are accurate. Accuracy in this step is crucial to ensure that the blanket rack is perfectly balanced and stable.
Note: If you don’t have the tools or experience to cut the wood yourself, you can also have the measurements taken to a local hardware store or woodworking shop. They can cut the wood for you based on your specified measurements.
Step 2: Sand and Stain the Wood
After cutting the wooden planks, the next step is to sand and stain the wood to give it a smooth and finished look. Follow these steps:
- Start by sanding the edges and surfaces of the wooden planks with sandpaper. This will remove any rough spots or splinters, creating a more polished appearance.
- Make sure to sand in the direction of the wood grain to avoid causing damage or scratches.
- Once the wood is smooth, wipe away any dust or debris with a clean cloth or tack cloth.
- Choose a stain or paint color that matches your decor style. Stir the stain thoroughly before applying it to the wood.
- Using a paintbrush, apply a thin and even coat of stain to the wooden planks. Make sure to cover all surfaces, including the edges.
- Allow the stain to penetrate the wood for the recommended time specified by the manufacturer.
- After the recommended time, use a clean cloth to wipe away any excess stain and achieve the desired level of color intensity.
Repeat the staining process for all the wooden planks, both for the base and the supports. Allow the stain to dry completely before moving on to the next step. This will ensure that the color is set and won’t transfer onto your blankets.
Staining the wood not only enhances its aesthetic appeal but also protects it from damage and wear over time. It adds a layer of durability to your blanket rack, making it more long-lasting.
Note: If you prefer a painted finish instead of stain, you can apply a coat or two of paint in your chosen color after sanding the wooden planks. Make sure to use paint that is suitable for wood and follow the manufacturer’s instructions for proper application and drying time.
When making a blanket rack, consider using sturdy materials such as wood or metal to ensure it can support the weight of multiple blankets. Additionally, make sure to measure the space where the rack will be placed to ensure it fits properly.
Step 3: Attach the Base and Supports
Once the wooden planks are sanded and stained, it’s time to attach the base and supports of your blanket rack. Follow these steps:
- Place one of the wooden base planks on a flat surface. Apply a thin layer of wood glue along the edges of the plank that will come into contact with the supports.
- Position the supports perpendicular to the base plank, lining up the edges. Make sure they are evenly spaced and centered.
- Secure the supports to the base plank by using screws. Drill pilot holes to prevent the wood from splitting, then drive the screws through the holes and into the supports.
- Repeat the process to attach the second base plank to the opposite ends of the supports.
- After securing the base planks, reinforce the joints by adding additional screws or nails.
- Double-check the stability of the base and supports, ensuring that everything is properly aligned and securely fastened.
Attaching the base and supports is a critical step as it provides the foundation and stability for your blanket rack. Ensure that the screws are tightly secured, and the joints are reinforced to prevent any wobbling or collapsing.
Once the base and supports are firmly connected, allow the wood glue to dry completely according to the manufacturer’s instructions. This will ensure that the bond is strong and durable.
Read more: How To Make A Blanket Scarf
Step 4: Attach the Dowels
With the base and supports securely attached, it’s time to attach the dowels to your blanket rack. The dowels will serve as the bars where you can hang your blankets. Follow these steps:
- Measure and mark the desired spacing for the dowels on the inside of the supports. The spacing will depend on the size of your blankets and your personal preference.
- Using a drill, create pilot holes at the marked locations. Make sure to use a drill bit that is slightly smaller than the diameter of the dowels.
- Apply a small amount of wood glue to the end of a dowel rod and insert it into one of the pilot holes. Gently tap it in with a hammer to ensure a snug fit.
- Repeat the process to insert the remaining dowel rods into the pilot holes. Ensure that they are straight and evenly spaced.
- Allow the wood glue to dry completely before moving or hanging any blankets on the dowel rods.
Attaching the dowels to your blanket rack provides the functionality of being able to hang multiple blankets at once. The dowels should be securely inserted into the pilot holes and tightly held in place by the wood glue.
Double-check that the dowels are level and parallel to each other. Adjust as necessary before the wood glue dries to ensure a visually pleasing and functional blanket rack.
Once the wood glue has dried, your blanket rack is ready for use! It’s time to arrange your blankets on the dowels and enjoy the convenience of a neatly organized and easily accessible storage solution.
Step 5: Add Finishing Touches
Now that your blanket rack is complete, it’s time to add some finishing touches to enhance its appearance and functionality. Follow these steps:
- If desired, you can add decorative elements to the base or supports of your blanket rack. This can include adding trim or molding to the edges or painting designs on the wood.
- Consider adding hooks or knobs to the sides of the blanket rack. This allows you to hang smaller items such as scarves or hats.
- Apply a protective top coat or sealant to the wooden surface of your blanket rack. This will help prevent damage from spills or stains and keep the wood looking fresh for longer.
- Consider attaching furniture pads or felt pads to the bottom of the blanket rack to prevent scratches on your floors.
- Arrange your blankets on the dowel rods, making sure they are evenly distributed and not overcrowded.
The finishing touches will personalize and elevate the look of your blanket rack. Whether it’s adding decorative elements or protecting the wood surface, these final steps will make your DIY creation truly unique.
Remember to regularly dust and clean your blanket rack to keep it in pristine condition. This will ensure that your blankets are displayed beautifully and your blanket rack remains a functional and stylish addition to your home decor.
With these steps completed, you can now enjoy the benefits of having a custom-made blanket rack. Not only does it provide a practical storage solution for your blankets, but it also adds a touch of elegance and organization to your living space.
Conclusion
Congratulations! You have successfully created your own blanket rack. By following the step-by-step guide in this article, you have learned how to measure and cut wood, sand and stain it, attach the base and supports, attach the dowels, and add finishing touches to create a functional and stylish blanket rack.
A blanket rack is not only a practical solution for storing and organizing your blankets, but it also serves as a decorative piece that adds a touch of warmth and charm to your living space. By building your own blanket rack, you have the opportunity to customize it to match your style and preferences.
Remember, safety is always important when working with tools and materials. Use caution and follow the instructions and safety guidelines provided by the manufacturers of the tools and products you use.
Now that your blanket rack is complete, it’s time to enjoy the convenience of having your blankets easily accessible and neatly displayed. Whether you use it in your bedroom, living room, or any other space, your blanket rack will add both functionality and aesthetic appeal to your home.
So, gather your blankets, arrange them on the dowels, and cozy up with your favorite throw whenever you need it. Your DIY blanket rack will be there to keep your blankets organized, accessible, and ready to provide comfort and warmth.
Thank you for joining us on this DIY journey. Happy crafting!
Frequently Asked Questions about How To Make A Blanket Rack
Was this page helpful?
At Storables.com, we guarantee accurate and reliable information. Our content, validated by Expert Board Contributors, is crafted following stringent Editorial Policies. We're committed to providing you with well-researched, expert-backed insights for all your informational needs.

0 thoughts on “How To Make A Blanket Rack”