
Articles
How To Crochet A Round Blanket
Modified: January 6, 2024
Learn how to crochet a round blanket with our helpful articles. Find step-by-step instructions and tips for creating your own cozy masterpiece.
(Many of the links in this article redirect to a specific reviewed product. Your purchase of these products through affiliate links helps to generate commission for Storables.com, at no extra cost. Learn more)
Introduction
Crocheting a round blanket is not only a fun and fulfilling project, but it also creates a beautiful and cozy addition to your home decor. Whether you’re an experienced crocheter or just starting out, creating a round blanket can be a rewarding challenge that allows you to showcase your creativity and skills.
In this article, we will guide you through the step-by-step process of crocheting a round blanket. From selecting the right materials to adding color variations and creating a stunning border, you’ll learn everything you need to know to create your very own round blanket.
So, gather your crochet hooks and yarn, and let’s dive into the world of crocheting as we embark on this exciting journey of creating a round blanket.
Key Takeaways:
- Crocheting a round blanket is a fulfilling and creative journey that allows you to express your artistic vision. From selecting materials to adding color variations, each step contributes to a unique and cozy masterpiece.
- Embrace the learning process and enjoy the journey of crocheting a round blanket. Let your creativity shine as you experiment with stitches, colors, and patterns to create a stunning and personalized piece.
Read more: How To Crochet A Blanket For Beginners
Materials Needed
Before you begin crocheting your round blanket, it’s important to gather all the necessary materials. Here’s a list of items you’ll need:
- Crochet hooks (sizes may vary depending on your desired blanket size)
- Yarn in various colors and textures
- Tapestry needle
- Scissors
- Measuring tape
- Stitch markers (optional)
- Blocking mats and pins (optional)
When choosing your yarn, consider the thickness and softness. Thicker yarn will result in a chunkier blanket, while softer yarn will provide a cozy feel. Keep in mind that the amount of yarn needed will depend on the size of your blanket and the stitch pattern you choose.
It’s also a good idea to have a crochet hook sizing chart handy, as this will help you determine the right hook size for your chosen yarn.
Make sure you have a comfortable working space that provides good lighting, as this will make the crocheting process much more enjoyable.
Now that you have all the necessary materials, let’s move on to the next steps in crocheting your round blanket.
Step 1: Starting the Round
To begin crocheting your round blanket, it’s important to start with a solid foundation. Here’s how you can get started:
- Make a slip knot: Start by making a slip knot at the end of your yarn. This will secure the yarn to your crochet hook.
- Create a foundation chain: Next, create a foundation chain by crocheting a series of chain stitches. The length of the chain will depend on the size of your blanket. Remember to keep the tension of your stitches even.
- Join the chain: Once you have reached the desired length, join the last chain stitch to the first chain stitch, forming a circle. Be careful not to twist the chain as you join it.
- Mark the beginning of the round: Place a stitch marker in the first stitch to mark the beginning of each round. This will help you keep track of your progress.
Now that you have set up your foundation, you’re ready to move on to the next step: crocheting the center of your round blanket.
Remember to take your time and practice these steps until you feel comfortable with your starting point. Starting correctly will set you up for success in the later stages of crocheting your round blanket.
Step 2: Crocheting the Center
Now that you have set up your foundation chain and joined it into a circle, it’s time to start crocheting the center of your round blanket. Follow these steps to create a beautiful and even center:
- Chain stitch: Begin by crocheting a chain stitch. This will serve as the first stitch of the round.
- Single crochet stitches: Insert your hook into the center of the circle and yarn over. Pull the yarn through the center loop and through the loop on your hook. Repeat this step until you have created the desired number of single crochet stitches.
- Continue in a spiral: Instead of joining each round with a slip stitch, you’ll continue working in a spiral. This means that you’ll move directly to the next stitch without any slip stitches or chains. This technique creates a seamless and smooth center for your round blanket.
- Increase stitches evenly: As you continue crocheting the center, you may want to increase the number of stitches to gradually expand the size of the round. You can do this by adding an additional stitch in certain intervals. For example, you can increase every few stitches or increase evenly throughout the round.
- Keep your tension consistent: Throughout the crocheting process, make sure to maintain a consistent tension. This will ensure that your stitches are even and your center is symmetrical.
Remember, crocheting the center of your round blanket is where your creativity can shine. You can experiment with different stitch patterns, colors, and textures to create unique designs. Enjoy the process and let your imagination guide you.
Once you are satisfied with the size of your center, it’s time to move on to the next step: increasing the size of your round blanket.
When crocheting a round blanket, make sure to use stitch markers to keep track of the beginning of each round. This will help you maintain the shape and size of the blanket as you work.
Step 3: Increasing the Size
Now that you have crocheted the center of your round blanket, it’s time to increase its size. Here’s how you can do it:
- Choose an increase method: There are several ways to increase the size of your round blanket. The most common methods include increasing stitches evenly or using specific increase stitches like the double crochet increase or half-double crochet increase. Choose the method that best suits your desired design and stitch pattern.
- Place stitch markers: If you’re increasing stitches evenly, it can be helpful to place stitch markers around certain intervals to guide your increases. This will ensure that your blanket maintains its circular shape.
- Work additional stitches: Begin your increase round by following the desired increase method, such as working two stitches in one stitch or working multiple stitches in the same stitch. Continue this pattern until you complete the round.
- Repeat the increase rounds: Depending on the size you want your blanket to be, you may need to repeat the increase rounds several times. Remember to increase evenly and follow your stitch pattern to maintain consistency.
- Check your stitch count: Periodically check your stitch count to ensure that you’re increasing evenly. This will help prevent any distortion or irregularities in the shape of your round blanket.
As you increase the size of your round blanket, you’ll notice it gradually taking shape and getting larger. This is an exciting stage in the crocheting process, as you’ll start seeing the full potential of your round blanket.
Once you reach your desired size, you can move on to the next step: adding color variations to bring extra visual interest to your round blanket.
Read more: How To Finish A Crochet Blanket
Step 4: Adding Color Variations
Adding color variations to your round blanket can create a stunning visual effect and make your project even more unique. Follow these steps to incorporate different colors into your crochet:
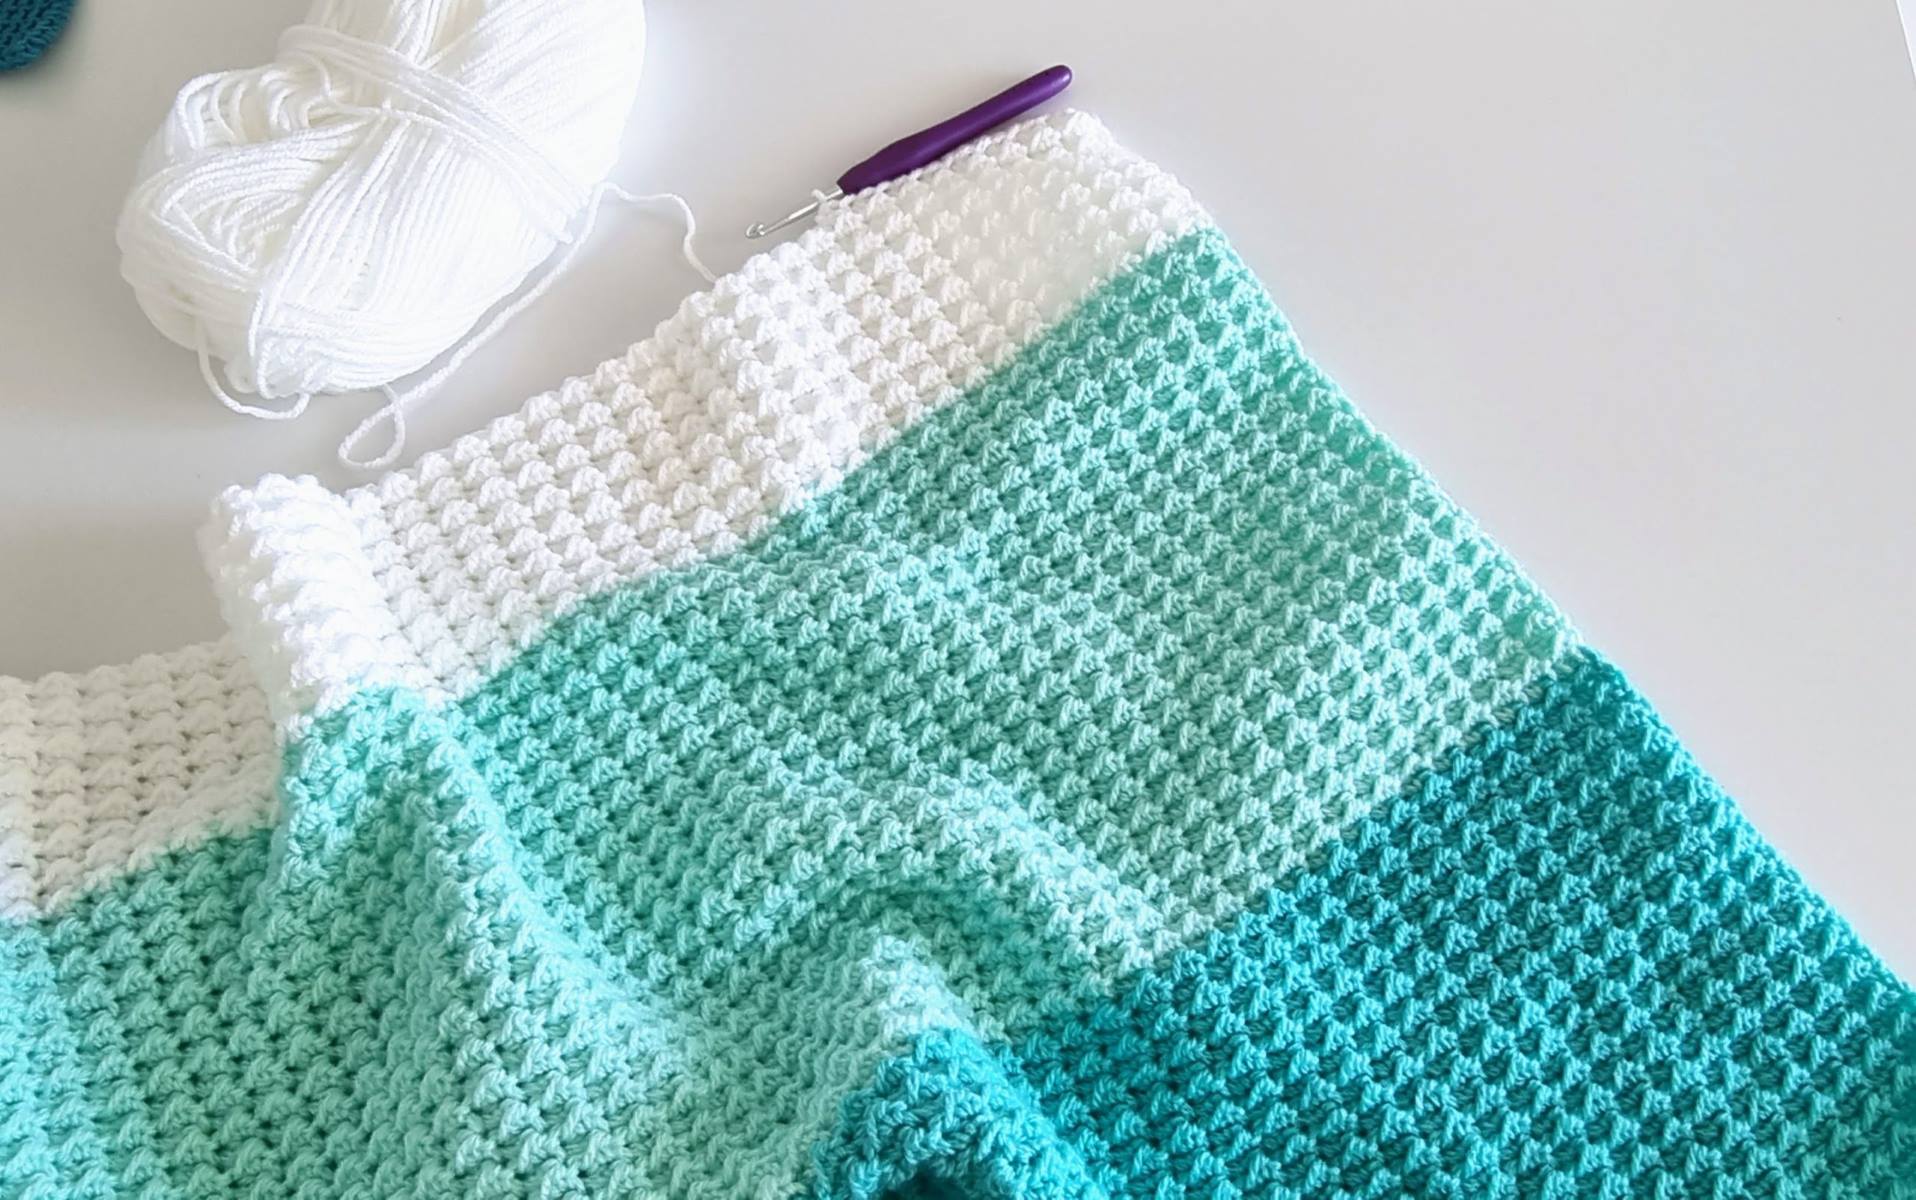
- Select your colors: Choose a color palette that complements your personal style and the intended use of your round blanket. You can opt for a harmonious color scheme, contrasting colors, or even a gradient effect.
- Plan your color changes: Decide on the pattern and placement of your color changes before you start crocheting. This will help you maintain a consistent and visually appealing design.
- Change colors seamlessly: When you’re ready to switch to a new color, do it at the end of a round or in a stitch where the color change will be less noticeable. To change colors, work the last stitch of the old color until you have two loops on your hook, then complete the stitch with the new color.
- Weave in loose ends: As you change colors, you’ll have loose ends that need to be woven in for a tidy finish. Use a tapestry needle to weave the loose ends into the stitches of your work, securing them in place and keeping the back of your round blanket neat.
- Experiment with color patterns: Have fun with your color changes by experimenting with different patterns, like stripes, color blocks, or even intricate colorwork techniques like tapestry crochet or mosaic crochet.
Adding color variations to your round blanket can elevate its visual appeal and make it a true statement piece. Be creative and let your imagination guide you as you bring your color choices to life.
Once you’re satisfied with the color variations, it’s time to move on to the final step: creating a beautiful border to complete your round blanket.
Step 5: Creating the Border
The final step in crocheting your round blanket is to create a border that adds the perfect finishing touch. Follow these steps to create a beautiful and polished border:
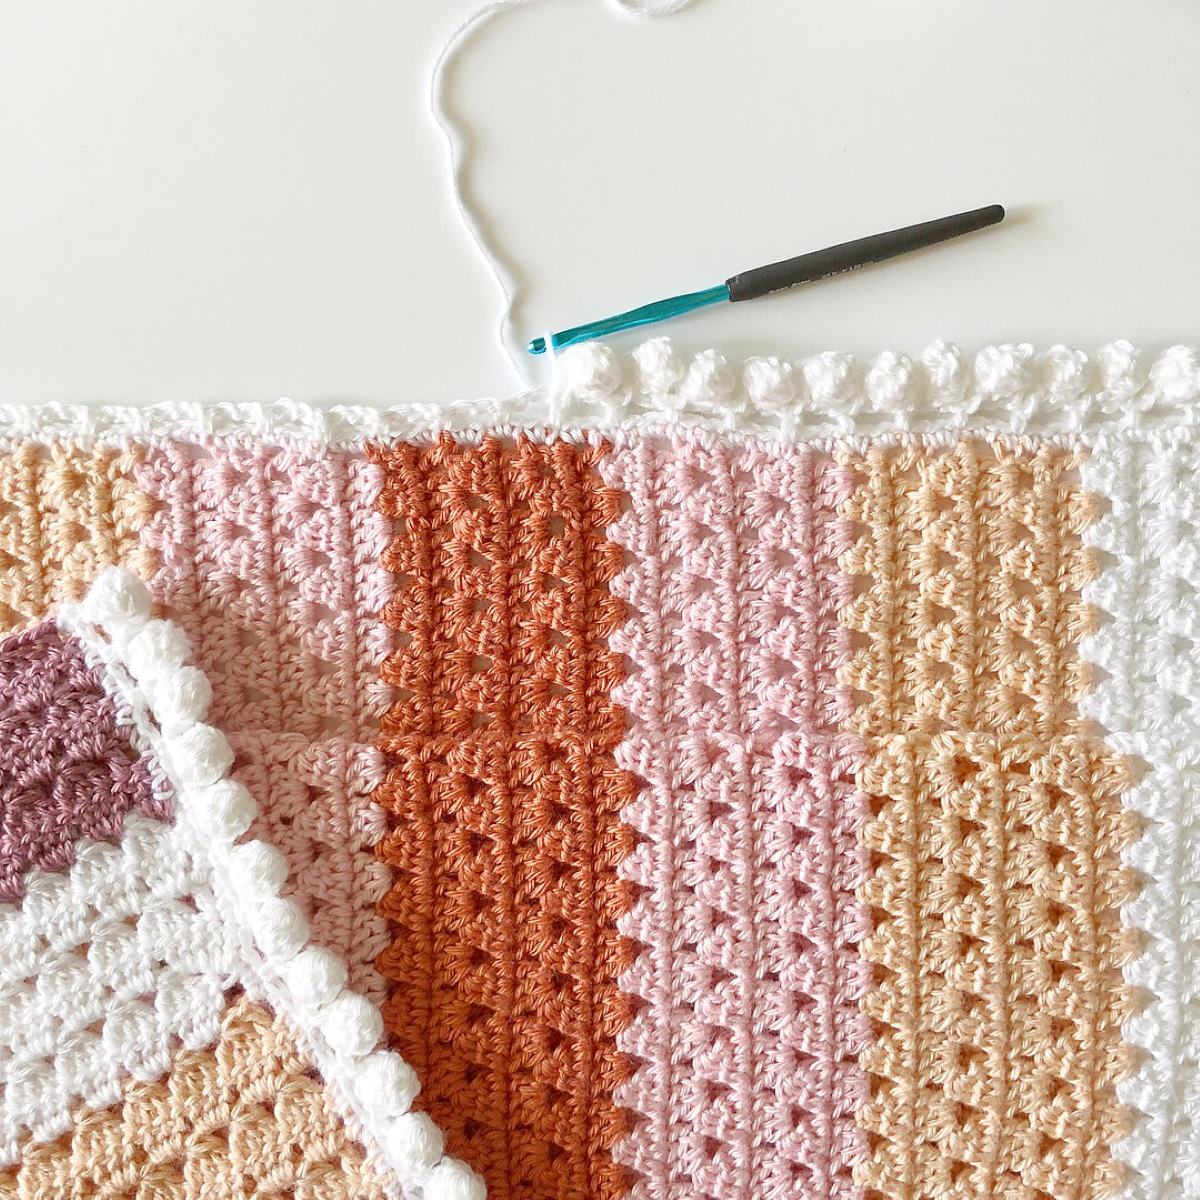
- Choose your border stitch: Select a border stitch that complements the overall design of your round blanket. Common border stitches include the single crochet, double crochet, shell stitch, or picot stitch.
- Plan your border pattern: Decide on the pattern and placement of your border stitches. You can create a simple, uniform border by repeating the same stitch across all edges or add variations to create texture and visual interest.
- Count your stitches: Before you start the border, count the number of stitches on each side of your blanket to ensure your border will be even and symmetrical.
- Begin the border: Start by joining your yarn at any point on the edge of your blanket. Work the first stitch of your border pattern, following the chosen stitch and pattern repeat.
- Continue the border: Work your way around the entire edge of your round blanket, following the border pattern you’ve established. Take your time to ensure each stitch is neat and even.
- Finishing the border: Once you have completed the border round, slip stitch into the first stitch to join the border. Fasten off your yarn, leaving a tail to weave in later.
- Weave in loose ends: Use a tapestry needle to weave in any remaining loose ends from your border and color changes. This will give your blanket a clean and professional finish.
Creating the border is the final step in completing your round blanket. It not only adds a decorative element but also helps to secure the edges and give your blanket a beautiful, finished look.
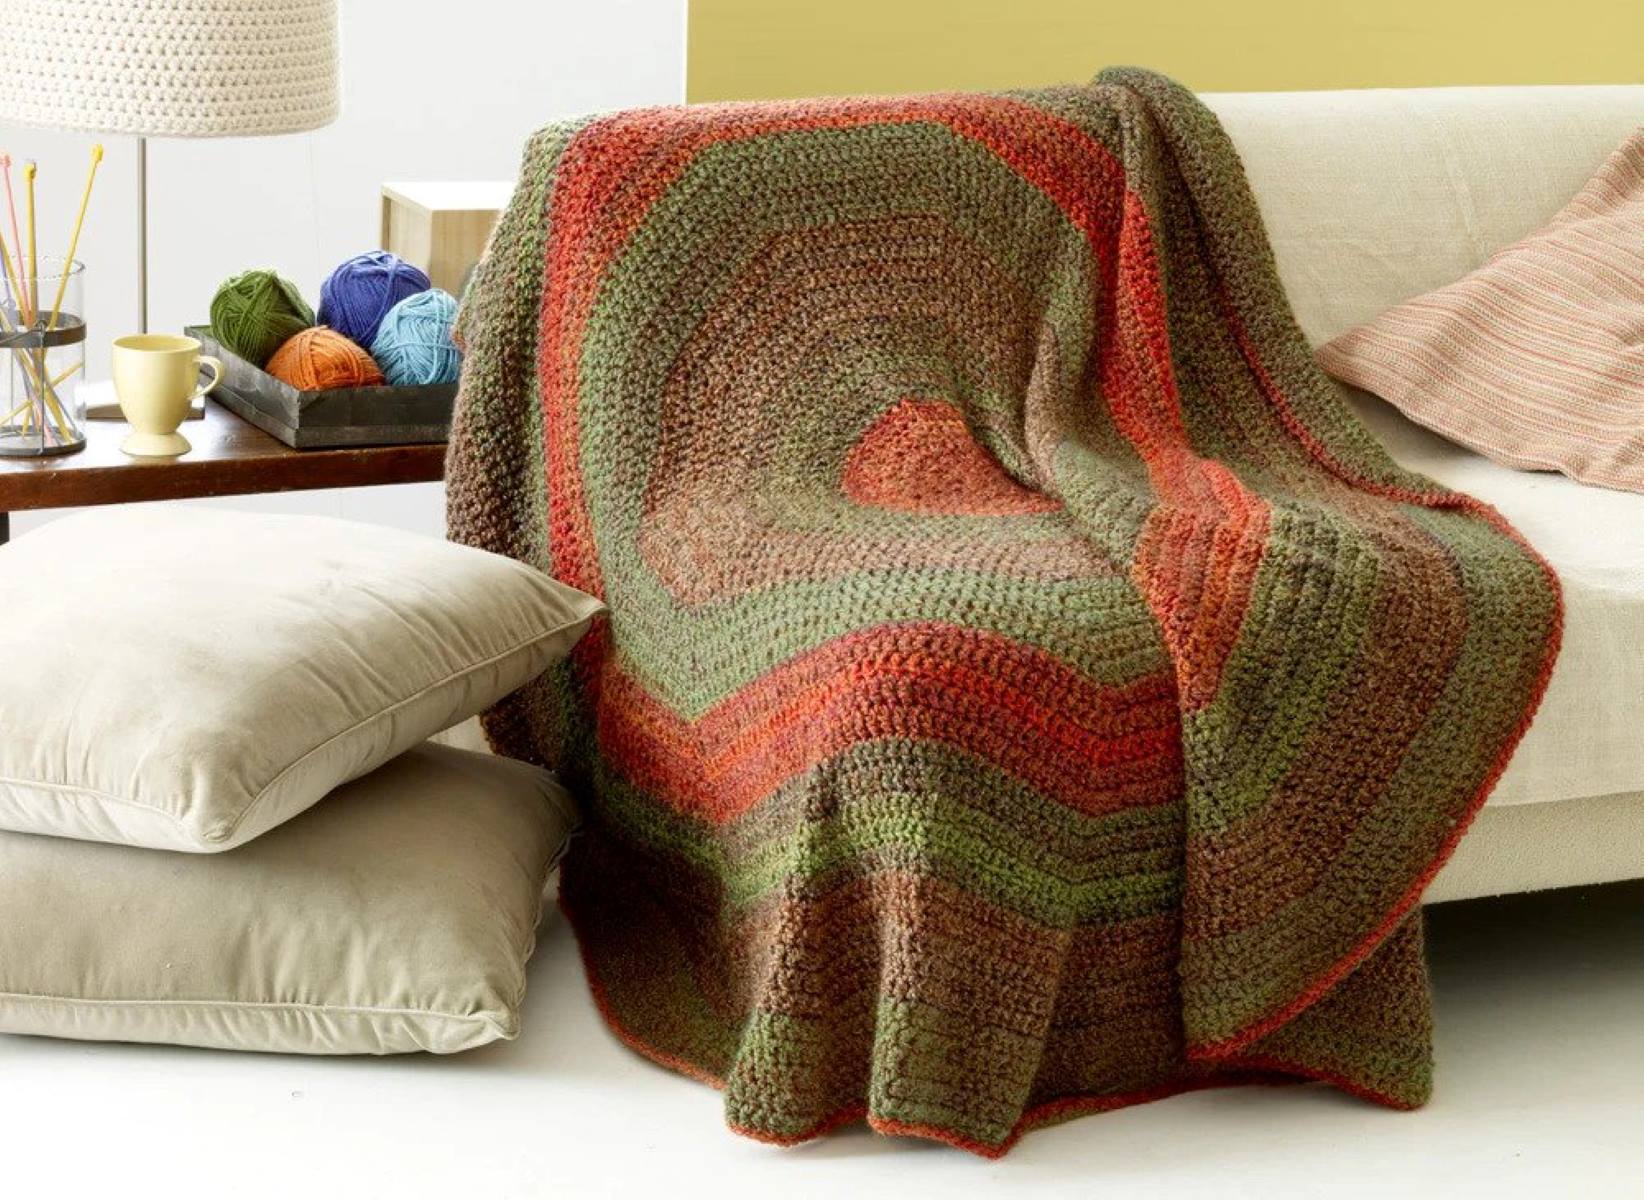
With the border in place, your round blanket is now ready to be enjoyed and showcased. Take a moment to appreciate your hard work and the beauty that you have created. Whether you use it as a cozy throw on your couch or a decorative accent on your bed, your round blanket will surely bring warmth and charm to any space.
Conclusion
Crocheting a round blanket is a delightful and rewarding experience that allows you to showcase your creativity and skills. From selecting the perfect materials to weaving in color variations and adding a beautiful border, each step contributes to the creation of a unique and cozy masterpiece.
Throughout this article, we have provided you with a comprehensive guide on how to crochet a round blanket. Starting with the basic foundation chain and crocheting the center, you learned how to increase the size of your blanket and incorporate color variations to make it truly one-of-a-kind. Finally, we guided you through the process of creating a stunning border that completes the overall look.
As you embark on your own round blanket journey, remember to let your creativity shine. Experiment with different stitches, color combinations, and patterns to make your blanket reflect your personal style and taste. Crocheting is not only about creating a functional item but also about expressing your artistic vision.
Take your time throughout the crocheting process, practicing your stitches, ensuring even tension, and paying attention to detail. Crocheting is a skill that improves with practice, so don’t be discouraged if you encounter challenges along the way. Embrace the learning process and enjoy the journey.
Once you have completed your round blanket, take a moment to admire your work. It is a testament to your dedication and creativity. Whether you gift it to a loved one or proudly display it in your own home, your round blanket will bring warmth and comfort for years to come.
Now that you have learned the essentials of crocheting a round blanket, it’s time to grab your crochet hooks, select some beautiful yarn, and set off on this wonderful adventure. Enjoy the process, embrace your creativity, and let your imagination guide you as you create a stunning round blanket.
Frequently Asked Questions about How To Crochet A Round Blanket
Was this page helpful?
At Storables.com, we guarantee accurate and reliable information. Our content, validated by Expert Board Contributors, is crafted following stringent Editorial Policies. We're committed to providing you with well-researched, expert-backed insights for all your informational needs.
