Home>Furniture>Outdoor Furniture>How To Cut Patio Blocks
Outdoor Furniture
How To Cut Patio Blocks
Modified: October 20, 2024
Learn how to cut patio blocks for your outdoor furniture projects with our step-by-step guide. Enhance your patio with precise cuts and create stunning designs.
(Many of the links in this article redirect to a specific reviewed product. Your purchase of these products through affiliate links helps to generate commission for Storables.com, at no extra cost. Learn more)
Introduction
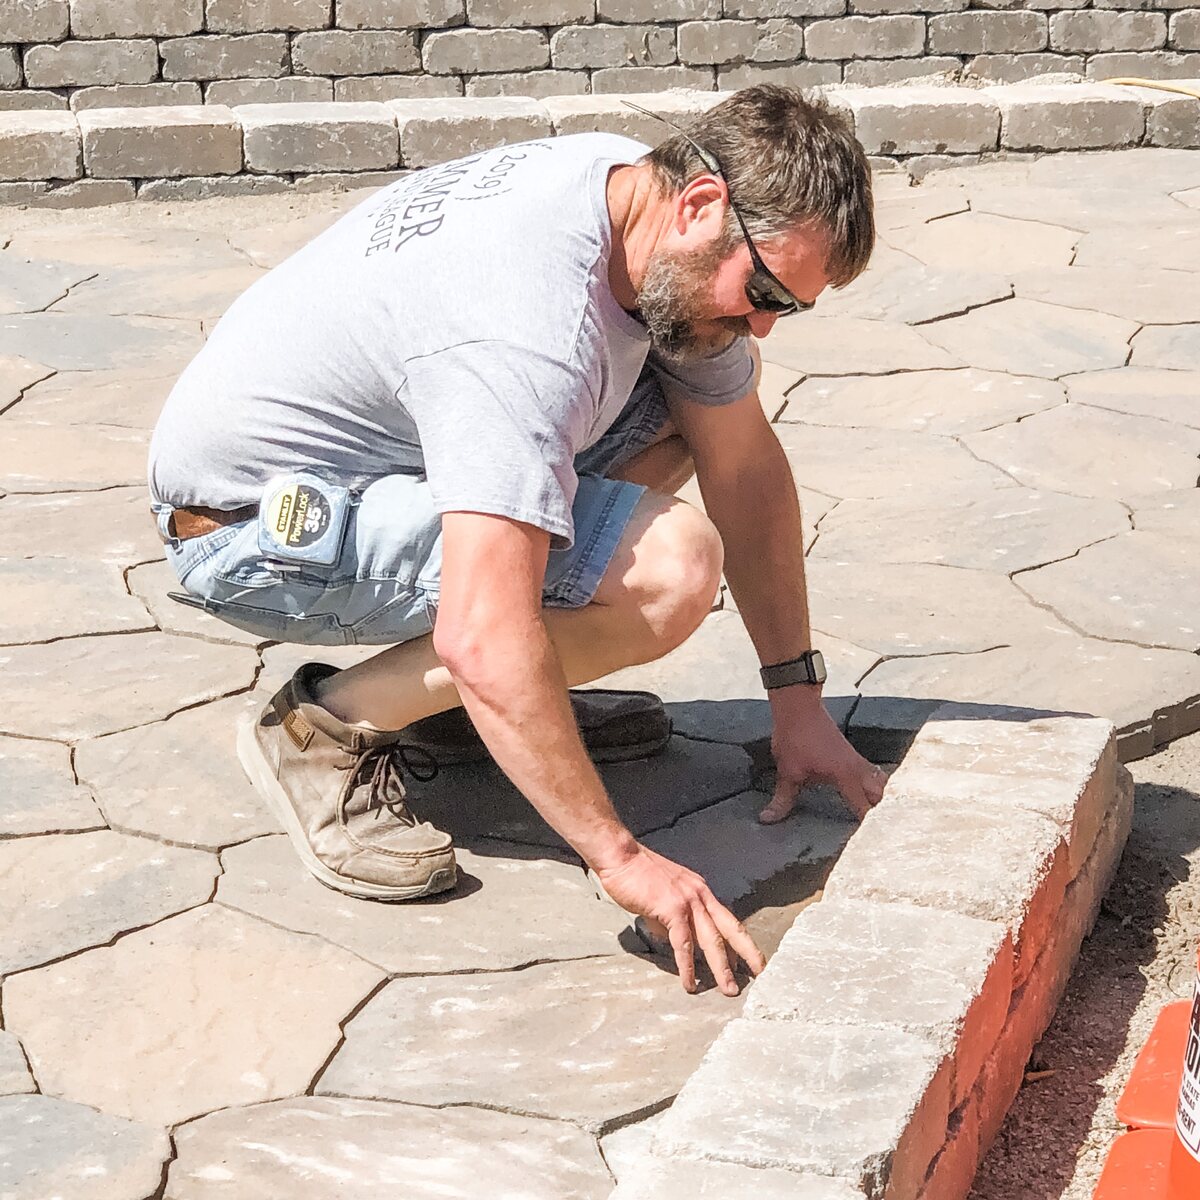
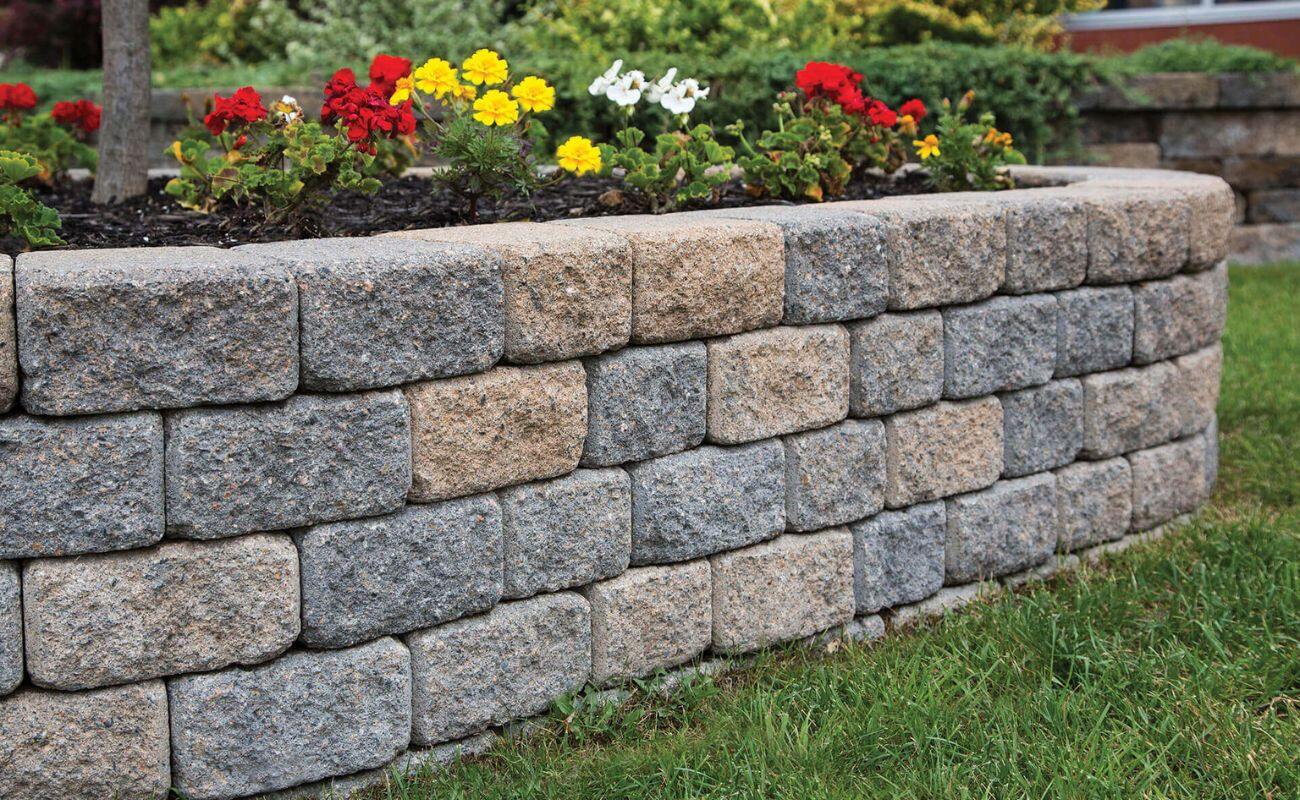
When it comes to creating the perfect outdoor space, patios are a popular choice for homeowners. They provide a versatile and stylish area for entertaining, relaxing, and enjoying the beautiful outdoors. However, not all patios are created equal, and sometimes you may find that you need to make adjustments to achieve your desired look or layout.
One common task that you may encounter when working with patio blocks is the need to cut them to size. Whether you’re creating curves, fitting them around obstacles, or simply customizing the dimensions, knowing how to properly cut patio blocks is essential. In this guide, we will take you through the steps required to cut patio blocks effectively and safely.
Before we dive into the process, it’s important to note that different types of patio blocks may require different cutting techniques and tools. It’s always a good idea to consult the manufacturer’s guidelines and recommendations specific to the patio blocks you are using. With that said, let’s gather our tools and materials and get started.
Key Takeaways:
- Master the art of cutting patio blocks with precision and safety using simple tools like a masonry chisel and a wet saw. Prioritize safety, measure accurately, and enjoy creating your dream outdoor space.
- Whether it’s fitting blocks around obstacles or customizing dimensions, cutting patio blocks opens up endless design possibilities for your outdoor space. With the right tools and techniques, you can achieve clean and precise cuts for a professional finish.
Read more: How To Block The Wind On A Patio
Tools and Materials Needed
Before you begin cutting patio blocks, it’s important to gather all the necessary tools and materials. Here’s a list of what you’ll need:
- Patio blocks
- Tape measure
- Pencil or marker
- Safety goggles
- Work gloves
- Masonry chisel
- Hammer
- Wet saw (if cutting larger blocks or intricate shapes)
- Water source for wet saw
- Dust mask (if using a masonry saw)
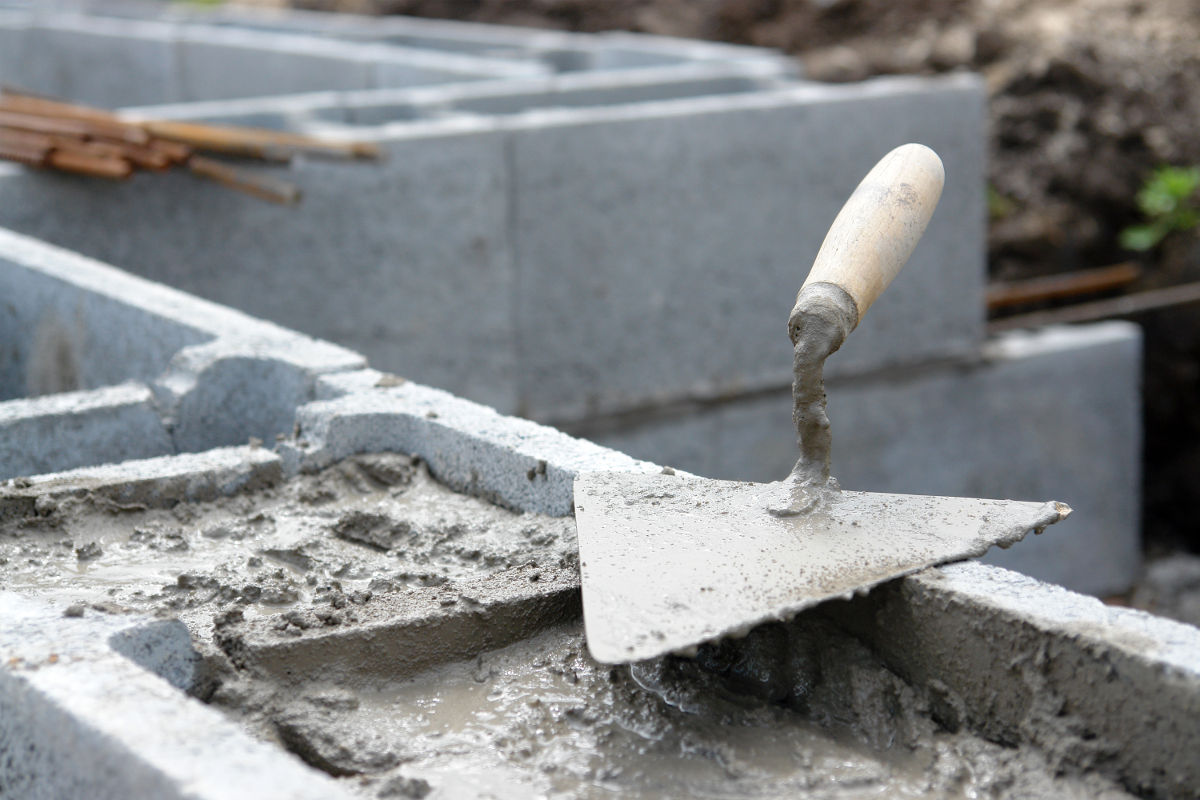
Patio blocks come in various materials such as concrete, stone, or brick, each with its own specific requirements for cutting. Make sure to choose the right tools for the material you are working with to achieve precise and clean cuts.
Safety goggles and work gloves are essential to protect your eyes and hands from flying debris and sharp edges. It’s crucial to prioritize your safety throughout the entire cutting process.
If you are cutting smaller patio blocks or just need to make a few simple cuts, a masonry chisel and hammer will suffice. However, for larger blocks or more intricate shapes, a wet saw may be necessary. A wet saw is a power tool that uses water to cool the blade and reduce dust while cutting.
Lastly, having a water source and a dust mask, if using a masonry saw, will ensure a smooth and safe cutting experience. With all your tools and materials ready, let’s move on to the step-by-step process of cutting patio blocks.
Step 1: Measure and Mark
Before you start cutting your patio blocks, it’s important to measure and mark the areas where you need to make the cuts. This will help ensure accuracy and precision in the cutting process. Here’s how to do it:
- Measure: Use a tape measure to determine the dimensions of the cut you need to make. Take into consideration any curves or angles required. Double-check your measurements to avoid any errors.
- Mark: Once you have your measurements, use a pencil or marker to mark the cutting lines directly on the patio block. Make sure to mark both the top and sides of the block to guide your cutting accurately.
It’s important to note that when cutting patio blocks, it’s best to err on the side of caution and cut slightly less than what’s needed. You can always make additional incremental cuts to achieve the perfect fit. Remember, you can’t undo a cut that’s made too long, so it’s better to be conservative in your initial cutting.
By measuring and marking your patio blocks accurately, you’ll have a clear guide for the cutting process and minimize the chances of making costly mistakes. With your marks in place, you’re ready to move on to the next step: prepping the area for cutting.
Step 2: Prep the Area
Before you start cutting your patio blocks, it’s essential to prepare the area where you’ll be working. This will help ensure safety and efficiency during the cutting process. Follow these steps to properly prep the area:
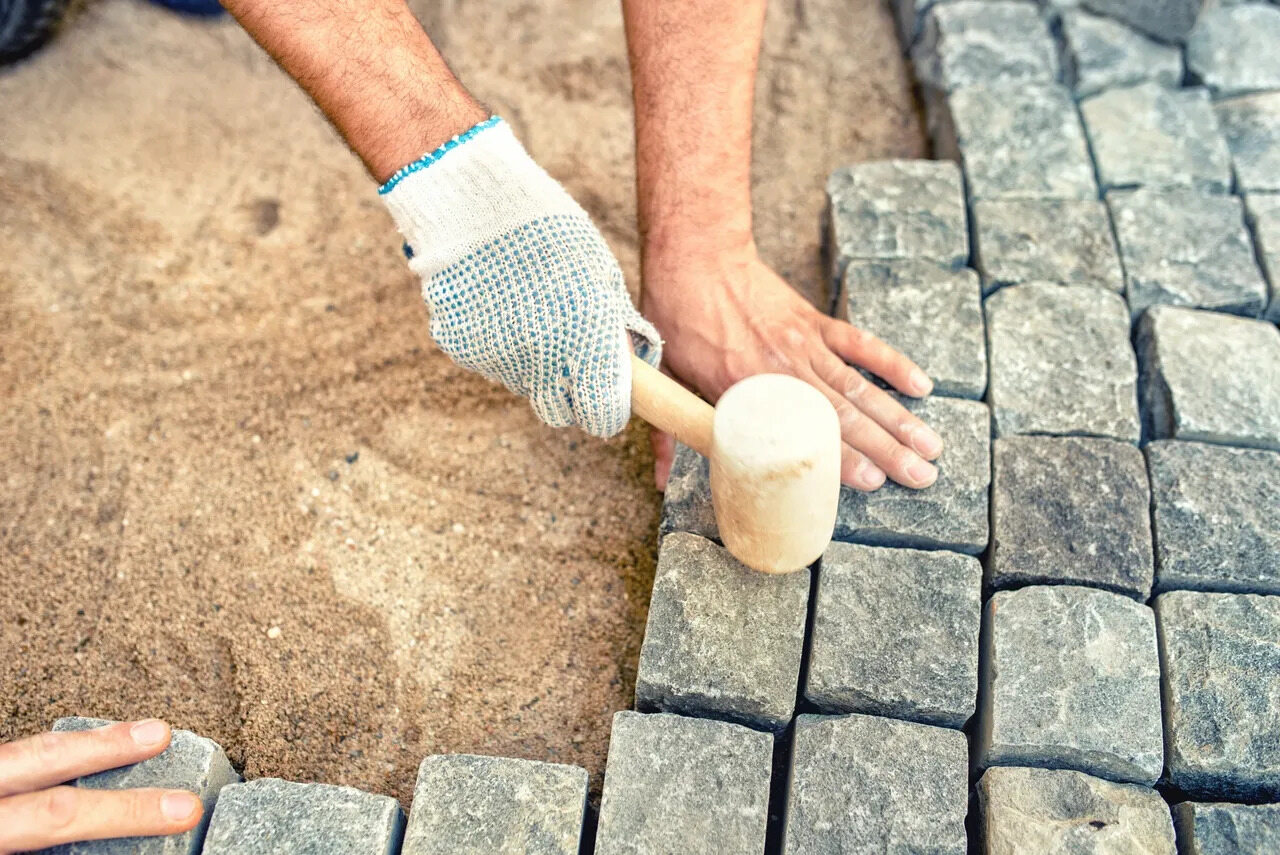
- Clean the Patio Blocks: If your patio blocks are dirty or have debris on them, take a moment to clean them. Use a broom or brush to remove any dirt, dust, or loose particles. Clean blocks will not only ensure better cuts but also prevent any damage to your tools.
- Find a Stable Surface: Set up your cutting area on a stable surface, such as a workbench or sawhorses. Make sure the surface is level and provides adequate support for the patio blocks. A stable surface will minimize vibrations and provide a secure base for accurate cuts.
- Lay down a Protective Surface: Place a protective surface, such as a piece of plywood or a tarp, underneath the patio blocks. This will protect both your work surface and the patio blocks from scratches and damage during the cutting process.
- Ensure Adequate Ventilation: If you’re using a masonry saw or working with materials that produce dust or fumes, make sure you’re working in a well-ventilated area. Open windows or doors and consider using a fan or wearing a dust mask for additional respiratory protection.
- Secure the Patio Blocks: Use clamps or a non-slip mat to secure the patio blocks in place during cutting. This will prevent them from shifting or sliding as you apply pressure with your cutting tools.
By properly prepping the area, you’ll create a safe and stable environment for cutting your patio blocks. Taking the time to clean the blocks, set up a stable surface, and secure the blocks in place will ensure better results and minimize the risk of accidents or damage. With the area prepped, you’re ready to move on to the actual cutting process.
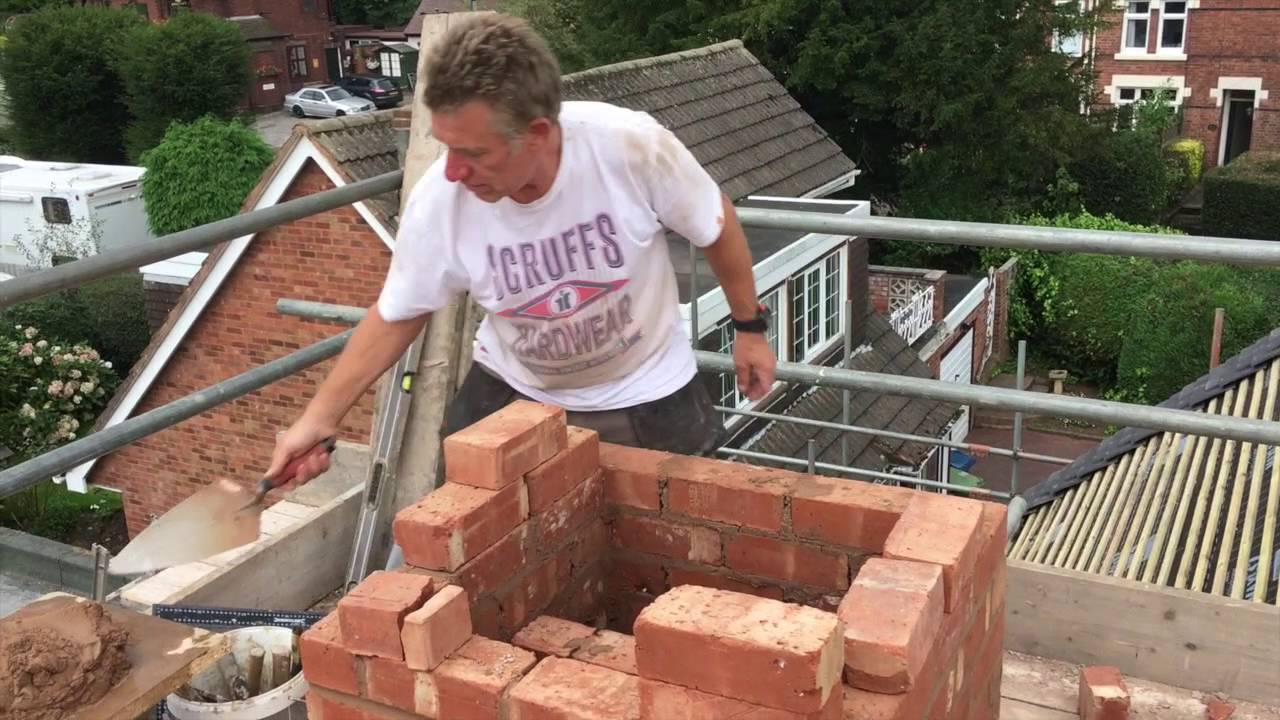
When cutting patio blocks, always wear safety goggles and gloves to protect yourself from flying debris. Use a masonry saw or chisel and hammer for precise cuts. Keep the cuts straight and smooth for a professional finish.
Step 3: Score the Patio Blocks
Now that you’ve measured, marked, and prepped the area, it’s time to start cutting your patio blocks. In this step, we’ll focus on scoring the blocks, which creates a groove along the cutting line to guide the subsequent cuts. Follow these instructions to score the patio blocks:
- Put on Safety Gear: Before you begin, make sure to wear your safety goggles and work gloves to protect your eyes and hands.
- Position the Chisel: Hold the masonry chisel perpendicular to the surface of the patio block, with the cutting blade facing down.
- Align with Marked Line: Position the blade of the chisel directly over the marked cutting line on the block.
- Apply Pressure: Using a hammer, tap the chisel firmly but gently along the marked line. Repeat this process several times to create a visible groove in the block’s surface.
- Score All Sides: Rotate the block and repeat the scoring process on each side, ensuring that the groove is visible from all angles.
Scoring the patio blocks helps create a guide for the final cutting process. The groove you create with the chisel will help reduce the chance of the block cracking or splitting along unintended lines. Take your time to score all sides of each block, ensuring that the grooves are visible and well-defined.
It’s important to note that the scoring step is necessary for hand cutting with a chisel. If you’re using a wet saw for cutting, you can skip this step and proceed directly to the next one. However, scoring can still be helpful as a visual reference for ensuring accurate cuts.
Now that you’ve scored the patio blocks, you’re ready to move on to the final cutting step. Stay tuned for step 4, where we’ll make the actual cuts to shape the blocks according to your desired measurements.
Read more: How To Cut Butcher Block For Sink
Step 4: Make the Final Cut
After scoring the patio blocks and creating a visible groove along the cutting line, it’s time to make the final cuts. Follow these instructions to accurately cut the patio blocks:
- Put on Safety Gear: Before you start cutting, ensure that you’re wearing your safety goggles and work gloves for protection.
- Choose the Cutting Method: Depending on the type of patio blocks and the complexity of the cuts, you have two options: using a masonry chisel or a wet saw.
- Cutting with a Masonry Chisel: If you’re using a chisel, position the blade of the chisel at the start of the scored groove. Tap the chisel gently and gradually along the marked line, applying more force as needed to cut into the block. Continue this process until you’ve made the desired cut.
- Cutting with a Wet Saw: If you’re using a wet saw, follow the manufacturer’s instructions for setup and safety precautions. Position the block on the wet saw’s table, aligning the marked cutting line with the blade. Turn on the saw and slowly guide the block towards the blade, allowing the saw to do the cutting work. Move the block steadily, following the marked line, until you’ve completed the cut.
- Double-Check Measurements: After making each cut, measure the block to ensure it matches your desired dimensions. Make any necessary adjustments or additional cuts as needed.
Whether you choose to cut with a masonry chisel or a wet saw, it’s important to work carefully and steadily. Take your time to ensure accuracy and make clean, precise cuts. Remember to always prioritize safety and follow the manufacturer’s guidelines for any power tools you’re using.
Once you’ve completed the final cuts, set aside any scrap pieces and move on to the final step: cleaning up and adding those finishing touches.
Step 5: Clean and Finishing Touches
Now that you’ve successfully made the final cuts to your patio blocks, it’s time to clean up the work area and add those finishing touches. Follow these steps to ensure a clean and polished outcome:
- Clean the Patio Blocks: Use a brush or broom to remove any debris or dust from the newly cut patio blocks. This will help you better assess the quality of your cuts and ensure a tidy finished product.
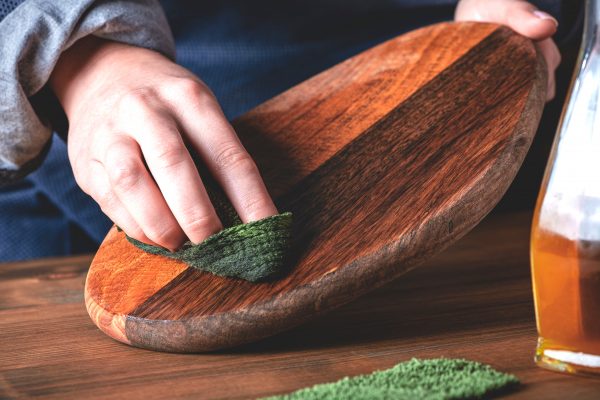
- Smooth the Edges: If you notice any rough or jagged edges on the cut blocks, use a masonry file or sandpaper to smooth them out. This will not only improve the appearance of the blocks but also make them safer to handle.
- Add any Required Finishing: Depending on your project, you may need to add some finishing touches to the patio blocks. This could include applying a sealant or paint to protect and enhance the appearance of the blocks. Follow the manufacturer’s instructions for any finishing products you’re using.
- Clean Up the Work Area: Dispose of any scrap pieces and clean up the work area, removing any tools or equipment that won’t be needed anymore. Store your tools properly for future use.
- Inspect and Assess: Take a moment to step back and inspect your newly cut patio blocks. Ensure that they meet your desired dimensions and quality standards. Make any necessary adjustments or recuts as needed.
By cleaning up the patio blocks, smoothing the edges, and adding finishing touches, you’ll achieve a professional and polished result. It’s important to pay attention to detail during this step to ensure that your hard work pays off with a beautiful and functional patio surface.
Congratulations! You’ve successfully learned how to cut patio blocks. With your newly cut blocks, you can now proceed with your patio project, whether it’s creating a custom design, fitting blocks around obstacles, or simply achieving your desired dimensions. Enjoy your outdoor space and the satisfaction of creating something unique and personal.
Conclusion
Cutting patio blocks is a skill that can come in handy when creating or customizing your outdoor space. Whether you’re adjusting the dimensions, fitting blocks around obstacles, or adding unique design elements, knowing how to cut patio blocks properly is essential for a successful project.
In this guide, we’ve covered the step-by-step process of cutting patio blocks accurately and safely. By measuring and marking, prepping the area, scoring the blocks, making the final cuts, and adding finishing touches, you can achieve clean and precise cuts to meet your specific needs.
Remember to prioritize safety throughout the entire process. Wear safety goggles and work gloves, and follow proper safety precautions when using power tools like a wet saw. It’s also important to choose the right tools for the type of patio blocks you’re working with and to consult the manufacturer’s guidelines.
With your newly cut patio blocks, you’ll have the flexibility to create a unique and personalized outdoor space. Whether you’re building a patio, walkway, or other outdoor structure, the ability to cut patio blocks will give you more control over the design and layout.
Take your time, be meticulous with your measurements and cuts, and enjoy the process of transforming your outdoor area. With practice, you’ll become more confident in your cutting skills and be able to tackle more complex projects.
Now that you have the knowledge and skills to cut patio blocks, you can confidently embark on your outdoor project and create a space that reflects your style and meets your needs. Have fun and enjoy the journey of creating your dream outdoor oasis!
Frequently Asked Questions about How To Cut Patio Blocks
Was this page helpful?
At Storables.com, we guarantee accurate and reliable information. Our content, validated by Expert Board Contributors, is crafted following stringent Editorial Policies. We're committed to providing you with well-researched, expert-backed insights for all your informational needs.


0 thoughts on “How To Cut Patio Blocks”