Articles
How To Make Concrete Vases
Modified: January 9, 2024
Learn how to make stunning concrete vases with our step-by-step articles. Get creative ideas and expert tips for your DIY concrete projects.
(Many of the links in this article redirect to a specific reviewed product. Your purchase of these products through affiliate links helps to generate commission for Storables.com, at no extra cost. Learn more)
Introduction
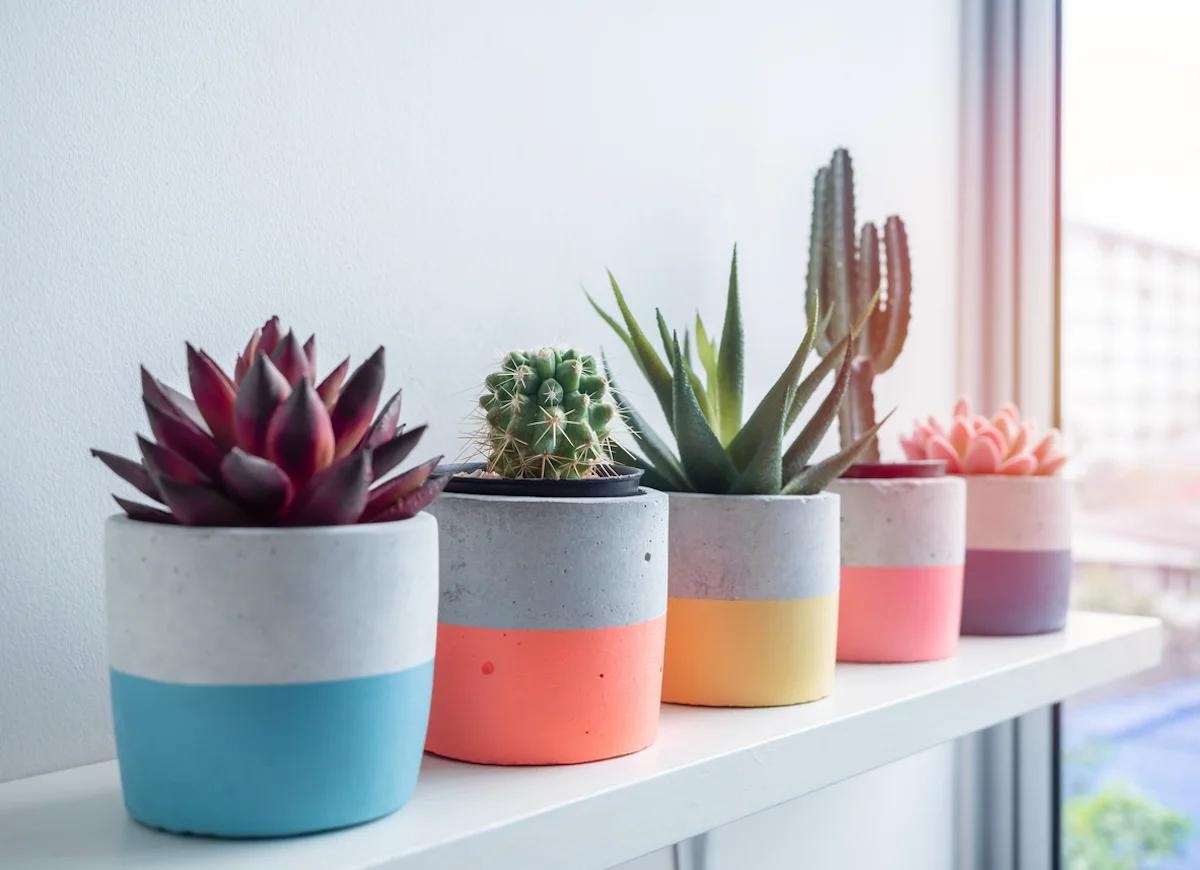
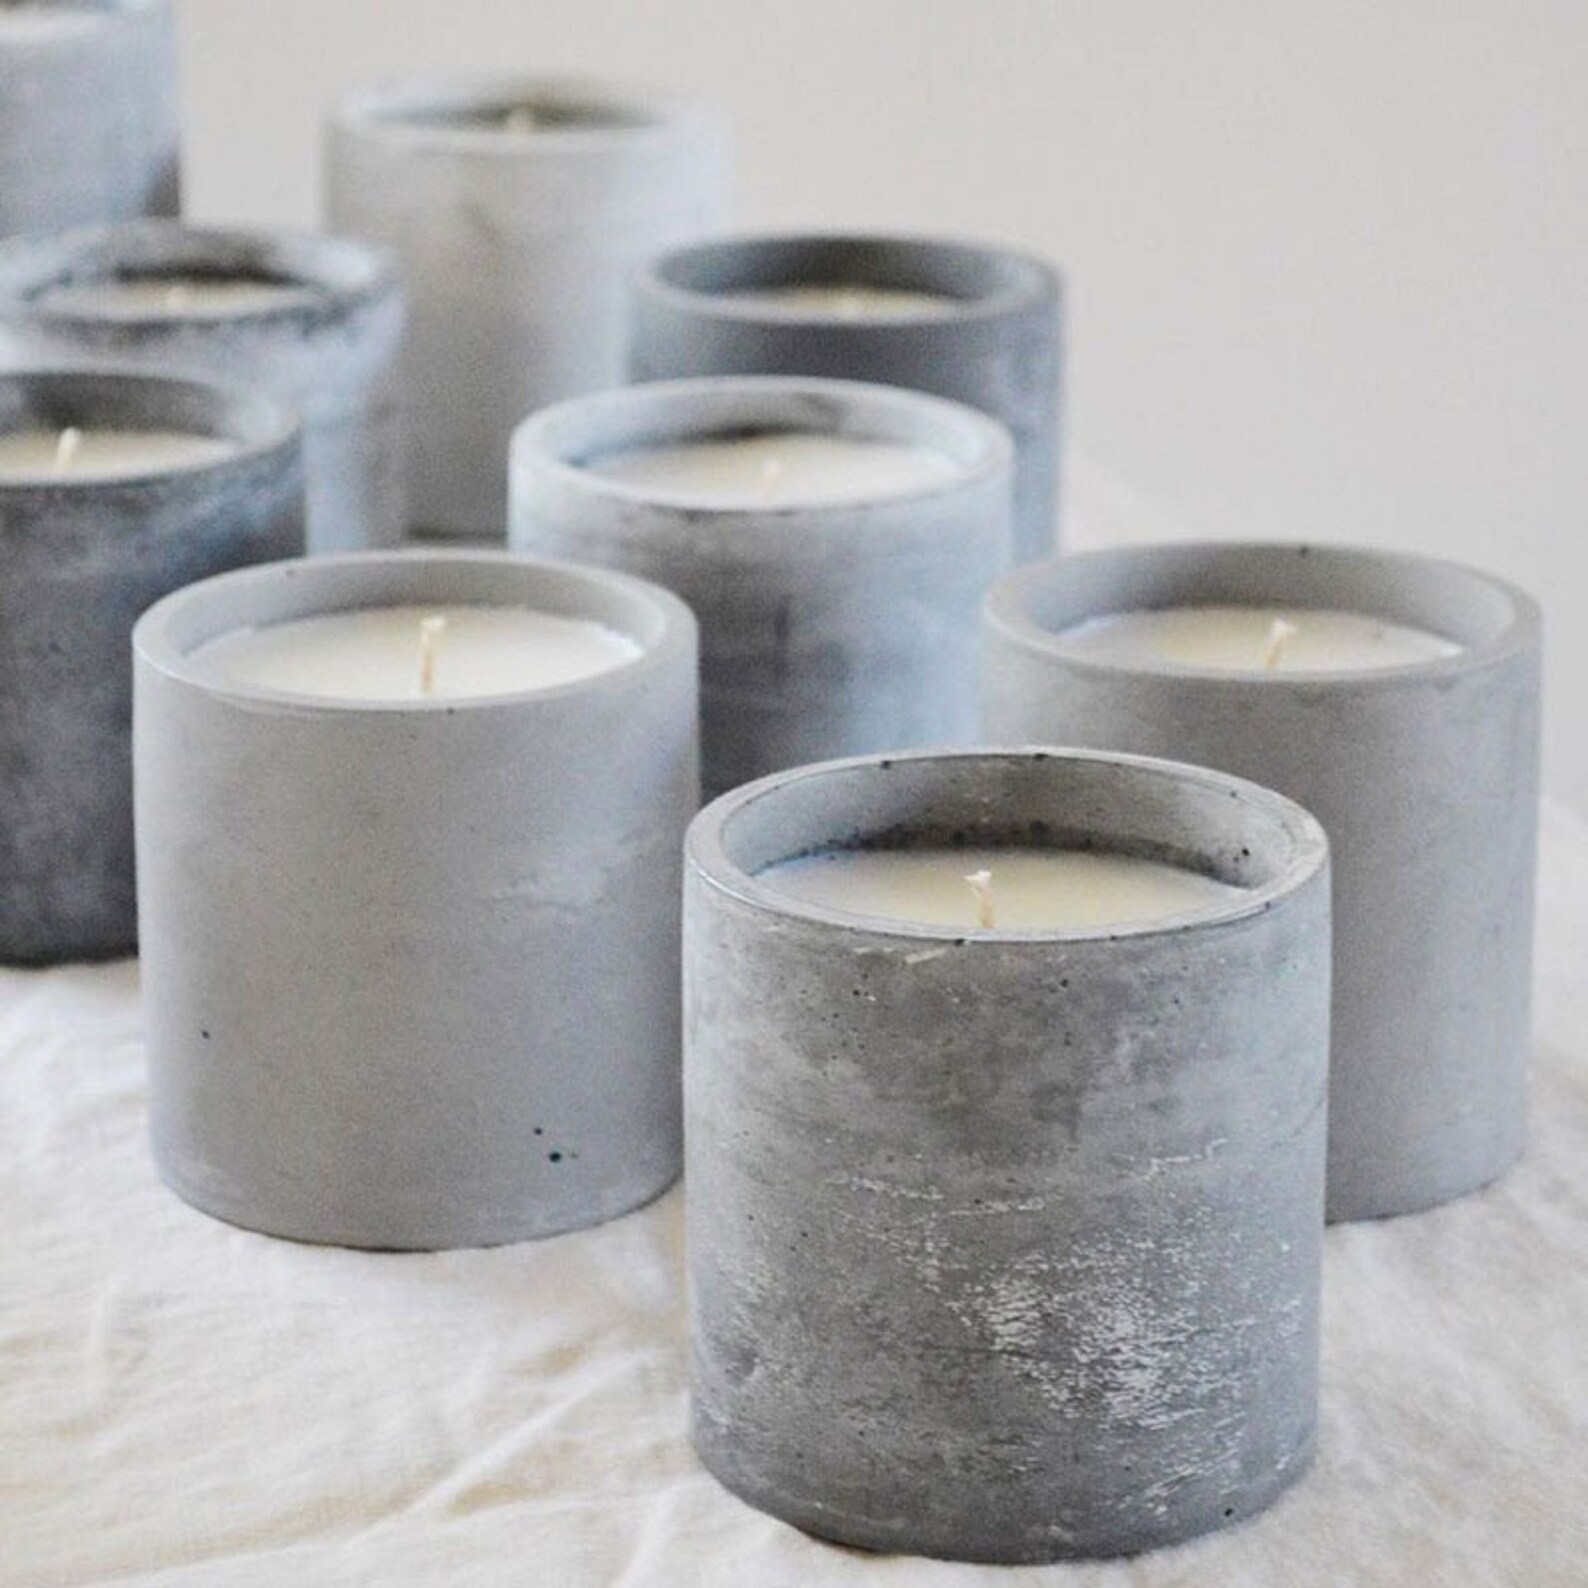
Concrete vases are a unique and stylish way to add a touch of sophistication to your home decor. Whether you’re looking to create a centerpiece for your dining table or an eye-catching accent for your shelves, making your own concrete vases allows you to customize the design and create a piece that perfectly matches your style.
In this article, we will guide you through the process of making concrete vases from start to finish. You don’t need to be an experienced crafter or have any specialized tools to successfully complete this project. With just a few materials and some simple steps, you can create stunning concrete vases that will impress your friends and family.
Before we begin, it’s important to note that working with concrete can be messy, so be sure to wear protective gloves and work in a well-ventilated area. Let’s gather the materials needed to get started.
Key Takeaways:
- Create personalized concrete vases with just a few materials and simple steps, adding a unique touch to your home decor while enjoying the satisfaction of crafting something beautiful with your own hands.
- Embrace the versatility and durability of concrete to make stylish and long-lasting vases, following the step-by-step process to mix, pour, and finish your personalized creations for a rewarding and satisfying DIY project.
Read more: How To Make Vases
Materials Needed
Before diving into the process of making concrete vases, it’s essential to gather all the necessary materials. Here’s a list of what you’ll need:
- Portland cement: This is the main ingredient for making the concrete. You can find it at most hardware or home improvement stores.
- Sand: Sand helps to provide texture and strength to the concrete mixture. Opt for fine sand to achieve a smoother finish.
- Water: You’ll need water to mix with the cement and sand to create the concrete. Ensure you have a water source nearby.
- Mold: Choose a mold that will shape the concrete into your desired vase design. It can be made of silicone, plastic, or even cardboard.
- Release agent: This substance helps to prevent the concrete from sticking to the mold. Common options include cooking spray or a mixture of water and dish soap.
- Mixing container: Select a sturdy container, such as a bucket or large bowl, to mix the concrete in.
- Measuring tools: You’ll need measuring cups or a scale to ensure accurate proportions when mixing the concrete.
- Stirring utensil: Use a trowel, spatula, or sturdy stick to mix the concrete thoroughly.
- Sanding materials: Sandpaper or a sanding block will be necessary for smoothing out any rough edges or imperfections on the finished vase.
- Protective gear: Wear gloves, safety glasses, and a mask to protect yourself from any potential hazards while working with the concrete.
Once you have gathered all the materials, you’re ready to move on to the next step: mixing the concrete.
Step 1: Mixing the Concrete
Now that you have all your materials ready, it’s time to mix the concrete. Follow these steps to ensure a proper mixture:
- Start by wearing your protective gloves, safety glasses, and mask to protect yourself from any potential hazards.
- In your mixing container, combine the Portland cement and sand in the ratio specified on the cement packaging. A common ratio is 1 part cement to 2 parts sand, but double-check the specific instructions on the package.
- Use your stirring utensil to mix the cement and sand together until they are thoroughly blended.
- Gradually add water to the mixture, stirring continuously. Add the water in small increments to avoid making the mixture too watery.
- Continue adding water and stirring until you achieve a consistency similar to pancake batter. The concrete should be wet enough to hold its shape but not too runny.
- Once the mixture is well-combined and has reached the desired consistency, let it sit for a few minutes to allow the ingredients to fully bond.
Now that your concrete mixture is ready, it’s time to move on to preparing the mold for pouring.
Step 2: Preparing the Mold
Now that your concrete mixture is ready, it’s time to prepare the mold for pouring. Follow these steps:
- Choose a mold that matches the design and size you want for your vase. You can use silicone molds, plastic containers, or even create a mold using cardboard.
- If using a silicone or plastic mold, apply a release agent to the inside surfaces. This will prevent the concrete from sticking to the mold and make it easier to remove once it has cured. Common release agents include cooking spray or a mixture of water and dish soap.
- If using a cardboard mold, ensure it is sturdy and won’t give way when the concrete is poured into it.
- Place the mold on a flat surface that is protected with a plastic cover or other non-stick material to prevent the concrete from adhering to it.
- Before pouring the concrete, you may want to add some decorative elements to the inside of the mold. This could include stones, glass beads, or even pressed flowers.
- Arrange the decorative elements in the mold as desired, keeping in mind that they will be visible on the inside of the finished vase.
With the mold prepared, you’re ready to move on to the next step: pouring the concrete.
When making concrete vases, be sure to use a mold release agent to easily remove the hardened concrete from the mold. This can be a cooking spray, vegetable oil, or specialized mold release spray.
Step 3: Pouring the Concrete
Now that your mold is prepared, it’s time to pour the concrete into it. Here’s how:
- Carefully pour the concrete mixture into the mold, ensuring that it fills the mold evenly.
- Use a trowel or spatula to smooth and level the surface of the poured concrete. Pay attention to the edges and corners to ensure they are well-covered.
- Gently tap the sides of the mold to remove any air bubbles trapped in the concrete. This will help avoid any voids or imperfections in the finished vase.
- Once the concrete is poured and smoothed, allow it to set and cure according to the instructions on the cement packaging. This typically takes about 24 to 48 hours.
- During the curing process, it’s important to keep the concrete in a stable and undisturbed environment. Avoid moving or touching the mold to prevent any unnecessary disturbances.
After the concrete has fully cured, it’s time to remove the mold and reveal your concrete vase. Let’s move on to the next step: removing the mold.
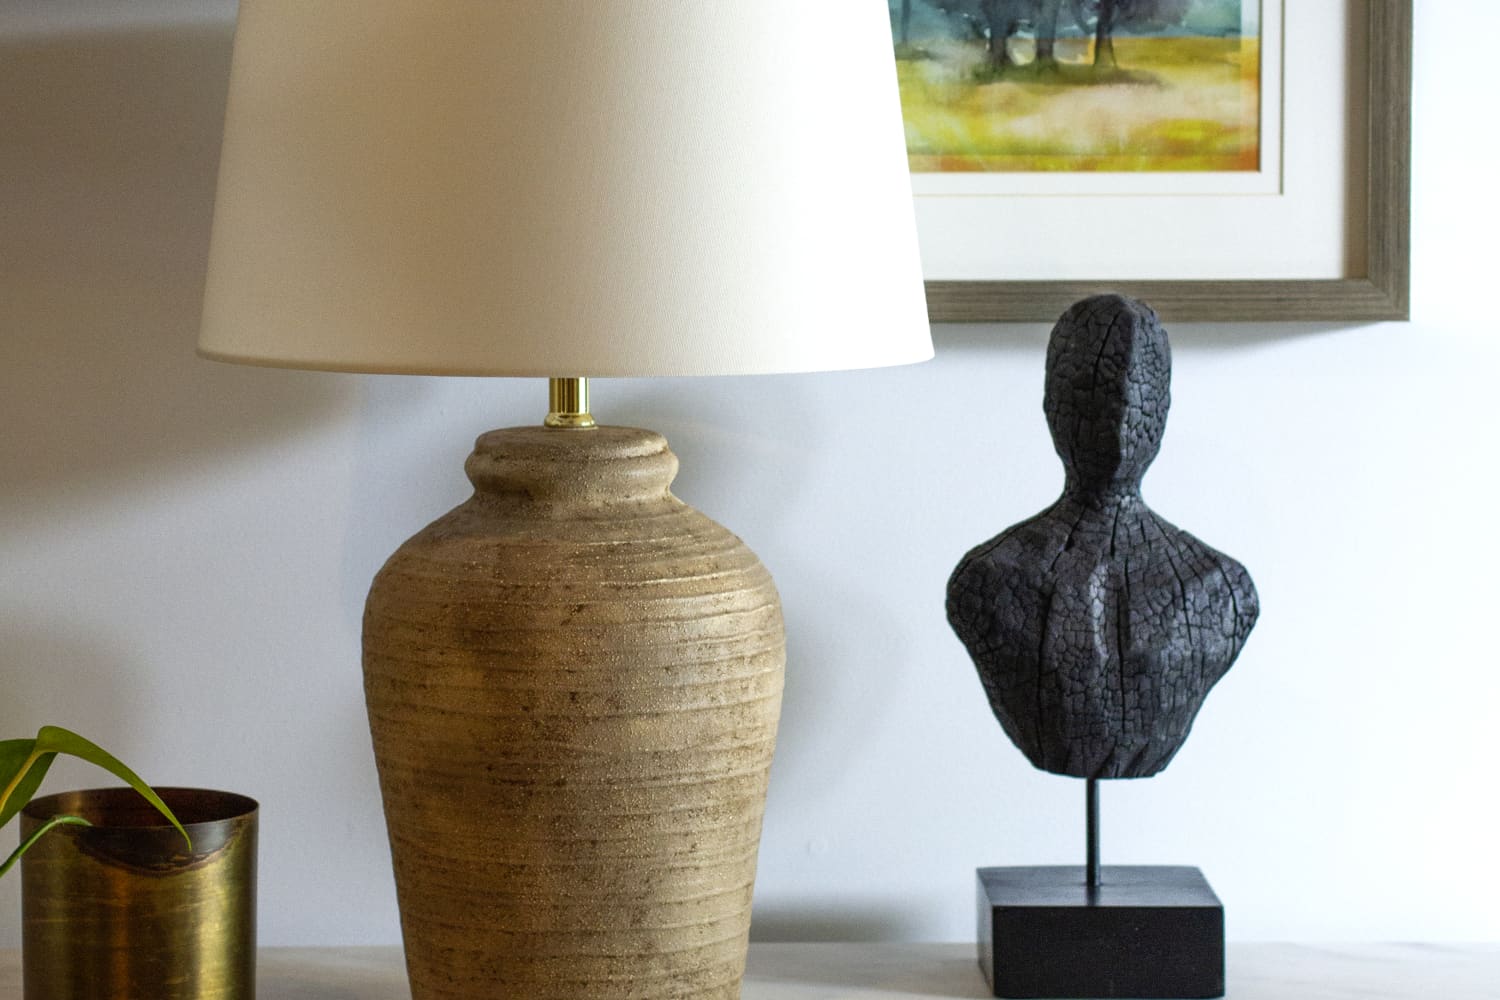
Read more: How To Make A Vase Into A Lamp
Step 4: Removing the Mold
Once the concrete has cured and hardened, it’s time to remove the mold and unveil your beautiful concrete vase. Follow these steps:
- Carefully flip the mold upside down to gently release the concrete vase. If you used a silicone or plastic mold, you may need to flex or bend the mold slightly to loosen the concrete.
- Slowly and gently pull away the mold from the concrete, being careful not to apply too much force or pressure that could damage the vase.
- If you encounter any resistance, try using a butter knife or a small spatula to gently separate the mold from the concrete. Take your time and be patient – the goal is to remove the mold without jeopardizing the integrity of the vase.
- Once the mold is completely removed, inspect the vase for any imperfections or rough edges. You can use sandpaper or a sanding block to smooth out any uneven areas.
- Gently wipe away any dust or debris from the surface of the vase using a clean, dry cloth.
- At this stage, you may also want to create drainage holes in the bottom of the vase if you plan to use it for live plants. Use a drill with a masonry bit to carefully create the holes.
Congratulations! You have successfully removed the mold and prepared the concrete vase for the final step: finishing and sealing.
Step 5: Finishing and Sealing the Vase
Now that your concrete vase is free from the mold and any rough edges have been smoothed out, it’s time to give it a finished look and seal it to protect its surface. Follow these steps to complete the process:
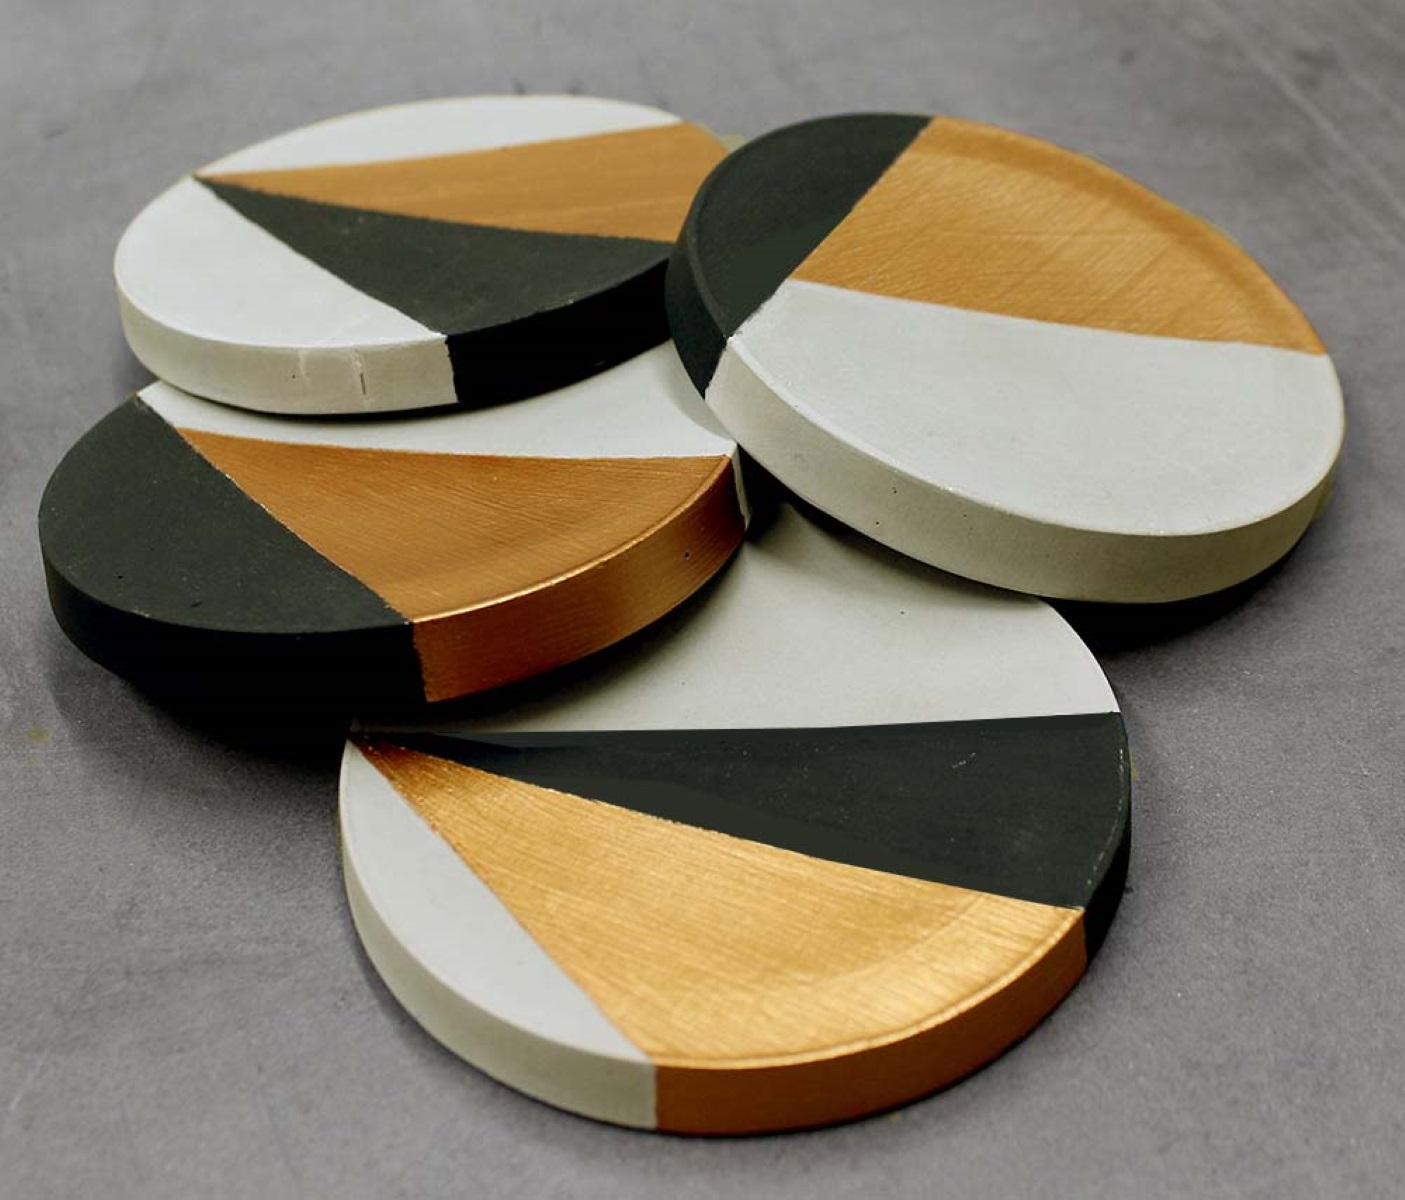
- If desired, you can add some personal touches to the vase by painting or staining it. Choose a paint or stain that is suitable for concrete surfaces and apply it according to the manufacturer’s instructions. Allow the paint or stain to dry completely before proceeding.
- To protect the surface and enhance the durability of the concrete vase, apply a concrete sealer. There are various types of sealers available, such as acrylic sealers or epoxy coatings. Follow the instructions on the sealer packaging and apply it evenly to the entire surface of the vase. Use a brush or roller for a smooth application.
- Allow the sealer to dry and cure according to the manufacturer’s instructions. This will typically take a few hours or up to a day.
- Once the sealer is dry, inspect the vase for any missed spots or areas that may need touch-ups. Apply additional coats of sealer as needed to ensure complete coverage and protection.
- After the final coat of sealer has dried and cured, your concrete vase is ready to be displayed and enjoyed! Place it in your desired location and add your favorite flowers or greenery to complete the look.
Remember to handle your concrete vase with care to avoid any accidental chips or cracks. With proper maintenance and regular cleaning, your concrete vase will last for years and continue to enhance your decor.
As you can see, creating your own concrete vases is a satisfying and rewarding DIY project. Not only do you have the opportunity to customize the design, but you also get to enjoy the sense of accomplishment that comes with creating something beautiful with your own hands.
Now, gather your materials, follow the step-by-step instructions, and get ready to showcase your creativity with stunning concrete vases!
Conclusion
Creating your own concrete vases is a fun and rewarding project that allows you to add a touch of uniqueness to your home decor. By following the step-by-step process outlined in this article, you can craft beautiful and personalized concrete vases that will impress your friends and family.
Throughout the process, you’ve learned how to mix the concrete properly, prepare the mold, pour the concrete, remove the mold, and finish and seal the vase. Each step is crucial in creating a high-quality and professional-looking vase.
Remember that working with concrete requires patience and attention to detail. Take your time, follow the instructions, and don’t be afraid to experiment with different designs and techniques to make each vase truly unique.
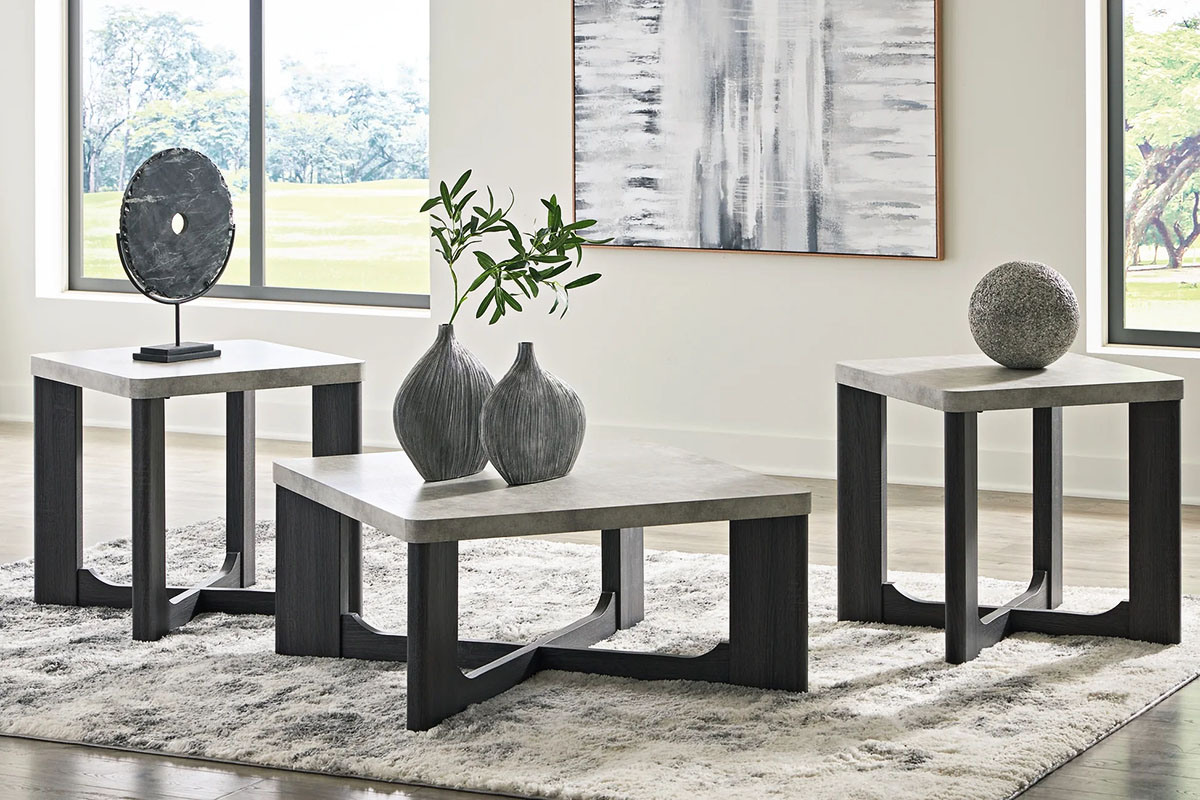
Whether you choose to display your concrete vases as standalone decorative pieces or use them to showcase your favorite flowers or plants, they are sure to make a stylish statement in your home. The versatility and durability of concrete make it an excellent material for vases that can withstand the test of time.
So, gather your materials and let your creativity flow as you embark on the journey of making your own concrete vases. Enjoy the process, embrace the imperfections, and revel in the satisfaction of creating something beautiful with your own hands.
Now, it’s time to roll up your sleeves and get started on your concrete vase-making adventure!
Frequently Asked Questions about How To Make Concrete Vases
Was this page helpful?
At Storables.com, we guarantee accurate and reliable information. Our content, validated by Expert Board Contributors, is crafted following stringent Editorial Policies. We're committed to providing you with well-researched, expert-backed insights for all your informational needs.


0 thoughts on “How To Make Concrete Vases”