
Furniture
How To Make A Vase Into A Lamp
Modified: January 18, 2024
Learn how to transform a vase into a unique furniture piece by turning it into a stunning lamp. Elevate your home decor with this easy DIY project.
(Many of the links in this article redirect to a specific reviewed product. Your purchase of these products through affiliate links helps to generate commission for Storables.com, at no extra cost. Learn more)
Introduction
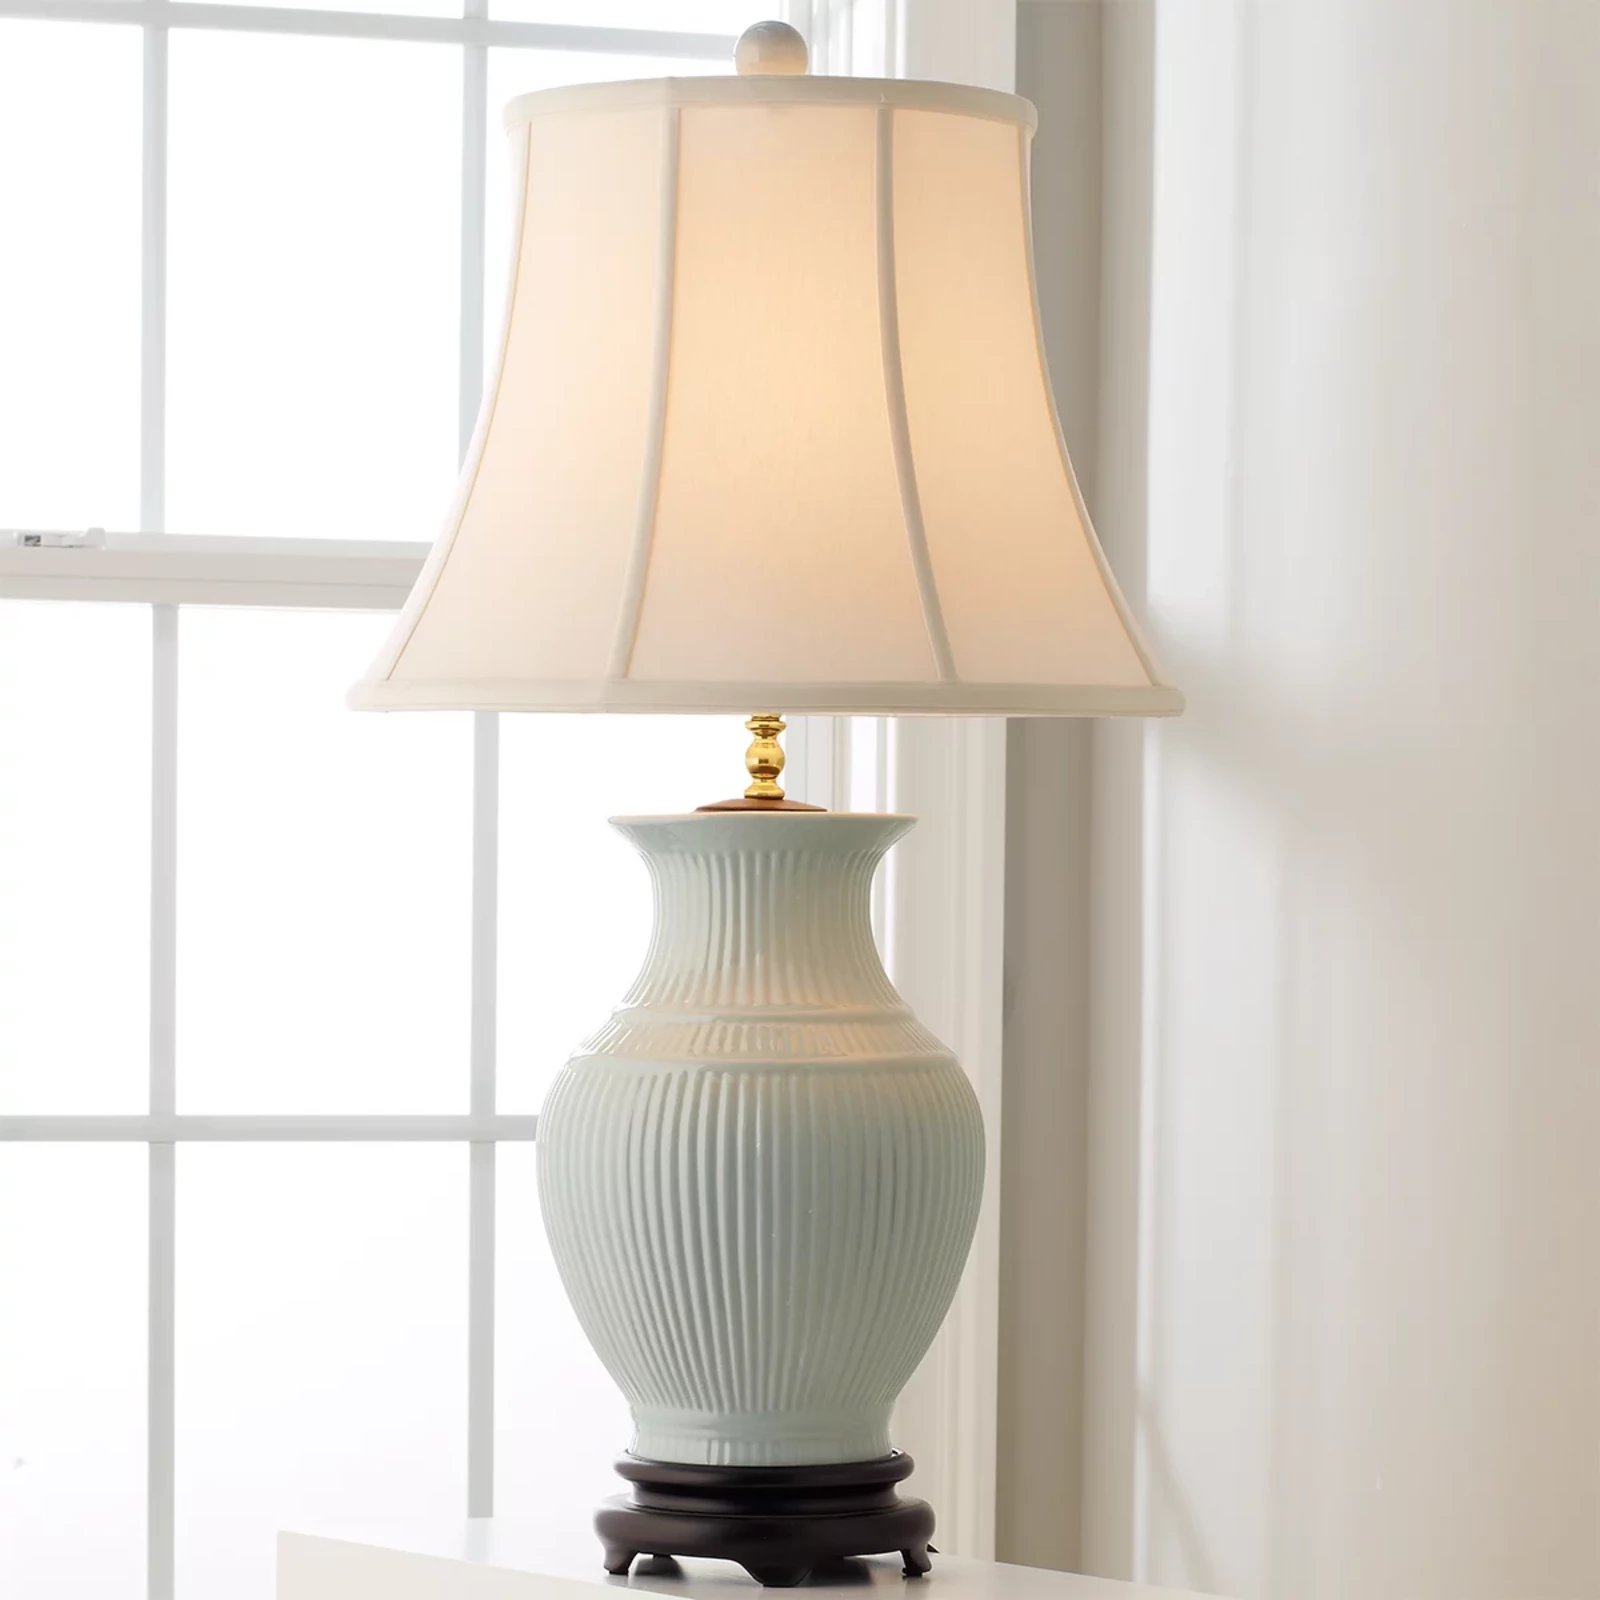
Have you ever looked at a beautiful vase and thought it would make a perfect lamp? Well, you’re not alone! Converting a vase into a lamp is a creative and practical way to give new life to an old or unused decorative piece. It allows you to not only create a unique lighting solution but also showcase your personal style and creativity.
In this article, we will guide you through the step-by-step process of transforming a vase into a stunning lamp. With a few simple materials and a little bit of time, you can have a one-of-a-kind lighting fixture that adds warmth and ambiance to any space.
So, let’s get started on this fun and creative DIY project!
Key Takeaways:
- Transform a vase into a stunning lamp by following simple DIY steps. Showcase your creativity and style while adding warmth and ambiance to any space with a one-of-a-kind lighting fixture.
- Enjoy the rewarding process of converting a vase into a lamp. Create a unique lighting solution that not only illuminates but also reflects your personal style and resourcefulness.
Read more: How To Make Table Lamps From Vases
Materials Needed
Before diving into the project, gather the following materials:
- A vase: Choose a vase that suits your style and desired size for the lamp. Ensure that the vase has a stable base to support the lamp.
- A lamp kit: Purchase a lamp kit from a hardware store or online. The kit typically includes a socket, cordset, plug, and other necessary electrical components.
- A lampshade: Select a lampshade that complements the style and size of your vase. There are various shapes, materials, and designs available to choose from, allowing you to customize the look of your lamp.
- A drill with a glass or tile drill bit: This will be used to create a hole in the bottom or side of the vase for the lamp cord to pass through.
- Electrical tape: Necessary for securing and insulating the wired connections.
- A screwdriver: Required for assembling the lamp kit and attaching the lampshade.
- Scissors: Used for cutting and trimming the lamp cord, if needed.
- A pencil or marker: Utilized for marking the drilling spot on the vase.
- A safety mask and goggles: For protection while drilling into the vase.
Make sure to gather all the materials before starting the project. This will ensure a smooth and hassle-free experience.
Step 1: Gather a Vase and a Lamp Kit
The first step in transforming a vase into a lamp is to gather a suitable vase and a lamp kit. Here’s what you need to do:
- Select a vase: Choose a vase that you want to turn into a lamp. Consider the size, shape, and style of the vase, keeping in mind the overall look you want to achieve for your lamp.
- Purchase a lamp kit: Visit a local hardware store or search online for a lamp kit. A lamp kit typically includes a socket, cordset, plug, and other necessary electrical components. Make sure to choose a kit that matches the size and type of bulb you plan to use. You can find lamp kits in various styles, allowing you to customize the look of your lamp.
- Consider the stability: Ensure that the chosen vase has a stable base to support the weight of the lamp kit and lampshade. This will prevent your lamp from tipping over and creating a safety hazard.
Once you have gathered the vase and lamp kit, you are ready to move on to the next step in the process. Remember to check the instructions provided with the lamp kit for any specific requirements or recommendations.
Step 2: Prepare the Vase
Now that you have your vase and lamp kit ready, it’s time to prepare the vase for the conversion into a lamp. Follow these steps to get started:
- Clean the vase: Before proceeding, make sure to clean the vase thoroughly, both inside and outside. Remove any dust, dirt, or residue that may be present on the surface. This will ensure a clean and polished final result.
- Choose the drilling spot: Decide where you want the lamp cord to pass through the vase. It is commonly done either through the bottom or the side of the vase. Use a pencil or marker to mark the drilling spot. Make sure it’s a secure and stable area that won’t compromise the structure of the vase.
- Put on safety gear: Before drilling, put on a safety mask and goggles to protect yourself from any debris that may be produced while drilling into the vase. Safety should always be a top priority during DIY projects.
- Make a pilot hole: Start by making a small pilot hole on the marked spot using a glass or tile drill bit. This will give you a starting point for the larger hole. Make sure to position the drill perpendicular to the surface of the vase and apply gentle pressure to avoid cracking or damaging the glass.
- Drill the hole: Once the pilot hole is made, switch to a larger drill bit and carefully drill the hole through the vase. Start slowly and increase the speed gradually. Be patient and avoid applying excessive pressure that may cause the vase to crack. Keep the drill bit lubricated with water to prevent overheating.
- Smooth the edges: After the hole is drilled, use sandpaper or a sanding block to gently smooth the edges of the hole. This will ensure that the lamp cord can pass through without any difficulty or risk of damage.
By following these steps, you will have properly prepared your vase for the next stages of the lamp conversion process. It’s important to take your time and exercise caution while drilling into the vase to achieve the best results.
When converting a vase into a lamp, make sure to use a lamp kit with a drilled base to safely secure the electrical components. Choose a vase with a wide enough opening to accommodate the lamp hardware.
Step 3: Install the Lamp Kit
Now that the vase is prepared, it’s time to install the lamp kit. Follow these steps to complete the installation:
- Thread the lamp cord through the hole in the vase: Take the lamp cord from the lamp kit and carefully thread it through the hole you drilled in the vase. Pull it through until the socket end is inside the vase.
- Assemble the socket: Unscrew the socket cap from the socket base and slide the base over the lamp cord. Make sure the socket is securely attached to the cord.
- Strip the wires: Use wire strippers to strip about 1 inch of insulation from the ends of the lamp cord wires. This will expose the copper wire underneath.
- Connect the wires: Follow the instructions provided with your lamp kit to properly connect the wires. Typically, you will twist the copper wire strands together and secure them with a wire connector. Make sure the connection is tight and secure.
- Secure the wired connection: Once the wires are connected, use electrical tape to wrap and secure the wired connection. This will provide insulation and prevent any exposed wires.
- Assemble the lamp kit components: Screw the socket cap back onto the socket base, securely enclosing the wired connection. Make sure it’s tight and properly aligned.
- Attach the plug: If your lamp kit did not come with a pre-attached plug, you will need to attach one. Follow the instructions provided with the kit to properly connect the plug to the lamp cord.
Take your time during this step to ensure that all the connections are made securely and properly. Double-check the instructions provided with your lamp kit for any specific guidelines or recommendations.
Once the lamp kit is installed, you’re ready to move on to the next step of attaching the lampshade and giving your lamp its finishing touches!
Read more: How To Make Vases
Step 4: Attach the Lamp Shade
Attaching the lampshade is the next step in converting your vase into a lamp. Follow these steps to complete this process:
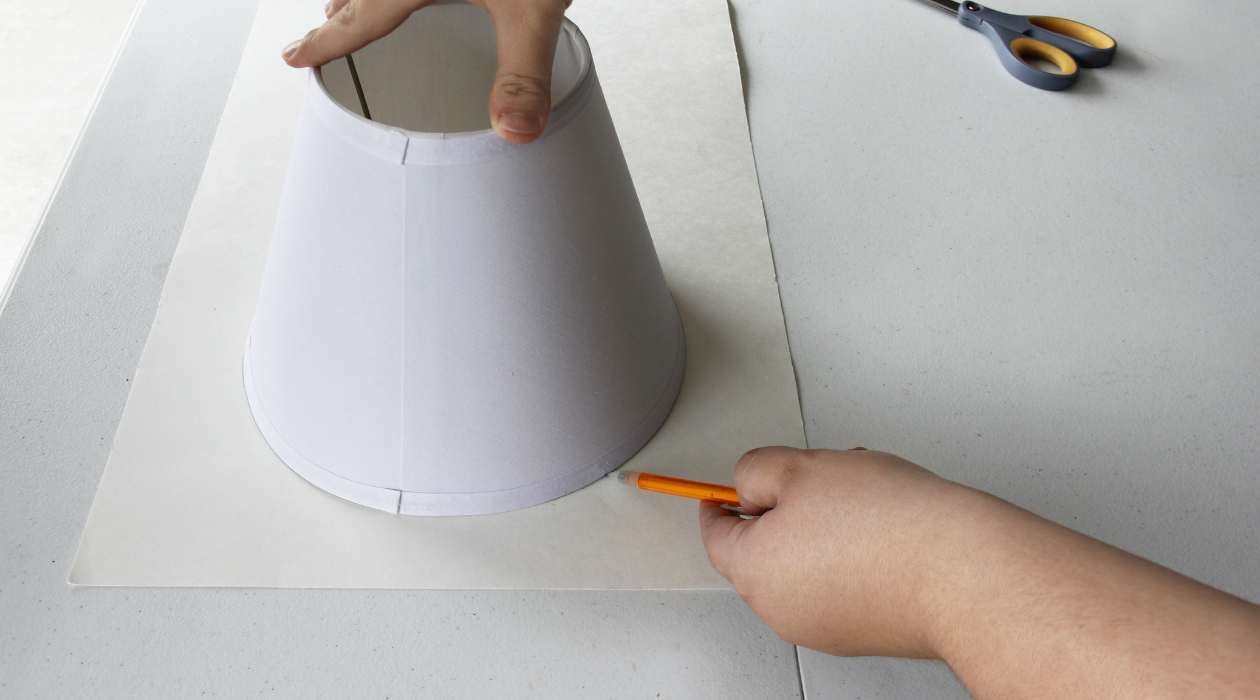
- Select a lampshade: Choose a lampshade that complements the style and size of your vase. Consider factors such as the shape, color, and material of the lampshade. Ensure that the lampshade is appropriately sized to fit the top of the vase and the socket.
- Attach the harp or spider fitting: Depending on the type of lampshade you have, you may need to attach a harp or spider fitting. The harp is a metal bracket that holds the lampshade in place, while the spider fitting uses a central ring to secure the shade. Follow the instructions provided with your lampshade to properly attach the fitting.
- Place the lampshade on the socket: Fit the bottom of the lampshade over the socket and slide it up until it sits securely on top of the vase. The harp or spider fitting should keep the lampshade in place.
- Adjust the lampshade position: Once the lampshade is on, adjust its position to ensure that it is straight and aligned properly. You may need to rotate it slightly to achieve the desired orientation.
- Tighten any fittings: If your lampshade has any adjustable fittings, such as a finial or a screw, make sure to tighten them securely. This will keep the lampshade in place and prevent it from wobbling or falling off.
Remember to refer to the instructions provided with your specific lampshade for any additional guidelines or recommendations. By following these steps, you will successfully attach the lampshade and complete the visual transformation of your vase into a lamp.
Step 5: Test and Adjust the Lamp
After attaching the lampshade, it’s time to test and adjust your newly converted vase lamp. Follow these steps to ensure everything is functioning properly:
- Plug in the lamp: Insert the plug into a power outlet. Make sure the lamp is turned off before plugging it in.
- Turn on the lamp: Flip the switch or turn the knob on the lamp socket to turn on the light. If the lamp doesn’t turn on, double-check the wiring connections and ensure the bulb is properly inserted.
- Inspect for any issues: Once the lamp is turned on, inspect for any issues such as flickering, buzzing, or overheating. If any issues arise, turn off the lamp and address the problem. It is important to ensure the lamp is safe to use.
- Adjust the lighting angle: Depending on the design of your lamp and lampshade, you may be able to adjust the angle of the light. Experiment with the position of the lampshade to achieve the desired lighting effect in the room.
- Add a bulb: If you haven’t already done so, screw in a light bulb of the appropriate wattage for your lamp. Make sure the bulb is securely in place and properly aligned within the lampshade.
Testing and adjusting your lamp is crucial to ensure functional and safe operation. Take the time to carefully inspect and test your lamp before placing it in its final location.
Congratulations! You have successfully converted a vase into a lamp. Your creation not only adds a unique touch to your space but also showcases your creativity and resourcefulness. Enjoy the warm glow of your newly transformed vase lamp!
Conclusion
Converting a vase into a lamp is a rewarding DIY project that allows you to breathe new life into an old or unused decorative piece. By following the simple steps outlined in this guide, you can create a one-of-a-kind lighting fixture that complements your style and adds a touch of charm to any space.
Throughout the process, we discussed the importance of selecting the right materials, preparing the vase, installing the lamp kit, attaching the lampshade, and testing the final product. Each step is crucial in ensuring the functionality, safety, and visual appeal of your vase lamp.
Not only does this project provide you with a unique lighting solution, but it also allows you to showcase your creativity and personal style. You have the freedom to choose a vase that resonates with your design aesthetic and pair it with a lampshade that complements your taste.
Remember, the key to a successful conversion is taking your time, following the instructions provided with the materials, and paying attention to safety precautions. Ensure that all electrical connections are secure, the lampshade is properly attached, and the lamp functions as expected before placing it in its final location.
Now that you have completed your vase lamp, you can proudly display it in your living room, bedroom, or any other space in need of warm and inviting lighting. Not only does it serve as a functional lighting source, but it also becomes a conversation piece that showcases your creativity and craftsmanship.
So, get started on this exciting DIY project and transform your vase into a beautiful and unique lamp that will illuminate your space with both light and style!
Frequently Asked Questions about How To Make A Vase Into A Lamp
Was this page helpful?
At Storables.com, we guarantee accurate and reliable information. Our content, validated by Expert Board Contributors, is crafted following stringent Editorial Policies. We're committed to providing you with well-researched, expert-backed insights for all your informational needs.
