Articles
How To Pack Vases For Moving
Modified: January 5, 2024
Learn how to pack vases for moving with our informative articles. Step-by-step guides and tips for keeping your vases safe and secure during the move.
(Many of the links in this article redirect to a specific reviewed product. Your purchase of these products through affiliate links helps to generate commission for Storables.com, at no extra cost. Learn more)
Introduction
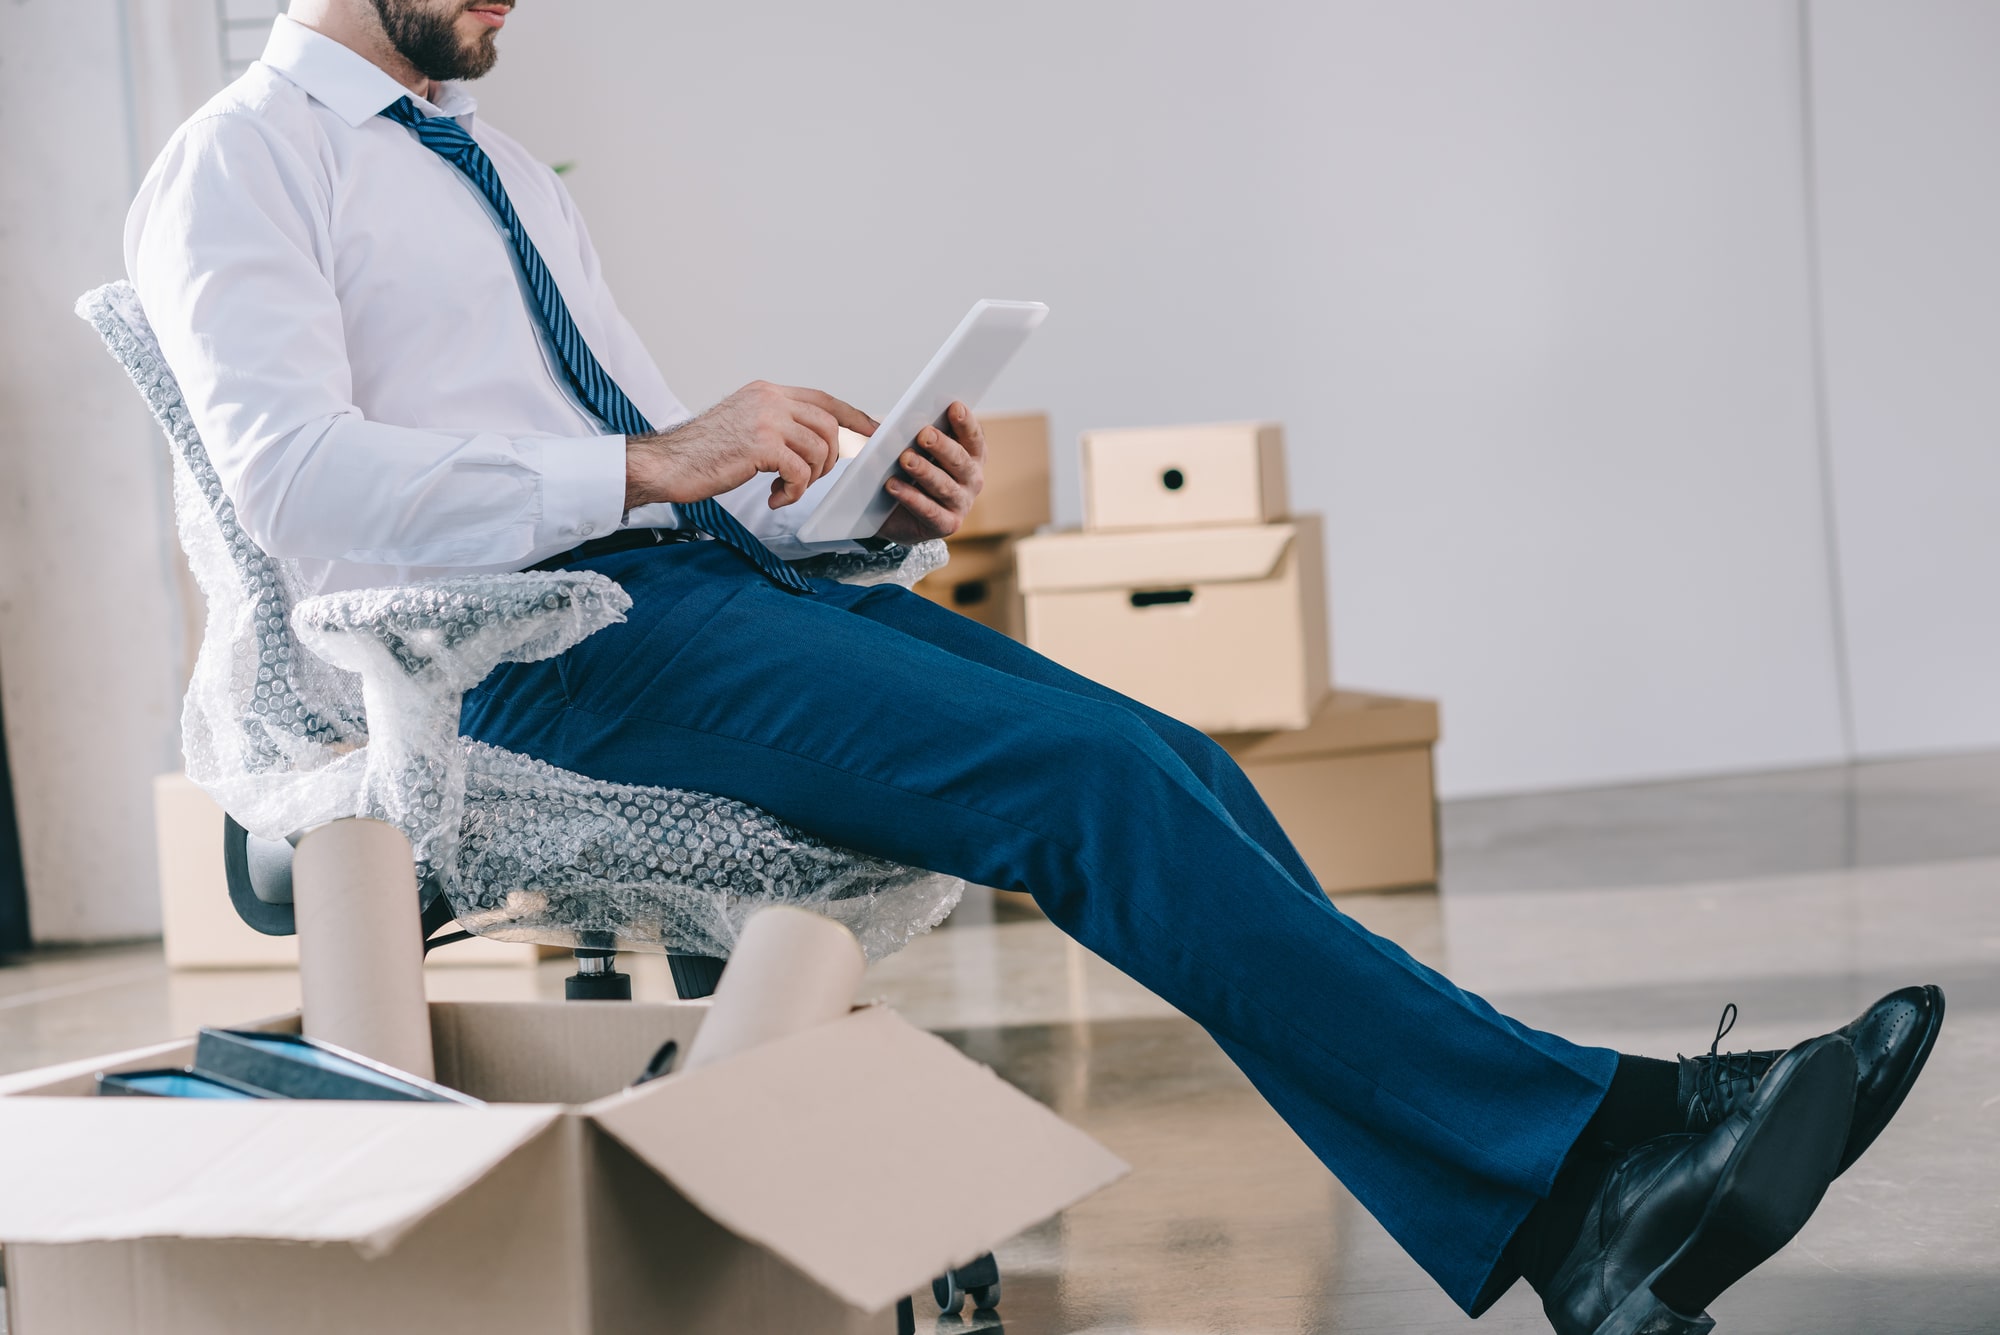
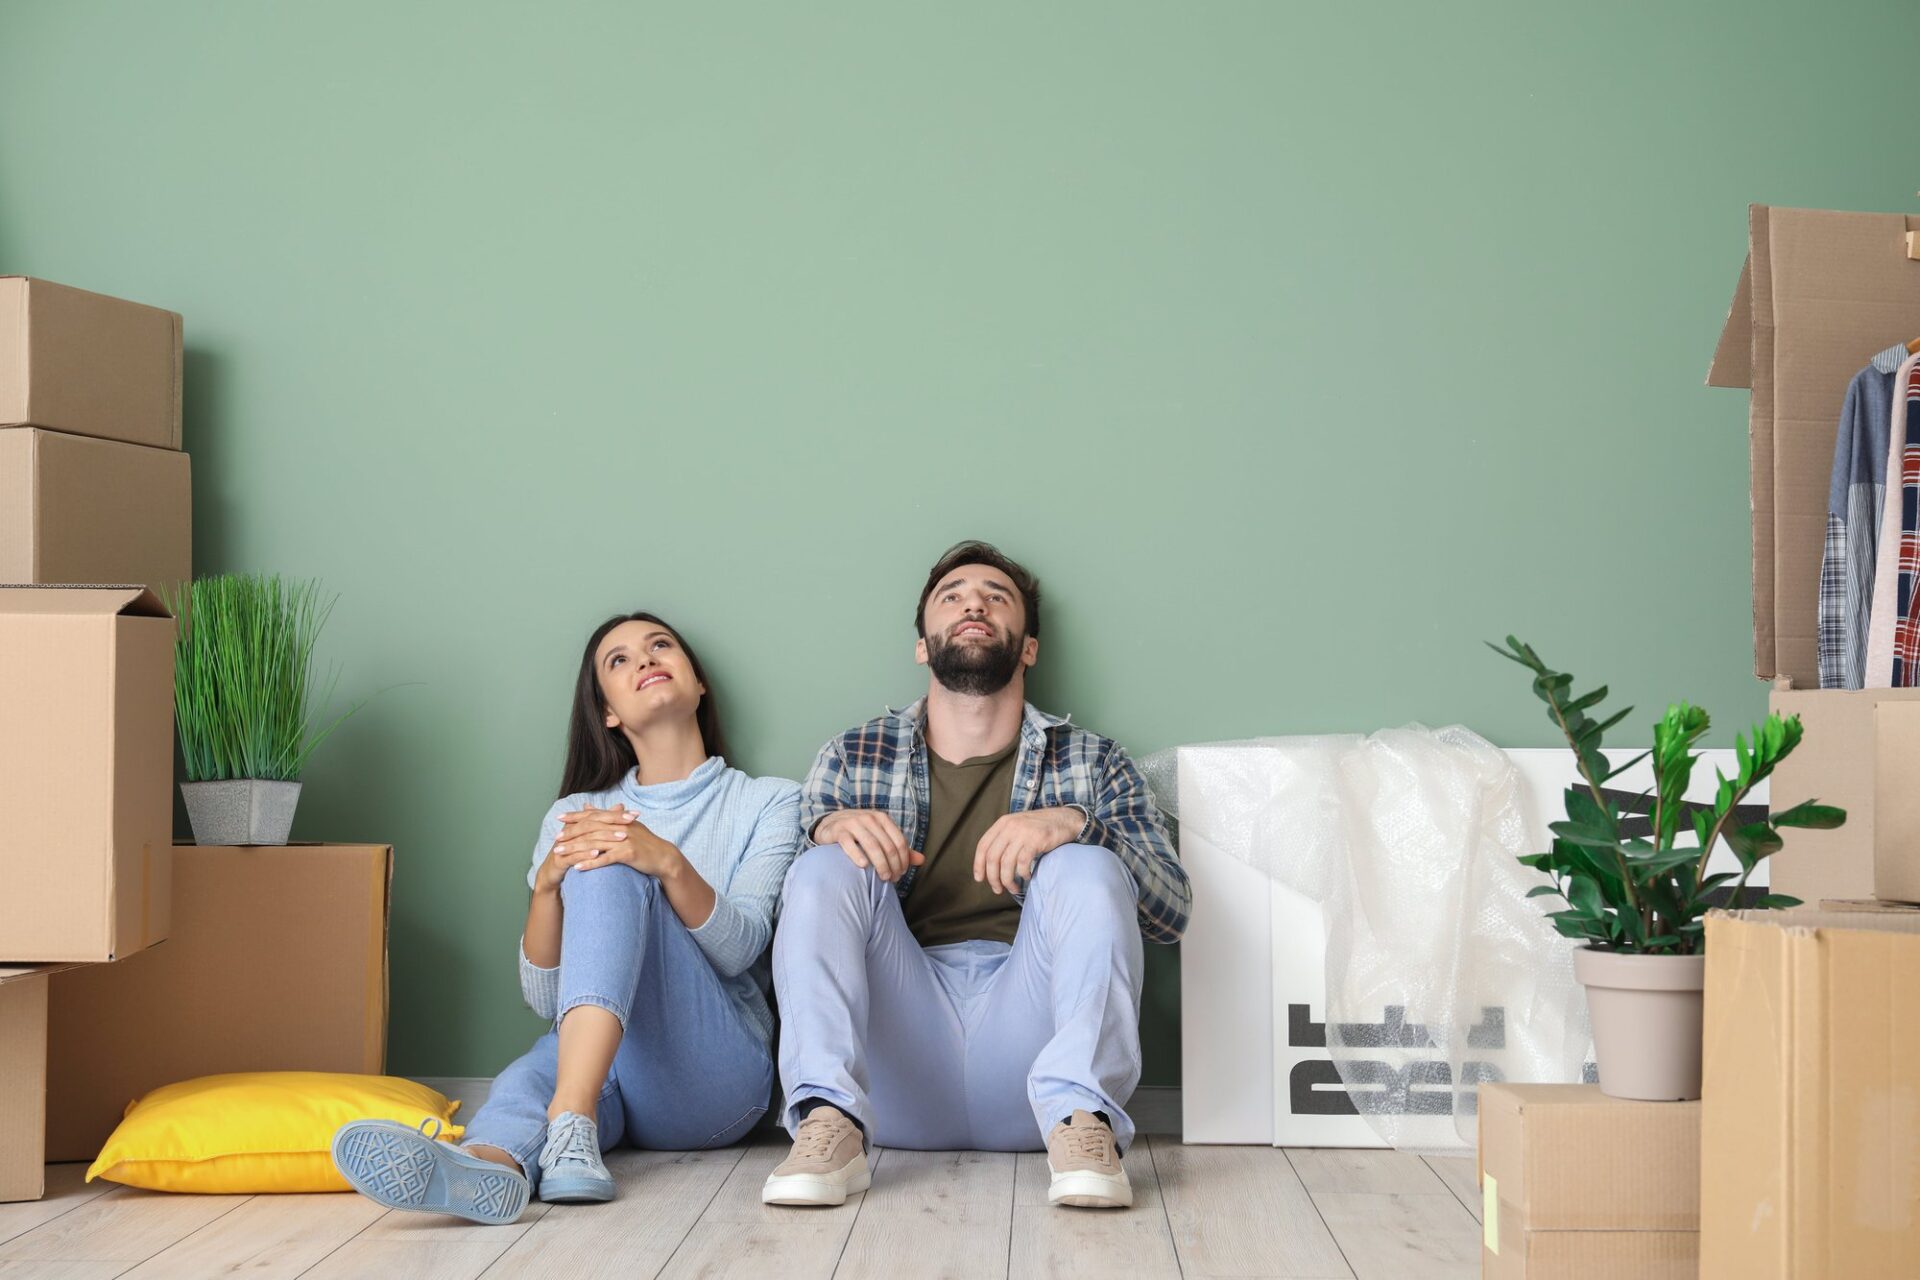
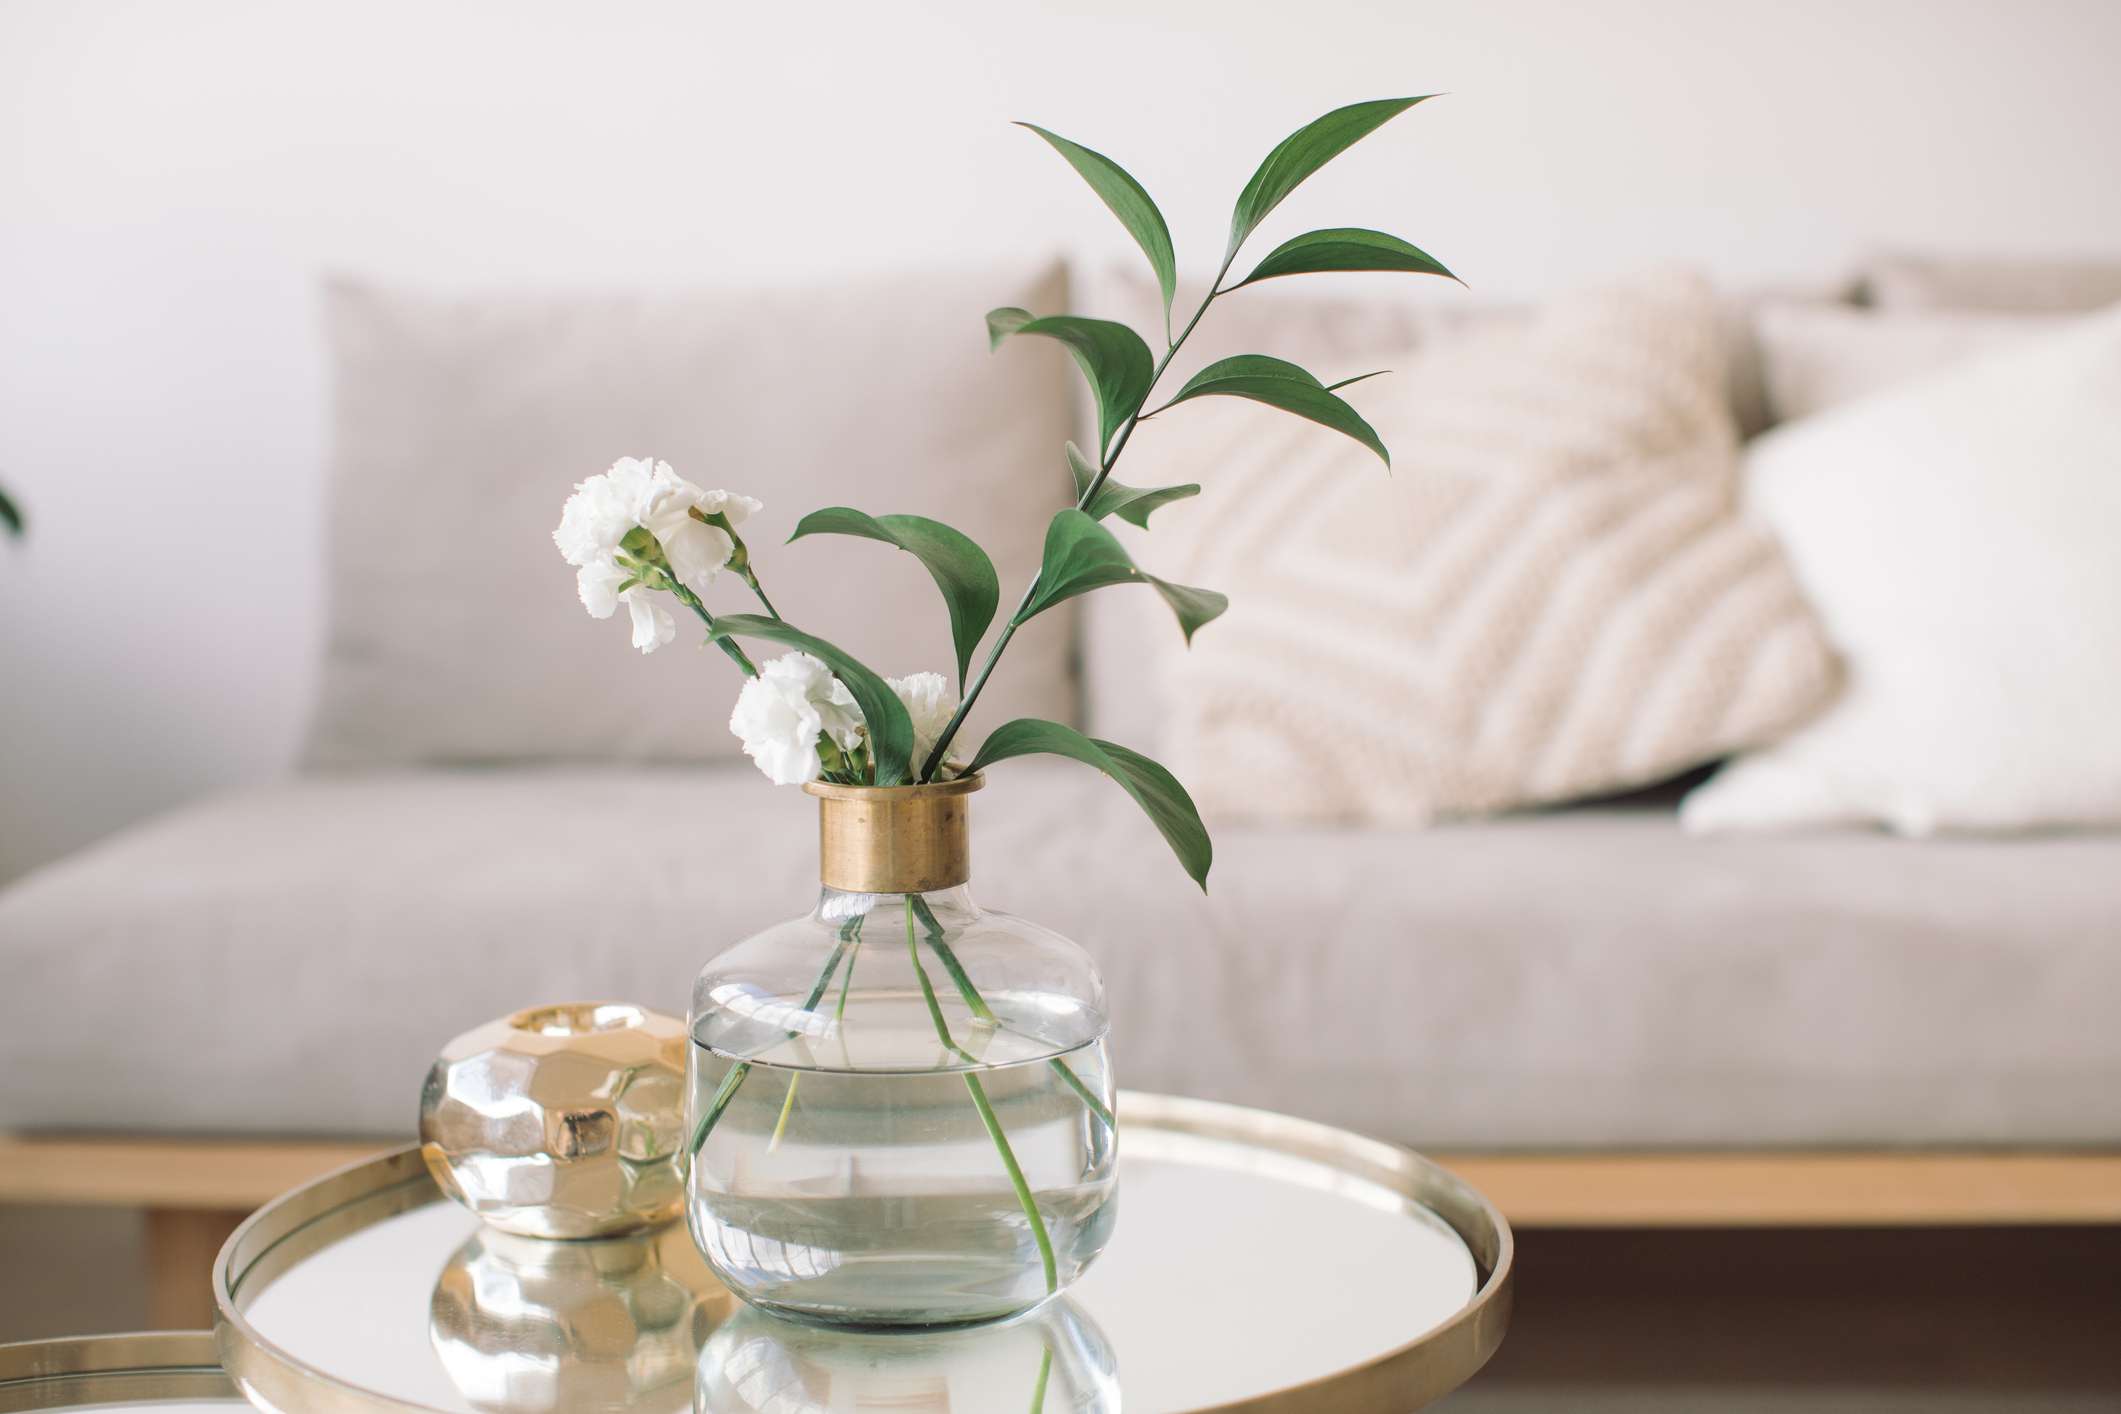
Moving can be an exciting and challenging time, and one of the most delicate items to pack and transport safely is vases. Whether you have a beautiful collection of antique vases or simply want to ensure that your sentimental flower vases arrive intact, proper packing is essential. In this guide, we will walk you through the step-by-step process of packing vases for moving.
By following these instructions and using the right supplies, you can minimize the risk of your vases getting damaged during transit. From emptying and cleaning the vases to securely packing them in a moving box, we will cover all the necessary steps to protect your precious vases.
Before we dive into the packing process, make sure you have all the supplies needed at hand. This will save you time and ensure a smooth packing experience. Let’s take a look at the supplies you’ll need:
Key Takeaways:
- Protect delicate vases during a move by wrapping them individually, creating a padded box, and labeling as “Fragile” to ensure safe transportation.
- Gather supplies, clean vases, wrap individually, pad the box, secure with tape, and label for a successful and stress-free vase packing experience.
Read more: How To Pack A Mattress For Moving
Supplies Needed
Before you start packing your vases, gather the following supplies:
- Sturdy moving boxes in various sizes
- Packing paper or bubble wrap
- Packing tape
- Scissors
- Marker or labeling stickers
- Protective padding material (foam peanuts or packing material)
- Newspapers or old towels
- Cardboard dividers (optional)
Having these supplies prepared in advance will make the packing process more efficient and help ensure the safety of your vases during the move.
Step 1: Emptying and Cleaning the Vases
The first step in packing vases for moving is to empty and clean them thoroughly. Follow these steps:
- Carefully remove any decorative items, flowers, or water from the vase. Dispose of the flowers and water properly.
- Check for any residue or dirt inside the vase. If there is debris or leftover water, pour it out and rinse the vase with warm water.
- If your vase has stubborn stains or residue, you can use a mixture of warm water and mild dish soap. Gently scrub the interior and exterior of the vase with a soft sponge or cloth.
- Rinse the vase with clean water to remove any soap residue.
- Allow the vase to air dry completely before proceeding to the next step.
Emptying and cleaning the vases will not only help prevent any mold or mildew growth during the move, but it will also ensure that your vases are in their best condition when unpacked in your new home.
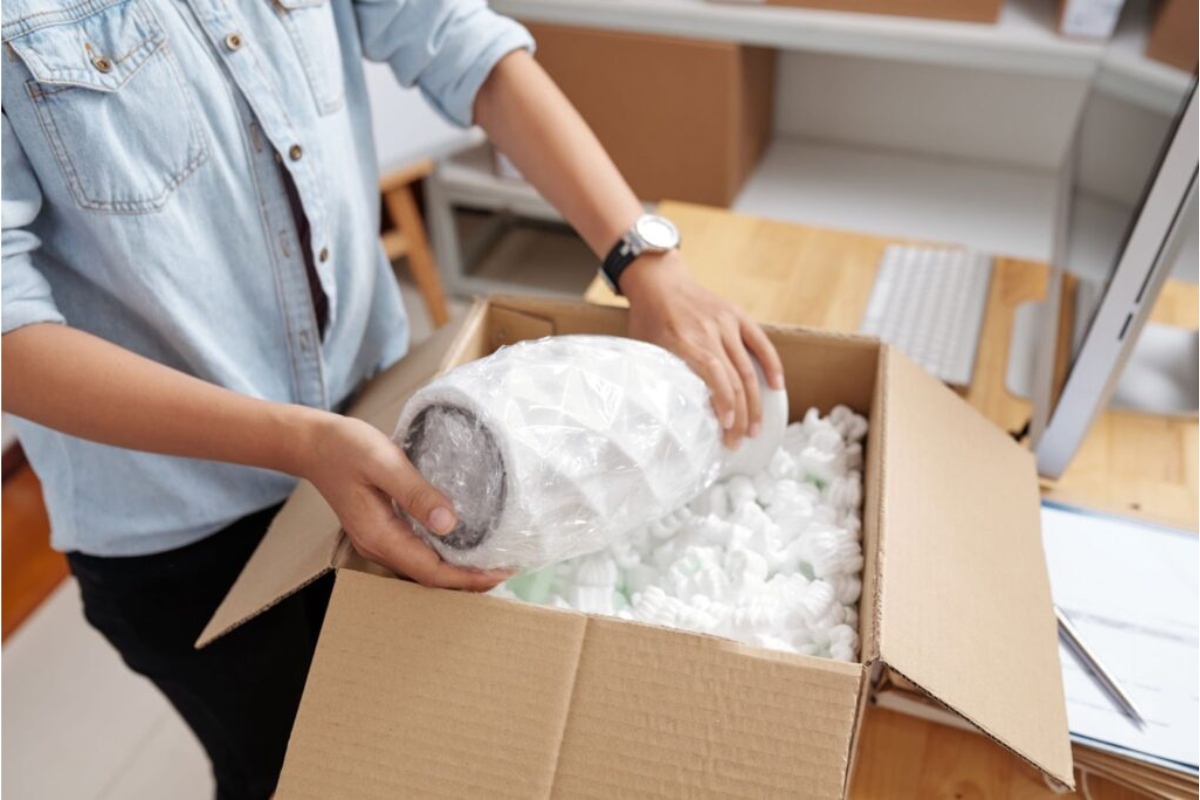
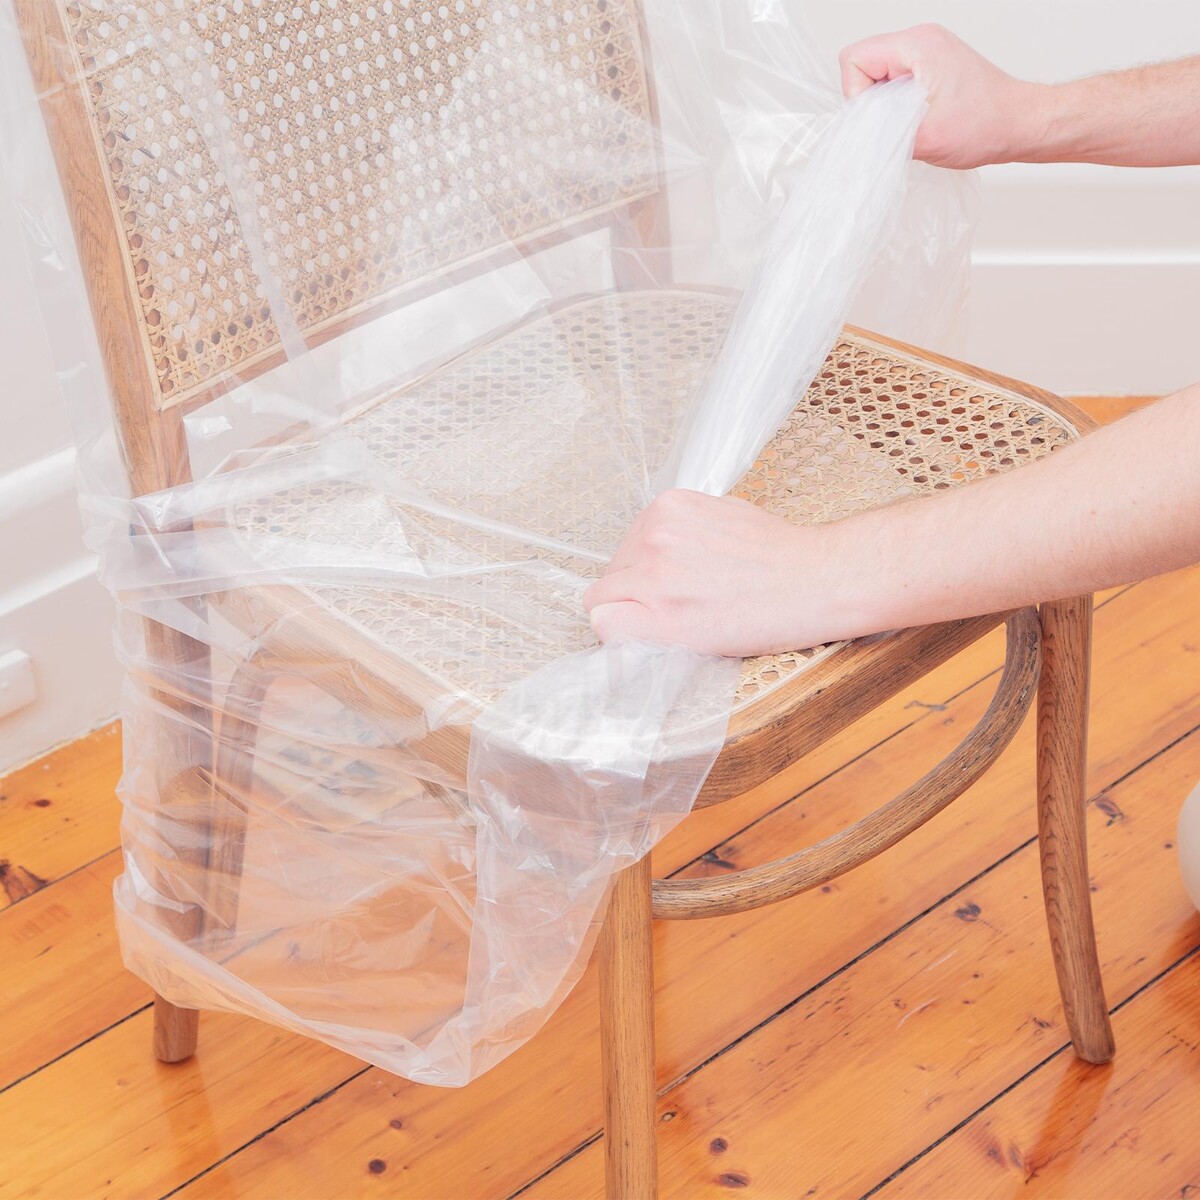
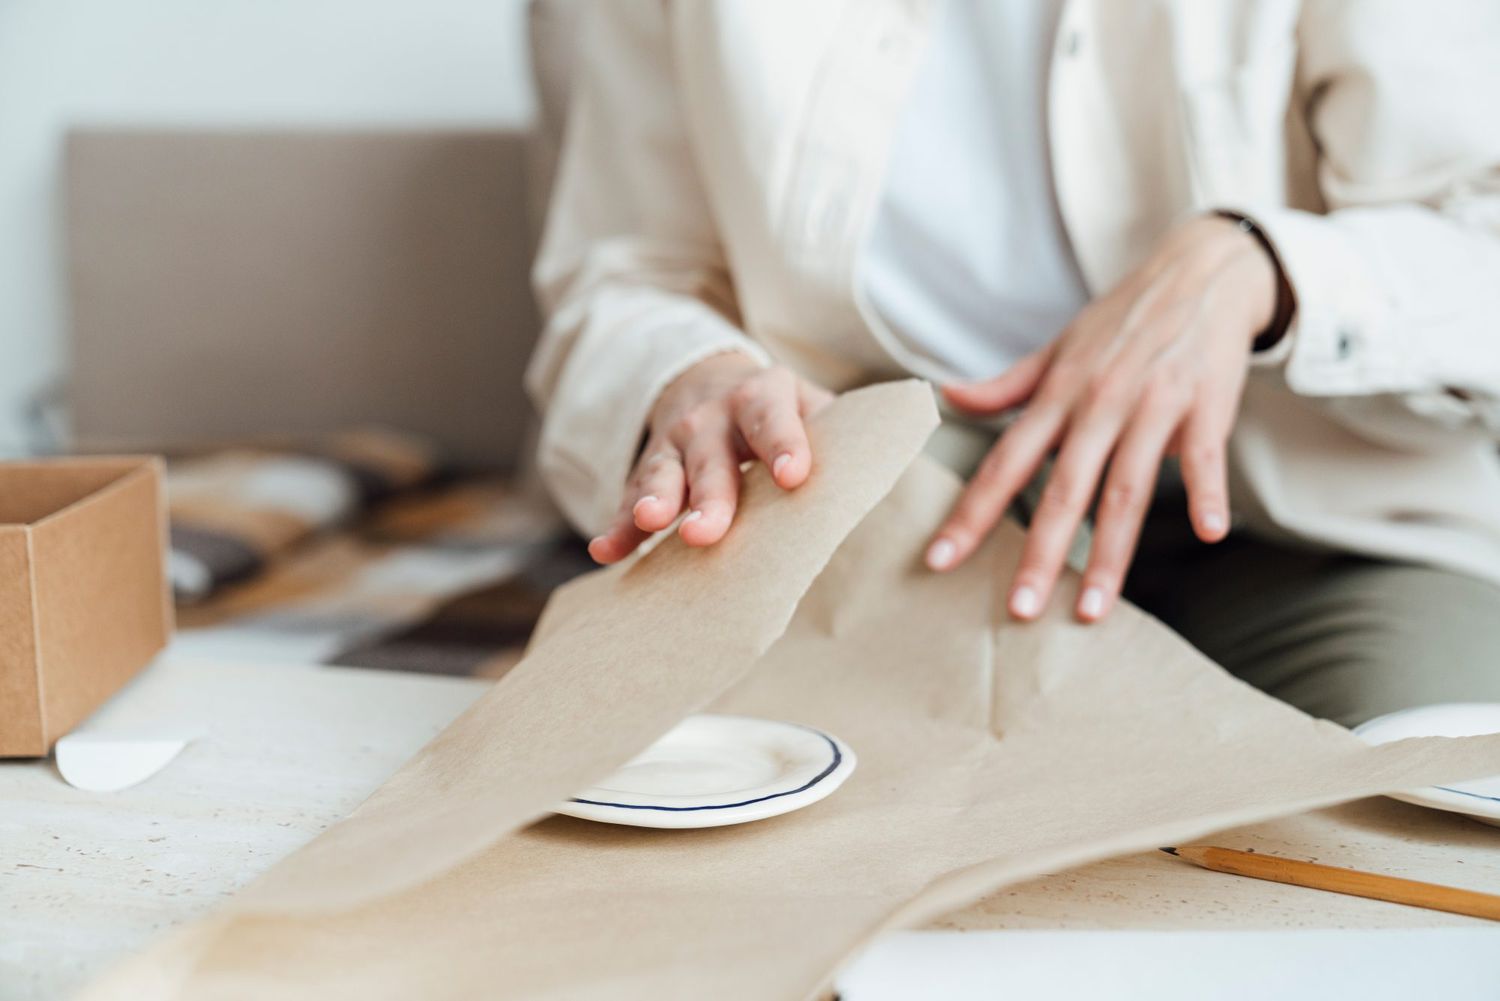
Step 2: Wrapping Individual Vases
Now that your vases are clean and dry, it’s time to protect them by wrapping them individually. Here’s how:
- Start by laying out a piece of packing paper or bubble wrap on a flat surface.
- Take one vase and place it in the center of the paper or bubble wrap.
- Wrap the paper or bubble wrap around the vase, making sure to cover the entire surface. If using bubble wrap, secure it with tape.
- For extra protection, you can wrap the vase in a second layer of packing paper or bubble wrap.
- Use tape to secure the wrapping in place. Make sure it is snug but not too tight, as excessive pressure can damage delicate vases.
- Repeat this process for each vase, wrapping them individually to avoid any unwanted contact and potential breakage.
By wrapping each vase individually, you create a protective barrier that helps cushion them against any bumps or movements during transport. It’s always better to err on the side of caution and provide extra layers of protection for fragile vases.
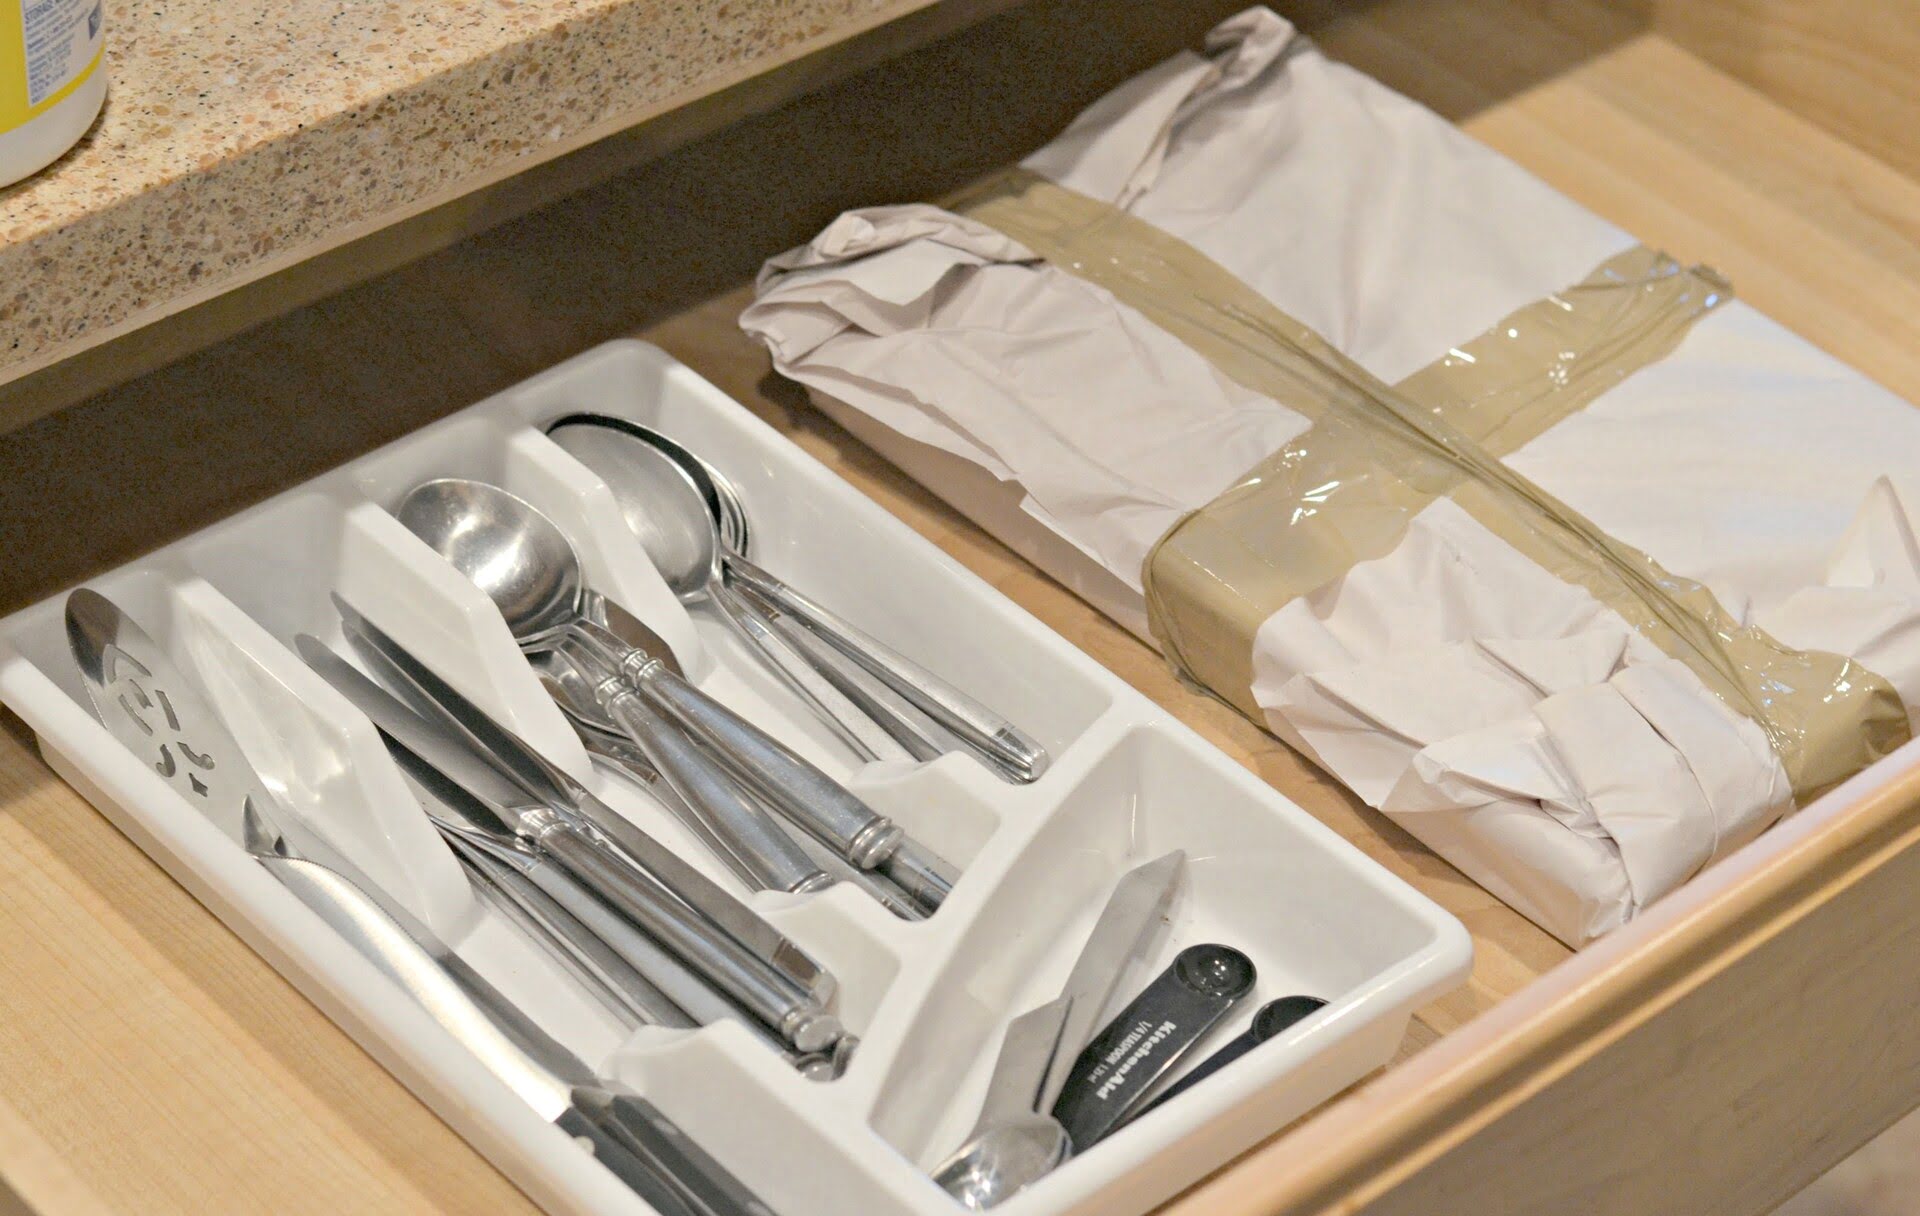
Step 3: Creating a Layer of Padding in the Moving Box
Once you have wrapped the individual vases, it’s time to prepare the moving box by creating a layer of padding. Here’s what you need to do:
- Select a sturdy moving box that is suitable for the size and number of vases you’re packing. Make sure the box is clean and in good condition.
- If the bottom of the box is not reinforced, reinforce it with tape to add extra strength.
- Place crumpled newspapers or old towels at the bottom of the box to create a soft layer of cushioning. This will help absorb any shocks or impacts during transportation.
- If you have cardboard dividers, you can use them to create compartments within the box. This will prevent the vases from bumping into each other and potentially breaking.
- Ensure that the dividers fit snugly against the sides of the box and provide sufficient spacing for each vase.
- If you don’t have dividers, you can use additional crumpled paper or bubble wrap between the vases to create padding and prevent movement.
By creating a layer of padding in the moving box, you add an extra layer of protection for your vases and minimize the risk of damage during transport. A well-padded box will help absorb any shocks or vibrations during the moving process.
When packing vases for moving, use plenty of packing paper or bubble wrap to cushion the vase and prevent it from breaking. Place the vase in a sturdy box and fill any empty spaces with more packing material to keep it secure during transit.
Read more: How To Pack A Dresser For Moving
Step 4: Placing the Vases in the Box
Now that you have prepared the moving box with padding, it’s time to carefully place the wrapped vases inside. Follow these steps:
- Take one wrapped vase and gently lower it into the box, ensuring that it fits securely in its designated compartment or the available space.
- If using dividers, make sure the vase sits upright and is snugly surrounded by the dividers. This will prevent it from shifting or moving during transit.
- If you don’t have dividers, position the vase in the center of the box and add additional crumpled paper or bubble wrap to fill any empty spaces and provide further padding.
- Continue placing the remaining vases in the box, making sure to leave enough space between them to avoid any direct contact.
- If there are any smaller vases or fragile parts, such as handles or spouts, facing inward, you can wrap them with extra protective padding, such as bubble wrap or paper.
- Ensure that all vases are placed securely and are surrounded by enough padding to prevent any movement inside the box.
By placing the vases carefully and providing adequate padding, you minimize the chances of them knocking into each other and potentially breaking. It’s important to create a stable and secure arrangement within the box to safeguard the vases during the moving process.
Step 5: Adding Additional Cushioning and Securing the Box
After placing the vases in the box, it’s essential to add additional cushioning and secure the box properly. Here’s what you need to do:
- Fill the empty spaces between the vases and the sides of the box with crumpled newspaper, bubble wrap, or foam peanuts. This will provide extra cushioning and prevent the vases from shifting.
- Make sure there is sufficient padding on the top layer of the box as well. Fill any remaining gaps with additional packing material to ensure a snug fit.
- Close the box and secure it with packing tape. Reinforce all the seams and edges to prevent the box from accidentally opening during transit.
- Give the box a gentle shake to check if the vases move or shift. If you feel any movement, add more padding to secure them in place.
- Label the box with a marker or place a clear “Fragile” label on the top and sides. This will alert the movers to handle the box with care.
By adding extra cushioning and securing the box properly, you provide an additional layer of protection for your vases. The cushioning materials will help absorb any impacts or vibrations during transportation, reducing the risk of damage.
Step 6: Labeling and Handling Instructions
The final step in packing vases for moving is to label the box and provide clear handling instructions. Follow these steps:
- Use a marker or labeling stickers to write “Fragile” on the top and sides of the box containing the vases. Make the label large and legible for easy identification.
- Consider adding additional labels that indicate which side of the box should remain upright during transit.
- If any specific handling instructions apply, such as “This Side Up” or “Handle with Care,” make sure they are clearly visible on the box.
- If you have multiple boxes with vases, give each box a unique number or label to keep track of them during the move.
- Keep a list of the vases and their corresponding box numbers for reference when unpacking.
- Inform your movers about the fragile nature of the contents and the importance of handling the vases with care.
Labeling the box and providing clear handling instructions is crucial to ensure that your vases receive the attention and care they require during the moving process. Proper labeling helps everyone involved in the move identify the fragile items and handle them accordingly.
With these steps and precautions in mind, you can pack your vases for a move with confidence, knowing that they will have a better chance of arriving safely at your new home. Remember to take your time, wrap each vase securely, and provide sufficient padding to prevent any damage. Happy packing and safe moving!
Conclusion
Packing vases for a move requires careful attention to detail and proper protective measures. By following the step-by-step process outlined in this guide, you can ensure that your delicate vases arrive at your new home safely. From emptying and cleaning the vases to wrapping them individually and placing them in a well-padded box, these steps will help minimize the risk of breakage during transportation.
Remember to gather all the necessary supplies before you start packing your vases. Sturdy moving boxes, packing paper or bubble wrap, tape, scissors, and padding materials are essential for a successful packing process.
Empty and clean each vase thoroughly to remove any residue and ensure they are in their best condition. Wrap each vase individually with packing paper or bubble wrap to provide a protective layer, preventing scratches and reducing the risk of breakage.
Create a layer of padding in the moving box using crumpled newspapers or old towels, and consider using cardboard dividers to separate the vases and prevent them from knocking against each other during transit.
Securely place the wrapped vases in the box, leaving enough space between them to avoid any direct contact. Fill any gaps with additional padding, and ensure the box is properly sealed with packing tape to prevent accidental opening.
Label the box as “Fragile” and provide clear handling instructions to alert the movers about the delicate contents. Consider labeling each box with a unique identifier and keeping a list for reference when unpacking.
By following these steps and taking the necessary precautions, you can protect your valuable vases and ensure their safe arrival at your new home. Remember, it’s always better to be extra cautious when handling fragile items like vases during a move.
Good luck with your packing, and may your vases bring beauty and joy to your new space!
Frequently Asked Questions about How To Pack Vases For Moving
Was this page helpful?
At Storables.com, we guarantee accurate and reliable information. Our content, validated by Expert Board Contributors, is crafted following stringent Editorial Policies. We're committed to providing you with well-researched, expert-backed insights for all your informational needs.

0 thoughts on “How To Pack Vases For Moving”