Articles
How To Remove Whirlpool Freezer Drawer
Modified: August 24, 2024
Learn how to remove the Whirlpool freezer drawer easily with our comprehensive step-by-step articles. Ensure a smooth and hassle-free process.
(Many of the links in this article redirect to a specific reviewed product. Your purchase of these products through affiliate links helps to generate commission for Storables.com, at no extra cost. Learn more)
Introduction
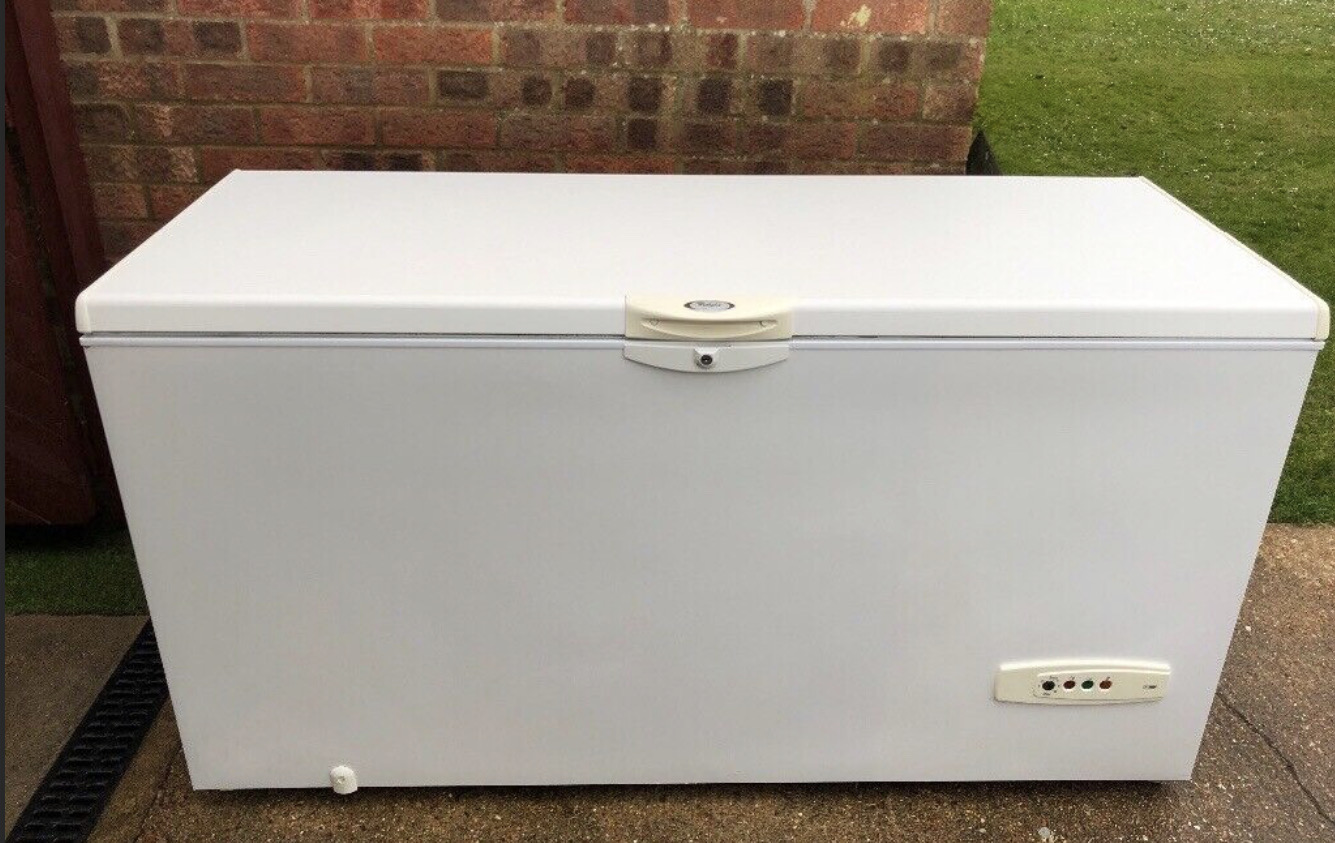
Having a Whirlpool freezer drawer can be incredibly convenient for storing and organizing your frozen food items. However, there may come a time when you need to remove the freezer drawer for cleaning, maintenance, or to make extra space. While removing a freezer drawer may seem like a challenging task, with the right instructions and a few simple tools, the process can be much easier than you think.
In this article, we will guide you through the step-by-step process of removing a Whirlpool freezer drawer. We will also provide you with the necessary safety precautions to ensure a smooth and accident-free removal. By following our instructions, you can confidently remove and reinstall the freezer drawer without any hassle.
Key Takeaways:
- Safely and confidently remove and reinstall your Whirlpool freezer drawer by following our step-by-step guide, prioritizing safety, and ensuring a clean and organized freezer for extended lifespan and improved performance.
- Prioritize safety, empty the freezer drawer, locate and release removal tabs, clean the freezer area, and reinstall the drawer to maintain a well-organized and sparkling-clean Whirlpool freezer for easy access to frozen food items.
Read more: How To Remove Freezer Drawer Samsung
Safety Precautions
Before you begin removing the Whirlpool freezer drawer, it’s essential to prioritize your safety. Keep the following precautions in mind to prevent any accidents or damage:
- Unplug the freezer: Ensure that the freezer is disconnected from the power source to avoid the risk of electric shock.
- Protect your hands: Wear protective gloves to safeguard your hands from sharp edges or frostbite. Freezers can reach extremely low temperatures, so it’s crucial to take precautions.
- Clear the area: Make sure the surrounding area is clear of any obstacles or hazards to prevent tripping or accidents while removing the freezer drawer.
- Ask for assistance if needed: Removing a freezer drawer may require some lifting and maneuvering. If the drawer is heavy or difficult to handle, don’t hesitate to ask someone for help.
- Handle with care: Be gentle when removing the freezer drawer to avoid damage to the unit or any of its components. Avoid excessive force and use a steady, controlled approach.
By taking these safety precautions, you’ll ensure a safe and smooth removal process for your Whirlpool freezer drawer. Now that you’re aware of the necessary precautions, let’s move on to the tools and materials you’ll need for the task.
Tools and Materials Needed
Before you begin removing the Whirlpool freezer drawer, gather the following tools and materials to ensure a seamless process:
- Socket set or Phillips head screwdriver: You may need these tools to loosen or remove any screws securing the freezer drawer in place.
- Soft cloth or sponge: This will be used to clean the freezer area and remove any dirt or debris before reinstalling the drawer.
- Mild detergent or cleaning solution: Use a gentle cleaning solution to ensure a thorough cleaning of the freezer area.
- Bucket or container: This will be needed to collect any melted ice or water that may be present in the freezer.
- Labels or markers (optional): If you want to label or organize the contents of the freezer, having labels or markers handy can be helpful.
By having these tools and materials ready, you’ll be well-prepared to remove the Whirlpool freezer drawer effortlessly. Now that you have everything you need, let’s move on to the step-by-step process of removing the drawer.
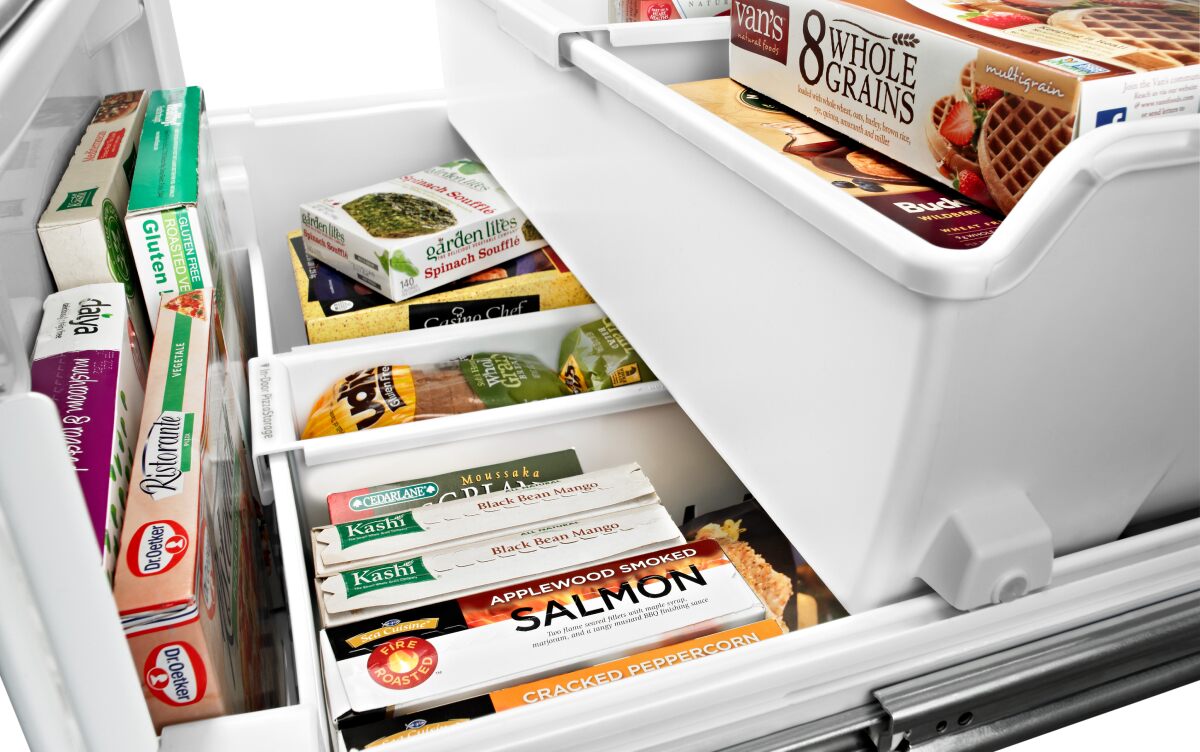
Step 1: Emptying the Freezer Drawer
Before you can remove the Whirlpool freezer drawer, it’s important to empty its contents. Follow these steps to ensure a smooth and organized process:
- Start by checking the expiration dates of the items in the freezer. Discard any expired or freezer-burned items.
- If you have any perishable items, transfer them to a cooler or another freezer to ensure they remain frozen.
- Remove the remaining items from the freezer drawer and place them on a clean and stable surface.
- If desired, use labels or markers to identify the contents and make it easier for reorganization later.
- If there is any built-up ice or frost in the freezer drawer, you may need to thaw it before proceeding further. Follow the manufacturer’s instructions for defrosting the freezer if necessary.
By emptying the freezer drawer and organizing its contents, you’ll have a clear space to work with when it comes to removing the drawer itself. With the contents taken care of, let’s move on to step two: removing the contents of the freezer.
Step 2: Removing the Contents of the Freezer
Now that you have emptied the Whirlpool freezer drawer, it’s time to remove any removable shelves, baskets, or dividers inside the freezer. Follow these steps:
- Take a moment to familiarize yourself with the layout of the freezer and the items inside.
- Remove any shelves, baskets, or dividers that can be easily lifted or slid out.
- Place these removable items on a clean surface nearby, ensuring they are safe from damage.
- If there are any fixed shelves or bins that cannot be easily removed, take note of their position to avoid any mishaps when removing the freezer drawer.
By removing the contents of the freezer and any removable shelves or dividers, you’ll have a clear view of the freezer drawer and its attachments. This will make it easier to proceed with the next steps of removing the Whirlpool freezer drawer fully.
Read more: How To Remove Vanity Drawers
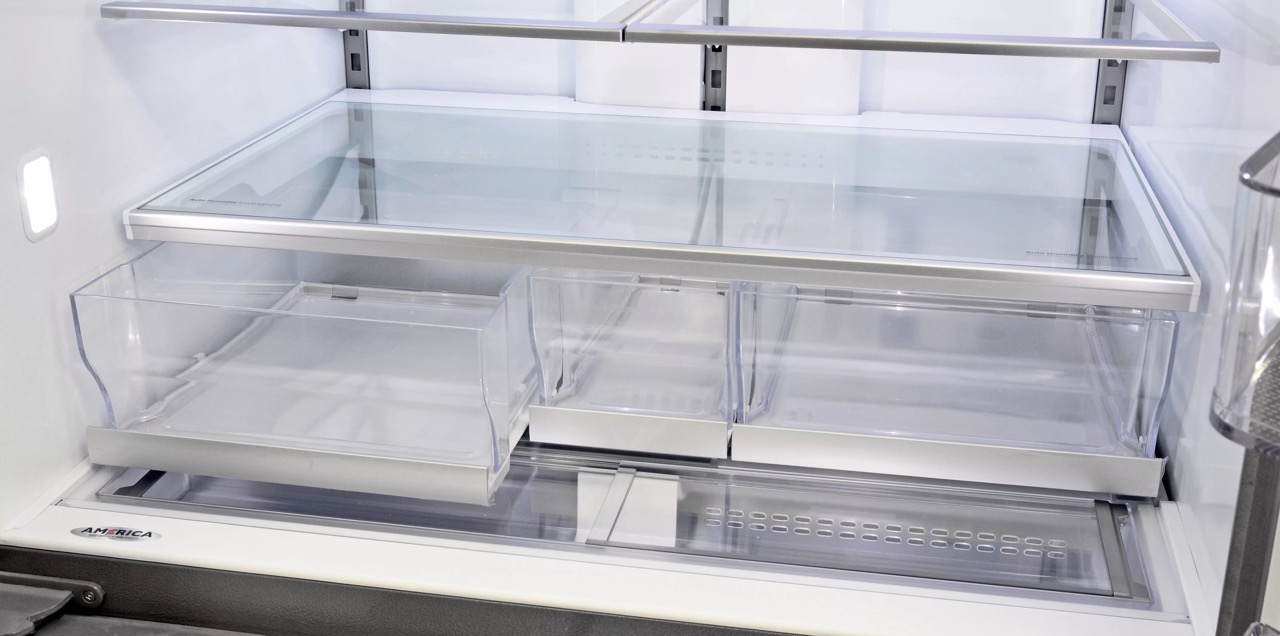
Step 3: Locating the Drawer Removal Tabs
Before you can remove the Whirlpool freezer drawer, you need to locate the drawer removal tabs. These tabs are typically located on the sides of the drawer and are used to release the drawer from its tracks. Follow these steps to locate the removal tabs:
- Open the freezer door and fully extend the freezer drawer.
- Inspect the sides of the freezer drawer for any visible tabs or levers.
- Look for any markings or indicators on the drawer that may indicate the location of the removal tabs.
- Refer to the user manual or manufacturer’s instructions for your specific Whirlpool model to help identify the exact location of the removal tabs.
By identifying the location of the drawer removal tabs, you’ll be better prepared to release the freezer drawer from its tracks in the next step. Once you’ve located the removal tabs, it’s time to move on to the next step: releasing the tabs to remove the drawer.
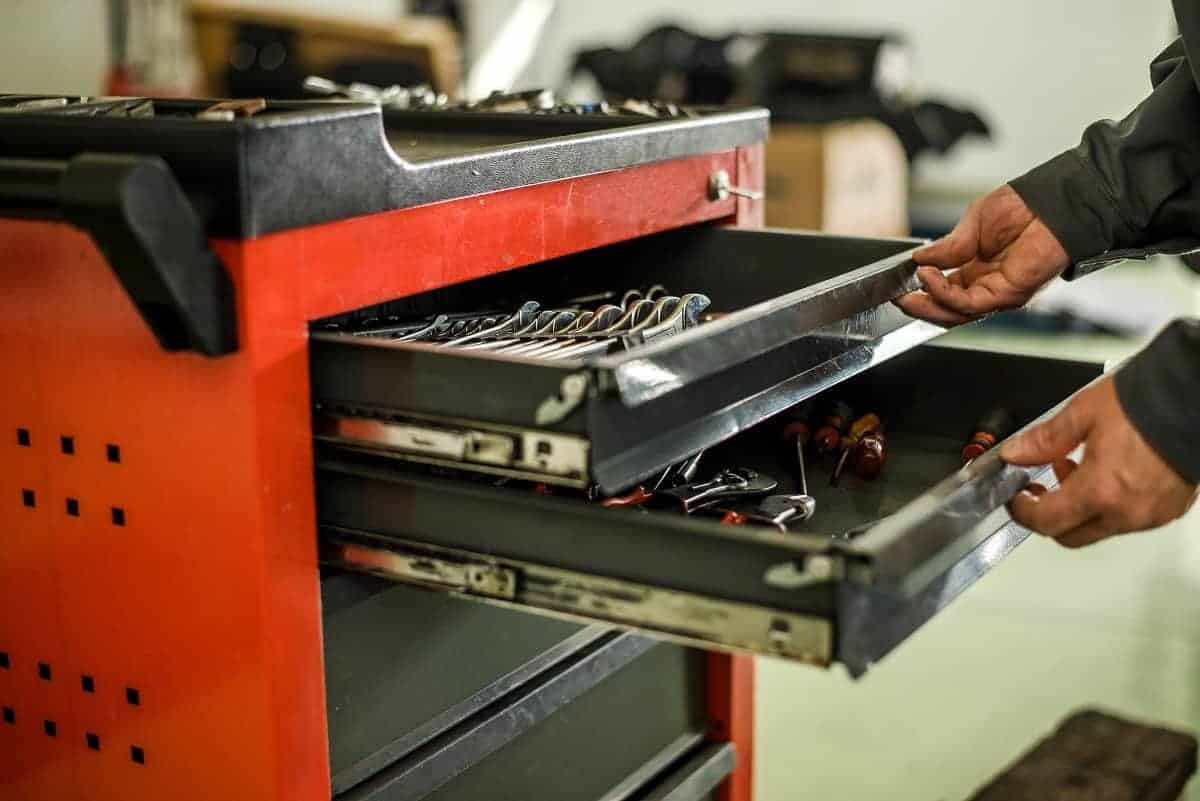
To remove a Whirlpool freezer drawer, start by pulling the drawer out as far as it will go. Then, lift the front of the drawer and pull it out to remove it from the tracks.
Step 4: Releasing the Drawer Removal Tabs
With the location of the removal tabs identified, it’s time to release them to remove the Whirlpool freezer drawer. Follow these steps:
- Confirm that the freezer door is fully open and the drawer is extended.
- Locate the removal tabs on the sides of the freezer drawer.
- Depending on your Whirlpool model, you may need to press or push the removal tabs to release them.
- Apply gentle pressure to the tabs and push or slide them in the direction indicated by the arrows or markings on the drawer.
- Ensure that both removal tabs are fully released to allow the drawer to come free.
By releasing the removal tabs, you are disconnecting the freezer drawer from its tracks, allowing it to be removed easily. Make sure to use gentle pressure when pressing or sliding the tabs to avoid any damage. With the tabs released, you can now proceed to the next step: removing the freezer drawer.
Step 5: Removing the Freezer Drawer
With the removal tabs released, it’s time to remove the Whirlpool freezer drawer from its position. Follow these steps:
- Stand in front of the open freezer drawer.
- Place your hands on both sides of the drawer, near the front.
- Using a steady and controlled motion, lift the front of the drawer slightly.
- While lifting the front, pull the drawer towards you to disengage it from the tracks.
- Continue pulling the drawer towards you until it is completely free from the freezer compartment.
- Set the drawer aside in a safe location, away from any potential hazards.
It’s important to use a steady and controlled motion when removing the freezer drawer to prevent any damage or accidents. If the drawer feels stuck, double-check that the removal tabs are fully released and try again. With the freezer drawer successfully removed, you can now move on to the next step: cleaning the freezer area.
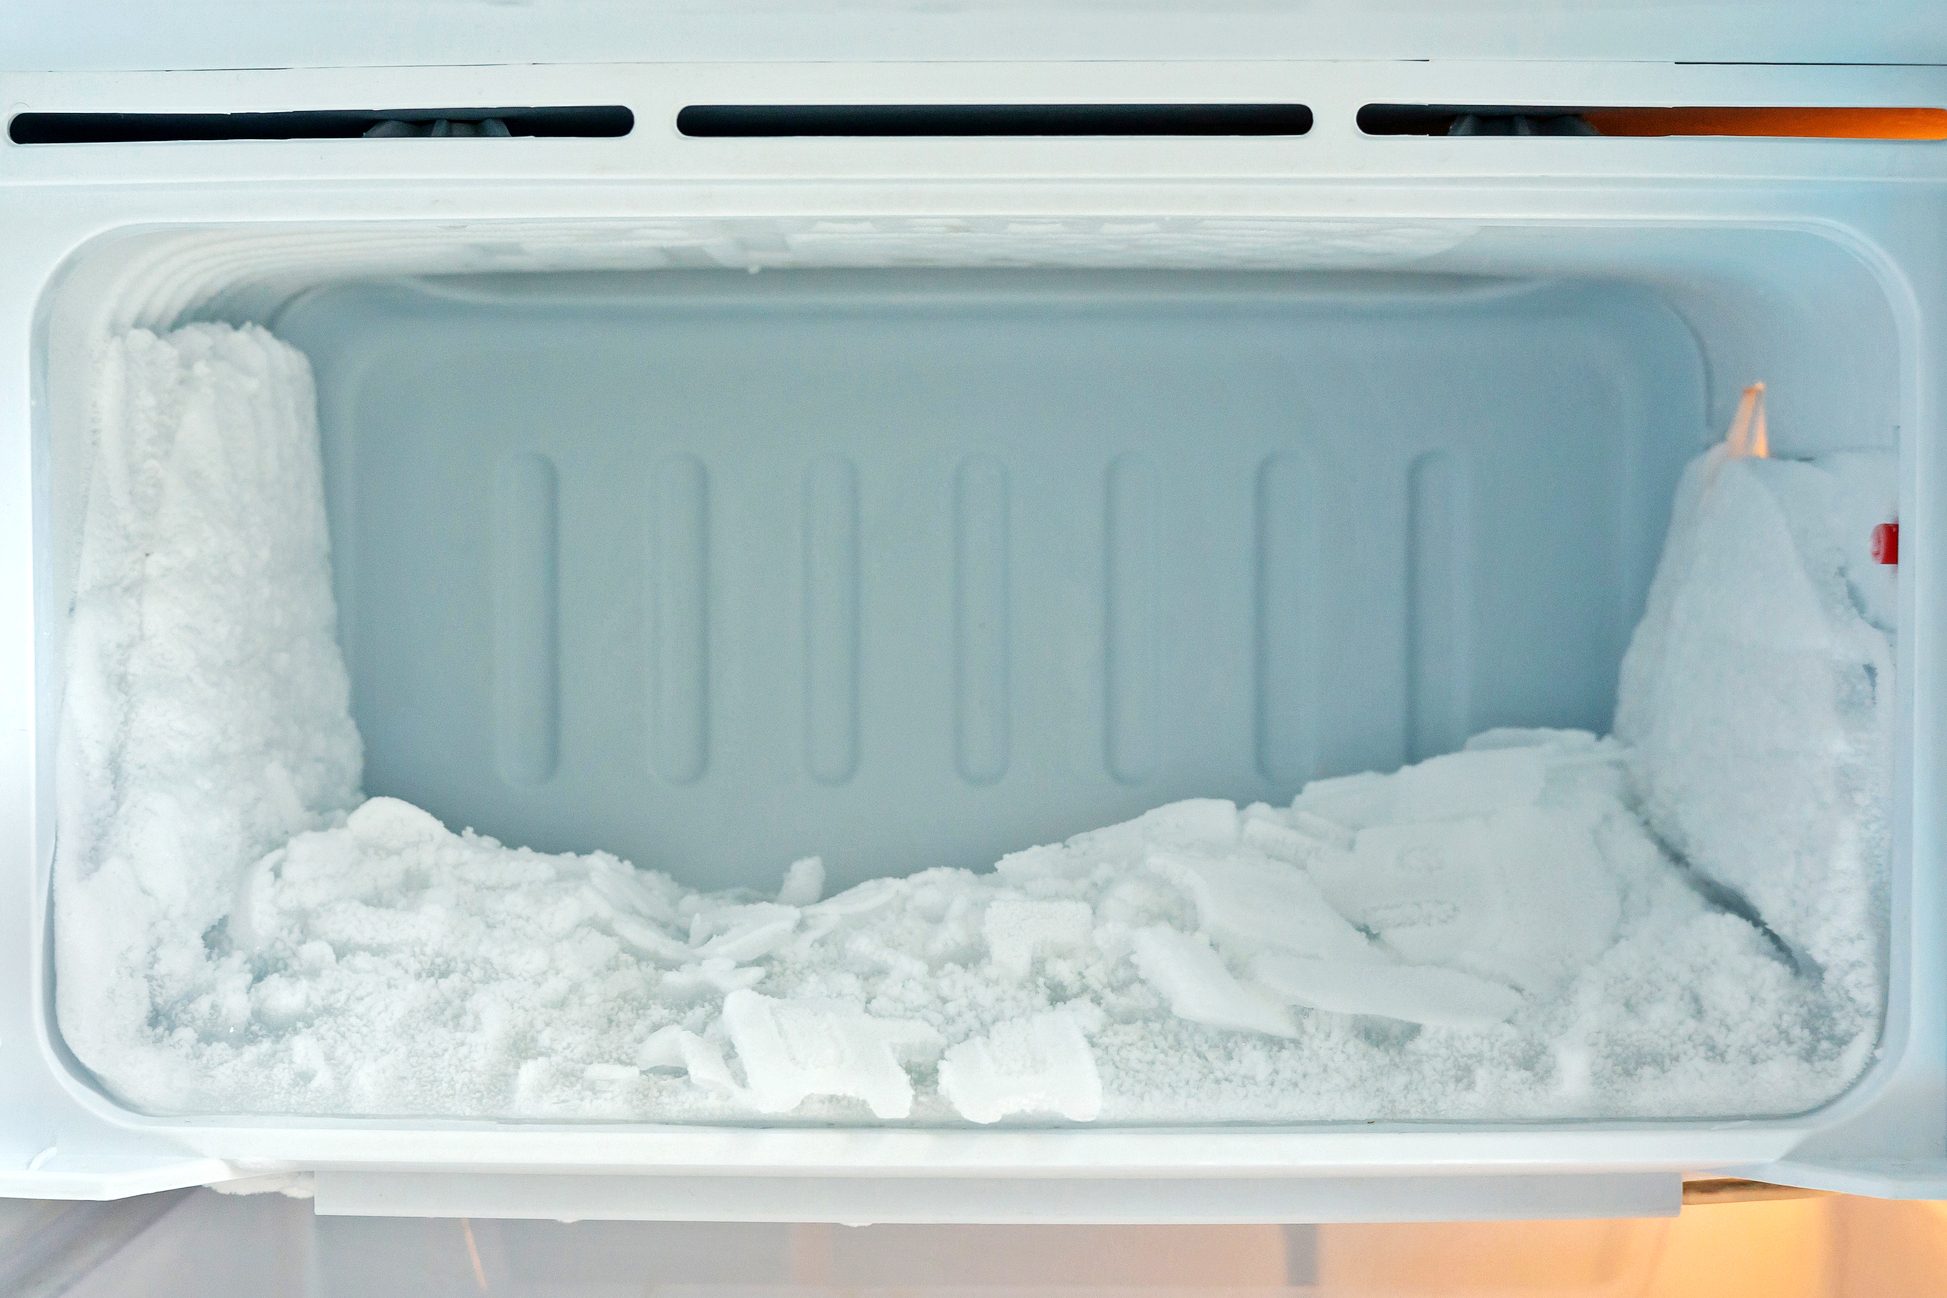
Step 6: Cleaning the Freezer Area
Now that the Whirlpool freezer drawer is removed, it’s time to clean the freezer area. Follow these steps to ensure the freezer is clean and ready for reinstallation:
- Inspect the freezer compartment for any spills, debris, or built-up ice.
- Using a soft cloth or sponge, wipe down the interior surfaces of the freezer, including the walls and shelves.
- If there are any stubborn stains or residue, use a mild detergent or cleaning solution diluted with water to remove them.
- Rinse the cloth or sponge thoroughly and wring out any excess water before continuing to clean.
- Make sure to clean any removable shelves, baskets, or dividers that were removed earlier.
- Dispose of any water or melted ice that may have accumulated in a bucket or container.
- Allow the freezer compartment to dry completely before reinstallation.
By thoroughly cleaning the freezer area, you’ll ensure that your Whirlpool freezer is free of dirt, residue, and odors. This will help maintain the quality and freshness of your frozen food items. With the cleaning process complete, you’re ready to move on to the final step: reinstalling the freezer drawer.
Read more: How To Remove Dresser Drawers On Tracks
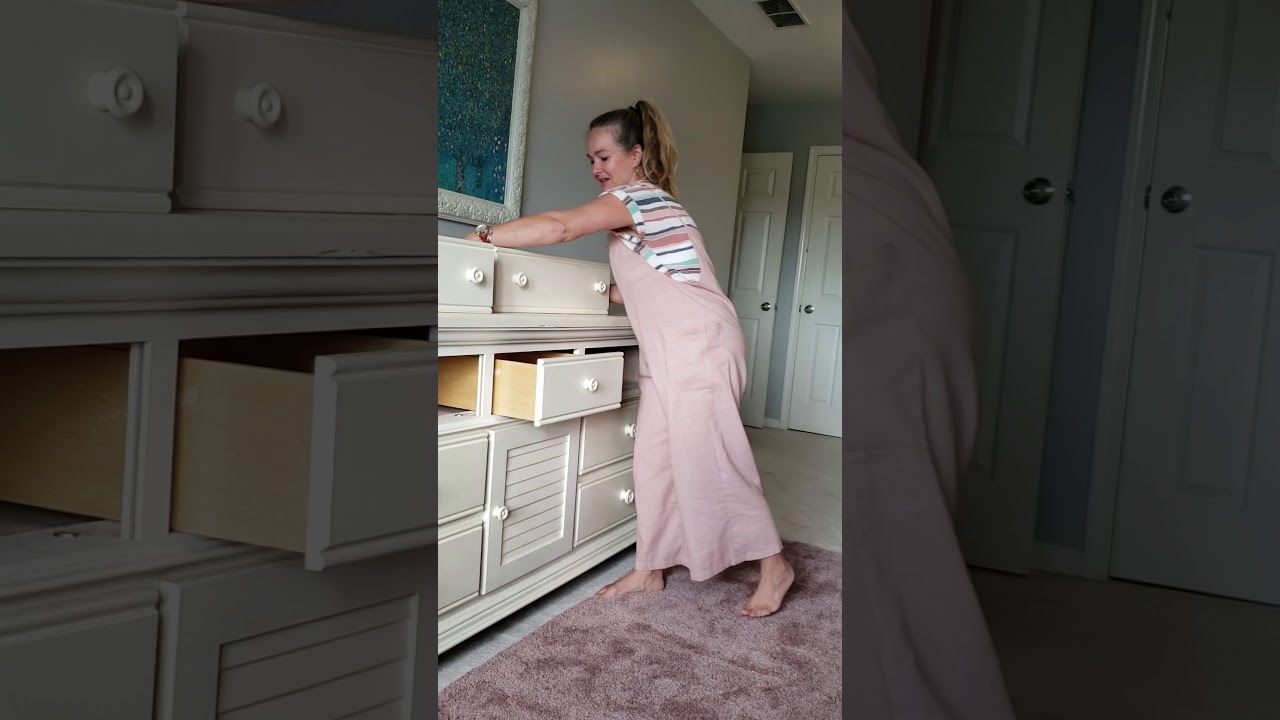
Step 7: Reinstalling the Freezer Drawer
Now that you have cleaned the freezer area, it’s time to reinstall the Whirlpool freezer drawer. Follow these steps to ensure a proper reinstallation:
- Position the freezer drawer in front of the freezer compartment.
- Pick up the front of the drawer and align it with the tracks inside the freezer.
- Gently push the drawer back into the freezer compartment to engage it with the tracks.
- Ensure that the drawer is securely in place and slides smoothly along the tracks.
- Double-check that both removal tabs are still released to allow the drawer to move freely.
- If necessary, adjust the position of any shelves, baskets, or dividers to fit properly within the drawer.
- Once the drawer is fully installed and aligned, close the freezer door to complete the process.
By following these steps, you will successfully reinstall the Whirlpool freezer drawer and restore it to its original position. Take a moment to ensure that the drawer is securely in place before closing the freezer door. With the reinstallation complete, you can now enjoy your organized and functional freezer once again.
Conclusion
Removing and reinstalling a Whirlpool freezer drawer may seem like a daunting task, but with the right instructions and a little bit of patience, it can be easily accomplished. By following the step-by-step process outlined in this article, you can safely remove the freezer drawer, clean the freezer area, and reinstall the drawer without any hassle.
Remember to prioritize your safety throughout the process by unplugging the freezer, wearing protective gloves, and clearing the surrounding area. Take your time to empty the freezer drawer and remove its contents, ensuring that perishable items are properly stored and expired items are discarded. Locate the drawer removal tabs and release them to remove the freezer drawer from its tracks.
Once the freezer drawer is removed, take the opportunity to thoroughly clean the freezer area using a soft cloth or sponge and a mild detergent. Dispose of any water or melted ice that may have accumulated during the cleaning process. With the freezer area clean and dry, carefully reinstall the freezer drawer, ensuring it is securely in place and slides smoothly along the tracks. Close the freezer door and admire your well-organized and sparkling-clean freezer.
By following these steps, you can maintain the functionality of your Whirlpool freezer while keeping it clean and organized. Regularly removing and cleaning the freezer drawer will not only improve its performance but also extend its lifespan. So, don’t hesitate to give your freezer some love and attention by following these simple steps.
Remember to consult your Whirlpool user manual or contact customer support if you encounter any specific challenges or have model-specific questions. Enjoy your freshly cleaned freezer and the ease of access to your frozen food items!
Now that you've mastered removing your Whirlpool freezer drawer, why not take your skills up a notch and tidy up inside? Organizing freezer space not only keeps food items accessible but also maximizes storage efficiency. Don't miss our guide on arranging freezer contents for optimal use. It's packed with practical tips and straightforward advice to help you maintain an orderly and efficient freezer.
Frequently Asked Questions about How To Remove Whirlpool Freezer Drawer
Was this page helpful?
At Storables.com, we guarantee accurate and reliable information. Our content, validated by Expert Board Contributors, is crafted following stringent Editorial Policies. We're committed to providing you with well-researched, expert-backed insights for all your informational needs.


0 thoughts on “How To Remove Whirlpool Freezer Drawer”