Articles
How To Descale Breville Coffee Machine
Modified: October 24, 2024
Learn effective techniques for descaling your Breville coffee machine with our informative articles. Maintain optimal performance and prolong the lifespan of your appliance.
(Many of the links in this article redirect to a specific reviewed product. Your purchase of these products through affiliate links helps to generate commission for Storables.com, at no extra cost. Learn more)
Introduction
When it comes to maintaining the performance and longevity of your Breville coffee machine, regular descaling is crucial. Over time, mineral deposits and impurities from the water you use can build up inside the machine, affecting its efficiency and the quality of your coffee. Descaling not only removes these deposits but also helps to improve the taste and aroma of your brew.
In this article, we will guide you through the step-by-step process of descaling your Breville coffee machine. We will provide you with all the necessary information you need, from the materials you will require to the best practices to follow.
Before we dive into the process, let’s understand why it is important to descale your coffee machine on a regular basis.
Key Takeaways:
- Regular descaling of your Breville coffee machine is crucial for optimal performance, extended lifespan, and delicious brews. Follow the step-by-step guide to maintain your machine and enjoy quality coffee.
- Gather the necessary materials, prepare the machine, mix the descaling solution, and follow the detailed process to descale your Breville coffee machine effectively. Keep your machine in top shape for delightful coffee moments.
Read more: How To Descale The Breville Espresso Machine
Why Descale Your Breville Coffee Machine?
Descaling your Breville coffee machine is essential for several reasons. Over time, mineral deposits such as calcium and limescale can accumulate in the internal components of your machine, including the heating element and water pathways. These deposits can cause clogs, blockages, and reduced water flow, affecting the machine’s performance and the quality of your coffee.
Here are some key reasons why descaling is important:
- Optimal Performance: Regular descaling ensures that your coffee machine operates at its best. By removing mineral deposits, you can maintain optimal water flow, temperature, and pressure, resulting in better extraction and flavor.
- Extended Lifespan: Descaling helps to prolong the lifespan of your Breville coffee machine. The buildup of minerals can lead to corrosion and damage to various components, reducing the overall durability and functionality of the machine.
- Improved Taste and Aroma: The presence of mineral deposits can impact the taste and aroma of your coffee. Descaling removes these impurities, allowing your coffee to taste cleaner, smoother, and more flavorful.
- Prevention of Clogs and Blockages: Mineral deposits can cause clogs and blockages in the water pathways of your coffee machine. This can lead to uneven water distribution, reduced brewing efficiency, and even machine malfunctions. Descaling helps to prevent these issues and ensures consistent performance.
- Health and Safety: Regular descaling is important for maintaining hygiene and preventing the growth of bacteria and mold in your coffee machine. Proper cleaning and descaling routines help to keep your machine safe to use and ensure the quality and purity of your coffee.
Now that we understand the importance of descaling, let’s move on to the materials and tools you will need for the process.
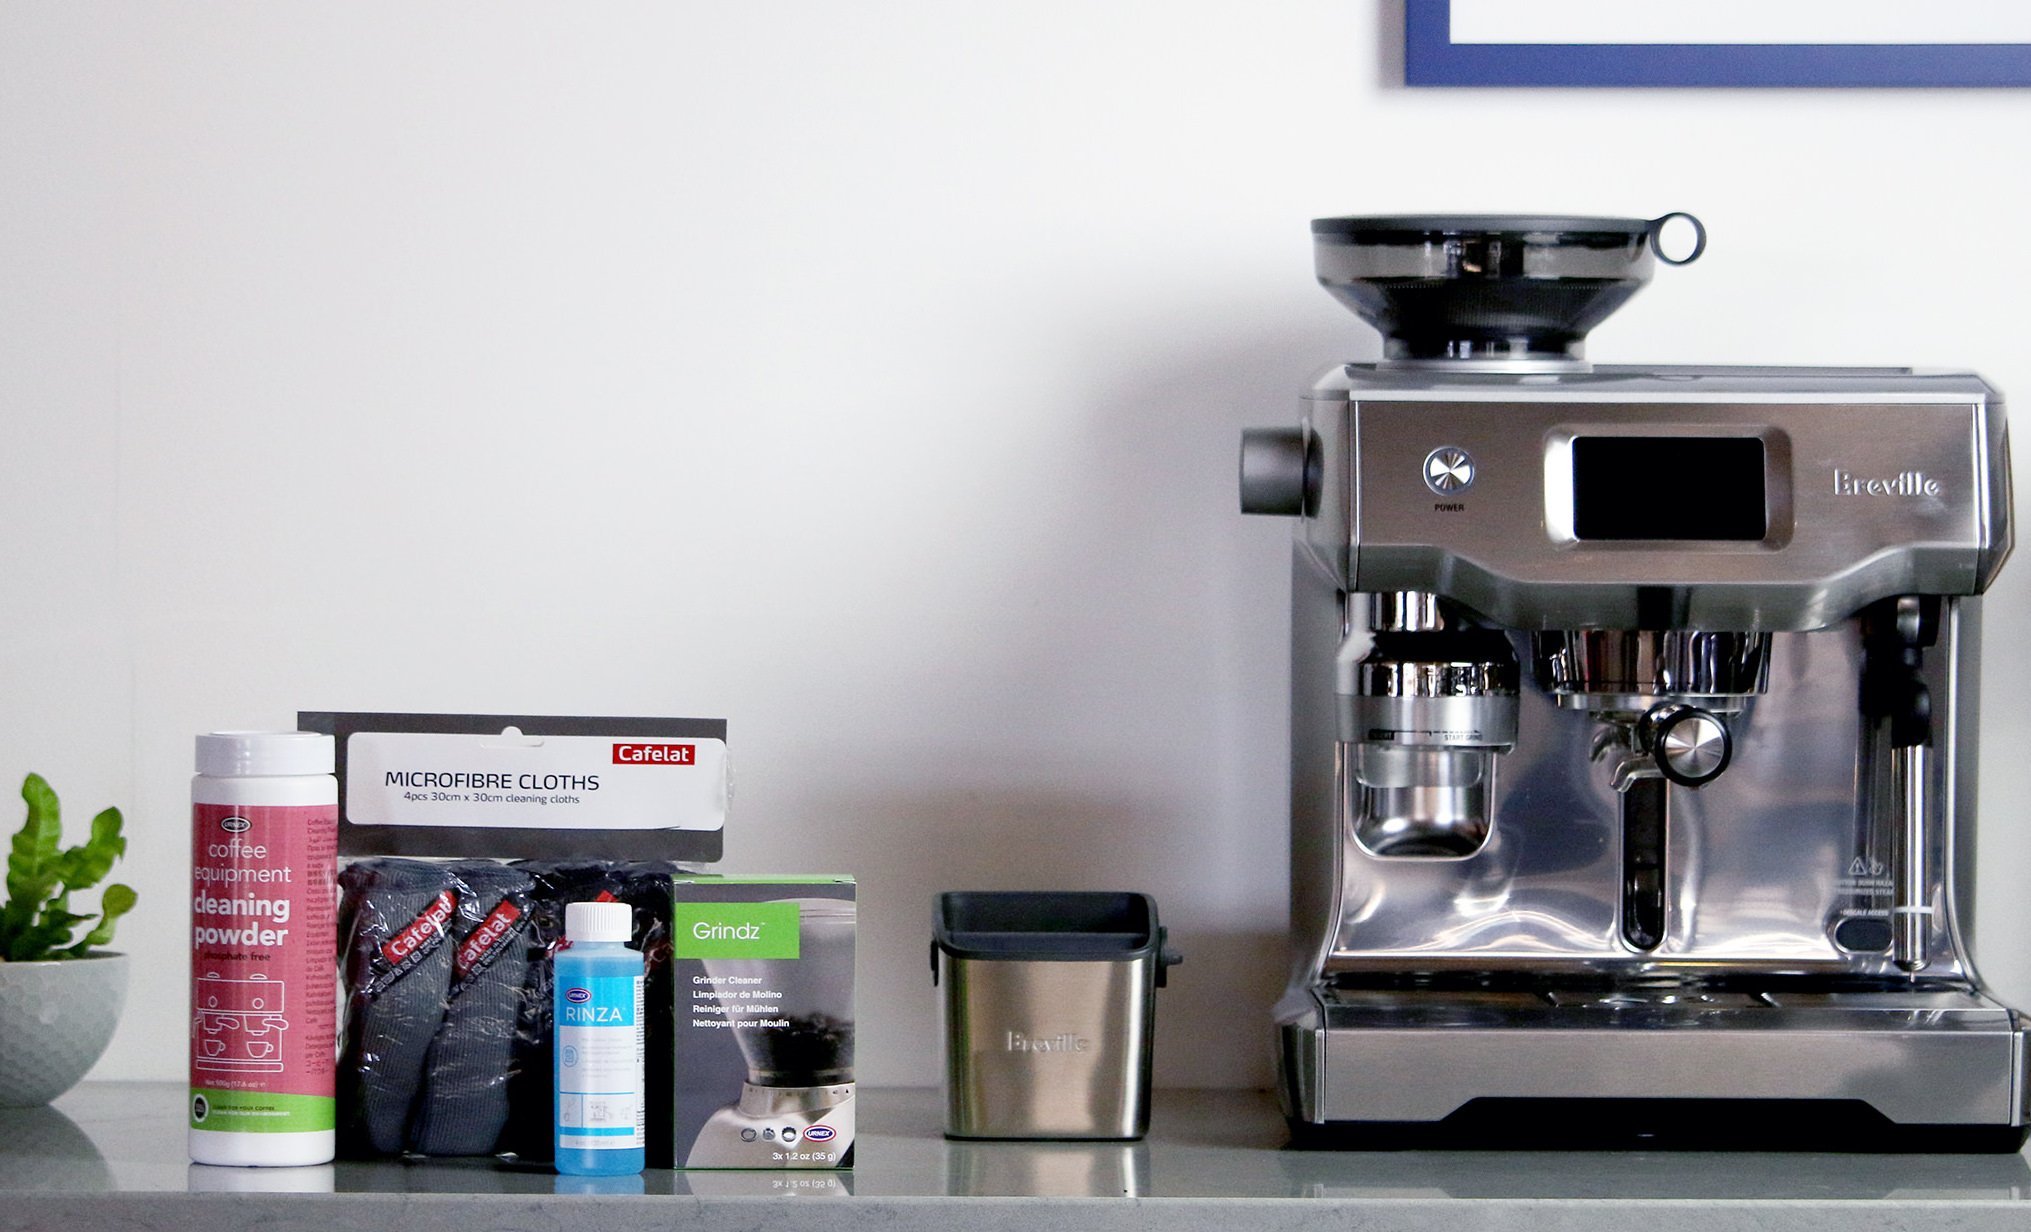
What You Will Need
Before you begin the descaling process, it’s important to gather all the necessary materials and tools. Here’s a list of what you will need:
- Descaling Solution: You will need a descaling solution specifically formulated for coffee machines. Breville also offers its own descaling solution, which is recommended for optimal results. Make sure to check the instructions provided with the solution for the correct dilution ratio.
- Fresh Water: You will need clean, fresh water to rinse your machine and remove any residual descaling solution.
- Empty Container: Prepare a container or a cup that is large enough to hold the amount of descaling solution required by your machine.
- Clean Cloth or Sponge: Have a soft cloth or sponge on hand to wipe down the exterior of your coffee machine during and after the descaling process.
- Soft Bristle Brush: A soft-bristle brush will be useful for cleaning any removable parts of your coffee machine, such as the coffee filter or frothing wand.
- Clean, Dry Towel: Keep a clean and dry towel nearby to dry off any excess water after rinsing your machine.
- Timer: It’s helpful to have a timer or a clock to keep track of the descaling process and the recommended soaking time indicated in the descaling solution instructions.
Once you have gathered these materials and tools, you are ready to begin the descaling process. In the next section, we will guide you through the step-by-step instructions on how to descale your Breville coffee machine.
Step 1: Prepare the Machine
Before starting the descaling process, ensure that your Breville coffee machine is properly prepared. Follow these steps:
- Turn off the Machine: Make sure your coffee machine is switched off and unplugged. This will prevent any mishaps during the descaling process.
- Remove and Empty the Water Tank: Take out the water tank from the machine and discard any remaining water. Rinse the tank with fresh water and set it aside.
- Empty the Drip Tray and Used Coffee Grounds: Remove the drip tray from the machine and empty any liquid in it. Dispose of used coffee grounds if there are any. Clean the drip tray and set it aside to dry.
- Clean the Coffee Filter: Remove the coffee filter from the portafilter and rinse it with fresh water. If the filter is heavily soiled, you can use a soft-bristle brush to clean it. Set the coffee filter aside to dry.
- Inspect the Machine: Take a moment to visually inspect the machine for any visible signs of dirt or residue. If necessary, wipe the exterior surfaces with a clean, damp cloth.
By thoroughly preparing your coffee machine, you ensure that the descaling process is carried out effectively and without any interruptions. Now that your machine is ready, it’s time to move on to the next step: mixing the descaling solution.
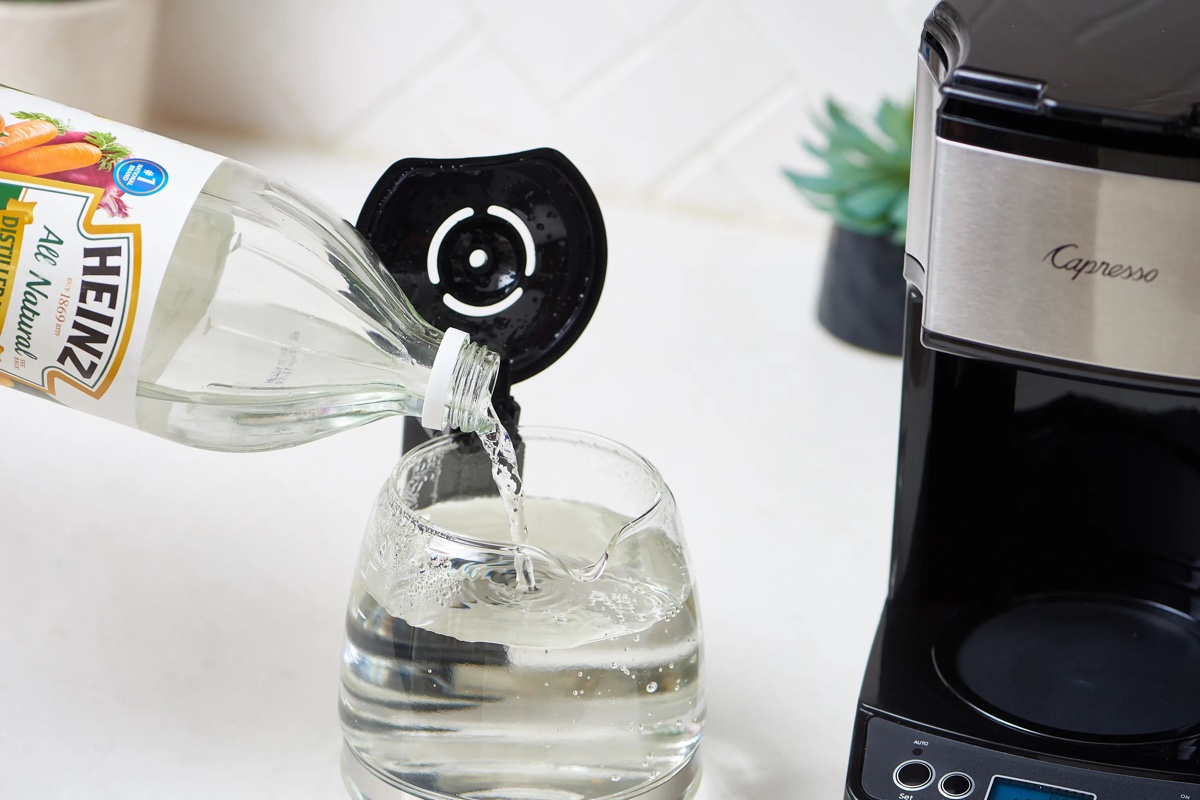
Step 2: Mix the Descaling Solution
Once your Breville coffee machine is prepared, it’s time to mix the descaling solution. Follow these steps:
- Refer to the Descaling Solution Instructions: Read the instructions provided with the descaling solution to determine the correct dilution ratio. Different descaling solutions may have different instructions, so it’s important to follow them carefully.
- Fill the Water Tank with Water and Descaling Solution: Fill the water tank with the appropriate amount of fresh water as indicated in the descaling solution instructions. Then, add the recommended amount of descaling solution to the water tank.
- Mix the Solution: Gently swirl or stir the water tank to ensure that the descaling solution is thoroughly mixed with the water.
It’s important to note that the dilution ratio and specific instructions may vary depending on the descaling solution you are using. Be sure to read and follow the instructions provided with the solution for the best results.
Now that you have mixed the descaling solution, you’re ready to move on to the next step: the start of the descaling process itself.
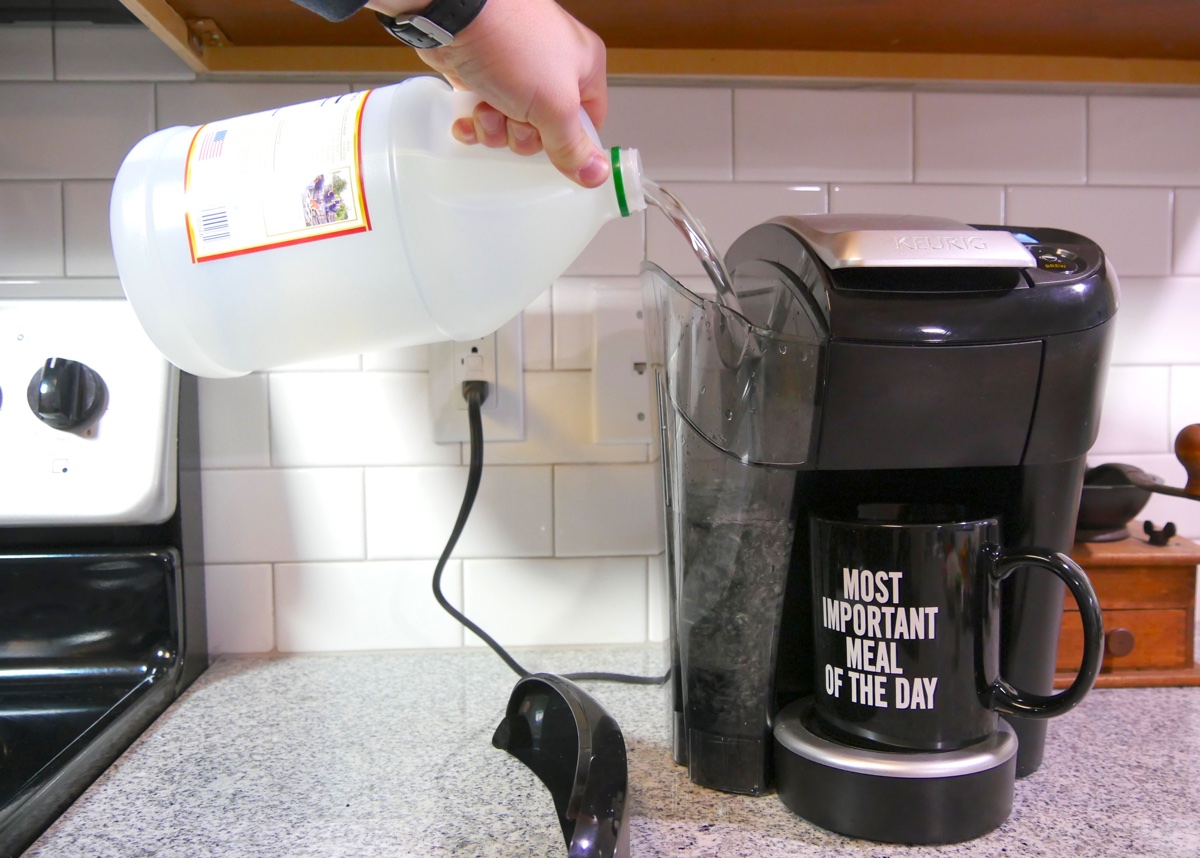
To descale a Breville coffee machine, mix equal parts water and white vinegar, pour the solution into the water tank, and run a descaling cycle. Then, run two cycles of plain water to rinse. Repeat every 2-3 months to maintain performance.
Read more: How To Descale A Delonghi Coffee Machine
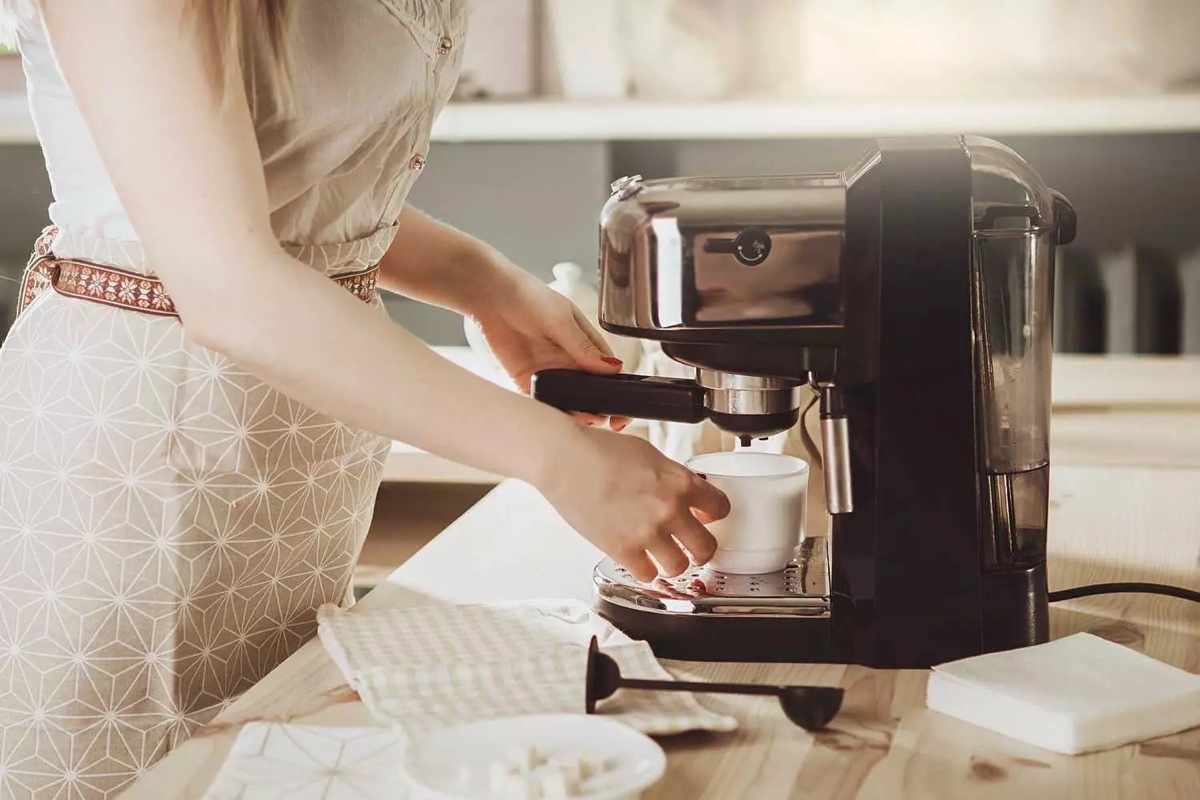
Step 3: Begin the Descaling Process
Now that you have prepared the descaling solution, it’s time to begin the descaling process for your Breville coffee machine. Follow these steps:
- Place a Container Under the Group Head: Position an empty container or cup under the group head of your coffee machine. This will catch the descaling solution as it flows through the machine.
- Start the Descaling Process: Turn on your coffee machine and initiate the descaling process. Consult your machine’s instruction manual to find the specific steps for descaling.
- Allow the Solution to Flow: Once the descaling process has started, the descaling solution will begin to flow through the machine. Make sure to keep an eye on the container to ensure that it does not overflow.
- Let the Solution Soak: Once the solution has filled the container, allow it to sit in the coffee machine for the recommended soaking time as indicated in the descaling solution instructions. This allows the solution to thoroughly clean the internal components.
- Continue the Descaling Process: Follow the instructions provided with your coffee machine to complete the descaling process. This may include running multiple cycles of the descaling solution to ensure a thorough clean.
During the descaling process, you may hear some gurgling noises or see the descaling solution coming out of the machine in bursts. This is normal and indicates that the solution is properly cleaning the internal parts of your coffee machine.
Once the descaling process is complete, it’s time to move on to the next step: rinsing the machine to remove any residual solution.
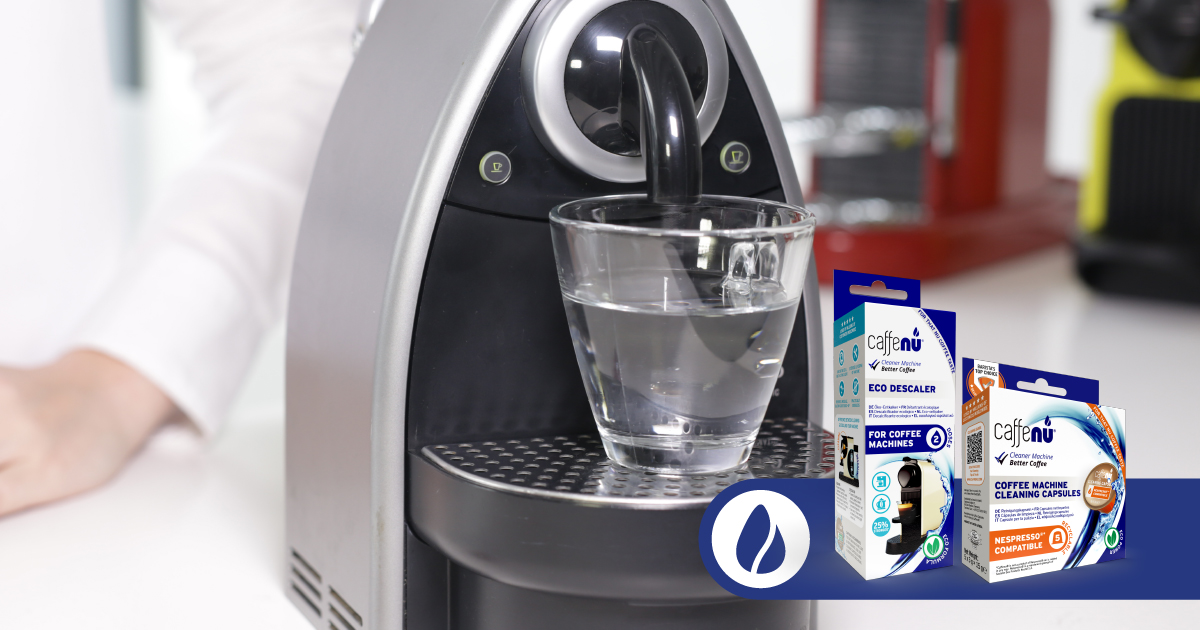
Step 4: Rinse the Machine
After completing the descaling process, it is important to thoroughly rinse your Breville coffee machine to remove any leftover descaling solution. Follow these steps to properly rinse your machine:
- Empty the Water Tank: Remove any remaining descaling solution from the water tank. Dispose of the solution and thoroughly rinse the tank with fresh water.
- Refill the Water Tank: Fill the water tank with clean water, ensuring that it is properly seated in the machine.
- Place a Container Under the Group Head: Position an empty container or cup under the group head to catch the rinsing water.
- Flush with Clean Water: Initiate the rinsing process by running clean water through the machine. This will help to remove any leftover descaling solution from the internal components.
- Continue Rinsing: Run several cycles of clean water through the machine, following the instructions provided by your coffee machine’s manufacturer. This will ensure that all traces of the descaling solution are completely flushed out of the system.
During the rinsing process, you may notice some discoloration or residue in the water. This is normal and is a result of the build-up being removed from the machine. Continue running clean water until the water flows clear and free from any debris.
Once the rinsing process is complete, it is important to clean the coffee filter and other removable parts of the machine, which we will cover in the next step.
Step 5: Clean the Coffee Filter and Other Removable Parts
After rinsing your Breville coffee machine, it’s time to clean the coffee filter and any other removable parts. Follow these steps to ensure they are properly cleaned:
- Remove the Coffee Filter: Take out the coffee filter from the portafilter. Rinse it under running water to remove any coffee residue.
- Clean the Coffee Filter: If the coffee filter is heavily soiled, you can use a soft-bristle brush to gently scrub away any remaining residue. Make sure to thoroughly clean all areas of the filter.
- Wash Other Removable Parts: Remove any other removable parts, such as the frothing wand or drip tray, and wash them with warm, soapy water. Use a soft cloth or sponge to clean the surfaces and rinse them thoroughly.
- Allow the Parts to Dry: After cleaning, set the coffee filter and other removable parts aside to air dry. Make sure they are completely dry before reattaching them to the coffee machine.
Properly cleaning the coffee filter and other removable parts helps to prevent the buildup of coffee residues and ensures optimal flavor in your future brews. Once the parts are dry, it’s time to move on to the final step: running a test brew.
Step 6: Run a Test Brew
After descaling, rinsing, and cleaning the various components of your Breville coffee machine, it’s important to run a test brew to ensure that everything is working properly. Follow these steps to run a test brew:
- Ensure the Machine is Assembled: Make sure that all removable parts, including the coffee filter, drip tray, and water tank, are properly reassembled and securely in place.
- Fill the Water Tank: Fill the water tank with fresh, clean water, following the manufacturer’s recommended level.
- Preheat the Machine: Turn on your coffee machine and allow it to preheat for a few minutes to ensure optimal brewing temperature.
- Insert the Coffee Filter: Place the clean coffee filter back into the portafilter and lock it into position.
- Run the Test Brew: Start the brewing process by selecting your desired settings, such as the coffee strength and size. Allow the machine to complete the brewing cycle.
- Evaluate the Brew: Once the test brew is complete, evaluate the aroma, flavor, and appearance of the coffee. Ensure that it meets your expectations in terms of taste and quality.
If the test brew produces a satisfactory result, congratulations! Your Breville coffee machine is now descaled, cleaned, and ready for regular use. However, if you notice any issues or inconsistencies in the test brew, it may be a sign that further maintenance or troubleshooting is required. In such cases, referring to your coffee machine’s user manual or seeking assistance from a professional technician is recommended.
Regular descaling and maintenance of your Breville coffee machine not only enhances its performance but also ensures the longevity and quality of your brews. By following these step-by-step instructions, you can keep your coffee machine in excellent condition and continue enjoying delicious coffee for years to come.
Once again, it’s important to consult your machine’s instruction manual for specific descaling and maintenance guidelines, as they may vary based on the model and manufacturer. Happy coffee brewing!
Read more: How To Descale Philips Coffee Machine
Conclusion
Descaling your Breville coffee machine is a crucial maintenance task that ensures optimal performance, extends its lifespan, and enhances the taste and aroma of your coffee. By removing mineral deposits and impurities through regular descaling, you can enjoy a consistently delicious cup of coffee and prevent clogs or malfunctions in your machine.
In this article, we have provided you with a comprehensive guide on how to descale your Breville coffee machine. We covered the importance of descaling, the materials you will need, and outlined the step-by-step process to follow.
Remember to prepare your machine by turning it off, removing and emptying the water tank and drip tray, and cleaning the coffee filter. Mix the descaling solution according to the instructions provided and begin the descaling process, allowing the solution to flow through the machine and soak for the recommended time. Rinse the machine thoroughly, clean the coffee filter and other removable parts, and finally, run a test brew to ensure everything is functioning properly.
Regular descaling, along with proper cleaning and maintenance, is key to keeping your Breville coffee machine in top shape. Following the manufacturer’s guidelines and using the recommended descaling solution will help you achieve the best results.
By incorporating descaling into your coffee machine’s routine, you can continue to enjoy the rich aroma, smooth flavor, and satisfying experience of a perfectly brewed cup of coffee. Cheers to many delightful coffee moments with your Breville coffee machine!
Frequently Asked Questions about How To Descale Breville Coffee Machine
Was this page helpful?
At Storables.com, we guarantee accurate and reliable information. Our content, validated by Expert Board Contributors, is crafted following stringent Editorial Policies. We're committed to providing you with well-researched, expert-backed insights for all your informational needs.
0 thoughts on “How To Descale Breville Coffee Machine”