
Articles
How To Descale Keurig Coffee Machine
Modified: October 24, 2024
Learn effective ways to descale your Keurig coffee machine with our informative articles. Keep your machine running smoothly and your coffee tasting great!
(Many of the links in this article redirect to a specific reviewed product. Your purchase of these products through affiliate links helps to generate commission for Storables.com, at no extra cost. Learn more)
Introduction
Welcome to this comprehensive guide on how to descale your Keurig coffee machine. If you’re a coffee lover, chances are you rely on your Keurig machine to brew your favorite cup of joe every morning. Over time, mineral deposits and scale can build up inside your coffee machine, affecting its performance and the taste of your coffee.
Descaling is the process of removing these mineral deposits and scale from your Keurig coffee machine. Regular descaling not only helps maintain the quality of your coffee but also prolongs the lifespan of your machine. In this article, we’ll explore why descaling is important, signs that your machine needs descaling, the materials you’ll need, and a step-by-step guide on how to descale your Keurig coffee machine.
So, if you’ve noticed a decline in the performance of your coffee machine or the taste of your coffee isn’t as delicious as it used to be, it’s time to descale your Keurig machine and bring back the optimal brewing experience.
Key Takeaways:
- Regular descaling of your Keurig coffee machine is essential to maintain optimal performance, prevent clogs, and ensure a flavorful brew every time.
- Pay attention to signs like slow brewing, weak coffee, and loud noises, indicating the need for prompt descaling to avoid further issues and prolong your machine’s lifespan.
Why Descaling is Important for Your Keurig Coffee Machine
Descaling is an essential maintenance process for your Keurig coffee machine. Over time, minerals, such as calcium and magnesium, can accumulate inside your machine’s water reservoir and other internal components. This mineral buildup, known as scale, can have several negative effects on your coffee machine and the quality of your brew. Here are a few reasons why descaling is crucial:
- Maintains Optimal Performance: Scale buildup can clog the internal pipes and valves of your Keurig machine, leading to reduced water flow and pressure. This can result in sluggish brewing, longer brew times, or even incomplete brewing cycles. Descaling your machine helps clear these blockages, allowing water to flow freely and ensuring proper performance.
- Prolongs Machine Lifespan: Scale buildup can put additional strain on your coffee machine’s heating element. The presence of scale reduces the efficiency of the heating process, causing the heating element to work harder and potentially leading to premature wear and tear. Regular descaling helps maintain the longevity of your coffee machine.
- Enhances Taste: When minerals accumulate in your coffee machine, they can impart a metallic or bitter flavor to your brew. Descaling removes these unwanted deposits, restoring the true taste of your favorite coffee. Regular descaling ensures that every cup of coffee from your Keurig machine is as flavorful and enjoyable as possible.
- Prevents Clogs and Malfunctions: Scale buildup can also lead to clogs in the nozzles and needles of your Keurig machine. These clogs can prevent proper water dispersion and disrupt the brewing process, resulting in incomplete or weak cups of coffee. Descaling helps prevent these clogs and ensures smooth operation.
By descaling your Keurig coffee machine regularly, you can maintain its performance, prolong its lifespan, and enjoy the full flavor of your coffee. In the next section, we will discuss the signs that indicate your machine needs descaling.
Signs that Your Keurig Coffee Machine Needs to be Descaled
While regular descaling is recommended for all Keurig coffee machines, there are certain signs that indicate it’s time to give your machine a thorough descaling. These signs include:
- Slow Brewing Times: If you notice a significant increase in the time it takes for your Keurig machine to brew a cup of coffee, it’s a sign that scale buildup may be impeding the flow of water. Descaling can help improve the brewing speed and efficiency of your machine.
- Partial Brews: Are you experiencing issues with your Keurig machine only brewing a partial cup of coffee? This can be due to clogs caused by scale buildup. Descaling can remove these obstructions, ensuring a full and satisfying brew every time.
- Weak or Watery Coffee: If your coffee tastes weaker than usual or has a watery consistency, it may be due to scale interfering with the brewing process. Descaling your machine can help restore the rich, bold flavor of your coffee.
- Inconsistent Water Flow: Scale inside your Keurig machine can disrupt the water flow, leading to inconsistent water dispensing during the brewing cycle. If you notice sporadic bursts of water or uneven distribution, descaling may be necessary to restore proper water flow.
- Loud Noises: Unusual sounds, such as gurgling or hissing, during the brewing process can be an indication of scale buildup. Descaling your Keurig machine can help eliminate these noises and ensure smooth and quiet operation.
Keep in mind that these signs may vary depending on the model and condition of your specific Keurig coffee machine. However, if you notice any of these symptoms, it’s a good indication that descaling is needed to maintain optimal performance and enjoy a great-tasting cup of coffee. In the next section, we will discuss the materials you’ll need to descale your Keurig machine.
Materials Needed for Descaling
Before you begin the descaling process for your Keurig coffee machine, make sure you have the following materials on hand:
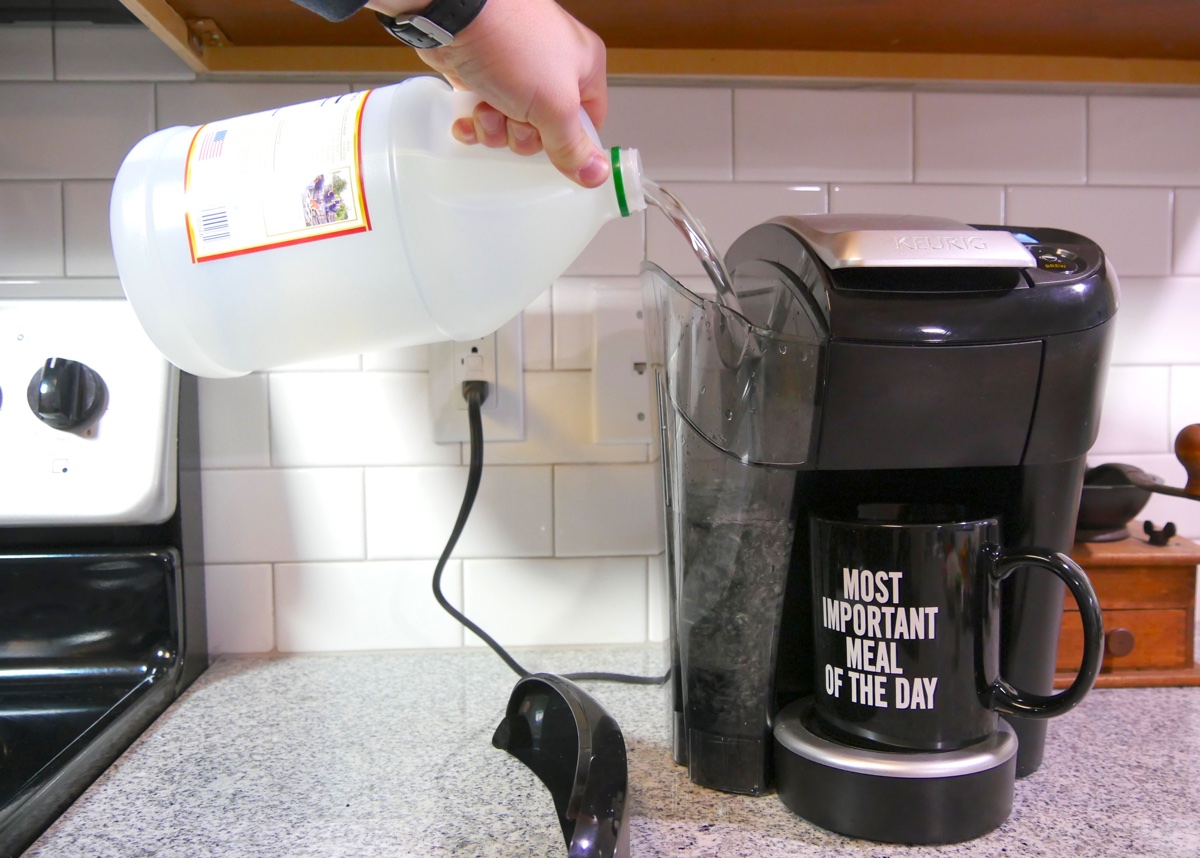
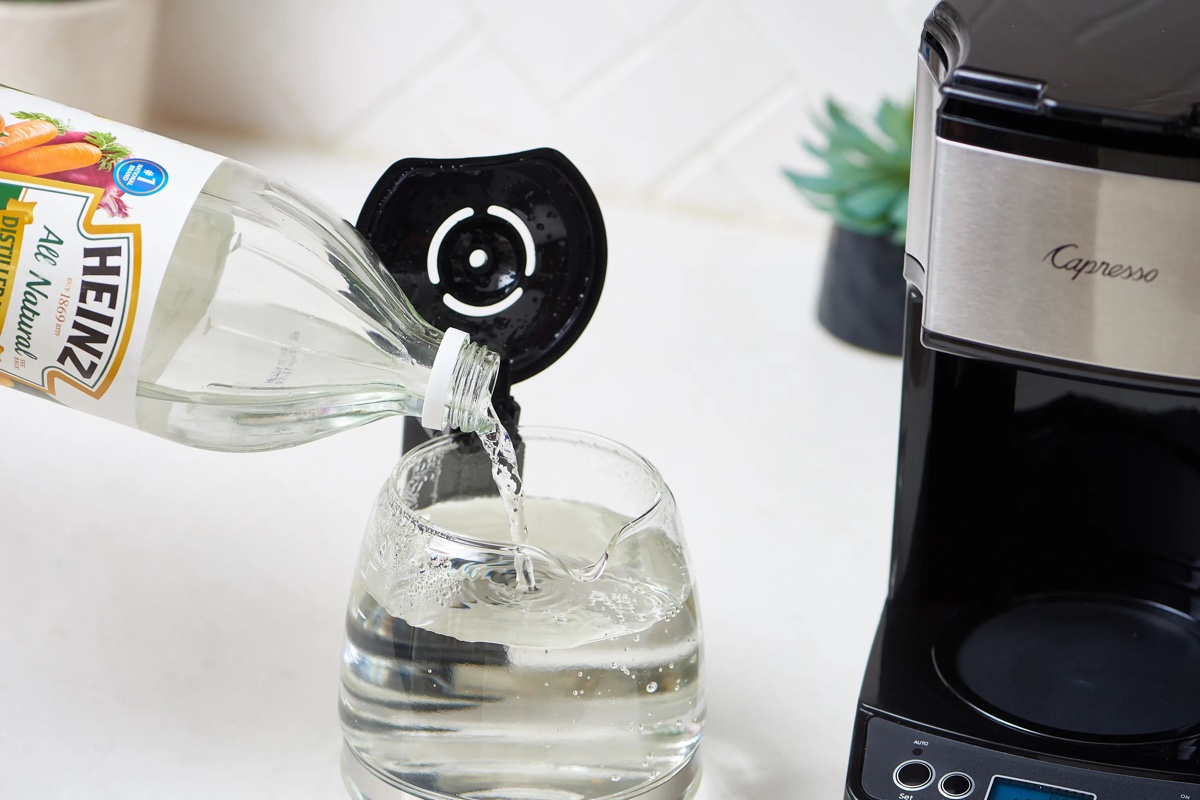
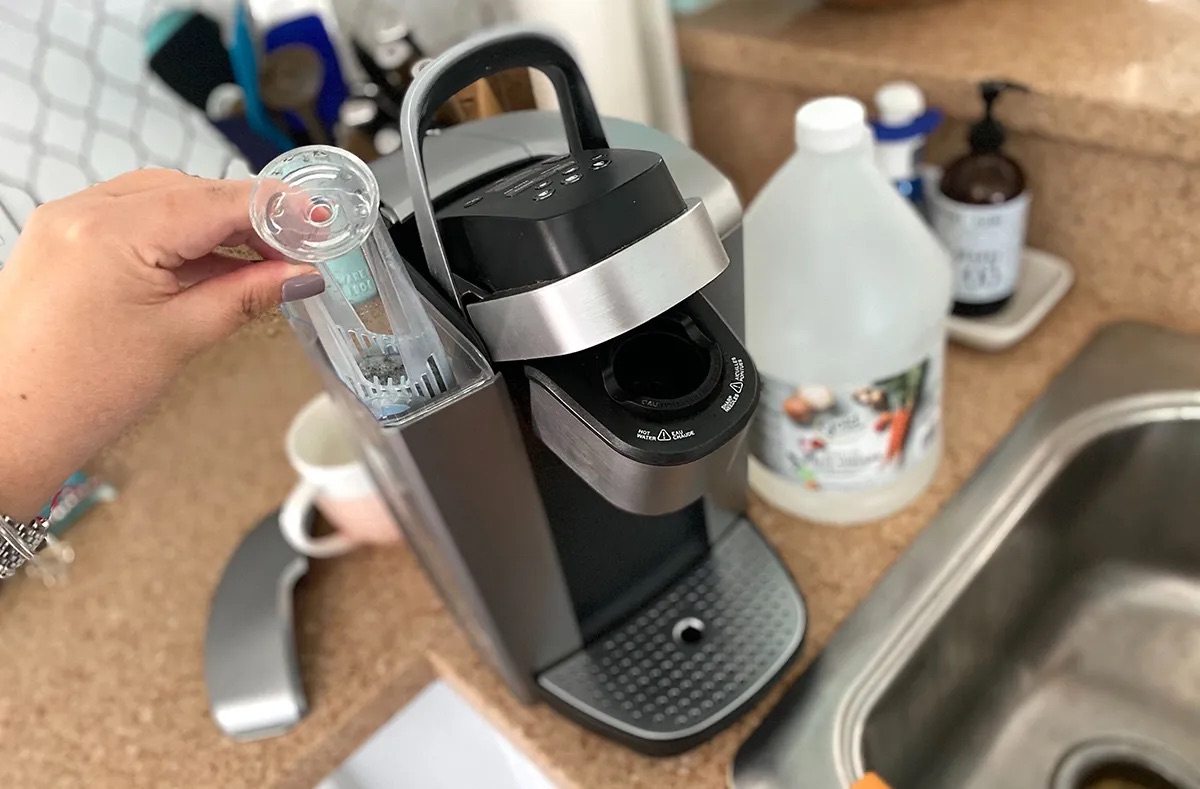
- Descaling Solution: The key component for descaling is a descaling solution specifically designed for coffee machines. You can purchase descaling solutions from various brands or use homemade solutions like a mixture of white vinegar and water. Follow the instructions provided with the descaling solution for the correct dilution ratio.
- Fresh Water: You’ll need clean, fresh water for rinsing your coffee machine during the descaling process. Make sure you have enough water to complete multiple rinse cycles.
- Clean Cloth or Sponge: Having a clean cloth or sponge handy will help you wipe down the external surfaces of your Keurig machine during the descaling process.
- Mug or Container: Prepare a mug or container to collect the descaling solution and water that will pass through your coffee machine during the descaling process.
- Time: The descaling process can take some time, including waiting time for the descaling solution to work. Set aside enough time to complete the process without rushing.
These materials are essential for descaling your Keurig coffee machine effectively. Once you have gathered all the necessary materials, you’re ready to start the step-by-step descaling process. In the next section, we will provide you with a detailed guide on how to descale your Keurig machine.
Step-by-Step Guide on How to Descale Your Keurig Coffee Machine
Follow these simple steps to descale your Keurig coffee machine and keep it running optimally:
- Prepare Your Keurig Machine: Ensure that your coffee machine is powered off and unplugged before starting the descaling process. Remove any remaining coffee pods from the machine and empty the water reservoir.
- Mix the Descaling Solution: Follow the instructions provided with your chosen descaling solution to mix the appropriate amount of solution with water. If using a homemade solution, mix equal parts white vinegar and water.
- Fill the Water Reservoir: Pour the descaling solution into the water reservoir of your Keurig machine. Make sure to fill it up to the maximum fill line.
- Start the Descaling Cycle: Place a mug or container on the drip tray to collect the solution. Power on your Keurig machine and initiate a brewing cycle without inserting a coffee pod. Select the largest cup size to ensure the descaling solution flows through the machine thoroughly.
- Let the Solution Work: Allow the descaling solution to run through the machine until the reservoir is completely empty. This process may take several minutes.
- Rinse the Machine: Once the descaling cycle is complete, remove the empty water reservoir and thoroughly rinse it. Refill the reservoir with clean, fresh water.
- Flush with Clean Water: Initiate brewing cycles with clean water, just as you did with the descaling solution. Repeat this process several times to ensure all traces of the descaling solution are flushed out of the machine.
- Clean External Surfaces: While the machine is still powered on, use a clean cloth or sponge dampened with water to wipe down the external surfaces of your Keurig machine. This will remove any residue or spills that may have accumulated during the descaling process.
- Ready to Brew: After completing the rinsing and cleaning process, your Keurig coffee machine is now descaled and ready to brew a fresh cup of coffee. Insert a coffee pod and enjoy your revitalized brewing experience!
Remember to refer to the specific instructions provided by your machine’s manufacturer as the steps may vary slightly depending on the model. Regular descaling, typically recommended every 3 to 6 months, will help maintain the performance and taste of your Keurig coffee machine.
In the next section, we will provide you with some tips and recommendations to make the descaling process even more effective.
Run a descaling solution through your Keurig coffee machine every 3-6 months to remove mineral buildup and keep it running smoothly. Follow the manufacturer’s instructions for best results.
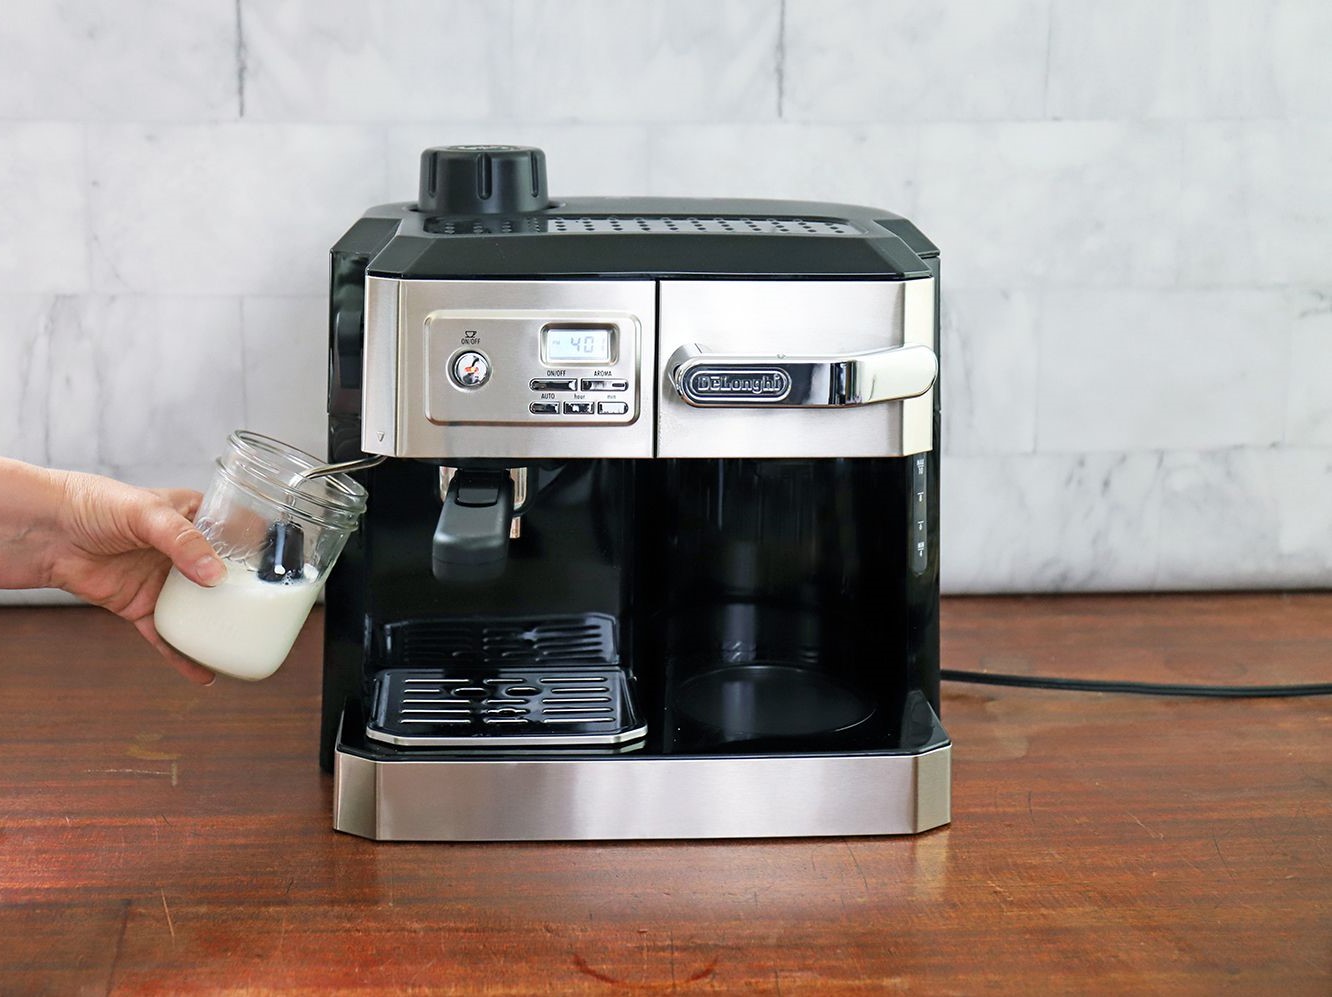
Read more: How To Descale A Delonghi Coffee Machine
Tips and Recommendations for Effective Descaling
To ensure a thorough and effective descaling process for your Keurig coffee machine, consider the following tips and recommendations:
- Read the Manufacturer’s Instructions: Before you start the descaling process, it’s recommended to review the instruction manual provided by your coffee machine’s manufacturer. This will ensure that you follow the specific guidelines and recommendations for your particular model.
- Choose the Right Descaling Solution: Select a descaling solution that is compatible with your Keurig coffee machine. Some solutions are specifically formulated for Keurig machines, while others are designed for general coffee machine descaling. Using the appropriate solution will yield better results.
- Follow Dilution Ratios: If using a descaling solution, be sure to mix it with water according to the recommended dilution ratios specified by the manufacturer. Using too much or too little solution can affect the effectiveness of the descaling process.
- Perform Multiple Rinse Cycles: After the initial descaling cycle, it’s essential to perform multiple rinse cycles with clean water. This will help ensure that all traces of the descaling solution are fully flushed out from the machine, avoiding any unwanted taste or residue in your coffee.
- Clean External Components: While descaling focuses on the internal components of your Keurig machine, it’s also a good opportunity to clean the external surfaces. Wipe down any spills or stains with a damp cloth to keep your machine looking clean and well-maintained.
- Regularly Change the Water Filter: If your Keurig machine is equipped with a water filter, make sure to change it regularly as recommended by the manufacturer. This will help prevent mineral buildup and extend the lifespan of your machine.
- Follow a Descale Schedule: Create a descaling schedule to ensure that you don’t forget to descale your coffee machine regularly. Depending on your usage and the hardness of your water, descaling is typically recommended every 3 to 6 months.
By following these tips and recommendations, you can maximize the effectiveness of the descaling process and keep your Keurig coffee machine in optimal condition. In the next section, we will discuss some common mistakes to avoid while descaling.
Common Mistakes to Avoid While Descaling
To ensure a successful descaling process for your Keurig coffee machine, it’s important to avoid the following common mistakes:
- Skipping the Regular Descaling: Neglecting to descale your coffee machine on a regular basis can lead to a buildup of scale that can affect its performance and the taste of your coffee. Make sure to follow a descaling schedule and don’t put off this essential maintenance task.
- Using the Wrong Descaling Solution: Using a descaling solution that is not specifically designed for coffee machines, or using an incorrect dilution ratio, can result in ineffective descaling. Always use a solution recommended by the manufacturer or opt for a solution specifically formulated for Keurig machines.
- Not Rinsing Thoroughly: After the descaling cycle, it’s crucial to perform multiple rinse cycles with clean water to remove any traces of the descaling solution. Failing to rinse thoroughly can leave behind a bitter taste or residue in your coffee.
- Forgetting to Clean External Surfaces: While descaling focuses on the internal components of your Keurig machine, it’s important not to overlook the cleaning of external surfaces. Wipe down spills and stains with a damp cloth to maintain the overall cleanliness of your machine.
- Delaying the Descale Process: Ignoring the signs that indicate your machine needs descaling, such as slow brewing or weak coffee, can lead to more severe issues. It’s best to address the descaling process promptly to prevent any further deterioration of your coffee machine’s performance.
- Not Following the Manufacturer’s Instructions: Each Keurig machine may have specific descaling procedures outlined by the manufacturer. Failing to follow these instructions can result in improper descaling or potential damage to your machine. Always refer to the instruction manual provided by the manufacturer.
- Skipping the Water Filter Replacement: If your Keurig machine has a water filter, it’s important to follow the recommended replacement schedule. Neglecting to replace the water filter can result in a higher concentration of minerals and scale buildup, requiring more frequent descaling.
By avoiding these common mistakes, you can ensure a successful descaling process and maintain the performance and taste of your Keurig coffee machine. In the next section, we will address some frequently asked questions about descaling Keurig coffee machines.
Frequently Asked Questions about Descaling Keurig Coffee Machines
Here are some commonly asked questions about descaling Keurig coffee machines:
- How often should I descale my Keurig coffee machine?
- Can I use vinegar to descale my Keurig machine?
- Can I descale my Keurig machine with citric acid?
- How long does the descaling process take?
- Can I use descaling solution pods instead of liquid descaling solution?
- Can I descale my Keurig machine without a descaling solution?
- Do I need to descale my Keurig machine if I use filtered water?
- Is it normal for there to be a strong odor during descaling?
The frequency of descaling depends on factors such as the hardness of your water and the amount of usage. As a general guideline, it is recommended to descale your Keurig machine every 3 to 6 months.
Yes, you can use a mixture of white vinegar and water as a homemade descaling solution for your Keurig coffee machine. Follow the proper dilution ratio, typically equal parts vinegar and water, and refer to the specific instructions provided by your machine’s manufacturer.
Citric acid can be used as an alternative to vinegar or descaling solutions. However, it’s important to follow the recommended dilution ratio and instructions provided by the manufacturer to ensure safe and effective descaling.
The descaling process can take anywhere from 30 minutes to an hour, depending on the specific model of your Keurig machine and the descaling solution you use. It’s important to follow the instructions provided by the manufacturer for the recommended descaling time.
Yes, some brands offer descaling solution pods that are specifically designed for Keurig machines. These pods can be convenient to use and may simplify the descaling process. Follow the instructions provided by the manufacturer for the proper usage of descaling solution pods.
While using a commercial descaling solution is recommended, you can use a homemade solution of white vinegar and water as an alternative. However, it’s important to follow the proper dilution ratio and rinse the machine thoroughly to remove any vinegar taste or odor.
Even with filtered water, minerals can still accumulate over time and affect the performance of your coffee machine. It’s recommended to descale your Keurig machine regularly, regardless of whether you use filtered water.
During the descaling process, especially when using vinegar, there may be a strong odor. This is normal and will dissipate once the descaling process is completed and the machine is thoroughly rinsed.
These frequently asked questions provide valuable information to help you understand the descaling process for your Keurig coffee machine. In the final section, we will conclude our guide on descaling Keurig machines.
Conclusion
Descaling your Keurig coffee machine is a crucial maintenance task to ensure optimal performance and a delicious cup of coffee every time. The accumulation of mineral deposits and scale can impact the taste of your coffee, slow down the brewing process, and even cause clogs in your machine. By following the step-by-step guide, using the recommended materials, and adhering to a regular descaling schedule, you can keep your Keurig machine in top shape and enjoy the full flavor of your favorite coffee.
Remember to pay attention to the signs that indicate your machine needs descaling, such as slow brewing times, weak coffee, and inconsistent water flow. By addressing these signs promptly, you can prevent further issues and prolong the lifespan of your Keurig coffee machine.
Furthermore, it’s important to avoid common mistakes such as using the wrong descaling solution, not rinsing thoroughly, and neglecting to clean the external surfaces of your machine. Following the manufacturer’s instructions and recommendations will ensure a successful descaling process and maintain the quality of your machine.
Lastly, familiarize yourself with the frequently asked questions about descaling Keurig coffee machines to gain a deeper understanding of the process. Whether you choose to use a commercial descaling solution or a homemade solution, ensure you follow the proper ratios and rinse thoroughly to eliminate any taste or odor after descaling.
Regular descaling is key to maintaining the optimal performance and taste of your Keurig coffee machine. So, don’t forget to include descaling as part of your coffee machine maintenance routine. By doing so, you’ll continue to enjoy a rich, flavorful cup of coffee with each brew.
Frequently Asked Questions about How To Descale Keurig Coffee Machine
Was this page helpful?
At Storables.com, we guarantee accurate and reliable information. Our content, validated by Expert Board Contributors, is crafted following stringent Editorial Policies. We're committed to providing you with well-researched, expert-backed insights for all your informational needs.




0 thoughts on “How To Descale Keurig Coffee Machine”