Articles
How To Fix My Keurig Coffee Machine
Modified: October 18, 2024
Discover expert articles on how to fix your Keurig coffee machine and get it brewing like new again. Find step-by-step instructions and helpful tips from seasoned coffee enthusiasts.
(Many of the links in this article redirect to a specific reviewed product. Your purchase of these products through affiliate links helps to generate commission for Storables.com, at no extra cost. Learn more)
Introduction
Welcome to the world of Keurig coffee machines! These innovative brewing systems have revolutionized the way we enjoy our daily cup of joe. With their convenience, speed, and variety of flavors, it’s no wonder that Keurig coffee machines have become a staple in many households and offices.
However, like any other appliance, Keurig coffee machines can encounter problems from time to time. Whether it’s a brewing issue, a malfunctioning component, or a build-up of mineral deposits, these issues can be frustrating and prevent you from enjoying your favorite cup of coffee.
But fear not! In this article, we will guide you through some common issues with Keurig coffee machines and provide troubleshooting steps to help you fix them. We will also share cleaning and maintenance tips to keep your Keurig in optimal condition. So, grab your mug and let’s dive in!
Key Takeaways:
- Keep your Keurig running smoothly by regularly cleaning and descaling it. Using filtered water and replacing components as needed will ensure optimal performance and longevity.
- Familiarize yourself with the user manual, perform regular maintenance, and don’t hesitate to contact customer support when needed. Join online communities to share experiences and consider professional servicing for complex issues.
Read more: How To Descale Keurig Coffee Machine
Common issues with Keurig coffee machines
While Keurig coffee machines are known for their reliability, there are a few common issues that users may encounter. Here are some of the most frequently reported problems:
- Clogging: One of the most common issues is a clogged brewer needle or a clogged water line. This can result in slow brewing or no brewing at all. Clogs can be caused by coffee grounds or mineral deposits that accumulate over time.
- Inconsistent brewing temperature: Some users have reported issues with the brewing temperature being too hot or too cold. This can affect the taste and quality of the coffee.
- Loud noises: If your Keurig coffee machine is making loud noises during the brewing process, it could indicate a problem with the pump or other internal components.
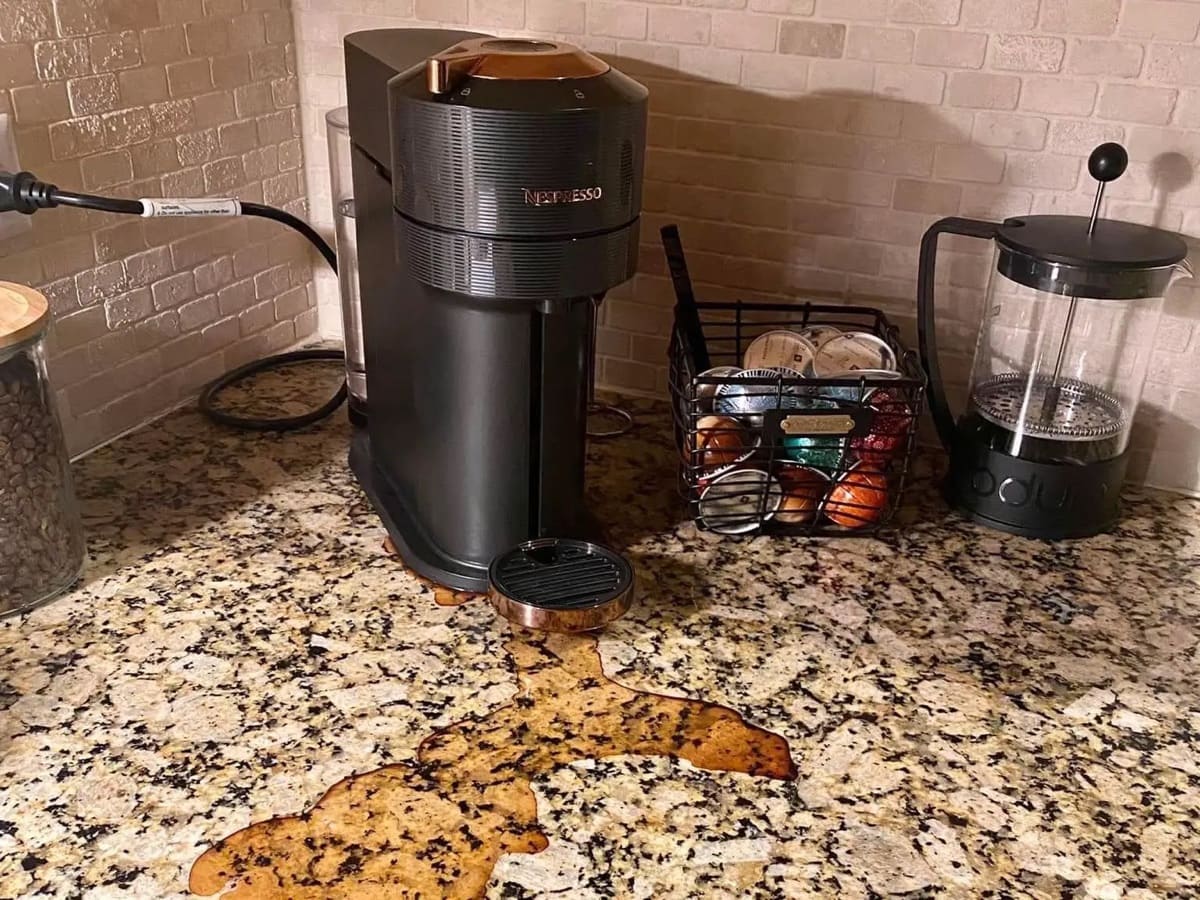
- Leaking: Water leaks can occur from the bottom of the machine or from various seals and connections. This can be caused by a faulty water reservoir or a damaged puncture needle.
- Error messages: Keurig coffee machines are equipped with error detection systems that display error messages when a problem is detected. These messages can be helpful in diagnosing and resolving issues.
- Slow brewing: If your Keurig coffee machine takes an unusually long time to brew a cup of coffee, it could be due to a clog, a problem with the water pressure, or a malfunctioning heating element.
It’s important to note that these issues are not indicative of a faulty machine. In most cases, they can be resolved with some simple troubleshooting steps and regular maintenance. Now let’s move on to the next section to learn how to fix these issues.
Troubleshooting steps for Keurig coffee machines
When faced with a problem with your Keurig coffee machine, there are several troubleshooting steps you can take to resolve the issue. Here are some common solutions for the issues mentioned earlier:
- Clogging: If you notice slow brewing or no brewing at all, the first step is to clean the brewer needle. Turn off the machine, remove the K-cup holder, and use a paperclip or a Keurig-approved cleaning tool to gently unclog the needle. You can also run a water-only brew cycle without a K-cup to flush out any remaining debris.
- Inconsistent brewing temperature: If your coffee is consistently too hot or too cold, try running a few water-only brew cycles to help regulate the temperature. Also, ensure that the water reservoir is properly filled to the recommended level, as low water levels can affect the brewing temperature.
- Loud noises: If your Keurig coffee machine is making unusual noises, it may indicate a problem with the pump. Try cleaning the water reservoir and ensuring that it is properly seated. If the noise persists, contact Keurig customer support for further assistance.
- Leaking: If you experience water leaks, check for any visible cracks or damage in the water reservoir or the water line. Ensure that the water reservoir is properly inserted and seated. If the leaking continues, it is recommended to contact Keurig customer support for guidance.
- Error messages: When you receive an error message on your Keurig coffee machine, consult the user manual or Keurig’s online troubleshooting guide for instructions on how to resolve the specific error. In some cases, a simple power cycle or a reset may resolve the issue.
- Slow brewing: If your Keurig is taking longer than usual to brew a cup of coffee, start by descaling the machine. Mineral deposits can build up over time and affect the brewing speed. Follow Keurig’s descaling instructions and run a descaling solution through the brewer to remove any mineral build-up.
By following these troubleshooting steps, you should be able to resolve many common issues with your Keurig coffee machine. However, if the problem persists or if you are unsure about any steps, it is always a good idea to reach out to Keurig customer support for further assistance. Now, let’s move on to the next section to learn about cleaning and maintenance tips for your Keurig.
Descale your Keurig coffee machine regularly to remove mineral build-up and improve performance. Use a descaling solution or a mixture of water and vinegar to clean the internal components.
Cleaning and maintenance tips for Keurig coffee machines
Maintaining a clean and well-maintained Keurig coffee machine is vital for ensuring optimal performance and longevity. Here are some cleaning and maintenance tips to keep your Keurig in top shape:
- Regular cleaning: Clean the external surfaces of your Keurig regularly using a damp cloth. This will help remove any dust, stains, or coffee spills that may accumulate over time. Avoid using abrasive cleaners that could damage the machine’s finish.
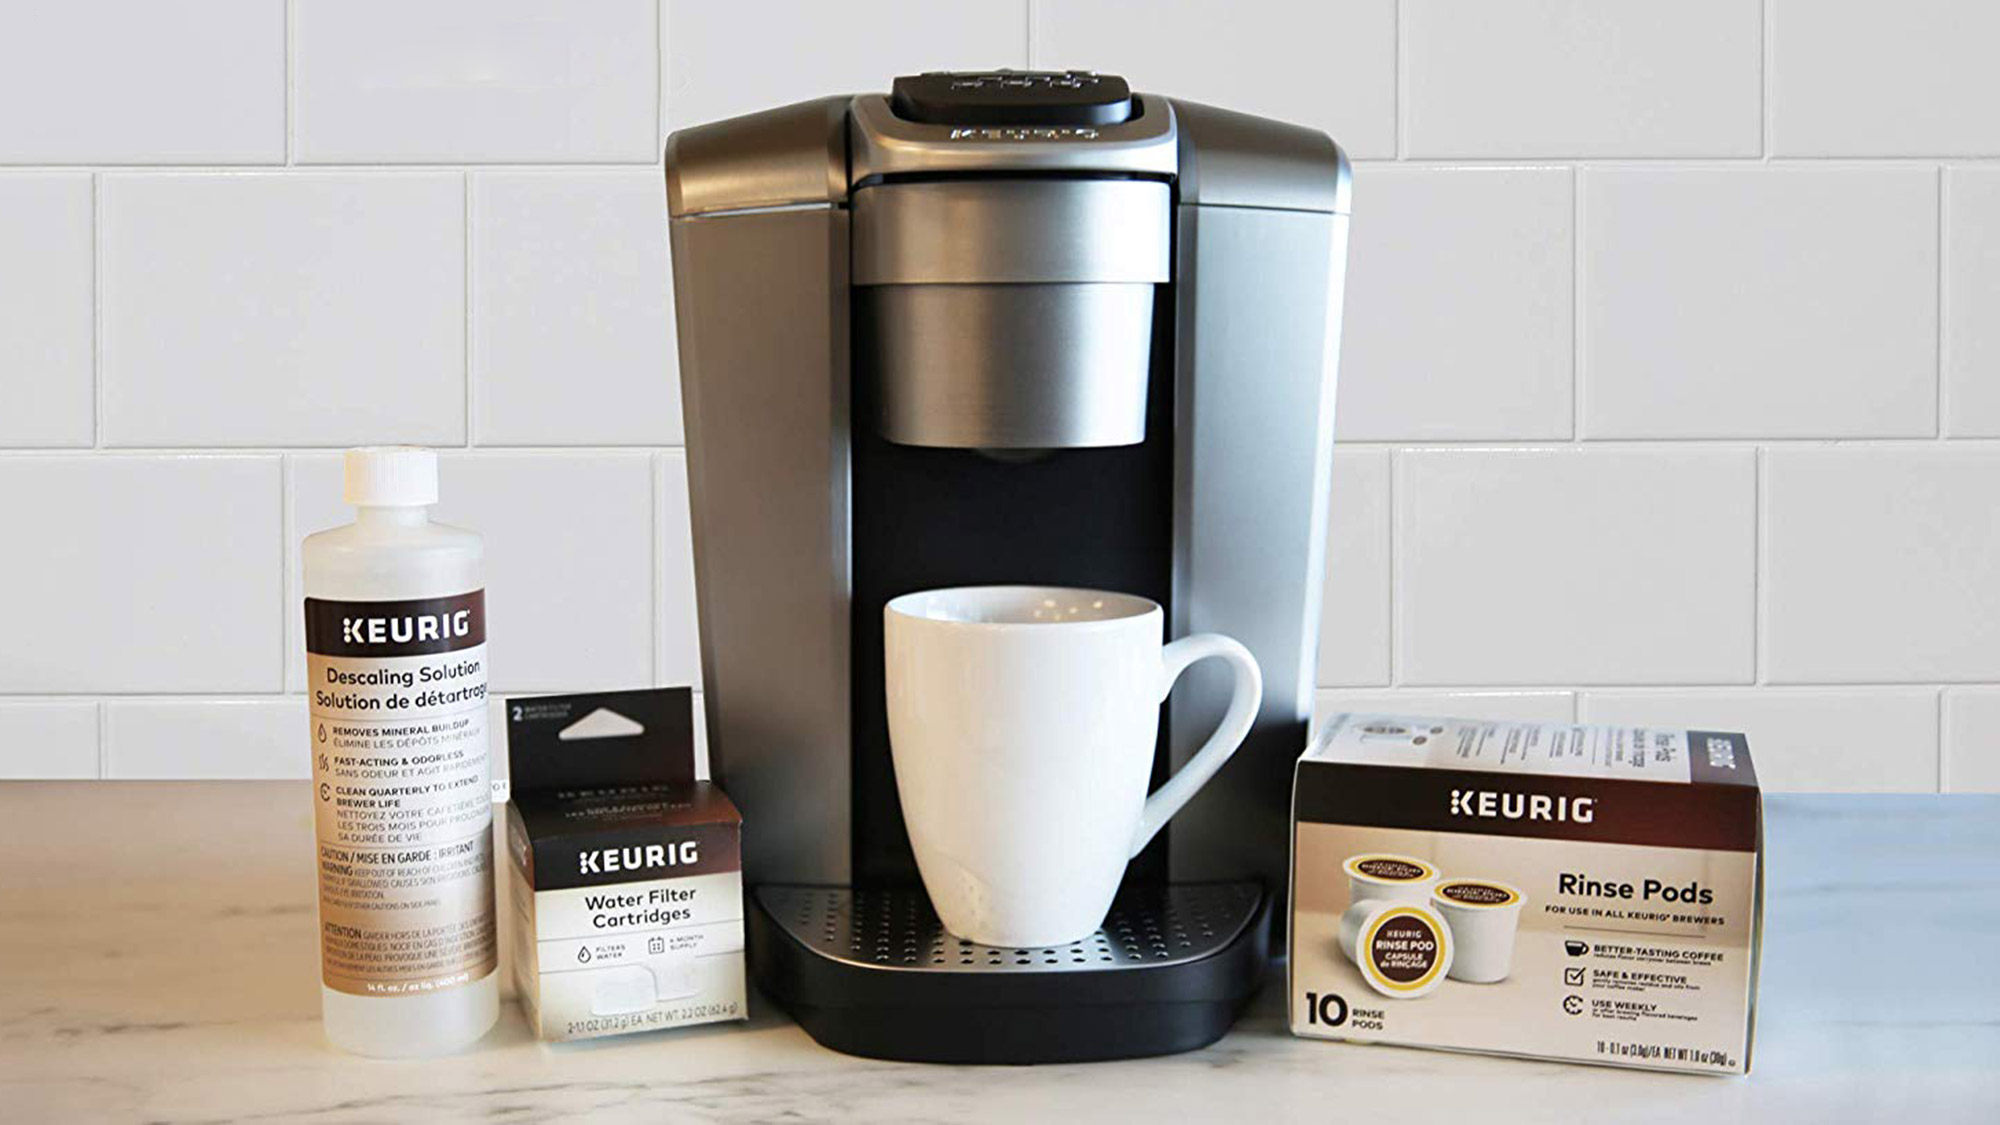
- Descaling: Over time, mineral deposits can build up in your Keurig coffee machine, affecting its performance. Descaling is a process that removes these deposits and helps restore optimal brewing efficiency. Follow the manufacturer’s instructions for descaling, using either a Keurig-approved descaling solution or a mixture of vinegar and water.
- Clean the reservoir and water line: Regularly clean the water reservoir and water line to prevent any clogs or buildup. Empty and rinse the water reservoir, removing any debris or residue. Use a soft brush or cloth to clean the inside of the reservoir and the water line. Ensure that all components are dry before reassembling.
- Replace the water filter: If your Keurig coffee machine is equipped with a water filter, make sure to replace it as recommended by the manufacturer. This will help ensure that you’re brewing coffee with clean and filtered water, enhancing the taste and quality of your brew.
- Clean the K-cup holder: Remove the K-cup holder and clean it thoroughly. Rinse it with warm, soapy water and use a soft brush or cloth to remove any coffee grounds or residue. Ensure that the K-cup holder is completely dry before reinserting it into the machine.
- Check and clean the brewer needle: Routinely check the brewer needle for any clogs or blockages. If necessary, use a paperclip or a Keurig-approved cleaning tool to gently unclog the needle. This will ensure a smooth flow of water and prevent brewing issues.
By incorporating these cleaning and maintenance practices into your routine, you can help prolong the life of your Keurig coffee machine and ensure that you continue to enjoy delicious cups of coffee.
Now that you’re equipped with cleaning and troubleshooting knowledge, let’s move on to the next section to learn about replacing components in your Keurig coffee machine.
Replacing components in Keurig coffee machines
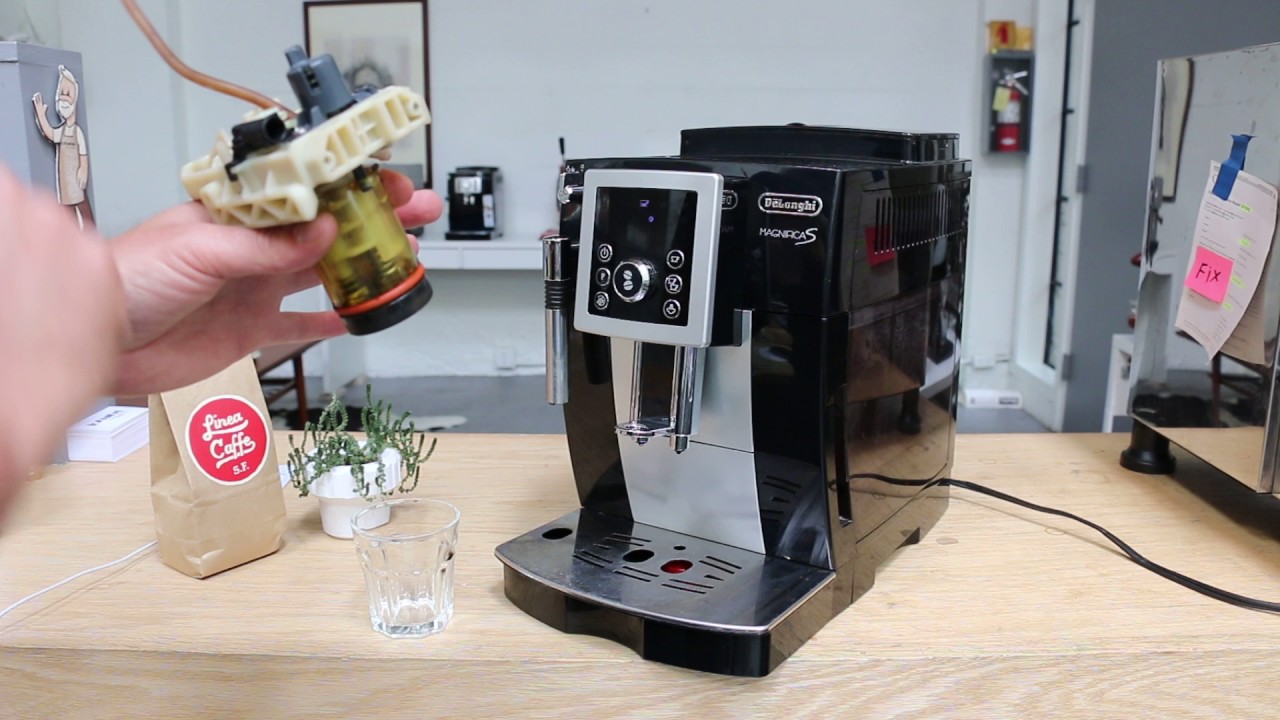
If you have tried troubleshooting and cleaning your Keurig coffee machine but are still experiencing issues, it may be necessary to replace certain components. While Keurig machines are designed to be durable, some parts may wear out over time. Here are a few components that you may need to replace:
- Brewer needle: If your brewer needle is severely clogged or damaged, it may be necessary to replace it. Keurig offers replacement brewer needles that are compatible with different models. Refer to the user manual or the Keurig website to find the appropriate replacement part for your machine.
- Water reservoir: If your water reservoir is cracked or leaking, it is essential to replace it to prevent further damage. Keurig provides replacement water reservoirs for various models. Make sure to select the correct size and model for your machine.
- Drip tray and drip tray cover: Over time, the drip tray and its cover can become stained, cracked, or broken. Fortunately, these components are easily replaceable. Check the Keurig website or authorized retailers for compatible drip tray and drip tray cover replacements.
- Water filter: If your Keurig coffee machine uses a water filter, it is important to replace it regularly to ensure the best-tasting coffee. Keurig offers replacement water filters that are compatible with their machines. Follow the manufacturer’s instructions for replacing the water filter.
- Power cord: In rare cases, the power cord of your Keurig machine may become damaged or frayed. If this happens, it is crucial to replace the power cord to ensure safety. Contact Keurig customer support for assistance in obtaining a replacement power cord.
When replacing any components in your Keurig coffee machine, always refer to the user manual or Keurig’s official website for instructions specific to your model. Additionally, make sure to purchase genuine Keurig replacement parts to ensure compatibility and maintain the warranty of your machine.
By replacing the necessary components as needed, you can keep your Keurig coffee machine running smoothly and enjoy many more cups of delicious coffee.
Now that you have learned about troubleshooting, cleaning, and replacing components, let’s move on to the final section of the article for some final thoughts and recommendations for Keurig coffee machine owners.
Read more: How To Prime A Keurig Coffee Machine
Final thoughts and recommendations for Keurig coffee machine owners
Congratulations! You now have a comprehensive understanding of common issues with Keurig coffee machines and how to troubleshoot and maintain them. Here are some final thoughts and recommendations to keep in mind as a Keurig coffee machine owner:
- Read the user manual: Familiarize yourself with the user manual that came with your Keurig machine. It provides valuable information on setup, maintenance, and troubleshooting specific to your model.
- Perform regular maintenance: Cleaning and descaling your Keurig coffee machine regularly will help ensure optimal performance and longevity. Set a schedule for these maintenance tasks to keep your machine running smoothly.
- Use filtered water: Using filtered water will not only improve the taste of your coffee but also minimize mineral build-up in your machine. Replace the water filter as recommended by the manufacturer.
- Keep spare parts on hand: Consider having some common spare parts, such as brewer needles or water reservoirs, readily available. This way, you can quickly replace any faulty components and minimize downtime.
- Contact customer support when needed: If you’re unsure about any troubleshooting steps or encounter persistent issues, don’t hesitate to reach out to Keurig’s customer support. They have dedicated experts who can provide guidance and further assistance.
- Share your experiences: Join online communities or forums where Keurig coffee machine owners share their experiences and tips. You may learn new troubleshooting techniques or discover innovative ways to enhance your coffee brewing experience.
- Consider professional servicing: If you’re facing complex issues or are unable to resolve them on your own, professional servicing may be necessary. Contact Keurig or an authorized service provider for assistance.
Remember, a well-maintained Keurig coffee machine can brew delicious cups of coffee for years to come. By troubleshooting, cleaning, and replacing components when needed, you’ll be able to enjoy the convenience and flavors of Keurig coffee with minimal interruptions.
We hope this article has provided you with valuable insights and practical solutions to common issues with Keurig coffee machines. Now go ahead, brew a fresh cup of coffee, and savor the rich flavors that your Keurig machine has to offer!
Frequently Asked Questions about How To Fix My Keurig Coffee Machine
Was this page helpful?
At Storables.com, we guarantee accurate and reliable information. Our content, validated by Expert Board Contributors, is crafted following stringent Editorial Policies. We're committed to providing you with well-researched, expert-backed insights for all your informational needs.
0 thoughts on “How To Fix My Keurig Coffee Machine”