Home>Interior Design>How To Descale A Keurig Coffee Maker: An Expert Guide
Interior Design
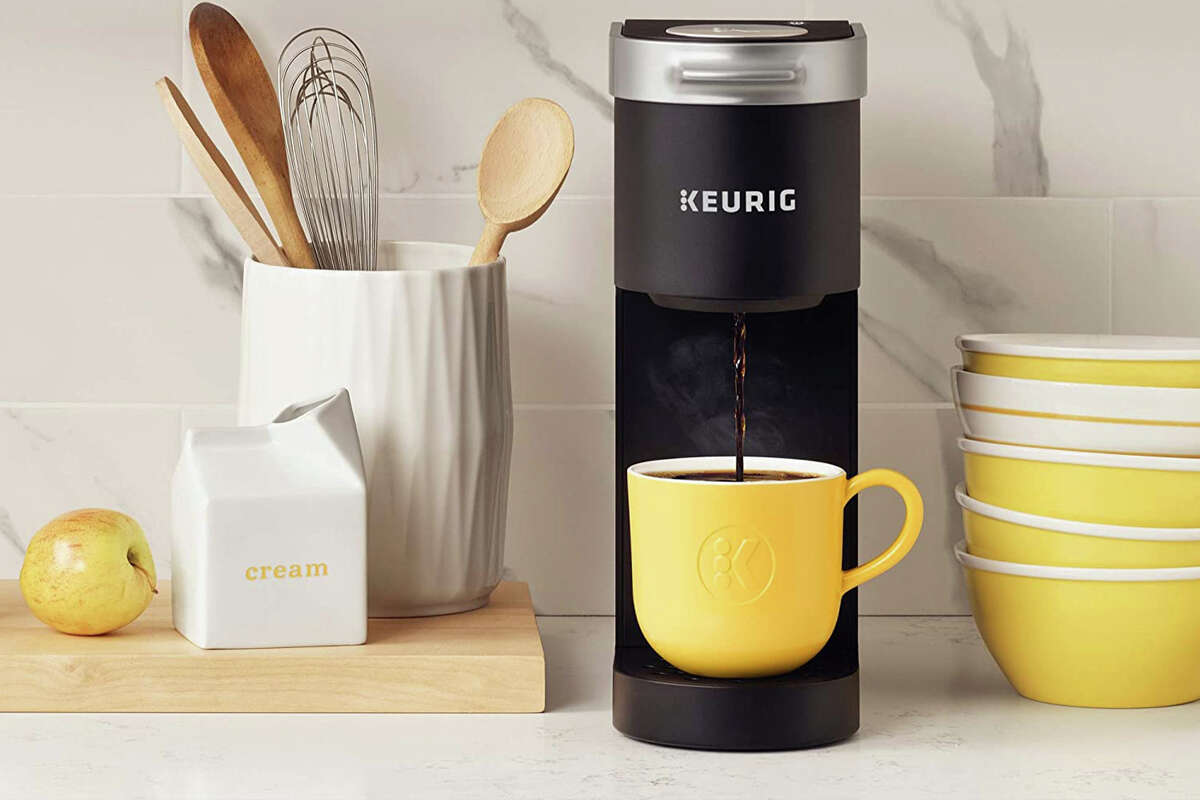
How To Descale A Keurig Coffee Maker: An Expert Guide
Modified: October 19, 2024
Learn how to effectively descale your Keurig coffee maker with this expert guide. Say goodbye to buildup and keep your machine running smoothly.
(Many of the links in this article redirect to a specific reviewed product. Your purchase of these products through affiliate links helps to generate commission for Storables.com, at no extra cost. Learn more)
How to Descale a Keurig Coffee Maker: An Expert Guide
Descaling is an essential maintenance task for any Keurig coffee maker owner. Over time, mineral deposits and scale can build up inside the machine, affecting the taste and performance of your coffee. Regular descaling not only ensures a delicious cup of Joe but also extends the lifespan of your Keurig. In this expert guide, we’ll walk you through the step-by-step process of descaling, ensuring that your coffee maker continues to brew the perfect cup every time.
Key Takeaways:
- Regular descaling is vital for maintaining the taste, efficiency, and longevity of your Keurig coffee maker. Follow the expert guide to remove mineral deposits and scale buildup, ensuring a delicious cup every time.
- Use a descaling solution specifically formulated for Keurig machines to effectively remove scale without leaving residual taste or odor. Regular descaling every three to six months is essential for optimal performance and longevity.
Read more: How To Descale Keurig Coffee Machine
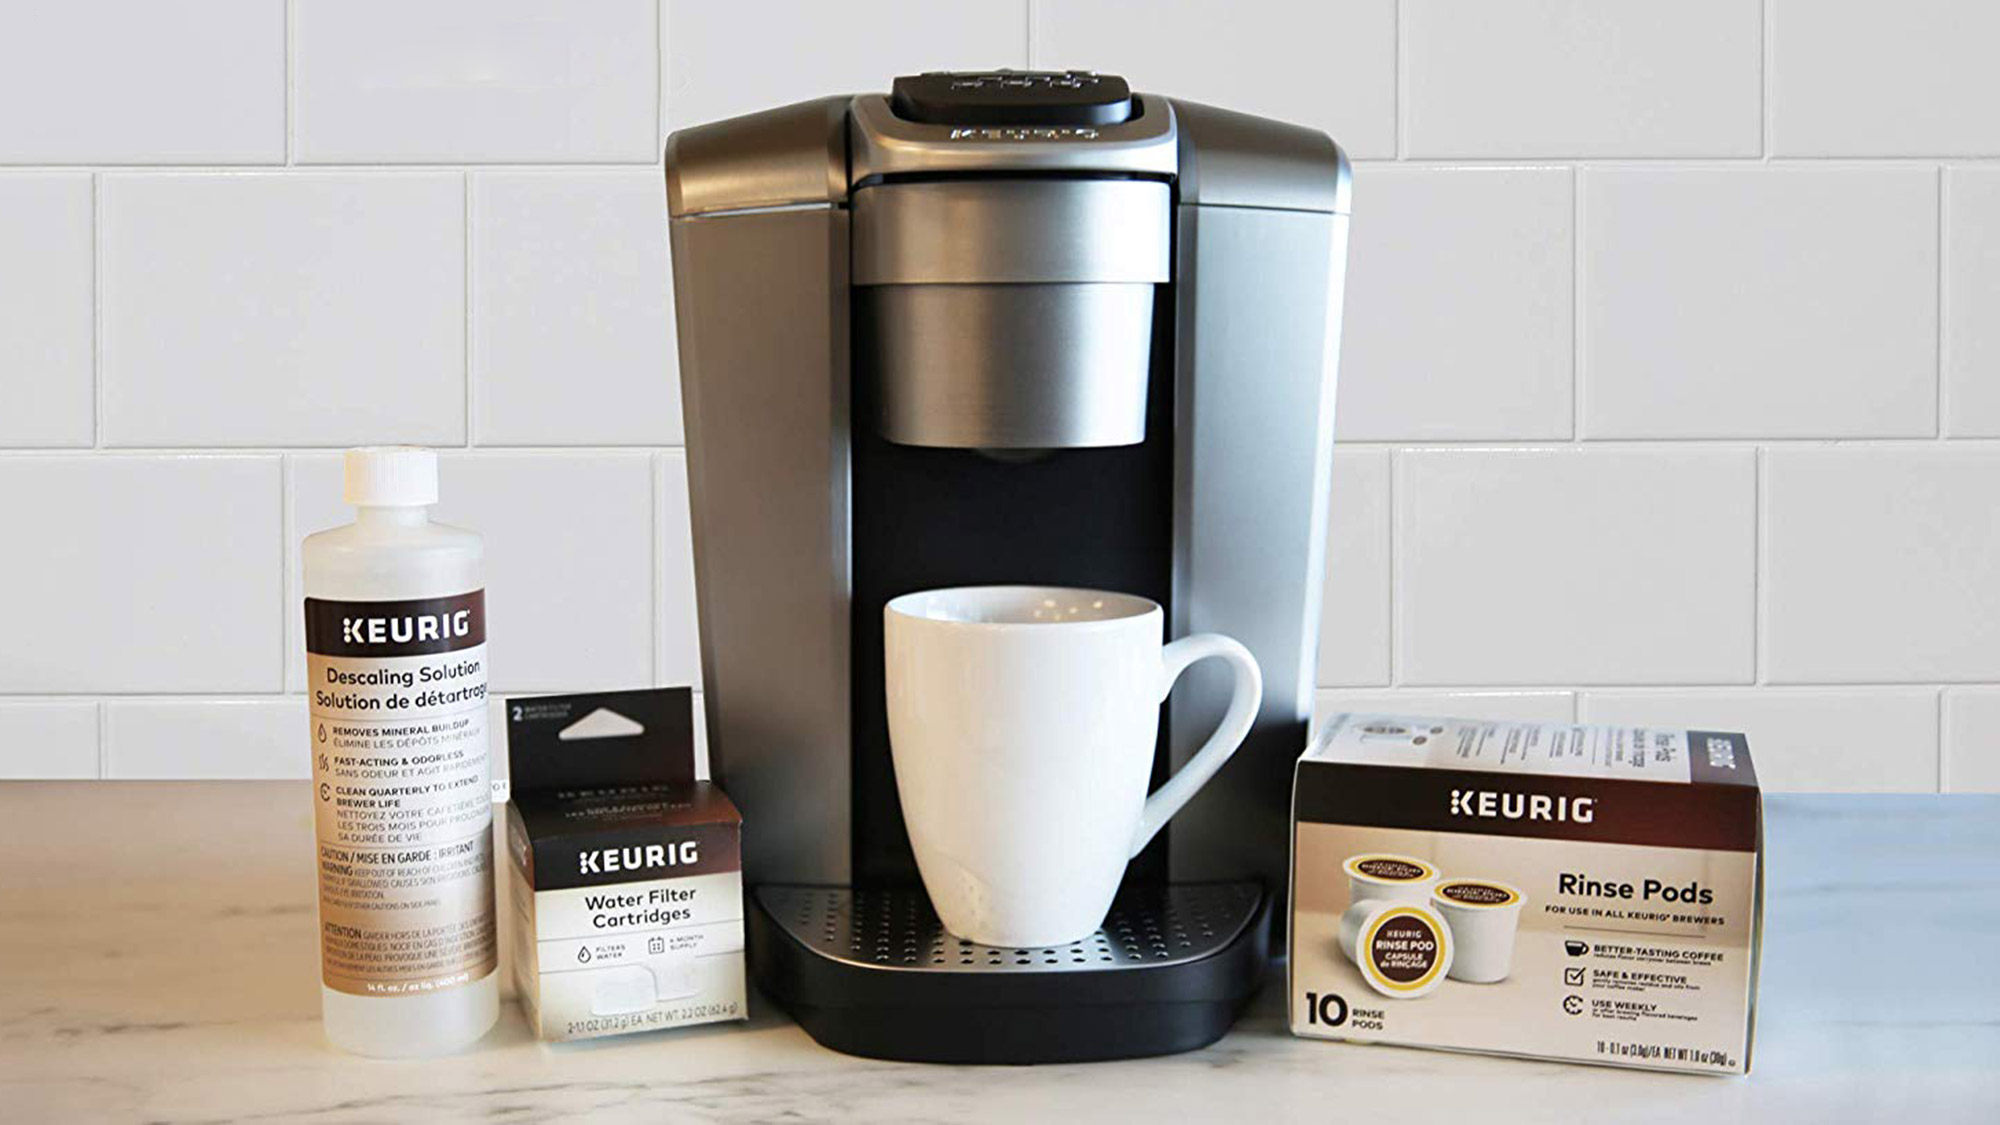
Step 1: Gather Your Supplies
Before you begin descaling your Keurig, gather the following supplies:
- Keurig descaling solution or a mixture of vinegar and water
- A mug or container
- A clean cloth or sponge
Using a descaling solution specifically formulated for Keurig machines is recommended, as it effectively removes scale buildup without any residual odor or taste.
Step 2: Preparation
First, turn off and unplug your Keurig. This is essential for your safety during the descaling process.
Next, remove any remaining water from the reservoir. Ensure that the reservoir is completely empty before proceeding.
Disassemble and clean removable parts. Take out the mug stand, K-Cup holder, and the water filter if applicable. Clean these components with warm soapy water and rinse thoroughly.
Step 3: Descaling Process
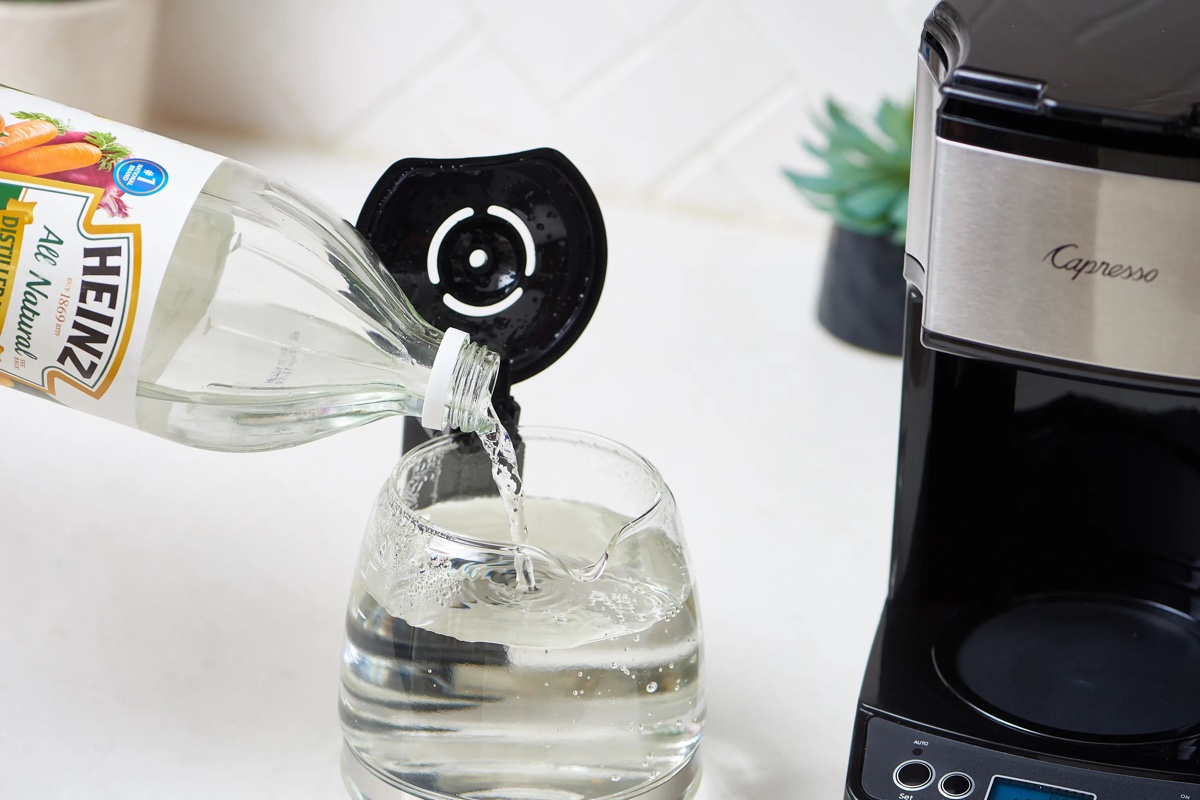
Dilute the descaling solution. Mix the descaling solution with water according to the manufacturer’s instructions.
Fill the reservoir with the solution. Pour the mixture into the water reservoir. Make sure not to overfill it.
Start the brewing cycle without a K-Cup. Place the mug or container on the drip tray, and initiate the brew cycle. Allow the solution to run through the machine as if you were making a cup of coffee.
Repeat brewing cycles until the reservoir is empty. Continue to run the brewing cycle without a K-Cup until there is no solution left in the reservoir.
Step 4: Rinse and Clean
Flush the machine with fresh water. Fill the reservoir with clean water and run multiple brewing cycles without a K-Cup. This will rinse the machine and remove any residual descaling solution.
Clean and rinse all removable parts. Thoroughly clean the mug stand, K-Cup holder, and other removable parts with warm soapy water. Rinse them well to ensure no soap residue remains.
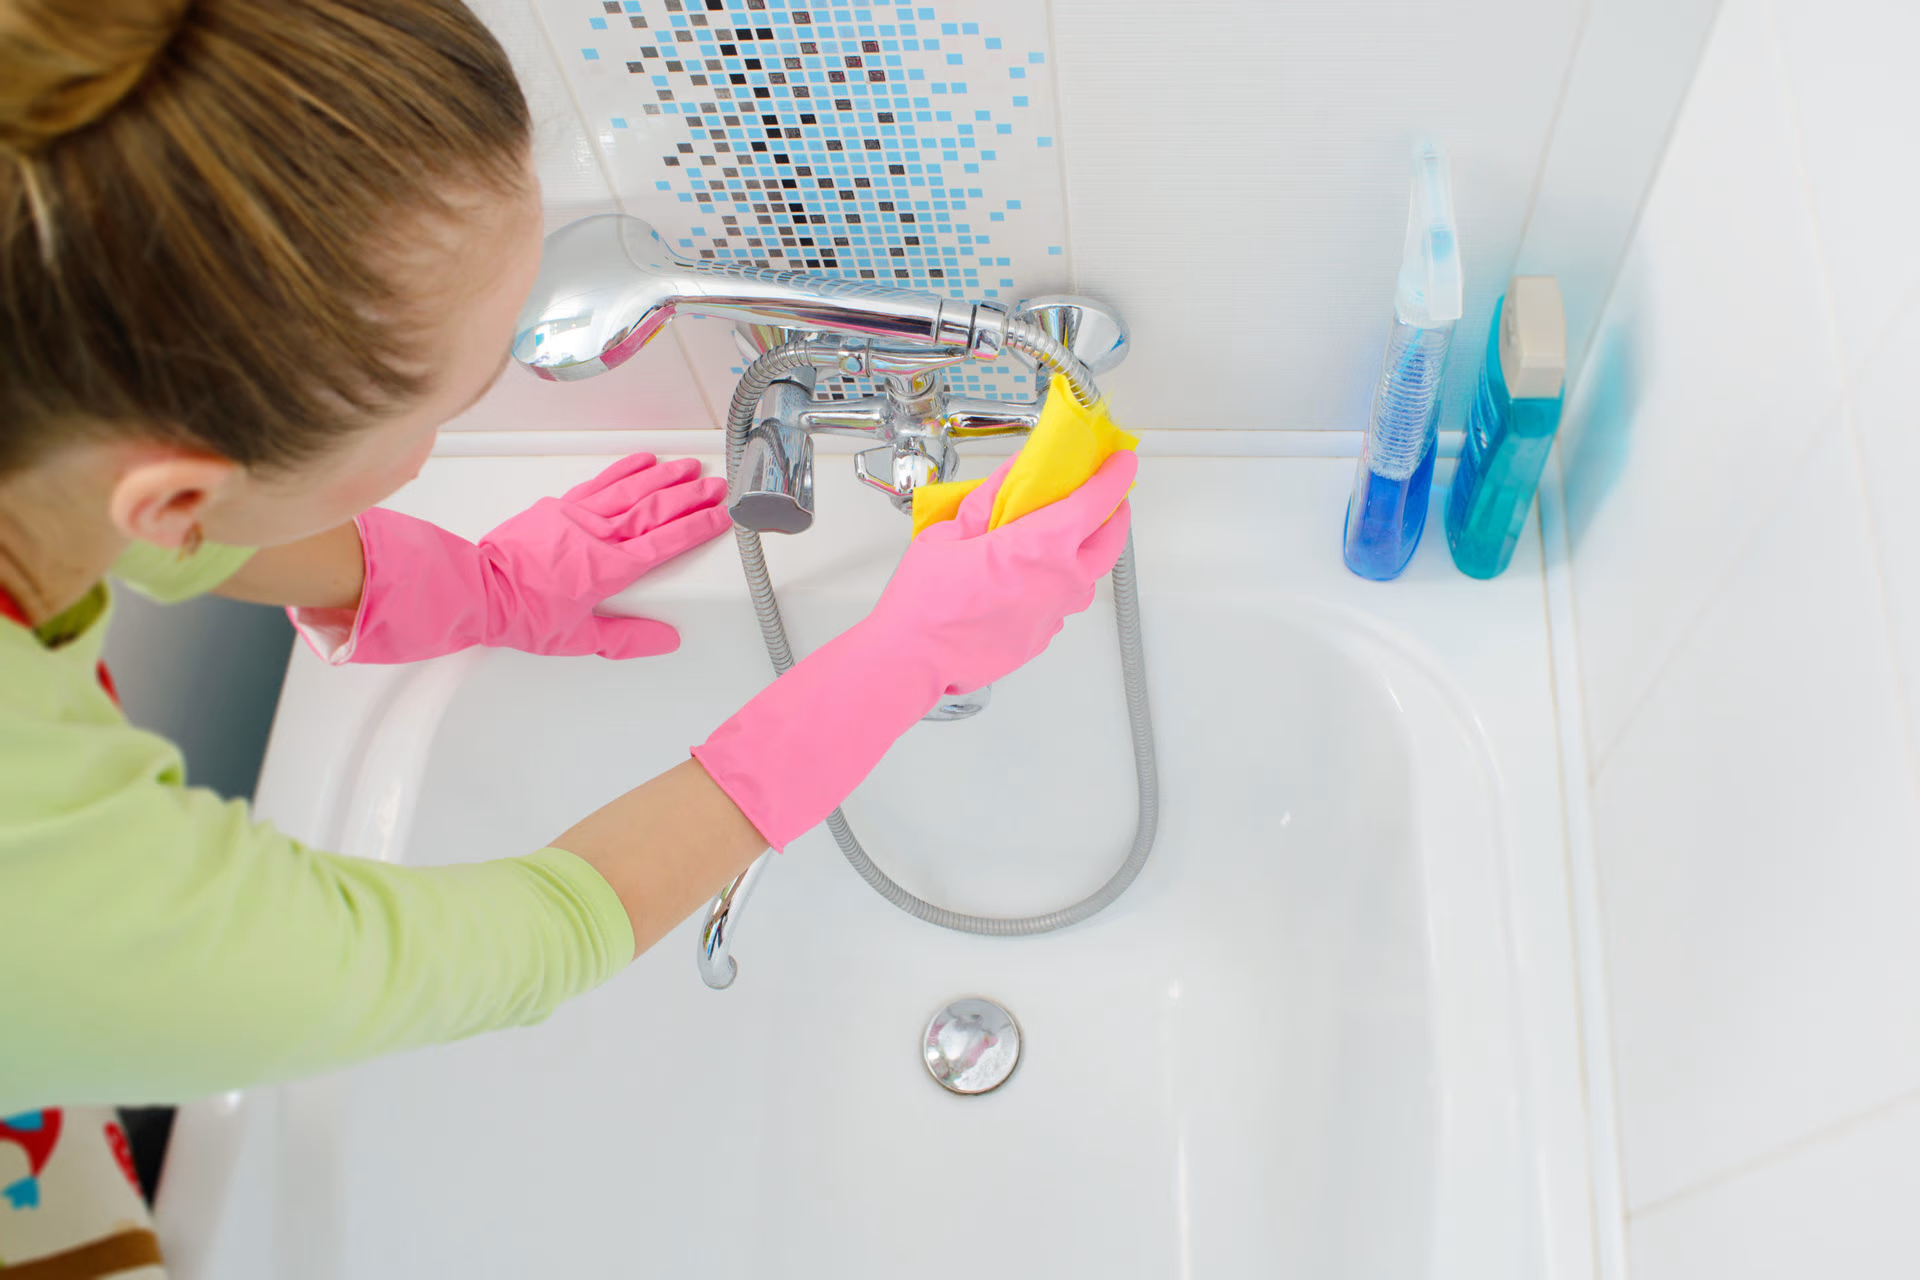
Wipe down the exterior of the Keurig. Use a clean cloth or sponge to wipe the exterior of the coffee maker, removing any spills or buildup.
Read more: How To Descale Philips Coffee Machine
Step 5: Final Steps
Reassemble the Keurig. Put all the removable parts back in their respective places.
Fill the reservoir with fresh water. Fill the reservoir with clean water, ensuring that it is properly filled for brewing.
Run a brewing cycle without a K-Cup. Start a brewing cycle to flush out any remaining residue and to ensure the machine is ready to brew your next cup of coffee.
Remember, regular descaling is vital to maintaining the performance and longevity of your Keurig coffee maker. We recommend descaling every three to six months, depending on the mineral content in your water. By following these simple steps, you can enjoy delicious, flavorful coffee from your Keurig for years to come.
Introduction
When it comes to maintaining your Keurig coffee maker, descaling is a crucial task that should not be overlooked. Over time, mineral deposits and scale can accumulate inside your machine, affecting the taste and quality of your coffee. Descaling your Keurig regularly not only ensures a delicious and consistent cup of Joe but also extends the lifespan of your coffee maker.
Importance of Descaling:
Descaling is the process of removing mineral deposits, lime scale, and other buildup that can accumulate inside the water lines and heating elements of your Keurig coffee maker. Failure to descale can result in clogged water lines, inefficient brewing, and a decline in the overall performance of your machine. As a result, your coffee may taste off or have a weak flavor.
Benefits of Regular Descaling:
The benefits of regular descaling are numerous:
- Improved Taste: By removing mineral deposits and scale, descaling ensures that your coffee tastes its best. You’ll notice a significant improvement in flavor and aroma after descaling.
- Enhanced Performance: A descaled Keurig operates more efficiently, allowing for faster heating and more consistent brewing. This means you can enjoy your coffee without any interruptions or delays.
- Extended Lifespan: Over time, scale buildup can lead to irreversible damage to your machine’s heating elements and internal components. Regular descaling can help prevent costly repairs or the need for a replacement.
- Optimal Functioning: By descaling, you ensure that all the parts and mechanisms in your Keurig are clean and free from any obstructions. This promotes proper water flow and extraction, resulting in a rich and flavorful coffee every time.
Overview of the Descaling Process:
The process of descaling your Keurig involves a few simple steps:
- Gather Your Supplies: You’ll need a descaling solution or a vinegar and water mixture, a container, and a clean cloth.
- Preparation: Turn off and unplug your Keurig. Empty the water reservoir and clean any removable parts.
- Descaling Process: Dilute the descaling solution, fill the reservoir, and run brewing cycles without a K-Cup until the reservoir is empty.
- Rinse and Clean: Flush the machine with clean water, clean and rinse all removable parts, and wipe down the exterior of the Keurig.
- Final Steps: Reassemble the Keurig, fill the reservoir with fresh water, and run a brewing cycle without a K-Cup to flush out any residue.
By following these steps, you can keep your Keurig coffee maker in optimal condition, ensuring that each cup of coffee is brewed to perfection.
Key Takeaways:
- Regular descaling is vital for maintaining the taste, efficiency, and longevity of your Keurig coffee maker. Follow the expert guide to remove mineral deposits and scale buildup, ensuring a delicious cup every time.
- Use a descaling solution specifically formulated for Keurig machines to effectively remove scale without leaving residual taste or odor. Regular descaling every three to six months is essential for optimal performance and longevity.
Read more: How To Descale Keurig Coffee Machine
Step 1: Gather Your Supplies
Before you begin the descaling process for your Keurig coffee maker, it’s important to gather all the necessary supplies. Having the right tools and materials on hand will make the process much smoother and more effective.
List of Necessary Items:
- Descaling Solution: Using a descaling solution specifically designed for Keurig machines is highly recommended. These solutions are formulated to effectively remove mineral deposits and scale buildup without causing any damage to your coffee maker. They also help eliminate any residual taste or odor. You can easily find descaling solutions online or in stores that sell coffee machine accessories.
- Mug or Container: You’ll need a mug or container to collect the descaling solution and any water that flows through the machine during the descaling process.
- Clean Cloth or Sponge: Having a clean cloth or sponge on hand will be useful for wiping down the exterior of the Keurig and cleaning any spills that may occur during the descaling process.
Importance of Using Descaling Solution:
While some people opt for using a mixture of vinegar and water as a DIY descaling solution, it’s highly recommended to use a descaling solution specifically formulated for Keurig coffee makers. Here’s why:
1. Effectiveness:
Keurig descaling solutions are designed to effectively remove mineral deposits and scale, ensuring thorough cleaning of the internal components. They are formulated with ingredients that target and break down the build-up without causing harm to your coffee maker.
Read more: How To Descale Breville Coffee Machine
2. No Residual Odor or Taste:
Vinegar, commonly used as a DIY descaling agent, can leave behind a strong odor that lingers in your Keurig even after rinsing. On the other hand, Keurig descaling solutions are specifically designed to eliminate any residual odor or taste, leaving your coffee maker fresh and ready for brewing.
3. Safeguarding Your Coffee Maker:
Using a descaling solution that is approved by Keurig helps ensure that you’re taking the best care of your coffee maker. These solutions are tested and approved to be safe for your machine’s internal components, preventing any potential damage that could arise from using alternative cleaning agents.
By using a descaling solution specifically made for Keurig machines, you can effectively and safely remove mineral deposits and scale, keeping your coffee maker in the best possible condition.
Step 2: Preparation
Before you start the descaling process for your Keurig coffee maker, it’s important to properly prepare the machine. This ensures that the descaling solution can work effectively and helps to prevent any damage during the process.
1. Turn off and unplug the Keurig:
For your safety and to prevent any electrical mishaps, the first step is to turn off and unplug your Keurig coffee maker. This ensures that no power is running through the machine while you’re working on it.
2. Remove any remaining water and empty the reservoir:
Before you can begin the descaling process, it’s crucial to remove any remaining water from the reservoir and completely empty it. You can pour out the water or use it for another purpose, but ensure that the reservoir is dry and free from any liquid.
3. Disassemble and clean removable parts:
The descaling process will be more effective if you disassemble and clean any removable parts of your Keurig coffee maker. This includes the mug stand, K-Cup holder, and water filter (if applicable).
Start by taking out the mug stand and K-Cup holder. Wash these parts with warm soapy water, ensuring you remove any coffee grounds or residue. Rinse them thoroughly to remove any soap residue, and then dry them completely before reassembling them in the machine.
If your Keurig has a water filter, you should remove it during the descaling process. Check the manufacturer’s instructions to determine if the filter is descaling-compatible. If it is, follow the recommended descaling procedure for the filter separately.
By following these preparation steps, you’re setting the stage for a successful descaling process. You’ll ensure that the descaling solution can work effectively, and you’ll prevent any potential damage to your Keurig coffee maker during the process.
Step 3: Descaling Process
Now that you have gathered your supplies and prepared your Keurig coffee maker, it’s time to move on to the descaling process itself. This step-by-step guide will help you effectively remove mineral deposits and scale from the internal components of your machine.
1. Dilute the descaling solution:
If you are using a descaling solution specifically designed for Keurig machines, follow the manufacturer’s instructions to dilute the solution with water. It is crucial to use the correct ratio to ensure safe and effective descaling.
Remember, using too much or too little descaling solution can affect the outcome, so ensure you measure and mix it correctly.
2. Fill the reservoir with the solution:
Pour the diluted descaling solution into the water reservoir of your Keurig coffee maker. Make sure not to overfill the reservoir – just fill it to the level appropriate for brewing.
It’s essential to use the descaling solution in the reservoir rather than directly into the machine, as this allows the solution to flow through the internal components, breaking down and removing scale along the way.
3. Start the brewing cycle without a K-Cup:
Place a mug or container on the drip tray to catch the descaling solution. Start the brewing cycle without inserting a K-Cup into the machine.
Allow the machine to dispense the descaling solution into the mug or container, as if you were brewing a cup of coffee. The solution will flow through the internal components, working to remove mineral deposits and scale as it passes.
4. Repeat brewing cycles until the reservoir is empty:
To ensure thorough descaling, it’s recommended to repeat the brewing cycle multiple times until the water reservoir is empty. This helps to ensure that all the internal components are adequately cleaned and descaled.
Continue running the brewing cycle without a K-Cup, allowing the machine to dispense the descaling solution until the water reservoir is completely empty.
Depending on the amount of scale buildup, you may need to repeat the brewing cycles several times to ensure a thorough cleaning.
By following these steps, you can effectively descale your Keurig coffee maker, removing mineral deposits and scale from the internal components. This will help to improve the taste and performance of your coffee maker, ensuring that it continues to brew delicious cups of coffee every time.
Step 4: Rinse and Clean
After successfully completing the descaling process, it’s crucial to rinse and clean your Keurig coffee maker to remove any remaining descaling solution and to ensure everything is in pristine condition for your next brew.
1. Flush the machine with fresh water:
Fill the water reservoir with clean, fresh water. This step is essential to remove any residual descaling solution from the internal components of your Keurig.
Run multiple brewing cycles without inserting a K-Cup, allowing the clean water to flow through the machine. This will help to flush out any remaining descaling solution and ensure a fresh and clean coffee maker.
2. Clean and rinse all removable parts:
Take the time to clean all the removable parts of your Keurig coffee maker. Start by removing the mug stand, K-Cup holder, and any other removable components.
Wash these parts with warm soapy water, making sure to remove any coffee grounds or residue. Rinse them thoroughly to remove any soap residue, and then dry them completely before placing them back in the machine.
3. Wipe down the exterior of the Keurig:
Using a clean cloth or sponge, wipe down the exterior of your Keurig coffee maker. This step will help to remove any spills or residue that may have accumulated during the descaling process.
Pay extra attention to the areas around the buttons, the drip tray, and the water reservoir. Wipe them thoroughly to ensure that your coffee maker looks clean and presentable.
By rinsing and cleaning your Keurig after descaling, you’ll ensure that no descaling solution or residue remains, providing you with a fresh canvas for your next brew.
Read more: How To Descale Philips Coffee Machine
Step 5: Final Steps
After completing the rinsing and cleaning stage, the final steps of reassembling and preparing your Keurig for future use will ensure that it’s ready to brew your next perfect cup of coffee.
1. Reassemble the Keurig:
Take the time to carefully reassemble the parts of your Keurig that were removed during the cleaning process. This includes placing the mug stand, K-Cup holder, and any other removable components back in their designated positions.
Ensure that everything is securely attached and in the correct orientation before moving on to the next step.
2. Fill the reservoir with fresh water:
Once the Keurig is reassembled, fill the water reservoir with fresh, clean water. Make sure not to overfill the reservoir – only fill it to the recommended level for brewing.
Using fresh water helps to ensure that your next cup of coffee will not be affected by any residual cleaning agents or impurities.
3. Run a brewing cycle without a K-Cup to flush out any remaining residue:
To make sure that any remaining residue or taste from the cleaning process is eliminated, initiate a brewing cycle without inserting a K-Cup into your Keurig.
Allow the machine to perform a full brewing cycle with just water, flushing out any lingering residue and ensuring that the taste and quality of your coffee are not affected.
Following these final steps will leave your Keurig coffee maker in optimal condition, ready to deliver a fresh and flavorful cup of coffee with every use.
Conclusion
Regular descaling is a crucial maintenance task for your Keurig coffee maker that plays a significant role in ensuring optimal performance and a delicious cup of coffee. By following the descaling process outlined in this expert guide, you can effectively remove mineral deposits and scale buildup, which can negatively impact the taste and efficiency of your machine. Taking the time to descale your Keurig regularly will not only result in a better coffee experience but also extend the lifespan of your coffee maker.
Importance of Regular Descaling for Optimal Performance:
Regular descaling is vital for prolonging the life and enhancing the performance of your Keurig coffee maker for several reasons:
- Improved Taste: Descaling helps maintain the purity of your coffee’s flavor by removing mineral deposits that can alter the taste.
- Efficient Brewing: By eliminating scale and buildup, descaling ensures that water flows freely through the machine and that the heating elements operate at their full potential, resulting in faster and more efficient brewing.
- Prevention of Clogs and Damage: Scale buildup can lead to clogs in the water lines and damage to the internal components of your coffee maker. Regular descaling helps prevent these issues and extends the lifespan of your machine.
Final Tips and Recommendations for Maintaining Your Keurig Coffee Maker:
1. Descale regularly: Aim to descale your Keurig every three to six months, depending on the mineral content in your water. Follow the manufacturer’s recommendations for the best results.
2. Use the right descaling solution: Choose a descaling solution specifically formulated for Keurig machines. This will effectively remove scale without leaving residual taste or odor.
3. Clean removable parts: Regularly clean and rinse removable parts, such as the mug stand and K-Cup holder, to prevent any residue buildup.
4. Keep the exterior clean: Wipe down the exterior of your Keurig coffee maker regularly to maintain its appearance and prevent any spills or buildup.
5. Use filtered water: If your water source has a high mineral content, consider using filtered water in your Keurig. This can help reduce the frequency of descaling.
6. Follow the manufacturer’s instructions: Always refer to your Keurig’s user manual for specific instructions and guidelines on descaling and maintenance.
By incorporating these tips into your routine, you can ensure that your Keurig coffee maker remains in optimal condition, providing you with consistently delicious coffee for years to come.
Frequently Asked Questions about How To Descale A Keurig Coffee Maker: An Expert Guide
Was this page helpful?
At Storables.com, we guarantee accurate and reliable information. Our content, validated by Expert Board Contributors, is crafted following stringent Editorial Policies. We're committed to providing you with well-researched, expert-backed insights for all your informational needs.


0 thoughts on “How To Descale A Keurig Coffee Maker: An Expert Guide”