Articles
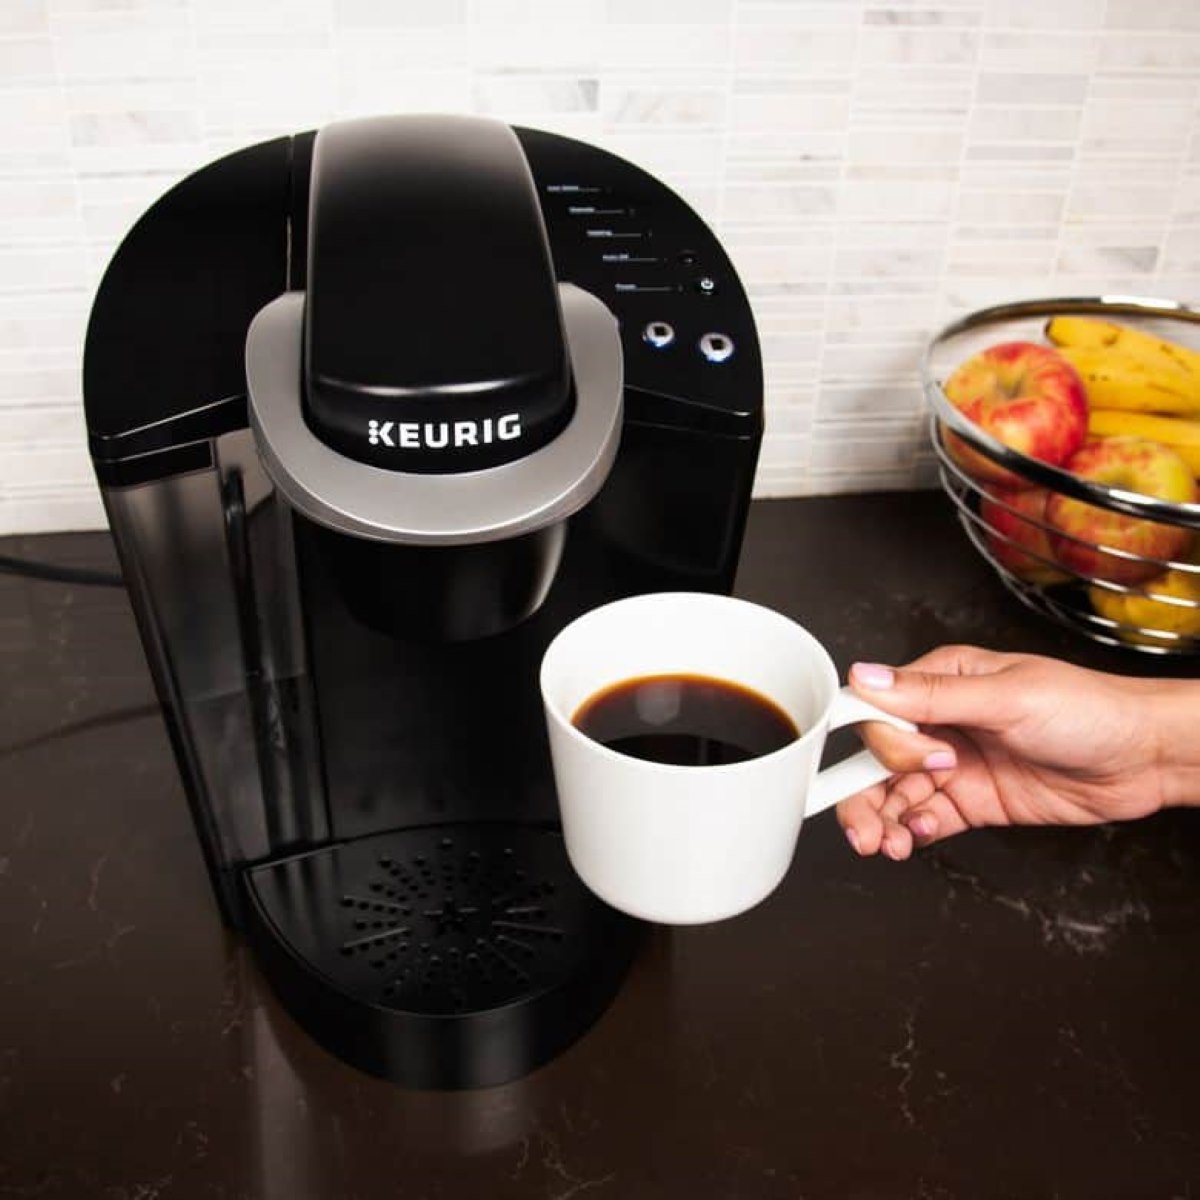
How Do You Work A Keurig Coffee Machine
Modified: August 25, 2024
Learn the step-by-step process of operating a Keurig coffee machine with our informative articles. Perfect your brew and enjoy a delicious cup of coffee every time.
(Many of the links in this article redirect to a specific reviewed product. Your purchase of these products through affiliate links helps to generate commission for Storables.com, at no extra cost. Learn more)
Introduction
Welcome to the world of Keurig coffee machines! If you’re a coffee lover looking for a convenient and efficient way to brew your favorite cup of joe, then you’re in the right place. Keurig machines have become incredibly popular in recent years due to their ease of use, versatility, and exceptional coffee quality. In this article, we will guide you through the process of working a Keurig coffee machine, from understanding its functions to troubleshooting common issues and maintaining its optimal performance.
Keurig coffee machines are designed to make brewing coffee a breeze. They utilize single-serve pods, known as K-Cups, which are pre-filled with ground coffee. With just a few simple steps, you can have a delicious cup of coffee in no time.
Whether you’re new to Keurig or simply want to brush up on your skills, this article is your ultimate guide to working a Keurig coffee machine effectively. We will cover everything from preparing the machine for brewing, the brewing process itself, troubleshooting common issues, and the importance of regular cleaning and maintenance.
So, grab your favorite mug and let’s dive into the wonderful world of Keurig coffee brewing!
Key Takeaways:
- Master the art of brewing with your Keurig coffee machine by understanding its components, troubleshooting common issues, and maintaining its optimal performance for a delightful coffee experience at home or the office.
- Embrace the convenience and versatility of Keurig machines to savor a steaming hot cup of coffee with just a few simple steps, and ensure long-lasting coffee quality by following regular cleaning and maintenance practices.
Read more: How To Descale Keurig Coffee Machine
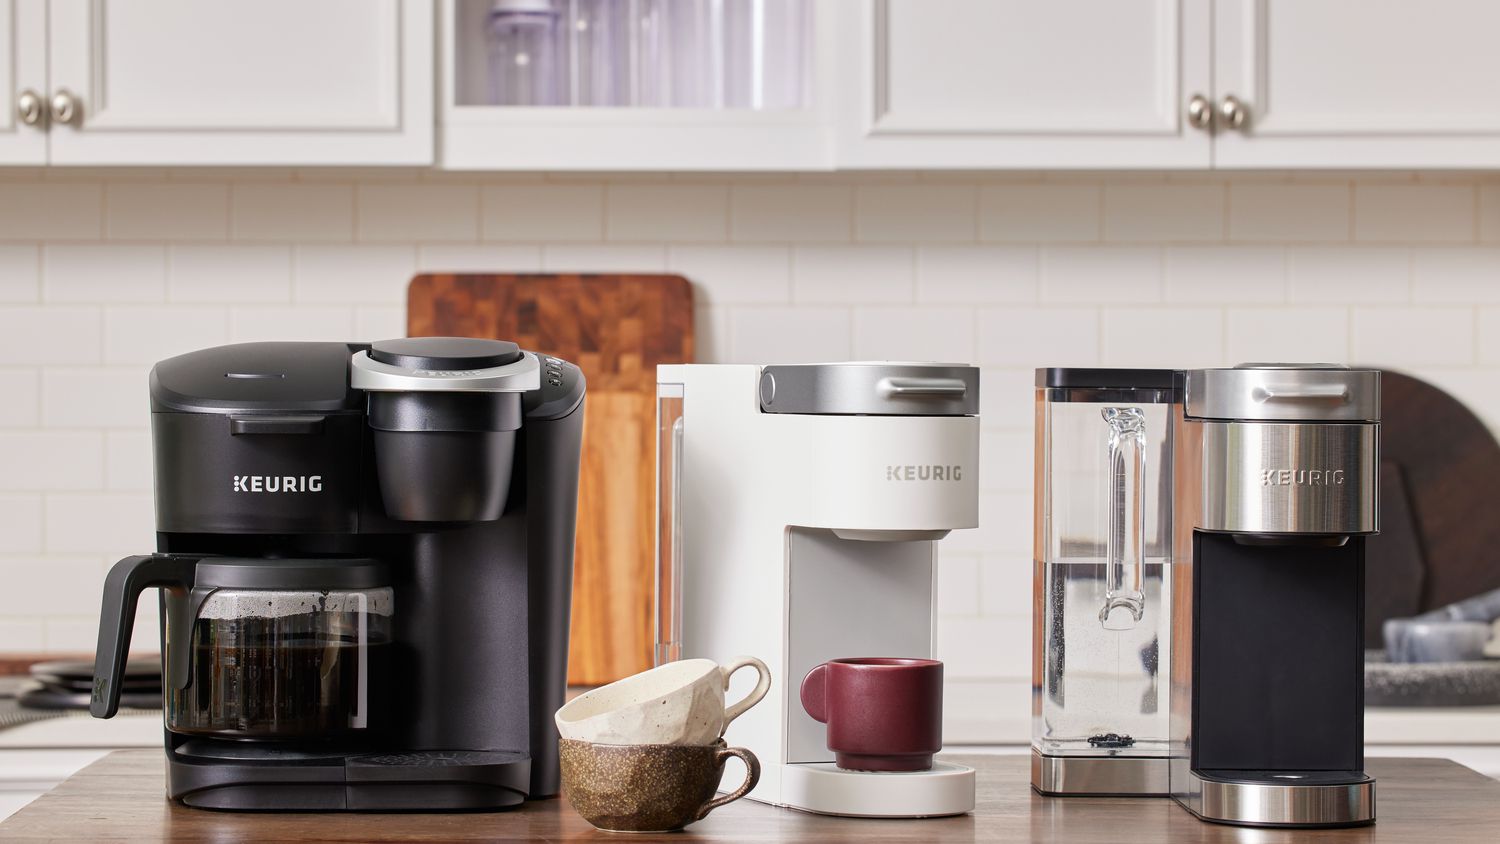
Understanding the Keurig Coffee Machine
Before we start brewing coffee with the Keurig machine, it’s important to have a good understanding of its components and features. This will help you make the most out of your brewing experience.
The basic anatomy of a Keurig coffee machine consists of the following:
- Water Reservoir: This is where you pour water into the machine, and it holds a specific amount of water depending on the model. The water reservoir is easily removable for refilling.
- Brewing Chamber: This is where the magic happens. The brewing chamber holds the K-Cup and the water, and it’s responsible for extracting the flavors from the coffee grounds.
- Control Panel: The control panel, located on the front of the machine, allows you to select various brewing options, such as cup sizes and temperature settings. It also includes buttons for power, brewing, and maintenance functions.
- Drip Tray: The drip tray collects any excess liquid that may spill during the brewing process. It’s removable for easy cleaning and can accommodate different cup sizes.
Now that you know the main components of the Keurig coffee machine, let’s discuss some of its key features:
- Cup Sizes: Keurig machines typically offer multiple cup size options, such as 6 oz., 8 oz., and 10 oz., allowing you to customize your coffee to your desired strength and quantity.
- Brew Strength Control: Some Keurig models provide the option to adjust the brew strength, catering to those who prefer a bolder or milder cup of coffee.
- Temperature Control: Certain Keurig machines allow you to adjust the brewing temperature, ensuring that your coffee is brewed at the perfect temperature for optimal flavor extraction.
- Auto On/Off: Many Keurig models come equipped with an auto on/off feature, allowing you to set a specific time for the machine to automatically turn on or off, creating a hassle-free brewing experience.
Now that we have a good grasp of the Keurig coffee machine’s components and features, let’s move on to preparing the machine for brewing.
Preparing the Machine for Brewing
Before you can enjoy a delicious cup of coffee with your Keurig machine, it’s essential to properly prepare the machine for brewing. Here’s a step-by-step guide to help you get started:
- Clean and Rinse: Begin by cleaning the water reservoir and the brewing chamber. Remove the reservoir and wash it with soap and water. Rinse it thoroughly to remove any soap residue. Next, run a brew cycle without a K-Cup to flush out any remaining debris or build-up.
- Fill the Water Reservoir: Fill the water reservoir with fresh, cold water up to the desired level. Avoid using distilled or softened water as they may affect the taste of your coffee.
- Preheat the Machine: Turn on the Keurig machine and allow it to preheat for a few minutes. This ensures that the water reaches the ideal brewing temperature for a flavorful cup of coffee.
- Select the Cup Size: Choose the desired cup size by pressing the corresponding button on the control panel. The available options are typically displayed on the front of the machine.
Once you’ve completed these steps, your Keurig machine is ready for brewing. Now, let’s move on to the exciting part: brewing coffee!
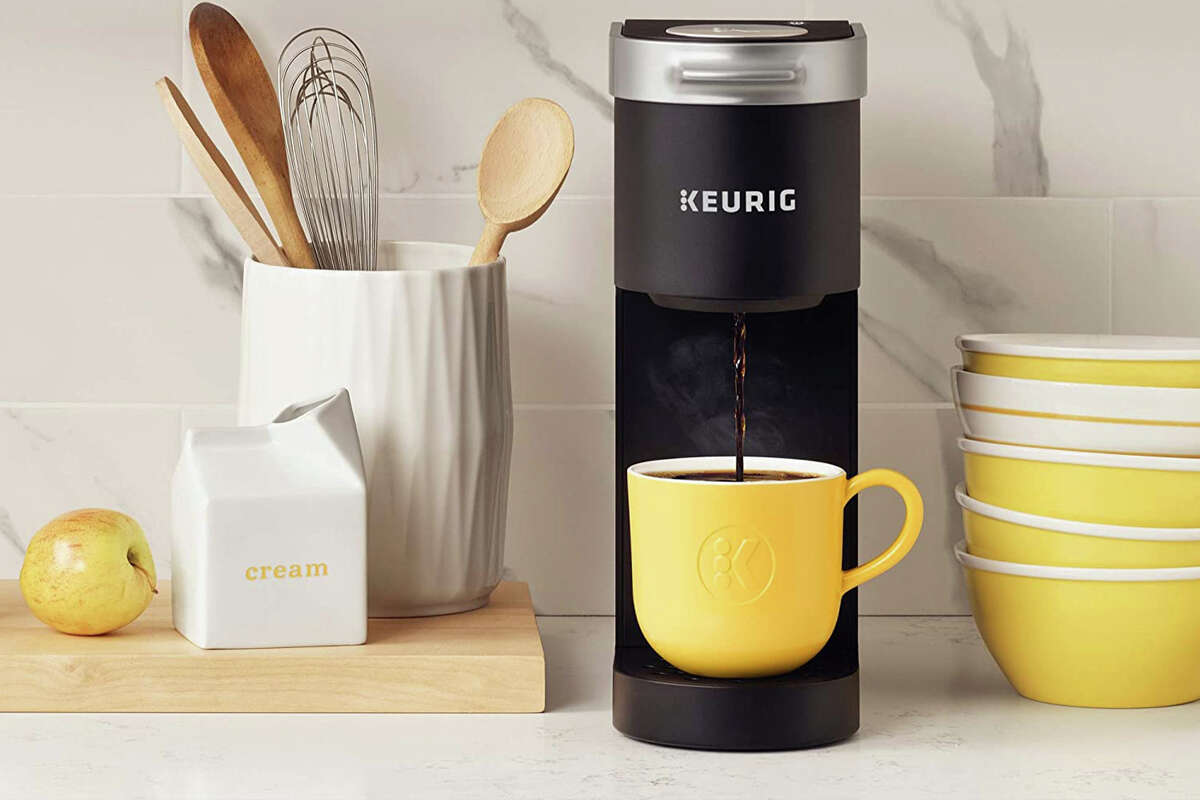
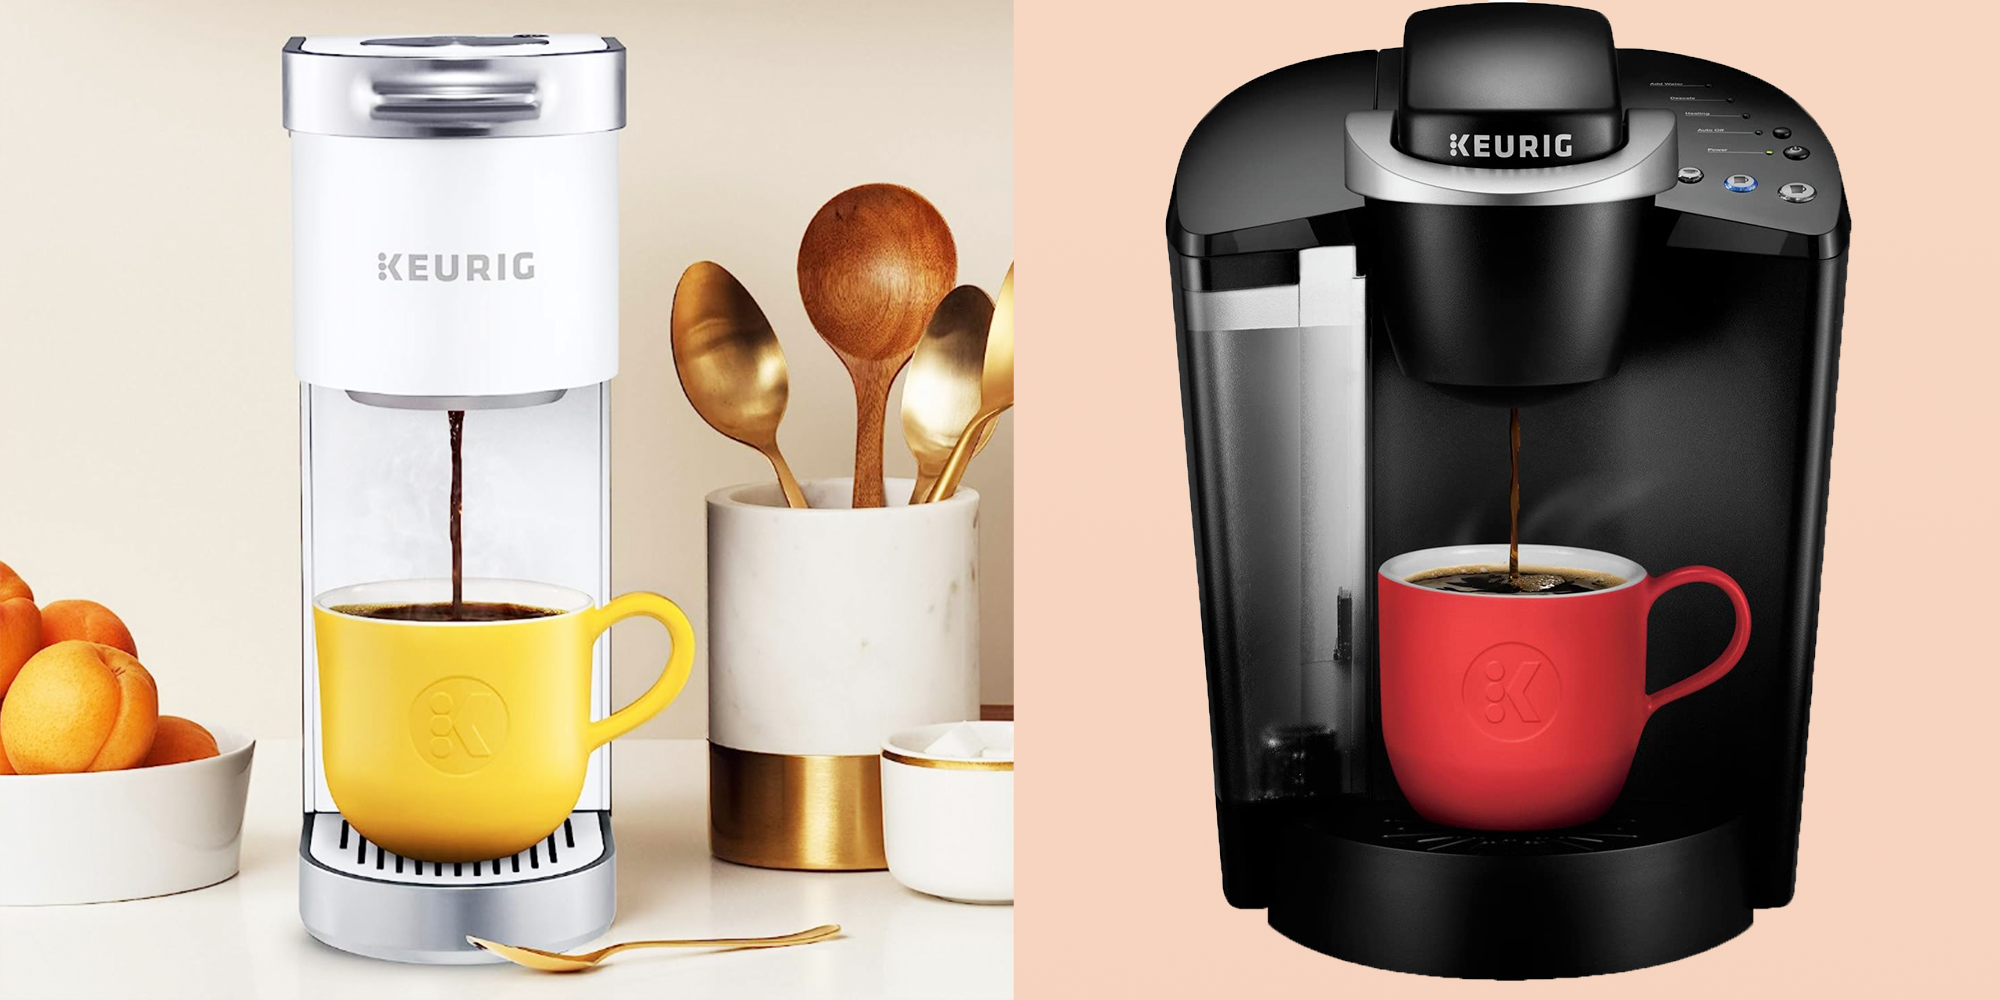
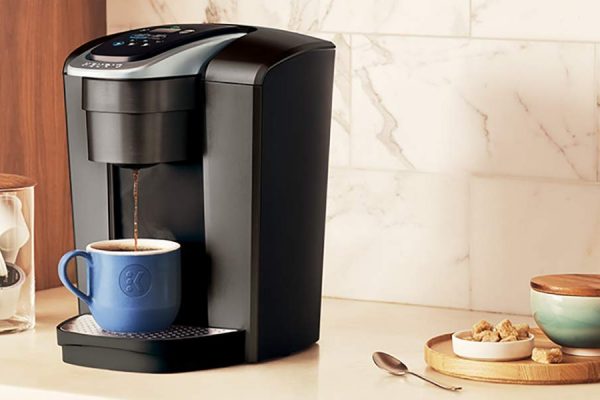
Brewing Coffee with the Keurig Machine
Brewing coffee with a Keurig machine is incredibly simple and convenient. Just follow these steps to enjoy a delicious cup of coffee:
- Insert the K-Cup: Lift the handle on the Keurig machine to open the brewing chamber. Place the K-Cup into the chamber, making sure it is securely positioned.
- Close the Brewing Chamber: Lower the handle to close the brewing chamber, ensuring it is completely sealed.
- Place the Cup: Position your cup on the drip tray, making sure it is placed securely and centered under the brew spout.
- Start Brewing: Press the brewing button on the control panel to begin the brewing process. The machine will automatically pierce the K-Cup and start the extraction process.
- Wait for Completion: Allow the Keurig machine to complete the brewing process. The coffee will flow into your cup, filling it with rich and aromatic goodness.
- Enjoy Your Coffee: Once the brewing is done, carefully remove the cup from the drip tray and savor your freshly brewed coffee.
Remember, the brewing time may vary depending on the cup size and the specific Keurig model you are using. Generally, it takes just a few minutes to brew a single cup of coffee.
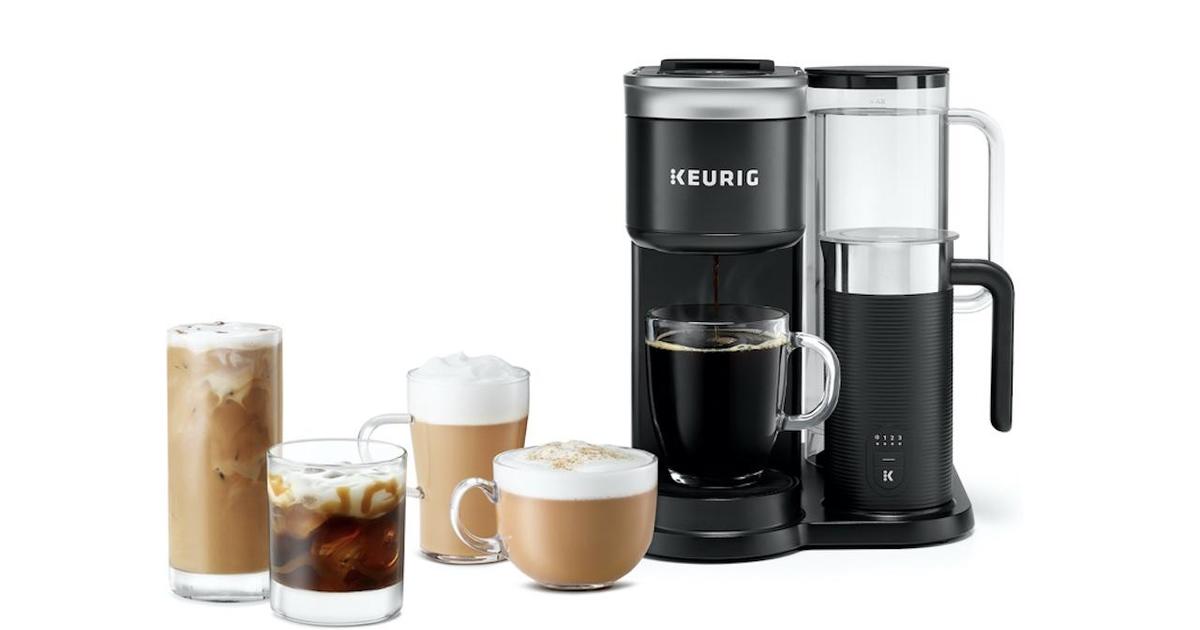
One of the great advantages of using a Keurig machine is the ability to choose from a wide variety of coffee flavors and blends. There are countless K-Cup options available, including different roasts, flavors, and even specialty drinks like hot chocolate or tea. Simply select the K-Cup of your choice, insert it into the machine, and let the Keurig work its magic.
Now that you know how to brew coffee with a Keurig machine, let’s move on to troubleshooting common issues that you may encounter.
To work a Keurig coffee machine, make sure to fill the water reservoir, insert a K-cup, select your desired cup size, and press the brew button. Clean the machine regularly to maintain its performance.
Troubleshooting Common Issues
While Keurig machines are generally reliable and easy to use, you may occasionally encounter some common issues. But fret not! Most of these issues can be easily resolved. Here are some troubleshooting tips to help you overcome them:
- No Power: If your Keurig machine fails to turn on, ensure that it is properly plugged into a functioning power outlet. Check the power cord for any damage or loose connections.
- No or Slow Water Flow: If the water flow from the machine is weak or non-existent, check the water reservoir to ensure it is filled to the appropriate level. Additionally, remove the K-Cup and check the brewing chamber for any clogs or blockages. You can use a paper clip or the provided Keurig maintenance accessory to dislodge any debris.
- Unusual Tastes or Odors: If your coffee has an odd taste or smell, try cleaning and descaling your Keurig machine. Mineral deposits can accumulate over time and affect the flavor of your coffee. Follow the manufacturer’s instructions for descaling using a Keurig-approved descaling solution.
- Leaking or Dripping: If you notice any water leakage or dripping from your Keurig machine, first check that all components, such as the water reservoir and the brewing chamber, are properly assembled and sealed. If the issue persists, contact Keurig customer support for assistance.
- Display Error Codes: If you see an error code displayed on the control panel, consult the Keurig user manual for troubleshooting specific error codes. In most cases, these codes can be resolved by following the recommended steps provided by Keurig.
If you encounter any other issues or have difficulty troubleshooting the problem, don’t hesitate to reach out to Keurig customer support. Their knowledgeable and friendly team can provide further assistance and guidance.
By troubleshooting these common issues, you can keep your Keurig machine running smoothly and enjoy uninterrupted coffee brewing.
Now that we’ve covered the troubleshooting tips, let’s move on to an equally important topic: cleaning and maintaining your Keurig machine.
Read more: How To Prime A Keurig Coffee Machine
Cleaning and Maintaining the Keurig Machine
Regular cleaning and maintenance are crucial for keeping your Keurig machine in optimal working condition and ensuring the best possible coffee quality. Here are some essential cleaning and maintenance tips to prolong the life of your Keurig:
- Regular Water Reservoir Cleaning: Clean the water reservoir at least once a week. Wash it with warm, soapy water, rinse thoroughly, and ensure it is completely dry before reattaching it to the machine.
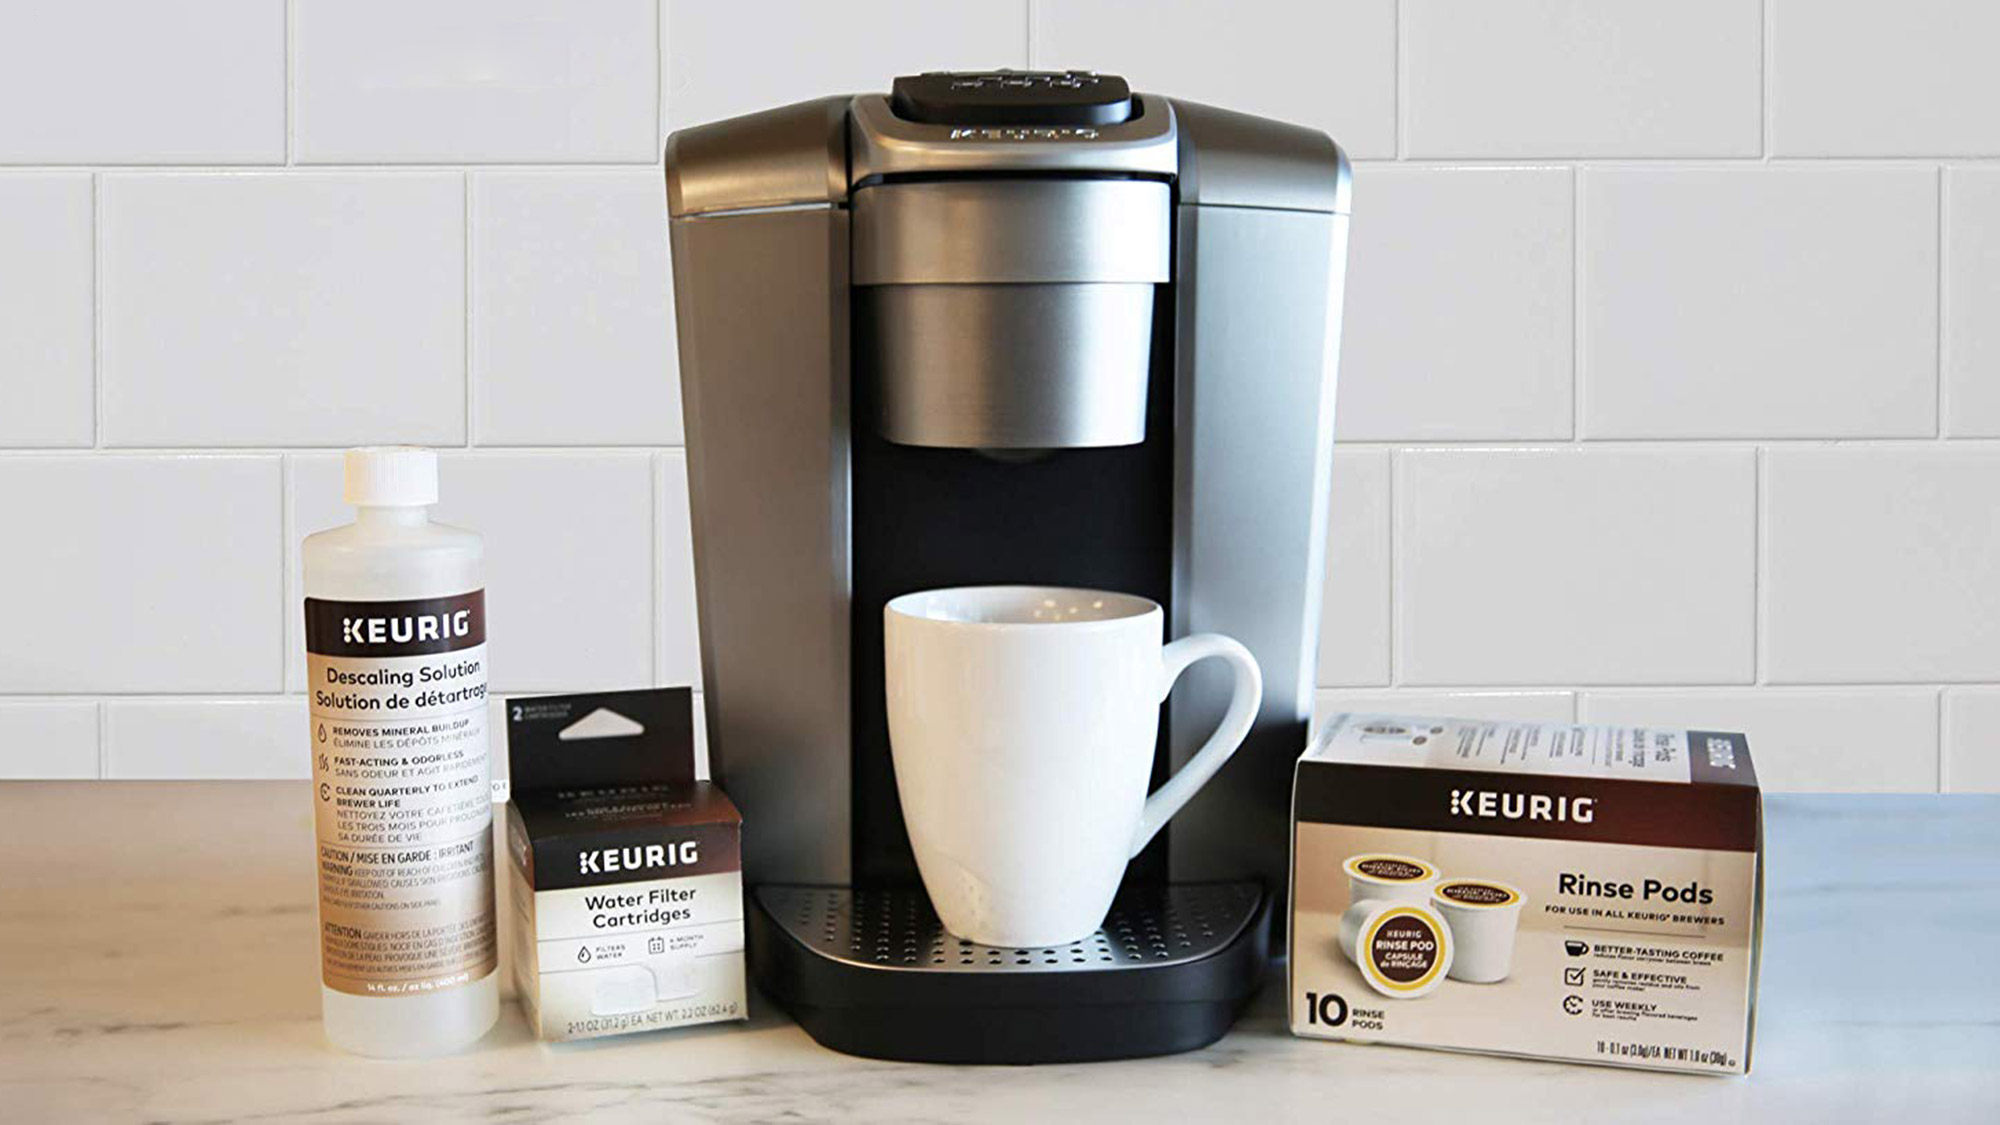
- Descaling: Over time, mineral deposits from water can accumulate and affect the performance of your Keurig machine. Follow the manufacturer’s instructions to descale your machine regularly using a Keurig-approved descaling solution.
- Cleaning the Brew Chamber: Remove and clean the K-Cup holder as well as the exit needle to prevent any clogs or residue build-up. You can do this by rinsing them under running water and using a brush or cloth to remove any stubborn debris.
- Cleaning the Drip Tray: The drip tray collects any liquid spills or drips during the brewing process. Remove the drip tray, empty it, and wash it with warm, soapy water. Rinse and dry thoroughly before placing it back into the machine.
- Change the Water Filter: If your Keurig machine has a water filter, replace it as recommended by the manufacturer to ensure the best-tasting coffee and prevent any issues caused by impurities in the water.
- Keep the Machine Exterior Clean: Wipe the exterior of your Keurig machine with a damp cloth or sponge to remove any dirt or stains. Avoid using abrasive cleaners or solvents that may damage the surfaces.
In addition to regular cleaning, it’s essential to follow these maintenance practices to ensure continued optimal performance:
- Store the Machine Properly: If you’re not using your Keurig machine for an extended period, clean and dry all removable parts, empty the water reservoir, and store the machine in a cool, dry place.
- Use High-Quality K-Cups: To ensure the best coffee experience, use fresh, high-quality K-Cups. Opt for reputable coffee brands that offer a wide variety of flavors and blends.
- Keep the Machine Updated: Check for any firmware updates or product recalls for your specific Keurig model. Keeping the machine up-to-date ensures that you’re benefiting from any improvements or potential bug fixes.
By following these cleaning and maintenance practices, you can enjoy consistently great-tasting coffee and extend the lifespan of your Keurig machine.
Now that you’re equipped with the knowledge of cleaning and maintaining your Keurig, let’s wrap up this article.
Conclusion
Congratulations! You have now become well-versed in working a Keurig coffee machine. We’ve covered everything you need to know to brew delicious coffee with your Keurig, from understanding its components and features to troubleshooting common issues and maintaining its performance.
With the convenience and versatility of Keurig machines, you can now enjoy a flavorful cup of coffee in the comfort of your home or office. The simple steps of inserting a K-Cup, selecting the cup size, and pressing the brew button will result in a steaming hot cup of coffee ready to be enjoyed.
Remember, maintaining your Keurig machine through regular cleaning and descaling is essential for optimal performance and coffee quality. By following the cleaning and maintenance tips outlined in this article, you can ensure that your Keurig will continue to provide you with excellent coffee for years to come.
So, the next time you crave a cup of coffee, simply turn on your Keurig machine, insert your preferred K-Cup, and indulge in the rich flavors and aromas that this amazing brewing system offers.
Thank you for joining us in this journey to uncover the secrets of working a Keurig coffee machine. We hope this comprehensive guide has been helpful to you. Now go forth and enjoy your perfectly brewed cup of coffee!
Frequently Asked Questions about How Do You Work A Keurig Coffee Machine
Was this page helpful?
At Storables.com, we guarantee accurate and reliable information. Our content, validated by Expert Board Contributors, is crafted following stringent Editorial Policies. We're committed to providing you with well-researched, expert-backed insights for all your informational needs.


0 thoughts on “How Do You Work A Keurig Coffee Machine”