
Articles
How To Tighten Sink Faucet Handle
Modified: February 23, 2024
Learn step-by-step methods to tighten your sink faucet handle with our informative articles. Keep your kitchen or bathroom fixtures secure and functioning properly.
(Many of the links in this article redirect to a specific reviewed product. Your purchase of these products through affiliate links helps to generate commission for Storables.com, at no extra cost. Learn more)
Introduction
Is your sink faucet handle becoming loose and wobbly? A loose faucet handle not only affects the functionality of your sink but can also be annoying to use. Thankfully, tightening a sink faucet handle is a relatively simple task that can be done without the need for professional help or expensive tools. In this article, we will guide you through the step-by-step process of tightening your sink faucet handle, ensuring a snug and secure fit.
Before we dive into the process, it is important to note that the method for tightening the handle might vary depending on the type and model of your faucet. It is recommended to consult the manufacturer’s instructions or do a quick online search for specific information related to your faucet model. With that said, let’s get started!
Key Takeaways:
- Easily tighten your sink faucet handle using simple tools like an adjustable wrench and Phillips screwdriver. Remember to shut off the water supply, inspect the handle, and reattach it securely for a hassle-free experience.
- Regular maintenance and tightening of your sink faucet handle can prevent water leaks and extend the lifespan of your faucet. If in doubt, seek professional assistance for a long-lasting solution.
Read more: How To Tighten Loose Faucet Handle
Tools and Materials Needed
Before you begin the process of tightening your sink faucet handle, make sure you have the following tools and materials ready:
- Adjustable wrench
- Phillips screwdriver
- Plumber’s tape
- Towel or rag
The adjustable wrench will be used to loosen and tighten the connections, while the Phillips screwdriver will be necessary for removing screws, if required. Plumber’s tape is used to seal the threaded connections and prevent any potential leaks. Lastly, having a towel or rag handy will help keep your work area clean and dry.
Now that you have your tools and materials ready, let’s move on to the next step!
Step 1: Shut Off the Water Supply
Before attempting to tighten the sink faucet handle, it is crucial to turn off the water supply to avoid any water leakage or unexpected spray. Locate the shut-off valves under your sink, usually located on the hot and cold water supply lines. Turn the valves clockwise until they are fully closed.
If you cannot find individual shut-off valves, you may need to shut off the main water supply to your house. The main shut-off valve is typically located in the basement, crawlspace, or near the water meter. Turning off the main water supply will ensure that there is no water flowing to any fixtures in your home.
Once you have successfully shut off the water supply, turn on the faucet handles to release any remaining water pressure. This step will help prevent any potential water damage or spills during the tightening process.
With the water supply turned off and the faucet handles open, you are now ready to proceed to the next step!
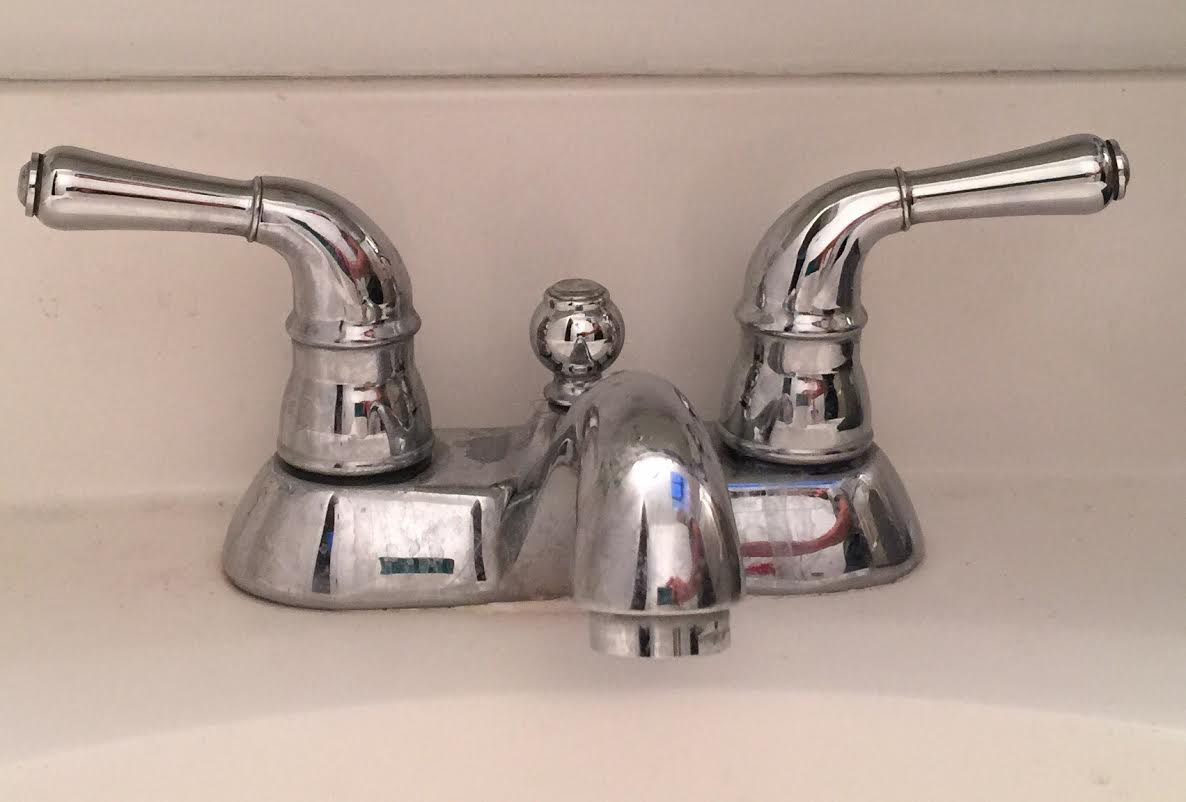
Step 2: Inspect the Handle
Before you start to tighten the sink faucet handle, it is important to inspect it closely to determine the cause of the loosening. A loose handle can be due to various reasons, such as a worn-out screw, loose connection, or damaged handle mechanism.
Begin by carefully examining the handle for any visible signs of damage or wear. Look for cracks, chips, or broken parts that may be affecting its stability. Additionally, check if the handle is securely attached to the faucet base. Wiggle the handle gently to see if there is any excessive movement or play.
If you notice any visible damage or if the handle appears to be loose at the base, tightening alone may not solve the problem. In such cases, you may need to replace a faulty handle or call a professional plumber for further assistance.
On the other hand, if the handle is in good condition and the issue seems to be primarily with the tightening, you can continue with the next steps to secure the handle.
Keep in mind that the process may vary depending on the type of faucet you have. Some faucets have a visible screw that secures the handle, while others may require you to remove a decorative cap or cover to access the screw. Refer to the manufacturer’s instructions or do a quick online search to understand the specific disassembly method for your faucet.
Once you have inspected the handle and determined that it can be tightened, you are ready to move on to the next step!
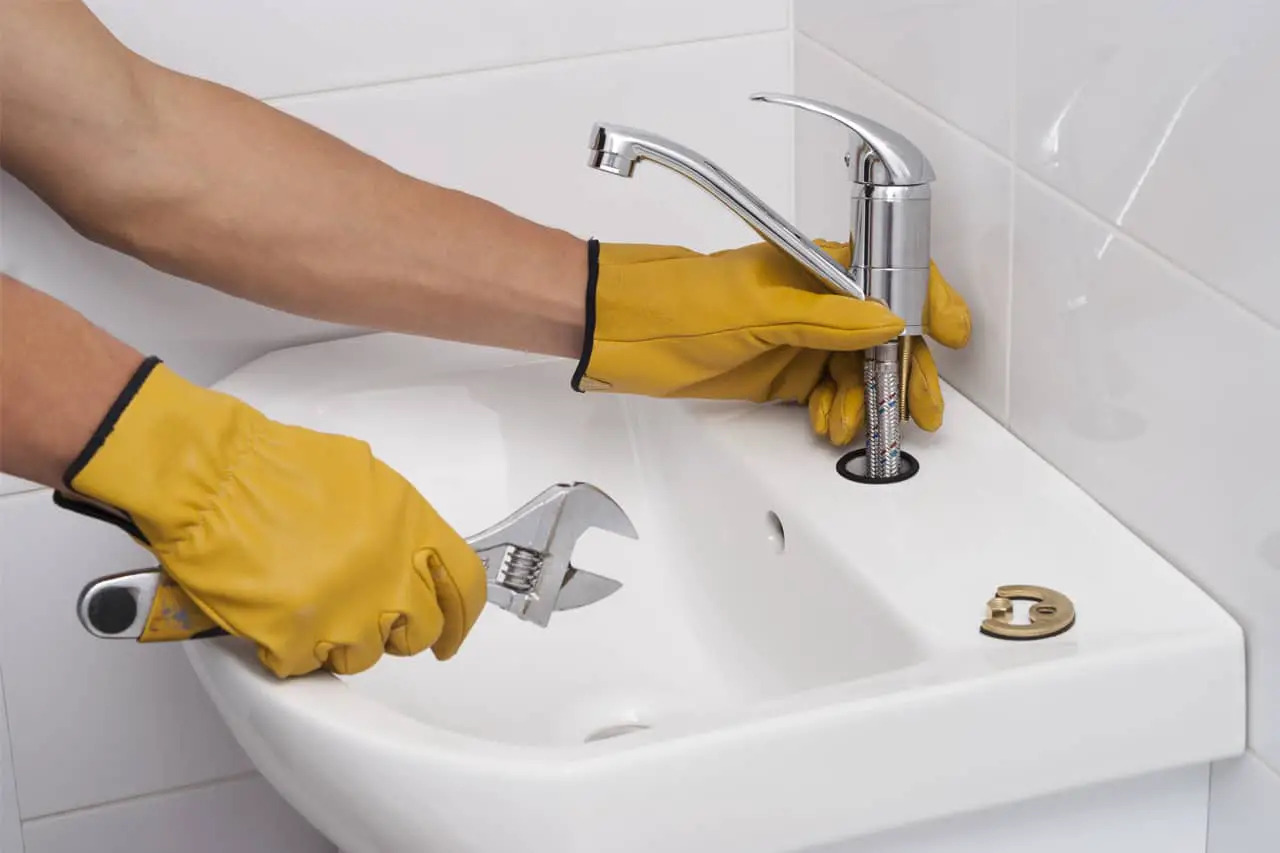
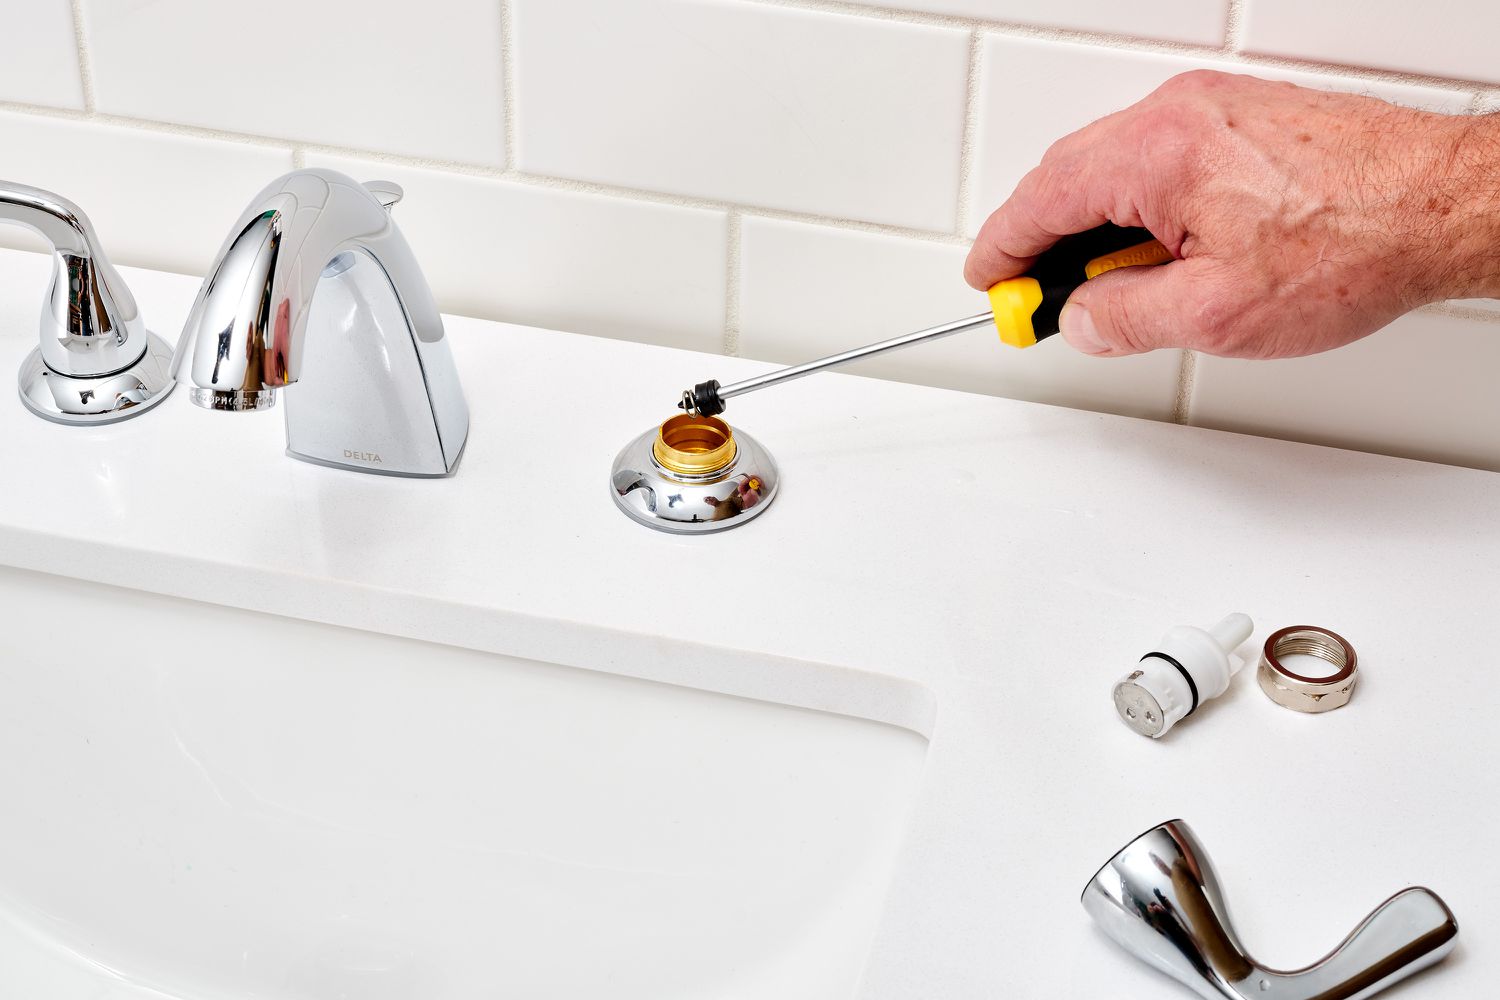
Step 3: Remove the Handle
To tighten the sink faucet handle, you will need to remove it first. The process of removing the handle may vary depending on the type of faucet you have. Here are the general steps to follow:
- Locate the screw or decorative cap covering the screw. This screw is usually located on the side of the handle or under a small cover.
- Using a Phillips screwdriver, remove the screw by turning it counterclockwise. Set the screw aside in a safe place as you will need it later.
- Gently wiggle and lift the handle to remove it from the faucet base. If the handle feels stuck, try twisting it slightly to loosen it.
Some faucet handles may have additional components, such as a decorative escutcheon or a decorative cover that needs to be lifted or unscrewed before accessing the handle screw.
While removing the handle, be cautious not to apply excessive force or pull too hard, as it may cause damage to the handle or faucet. If the handle doesn’t come off easily, refer to the manufacturer’s instructions or search for specific information related to your faucet model.
Once you have successfully removed the handle, you can proceed to the next step of tightening the handle.
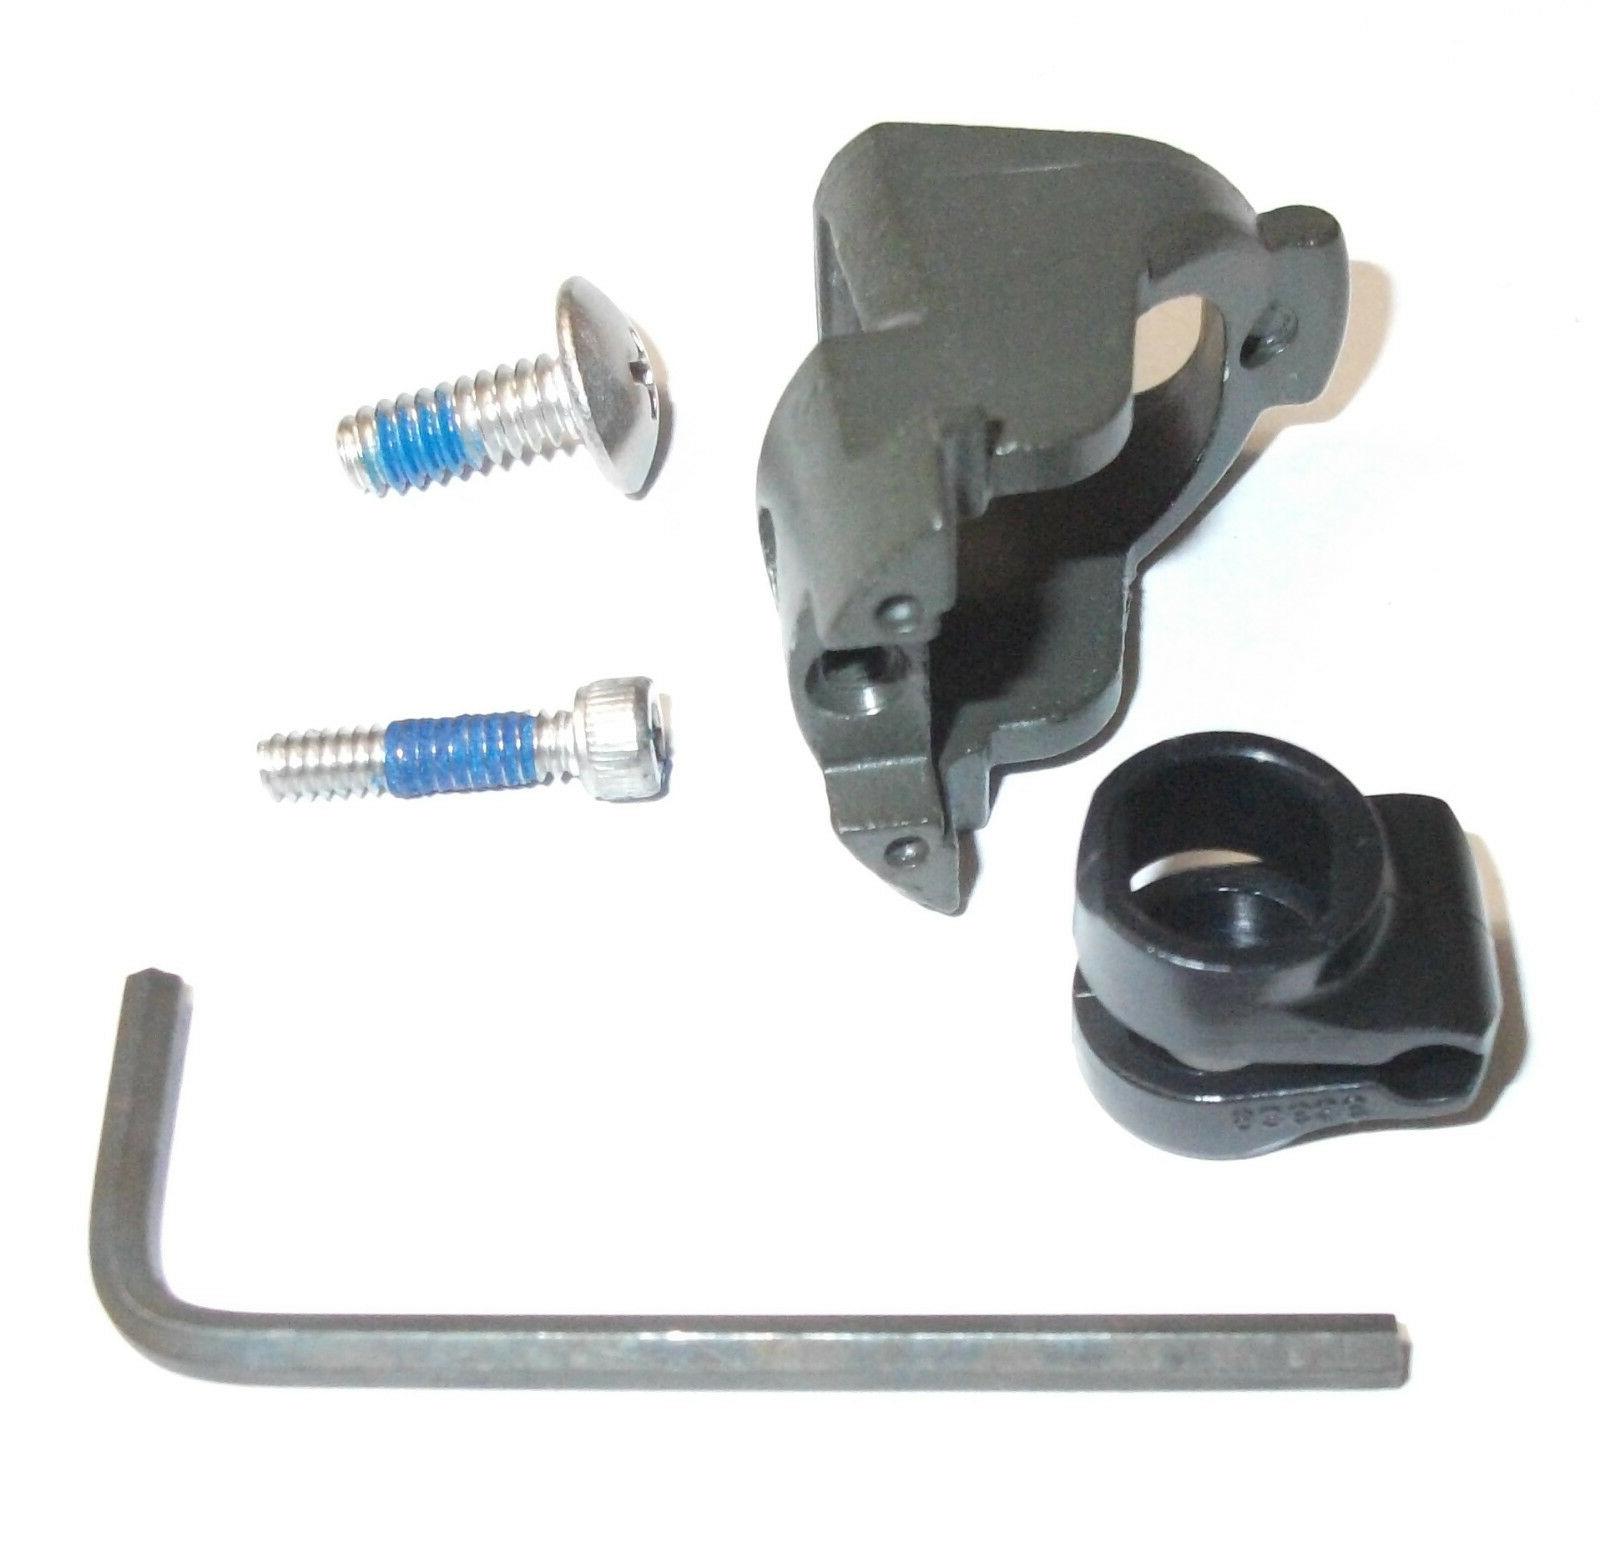
If your sink faucet handle is loose, try tightening the set screw located under the handle with an Allen wrench. This should help secure the handle in place.
Read more: How To Tighten Bathroom Faucet Handle
Step 4: Tighten the Handle
Now that you have removed the sink faucet handle, it’s time to tighten it. The method for tightening the handle may vary depending on the specific faucet design, but here are some general steps to follow:
- Inspect the area where the handle connects to the faucet base. Look for any visible screws, nuts, or other fasteners that may be used to secure the handle.
- If you see a screw or nut, use an adjustable wrench or a screwdriver to tighten it. Turn the screw or nut clockwise until it is snug but be careful not to overtighten, as it may cause damage.
- If there are no visible screws or nuts, the handle may have a threaded connection. In this case, turn the handle counterclockwise to loosen it, then rotate it clockwise to tighten it. Alternatively, you can use a wrench to secure the handle by turning it clockwise.
- As you tighten the handle, periodically check for any excess play or movement. The goal is to achieve a snug fit without restricting the movement of the handle.
It’s important to note that some faucets may have specific tightening instructions provided by the manufacturer. Refer to the manufacturer’s guidelines or do a quick online search to ensure you follow the correct method for your particular faucet model.
Once you are satisfied with the tightness of the handle, you can proceed to the next step of reattaching the handle.
Step 5: Reattach the Handle
After tightening the sink faucet handle, it’s time to reattach it to the faucet base. Follow these steps to properly reattach the handle:
- Align the handle with the opening on the faucet base.
- Gently push the handle back onto the base, ensuring that it sits securely and snugly.
- If there was a screw or nut holding the handle in place, insert it back into its designated hole or slot. Use a Phillips screwdriver or an adjustable wrench to tighten the screw or nut, turning it clockwise.
- Ensure that the handle is aligned properly and in the correct position. It should be straight and aligned with the faucet spout.
During the reattachment process, be mindful not to force the handle or overtighten the screws or nuts. The handle should slide into place smoothly and securely.
Once you have reattached the handle and tightened any necessary fasteners, give it a gentle tug to ensure it is securely in place. If there is no excessive movement or play, you can proceed to the next step.
With the handle successfully reattached, it’s time to move on to the final step of turning on the water supply.
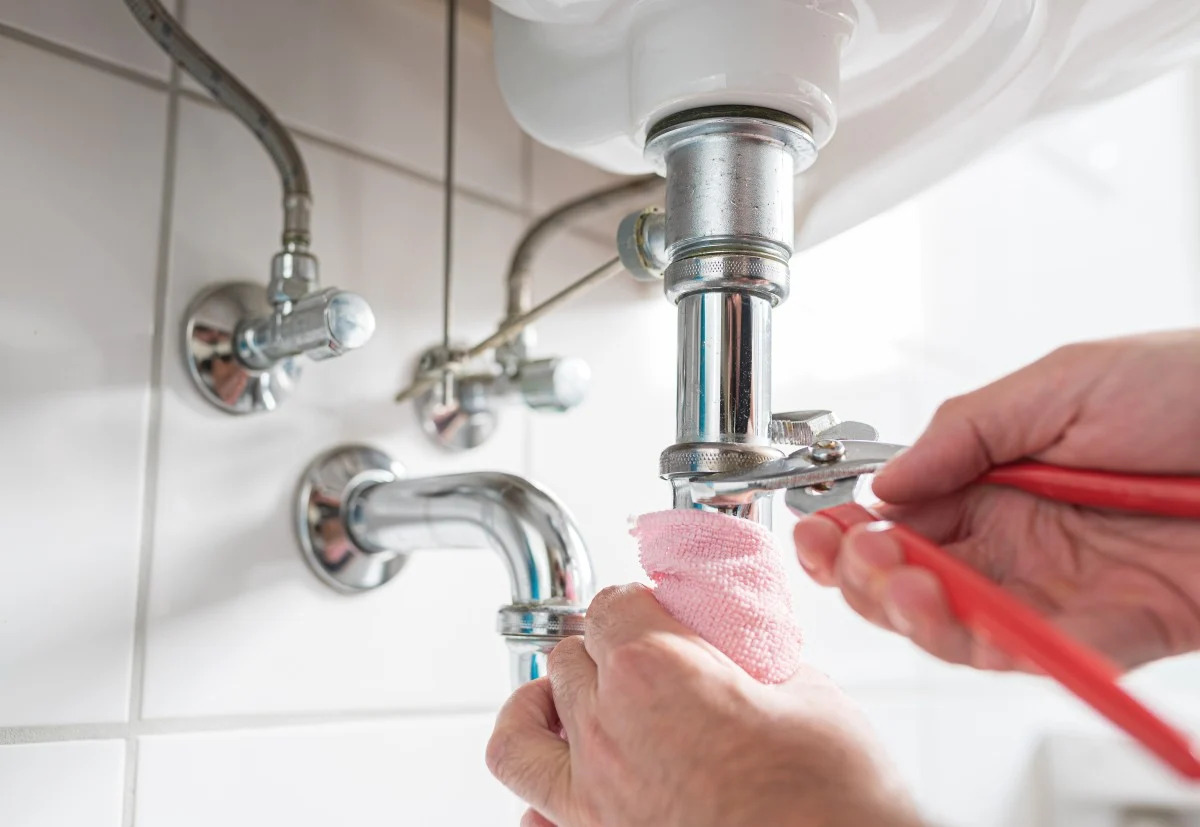
Step 6: Turn On the Water Supply
With the sink faucet handle reattached and tightened, it’s time to turn on the water supply and test the handle’s functionality. Follow these steps to complete the process:
- Locate the shut-off valves under the sink or the main water shut-off valve in your home.
- Turn the valves counterclockwise to reopen the water supply. If you are using the main water shut-off valve, turn it counterclockwise to restore water flow to your home.
- Once the water supply is turned on, check for any leaks around the faucet handle. Inspect the connections carefully and make sure there is no water dripping or spraying.
- If you notice any leaks, turn off the water supply again and inspect the handle for any loose connections or damaged parts. In some cases, you may need to re-tighten the handle or consider replacing faulty components.
- If there are no leaks, carefully turn on the faucet by moving the handle to the desired position. Test the handle’s movement and functionality, ensuring that it operates smoothly and securely.
If the handle feels tight and there are no signs of leaks or loosening, congratulations! You have successfully tightened the sink faucet handle.
Remember, if you encounter any difficulties or if the handle continues to feel loose even after tightening, it might be a sign of a more complex issue. In such cases, it is recommended to seek the assistance of a professional plumber.
By following these steps and properly tightening the sink faucet handle, you can enjoy a secure and hassle-free experience while using your kitchen or bathroom sink.
Conclusion
Tightening a loose sink faucet handle is a simple yet important maintenance task that can enhance the functionality and usability of your sink. With the right tools and a step-by-step approach, you can easily tighten the handle and restore its stability.
In this article, we have provided a comprehensive guide on how to tighten a sink faucet handle. By following the steps outlined, you can confidently remove the handle, inspect it for any damage, tighten it securely, and reattach it to the faucet base. It is crucial to remember to shut off the water supply before starting and to check for any leaks or excess play once the handle is tightened.
However, it’s important to note that the process may vary depending on the type and model of your faucet. If you encounter any difficulties or if the handle continues to feel loose after tightening, it is advisable to consult the manufacturer’s instructions or seek professional help from a plumber.
Properly maintaining your sink faucet handle not only ensures its functionality but also prevents potential water leaks and damage. Regular inspection and tightening of the handle can help extend the lifespan of your faucet and provide a pleasant and secure user experience for years to come.
Remember, if you are uncertain about the process or feel uncomfortable performing the task yourself, it is always best to seek professional assistance. They have the expertise and tools to handle any faucet-related issues and ensure a long-lasting solution.
Now that you have all the knowledge and tools at your disposal, it’s time to tackle that loose sink faucet handle and enjoy the convenience of a well-functioning sink. Happy fixing!
Frequently Asked Questions about How To Tighten Sink Faucet Handle
Was this page helpful?
At Storables.com, we guarantee accurate and reliable information. Our content, validated by Expert Board Contributors, is crafted following stringent Editorial Policies. We're committed to providing you with well-researched, expert-backed insights for all your informational needs.


0 thoughts on “How To Tighten Sink Faucet Handle”