
Articles
How To Wire An Electric Cooktop
Modified: October 20, 2024
Learn how to wire an electric cooktop with our comprehensive articles. Discover step-by-step instructions and expert tips for a successful installation.
(Many of the links in this article redirect to a specific reviewed product. Your purchase of these products through affiliate links helps to generate commission for Storables.com, at no extra cost. Learn more)
Introduction
Wiring an electric cooktop may seem like a daunting task, but with the right knowledge and tools, it can be a straightforward process. Whether you are replacing an old cooktop or installing a new one, understanding the steps involved will help ensure a safe and efficient connection.
Before we dive into the details, it is essential to prioritize safety. Working with electricity can be hazardous, so always remember to turn off the power at the breaker and take other necessary precautions to protect yourself and your home.
In this article, we will guide you through the step-by-step process of wiring an electric cooktop. We’ll cover the tools and materials you’ll need, as well as the specific steps to follow to complete the installation successfully. By the end, you will have the knowledge and confidence to wire an electric cooktop like a pro.
Key Takeaways:
- Prioritize safety by turning off the power at the breaker box and using protective equipment when wiring an electric cooktop. Always follow local electrical codes and consult a professional if needed.
- Ensure a safe and efficient installation by properly preparing the electrical connection box, attaching the electrical cable, connecting the wires, and testing the connection. Follow manufacturer’s instructions and seek assistance if uncertain.
Read more: What Is 4 Wire Electrical Wire
Safety Precautions
Before you start wiring an electric cooktop, it is crucial to prioritize safety to prevent accidents and ensure a smooth installation process. Here are some important safety precautions to keep in mind:
- Turn off the power: Before beginning any electrical work, it is essential to turn off the power at the breaker box. This will help prevent electrocution and eliminate the risk of electrical shock.
- Use protective equipment: When working with electricity, always wear protective gear, such as safety goggles, gloves, and non-conductive footwear. This will provide an additional layer of protection while handling electrical wiring.
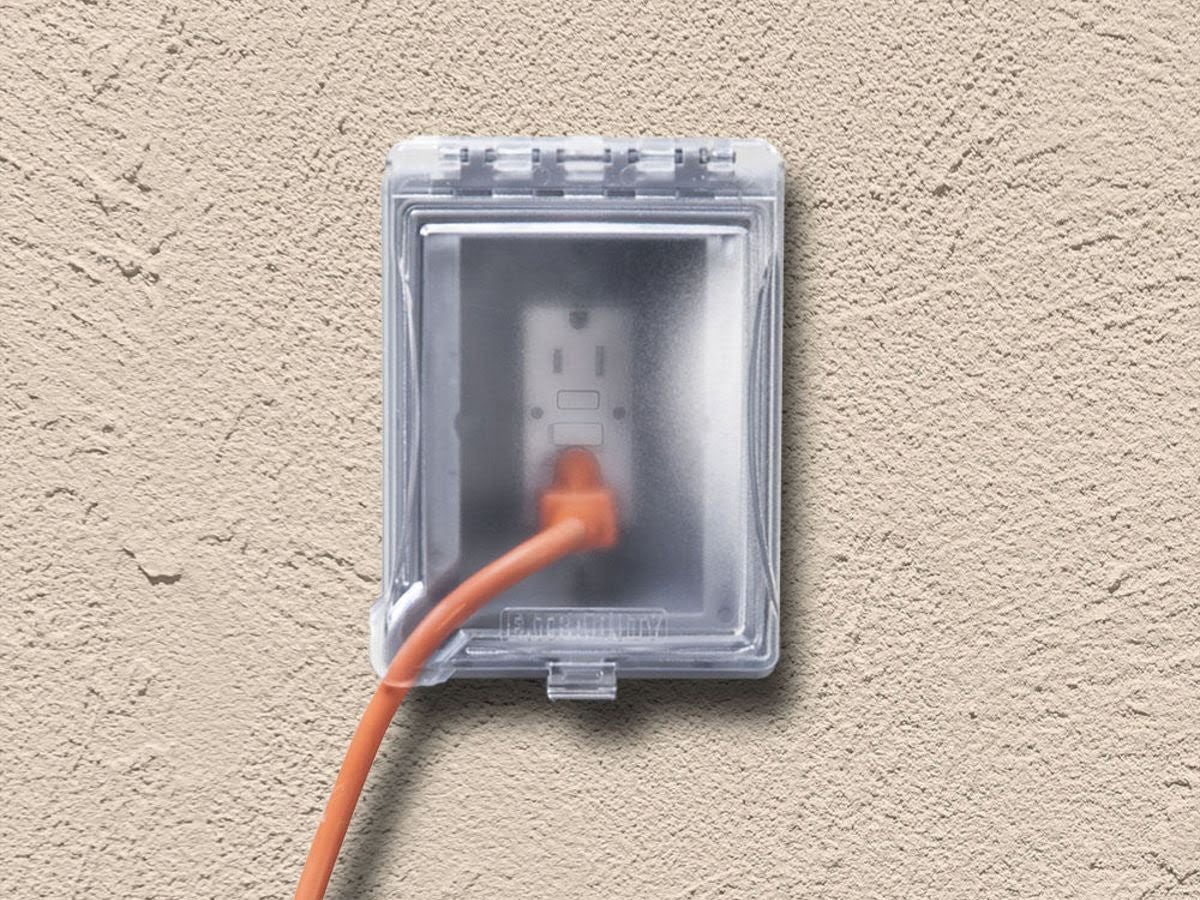
- Ensure proper grounding: Proper grounding is essential to prevent electrical hazards, such as short circuits and electrical surges. Make sure that the cooktop’s electrical connection box is properly grounded according to local electrical codes.
- Work in a well-ventilated area: Electrical work may involve the use of soldering or wire stripping tools that produce fumes or emit odors. Working in a well-ventilated area will reduce the risk of inhaling harmful substances.
- Avoid water contact: Water and electricity don’t mix well. Keep all wiring and electrical components dry during the installation process. If any moisture is present, dry it thoroughly before proceeding.
- Consult a professional if needed: If you are unsure about any aspect of wiring an electric cooktop, it is better to consult a qualified electrician. They have the expertise and knowledge to handle electrical installations safely and accurately.
By following these safety precautions, you can minimize the risk of accidents and ensure a safe working environment while wiring an electric cooktop. Remember, the safety of yourself and your home should always be the top priority when working with electricity.
Tools and Materials Needed
To successfully wire an electric cooktop, you will need the following tools and materials:
Tools:
- Flathead screwdriver
- Phillips screwdriver
- Wire strippers
- Needle-nose pliers
- Wire connectors
- Electrical tape
- Voltage tester
- Level
- Drill (if installing a junction box)
Materials:
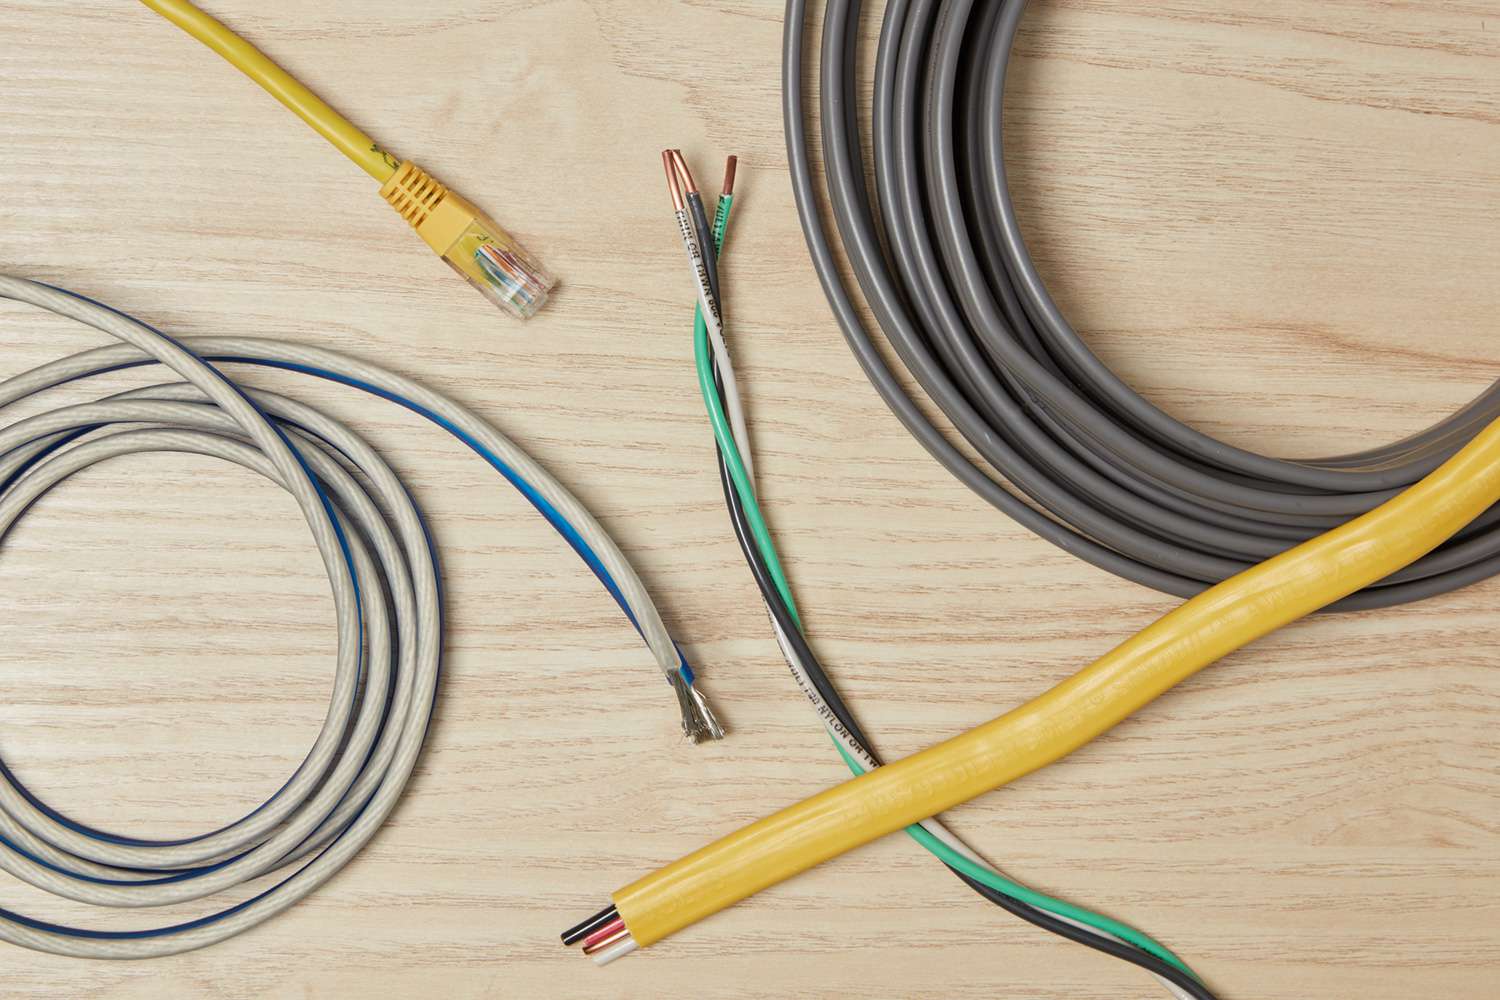
- Electrical cable with sufficient gauge (refer to manufacturer’s guidelines)
- Junction box (if required by local electrical codes)
- Wire nuts
- Mounting brackets (if necessary)
- Mounting hardware (screws, anchor bolts, etc.)
These tools and materials will help you properly wire the electric cooktop and ensure a secure and efficient installation. Before starting the process, gather all the necessary tools and materials to make the installation smoother.
Make sure to choose electrical cables and connectors that are appropriate for the cooktop model and match the electrical requirements outlined by the manufacturer. Some cooktops may require specific types of connectors or have specific voltage and amp requirements. Always refer to the manufacturer’s instructions and guidelines for the exact specifications.
Additionally, if your local electrical codes require the use of a junction box, make sure to select a suitable box that complies with the regulations. The junction box will provide a secure and accessible location to connect the electrical wires.
By having the right tools and materials on hand, you’ll be well-prepared to wire your electric cooktop safely and accurately.
Read more: How To Trace An Electrical Wire
Step 1: Shut Off Power
Before you begin any electrical work, it is crucial to turn off the power to the area where you’ll be wiring the electric cooktop. This step is essential to ensure your safety and prevent any electrical accidents. Follow these steps to shut off the power:
- Locate the breaker box or electrical panel in your home. This is usually situated in the basement, garage, or on an exterior wall.
- Open the breaker box panel using a flathead screwdriver or the appropriate tool.
- Look for the circuit breaker that controls the power supply to the cooktop. Usually, this will be labeled in the breaker box. If it is not labeled, you may need to test each breaker to identify the correct one.
- Once you have identified the correct breaker, switch it to the “off” position. This will cut off power to the cooktop.
- Confirm that the power is off by testing the cooktop with a voltage tester. This tool will detect the presence of electricity and ensure that the circuit is truly disconnected.
It is important to note that turning off the switch on the cooktop itself is not enough to ensure your safety. It is crucial to turn off the power at the breaker box to prevent any accidental electric shocks during the installation process.
Once you have shut off the power and confirmed that there is no electricity flowing to the cooktop, you are ready to proceed with the wiring process. Always take the necessary precautions to ensure your safety while working with electrical components.
Step 2: Prepare the Electrical Connection Box
Before connecting the wires to the electric cooktop, it is important to prepare the electrical connection box. The connection box serves as a secure housing for the electrical wiring and ensures a safe and organized installation. Follow these steps to prepare the electrical connection box:
- Locate the electrical connection box on the cooktop. This is usually located at the back of the cooktop near the center or on one side.
- Remove the cover plate of the connection box. This can usually be done by unscrewing the screws that hold it in place using a Phillips screwdriver.
- Inside the connection box, you will find terminal screws. These screws are used to secure the wires in place.
- Inspect the terminal screws for any existing wires or remnants of old connections. It is important to ensure that the box is clean and free from any debris or previous wiring.
- If necessary, use a flathead screwdriver or wire stripper to remove any excess insulation from the existing wires.
- Inspect the wires for any signs of damage or wear. If any wires are damaged, they should be replaced before continuing with the wiring process.
- Ensure that the wires are straight and have enough length to comfortably reach the terminal screws in the connection box.
- If the connection box has metal grounding straps, make sure they are properly positioned and connected. These grounding straps are essential for safety and electrical protection.
By properly preparing the electrical connection box, you are creating a clean and organized space for the wire connections. This will ensure a secure and efficient installation of the electric cooktop.
Remember to always refer to the manufacturer’s instructions for any specific guidelines or requirements regarding the preparation of the electrical connection box for your particular model of cooktop. Following these instructions will help you achieve the best results and ensure the safety of the installation process.
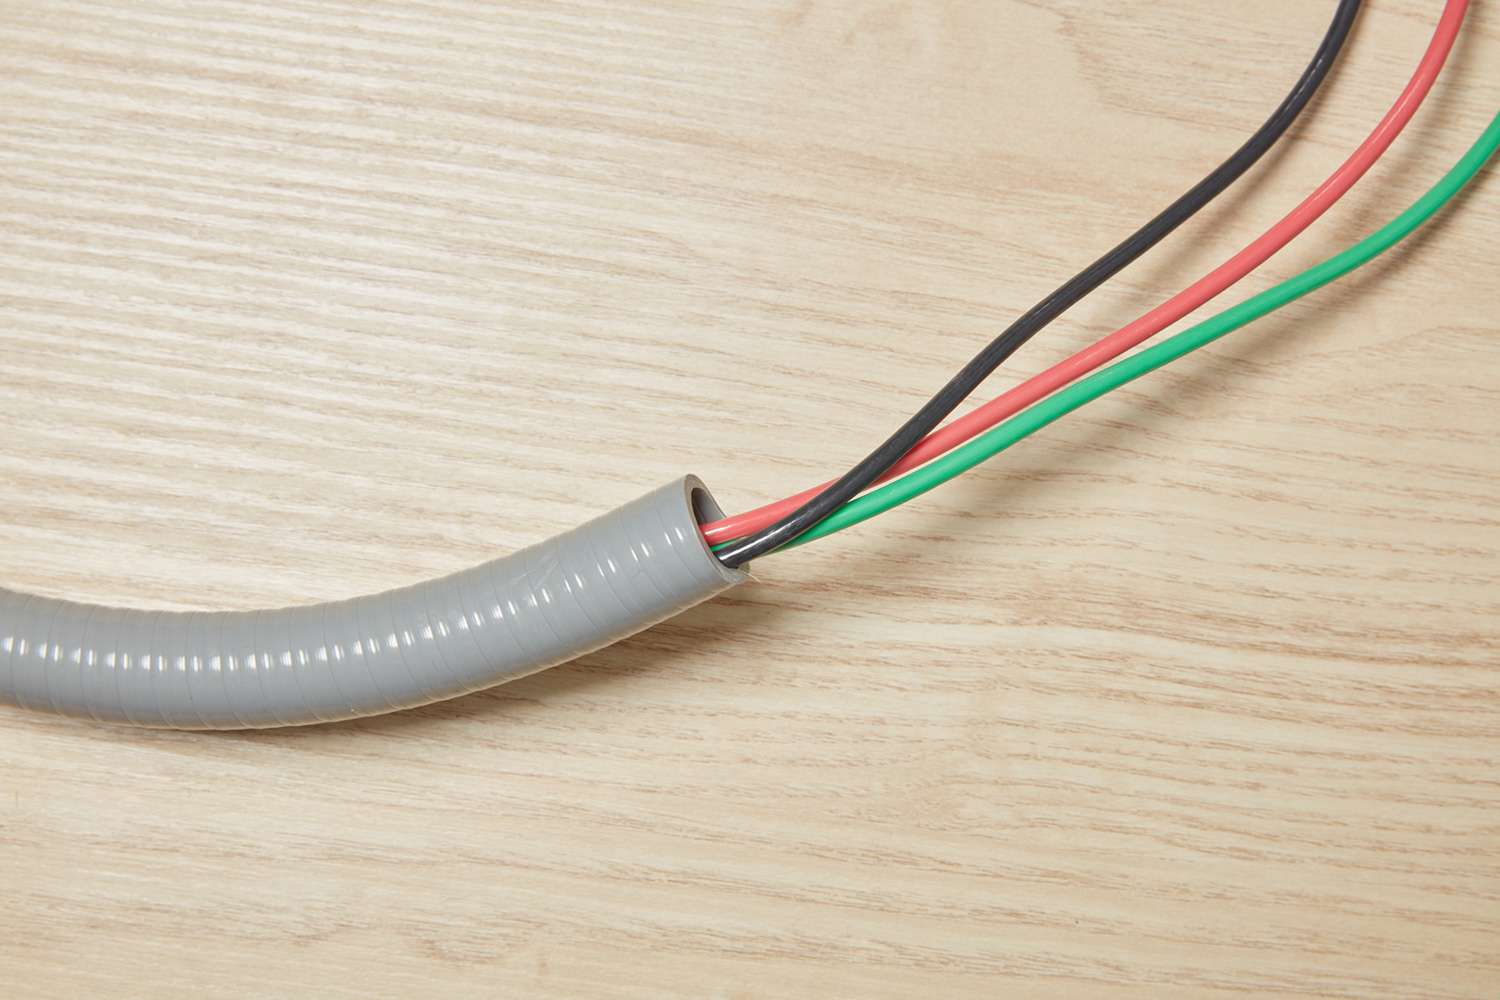
Step 3: Attach the Electrical Cable to the Cooktop
Once you have prepared the electrical connection box, the next step is to attach the electrical cable to the cooktop. This cable will provide the power supply to the cooktop, allowing it to function properly. Here’s how you can attach the electrical cable to the cooktop:
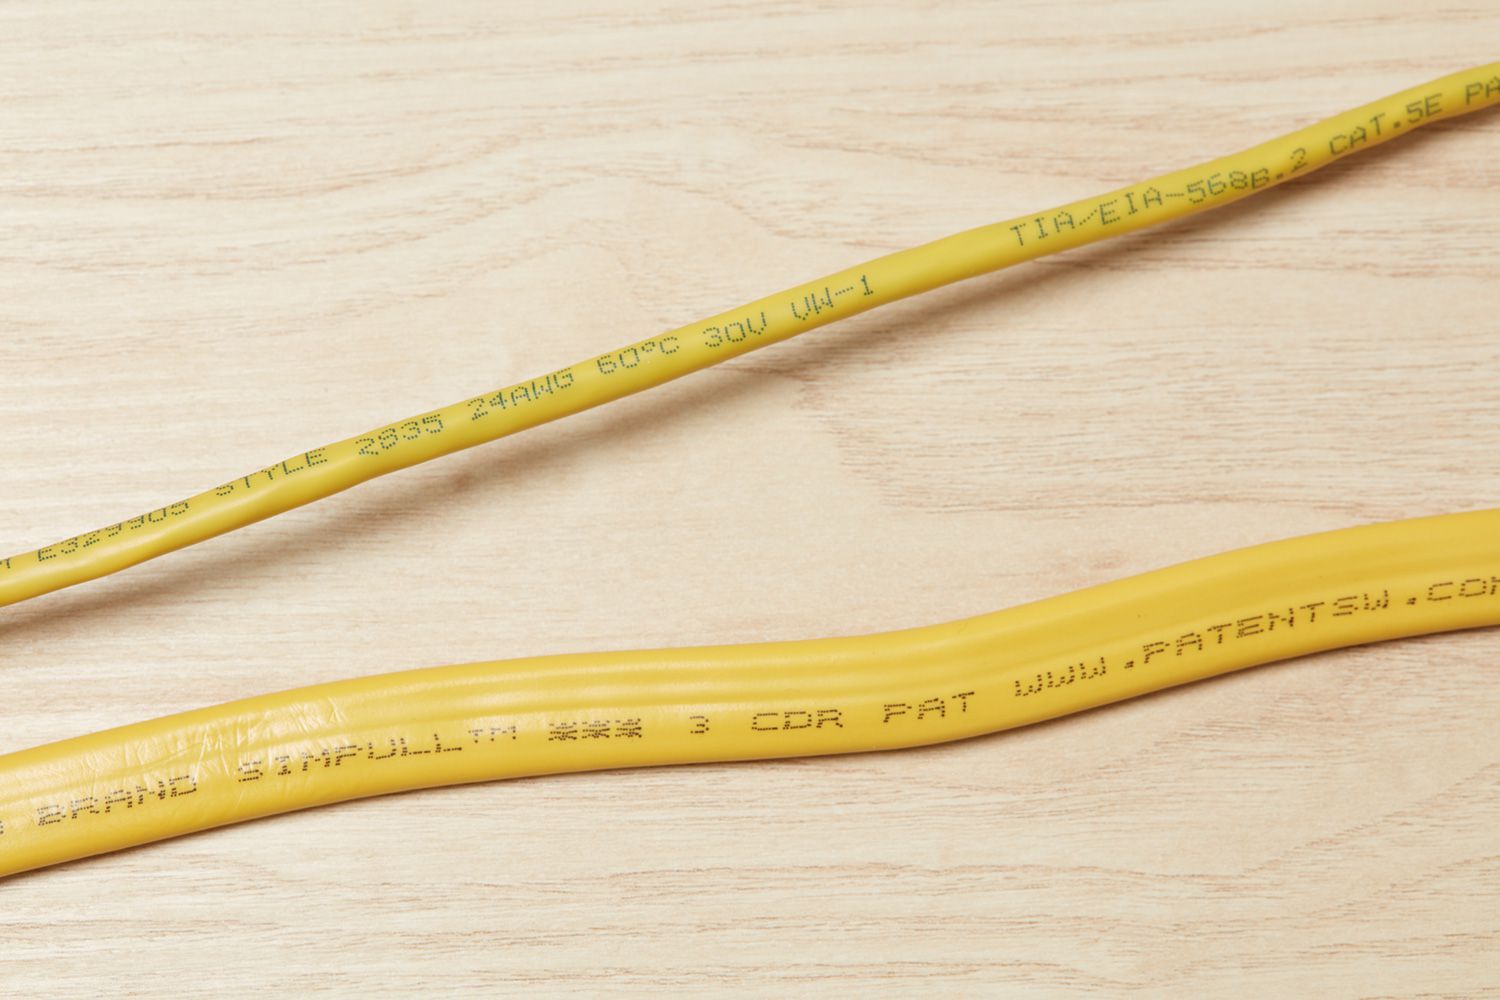
- Identify the electrical cable that will be used to connect the cooktop to the power source. Ensure that the cable is of the appropriate gauge and length as specified by the manufacturer and local electrical codes.
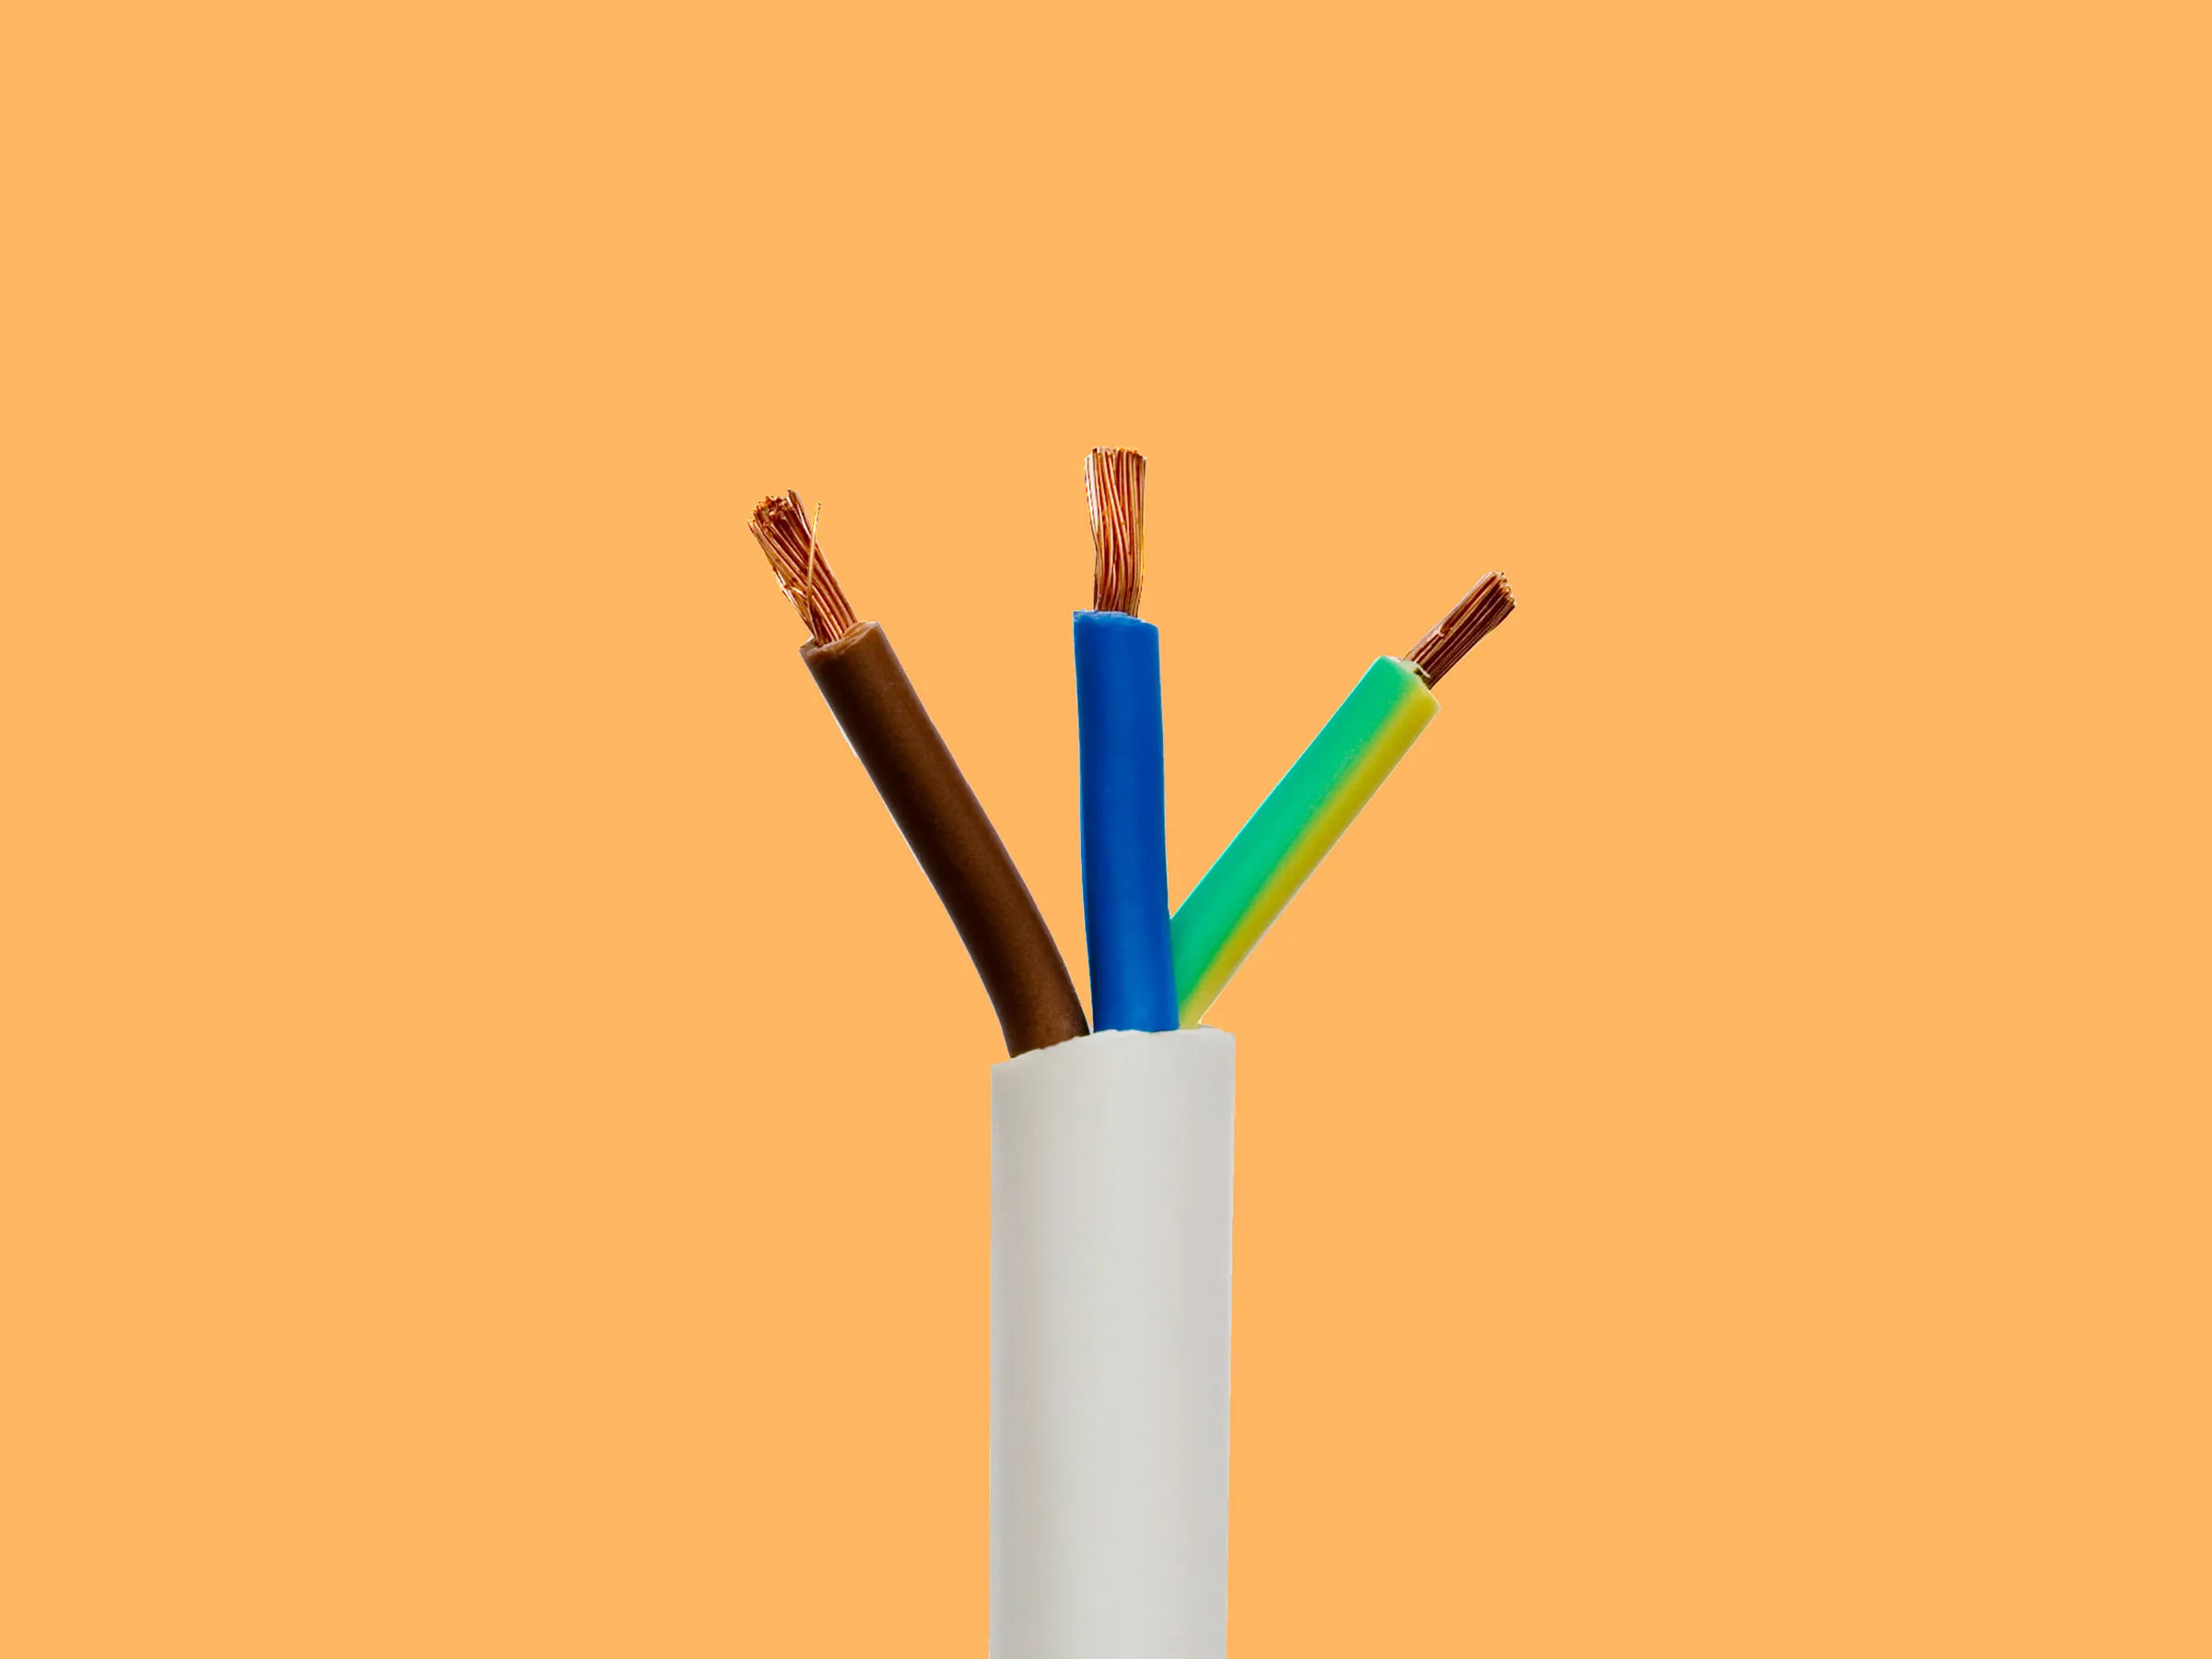
- Strip off approximately 1 inch of the outer insulation from the end of the electrical cable using wire strippers. Be careful not to cut into the individual wires inside.
- Inside the connection box, you will find two or three terminal screws labeled “L1”, “L2”, and sometimes “L3”. These screws correspond to the hot wires (usually black or red), neutral wire (often white or gray), and ground wire (typically green or bare copper).
- Insert the exposed end of the hot wires individually into their respective terminal screws, ensuring that they are tightly secured in place. The colors for L1 and L2 may vary depending on your electrical system, so refer to the manufacturer’s instructions for proper identification.
- If present, insert the exposed end of the neutral wire into the appropriate terminal screw and tighten it securely. This wire is typically connected to the terminal labeled “N”.
- If required, connect the ground wire to the grounding screw or terminal located within the connection box. This wire is essential for safety and should be tightly secured.
- Double-check all the connections to ensure they are secure and properly positioned. Inspect for any loose wires or signs of damage.
It is important to pay close attention to the proper placement of the hot wires, neutral wire, and ground wire to ensure the cooktop operates safely and efficiently. If you are unsure about the specific wiring configuration for your cooktop model, refer to the manufacturer’s instructions or seek guidance from a qualified electrician.
By correctly attaching the electrical cable to the cooktop, you are one step closer to completing the wiring process. Proceed to the next step to connect the wires within the connection box and properly install a junction box if necessary.
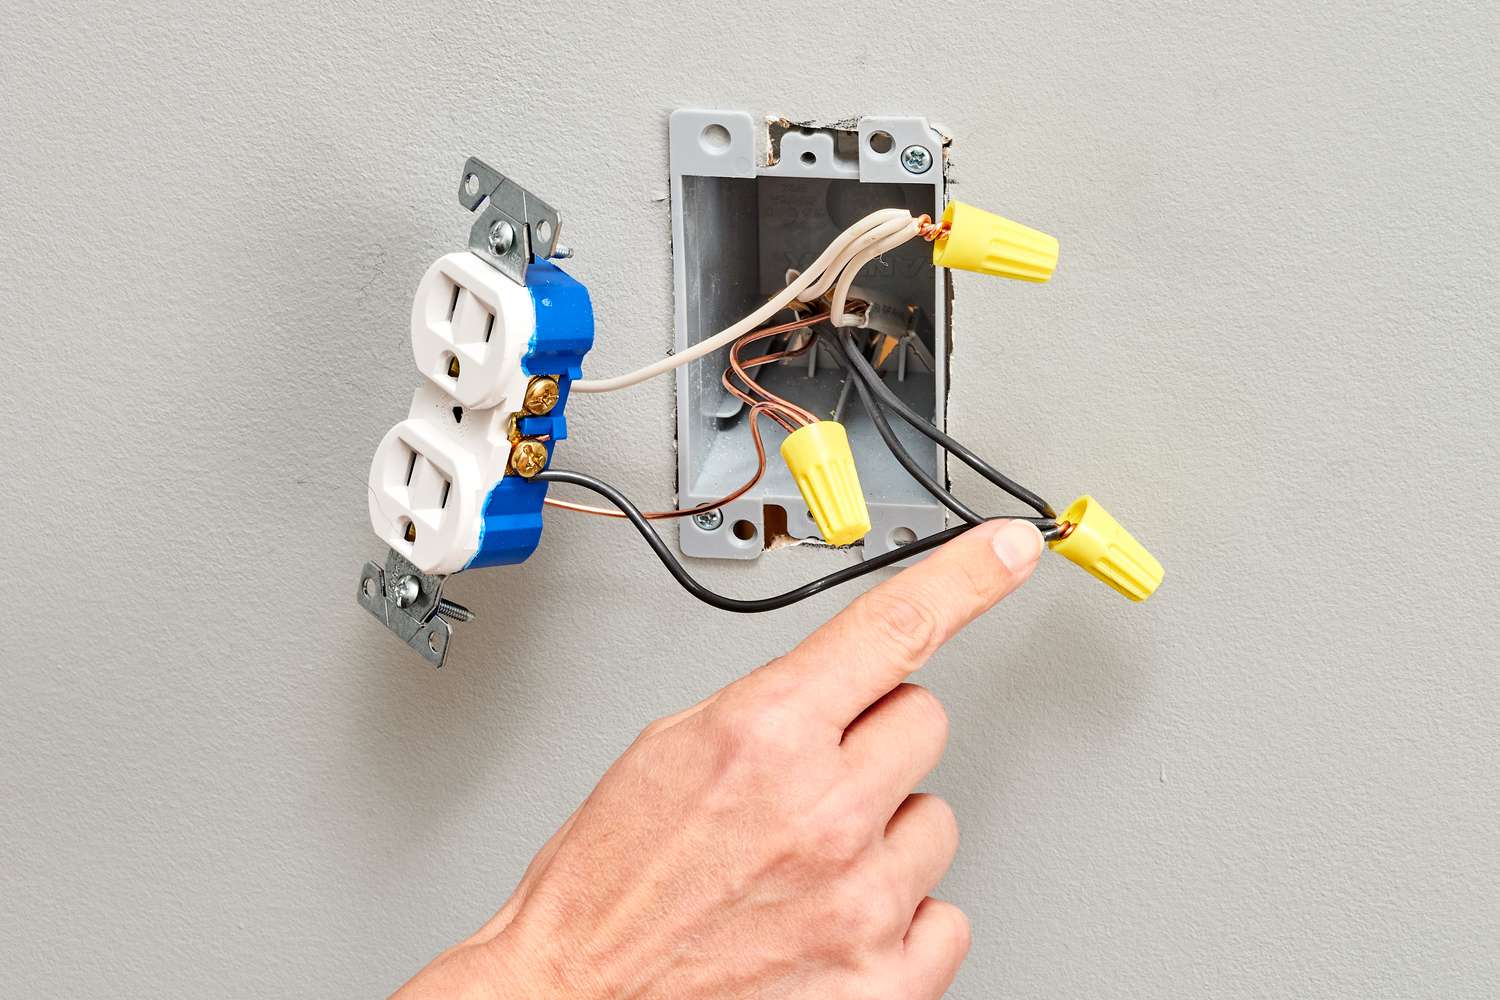
Step 4: Connect the Wires
With the electrical cable securely attached to the cooktop, the next step is to connect the individual wires within the electrical connection box. This step will complete the electrical circuit and allow for the safe and efficient operation of the cooktop. Follow these steps to connect the wires:
- Identify the hot wires connected to the terminal screws within the connection box. These wires are typically black or red in color.
- Twist the exposed ends of the hot wires together using needle-nose pliers or your fingers. Ensure that they are tightly connected and there are no loose strands.
- Slide a wire connector over the end of the twisted hot wires. Twist the wire connector clockwise until it is securely fastened, ensuring that all the wires are enclosed within the connector. This will create a safe and reliable connection.
- If there is a neutral wire present, repeat the process of twisting the exposed ends together and securing them with a wire connector. This wire is typically white or gray in color.
- If a ground wire is present, connect it to the grounding screw or terminal within the connection box using a wire connector or grounding clip. This wire is usually green or bare copper.
- Double-check all the wire connections to ensure they are secure and properly enclosed within the wire connectors. Make sure there are no loose wires or exposed metal.
When connecting the wires, it is important to ensure that they are tightly twisted together and properly secured with wire connectors. This will help promote a reliable and safe electrical connection.
If you are uncertain about the specific wiring requirements for your cooktop or if you encounter any difficulties during the process, it is recommended to consult the manufacturer’s instructions or seek assistance from a qualified electrician.
With the wires connected, proceed to the next step to install a junction box if required by local electrical codes.
When wiring an electric cooktop, make sure to use the appropriate gauge of wire for the voltage and amperage requirements of the appliance. It’s important to follow the manufacturer’s instructions and local electrical codes to ensure safety and proper functionality.
Step 5: Install a Junction Box
Installing a junction box is an important step in the wiring process, especially if it is required by local electrical codes. The junction box provides a secure housing for the wire connections and ensures easy access for future maintenance or repairs. Follow these steps to install a junction box:
- Determine the location for the junction box. It should be positioned near the cooktop and within reach of the electrical cable.
- Using a level, ensure that the junction box is positioned horizontally and mark the locations for the mounting holes.
- Drill the necessary holes for the mounting screws using an appropriate drill bit.
- Align the junction box with the drilled holes and secure it in place using mounting screws or the provided hardware.
- Remove the cover plate from the junction box to access the interior wiring space.
- Feed the electrical cable through the knockout hole in the junction box. This hole can be found in one of the sides or at the back of the box.
- Strip off approximately 1 inch of the outer insulation from the end of the electrical cable, exposing the individual wires inside.
- Connect the wires inside the junction box based on their corresponding colors: hot wires (typically black or red) to hot wires, neutral wires (usually white or gray) to neutral wires, and ground wires (green or bare copper) to ground wires.
- Secure the wire connections with wire nuts, ensuring they are tightly fastened.
- Double-check all the connections to ensure they are secure and properly enclosed within the wire nuts. Confirm that there are no loose wires or exposed metal.
- Place the cover plate back onto the junction box and secure it in place using screws.
By installing a junction box, you are not only ensuring compliance with electrical codes but also creating a safer and more organized wiring setup. The junction box will protect the electrical connections and make it easier to troubleshoot or make changes in the future.
Remember, it is always important to follow local electrical codes and regulations when installing a junction box. If you are unsure about the requirements or face any challenges during the installation process, consult a qualified electrician for assistance.
Step 6: Wire the Cooktop to the Junction Box
Now that the junction box is installed, it’s time to connect the cooktop to the electrical wiring using the junction box. This step will complete the electrical circuit and allow for the proper functioning of the cooktop. Follow these steps to wire the cooktop to the junction box:
- Ensure that the power is still turned off at the breaker box to prevent any electrical accidents.
- Locate the electrical cable coming from the cooktop and the cable inside the junction box.
- Strip off approximately 1 inch of the outer insulation from the ends of both cables using wire strippers, exposing the individual wires inside.
- Match the corresponding wires together based on their colors: hot to hot, neutral to neutral, and ground to ground.
- Twist the exposed ends of each pair of wires together to create a secure connection.
- Slide a wire nut over each twisted pair of wires and twist it clockwise until it is tightly fastened. This will insulate and protect the wire connections.
- Gently tug on each wire to ensure they are secure and properly connected.
- Check inside the junction box to ensure that there are no loose wires or exposed metal.
- Replace the cover plate onto the junction box and secure it in place using screws.
- Turn on the power at the breaker box and test the cooktop to ensure it is functioning properly.
By properly wiring the cooktop to the junction box, you are completing the electrical connection and ensuring a safe and reliable power supply. Take care to follow the manufacturer’s instructions regarding wire colors and connections specific to your cooktop model.
After completing the wiring process, it is crucial to thoroughly test the cooktop to ensure all electrical connections are working as intended. Check that all the burners, controls, and other functions of the cooktop are operating properly before considering the installation complete.
If you encounter any difficulties during the wiring process or are uncertain about any aspect, it is recommended to consult the manufacturer’s instructions or seek assistance from a qualified electrician.
Step 7: Test the Connection
After completing the wiring process, it is important to thoroughly test the connection between the cooktop and the electrical system. This will ensure that the installation was successful and that the cooktop is functioning safely and efficiently. Follow these steps to test the connection:
- Double-check that all electrical connections, including those within the junction box and at the cooktop, are properly secured and insulated.
- Turn on the power at the breaker box to restore the electrical supply to the cooktop.
- Test each burner and control on the cooktop to ensure they are working as intended. Verify that the burners heat up properly and that the controls respond accordingly.
- Check the cooktop’s indicator lights, if applicable, to ensure they are illuminating as expected.
- Ensure that the cooktop’s fan, if present, is operating smoothly and without any unusual noise or vibration.
- Verify that all other features and functions of the cooktop, such as timers or touch controls, are working as intended.
- Inspect the junction box and electrical connection for any signs of overheating, loose connections, or burning smells. If you notice anything unusual, turn off the power immediately and consult a qualified electrician.
- Consider performing a visual inspection of the cooktop’s power cord and electrical cables to ensure they are in good condition and free from any damage or fraying.
- Lastly, if possible, use a voltage tester to confirm that the appropriate voltage is reaching the cooktop.
Thoroughly testing the connection between the cooktop and the electrical system is crucial for identifying any potential issues or safety concerns. If you notice any problems or have any doubts about the connection, it is best to consult a professional electrician for a thorough evaluation.
By ensuring that the connection is properly tested and functioning, you can have peace of mind knowing that your electric cooktop is wired safely and ready to use.
Conclusion
Wiring an electric cooktop may seem like a complex task, but with the right knowledge and careful execution, it can be done successfully. By following the step-by-step instructions outlined in this article, you can wire your electric cooktop with confidence.
Throughout the process, it is crucial to prioritize safety by turning off the power at the breaker box and taking necessary precautions. Use the appropriate tools and materials required for the installation, ensuring that you comply with local electrical codes.
From shutting off the power to preparing the electrical connection box, attaching the electrical cable to the cooktop, connecting the wires, installing a junction box (if required), and finally testing the connection, each step contributes to a safe and effective installation.
Remember to always consult the manufacturer’s instructions for your specific cooktop model, as they may have unique requirements or guidelines.
By properly completing each step and diligently testing the connection, you can ensure that your electric cooktop is wired correctly and ready to provide you with years of reliable use.
If you have any doubts or concerns during the wiring process, it is advisable to seek assistance from a qualified electrician to ensure a professional and safe installation.
With your electric cooktop now wired and functioning properly, you can enjoy the convenience and efficiency it brings to your kitchen. So go ahead, create delicious meals, and enjoy the benefits of your newly installed electric cooktop with peace of mind.
Once you've mastered wiring your electric cooktop, why not try your hand at whipping up some tasty dishes with your new skills? Dive into our guide on using electric cooking methods to make carrots perfectly every time. Ready to revamp your kitchen space too? Don’t miss out on valuable insights from a seasoned kitchen designer, offering nine essential tips for optimizing storage in any cooking area.
Frequently Asked Questions about How To Wire An Electric Cooktop
Was this page helpful?
At Storables.com, we guarantee accurate and reliable information. Our content, validated by Expert Board Contributors, is crafted following stringent Editorial Policies. We're committed to providing you with well-researched, expert-backed insights for all your informational needs.


0 thoughts on “How To Wire An Electric Cooktop”