Articles
How To Connect A Dishwasher Drain
Modified: August 31, 2024
Learn how to connect a dishwasher drain with our informative articles. Get step-by-step instructions and tips for proper installation.
(Many of the links in this article redirect to a specific reviewed product. Your purchase of these products through affiliate links helps to generate commission for Storables.com, at no extra cost. Learn more)
Introduction – Why is it important to correctly connect a dishwasher drain?
When it comes to installing a dishwasher, one crucial step that often gets overlooked is properly connecting the dishwasher drain. Although it may seem like a small task, the correct connection of the dishwasher drain plays a significant role in the overall functionality and efficiency of your dishwasher.
So, why is it important to correctly connect a dishwasher drain? Let’s delve into the reasons:
1. Proper Drainage: A correctly connected drain ensures that water efficiently flows out of the dishwasher during the draining cycle. This helps prevent standing water, which can lead to unpleasant odors and potential bacterial growth inside the dishwasher.
2. Prevention of Clogs: A well-connected drain minimizes the risk of clogs in the dishwasher’s drainage system. If the drain hose is not properly connected, it can cause food particles, debris, and grease to accumulate in the drain line, leading to clogs and impaired dishwasher performance.
3. Preventing Leaks: A secure and tight connection between the dishwasher drain hose and sink drain pipe helps prevent leaks. Leaks can damage your kitchen cabinets, flooring, and even cause water damage in adjacent areas. A correctly connected drain ensures that water flows freely without any leakage issues.
4. Optimal Performance: A properly connected dishwasher drain allows the appliance to operate at its best. When the drain is connected correctly, the dishwasher can effectively remove food particles and residue, resulting in cleaner dishes and efficient cleaning cycles.
5. Extended Lifespan: By correctly connecting the dishwasher drain, you help prolong the lifespan of your dishwasher. When the drain is functioning optimally, there is less strain on the appliance’s components, reducing the risk of premature wear and tear.
By understanding the importance of correctly connecting a dishwasher drain, you can ensure that your dishwasher operates efficiently and effectively, providing you with clean dishes and hassle-free cleaning cycles. In the following steps, we will guide you through the process of connecting a dishwasher drain, from gathering the necessary tools to troubleshooting common issues.
So, let’s get started on this essential task to ensure your dishwasher functions flawlessly!
Key Takeaways:
- Properly connecting a dishwasher drain is crucial for efficient drainage, preventing clogs and leaks, and ensuring optimal performance and extended lifespan of the appliance. Take your time, double-check connections, and seek professional help if needed for a hassle-free installation.
- Gathering the necessary tools, locating the drain connection point, preparing the drain hose, and securing it properly are essential steps in connecting a dishwasher drain. Regular maintenance and safety precautions are key to maintaining optimal performance and preventing future issues.
Read more: How To Drain Dishwasher Manually
Step 1: Gather the Necessary Tools – List of tools required for connecting a dishwasher drain
Before you begin the process of connecting a dishwasher drain, it is important to gather all the necessary tools. Having the right tools on hand will make the installation process smoother and more efficient. Here is a comprehensive list of tools you will need:
- Screwdriver: A screwdriver is essential for removing or attaching screws used to secure the dishwasher’s access panel or mounting brackets.
- Pliers: Pliers are useful for gripping and tightening fittings and connectors.
- Teflon tape: Teflon tape, also known as plumber’s tape, is used to create a watertight seal between threaded connections. It helps prevent leaks.
- Adjustable wrench: An adjustable wrench is necessary for tightening hose clamps and other plumbing connections.
- Hacksaw or PVC pipe cutter: These tools may be needed to cut and trim the dishwasher drain hose or other pipes if necessary.
- Bucket or towel: A bucket or towel will come in handy to catch any water that may spill during the installation process.
- Level: A level is helpful to ensure that the dishwasher is properly leveled during installation.
- Wire cutters/strippers: Wire cutters or strippers may be necessary to remove any excess length from the dishwasher’s power cord.
- Plumber’s putty or sealant: Plumber’s putty or a suitable sealant is essential for creating a watertight seal around the sink drain and other fittings.
- Measuring tape: A measuring tape will help ensure precise measurements for cutting pipes or choosing the correct hose length.
By having these tools readily available, you will be well-prepared and equipped to successfully connect your dishwasher drain. Remember to double-check that you have all the necessary tools before you begin the installation process. This will save you time and frustration later on.
Now that you have gathered the necessary tools, it’s time to move on to the next step: locating the drain connection point.
Step 2: Locate the Drain Connection Point – Finding the correct connection point for the dishwasher drain in your kitchen
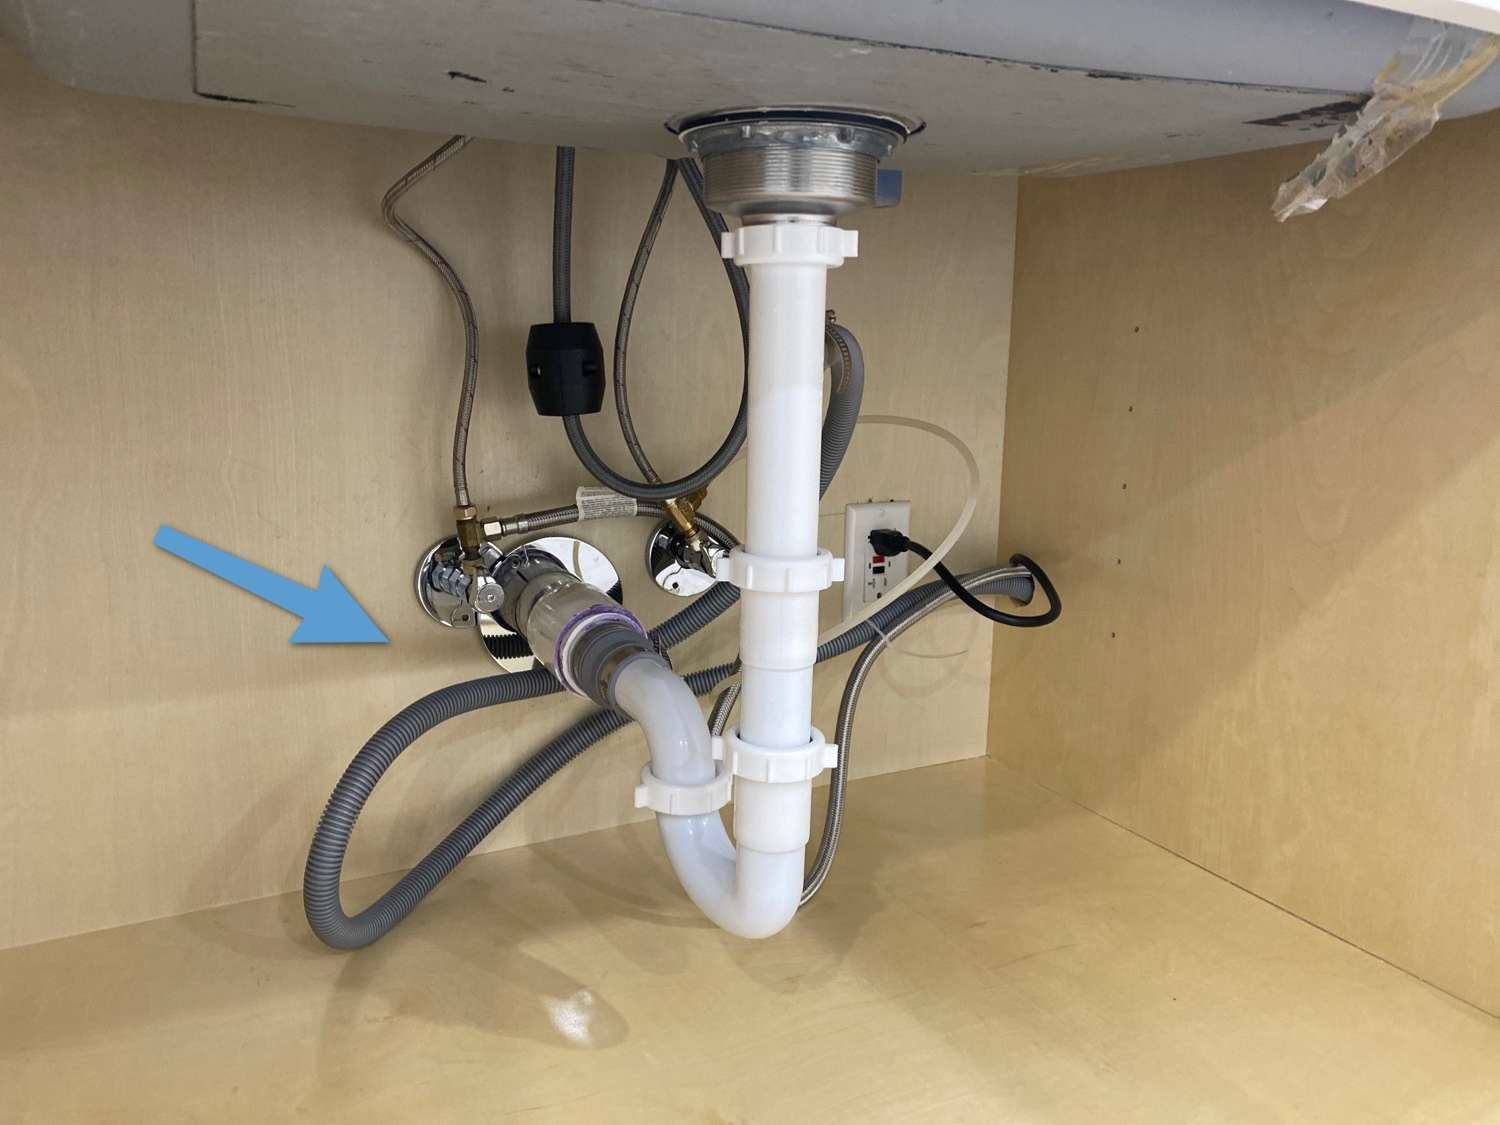
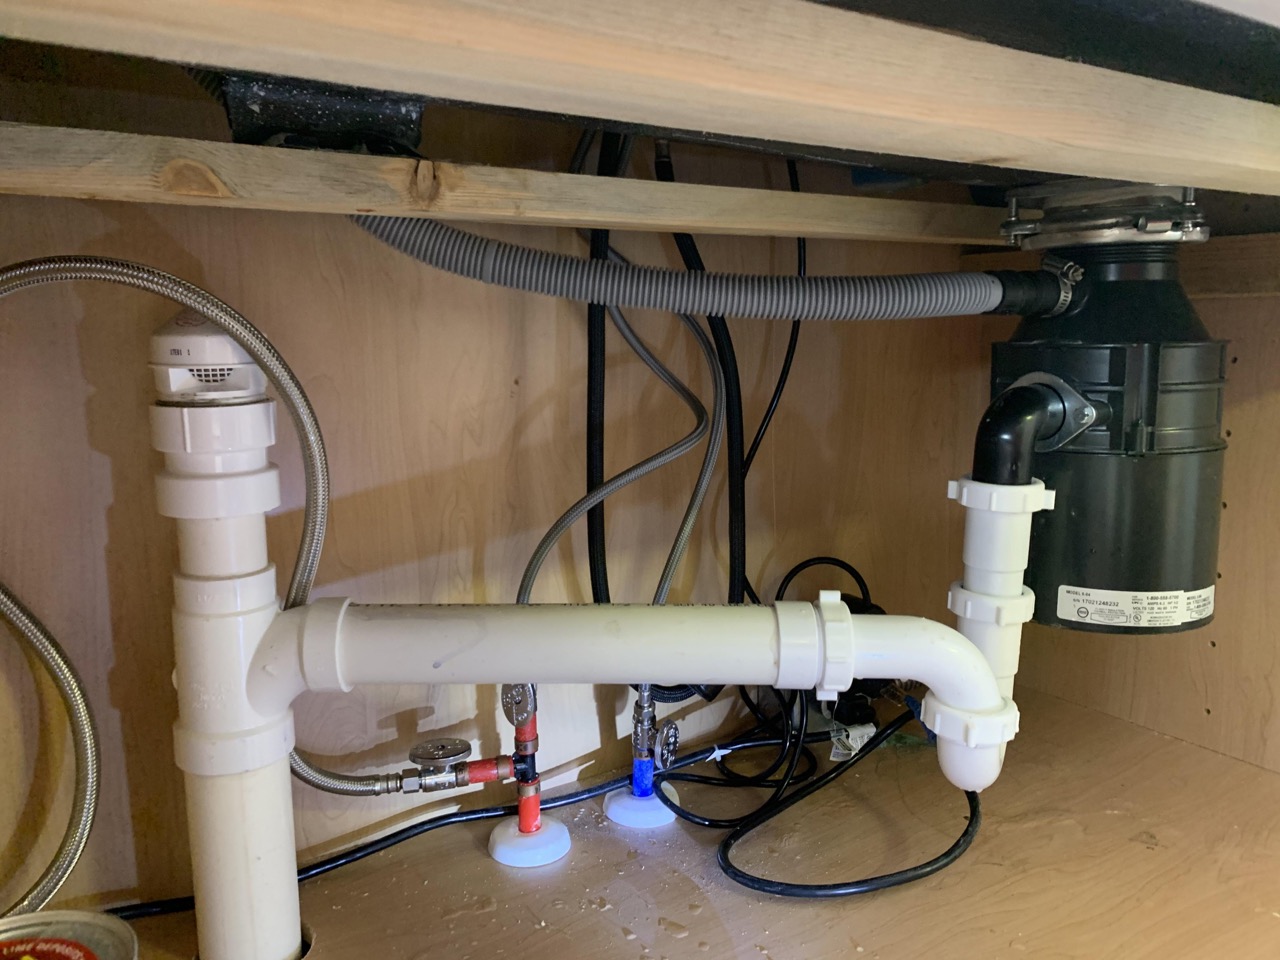
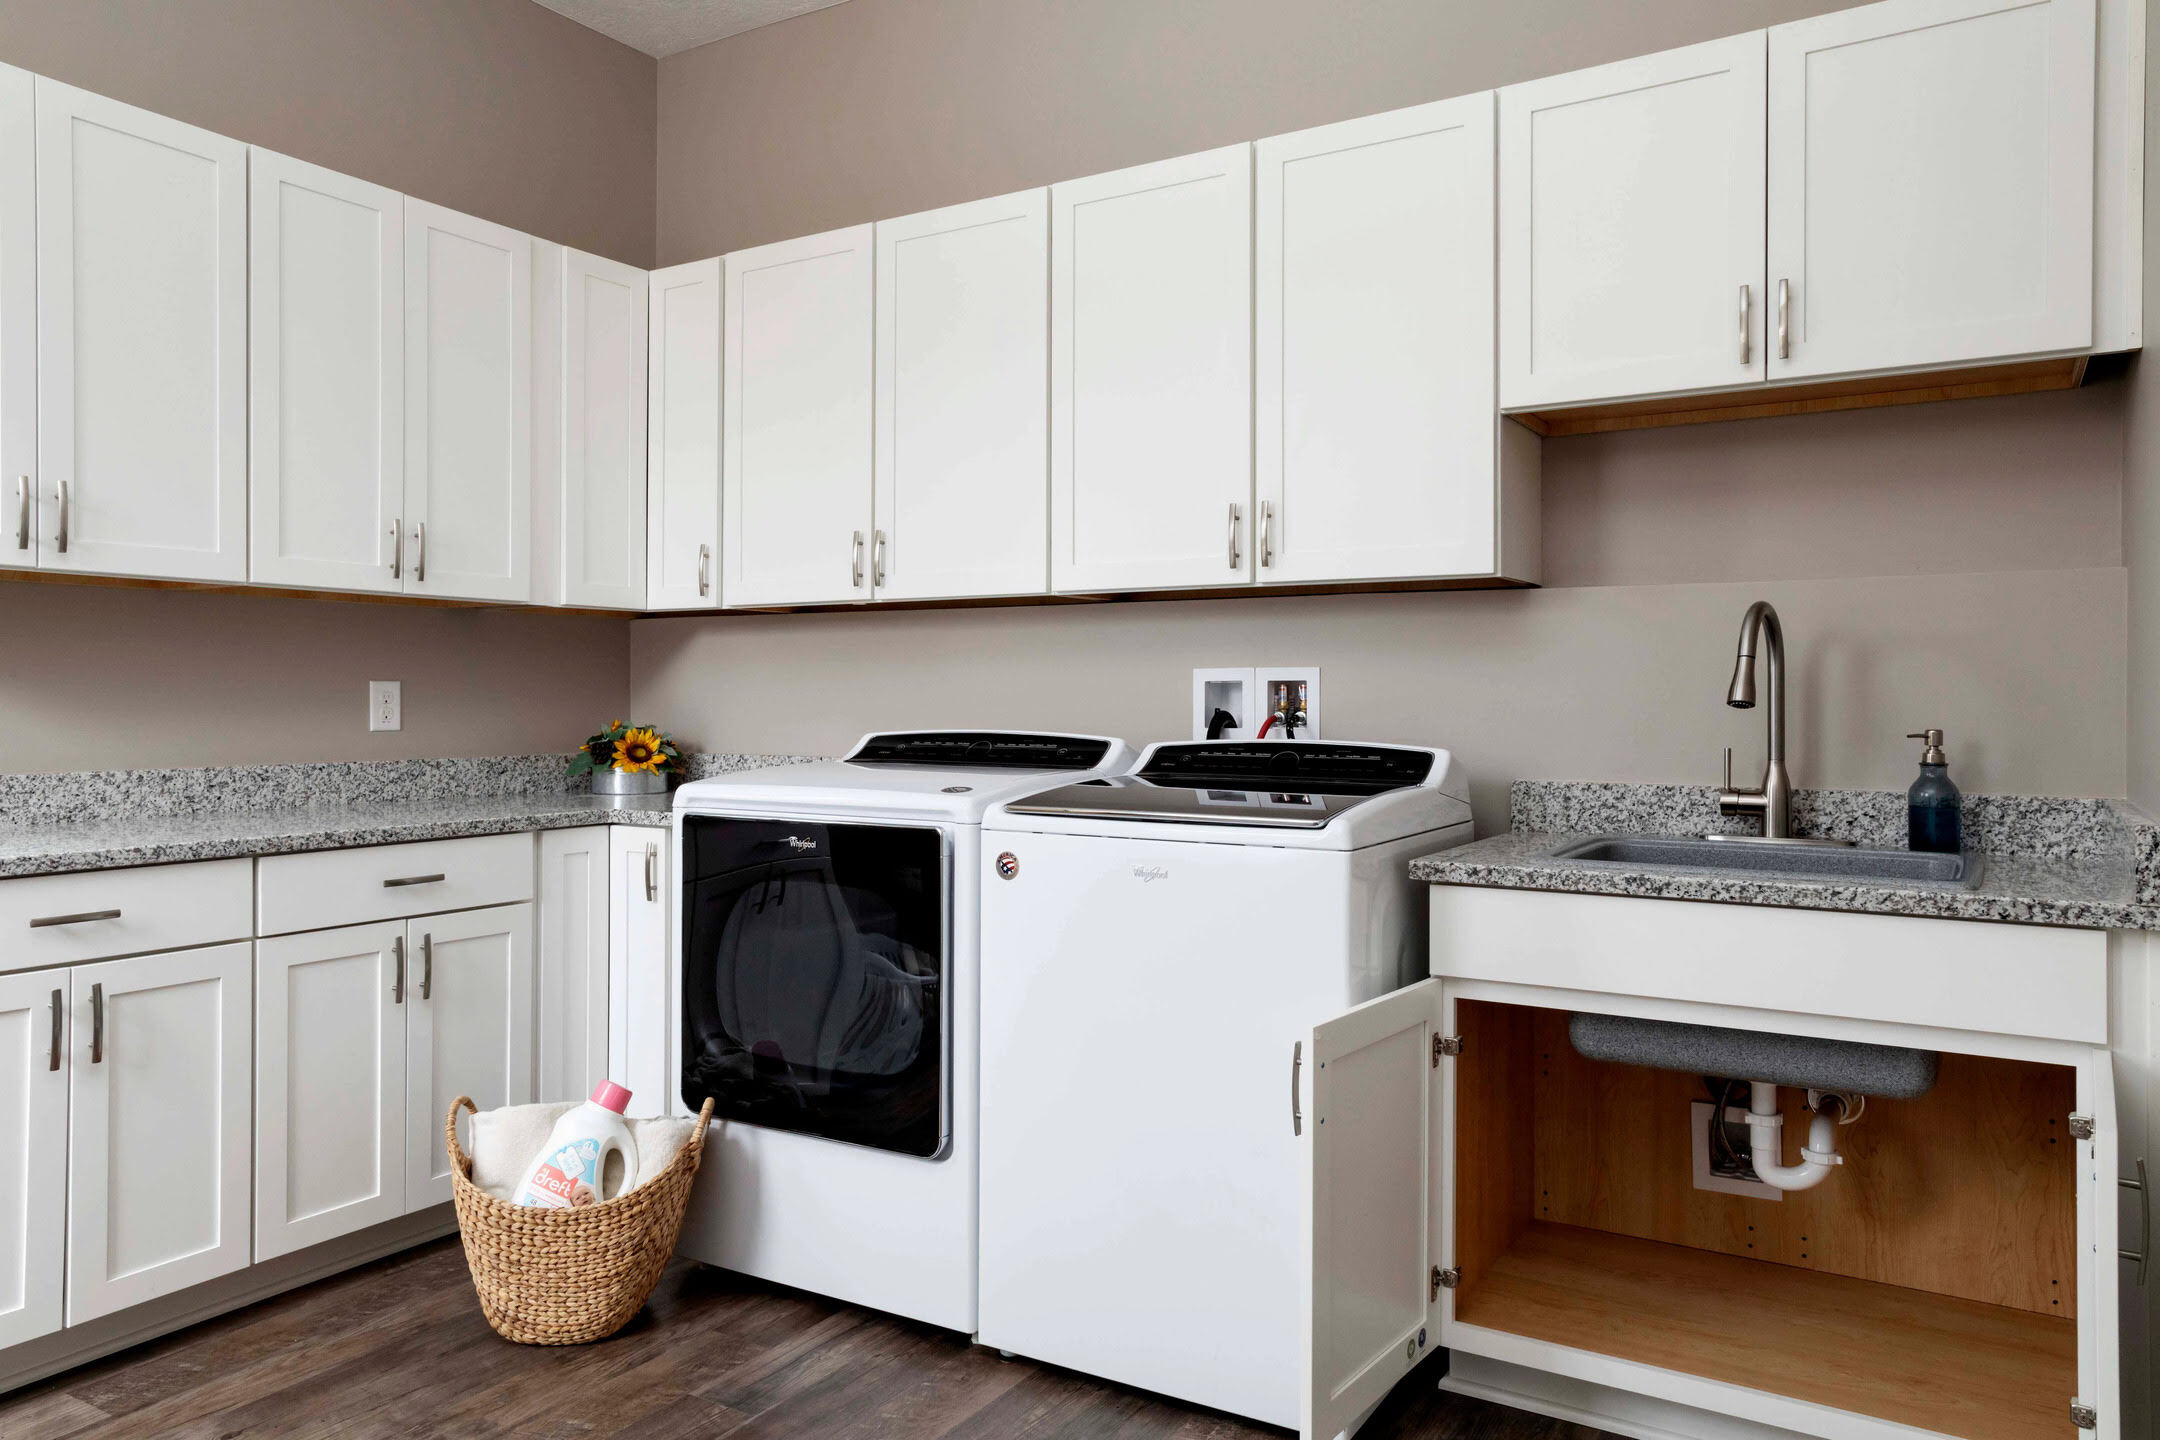
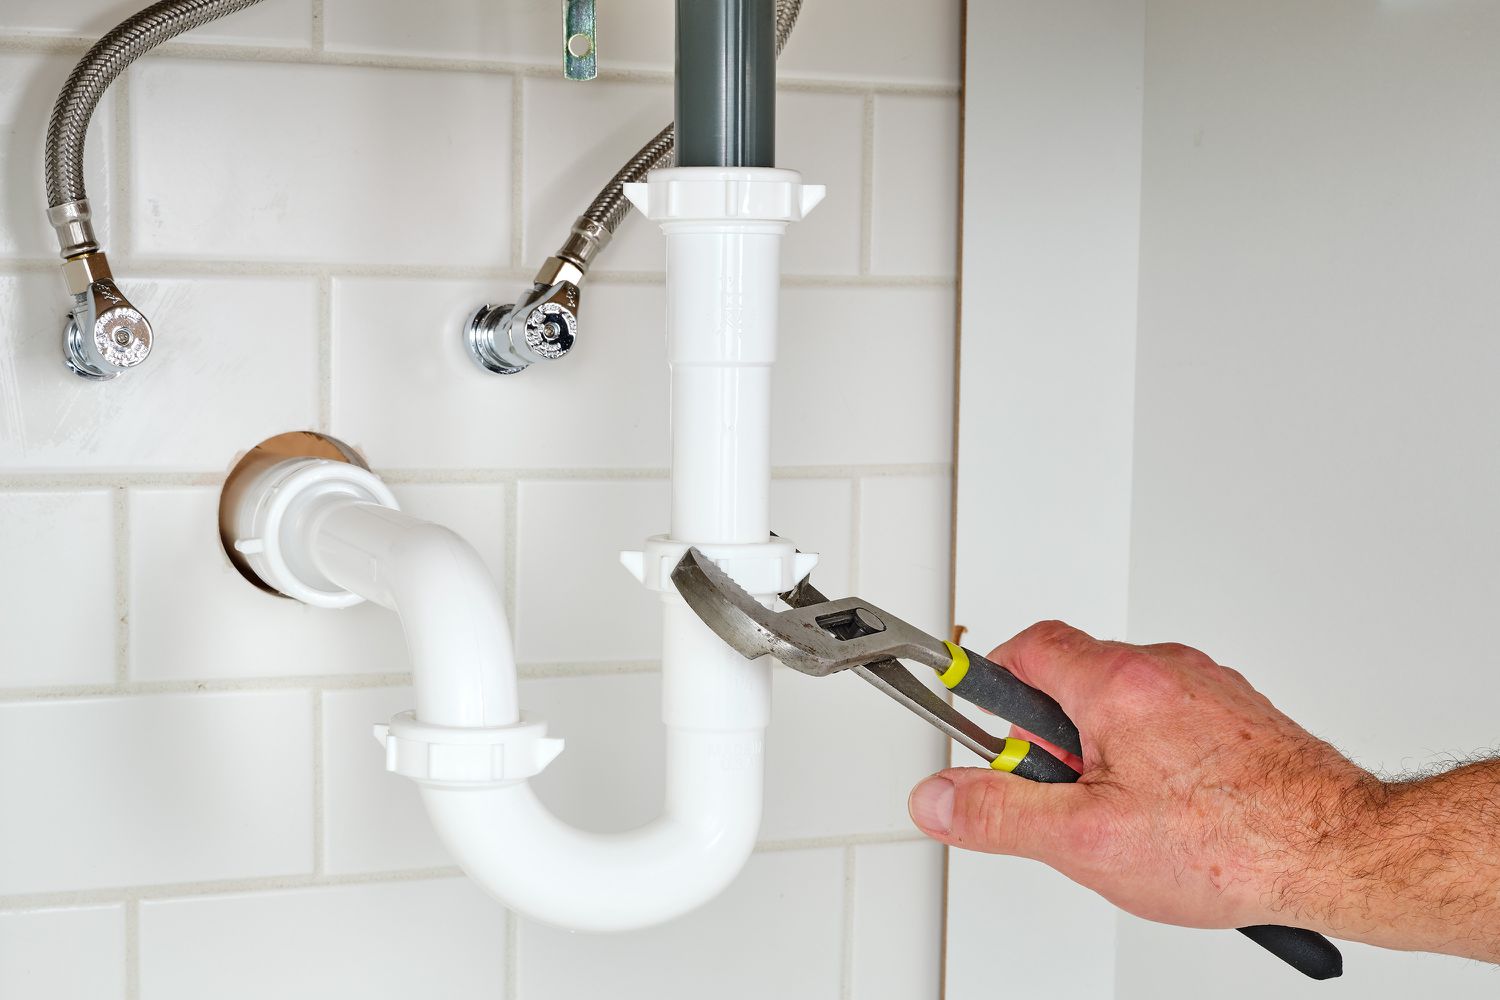
Before you can connect the dishwasher drain, you need to locate the correct connection point in your kitchen. The drain connection point is typically found beneath the sink, either on the garbage disposal unit or the sink drain pipe itself. Follow these steps to locate the drain connection point:
- Clear the area: Start by clearing out any items stored under the sink. This will give you better visibility and access to the plumbing connections.
- Identify the garbage disposal unit: If your kitchen has a garbage disposal unit, the dishwasher drain is typically connected to it. Look for a small, capped inlet on the side or top of the garbage disposal unit. It may be labeled as “dishwasher drain” or “D/W drain.”
- Check the sink drain pipe: If you do not have a garbage disposal unit, the dishwasher drain will be connected to the sink drain pipe. Look for a small, capped inlet on the sink drain pipe. It is usually located above the trap or on the side of the pipe.
- Inspect existing plumbing connections: If you are replacing an existing dishwasher, the drain hose will likely be already connected. Follow the hose to locate its connection point.
Once you have located the drain connection point, ensure that it is accessible and free from any obstacles. It is essential to have enough space to work comfortably and make the necessary connections.
During this step, you may also need to remove any caps or plugs that are covering the drain connection point. These caps or plugs are used to seal the connection when a dishwasher is not present. If present, carefully remove them using pliers or a screwdriver.
It is important to note that the drain connection point may vary depending on the configuration of your kitchen’s plumbing. If you are uncertain or having trouble locating the drain connection point, consult the dishwasher’s user manual or seek professional assistance.
With the drain connection point identified and accessible, you are now ready to move on to the next step: preparing the drain hose.
Step 3: Prepare the Drain Hose – How to prepare the dishwasher drain hose for installation
Preparing the dishwasher drain hose is an important step before connecting it to the drain. This ensures that the hose is clean, properly sized, and ready for installation. Follow these steps to prepare the drain hose:
- Measure and cut the drain hose: Start by measuring the distance between the drain connection point and the dishwasher. Ensure that the hose is long enough to comfortably reach the drain without excess slack. If the hose is too long, use a hacksaw or PVC pipe cutter to trim it to the appropriate length.
- Check for kinks or bends: Inspect the drain hose for any kinks or bends. Straighten out any twists or turns to ensure a smooth flow of water through the hose.
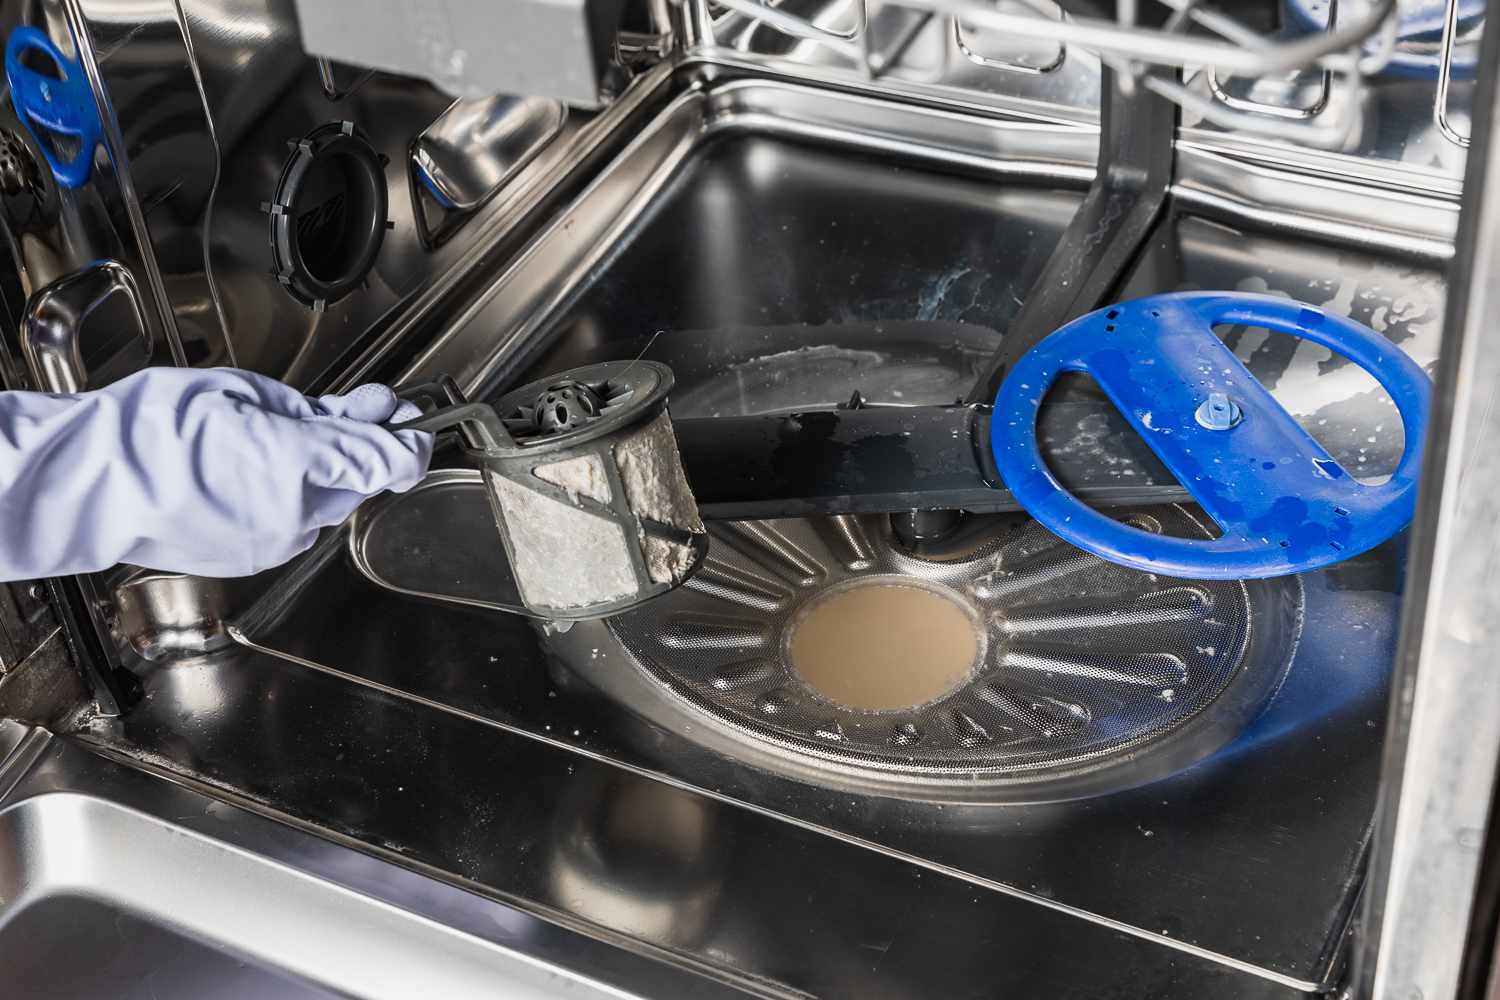
- Clean the drain hose: It is essential to remove any debris, dirt, or residue from the drain hose before installation. Rinse it thoroughly with warm water to flush out any potential contaminants. You can also use a mild detergent if needed. Allow the hose to dry completely before proceeding.
- Attach fittings (if necessary): Depending on the dishwasher model and the type of drain connection point, you may need to attach specific fittings to the end of the drain hose. These fittings ensure a secure and leak-free connection. Refer to the dishwasher’s user manual for guidance on attaching the appropriate fittings.
By properly preparing the drain hose, you ensure that it is clean and ready for installation. This helps prevent any blockages or issues with water flow in the future.
Once the drain hose is prepared, you are now ready to move on to the next step: connecting the drain hose to the sink drain.
Step 4: Connect the Drain Hose to the Sink Drain – Instructions for attaching the dishwasher drain hose to the sink drain
Now that you have prepared the dishwasher drain hose, it’s time to connect it to the sink drain. Follow these instructions to ensure a secure and proper connection:
- Locate the dishwasher drain inlet: Identify the dishwasher drain inlet on the sink drain. It is usually a small, capped opening located above the trap or on the side of the pipe.
- Remove the cap or plug: If there is a cap or plug covering the dishwasher drain inlet, remove it carefully using pliers or a screwdriver.
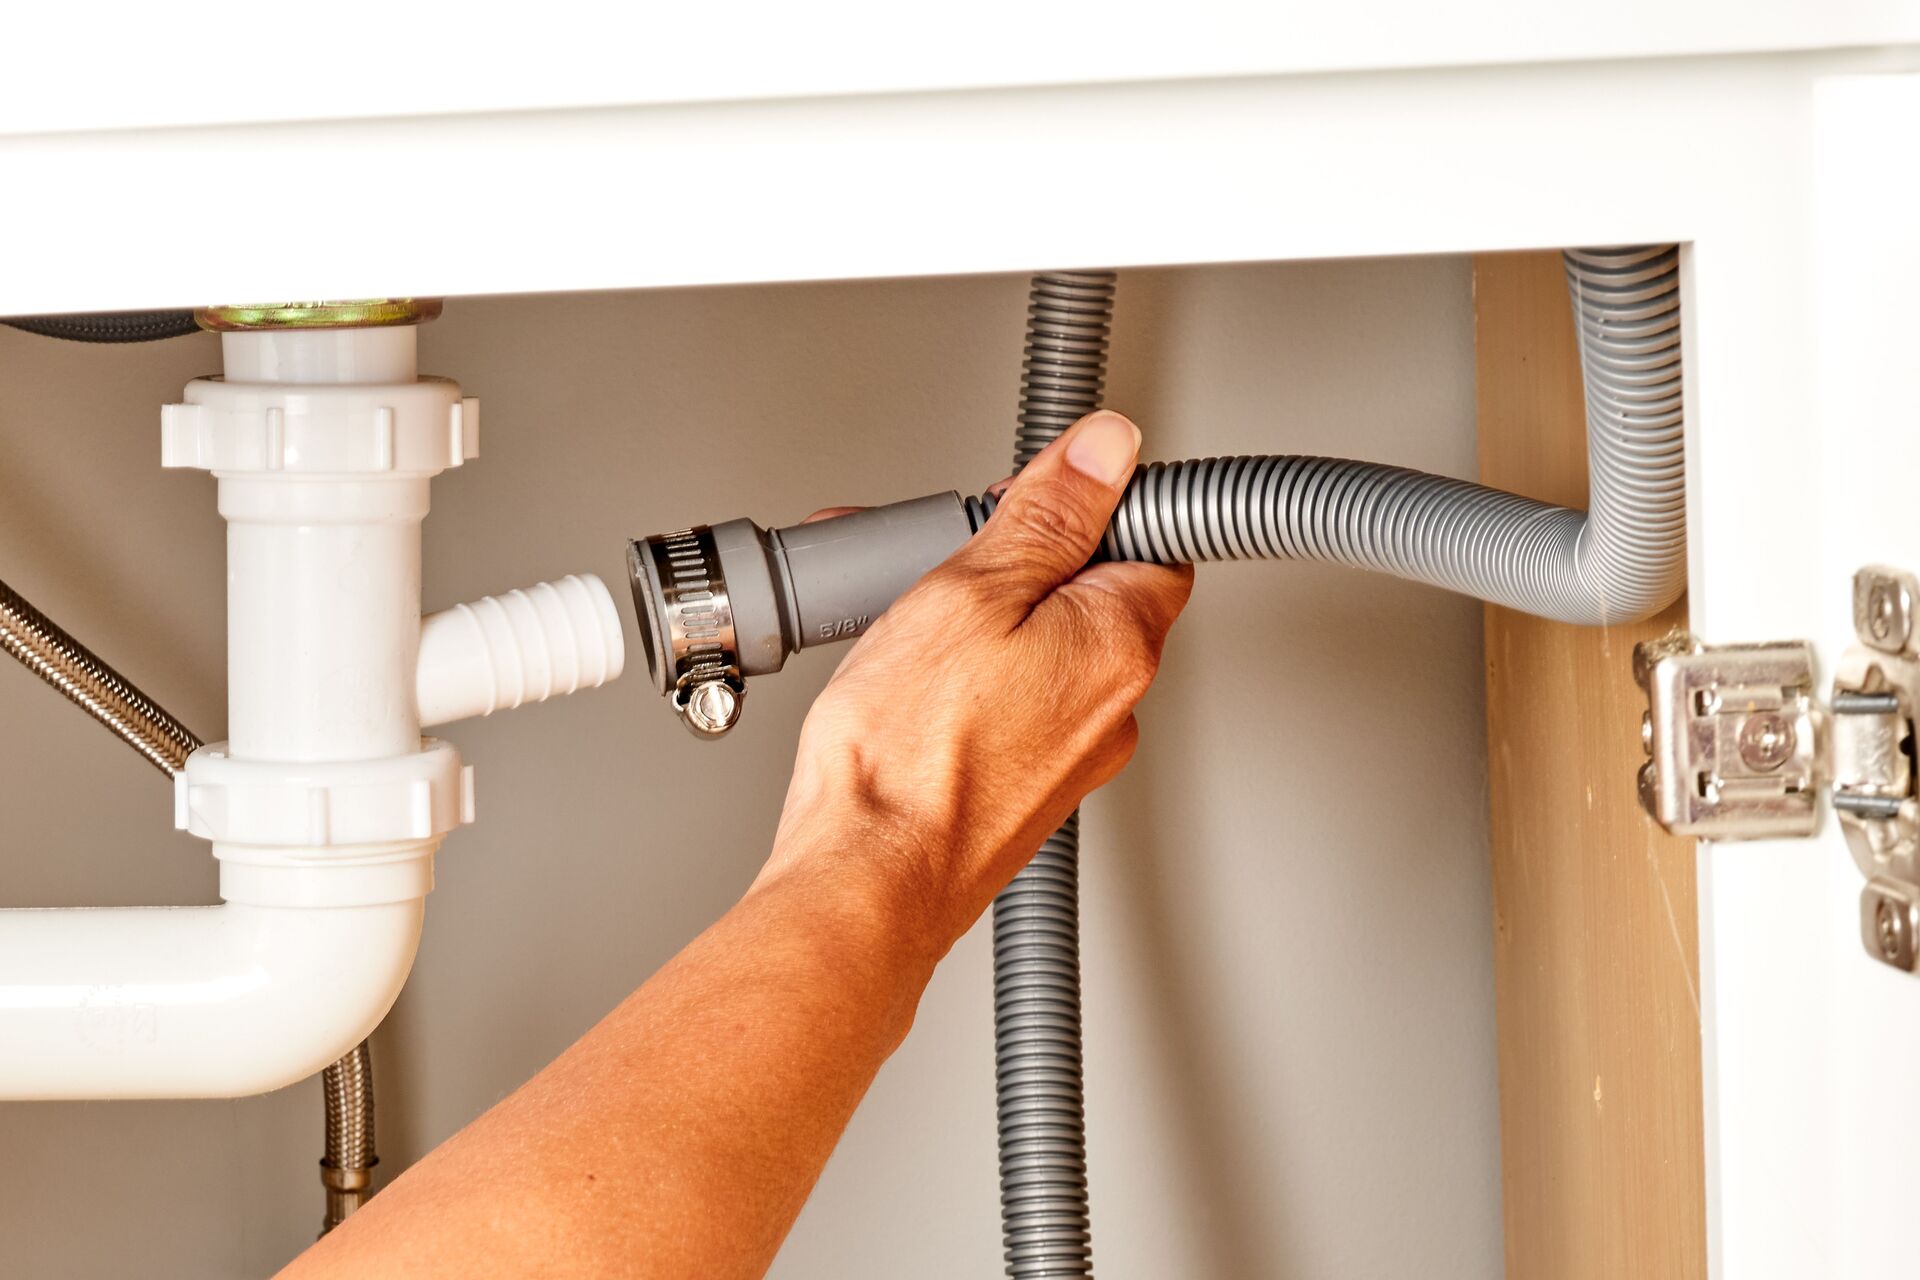
- Insert the drain hose: Insert the end of the prepared drain hose into the dishwasher drain inlet. Push it in until it fits snugly, ensuring a tight connection.
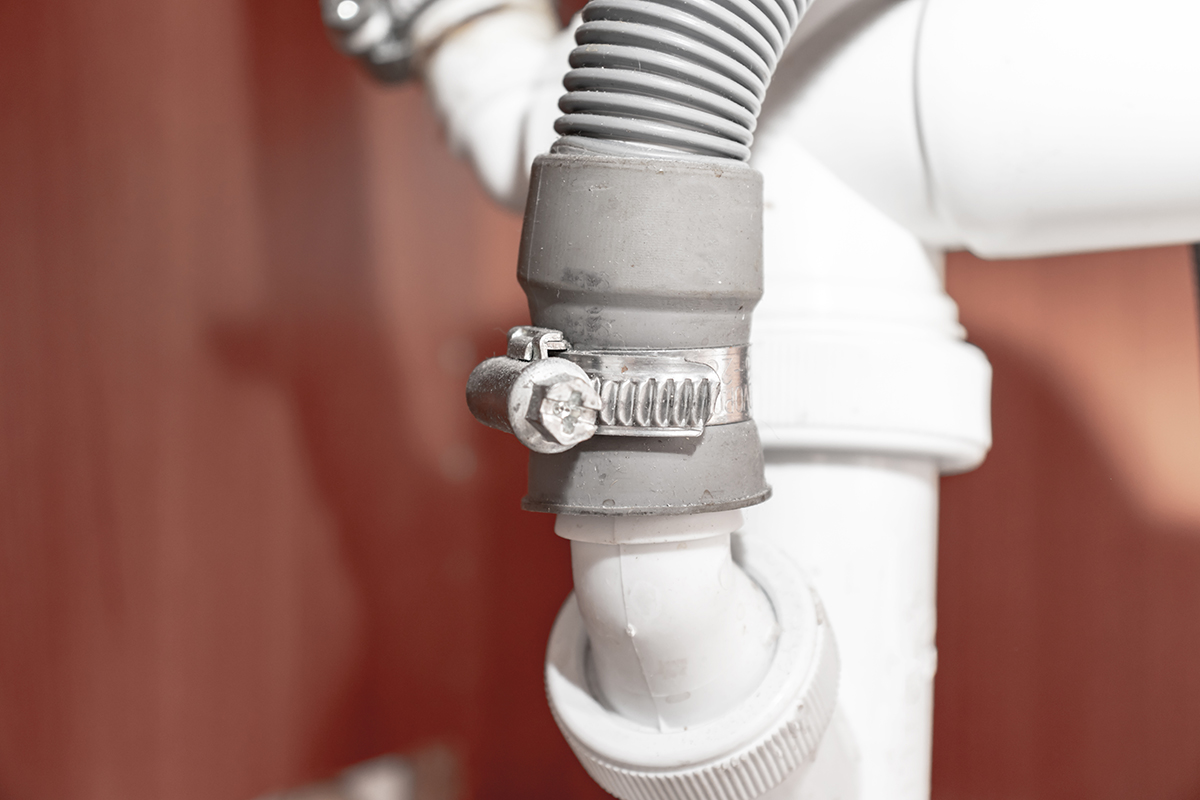
- Secure with a hose clamp: To prevent any leaks, use a hose clamp to secure the drain hose to the sink drain. Slide the hose clamp over the connection point and tighten it using a screwdriver or pliers. Ensure that the clamp is tight enough to hold the hose securely in place but not too tight to damage the hose.
It is important to ensure a watertight connection between the drain hose and the sink drain. This will prevent any leaks and ensure proper drainage of water from the dishwasher.
Once you have connected the drain hose to the sink drain, give it a gentle tug to ensure that it is secure. Check for any signs of leaks or loose connections. If everything looks good, you are ready to move on to the next step: securing the drain hose properly.
When connecting a dishwasher drain, make sure to use a high loop in the drain hose to prevent backflow of water from the sink. This will help to prevent any potential clogs or water damage.
Read more: How To Drain Ge Dishwasher
Step 5: Secure the Drain Hose Properly – Tips for securing the dishwasher drain hose to prevent leaks
After connecting the dishwasher drain hose to the sink drain, it is crucial to secure it properly to prevent any potential leaks. Here are some tips to ensure a secure and leak-free connection:
- Check the hose clamp: Verify that the hose clamp, which holds the drain hose in place, is tightened securely. Ensure that it is positioned correctly and adequately tightened to avoid any movement or slippage.
- Avoid sharp bends or kinks: Make sure that the drain hose is not bent sharply or kinked. Sharp bends can restrict water flow and increase the risk of leaks. Ensure that the hose is properly aligned and free from any restrictions.
- Proper elevation: Pay attention to the elevation of the drain hose as it connects to the sink drain. The hose should have a slight downward slope to allow for proper drainage. Avoid any excessive loops or dips that could impede the flow of water.
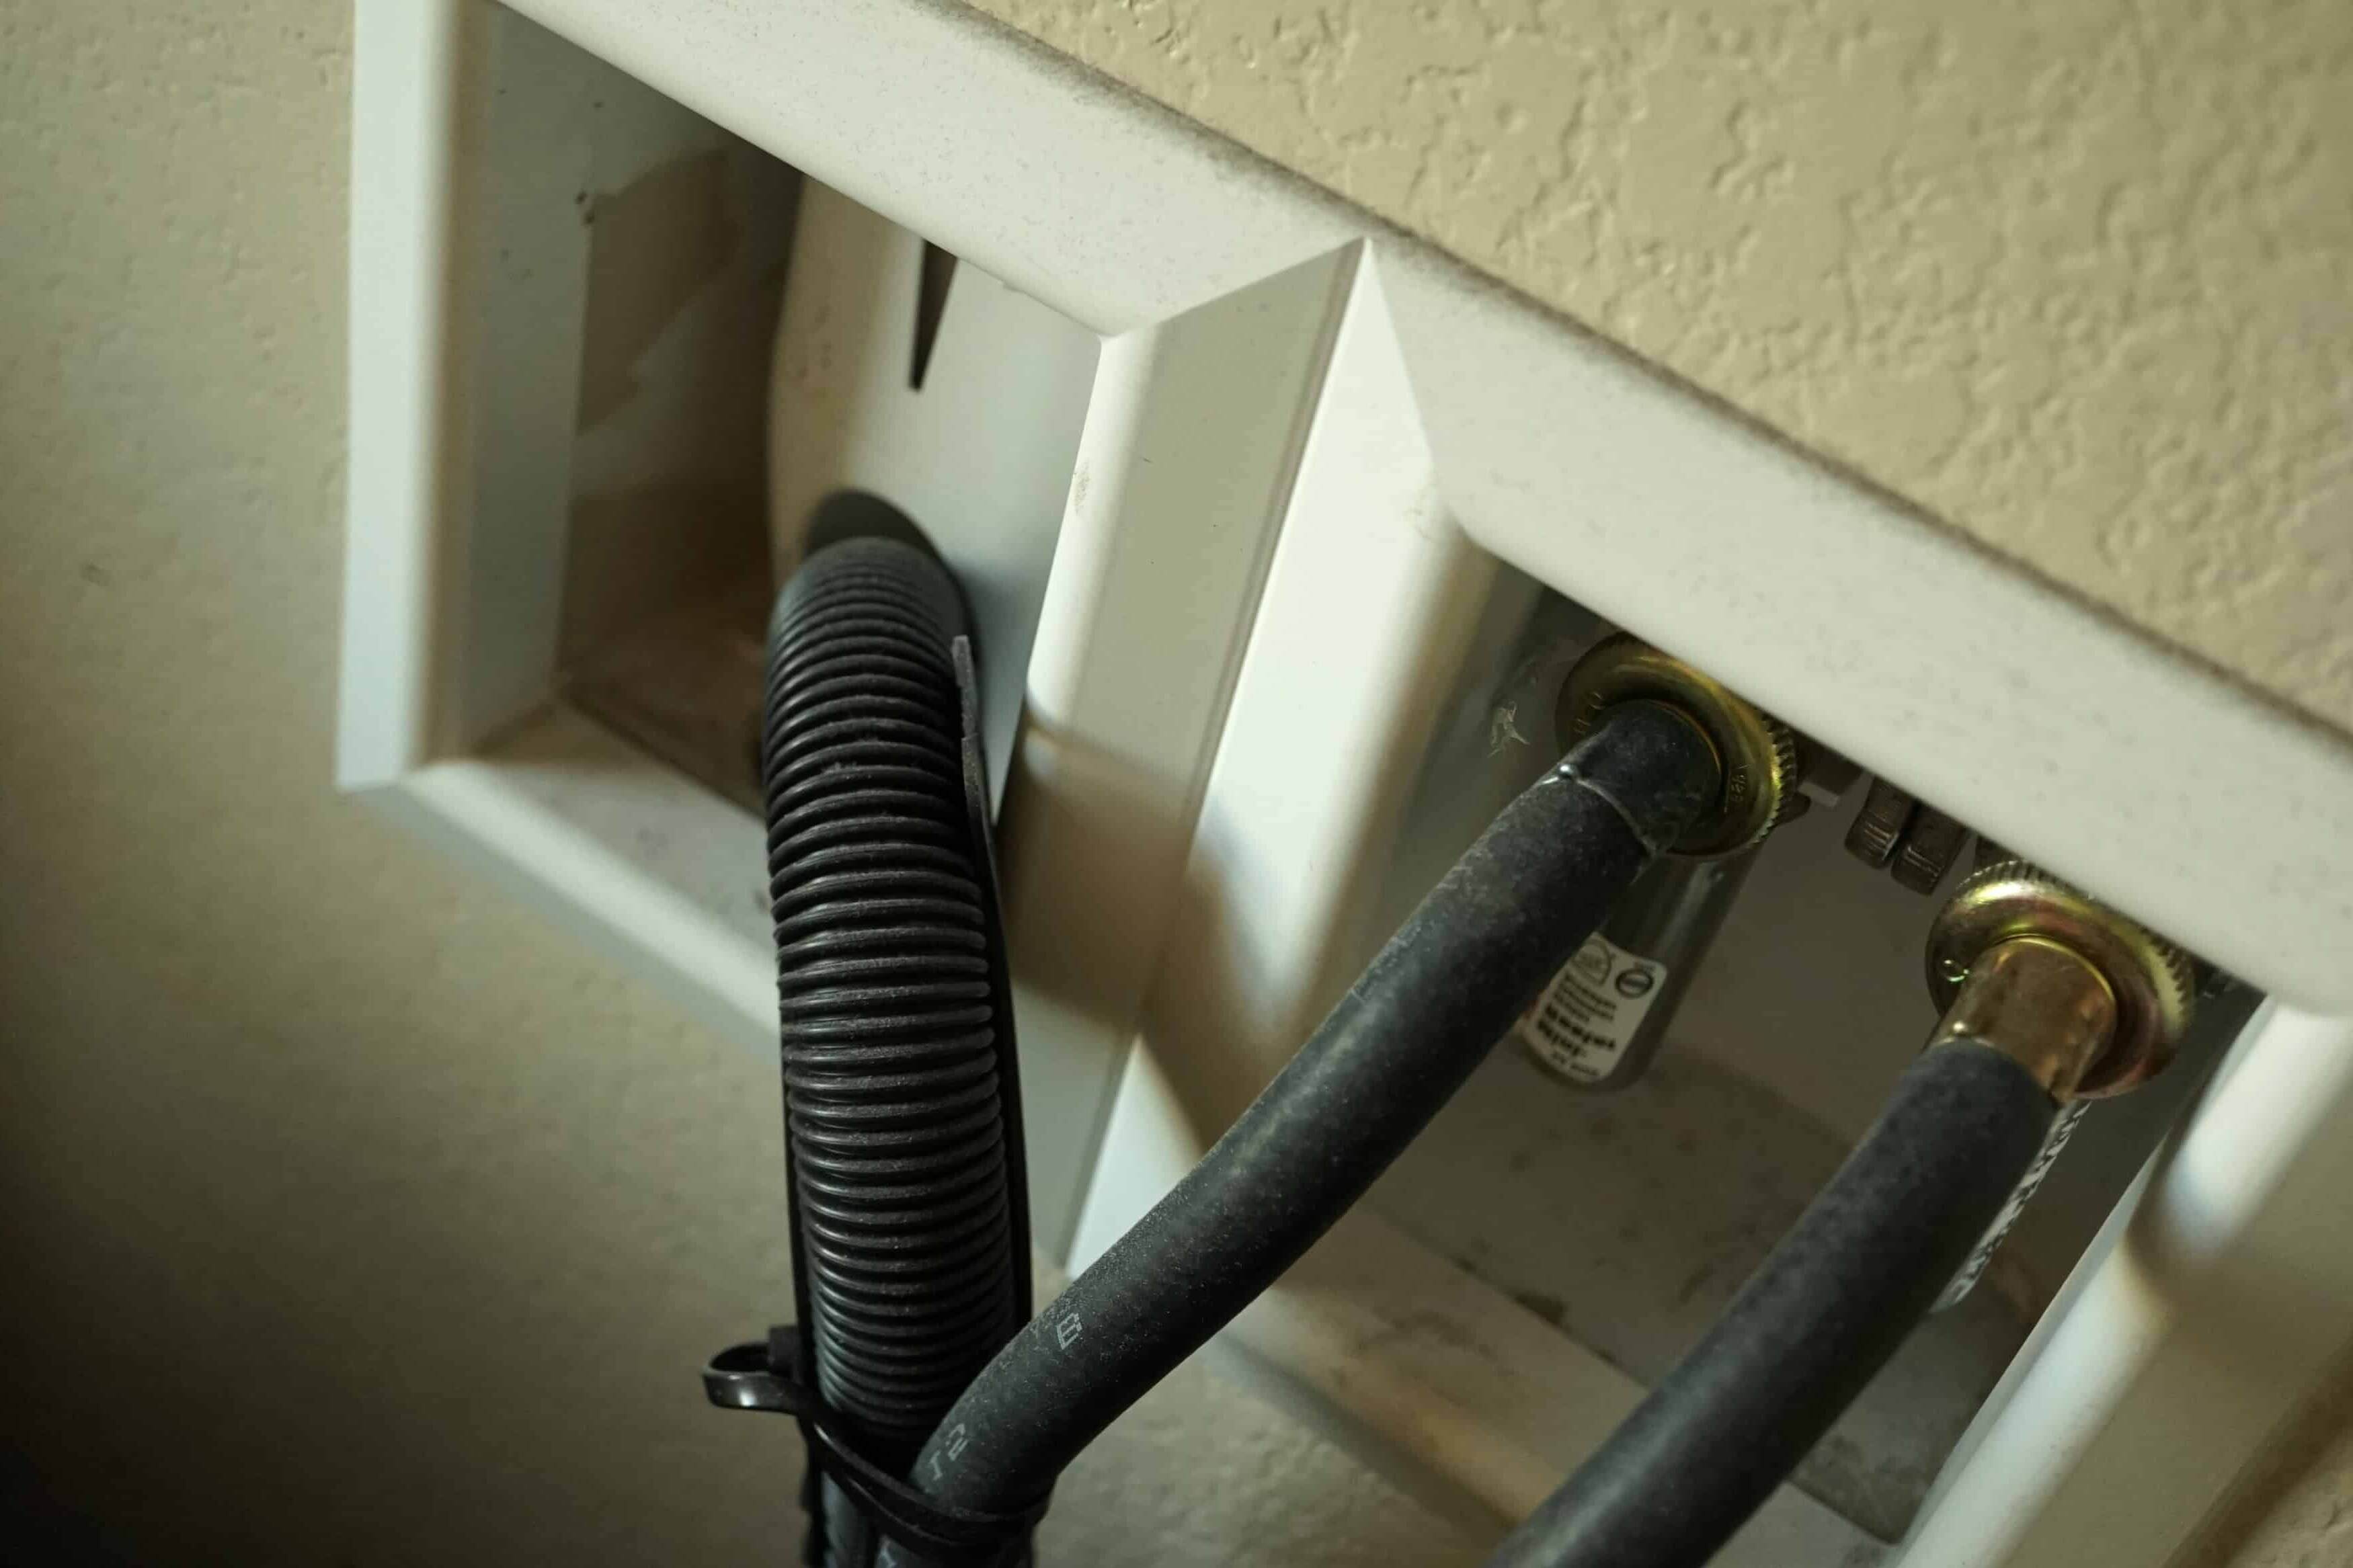
- Secure the hose with cable ties: For added stability, consider securing the drain hose to nearby pipes or fittings using cable ties. This will help minimize movement and prevent the hose from shifting or dislodging over time.
- Inspect for tight connections: Regularly inspect the connections between the drain hose, sink drain, and dishwasher to ensure they remain tight and secure. Over time, vibrations and movement can loosen connections, leading to potential leaks. If you notice any signs of loosening, tighten the connections immediately.
- Double-check for leaks: Run a short test cycle of your dishwasher to check for any leaks around the drain hose connection. Keep an eye out for any dripping or pooling water. If you notice any leaks, address them promptly to prevent further damage.
By following these tips, you can ensure that your dishwasher drain hose is firmly secured, minimizing the risk of leaks and ensuring proper drainage of water during operation.
With the drain hose securely in place, you can now move on to the next step: testing for proper drainage.
Step 6: Test for Proper Drainage – How to ensure that the dishwasher drain is functioning correctly
Once you have connected and secured the dishwasher drain hose, it is important to test for proper drainage. This step ensures that the drain is functioning correctly and there are no issues with water flow. Follow these steps to test the dishwasher drain:
- Clear the dishwasher: Remove any dishes, utensils, or debris from the dishwasher. You want to ensure that the dishwasher is empty before running the test.
- Turn on the water supply: Ensure that the water supply to the dishwasher is turned on. This ensures that there will be sufficient water flow for the drainage test.
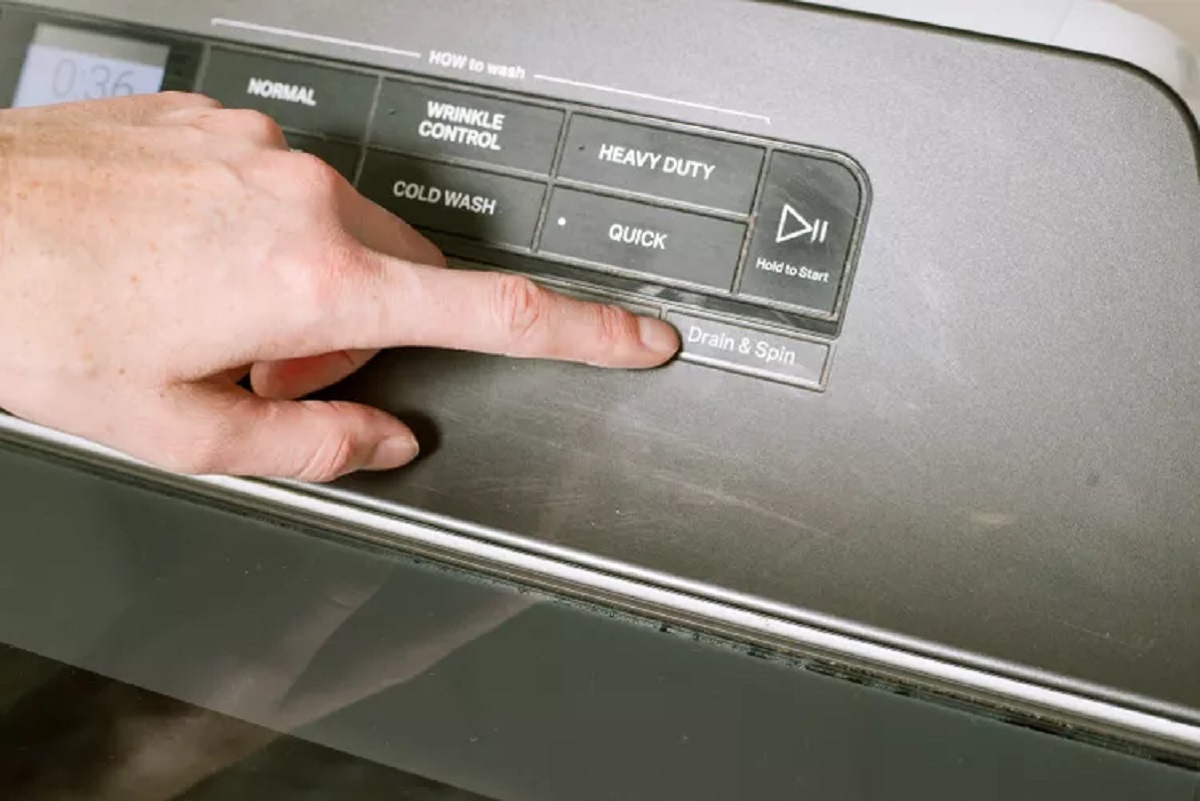
- Run a drainage cycle: Start a normal cycle on your dishwasher and allow it to run through the drainage phase. Observe the drainage process and pay attention to any signs of water backups, slow drainage, or unusual noises.
- Check for complete drainage: Once the cycle is complete, inspect the dishwasher and sink area for any remaining water. The dishwasher should drain completely without any standing water or excessive moisture.
During the drainage test, it is important to listen for any gurgling noises or unusual sounds coming from the drain. These may indicate a potential issue with the drainage system that needs further investigation. Additionally, check for any leaks around the drain hose connection or sink drain area. If you notice any leaks or drainage issues, address them promptly to prevent further damage.
Testing for proper drainage ensures that your dishwasher is functioning as intended, effectively removing water from the wash cycles. If you encounter any problems during the test or notice persistent issues with drainage, consider consulting a professional plumber or reaching out to the dishwasher manufacturer for assistance.
With the drainage test successfully completed, you can now move on to the final step: troubleshooting common issues that may arise during the dishwasher drain connection process.
Step 7: Troubleshooting Common Issues – Solutions for common problems encountered when connecting a dishwasher drain
While connecting a dishwasher drain, you may come across common issues that can hinder the proper functioning of the drain system. Here are some troubleshooting solutions for these common problems:
- Leaks at the connection points: If you notice leaks around the drain hose connection or sink drain, check if the hose clamp is tightened properly. You may need to readjust and tighten the clamp to ensure a secure, leak-free connection. Additionally, inspect the condition of the drain hose itself. If it is damaged or worn out, consider replacing it with a new one.
- Clogged drain hose: If you experience slow drainage or water backups, the drain hose may be clogged with debris or food particles. Disconnect the drain hose and inspect it for any blockages. If necessary, use a pipe cleaner or a plumber’s snake to clear the clog. Alternatively, you can replace the drain hose if it is severely blocked or damaged.
- Improper elevation: If the dishwasher drain hose is not properly elevated, it may result in water backups. Ensure that the hose has a slight downward slope, allowing gravity to assist in the drainage process. Adjust the elevation if needed by repositioning or securing the hose at a suitable height.
- Inadequate air gap: An air gap is a necessary device that prevents potential backflow of drain water into the dishwasher. If your dishwasher is equipped with an air gap, check if it is clear of any obstructions or buildup. Clean the air gap if necessary, ensuring proper airflow and preventing unwanted contamination in the dishwasher.
- Old or faulty drain components: If you have an older dishwasher or plumbing system, the drain components may deteriorate over time. Inspect the drain lines, fittings, and valves for any signs of wear or damage. Replace any worn-out or faulty parts to ensure the proper functioning of the dishwasher drain.
If you encounter persistent issues or are unsure about troubleshooting the problems on your own, it is recommended to consult a professional plumber or contact the dishwasher manufacturer’s customer support for further guidance and assistance.
By addressing these common issues and applying the troubleshooting solutions, you can overcome challenges that may arise during the dishwasher drain connection process, ensuring optimal functionality and efficient water drainage.
With the troubleshooting steps completed, you have successfully connected your dishwasher drain! Congratulations! Now you can enjoy the convenience of a properly functioning dishwasher without worrying about drainage issues.
Conclusion – Final thoughts and tips to successfully connect a dishwasher drain
Connecting a dishwasher drain is a crucial step in the installation process that ensures proper drainage and efficient operation of your dishwasher. By following the steps outlined in this guide, you can successfully connect the drain and avoid common issues that may arise. Here are some final thoughts and tips to keep in mind:
1. Take your time: Installing a dishwasher drain requires attention to detail. Take your time to gather the necessary tools, locate the drain connection point, and prepare the drain hose properly. Rushing through the process can lead to mistakes or improper connections.
2. Double-check connections: Before running the dishwasher, double-check all connections, including the drain hose attachment and the sink drain. Ensure that all fittings are secure and there are no signs of leaks.
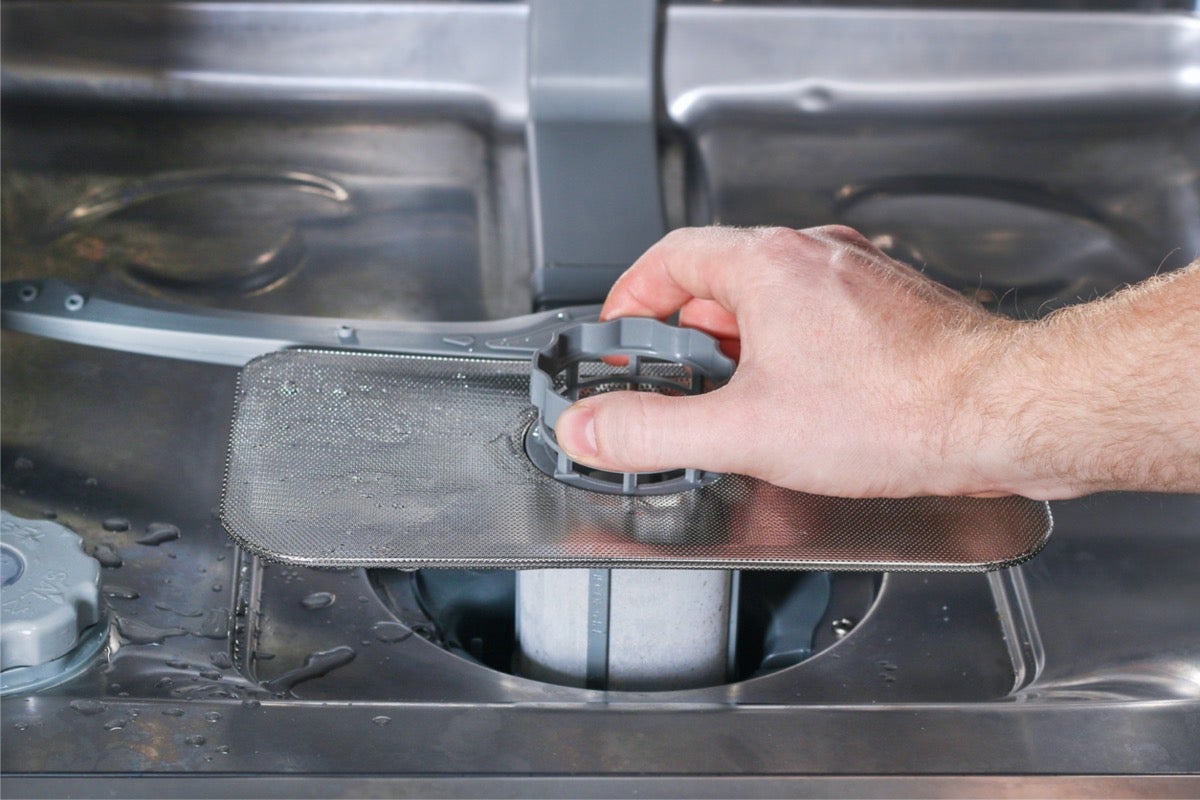
3. Regular maintenance: Schedule regular maintenance of your dishwasher, including inspecting the drain hose, cleaning the filter, and checking for any blockages. This will help prevent future issues and maintain optimal performance.
4. Seek professional help (if needed): If you encounter difficulties during the installation process or face persistent issues with the dishwasher drain, do not hesitate to seek professional assistance. A plumber or the manufacturer’s customer support can provide valuable guidance and solutions.
5. Safety precautions: Always consider safety when working with plumbing connections. Turn off the water supply before making any adjustments, and be cautious of sharp objects or tools. If you are uncertain or inexperienced, it is best to consult a professional.
By connecting the dishwasher drain correctly, you can ensure optimal performance, prevent leaks and clogs, and prolong the lifespan of your dishwasher. Following the steps and tips outlined in this guide will help you successfully complete the installation and enjoy the convenience of a fully functional dishwasher.
Remember, if you have any doubts or concerns during the process, it is always best to consult the dishwasher’s user manual or seek professional assistance. With the proper installation of the dishwasher drain, you can now put your focus on enjoying clean and sparkling dishes, hassle-free!
Just finished figuring out how to connect your dishwasher drain? Keep your home running smoothly by diving into our guide on essential upkeep. Maintaining your living space not only prevents costly repairs but also ensures everything functions as it should. Don’t wait for a problem to arise; regularly check and fix parts of your home to save money and hassle in the long run. Ready to keep your house in tip-top shape? Check out our detailed advice on what every homeowner should do for effective home maintenance.
Frequently Asked Questions about How To Connect A Dishwasher Drain
Was this page helpful?
At Storables.com, we guarantee accurate and reliable information. Our content, validated by Expert Board Contributors, is crafted following stringent Editorial Policies. We're committed to providing you with well-researched, expert-backed insights for all your informational needs.
0 thoughts on “How To Connect A Dishwasher Drain”