Articles
How To Unclog Dishwasher Drain
Modified: October 18, 2024
Learn effective ways to unclog your dishwasher drain with these informative articles. Discover expert tips and tricks to ensure your dishwasher functions smoothly.
(Many of the links in this article redirect to a specific reviewed product. Your purchase of these products through affiliate links helps to generate commission for Storables.com, at no extra cost. Learn more)
Introduction
Having a clogged dishwasher drain can be a frustrating and inconvenient problem. Not only can it prevent your dishwasher from functioning properly, but it can also lead to unpleasant odors and the risk of water damage if left untreated. Fortunately, unclogging a dishwasher drain is a task that can be tackled with a few simple steps and minimal tools.
In this article, we will walk you through the process of unclogging your dishwasher drain, from identifying common causes to implementing effective solutions. With a little bit of patience and effort, you’ll have your dishwasher running smoothly again in no time.
So, let’s dive in and learn how to unclog a dishwasher drain!
Key Takeaways:
- Regular maintenance, such as clearing the drain basket, cleaning the filter, and checking the drain hose, can prevent clogs and keep your dishwasher running smoothly.
- Prevention is key to avoiding clogged dishwasher drains. Scraping off food debris from dishes and using the right amount of detergent can minimize the risk of blockages.
Read more: How To Unclog Freezer Drain
Common Causes of a Clogged Dishwasher Drain
There are several factors that can contribute to a clogged dishwasher drain. Identifying the root cause can help you prevent future blockages and ensure the efficient functioning of your dishwasher. Here are some common causes to be aware of:
-
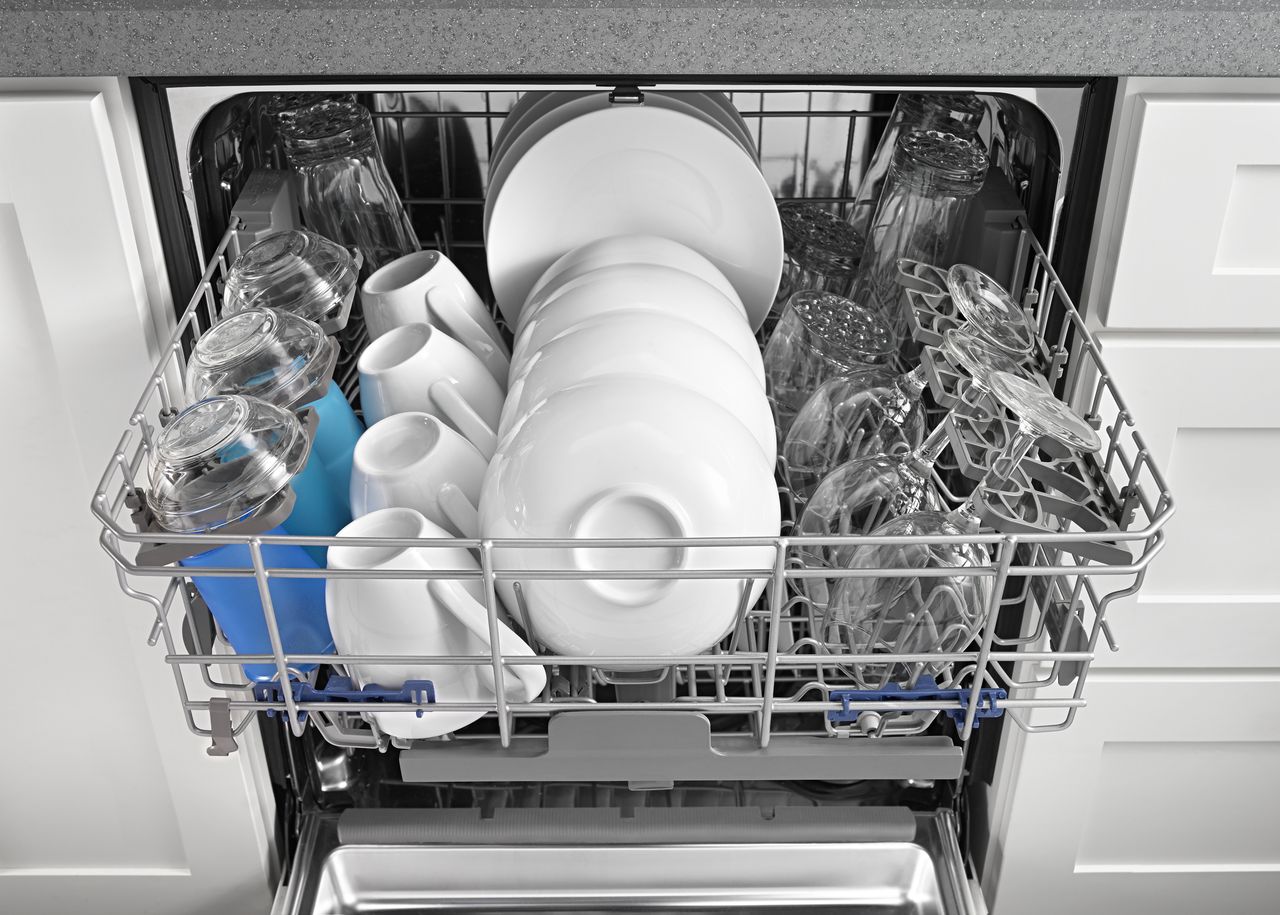
Food Debris: The most common cause of a clogged dishwasher drain is the accumulation of food debris. If plates, bowls, and utensils are not thoroughly rinsed before being loaded into the dishwasher, food particles can get lodged in the drain and cause a blockage. It is important to scrape off excess food and rinse the dishes before placing them in the dishwasher.
-
Dishwasher Soap Buildup: Over time, soap scum can accumulate in the drainpipe and restrict water flow. This is especially common if you use too much dishwasher detergent or if the detergent is not properly dissolved. It’s important to follow the manufacturer’s recommendations for detergent usage and consider using a dishwasher cleaner periodically to remove any soap residue.
-
Mineral Deposits: If you have hard water, mineral deposits can build up in the drain and cause blockages. Hard water contains high levels of minerals like calcium and magnesium, which can create stubborn build-up over time. Using a water softener or descaler can help prevent mineral deposits and keep your dishwasher drain clear.
-
Blockage in the Drain Hose: Sometimes, the clog may not be in the dishwasher drain itself but in the drain hose. Objects such as plastic wrappers or utensils can accidentally find their way into the drain hose and obstruct water flow. Checking the drain hose for any potential blockages is an important step in troubleshooting a clogged dishwasher drain.
By understanding the common causes of a clogged dishwasher drain, you can take preventative measures to minimize the risk of future blockages. Now that we’ve identified the possible culprits, let’s move on to the tools and materials needed to unclog your dishwasher drain.
Tools and Materials Needed
Before you begin unclogging your dishwasher drain, it’s essential to gather the necessary tools and materials. Having these items on hand will make the process smoother and more efficient. Here’s what you’ll need:
-
Screwdriver: You may need a screwdriver to remove the bottom rack and access the dishwasher drain. Check the type of screwdriver required based on your dishwasher model.
-
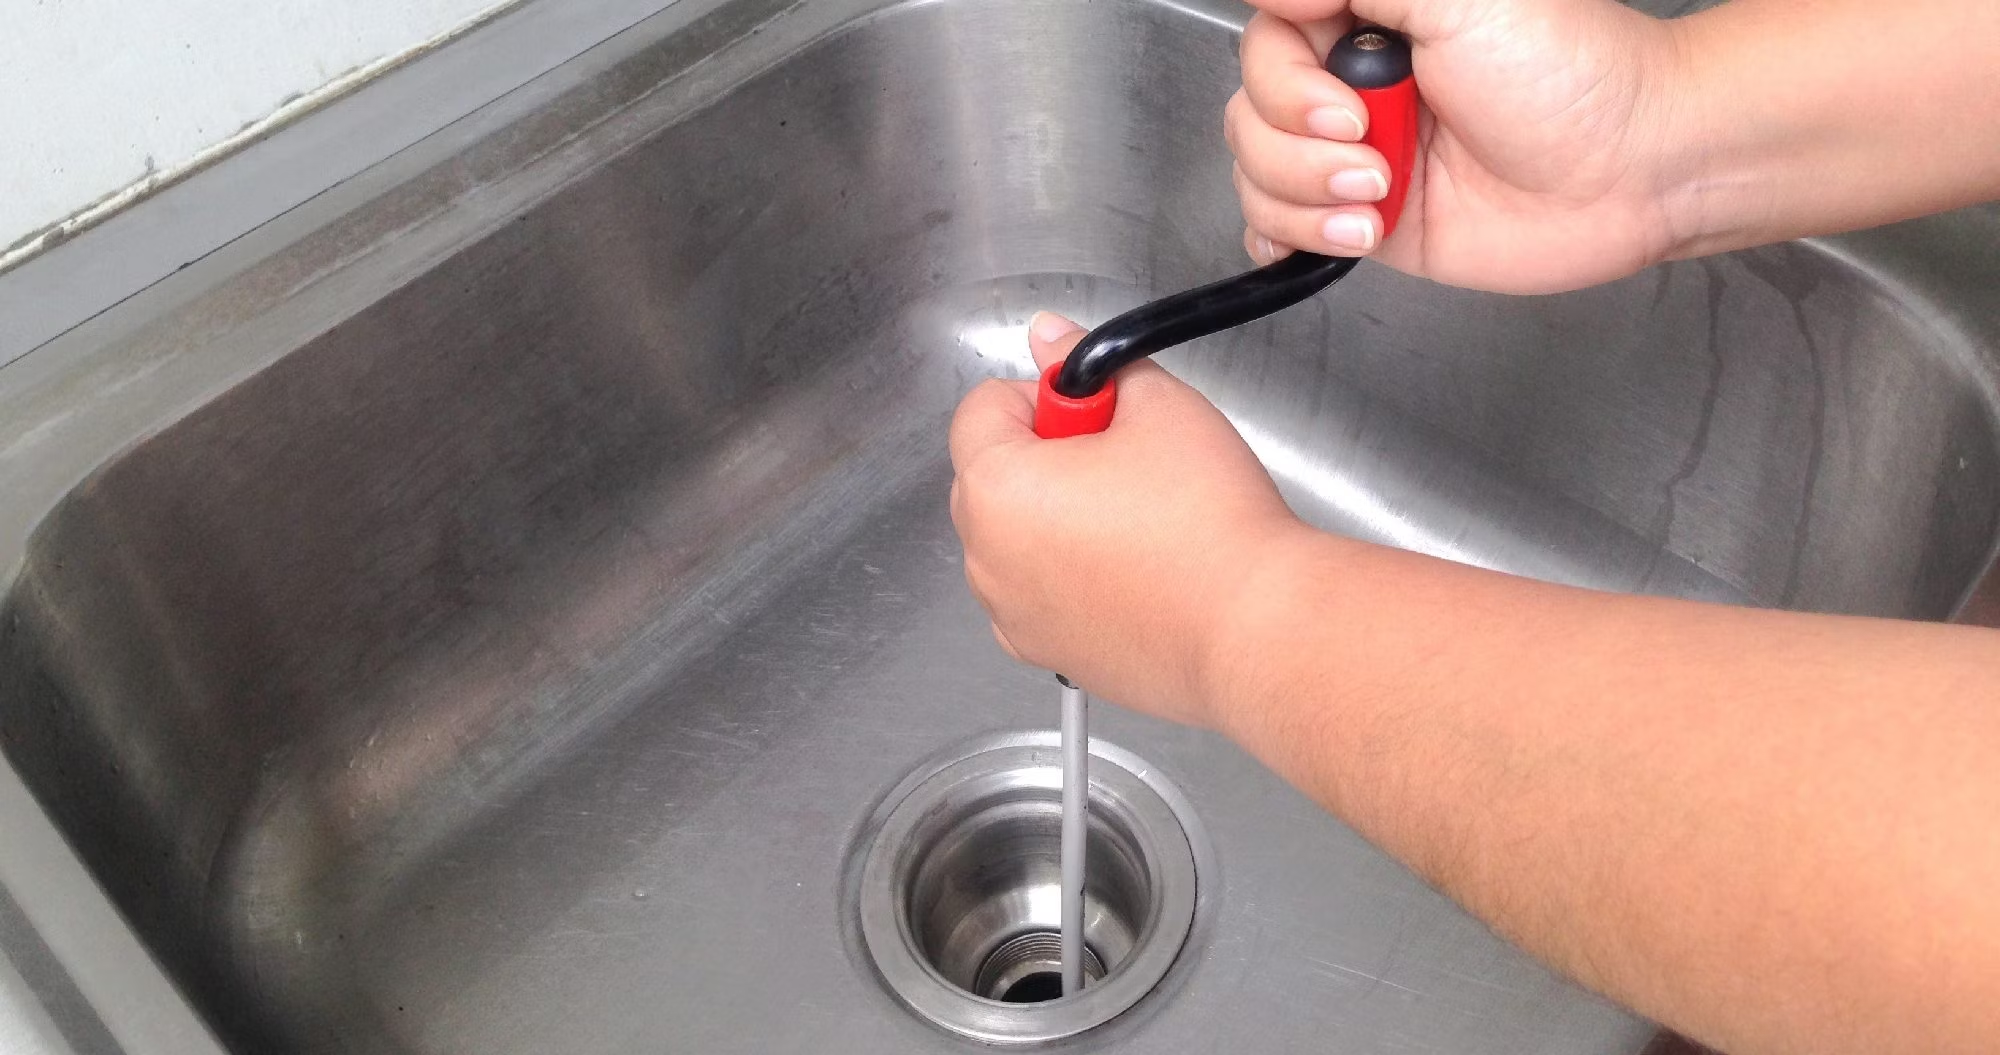
Plunger: A plunger can be a useful tool for dislodging stubborn clogs in the drainpipe. Ensure you have a sink plunger specifically designed for sinks and drains.
-
Wire Coat Hanger: A wire coat hanger can come in handy for removing any blockages in the drain hose. Straighten out the hanger, leaving a hook at one end for easy maneuvering.
-
Distilled White Vinegar: Vinegar is a natural cleaning agent that can help dissolve soap scum and remove mineral deposits. It is an environmentally friendly alternative to harsh chemicals.
-
Soft Brush or Toothbrush: A soft brush or toothbrush can be used to clean the filters and spray arms. Look for brushes with gentle bristles to avoid damaging any components.
-
Baking Soda: Baking soda is another natural cleaning agent that can help eliminate odors and remove stubborn stains. It can be used in combination with vinegar for a more effective cleaning solution.
-
Hot Water: Hot water is essential for flushing out debris and ensuring a clear and free-flowing drain. Make sure you have access to hot water while unclogging the dishwasher drain.
By gathering these tools and materials beforehand, you’ll be well-prepared to tackle the task of unclogging your dishwasher drain. Once you have everything ready, it’s time to move on to the step-by-step process of unclogging the drain.
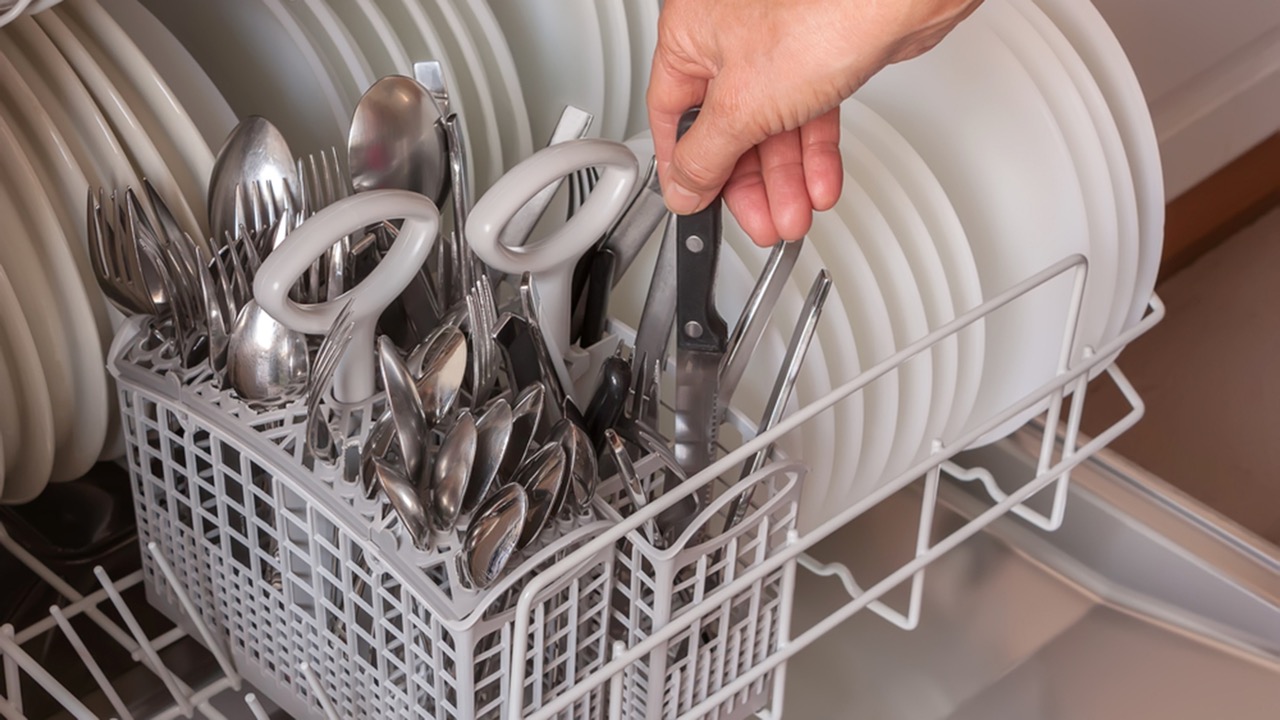
Step 1: Remove the Bottom Rack
The first step in unclogging your dishwasher drain is to remove the bottom rack. This will give you access to the drain basket and make it easier to inspect and clean the drain area. Follow these steps:
-
Locate the bottom rack of your dishwasher and pull it out until it is fully extended.
-
Look for any clips or levers on the sides or back of the rack that may be securing it in place. Release these clips or levers to detach the rack from the dishwasher.
-
Slowly and carefully slide the bottom rack out of the dishwasher, ensuring that you don’t damage or dislodge any other components.
-
Place the bottom rack aside in a safe area, away from where you’ll be working. This will prevent any accidental damage or interference during the unclogging process.
By removing the bottom rack, you’ll have a clear view and access to the dishwasher drain. This will allow you to proceed with the next steps of inspecting and clearing any obstructions. Let’s move on to Step 2: Clear Obstructions from the Drain Basket.
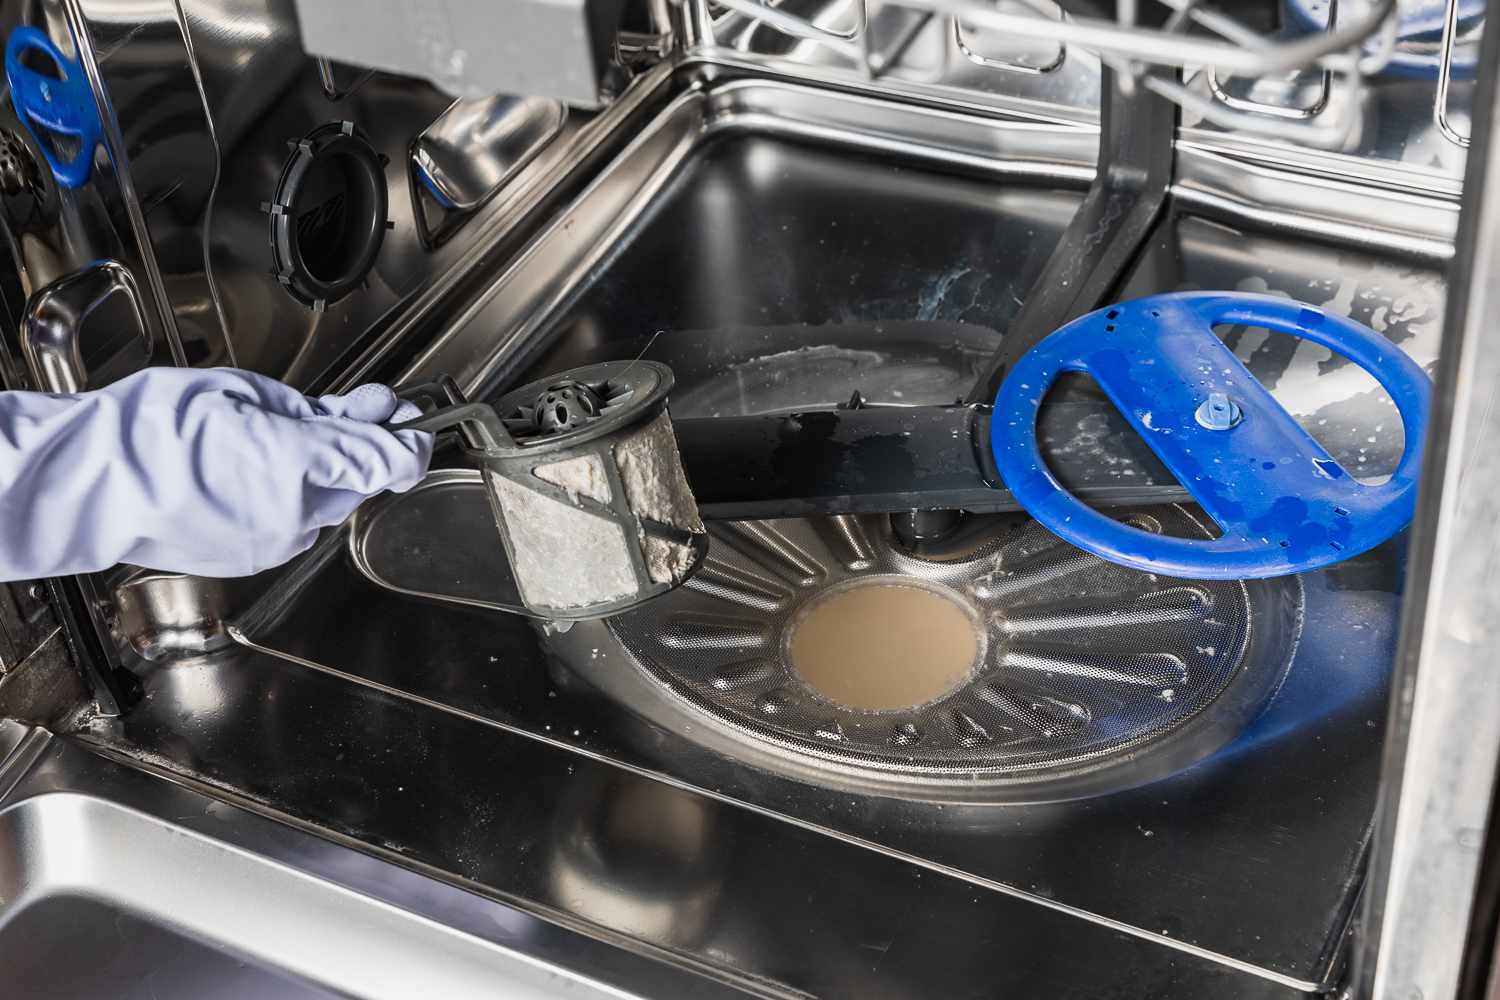
Step 2: Clear Obstructions from the Drain Basket
Once you’ve removed the bottom rack, it’s time to tackle the drain basket. The drain basket is designed to catch any large debris and prevent it from clogging the drain. Follow these steps to clear any obstructions from the drain basket:
-
Locate the drain basket, which is typically located at the bottom center of the dishwasher. It may be covered by a grate or screen.
-
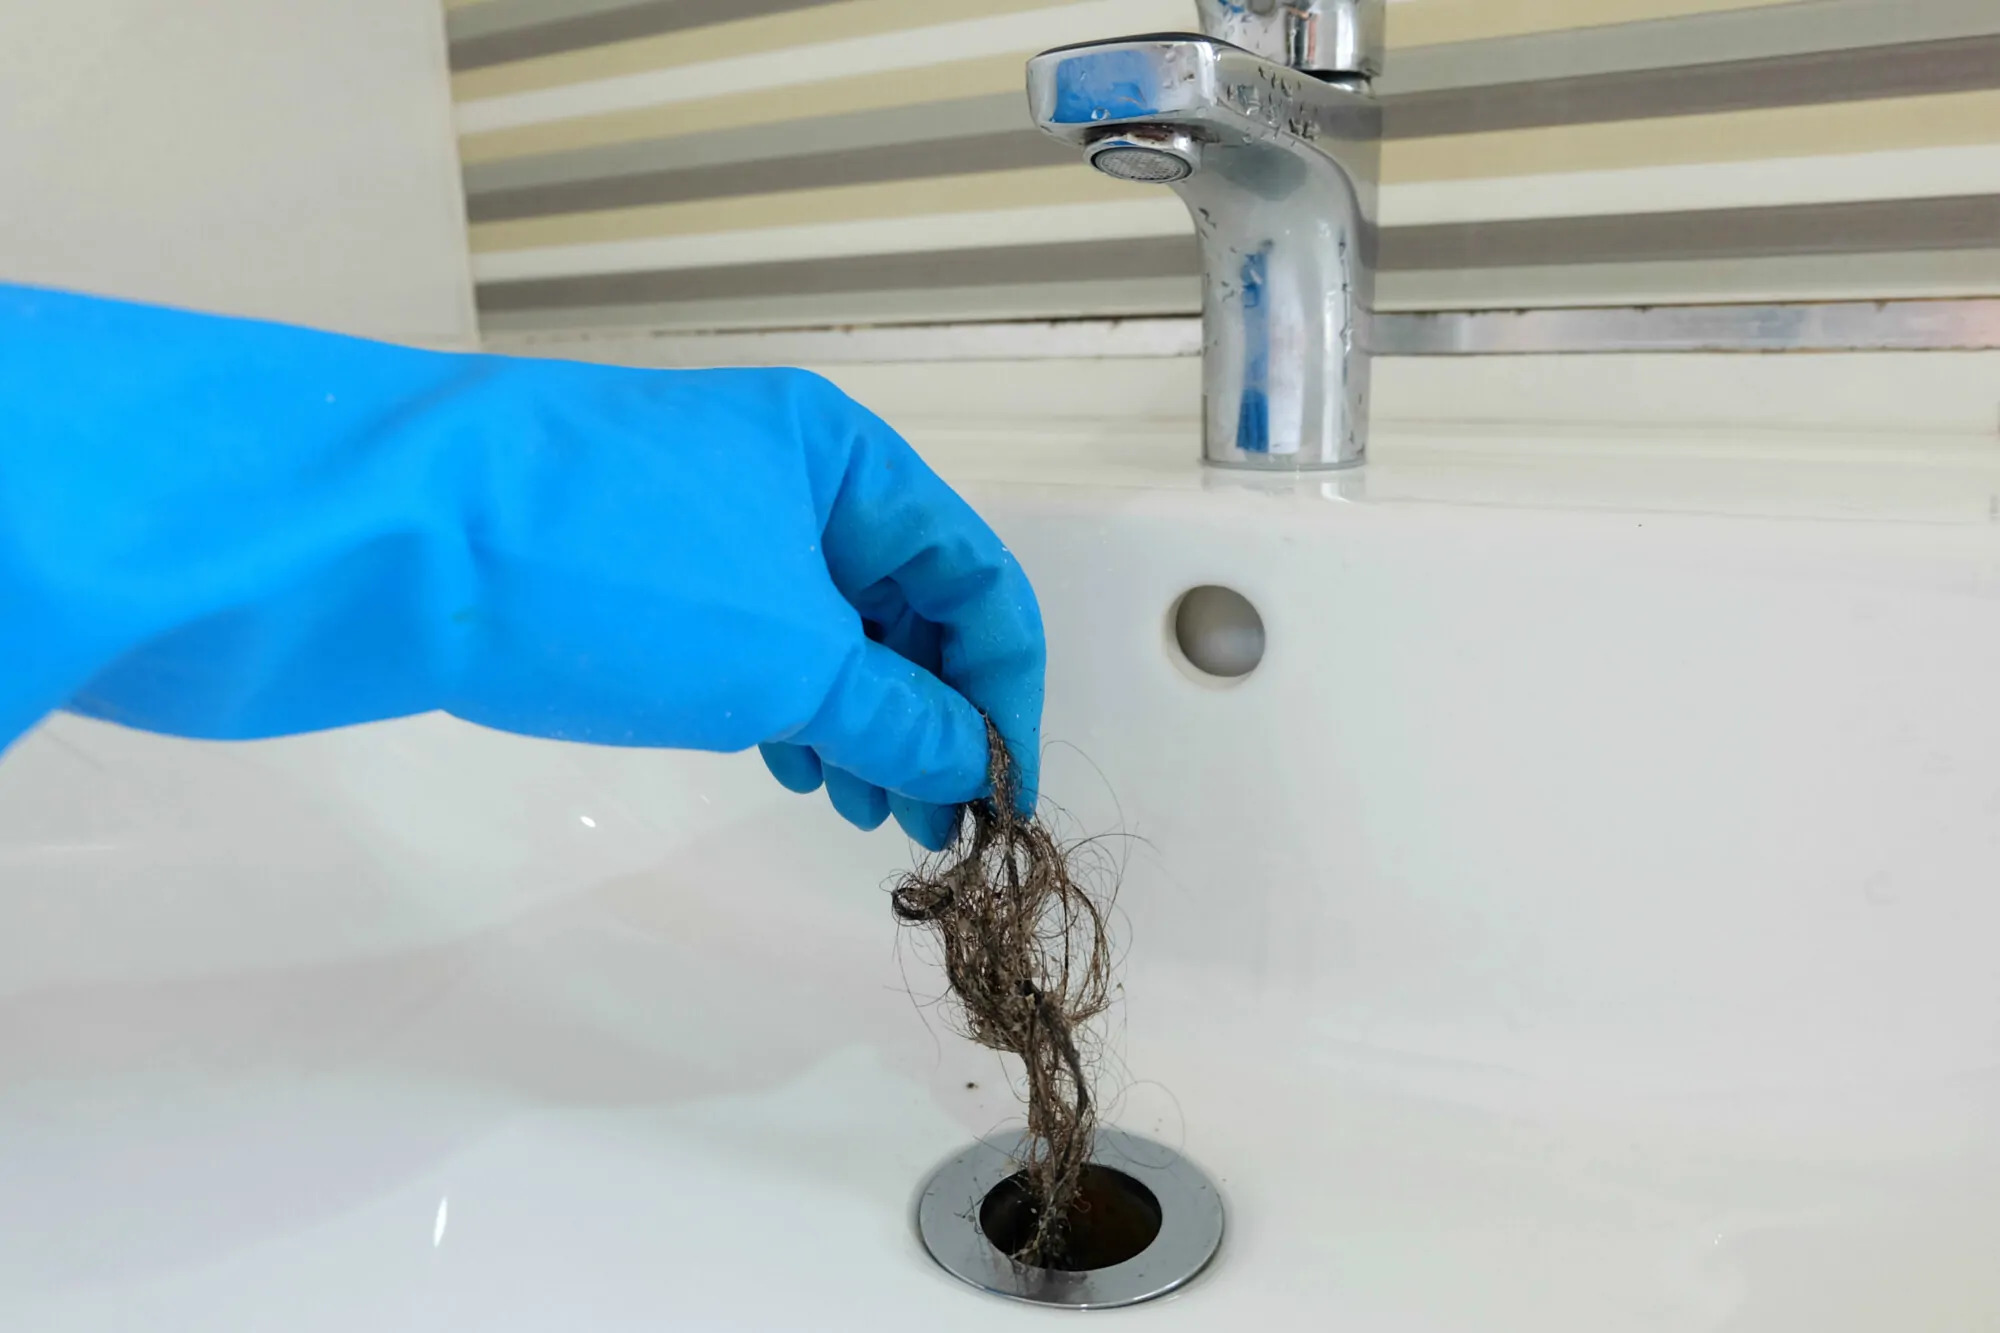
Inspect the drain basket and remove any visible debris such as food particles or large objects. Use your hands or a pair of tongs to carefully extract the obstructions.
-
Once you’ve removed the large debris, rinse the drain basket with warm water to remove any remaining residue.
-
Check for any additional obstructions that may be lodged deeper in the drain basket. Use a small brush or toothbrush to gently dislodge and remove any stubborn debris.
-
After clearing the drain basket, replace and secure the grate or screen if it was removed. Ensure that it is properly aligned and snaps into place.
Clearing obstructions from the drain basket is an important step in unclogging the dishwasher drain. It removes any large debris that could hinder the flow of water through the drainpipe. Now, let’s move on to the next step: Step 3: Check the Drain Valve.
Step 3: Check the Drain Valve
After clearing the drain basket, it’s important to ensure that the drain valve is operating correctly. The drain valve controls the flow of water out of the dishwasher and into the drainpipe. Follow these steps to check the drain valve:
-
Locate the drain valve, which is typically located at the bottom of the dishwasher, near the drain basket.
-
Inspect the drain valve for any visible signs of damage or blockage. Look for debris or objects that may be obstructing the valve.
-
If you notice any debris or blockage, use a soft brush or toothbrush to gently clean the drain valve. Ensure that you remove any obstructions that may be preventing the valve from operating properly.
-
Manually operate the drain valve by gently moving it back and forth. It should move freely and without any resistance. If you notice any stiffness or resistance, there may be an issue with the valve that requires further inspection or professional repair.
-
Once you’ve checked and cleaned the drain valve, replace any covers or guards that were removed during the inspection.
Checking the drain valve is an important step to ensure that water can flow freely out of the dishwasher. If the valve is obstructed or damaged, it can cause drainage issues. Now, let’s move on to the next step: Step 4: Remove and Clean the Filter.
To unclog a dishwasher drain, start by removing any visible debris from the drain. Then, pour a mixture of hot water and vinegar down the drain to help break up any remaining clogs. Finally, use a pipe cleaner or plumber’s snake to remove any stubborn blockages.
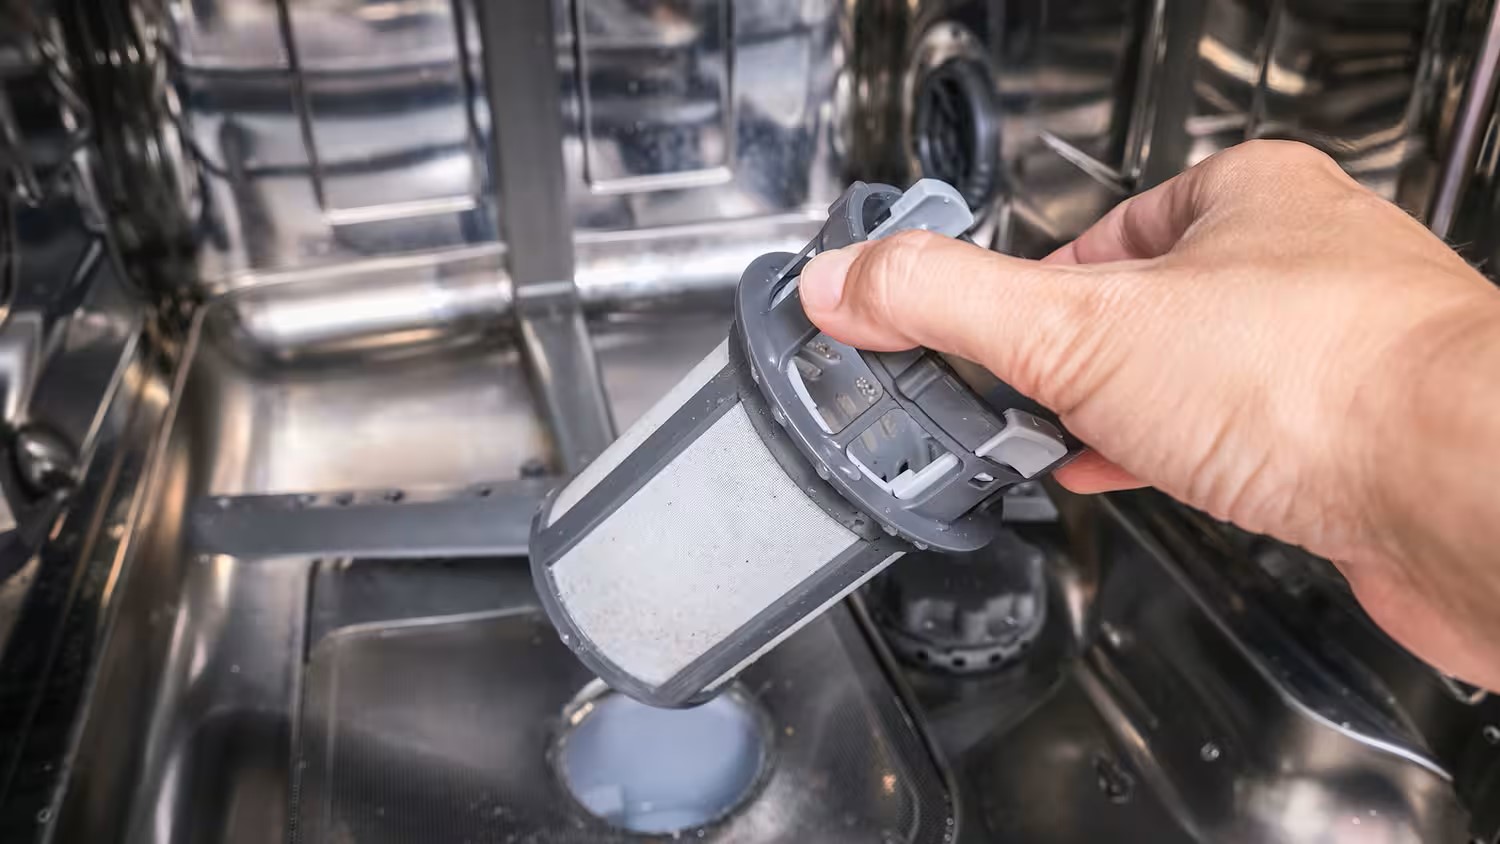
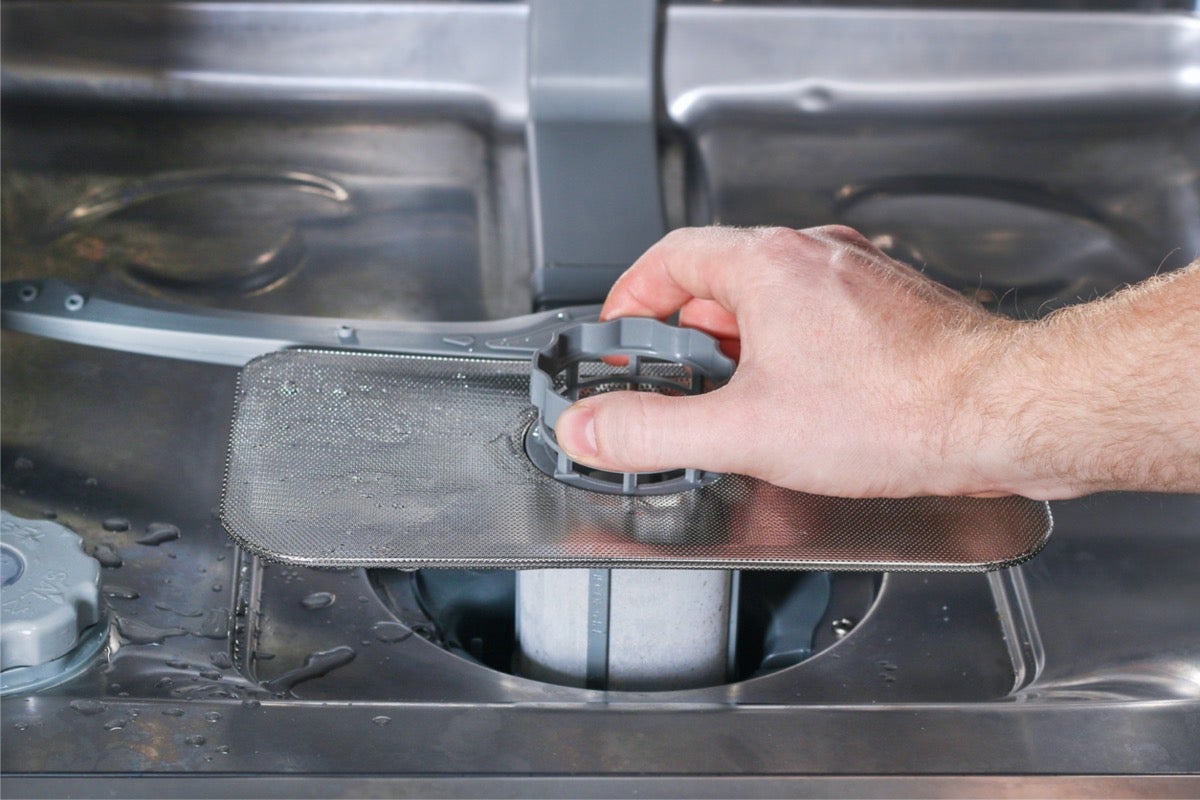
Step 4: Remove and Clean the Filter
The filter in your dishwasher plays a crucial role in trapping small debris to prevent it from clogging the drain. Over time, the filter can become dirty and clogged, hindering the dishwasher’s performance. Follow these steps to remove and clean the filter:
-
Locate the filter, which is usually found at the bottom of the dishwasher, beneath the drain basket. It may be a cylindrical cylinder or a flat screen.
-
Depending on your dishwasher model, the filter may have a twist-lock or pull-tab mechanism. Follow the instructions specific to your dishwasher to easily remove the filter.
-
Take out the filter and rinse it under warm water to remove any loose debris. Use a soft brush or toothbrush to scrub away any stubborn residue.
-
If the filter is heavily clogged, soak it in a mixture of warm water and mild dish soap to help loosen the debris. Scrub it gently to remove any remaining dirt.
-
While the filter is out, check the filter housing for any obstructions or debris. Use a soft brush or cloth to clean the housing if necessary.
-
Once the filter and housing are clean, place the filter back into the dishwasher in its original position. Ensure that it is securely in place, following any locking or tab mechanisms.
Cleaning the filter regularly can help prevent clogs and improve the overall performance of your dishwasher. Now that the filter is clean and back in place, let’s move on to the next step: Step 5: Clean the Spray Arms.
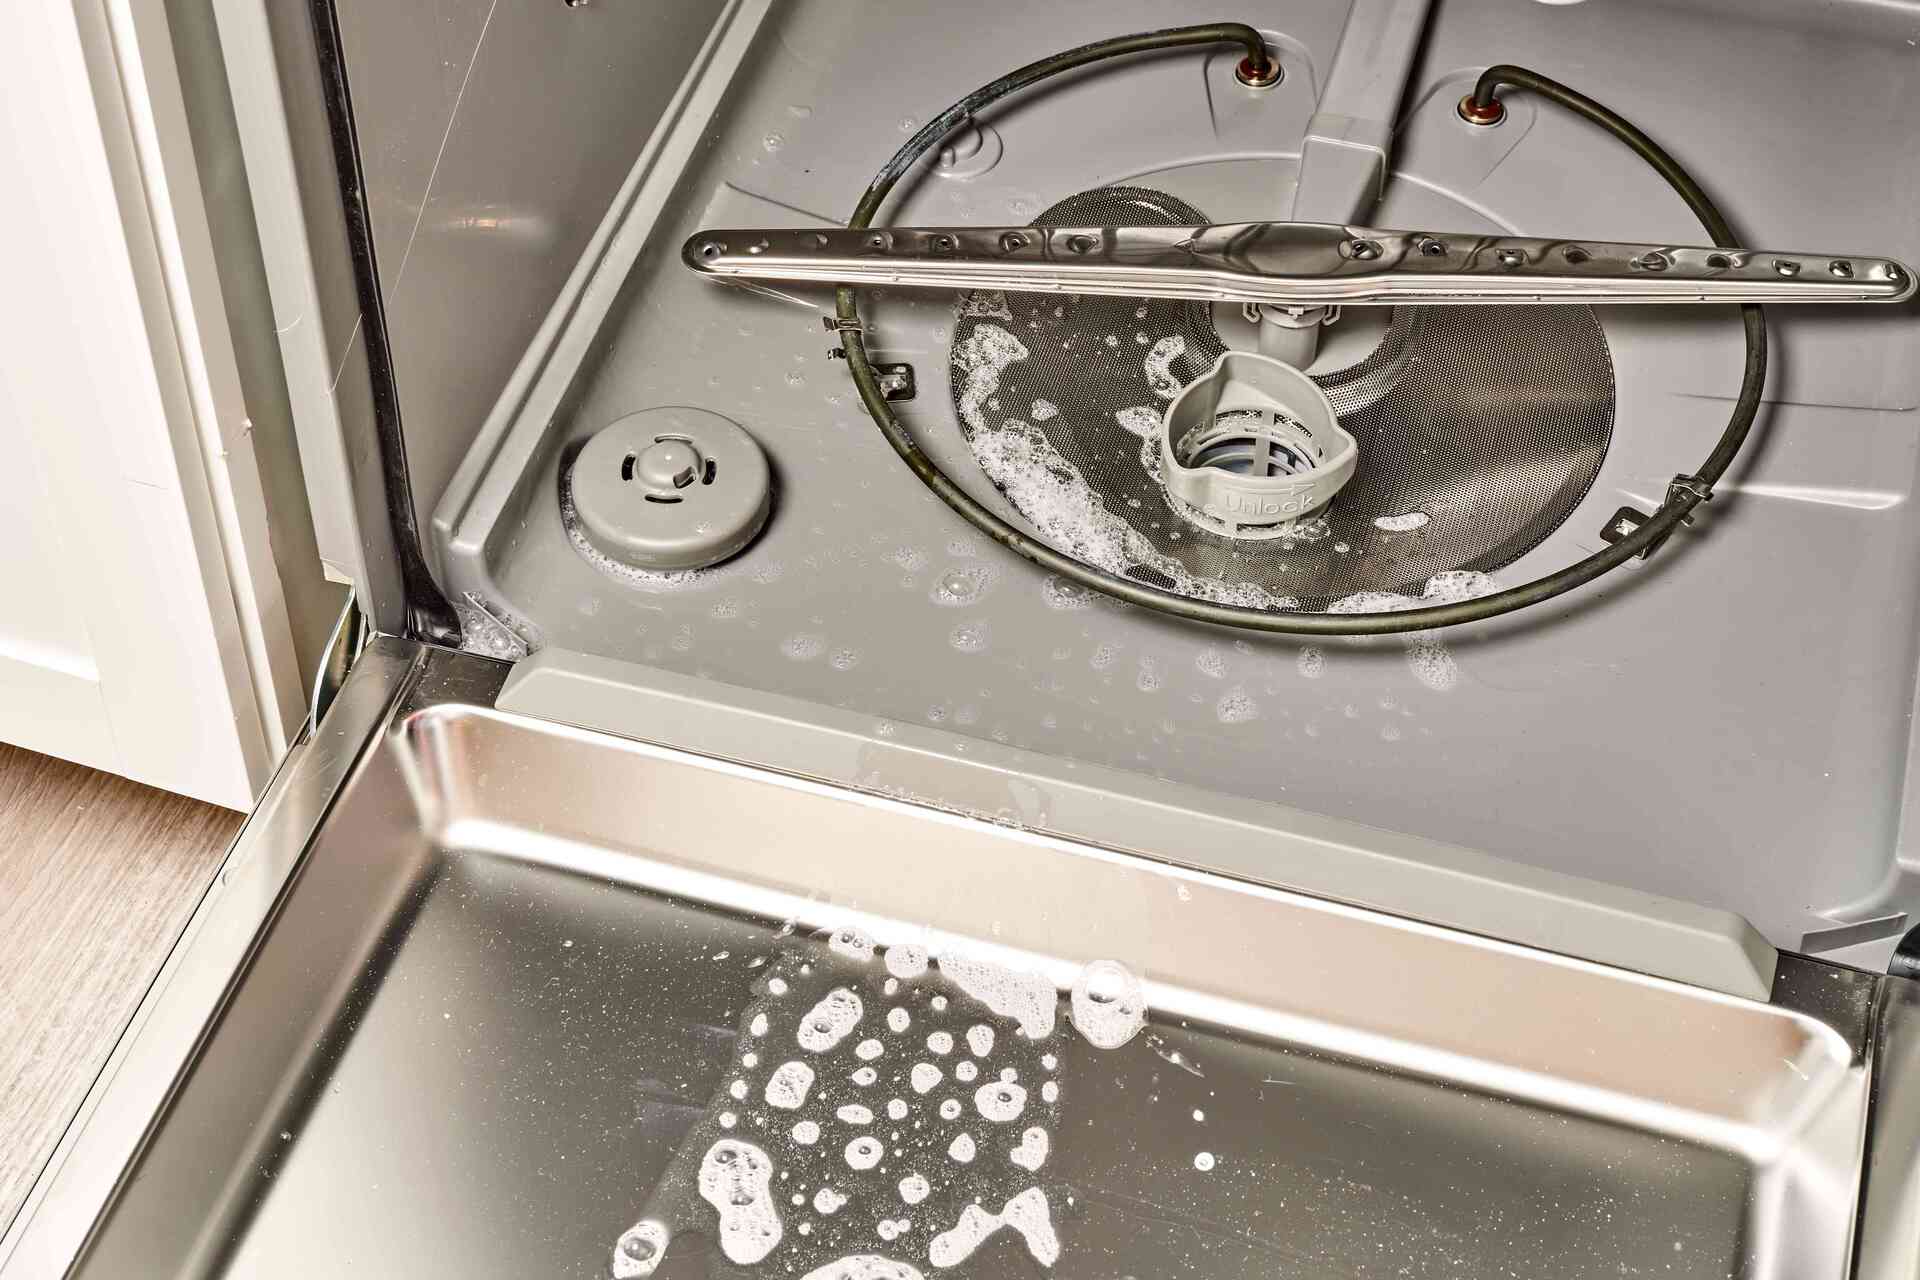
Step 5: Clean the Spray Arms
The spray arms in your dishwasher play a crucial role in distributing water and detergent to effectively clean your dishes. Over time, these spray arms can become clogged with debris or mineral buildup, affecting their performance. Follow these steps to clean the spray arms:
-
Locate the spray arms, which are typically located at the bottom and top of the dishwasher. They may be attached to the dishwasher’s walls or have a removable mechanism.
-
If your spray arms are removable, twist or unscrew them clockwise to detach them from the dishwasher. If they are not removable, you can still clean them in place.
-
Inspect the spray arms for any visible signs of clogs or debris. Look for any food particles, mineral deposits, or other obstructions that may be blocking the spray nozzles.
-
Use a toothpick or a small brush to clean the spray nozzles, ensuring that they are free from any blockages. Gently insert the toothpick into the nozzle and dislodge any debris or buildup.
-
Rinse the spray arms under warm water to remove any loose debris. If there are stubborn stains or mineral deposits, soak the spray arms in a mixture of warm water and vinegar for about 15 minutes.
-
After soaking, scrub the spray arms gently with a soft brush to remove any remaining debris or mineral buildup. Ensure that all the spray nozzles are clear and free-flowing.
-
Once the spray arms are clean, rinse them thoroughly under running water to remove any vinegar or cleaning solution residue.
-
If the spray arms were removed, reattach them to the dishwasher by twisting or screwing them back into place. Ensure that they are securely attached.
Cleaning the spray arms regularly will help improve water circulation and ensure that your dishes are thoroughly cleaned. Now that the spray arms are clean and functioning properly, let’s move on to the next step: Step 6: Check the Drain Hose.
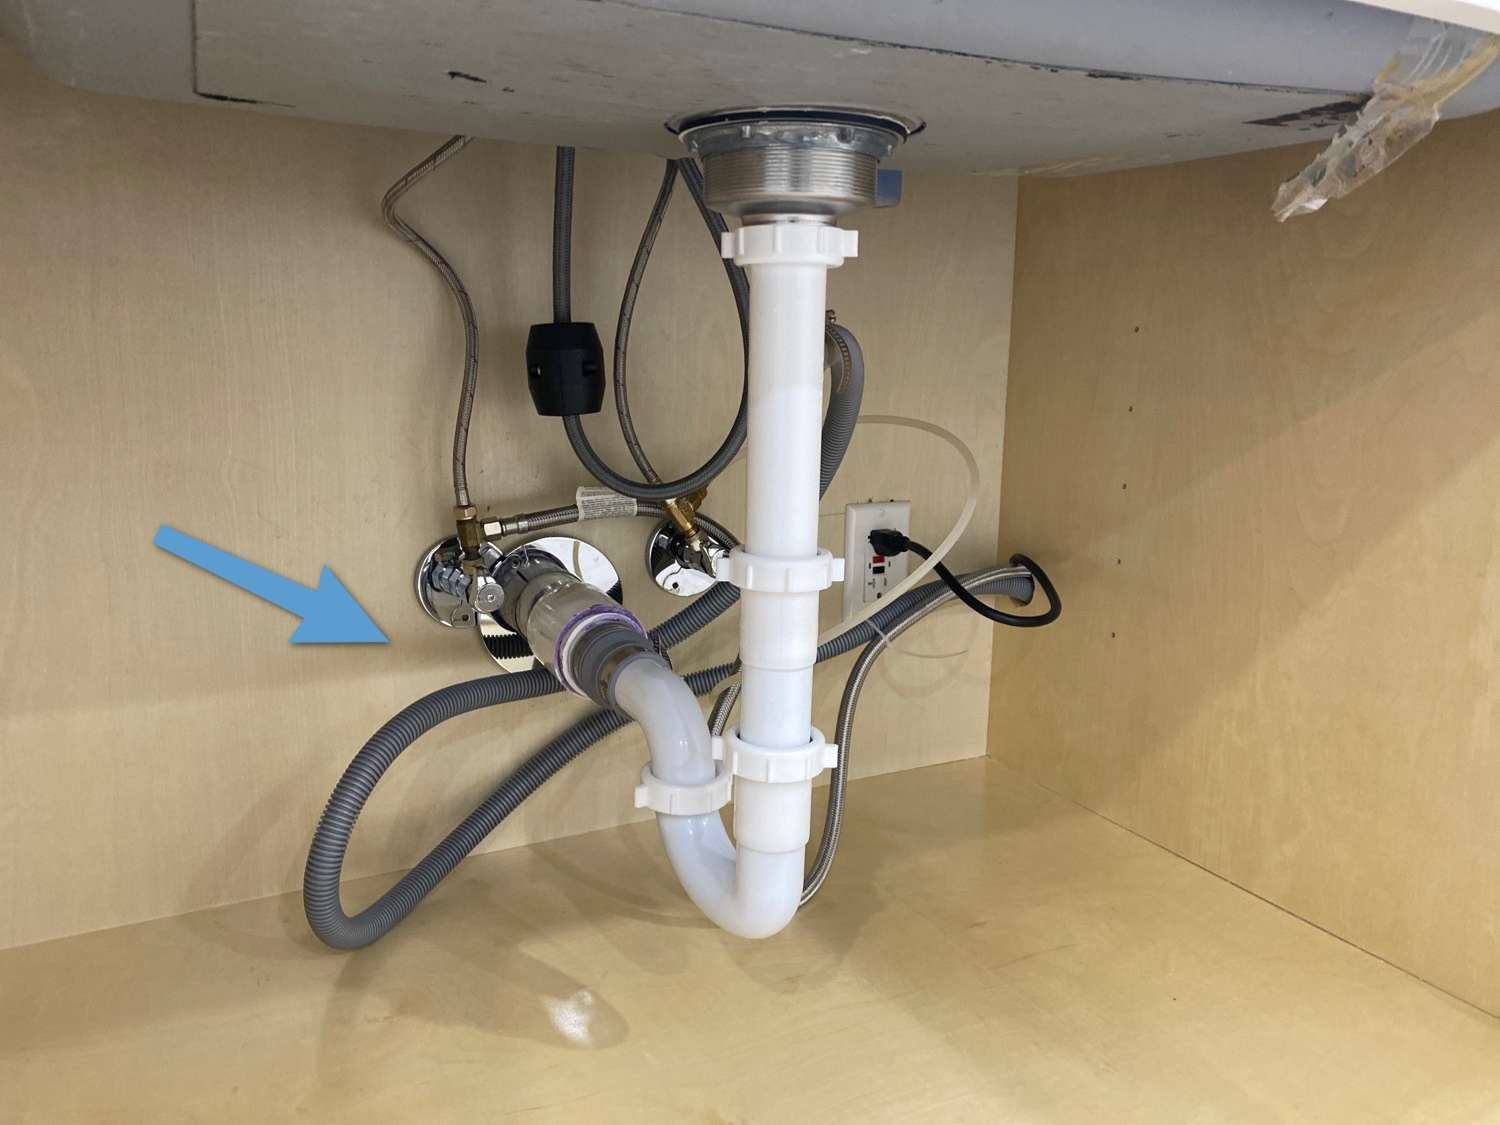
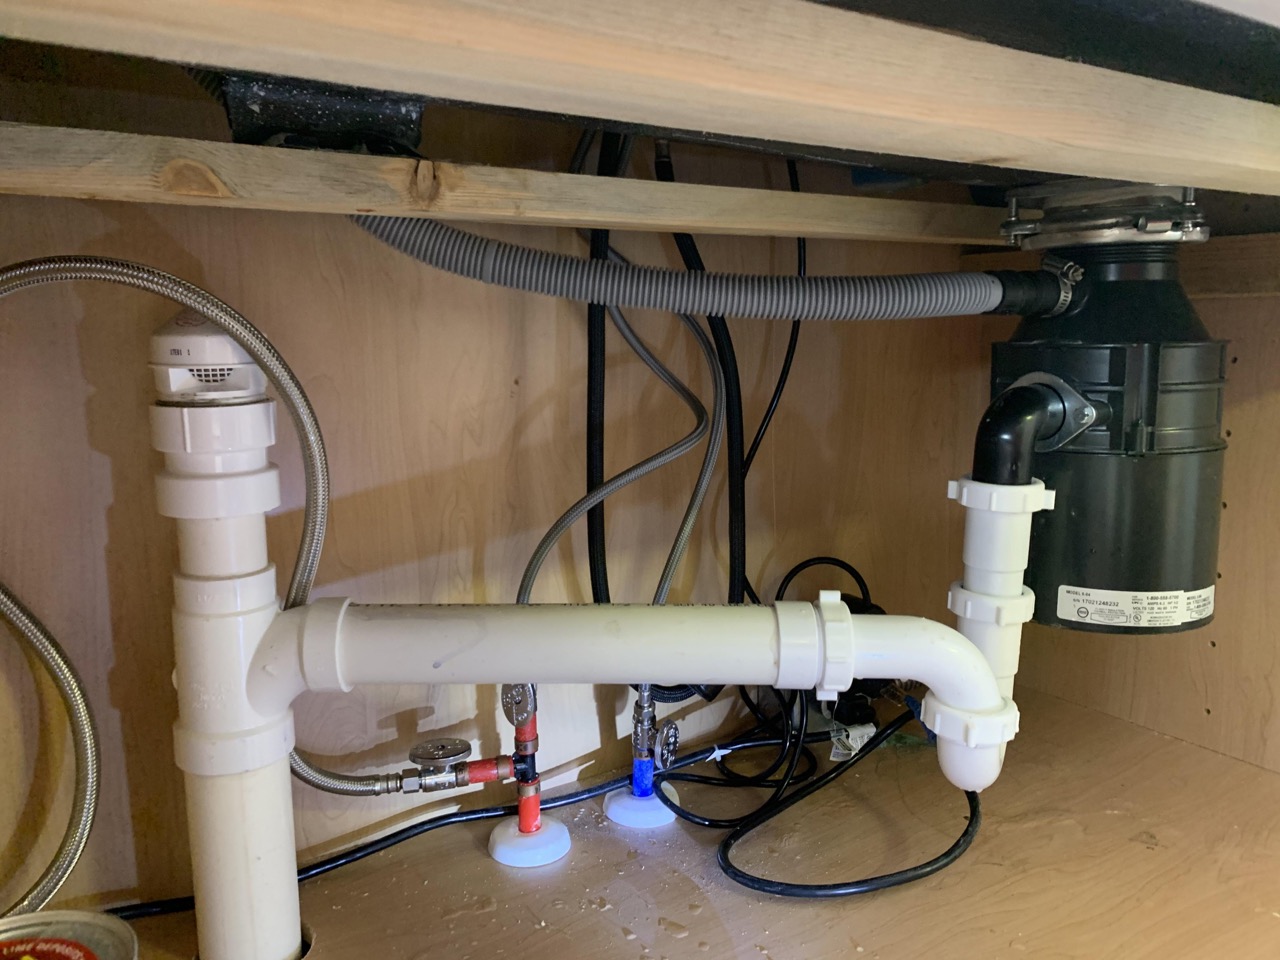
Step 6: Check the Drain Hose
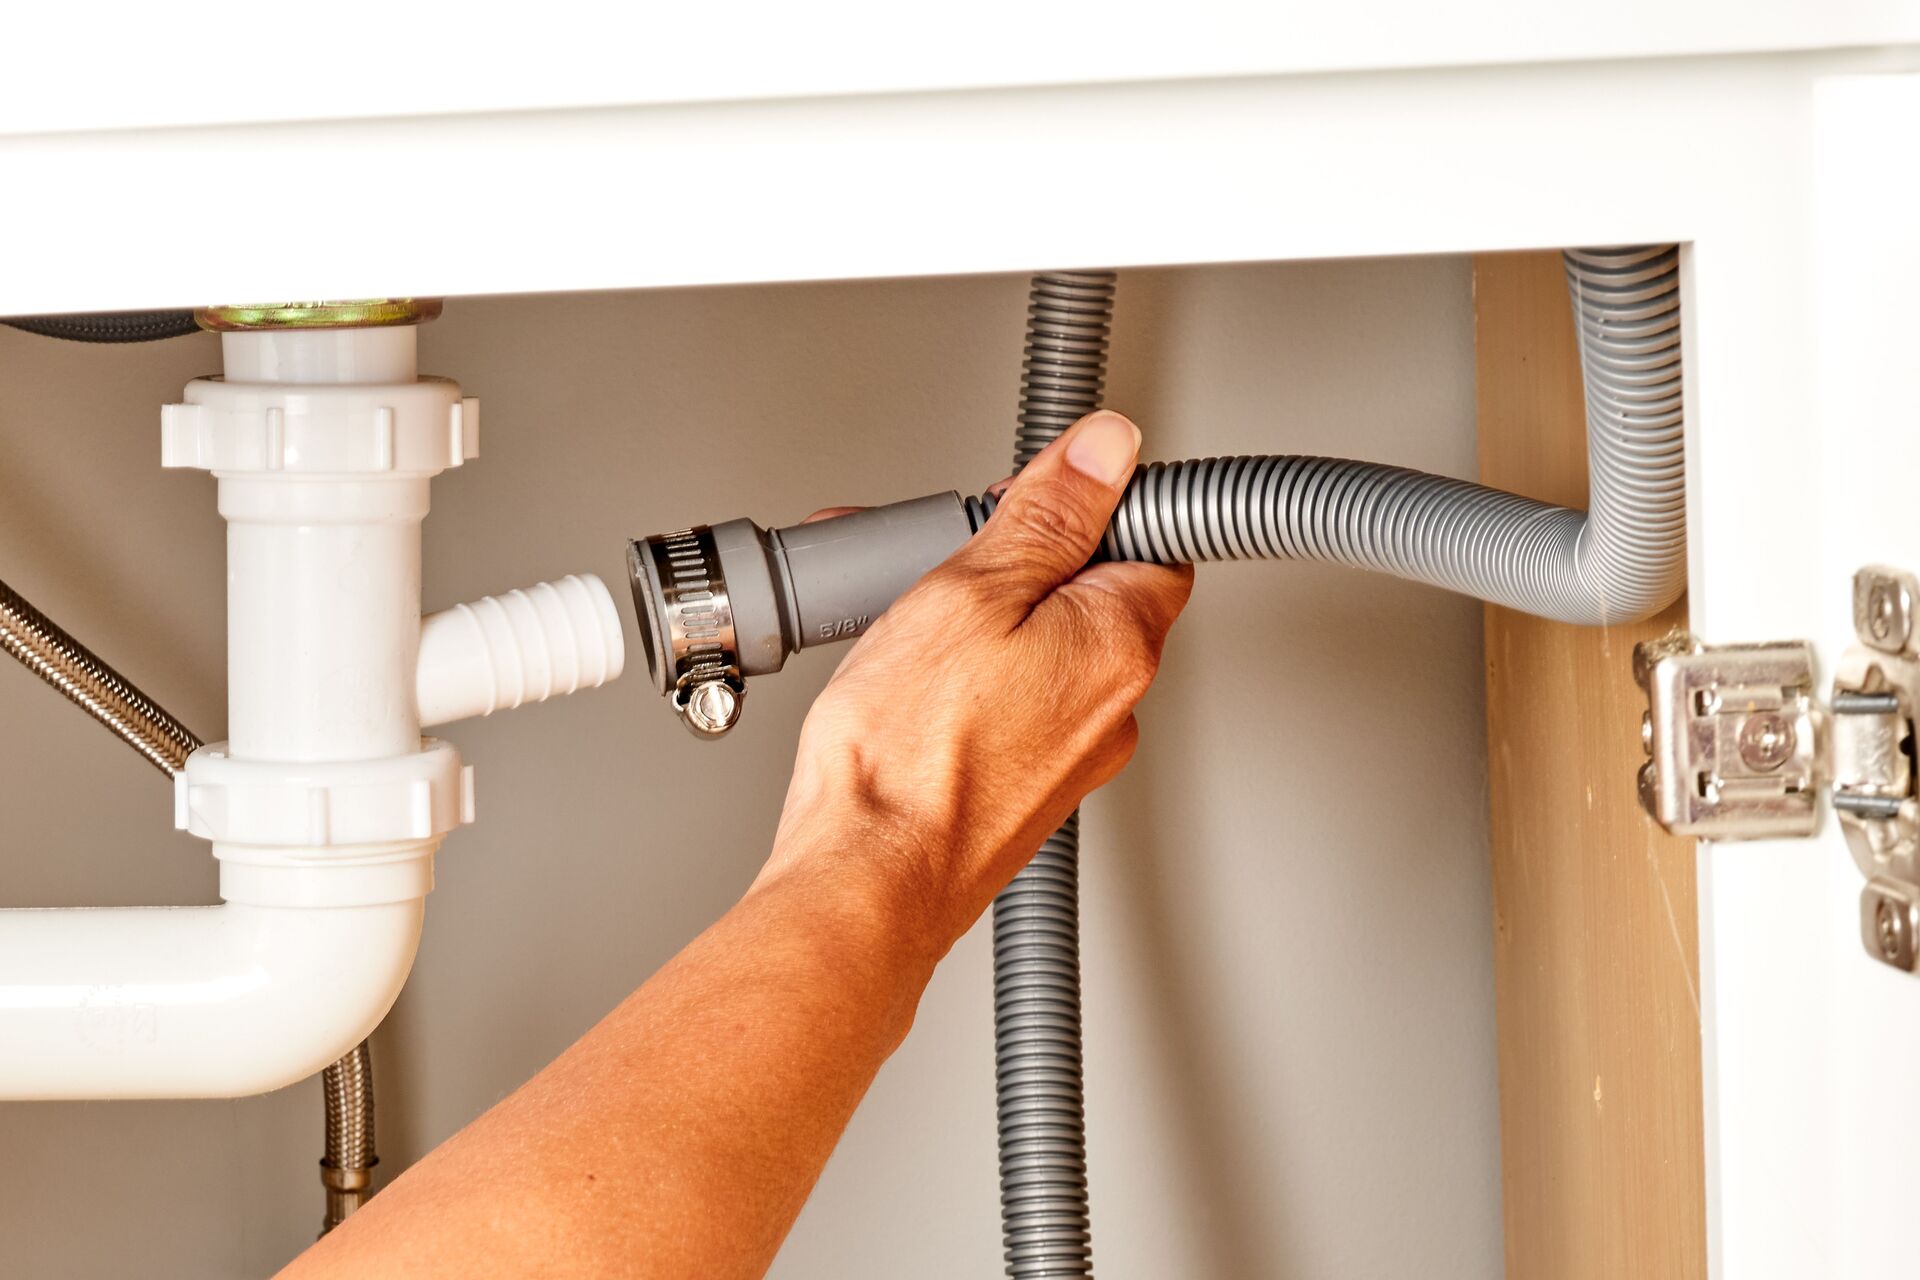
The drain hose in your dishwasher is responsible for removing wastewater and directing it to the drainpipe. If the drain hose is clogged or damaged, it can impede proper drainage and cause water to back up into the dishwasher. Follow these steps to check the drain hose:
-
Locate the drain hose, which is usually found at the back of the dishwasher. It is typically connected to the drain pump or the sink’s drainage system.
-
Inspect the drain hose for any visible signs of blockage or damage. Look for kinks, bends, or any sections where the hose may be crushed or flattened.
-
If you notice any blockages in the hose, gently loosen them with a wire coat hanger or a plumber’s snake. Carefully insert the wire or snake into the hose and move it back and forth to dislodge the obstruction.
-
Check for any bends or kinks in the drain hose that may restrict water flow. Straighten out any kinks or reposition the hose to ensure a smooth, unrestricted path for the water.
-
Inspect the connection points of the drain hose to ensure they are secure and free from leaks. If you notice any loose connections or leaks, tighten the hose clamps or replace them if necessary.
-
Ensure that the end of the drain hose is inserted into the drainpipe or garbage disposal properly. It should be securely fitted to prevent any water from leaking or backing up.
Checking the drain hose is an important step in ensuring proper drainage and preventing clogs in your dishwasher. Once you have inspected and cleared the drain hose, you’re ready for the final step: Step 7: Run Hot Water and Test the Drain.
Step 7: Run Hot Water and Test the Drain
After completing all the previous steps to unclog your dishwasher drain, it’s time to run hot water and test the drain to ensure that it is clear and functioning properly. Follow these final steps:
-
Close the dishwasher door and ensure that everything is properly in place, including the bottom rack, filter, spray arms, and drain hose.
-
Turn on the hot water faucet located near your sink and let the water run until it becomes hot.
-
Once the water is hot, start your dishwasher and select a cycle that includes a hot water rinse. This will help flush out any remaining debris and ensure that the drain is clear.
-
Allow the dishwasher to complete the cycle, including the rinse and drain stages.
-
After the cycle is complete, open the dishwasher door and inspect the drain to ensure that water is flowing freely out of the dishwasher and into the drainpipe or garbage disposal.
-
Check for any signs of water pooling or backup inside the dishwasher. If you notice any issues, double-check the previous steps to ensure everything was correctly cleaned and reassembled.
If the dishwasher drains properly and there are no signs of backup or pooling, congratulations! You have successfully unclogged your dishwasher drain. Regular maintenance and preventive measures, such as rinsing dishes before loading them and cleaning the filter regularly, can help prevent future drain clogs.
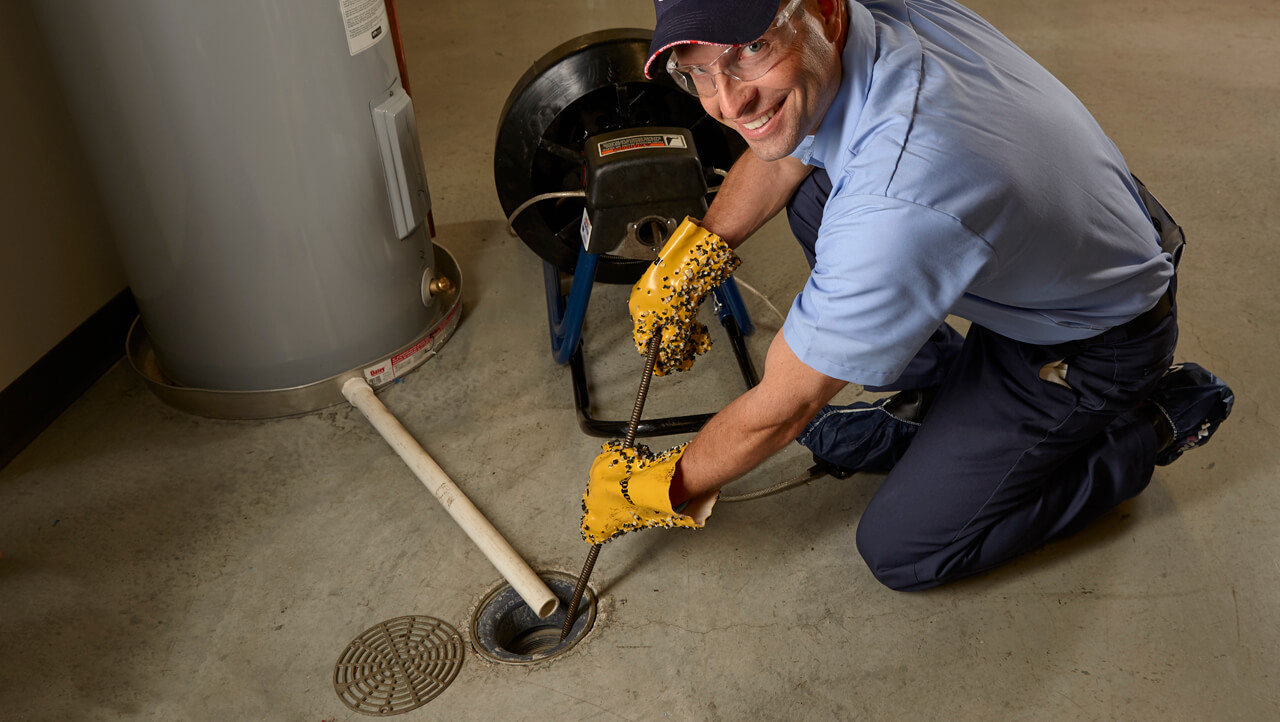
However, if you still encounter drainage issues or notice recurring clogs, it may be necessary to seek professional assistance from a plumber or appliance repair technician.
With a clear and functioning dishwasher drain, you can enjoy the convenience of a dishwasher that efficiently cleans your dishes without any unwanted water accumulation or odors. Happy dishwashing!
Conclusion
A clogged dishwasher drain can be a frustrating problem, but with the right steps and tools, you can easily unclog it and restore your dishwasher’s functionality. By following the steps outlined in this article, you can identify common causes of clogs, gather the necessary tools and materials, and perform the necessary maintenance to keep your dishwasher drain clear.
From clearing obstructions in the drain basket to cleaning the spray arms and checking the drain valve, each step plays a crucial role in ensuring proper drainage and preventing future clogs. Regular maintenance, such as cleaning the filter and inspecting the drain hose, can help you keep your dishwasher running smoothly.
Remember, prevention is key. By scraping off excess food from dishes, rinsing them before loading, and using the appropriate amount of detergent, you can minimize the risk of debris accumulating in the drain and causing clogs. Additionally, maintaining a regular cleaning schedule for the filter and spray arms will help maintain optimal dishwasher performance.
If you have followed all the steps outlined in this article and still experience persistent drainage issues, it may be necessary to seek professional assistance. A plumber or appliance repair technician can provide expert guidance and resolve any underlying issues that may be causing the clogs.
By taking care of your dishwasher and regularly unclogging the drain, you can enjoy the convenience of sparkling clean dishes without the hassle of drainage problems. Keep these tips in mind and continue to take proactive measures to keep your dishwasher drain clear and your dishwasher operating at its best.
Frequently Asked Questions about How To Unclog Dishwasher Drain
Was this page helpful?
At Storables.com, we guarantee accurate and reliable information. Our content, validated by Expert Board Contributors, is crafted following stringent Editorial Policies. We're committed to providing you with well-researched, expert-backed insights for all your informational needs.

0 thoughts on “How To Unclog Dishwasher Drain”