Articles
How To Drain A Samsung Dishwasher
Modified: October 19, 2024
Learn how to properly drain your Samsung dishwasher with these informative articles. Discover expert tips and advice for optimal dishwasher maintenance and troubleshooting.
(Many of the links in this article redirect to a specific reviewed product. Your purchase of these products through affiliate links helps to generate commission for Storables.com, at no extra cost. Learn more)
Introduction
Welcome to our guide on how to drain a Samsung dishwasher. If you’re experiencing issues with your dishwasher not draining properly, it can be quite frustrating. However, with a few simple steps, you can troubleshoot and resolve the problem yourself. Whether you’re dealing with a clogged drain hose or a dirty filter, we’ll walk you through the process of draining your Samsung dishwasher.
Samsung dishwashers provide convenience and efficiency when it comes to cleaning your dishes. However, over time, debris, food particles, and soap scum can accumulate, causing drainage problems. It’s important to address the issue as soon as possible to prevent further damage and ensure optimal performance of your dishwasher.
In this guide, we’ll cover the necessary steps to properly drain a Samsung dishwasher. We’ll start by preparing the dishwasher and ensuring a safe working environment. Then, we’ll discuss disconnecting the power to avoid any electrical mishaps. Next, we’ll guide you through removing the water from the dishwasher. We’ll also show you how to check the drain hose for any obstructions and clean the filter to improve drainage efficiency.
Following our step-by-step instructions will help you resolve common drainage issues and save you time and money from calling a repair technician. It’s important to remember that safety should always be a priority. If at any point you feel unsure or uncomfortable performing any of the steps, please consult a professional before proceeding.
Now, let’s dive into the first step of preparing your Samsung dishwasher for the draining process.
Key Takeaways:
- Properly preparing your Samsung dishwasher, disconnecting the power, and addressing drainage issues through cleaning and maintenance can save time and money by resolving common problems without the need for a repair technician.
- Regularly cleaning the filter and checking the drain hose for blockages are essential maintenance tasks to prevent future drainage issues and ensure the optimal performance and longevity of your Samsung dishwasher.
Read more: How To Connect A Dishwasher Drain
Step 1: Prepare the dishwasher
Before starting the process of draining your Samsung dishwasher, it’s essential to prepare the appliance properly. Taking a few minutes to ensure that the dishwasher is ready will make the draining procedure more efficient and help prevent any potential water leakage during the process.
To begin, gather the necessary supplies, including rubber gloves, a bucket or large container, and towels or absorbent cloths. These items will come in handy in case there’s excess water or spills during the draining process.
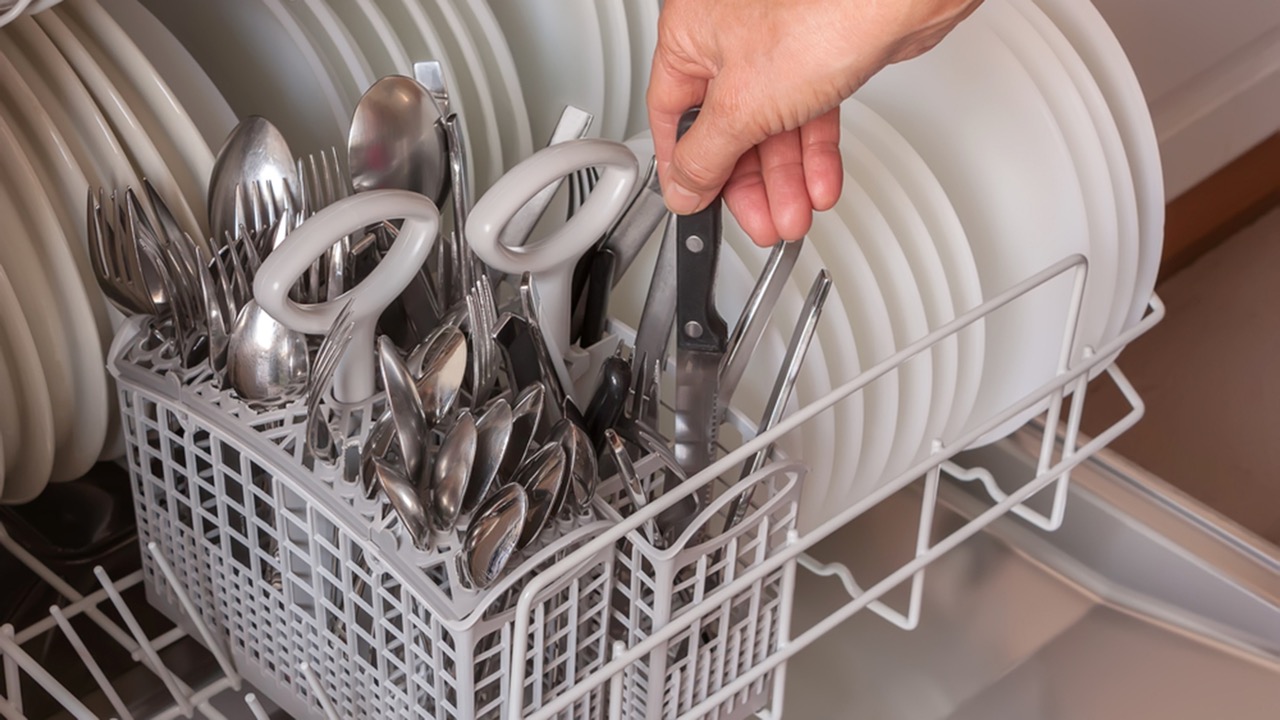
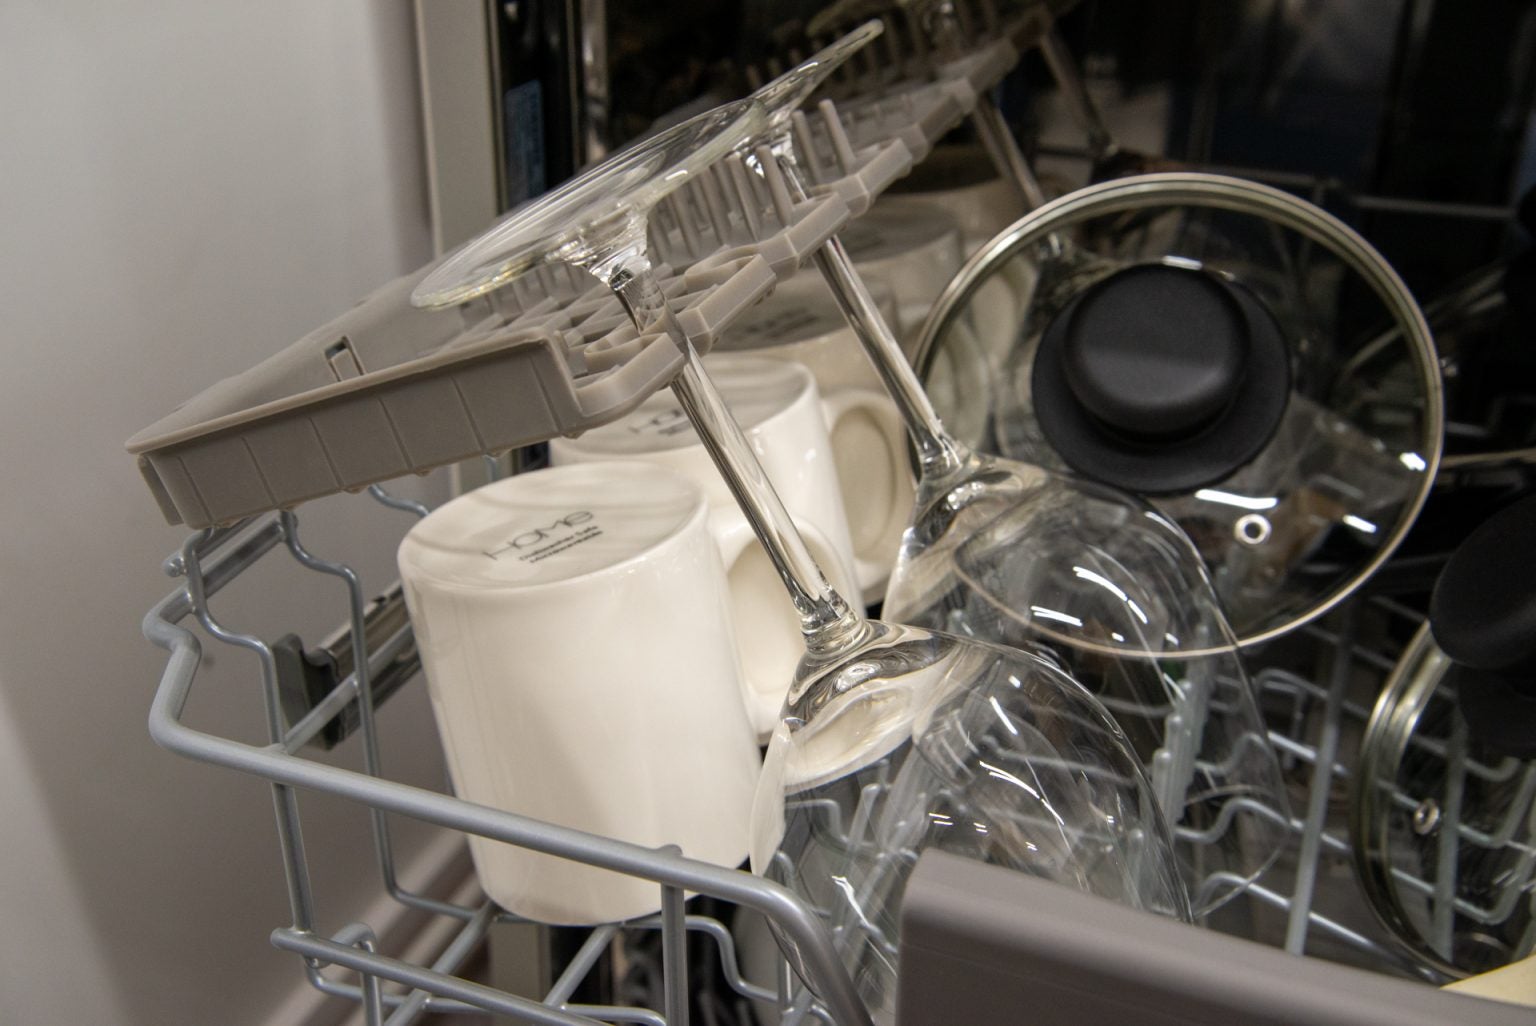
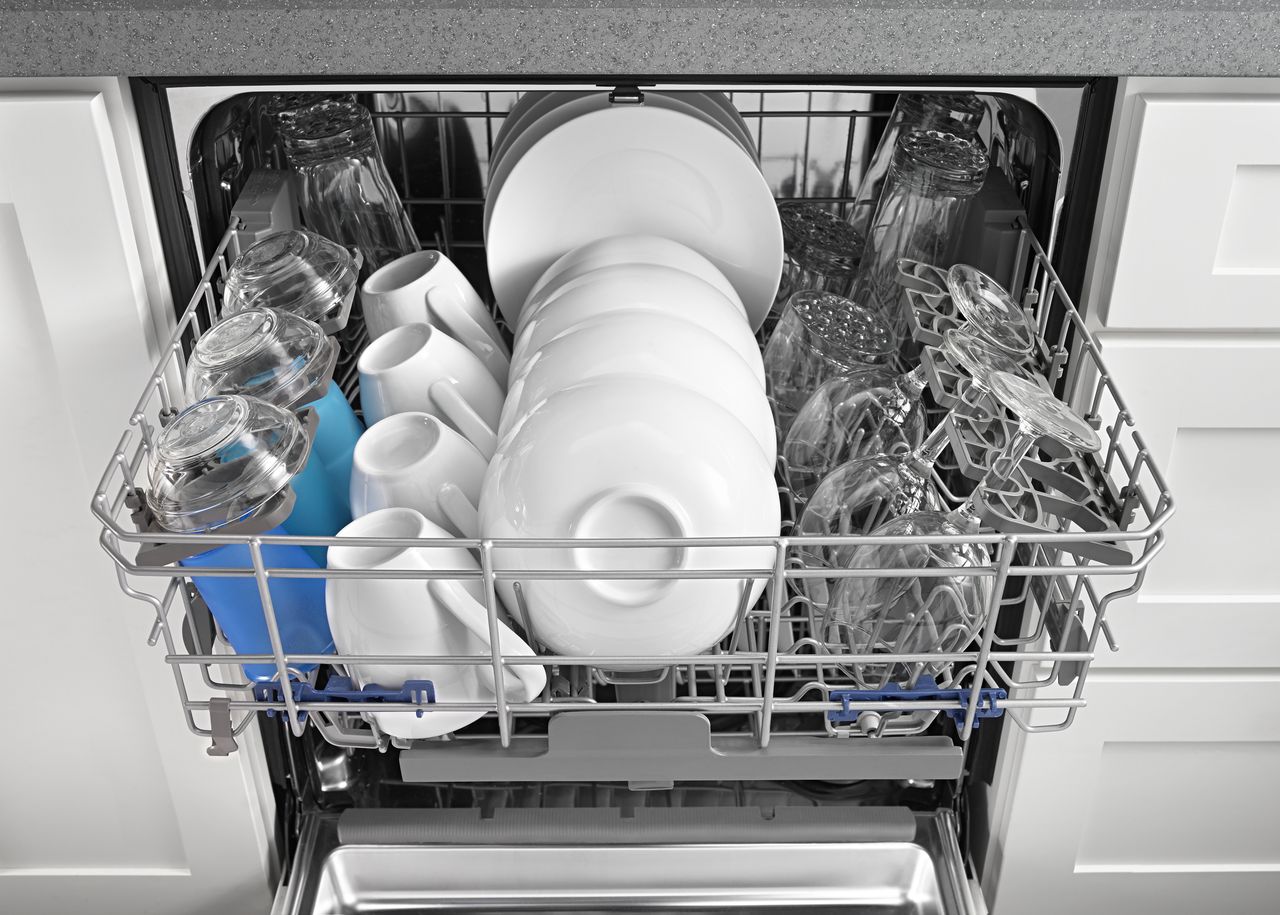
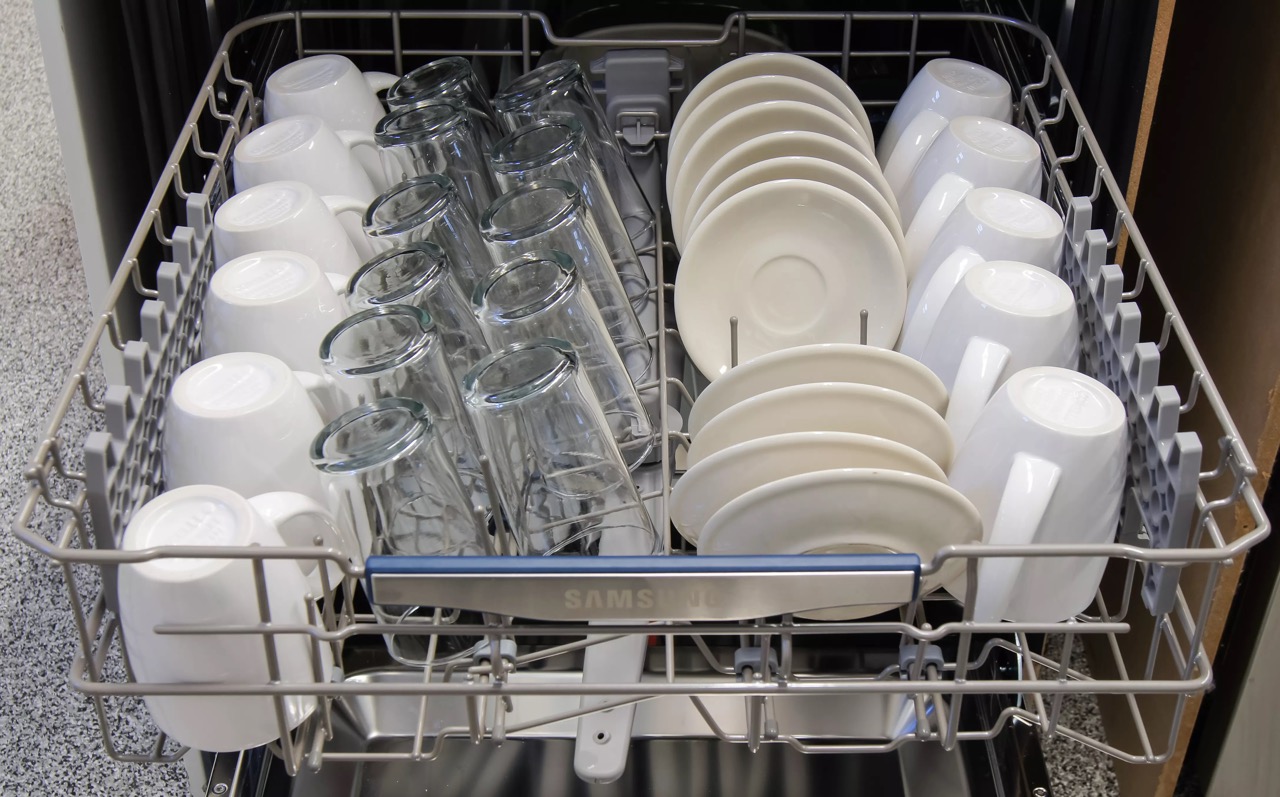
Next, ensure that the dishwasher is empty of dishes, cutlery, and any other items. It’s crucial to remove all items to prevent them from obstructing the draining process or getting damaged.
Once the dishwasher is empty, inspect the interior for any obvious signs of debris or obstructions. Look for large food particles, small utensils, or any other objects that may be blocking the drain or filters. If you notice any obstructions, carefully remove them using a pair of tongs or gloved hands.
After removing any visible debris, check the dishwasher’s spray arms. These are the rotating components responsible for spraying water onto your dishes. Ensure that the spray arms are free from clogs and can move freely. If necessary, clean the spray arms with warm, soapy water and a soft brush to remove any buildup.
Once you’ve inspected and cleared any obstructions in the dishwasher, it’s a good idea to wipe down the interior surfaces. Use a damp cloth or sponge to remove any excess grease, food residue, or stains. This will not only improve the overall cleanliness of the dishwasher but also help prevent any potential odors.
Lastly, ensure that there are no items or obstacles near the dishwasher’s control panel or electrical components. This includes any liquids, cleaning supplies, or objects that may accidentally come into contact with the dishwasher’s electrical parts.
By following these steps to prepare your Samsung dishwasher, you’ll be ready to proceed with the next steps of disconnecting the power and removing the water. Taking the time to properly prepare the dishwasher will set the stage for a successful draining process and help maintain the longevity of your appliance.
Step 2: Disconnecting the power
Before beginning any maintenance or repair work on your Samsung dishwasher, it’s crucial to ensure your safety by disconnecting the power supply. This step will help prevent any potential electrical shocks or accidents while performing the draining process.
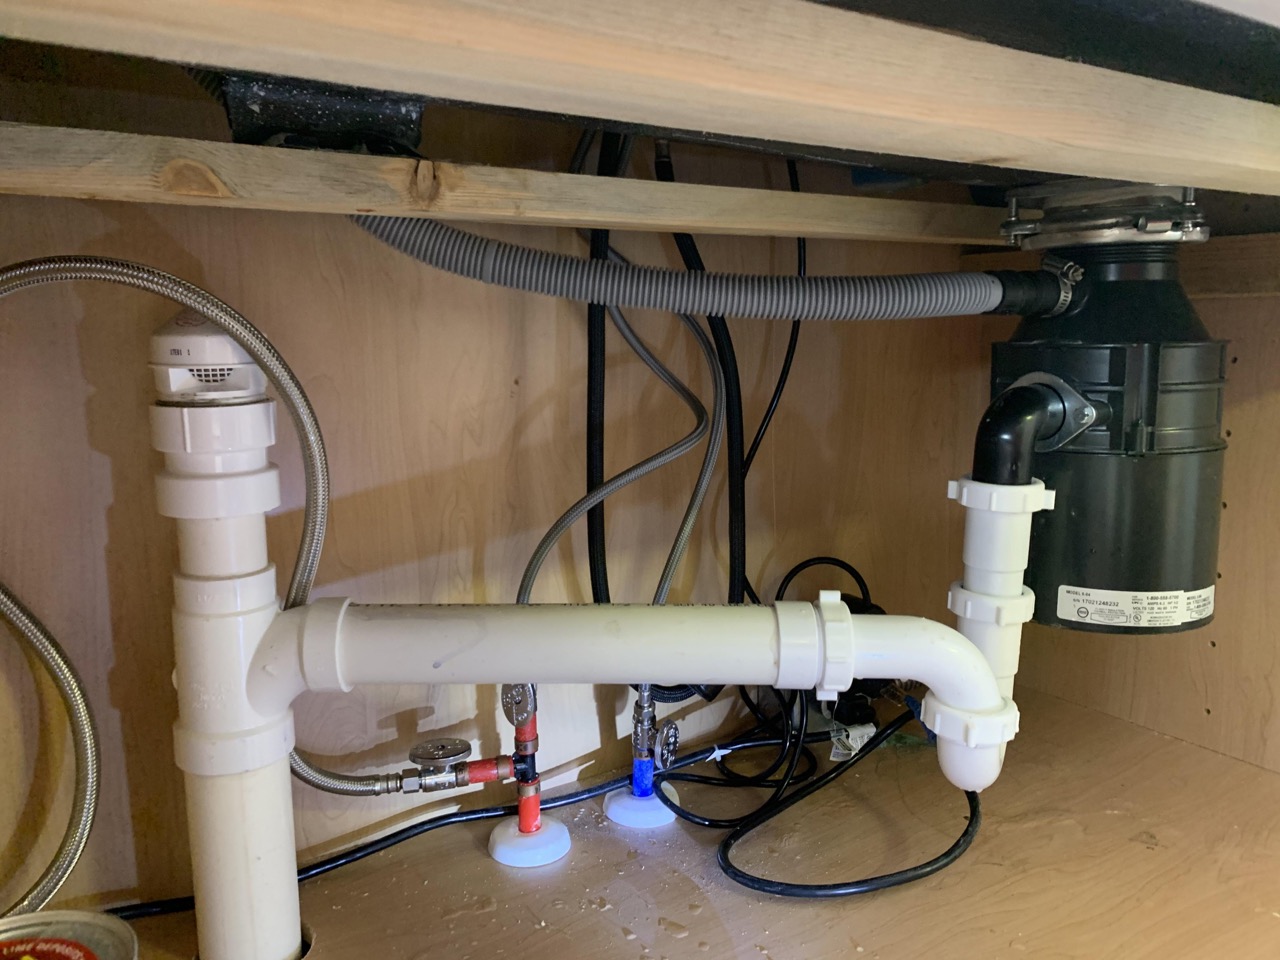
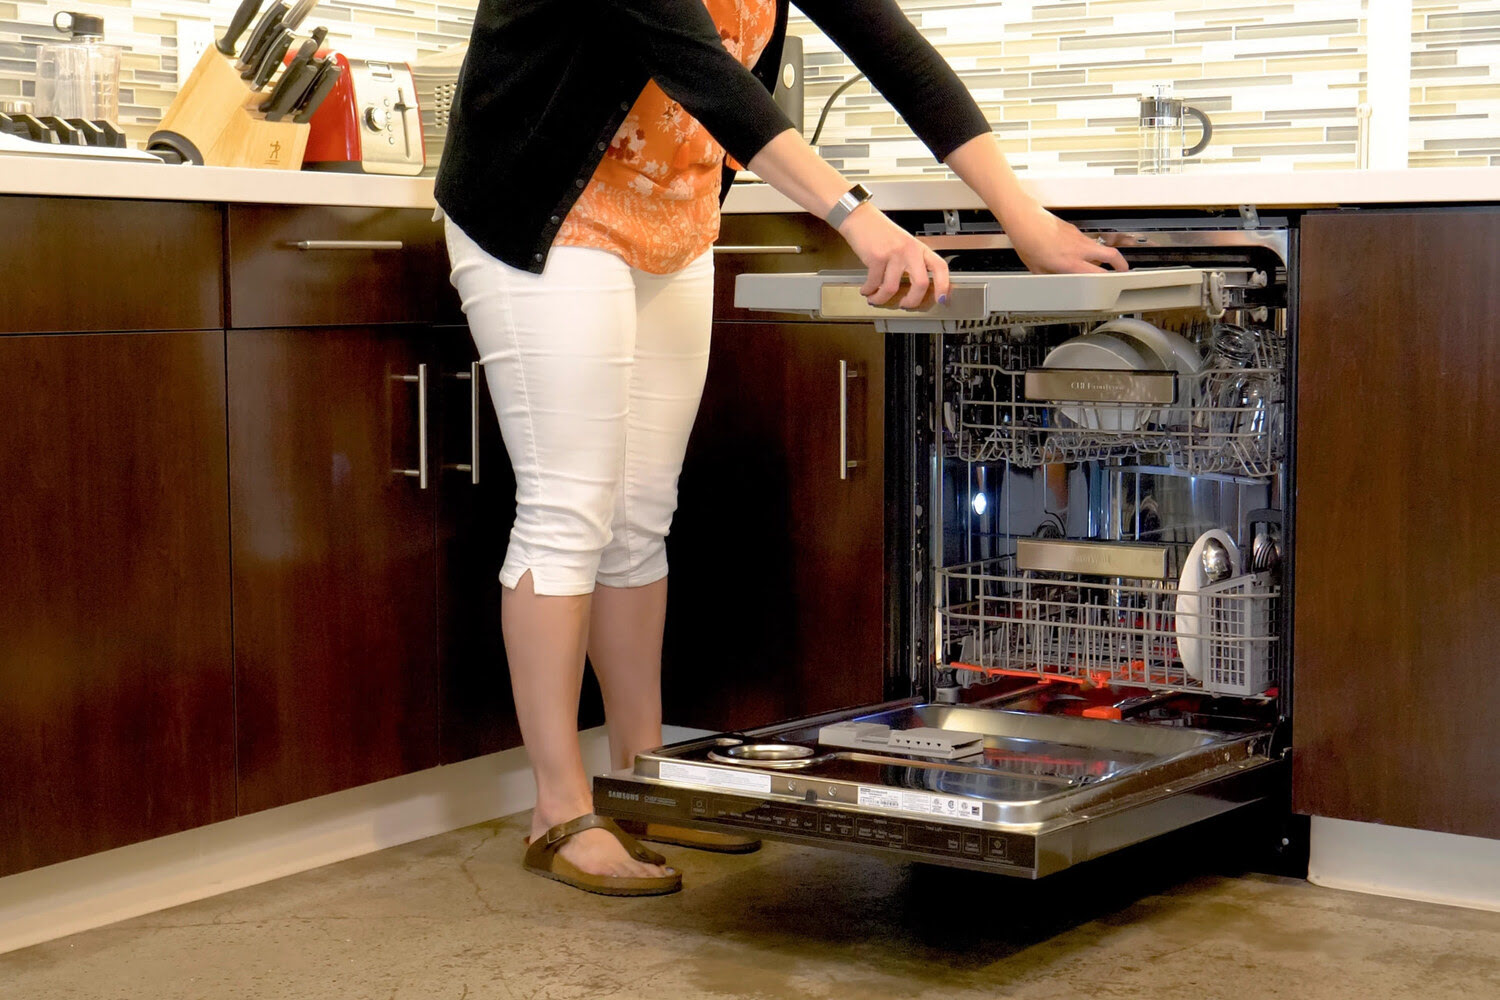
To disconnect the power, start by locating the dishwasher’s power cord. In most cases, the power cord is located under the sink or in the vicinity of the dishwasher. Carefully pull the dishwasher away from the wall to gain access to the power cord.
Once you have access to the power cord, make sure the dishwasher is turned off. You can do this by either pressing the power button on the dishwasher or switching off the dedicated circuit breaker in your electrical panel that supplies power to the dishwasher.
To ensure your safety and avoid any accidental power surges, it’s recommended to turn off the circuit breaker in your electrical panel. Locate the breaker that corresponds to the dishwasher and switch it to the “Off” position. This will completely cut off the power supply to the dishwasher, minimizing any risk of electrical shock.
After disconnecting the power, it’s a good practice to test the dishwasher to make sure it’s completely powerless. Attempt to turn on the dishwasher by pressing the power button. If the dishwasher does not turn on, you can proceed confidently with the next steps. However, if the dishwasher powers on, stop the process immediately and consult a professional technician to address the electrical issue.
Now that the power is safely disconnected from the dishwasher, you can continue with the draining process without worrying about any electrical hazards. In the next step, we’ll discuss how to remove the water from the dishwasher to address the drainage issue.
Please remember that safety should always be your top priority. If you’re unsure or uncomfortable with disconnecting the power or any other step in the process, it’s best to seek the assistance of a professional technician.
Step 3: Removing the water
After disconnecting the power supply, the next step in draining your Samsung dishwasher is to remove any remaining water from inside the appliance. Removing the water will not only help troubleshoot drainage issues but also prevent potential leaks or spills during the maintenance process.
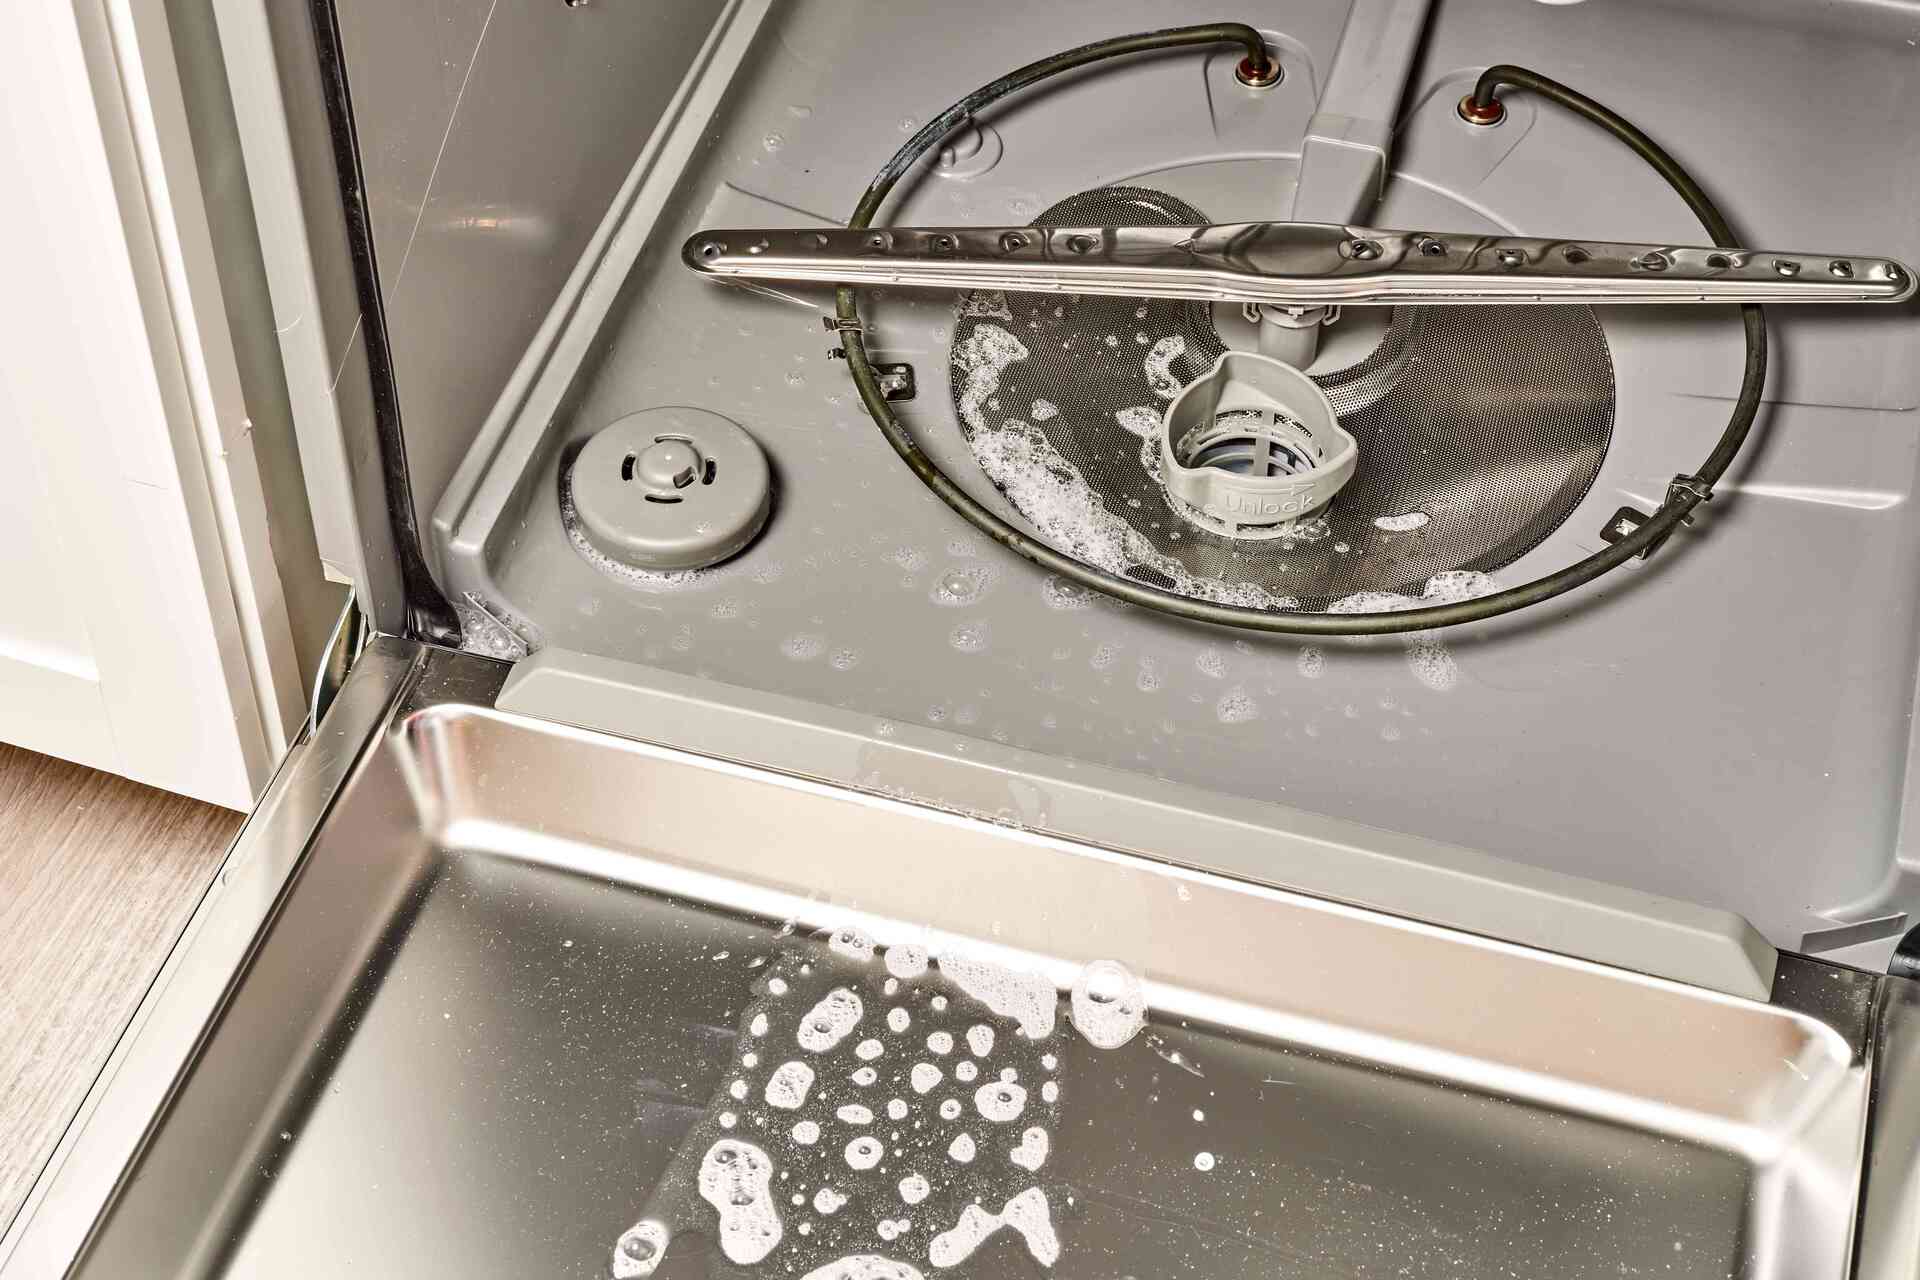
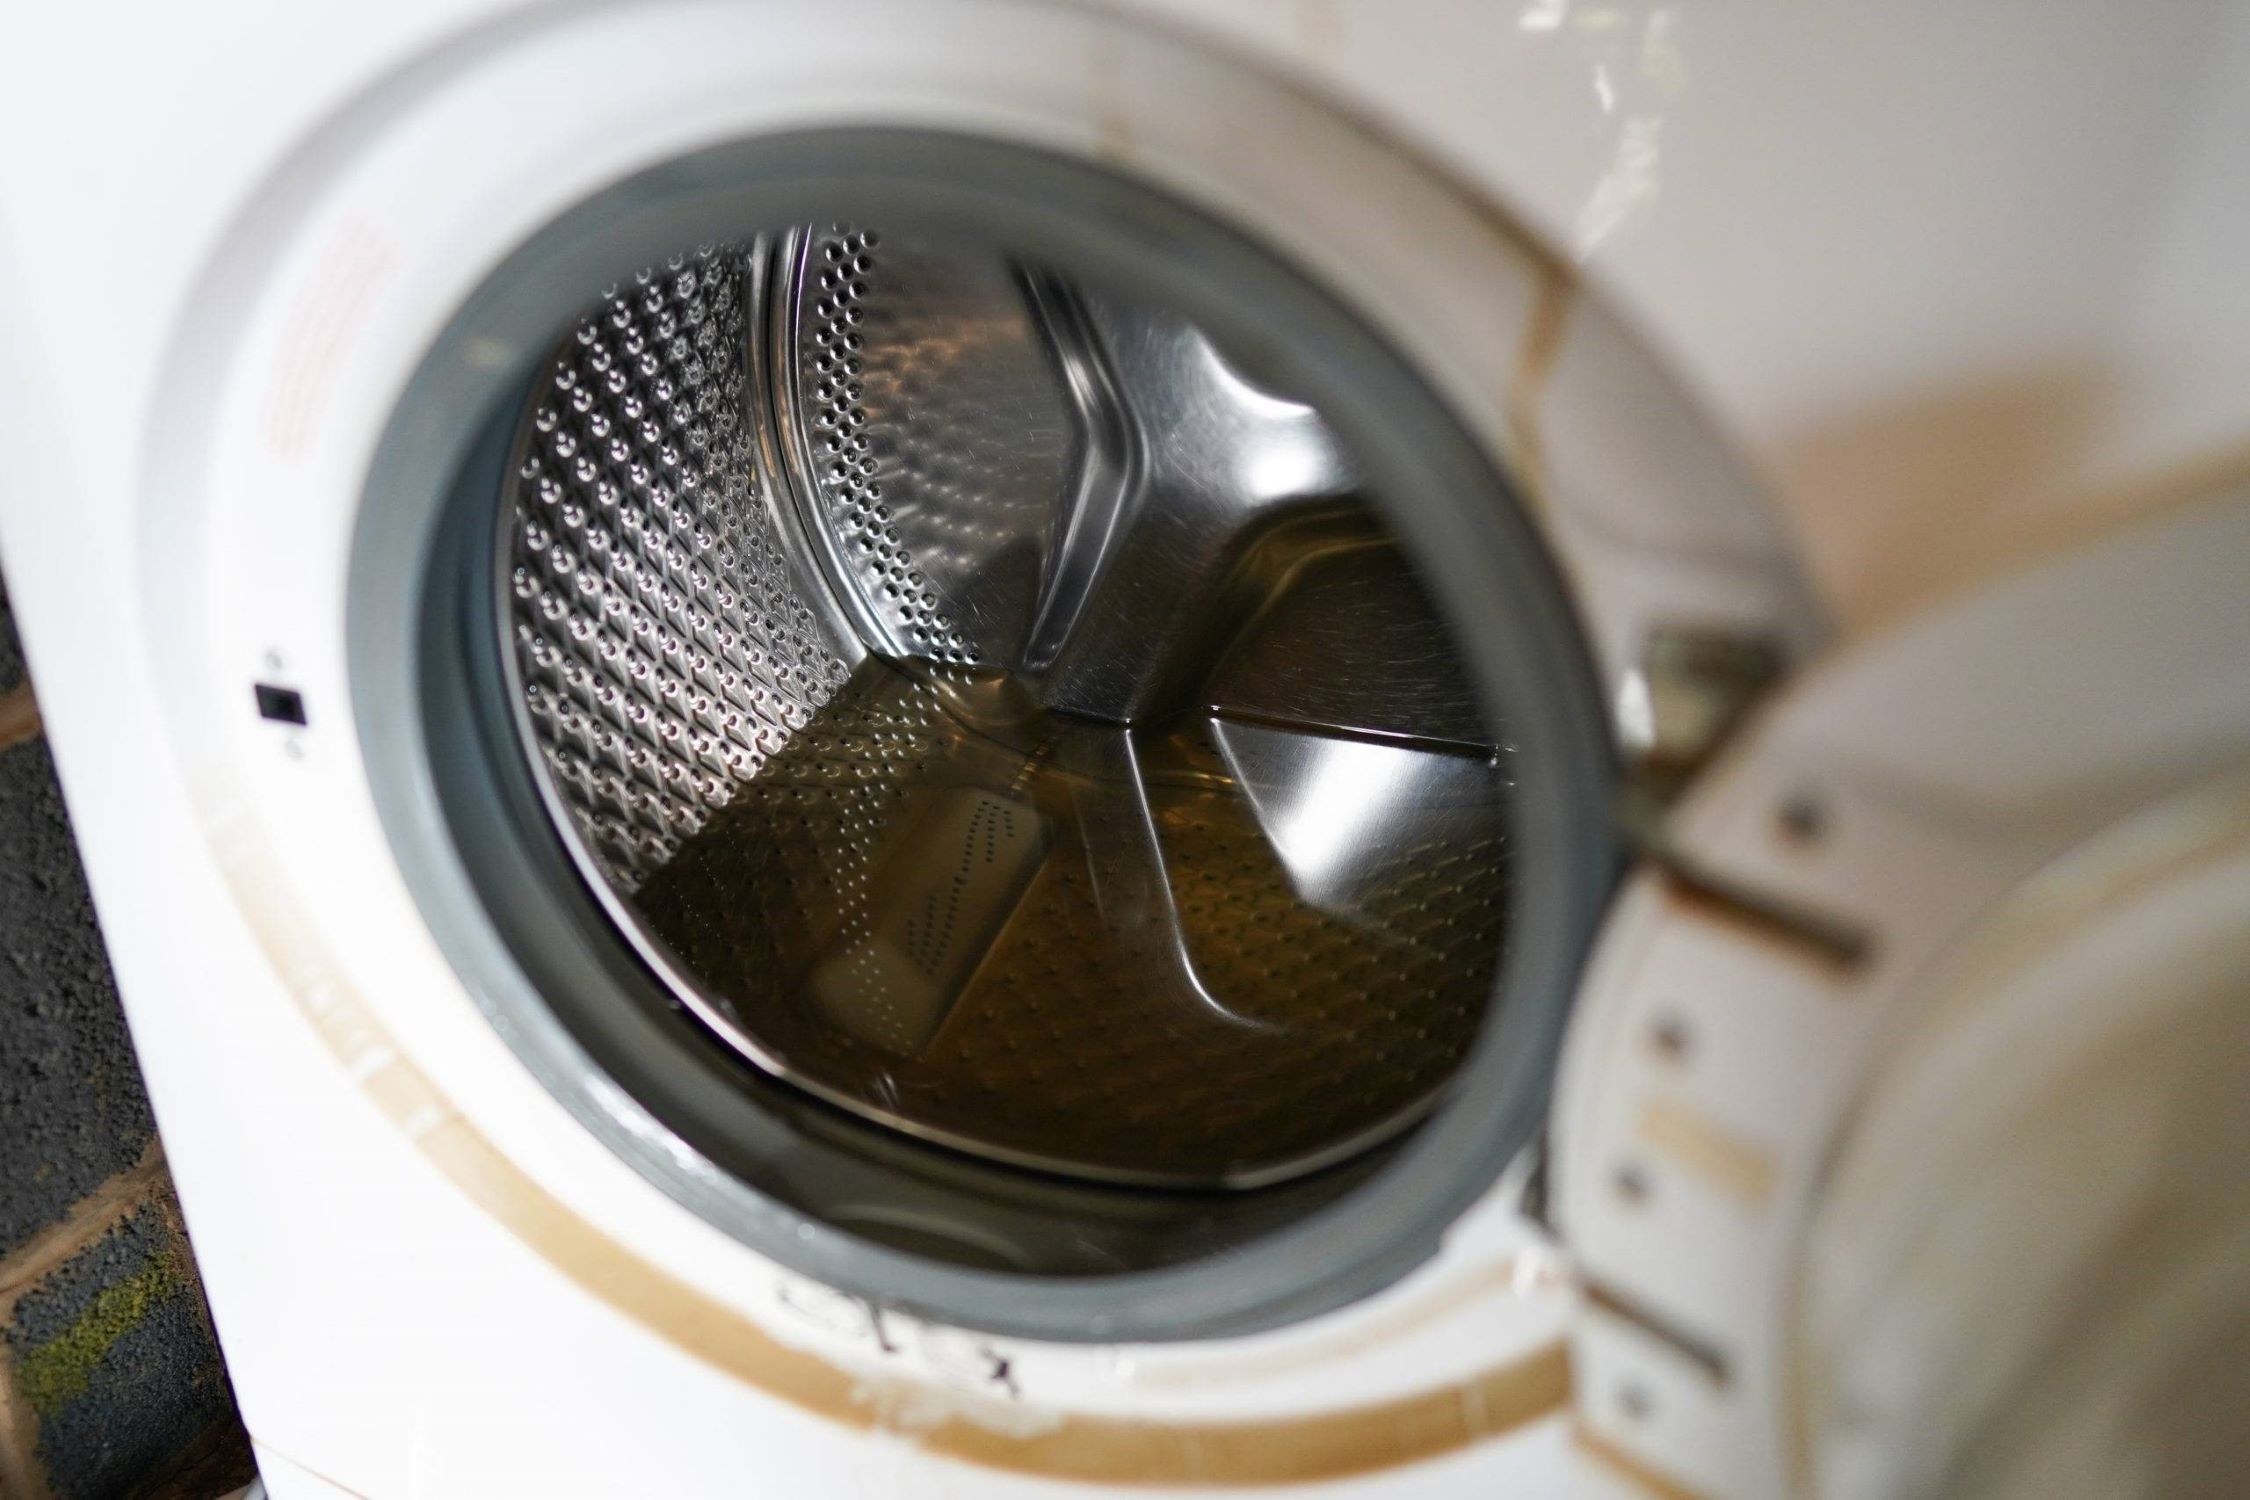
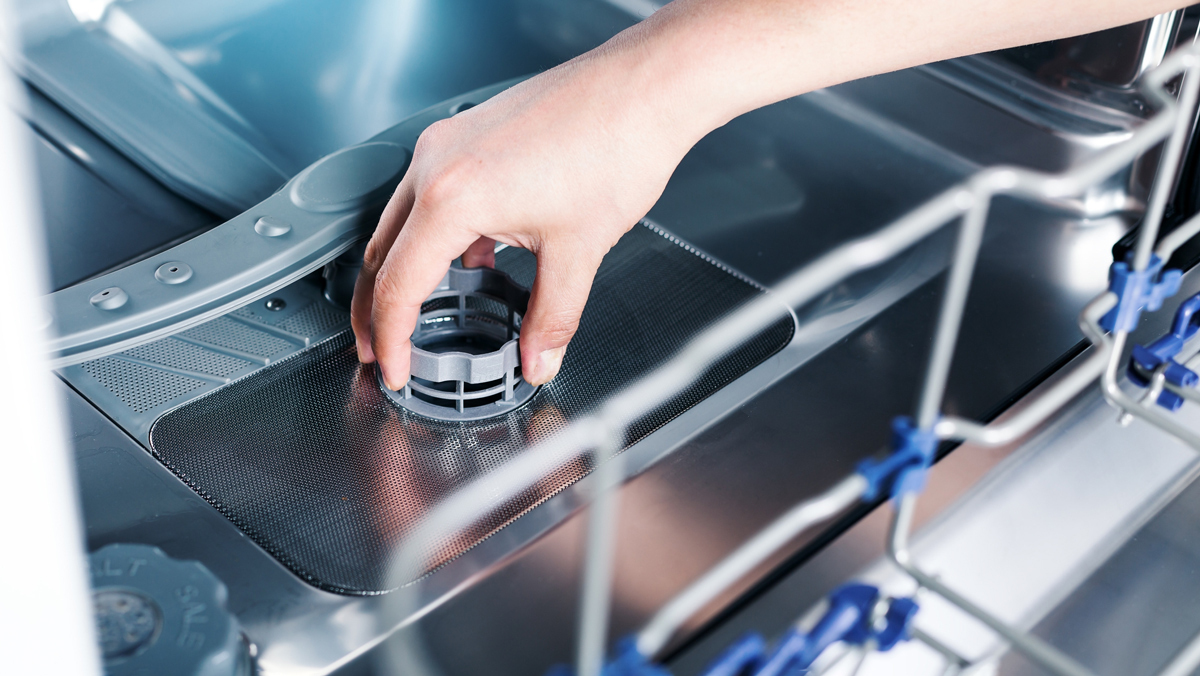
To start, open the dishwasher door and locate the drain catch or pump cover. This is typically located at the bottom of the dishwasher, near the back or center. The drain catch or pump cover serves as an access point for removing water and debris from the dishwasher.
Using a screwdriver or a coin, rotate the drain catch or pump cover counterclockwise to loosen it. Be cautious as there may be residual water inside, so prepare a towel or container to catch any water that may spill out once it’s removed.
Once you’ve loosened the drain catch or pump cover, carefully remove it and set it aside. You may notice that there is a significant amount of water inside the catch or pump area. Use a small cup, bowl, or sponge to scoop out as much water as possible into a bucket or container.
After removing the majority of the water, inspect the drain catch or pump area for any visible debris or obstructions. Clear away any blockages using a cloth, soft brush, or your gloved hand. It’s important to ensure that the area is free from any significant clogs that may be hindering proper drainage.
Once you’ve removed any visible debris and cleared the drain catch or pump area, it’s time to tackle the remaining water in the dishwasher. Depending on the model of your Samsung dishwasher, there may be a drain hose located under the sink or at the back of the appliance.
Place the end of the drain hose into a sink or bucket and ensure that it is secure to prevent any leaks or spills. If necessary, you can use tape or a clamp to secure the hose. With the hose in place, allow the remaining water to drain out completely. This process may take a few minutes, so be patient.
Once all the water has drained out, carefully remove the drain hose and check for any signs of blockage or damage. If you notice any obstructions, gently clear them using a pipe cleaner or a small brush. Ensure that the drain hose is free from kinks or bends that may impede proper drainage.
By following these steps to remove the water from your Samsung dishwasher, you’ve successfully addressed the immediate drainage issue. In the next step, we’ll explore how to check the drain hose for any potential blockages or damage that may be causing poor drainage.
Please note that if you encounter any difficulties or are uncertain about any step in the process, it’s always recommended to consult a professional technician for assistance.
To drain a Samsung dishwasher, locate the drain hose at the back of the machine and carefully remove any clogs or blockages. You can also use a wet-dry vacuum to suction out any standing water.
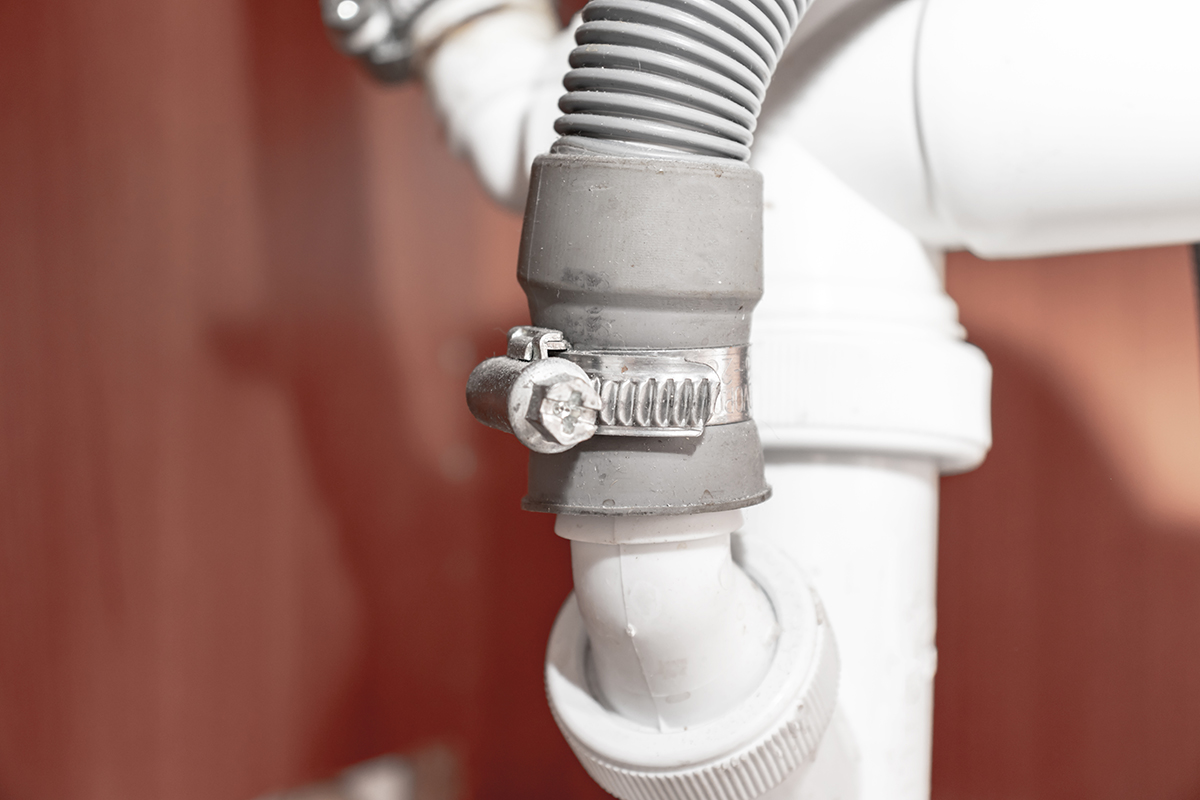
Step 4: Checking the drain hose
After removing the water from your Samsung dishwasher, it’s essential to check the drain hose for any potential blockages or damage. A clogged or damaged drain hose can prevent proper water drainage, causing issues with your dishwasher’s performance.
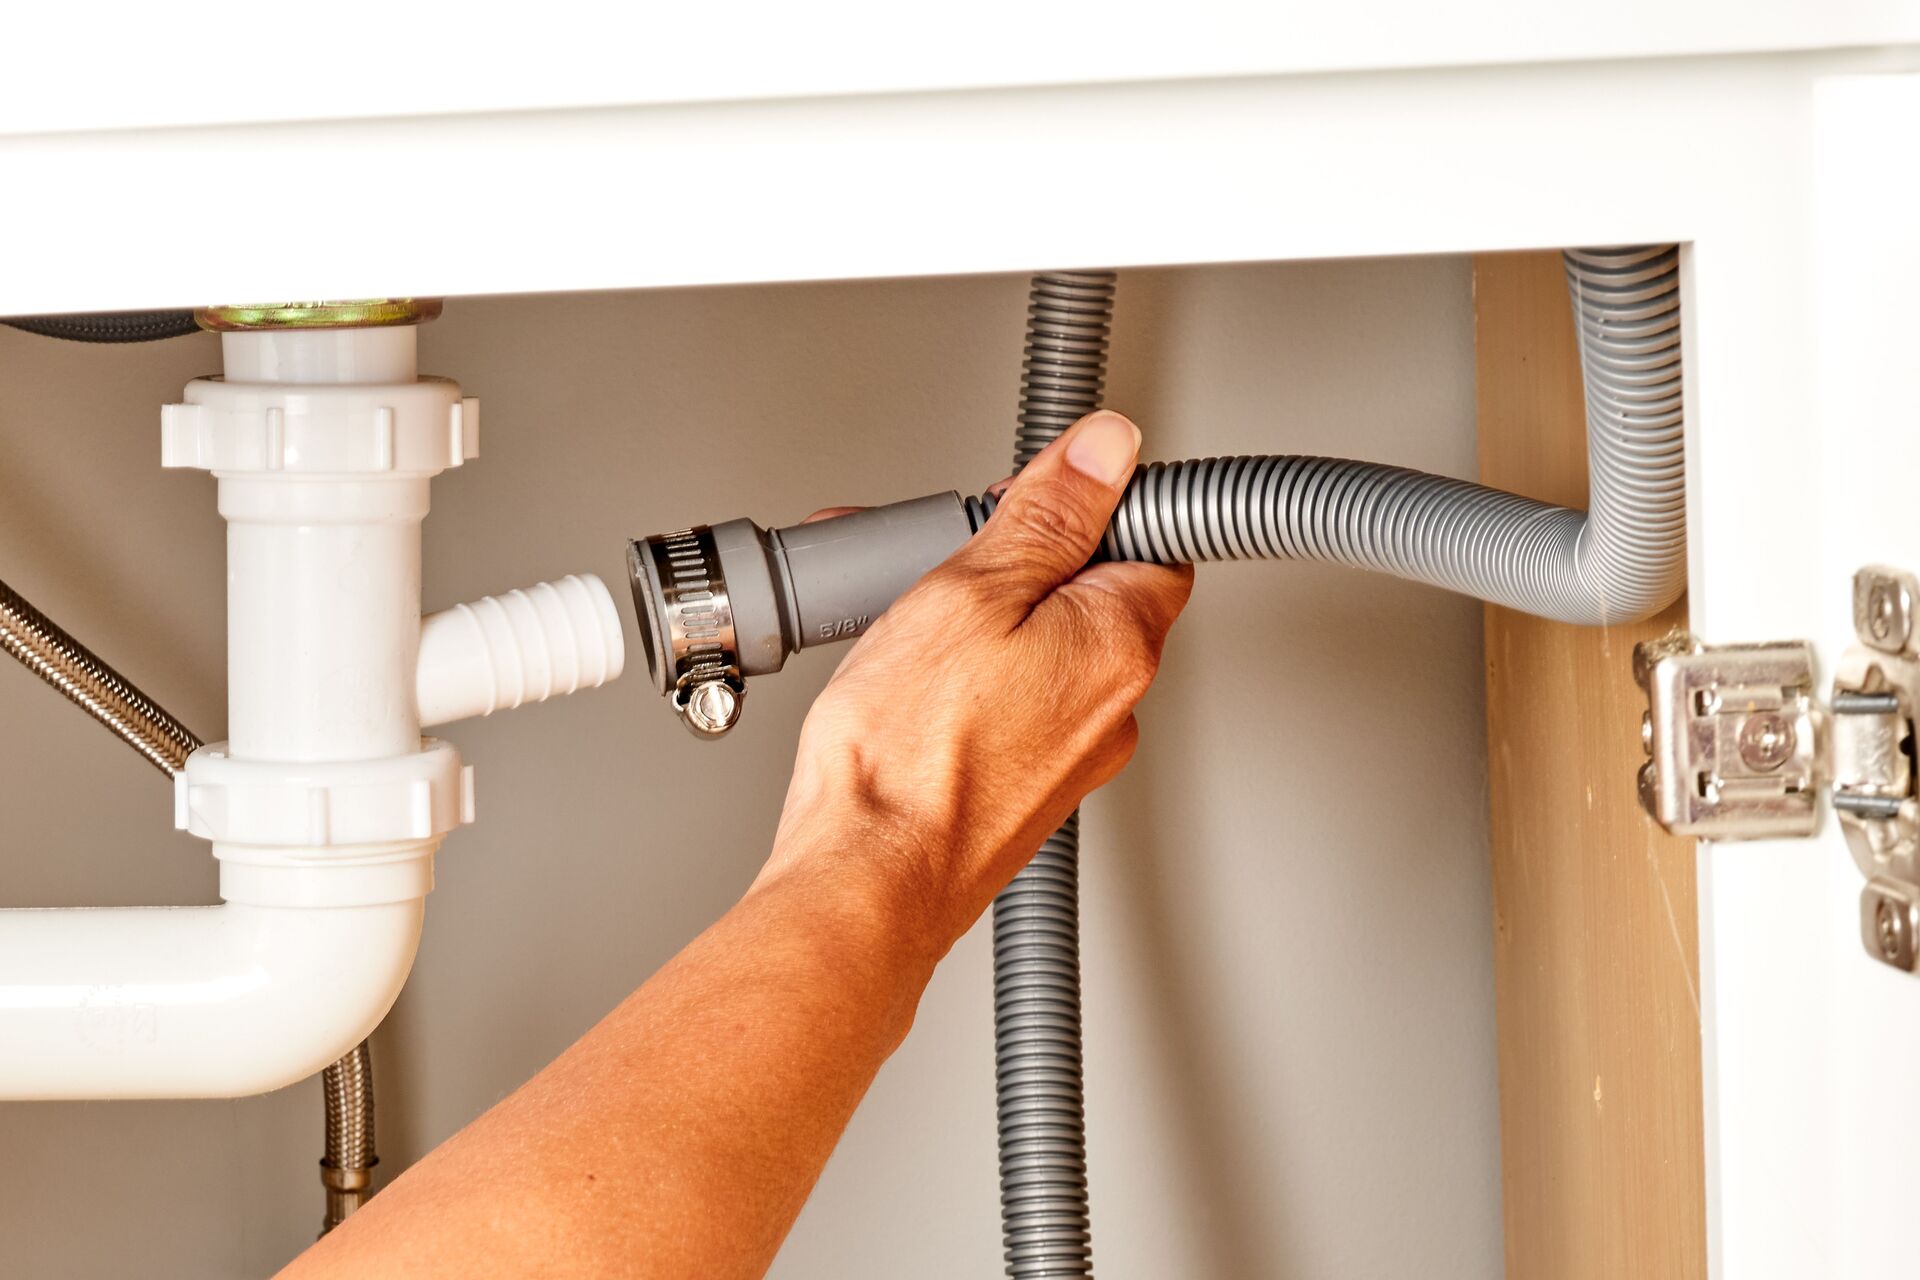
To begin, locate the drain hose. In most cases, the drain hose is connected to the dishwasher and extends either under the sink or to a nearby drain. It’s important to ensure that the hose is properly connected and free from any twists, kinks, or bends that may impede water flow.
Inspect the drain hose for any signs of blockage or debris. Look for food particles, grease, or soap scum that may be causing the clog. If you notice any obstructions, use a pipe cleaner or a soft brush to clear them away, ensuring that the hose is fully clear and free from debris.
Next, check the integrity of the drain hose. Look for any visible cracks, splits, or leaks along its length. Even a small damage can cause water leakage and affect the drainage process. If you notice any damage, it’s important to replace the drain hose with a new one to ensure proper functioning of your dishwasher.
If the drain hose appears to be intact and clear of blockages, it’s still a good idea to flush it with warm soapy water. This will help remove any residual debris or buildup that may not be visible. Fill a bucket or sink with warm water and a small amount of dish soap. Disconnect the drain hose from the dishwasher and place one end in the water mixture. Use a gentle stream of water to flush out any remaining debris or soap scum from the hose.
After flushing the drain hose, reconnect it securely to the dishwasher and ensure that it is properly attached. Make sure there are no loose connections or gaps that may result in water leakage during the dishwasher’s operation.
By checking and addressing any potential issues with the drain hose, you’ve taken an important step in resolving drainage problems with your Samsung dishwasher. In the next step, we’ll focus on cleaning the filter, another crucial component that can affect the dishwasher’s drainage performance.
Remember, if you encounter any difficulties or have concerns about checking the drain hose, it’s best to seek the assistance of a professional technician.
Read more: How To Drain Dishwasher Manually
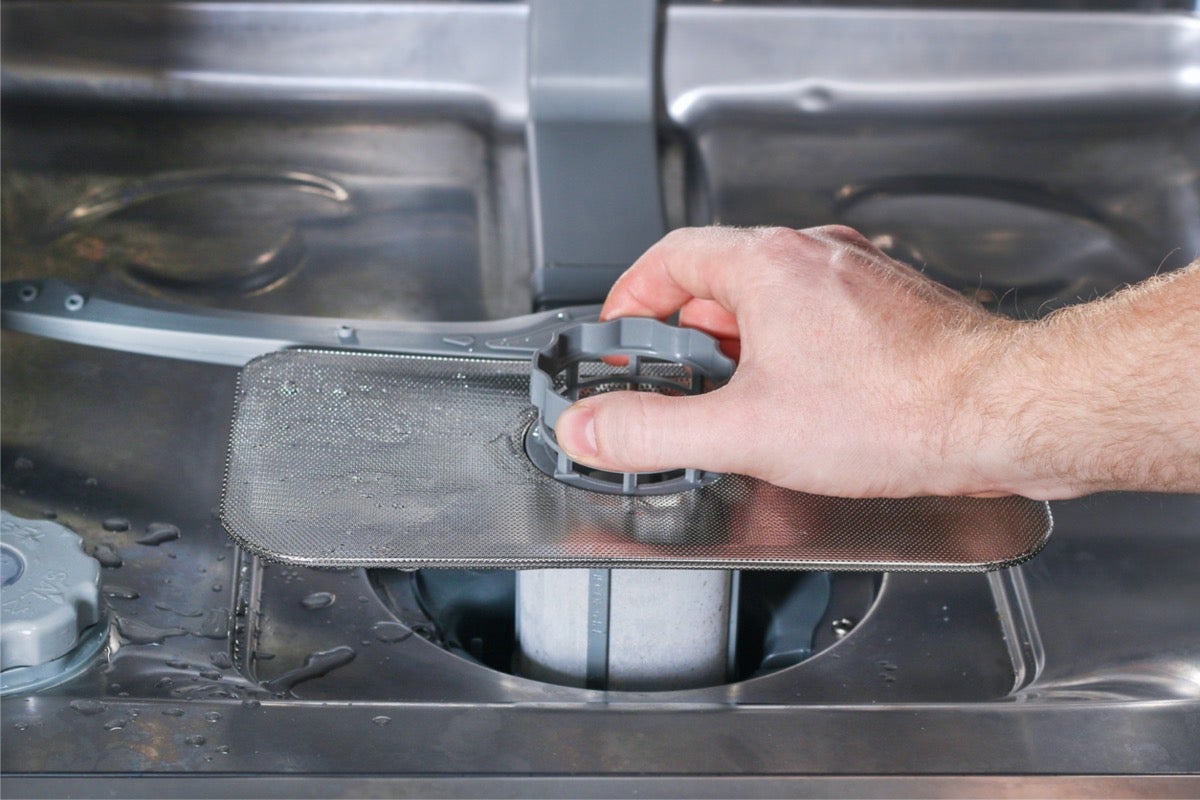
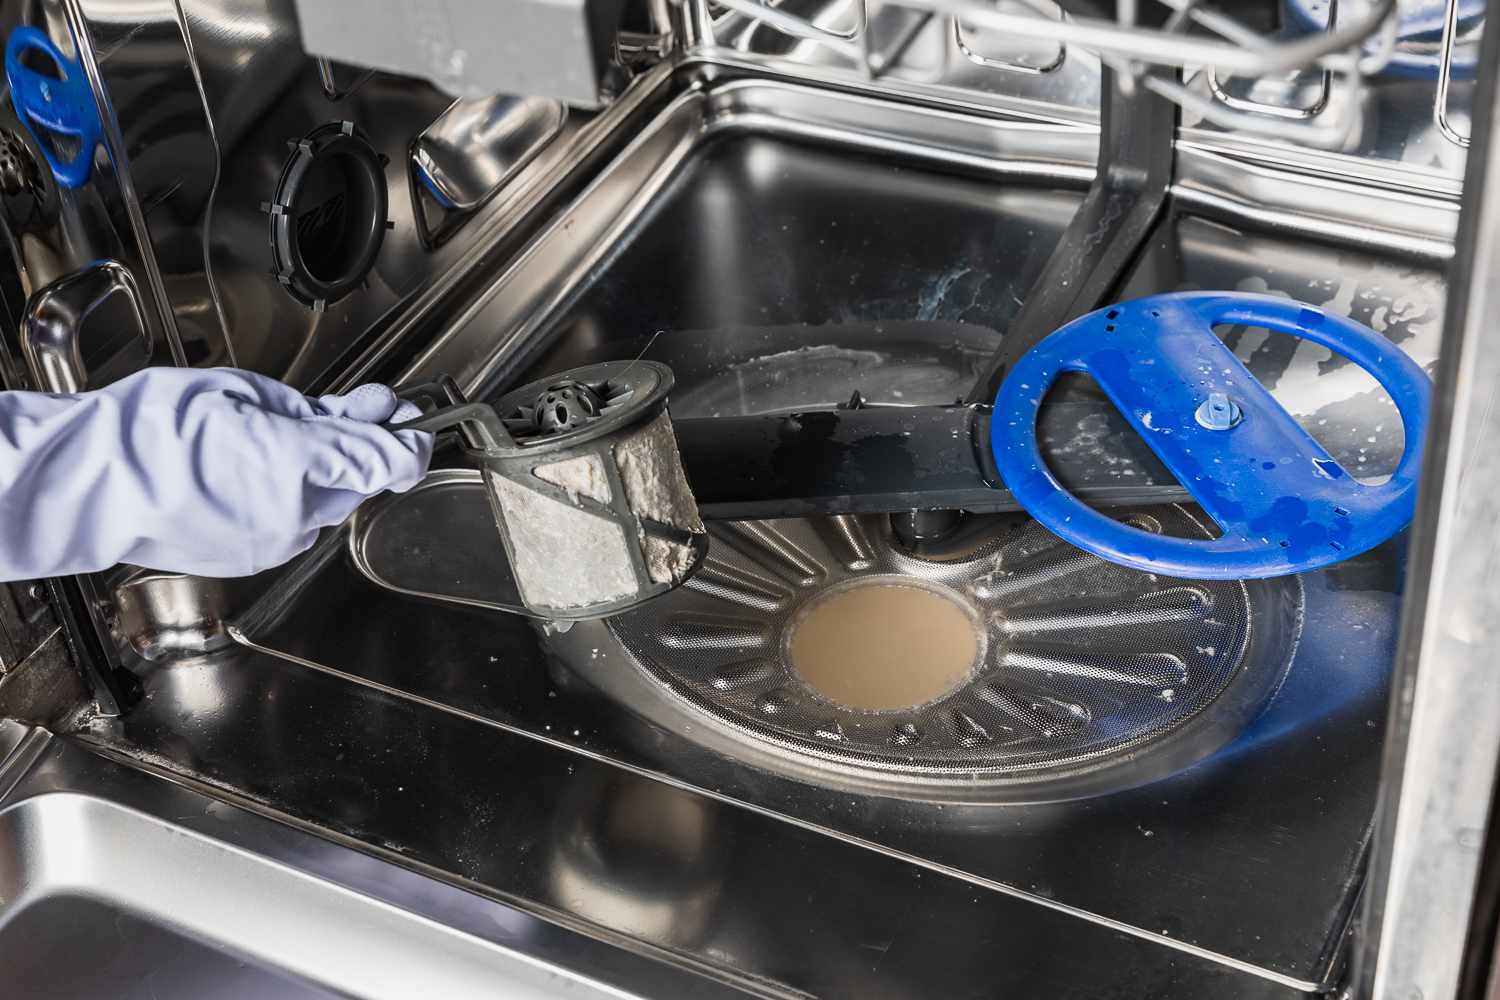
Step 5: Cleaning the filter
One of the common causes of poor drainage in a Samsung dishwasher is a clogged or dirty filter. The filter is designed to trap debris and prevent it from clogging the drain pump and hoses. Over time, food particles, grease, and other residue can accumulate, inhibiting proper water flow and causing drainage issues.
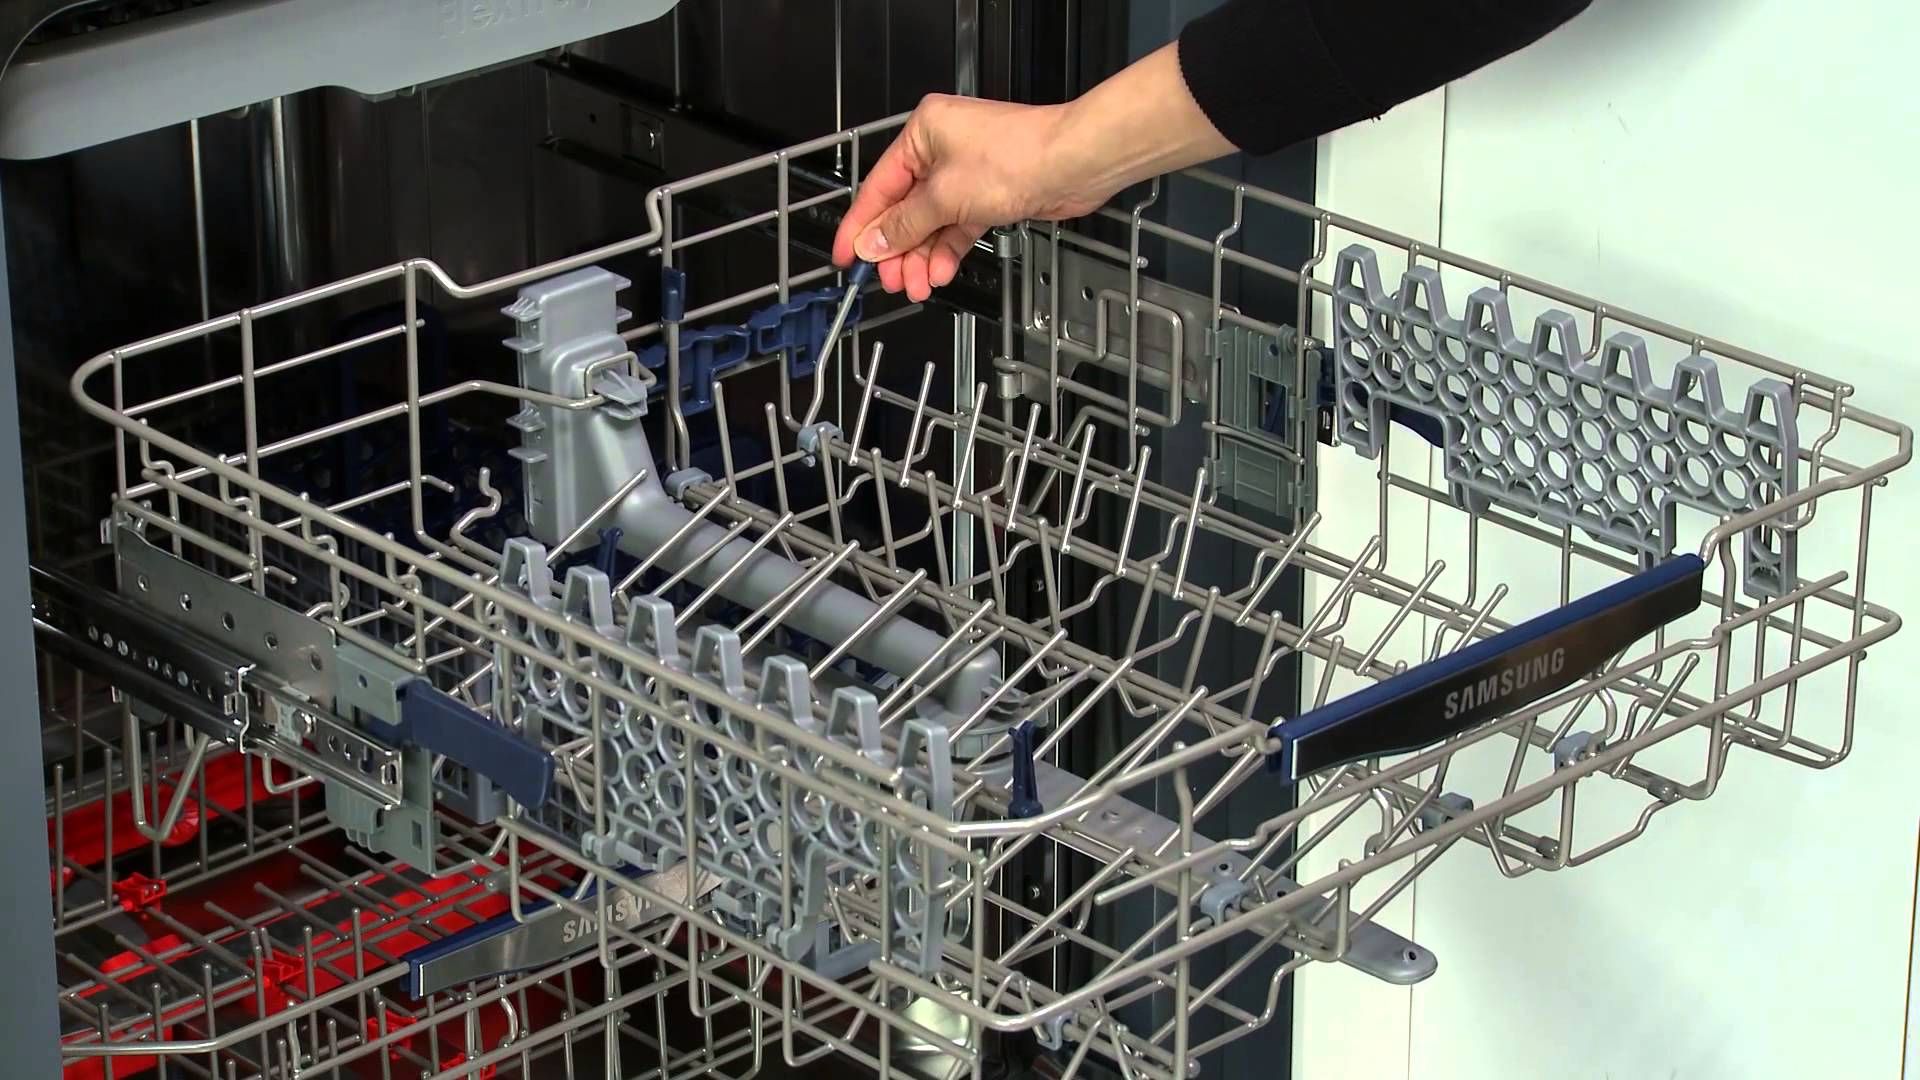
To clean the filter, start by locating it in your Samsung dishwasher. The filter is typically located at the bottom of the dishwasher, near the drain. It can be accessed by removing the lower rack.
Once you have removed the lower rack, you’ll see the filter assembly. There may be multiple components, including a coarse filter and a fine filter. Gently remove each filter and inspect them for any visible debris or clogs.
Begin by rinsing off the filters under warm running water to remove loose debris. Use a soft brush, such as an old toothbrush, to gently scrub away any stubborn residue. Pay close attention to the finer mesh of the fine filter, as this is where smaller particles tend to accumulate.
If the filters are heavily clogged or have stubborn residue, you can soak them in warm soapy water for about 10-15 minutes. This will help loosen the debris before brushing or rinsing them again. After soaking, give them a final rinse under running water to remove any remaining dirt or soap.
While cleaning the filters, also take the opportunity to inspect the filter housing for any debris or buildup. Use a damp cloth or sponge to wipe away any residue from the filter housing to ensure optimal performance.
Once the filters and filter housing are clean, carefully reassemble them in their original positions. Make sure they are securely in place to prevent any leaks or improper functioning of the dishwasher.
Regularly cleaning the filters is essential to maintain optimal performance and prevent drainage issues in your Samsung dishwasher. It is recommended to clean the filters at least once a month or more frequently if you notice significant debris or clogs.
Now that you’ve cleaned the filter, you’re ready to proceed to the final step of reconnecting the power and completing the drainage process in your Samsung dishwasher.
If you have any concerns or difficulties with cleaning the filter, it’s always best to consult a professional technician for assistance.
Step 6: Reconnecting the power
After completing the necessary steps to drain your Samsung dishwasher and address any drainage issues, it’s time to reconnect the power. Reconnecting the power will allow your dishwasher to resume its normal operation and ensure that it functions properly.
To begin, make sure that the drain hose and filter are securely in place. Double-check all connections to ensure that there are no loose or disconnected parts that may cause leaks or malfunctions.
Once you’ve confirmed that everything is in order, locate the dishwasher’s power cord. If you had previously disconnected the power directly from the dishwasher, simply plug the power cord back into the electrical outlet. Ensure that the power cord is securely inserted into the outlet.
If you had turned off the power at the electrical panel, locate the circuit breaker that corresponds to your dishwasher. Flip the breaker to the “On” position to restore power to the appliance.
With the power reconnected, turn on the dishwasher and run a test cycle. Check for any leaks, unusual noises, or error codes that may indicate a problem. If everything appears to be normal, proceed with running a regular wash cycle to confirm that the drainage issue has been resolved.
If you notice any ongoing drainage issues or if the problem persists, it may be necessary to seek the assistance of a professional technician. They will be able to diagnose and address any underlying problems that may be affecting the performance of your Samsung dishwasher.
It’s important to note that regular maintenance, such as cleaning the filter and checking for potential blockages, can help prevent future drainage issues. It’s a good practice to incorporate these maintenance tasks into your routine to ensure optimal performance and longevity of your dishwasher.
Congratulations! You have successfully drained your Samsung dishwasher and reconnected the power. By following these steps, you have taken important measures to troubleshoot and resolve common drainage issues. Enjoy your clean and properly functioning dishwasher!
Conclusion
Congratulations! You’ve successfully learned how to drain a Samsung dishwasher by following our comprehensive guide. By following the step-by-step instructions, you’ve addressed common drainage issues and taken important measures to ensure the optimal performance of your dishwasher.
We started by preparing the dishwasher, ensuring a safe and clean environment for the draining process. Then, we disconnected the power to minimize any risk of electrical mishaps. Next, we removed the water from inside the dishwasher and checked the drain hose for any obstructions or damage. We also cleaned the filter, an essential component in maintaining proper drainage.
After completing these steps, we reconnected the power and tested the dishwasher to ensure that the drainage issue was successfully resolved. Remember, regular maintenance and cleaning of the filter will help prevent future drainage problems and maintain the efficiency of your Samsung dishwasher.
If you encounter any difficulties or concerns at any point during the process, it’s always best to consult a professional technician. They have the expertise and knowledge to assist you in resolving any complex issues or providing further guidance.
We hope this guide has been helpful in guiding you through the process of draining a Samsung dishwasher. By taking a proactive approach to troubleshooting and maintenance, you can extend the lifespan of your appliance and enjoy the convenience of a properly functioning dishwasher for years to come.
Thank you for choosing our guide, and happy dishwashing!
Frequently Asked Questions about How To Drain A Samsung Dishwasher
Was this page helpful?
At Storables.com, we guarantee accurate and reliable information. Our content, validated by Expert Board Contributors, is crafted following stringent Editorial Policies. We're committed to providing you with well-researched, expert-backed insights for all your informational needs.

0 thoughts on “How To Drain A Samsung Dishwasher”