Articles
How To Fill A 5 Lb C02 Tank For Kegerator
Modified: August 23, 2024
Learn how to fill a 5 lb CO2 tank for your kegerator with our informative articles. Get expert tips and step-by-step guides to ensure a smooth and efficient process.
(Many of the links in this article redirect to a specific reviewed product. Your purchase of these products through affiliate links helps to generate commission for Storables.com, at no extra cost. Learn more)
Introduction
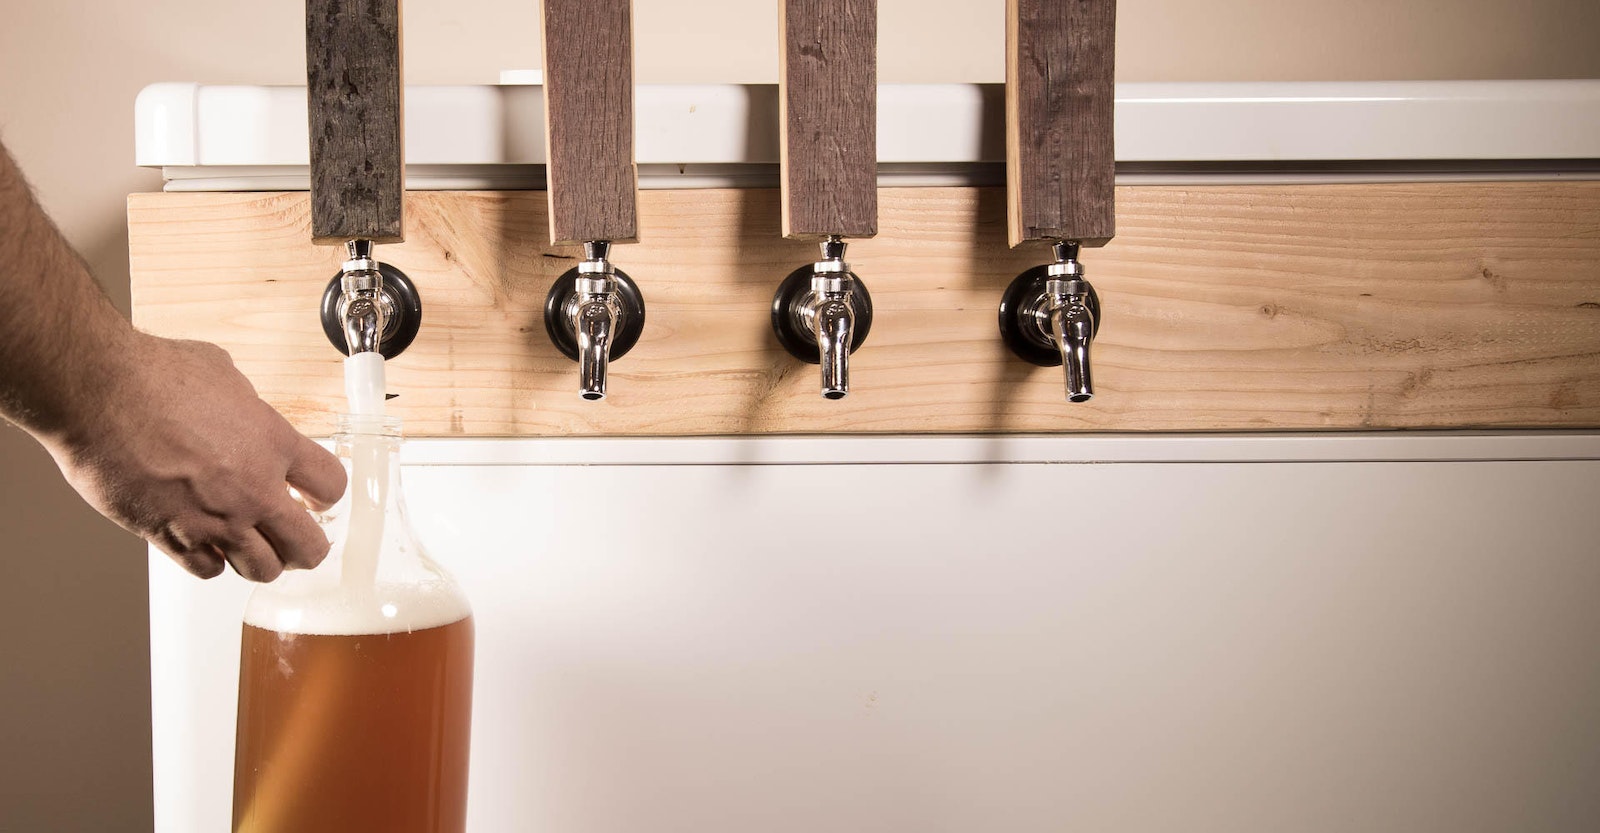
Welcome to the world of home brewing and kegerators! If you’re a beer enthusiast, chances are you’ve invested in a kegerator to enjoy draft beer from the comfort of your own home. One essential component of a kegerator is a CO2 tank, which is responsible for carbonating and dispensing the beer. However, like any other tank, the CO2 tank will eventually need to be refilled. In this article, we will guide you through the process of filling a 5 lb CO2 tank for your kegerator. So, let’s dive in!
Before we get started, it’s important to note that handling compressed gas cylinders can be hazardous if not done properly. Always prioritize safety and follow the manufacturer’s instructions and safety guidelines when dealing with CO2 tanks. If you are unsure or uncomfortable with the process, it’s best to consult a professional or contact your local homebrew supply store for assistance.
Now, let’s begin by gathering the necessary equipment.
Key Takeaways:
- Safely and efficiently fill your 5 lb CO2 tank for your kegerator by following step-by-step instructions, ensuring optimal carbonation and a continuous supply of refreshing draft beer at home.
- Prioritize safety, proper storage, and regular maintenance to extend the lifespan of your filled CO2 tank, allowing you to enjoy consistently great-tasting draft beer from your kegerator.
Step 1: Gather the necessary equipment
Before you start the process of filling your 5 lb CO2 tank, you’ll need to ensure that you have all the necessary equipment. Here’s what you’ll need:
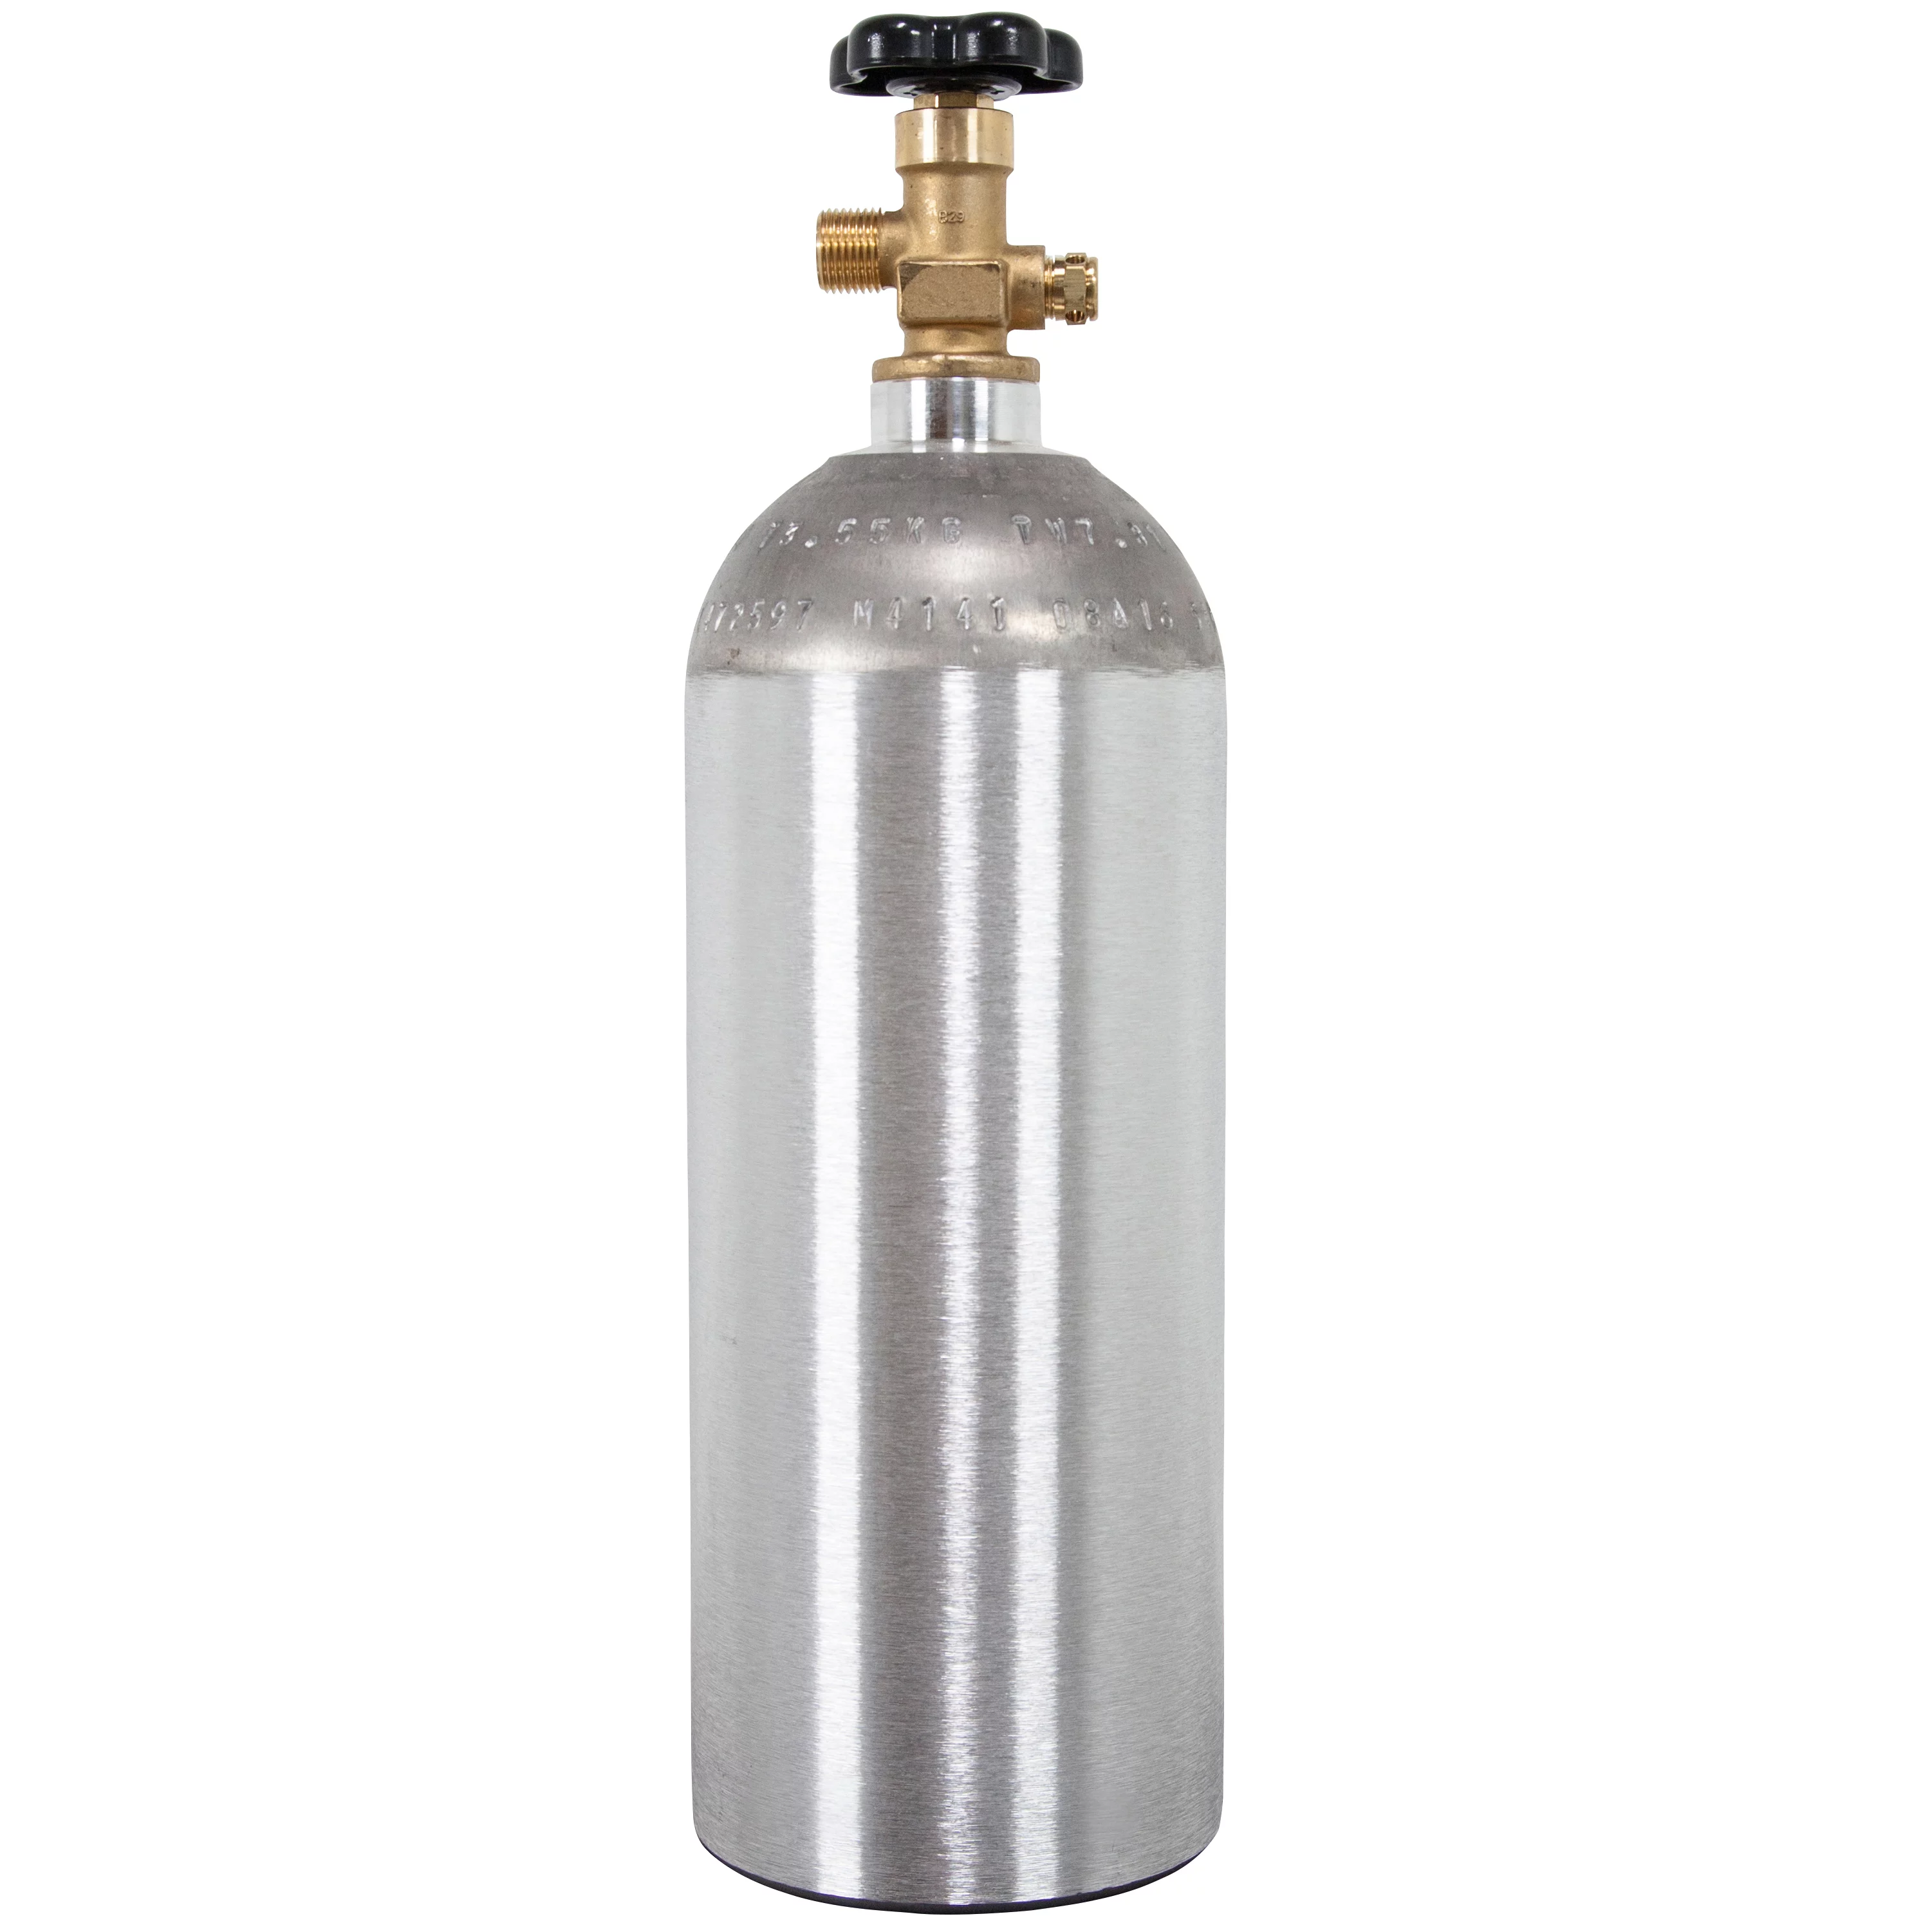
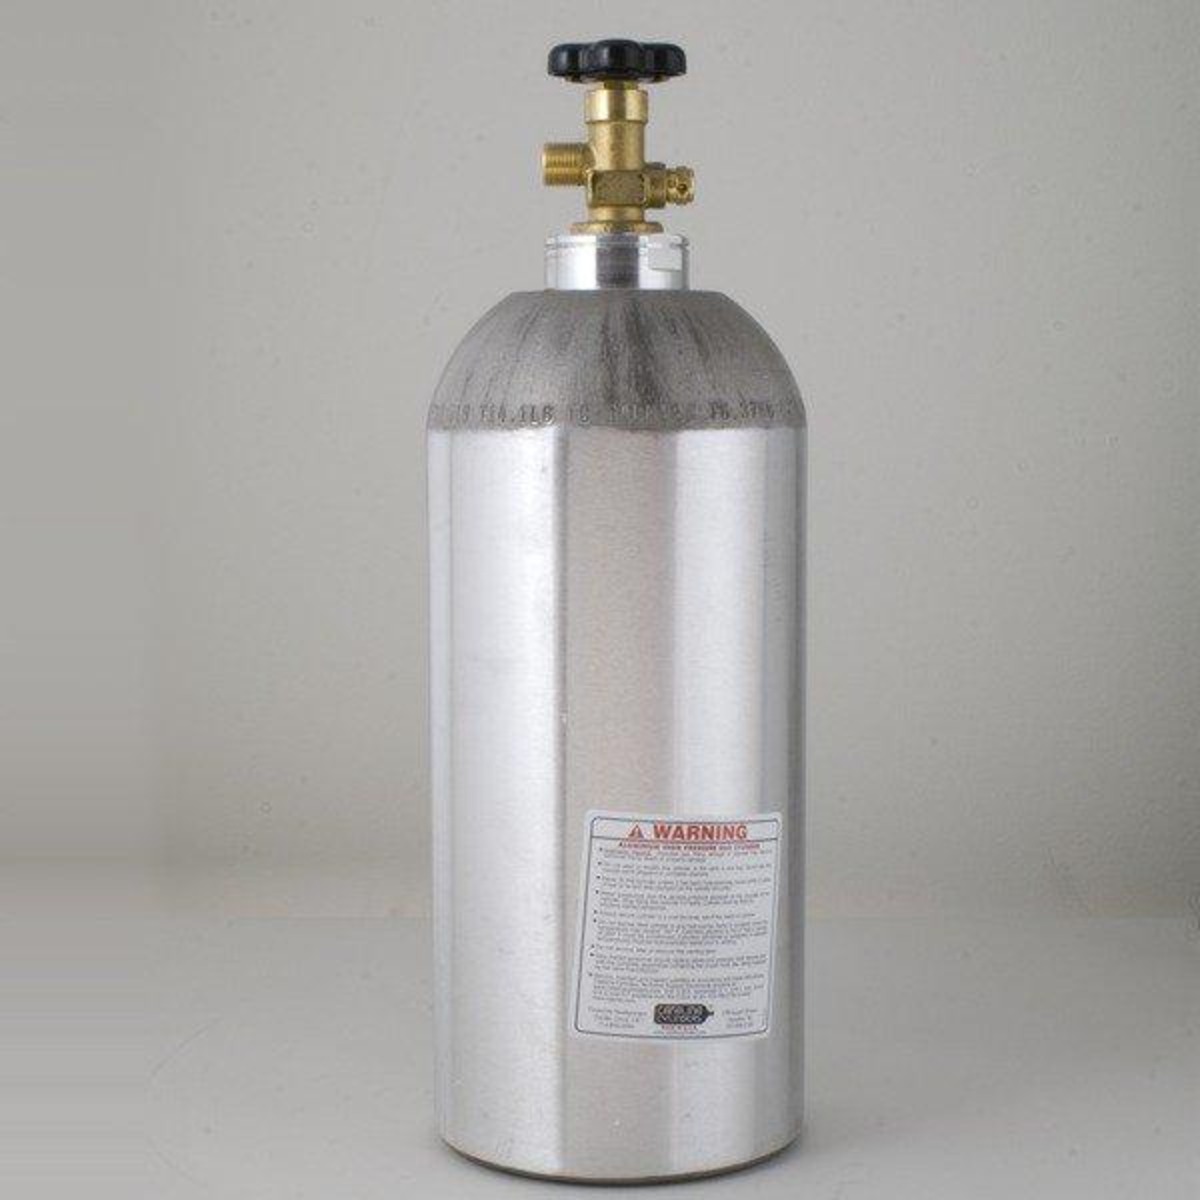
- A 5 lb CO2 tank
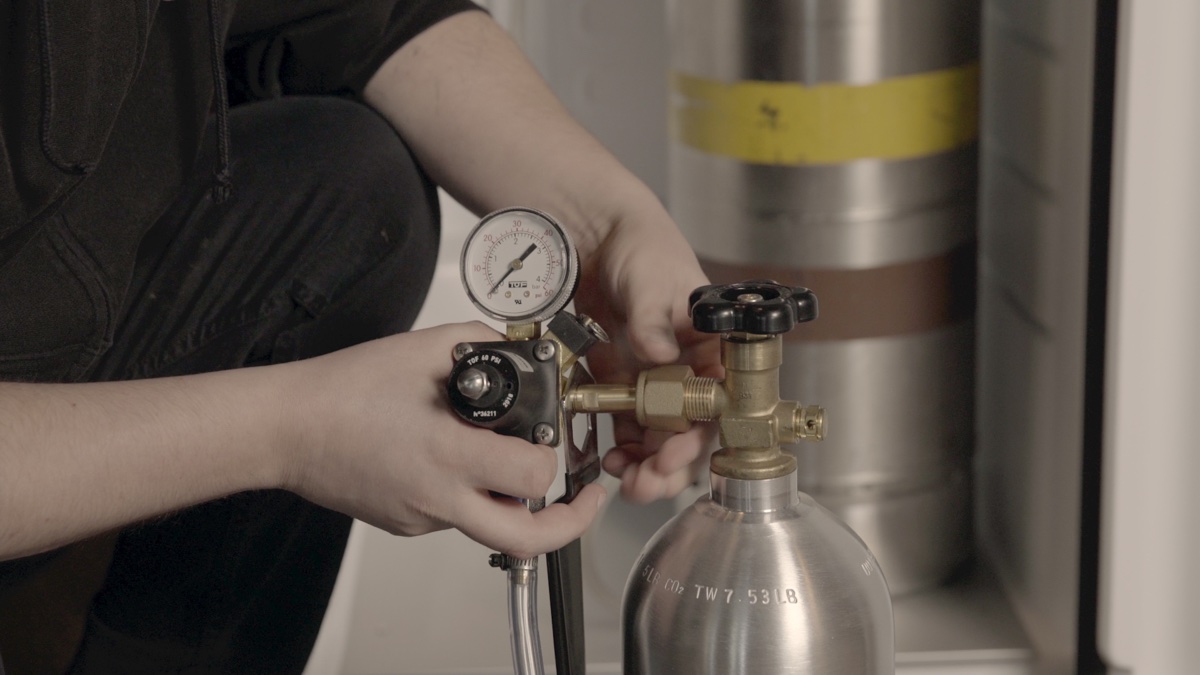
- A CO2 regulator
- A CO2 fill station or charger
- A wrench or adjustable wrench
- Thread tape or sealant
- Protective gloves and safety goggles
- A scale (optional)
Make sure that the CO2 tank you’re using is specifically designed for kegerators and can accommodate a 5 lb capacity. It’s crucial to use a tank that is in good condition and has been properly maintained. Inspect the tank for any signs of damage or leaks before proceeding.
The CO2 regulator is used to control the pressure flowing into the kegerator. Ensure that the regulator is compatible with your CO2 tank and has a pressure gauge to monitor the levels.
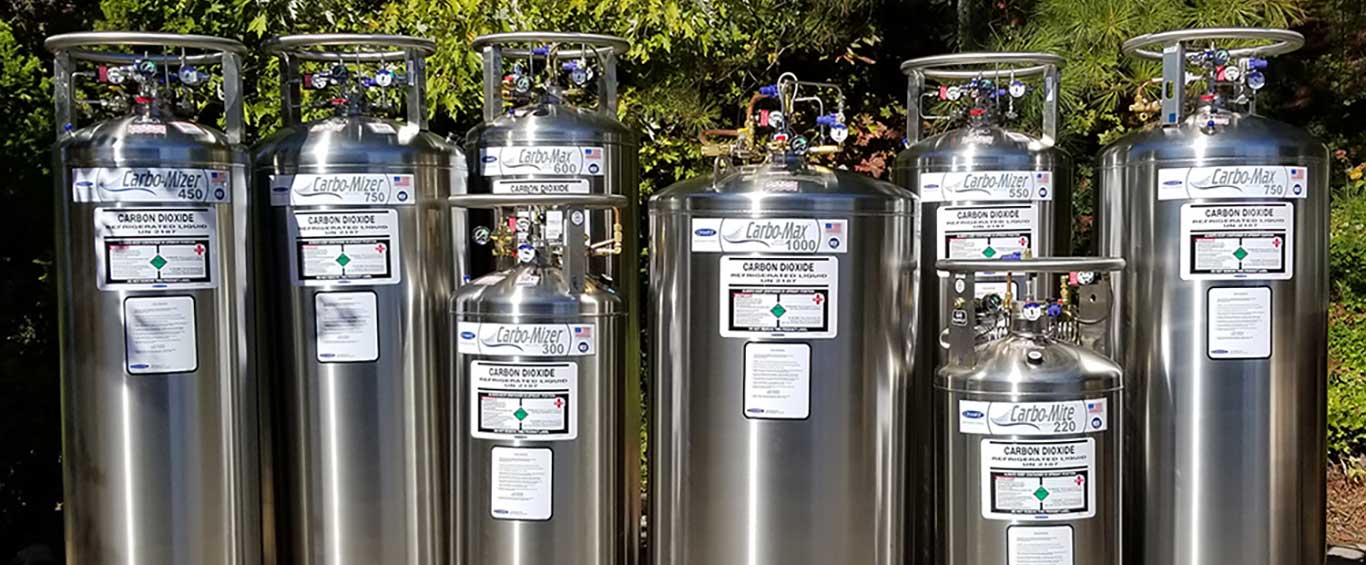
The CO2 fill station or charger is used to transfer CO2 from a larger tank to your smaller 5 lb tank. This equipment is essential for refilling your tank efficiently and safely.
A wrench or adjustable wrench will be needed to securely attach and detach the CO2 tank from the kegerator. Choose the appropriate size wrench to ensure a tight connection.
To prevent any potential leaks, it’s important to use thread tape or sealant on the fittings. This will create a tight seal and prevent gas from escaping.
Lastly, don’t forget to wear protective gloves and safety goggles throughout the process. Safety should always be a top priority when handling CO2 tanks.
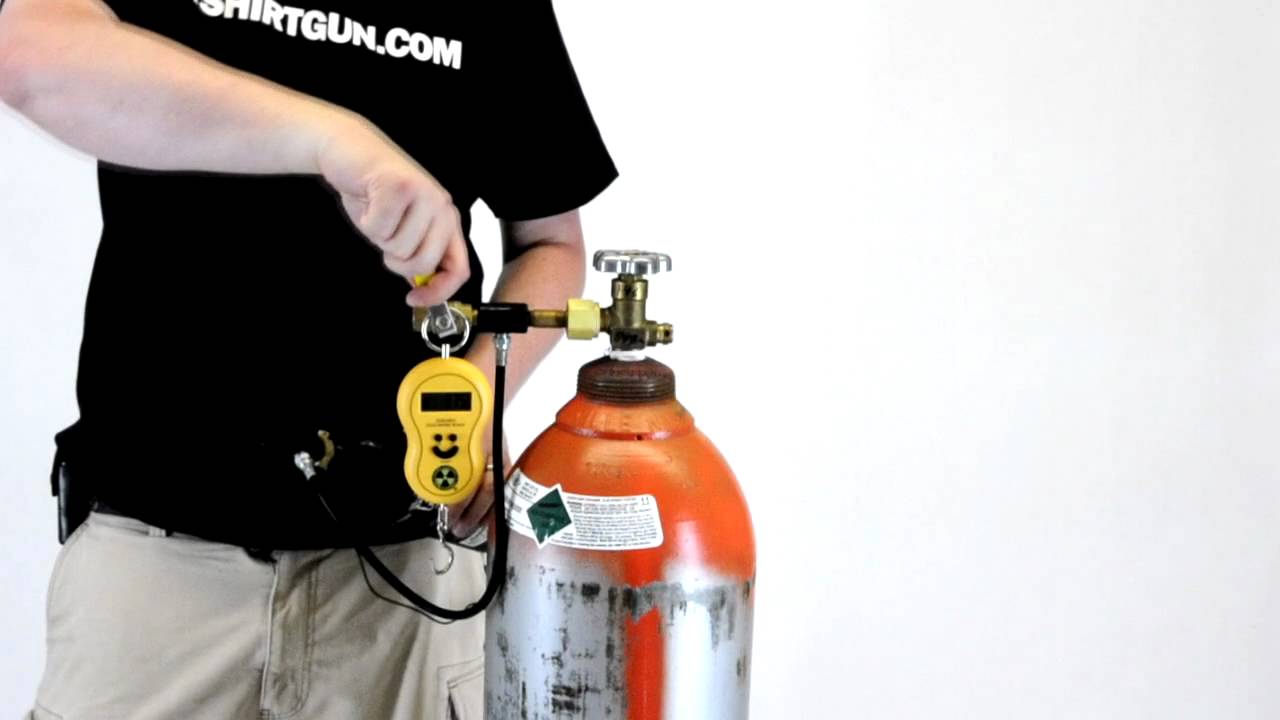
If you want to be precise, you can use a scale to measure the weight of your tank before and after filling. This will give you an idea of how much CO2 you’re adding to your tank.
Now that you’ve gathered all the necessary equipment, you’re ready to move on to the next step – attaching the CO2 tank to the kegerator.
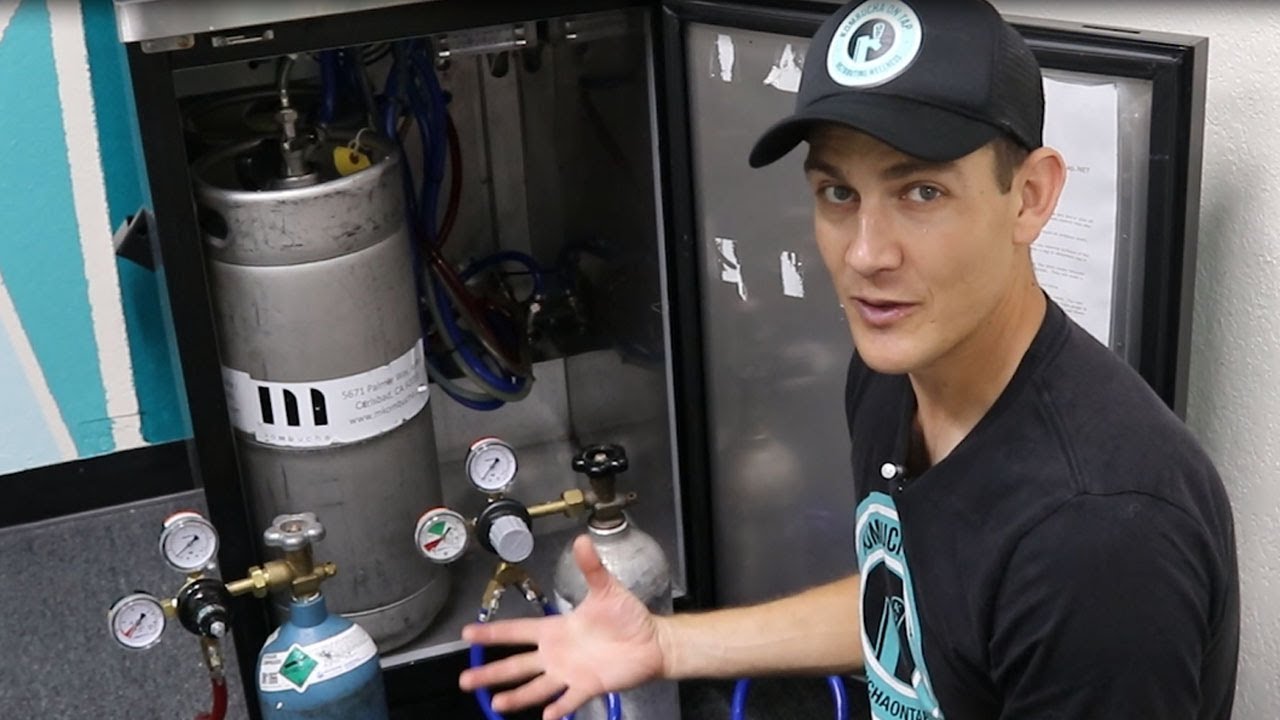
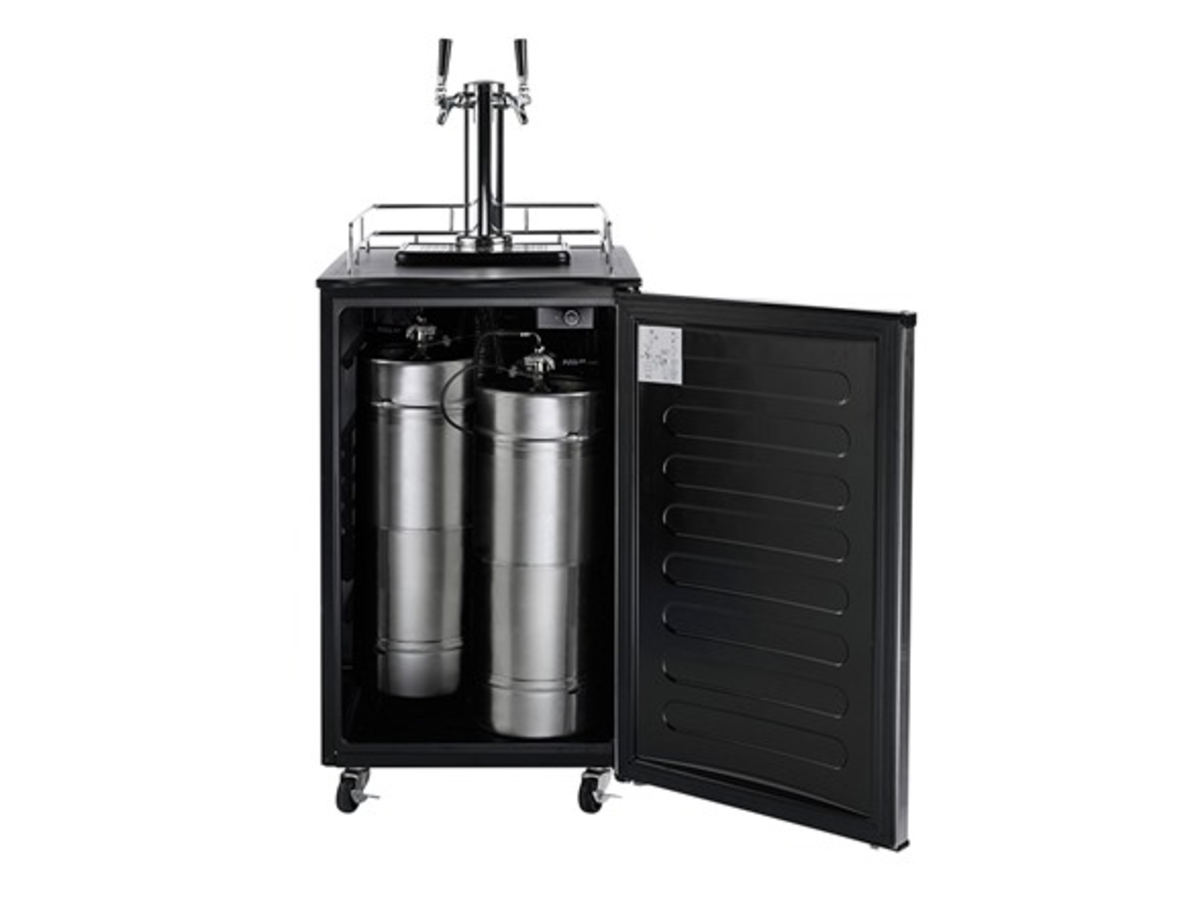
Step 2: Attach the CO2 tank to the kegerator
Now that you have all the necessary equipment, it’s time to attach the CO2 tank to your kegerator. Follow these steps to ensure a secure and proper connection:
- Locate the CO2 tank port on your kegerator. It is usually located on the back or side of the unit. Make sure the kegerator is turned off and unplugged for safety.
- Remove the protective cap from the CO2 tank’s valve and set it aside.
- Take the CO2 tank and align the valve with the CO2 tank port on the kegerator. Insert the valve into the port and ensure a snug fit.
- Using a wrench or adjustable wrench, tighten the connection between the CO2 tank and the kegerator. Make sure it is secure but not overly tight, as you may need to disconnect it later for refilling.
- Once the connection is secure, inspect for any visible leaks. Apply a mixture of soapy water around the connection, and if bubbles appear, you have a leak. In this case, tighten the connection further or replace any faulty parts.
It is important to ensure a proper and tight connection between the CO2 tank and the kegerator to prevent any gas leaks. Leaks can not only waste CO2 but also compromise the functionality of the kegerator.
Now that the CO2 tank is securely attached to your kegerator, we can move on to the next step – checking the CO2 tank for safety and functionality.
Step 3: Check the CO2 tank for safety and functionality
Before proceeding with filling the CO2 tank, it is crucial to check its safety and functionality. Here are the steps you need to follow:
- Inspect the CO2 tank for any physical damage or signs of wear. Look for dents, rust, or any other abnormalities. If you notice any damage, do not proceed with filling the tank. A damaged tank can lead to safety hazards and should be replaced.
- Check the tank’s hydrostatic test date. CO2 tanks need to be hydrostatically tested every 5-10 years, depending on regulations. Ensure that the tank is within the valid test date to guarantee its integrity.
- Verify that the tank’s pressure relief valve is in working condition. The pressure relief valve is a safety feature designed to release excess pressure from the tank. Gently pull up on the valve to ensure it moves freely and closes properly.
- Examine the regulator for any visible signs of damage or wear. Inspect the gauges to ensure they are functioning correctly and providing accurate pressure readings.
- If you have a scale, weigh the empty CO2 tank. This will give you a baseline weight to compare after filling the tank to determine the amount of CO2 added.
It’s important to prioritize safety when working with compressed gas tanks. If you notice any issues with the CO2 tank or its components, it is best to replace them before filling. Ignoring safety concerns can lead to accidents and potential harm.
With the CO2 tank checked for safety and functionality, it’s time to move on to the next step – opening the valve on the CO2 tank.
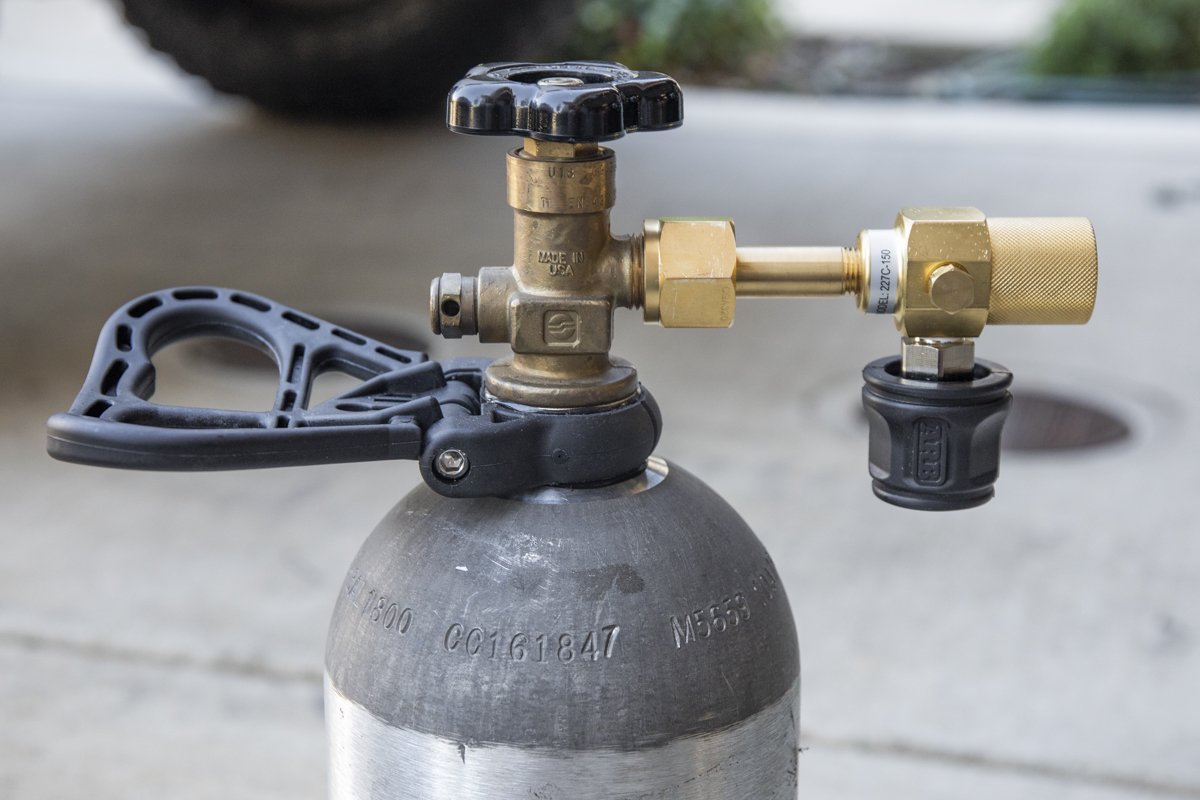
Step 4: Open the valve on the CO2 tank
Now that the CO2 tank is securely attached and has been checked for safety, it’s time to open the valve and begin the filling process. Follow these steps:
- Ensure that the regulator’s pressure adjustment knob is turned fully counterclockwise or completely closed.
- Locate the valve on the top of the CO2 tank. It is typically a large, round knob or handle.
- Gently turn the valve counterclockwise to open it. Be cautious and turn it slowly to avoid any sudden releases of pressure.
- Once the valve is fully open, you will hear a slight hiss as compressed CO2 begins to flow. This indicates that the tank is now supplying gas to the line.
- Inspect the connections between the CO2 tank and the kegerator for any signs of leaks. Pay close attention to any bubbling or hissing sounds around the fittings. If you notice a leak, turn off the valve immediately and tighten the connection.
It is important to note that once the valve is open, the CO2 tank is now under pressure. Always handle the tank with care and avoid any sudden movements or rough handling to prevent accidents.
Now that the valve is open, let’s move on to the next step – filling the CO2 tank slowly and carefully.
When filling a 5 lb CO2 tank for a kegerator, make sure to check the tank for any damage or corrosion before filling. It’s also important to use a reputable supplier to ensure the quality and purity of the CO2.
Step 5: Fill the CO2 tank slowly and carefully
Now that the valve on the CO2 tank is open and ready to supply gas, it’s time to fill the tank. Follow these steps to ensure a safe and efficient filling process:
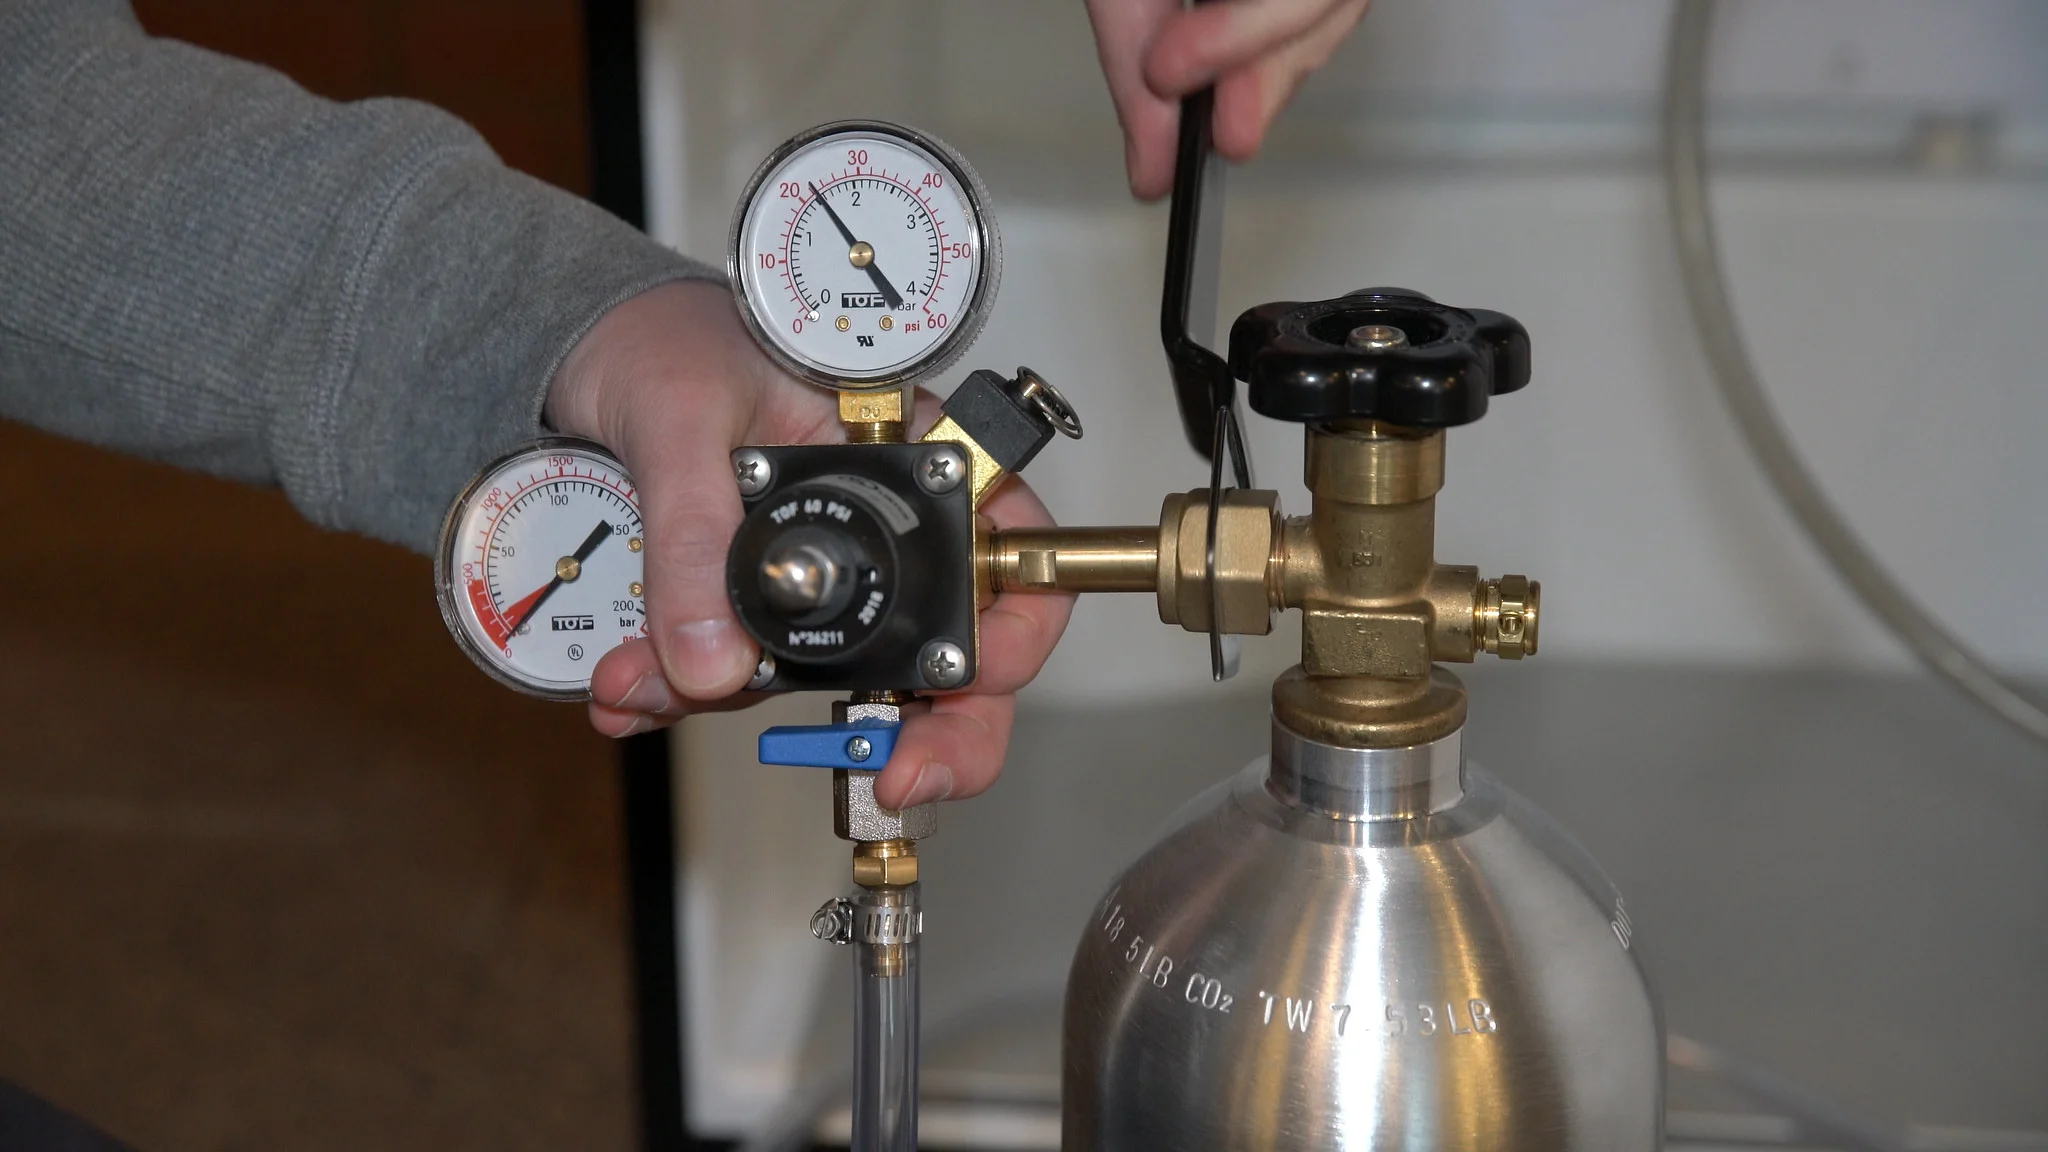
- Attach the CO2 fill station or charger to the larger CO2 tank. This will allow you to transfer gas from the larger tank to the 5 lb CO2 tank.
- Ensure that the pressure adjustment knob on the regulator is closed or turned fully counterclockwise.
- Attach the fill station or charger to the smaller 5 lb CO2 tank. Make sure the connection is secure and tightly fitted.
- Slowly open the pressure adjustment knob on the regulator. This will allow gas to flow from the larger tank to the smaller tank. It’s important to open the knob gradually to prevent over-pressurizing the smaller tank.
- Monitor the pressure gauges on the regulator and the CO2 tank. The gauges will indicate the amount of pressure being added to the smaller tank. Aim to fill the 5 lb CO2 tank to its recommended pressure, which is typically around 800-900 psi (pounds per square inch).
- Be patient and fill the tank slowly. Rushing the filling process can lead to overfilling or potential safety hazards.
- Continue to monitor the pressure gauges as you fill the CO2 tank. Once the desired pressure is reached, close the pressure adjustment knob on the regulator to stop the flow of gas.
Remember, it’s crucial to fill the CO2 tank slowly and carefully to avoid any accidents or damage. Pay close attention to the pressure gauges and ensure that you do not exceed the recommended pressure limits for the tank.
With the CO2 tank properly filled, it’s time to move on to the next step – monitoring the CO2 tank pressure.
Step 6: Monitor the CO2 tank pressure
After filling the CO2 tank, it is essential to monitor the tank’s pressure to ensure its optimal functionality. Follow these steps to effectively monitor the CO2 tank pressure:
- Allow the CO2 tank to sit undisturbed for a few minutes after filling. This will ensure that the pressure stabilizes in the tank.
- Check the pressure gauge on the CO2 tank. It should display the current pressure within the tank.
- Compare the current pressure to the recommended pressure for your specific kegerator setup. Normally, this recommended pressure ranges between 10 to 14 psi (pounds per square inch) for serving beer.
- If the pressure is too low or too high, adjust it using the pressure adjustment knob on the regulator. Turn the knob clockwise to increase the pressure, or counterclockwise to decrease it. Make slight adjustments and give the system some time to stabilize before rechecking the pressure.
- Periodically check the pressure gauge to ensure that the CO2 tank maintains the desired pressure level. If you notice any significant fluctuations or drops in pressure, it may indicate a leak or a problem with the kegerator system. Inspect the connections and regulator for any issues and address them accordingly.
- Some kegerator systems come with a CO2 tank pressure gauge that connects directly to the system. This gauge allows for easy monitoring of the tank pressure without having to check the tank’s gauge itself.
Properly monitoring the CO2 tank pressure is crucial to maintain the optimal carbonation and dispensing of your beer. Regularly checking the pressure ensures that your kegerator functions at its best and delivers consistently great-tasting draft beer.
With the CO2 tank pressure monitored, it’s time to move on to the next step – closing the valve and disconnecting the CO2 tank from the kegerator.
Step 7: Close the valve and disconnect the CO2 tank from the kegerator
Once you have successfully monitored the CO2 tank pressure and ensured that it is at the desired level, it’s time to close the valve and disconnect the CO2 tank from the kegerator. Follow these steps to complete this process:
- Double-check that the pressure adjustment knob on the regulator is closed or turned fully counterclockwise.
- Carefully and slowly close the valve on the CO2 tank by turning it clockwise. This will shut off the flow of gas to the kegerator.
- Once the valve is closed, listen for any hissing sounds or indications of gas leakage. If you detect a leak, do not proceed and immediately take corrective measures to resolve the issue. A secure closure is essential to prevent gas waste and maintain safety.
- Using a wrench or adjustable wrench, loosen the connection between the CO2 tank and the kegerator. Turn counterclockwise to loosen the fitting and make it easier to remove the tank.
- Gently lift the CO2 tank out of the kegerator port and set it aside in a safe location. Take care to avoid any sudden movements or rough handling that could cause damage or accidents.
- Inspect the kegerator’s CO2 tank port and ensure that it is clean and free from debris or any residue. This will help maintain the integrity of future connections.
Remember, safety is paramount when working with CO2 tanks. Always handle them with care and follow proper procedures to prevent accidents or injuries.
With the CO2 tank safely closed and disconnected from the kegerator, it’s time to move on to the final step – storing the filled CO2 tank properly.
Step 8: Store the filled CO2 tank properly
After completing the CO2 tank filling process, it’s important to store the filled tank properly to ensure its longevity and safety. Follow these steps to store your filled CO2 tank:
- Choose a well-ventilated and cool location for storage. It should be away from direct sunlight, heat sources, and any flammable materials.
- Ensure that the storage area is dry and free from any moisture. Exposure to moisture can lead to corrosion and compromise the tank’s integrity over time.
- If possible, secure the CO2 tank upright with a sturdy tank stand or bracket. This will prevent it from falling or tipping over, which could cause damage or injury.
- Avoid placing any heavy objects on top of the tank and keep it separate from other materials or equipment that may cause damage or leaks.
- Label the tank clearly with the date of the most recent hydrostatic test. This will help you track the tank’s maintenance and ensure it is within the required safety standards.
- Keep the CO2 tank away from children and unauthorized individuals. It’s important to store it in a secure location to prevent any accidents or misuse.
- If you plan to store the CO2 tank for an extended period, consider attaching a tank plug or cap to the valve. This will provide an additional layer of protection against dust, debris, and potential leaks.
- Periodically inspect the stored CO2 tank for any signs of damage, corrosion, or leaks. If you notice any issues, it may indicate the need for a tank replacement or repair.
By following these storage guidelines, you can ensure the safety and longevity of your filled CO2 tank, allowing you to enjoy your kegerator and its delicious draft beer for a long time to come.
With the filled CO2 tank stored properly, you have successfully completed the process of filling a 5 lb CO2 tank for your kegerator. Cheers!
Disclaimer: The information provided in this article is for educational purposes only. Always adhere to the manufacturer’s instructions and safety guidelines specific to your equipment and consult a professional if you have any doubts or concerns.
Conclusion
Congratulations! You have successfully learned how to fill a 5 lb CO2 tank for your kegerator. By following the steps outlined in this article, you can ensure the safe and efficient process of filling your CO2 tank, allowing you to enjoy a continuous supply of refreshing draft beer.
Remember, the key to a successful CO2 tank filling process is to prioritize safety. Always handle the tank with care, check for any signs of damage or wear, and monitor the pressure levels closely. By doing so, you can prevent accidents, maintain optimal carbonation, and extend the lifespan of your CO2 tank.
Furthermore, it is important to store the filled CO2 tank properly. Find a cool, dry, and well-ventilated area to store the tank, away from direct sunlight and heat sources. Secure it upright and label it with the most recent hydrostatic test date.
As a responsible kegerator owner, it is crucial to regularly inspect the CO2 tank and its connections for any signs of damage or leaks. Promptly address any issues that arise to ensure consistent performance and safety.
Remember, if you ever find yourself feeling unsure or uncomfortable with the process, don’t hesitate to seek guidance from a professional or contact your local homebrew supply store for assistance.
Now that you’ve learned how to fill a 5 lb CO2 tank, you can confidently enjoy your favorite draft beer from the convenience of your own home. Cheers to a perfectly carbonated pint!
Frequently Asked Questions about How To Fill A 5 Lb C02 Tank For Kegerator
Was this page helpful?
At Storables.com, we guarantee accurate and reliable information. Our content, validated by Expert Board Contributors, is crafted following stringent Editorial Policies. We're committed to providing you with well-researched, expert-backed insights for all your informational needs.


0 thoughts on “How To Fill A 5 Lb C02 Tank For Kegerator”