Articles
How To Change Co2 Tank In Kegerator
Modified: October 18, 2024
Learn how to change the CO2 tank in your kegerator with our step-by-step articles. Ensure a refreshing draft beer experience every time.
(Many of the links in this article redirect to a specific reviewed product. Your purchase of these products through affiliate links helps to generate commission for Storables.com, at no extra cost. Learn more)
Introduction
Welcome to our guide on how to change the CO2 tank in a kegerator. If you’re a beer enthusiast or enjoy hosting parties, having a kegerator can bring the ultimate convenience and enjoyment to your drinking experience. However, when the CO2 tank runs out, it’s essential to know how to replace it properly to ensure a continuous flow of refreshing, carbonated beer.
Changing a CO2 tank in a kegerator may seem daunting for beginners, but fear not. In this article, we will walk you through the step-by-step process, providing you with the knowledge and confidence to successfully swap out that empty CO2 tank.
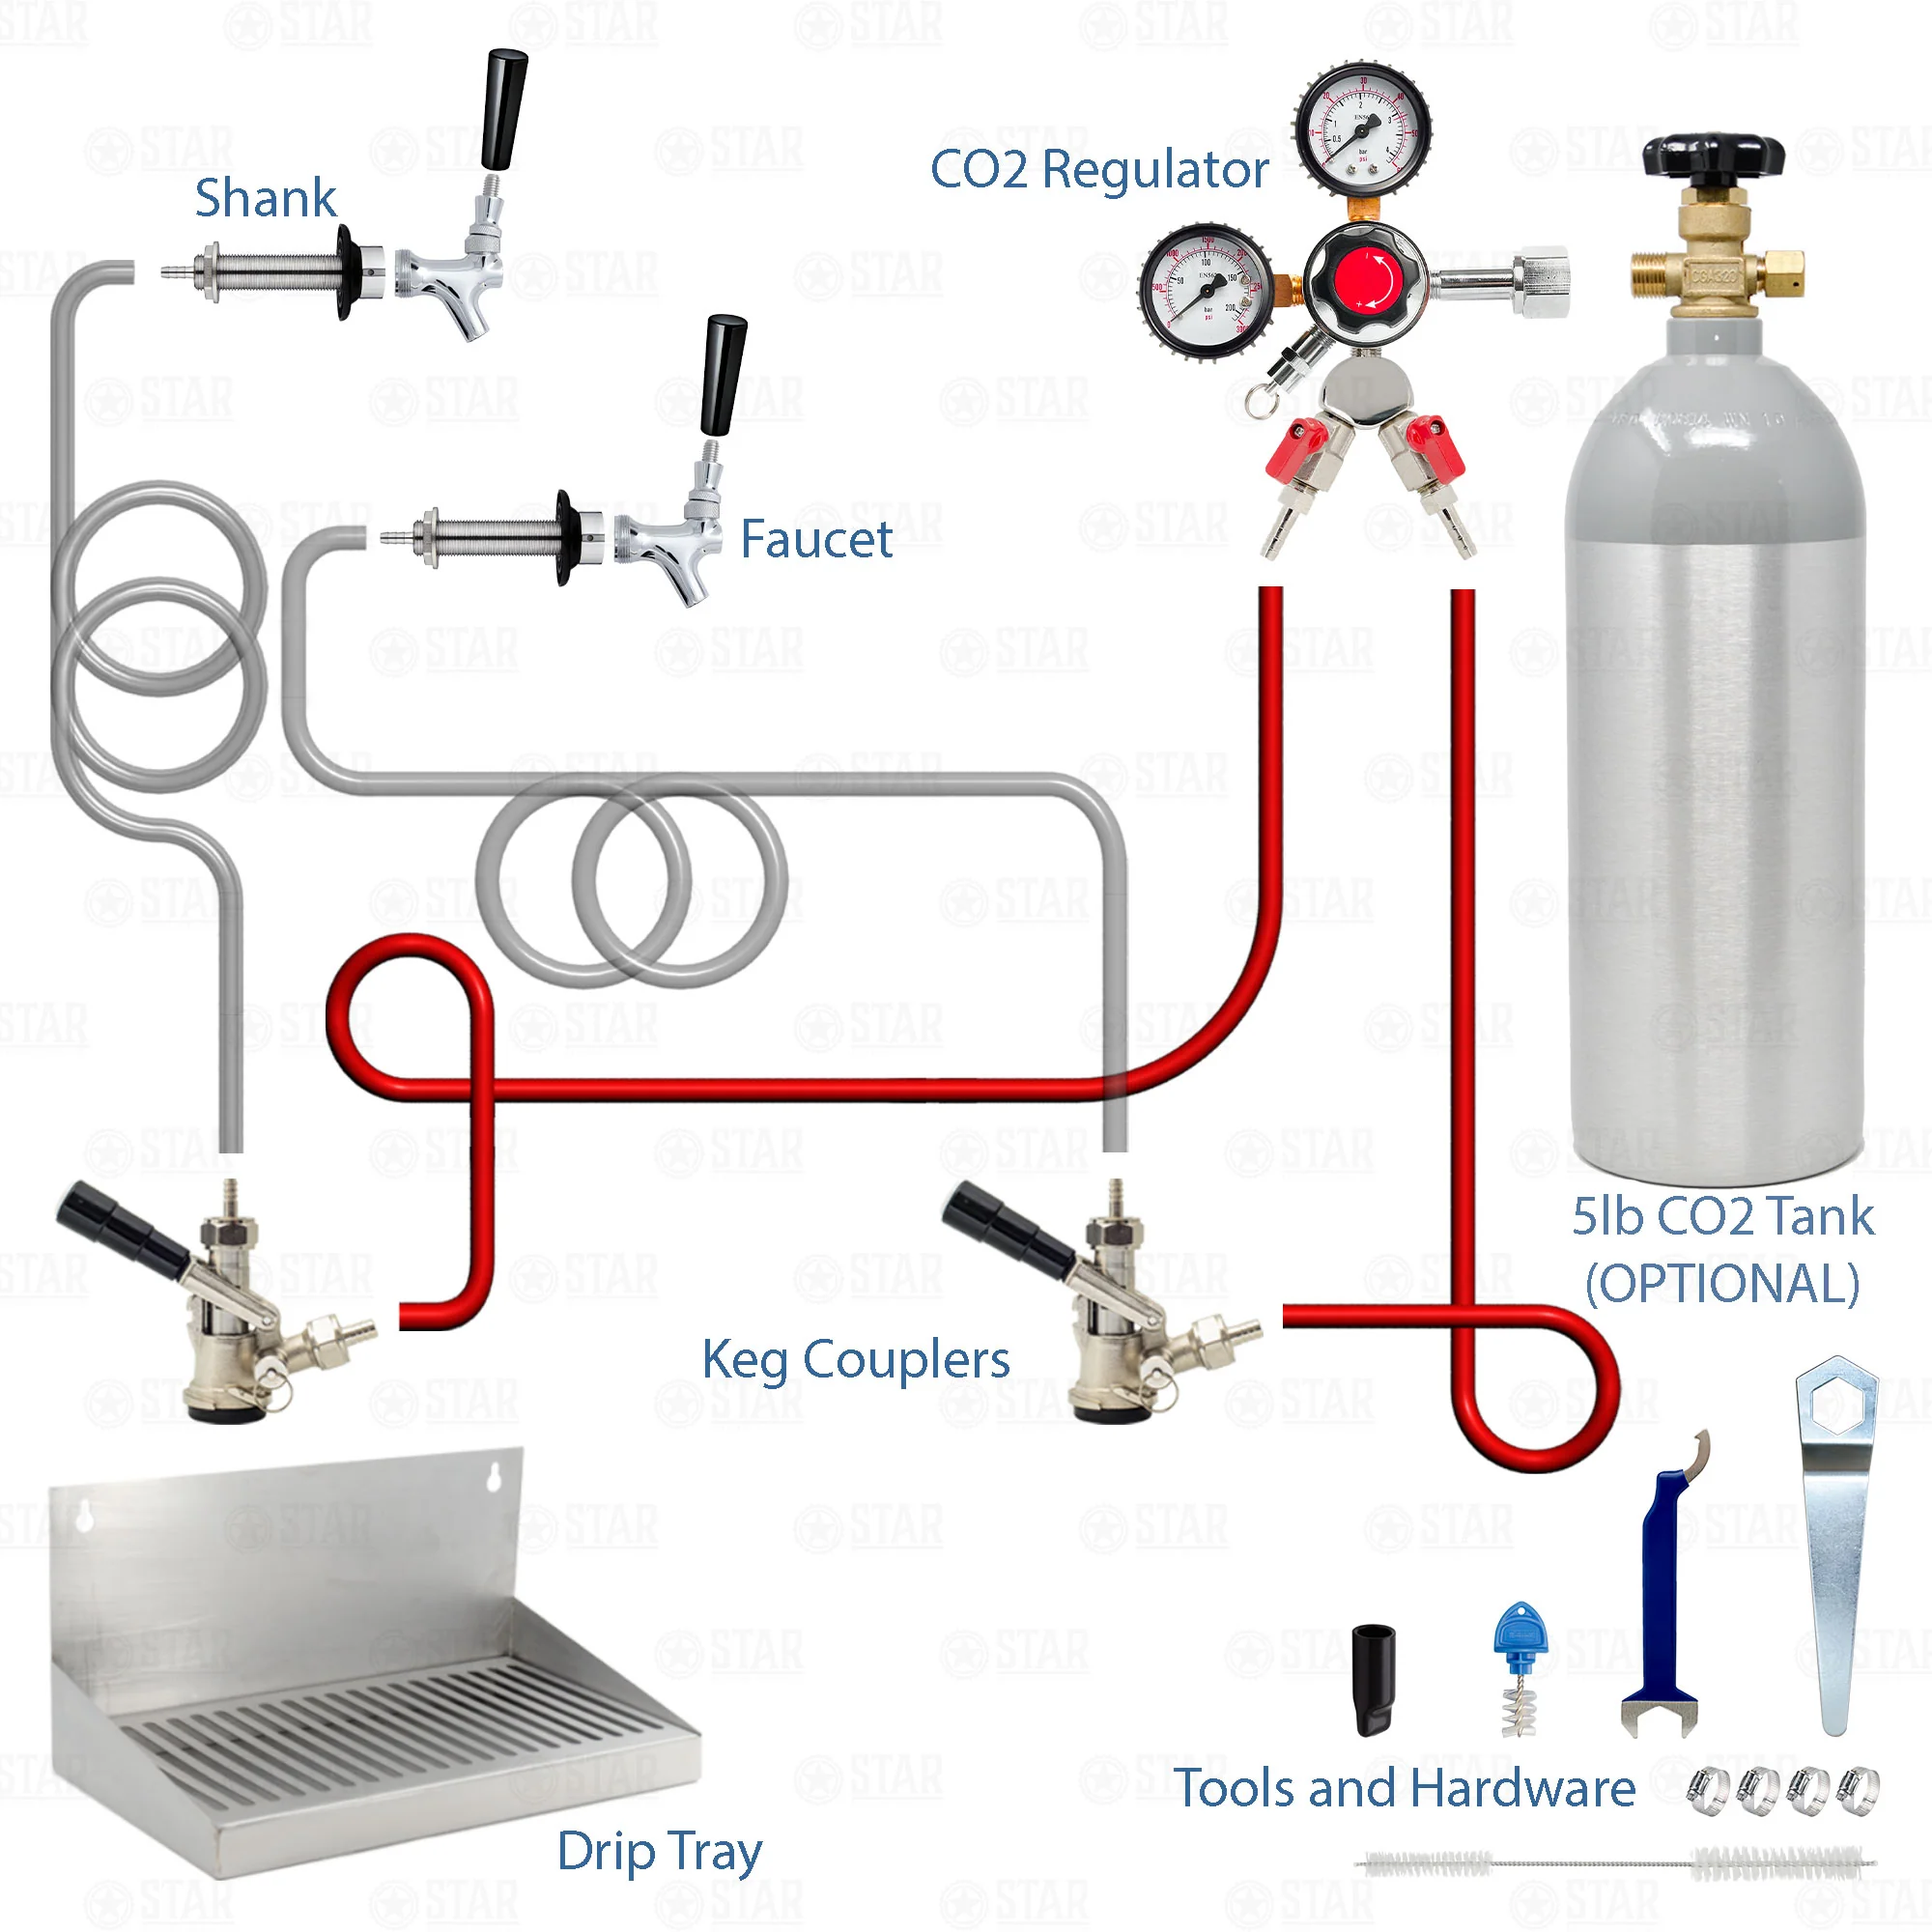
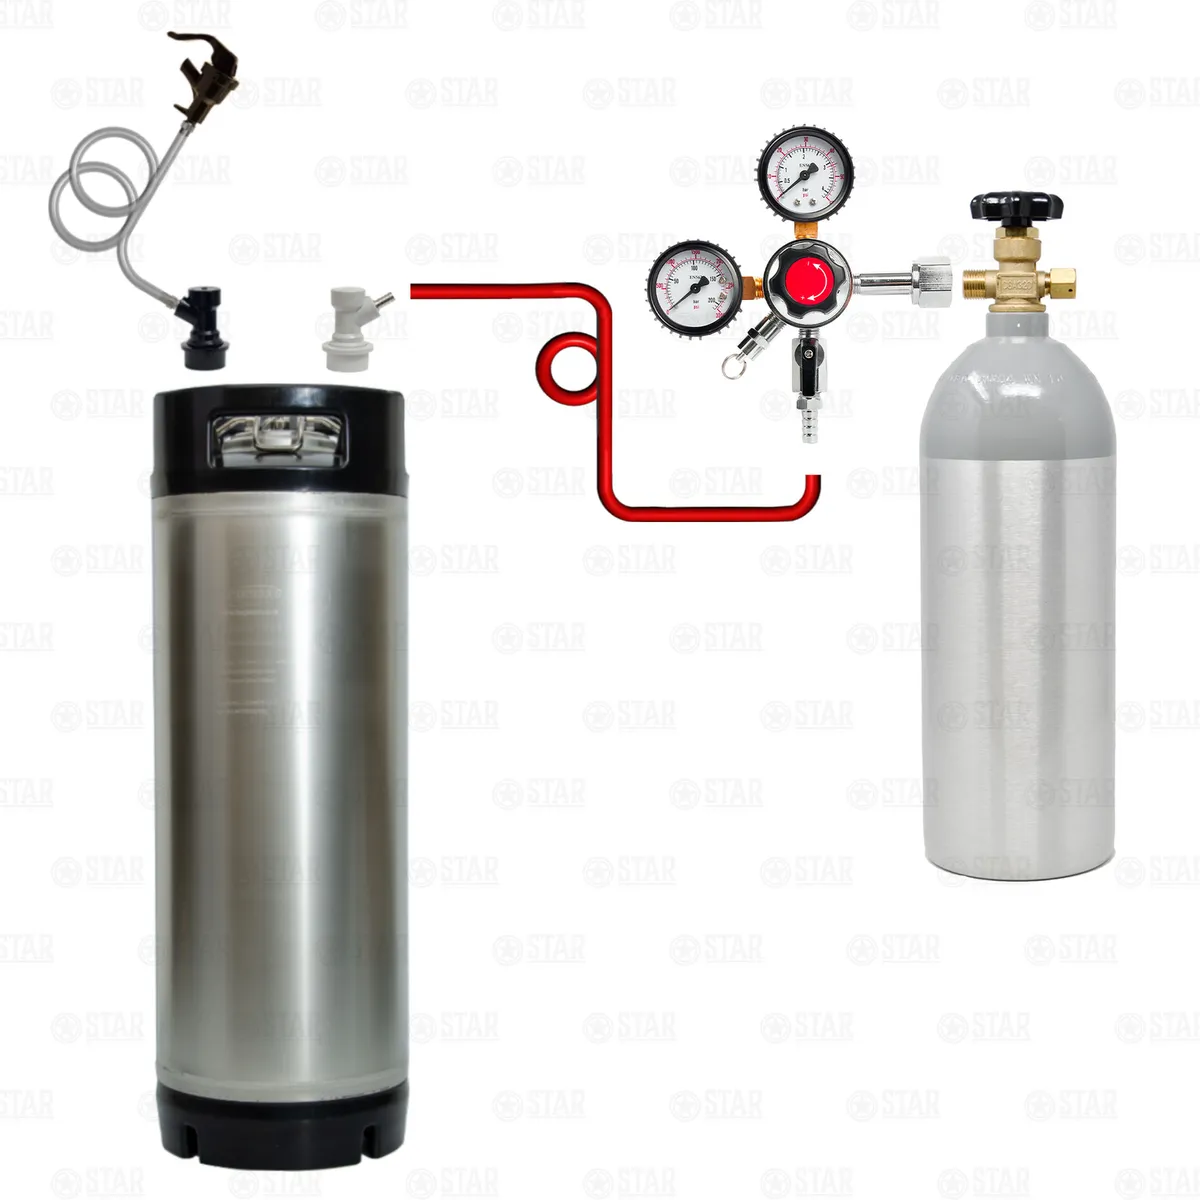
Before we dive into the details, let’s take a moment to understand how a kegerator works. A kegerator is essentially a refrigerator that is modified to dispense draft beer from a keg. The key component that makes it all possible is the CO2 tank. The CO2 tank provides the pressure necessary to push the beer out of the keg and into your glass, creating that coveted effervescence and perfect head of foam.
Now that we have a basic understanding of the kegerator and its importance, let’s get started on changing the CO2 tank.
Key Takeaways:
- Properly replacing the CO2 tank in your kegerator ensures a continuous flow of refreshing, carbonated beer. Follow the step-by-step guide to confidently swap out the old tank for a new one and enjoy perfectly poured draft beer.
- Safety is paramount when changing the CO2 tank. From gathering the necessary equipment to checking for leaks, ensure a secure and leak-free system for optimal functionality and beer enjoyment.
Read more: What Size Co2 Tank For A Kegerator Nostalgia
Step 1: Gather the necessary equipment
Before beginning the process of changing the CO2 tank in your kegerator, it’s essential to gather all the necessary equipment. Having everything prepared in advance will make the task much smoother and more efficient. Here’s a list of the equipment you’ll need:
- Replacement CO2 tank: Make sure to purchase a new CO2 tank that is compatible with your kegerator model. Check the size and pressure requirements to ensure a proper fit.
- Crescent wrench: This adjustable wrench will come in handy for removing and tightening connections.
- Teflon tape: This thin white tape helps create a tight seal between fittings and prevents leaks.
- Gloves: It’s always a good idea to protect your hands while handling equipment and chemicals.
- Rag or towel: This will be useful for wiping any spills or excess liquid.
Once you have gathered all the necessary equipment, ensure that you are working in a well-ventilated area. CO2 is a colorless and odorless gas, but it can displace oxygen and cause suffocation if there is a leak in a confined space. Safety should always be a top priority!
With all the equipment in place and safety precautions taken, you’re now ready to move on to the next step: turning off and unplugging the kegerator.
Step 2: Turn off and unplug the kegerator
Before starting to change the CO2 tank in your kegerator, it’s important to ensure that the kegerator is turned off and unplugged. This step is crucial to prevent any electrical accidents or damage to the kegerator components.
Follow these simple steps to turn off and unplug your kegerator:
- Locate the power switch or dial on your kegerator. It is typically located at the front or side of the unit.
- Turn the power switch or dial to the “Off” position to shut off the electrical power.
- Once the kegerator is turned off, unplug the power cord from the electrical outlet. This ensures that there is no power supply to the unit.
By turning off and unplugging the kegerator, you eliminate any potential hazards while working on the CO2 tank. It’s always better to be safe than sorry.
Now that the kegerator is powered down and unplugged, it’s time to move on to the next step: locating the CO2 tank.
Step 3: Locate the CO2 tank
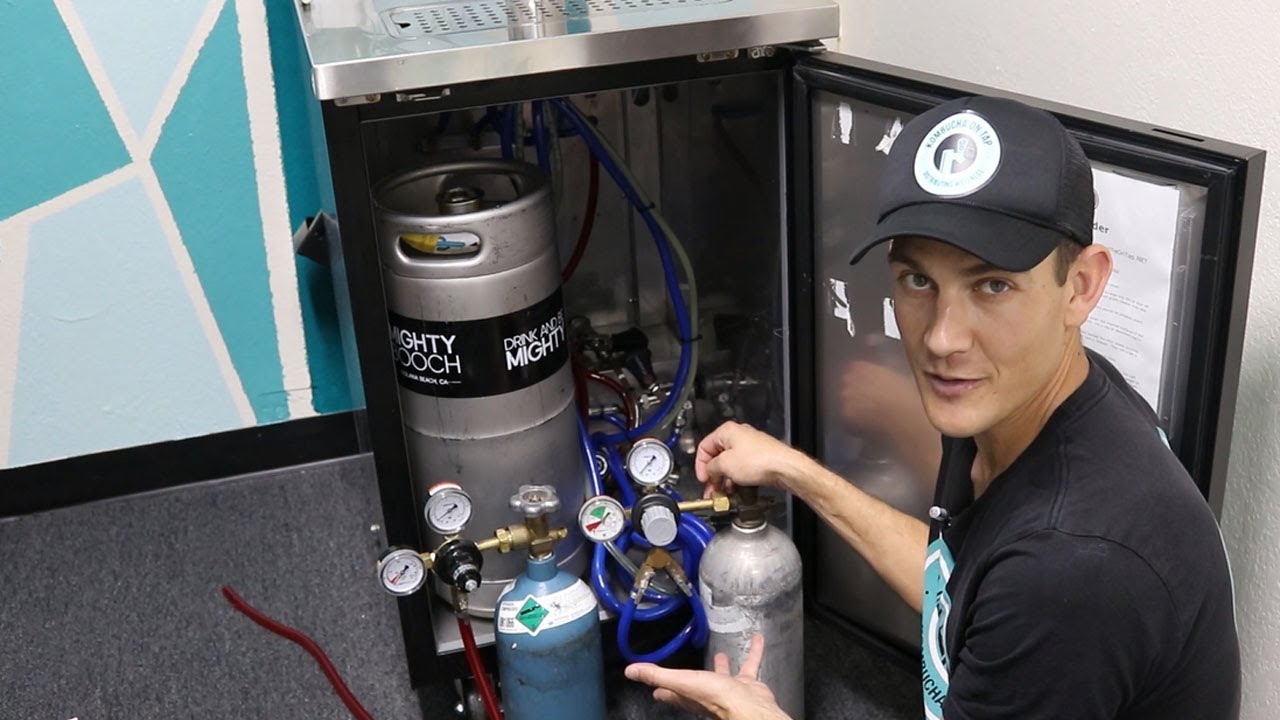
Locating the CO2 tank in your kegerator is an essential step in the process of changing it. The location may vary depending on the design and model of your kegerator, but it is typically found in one of two places:
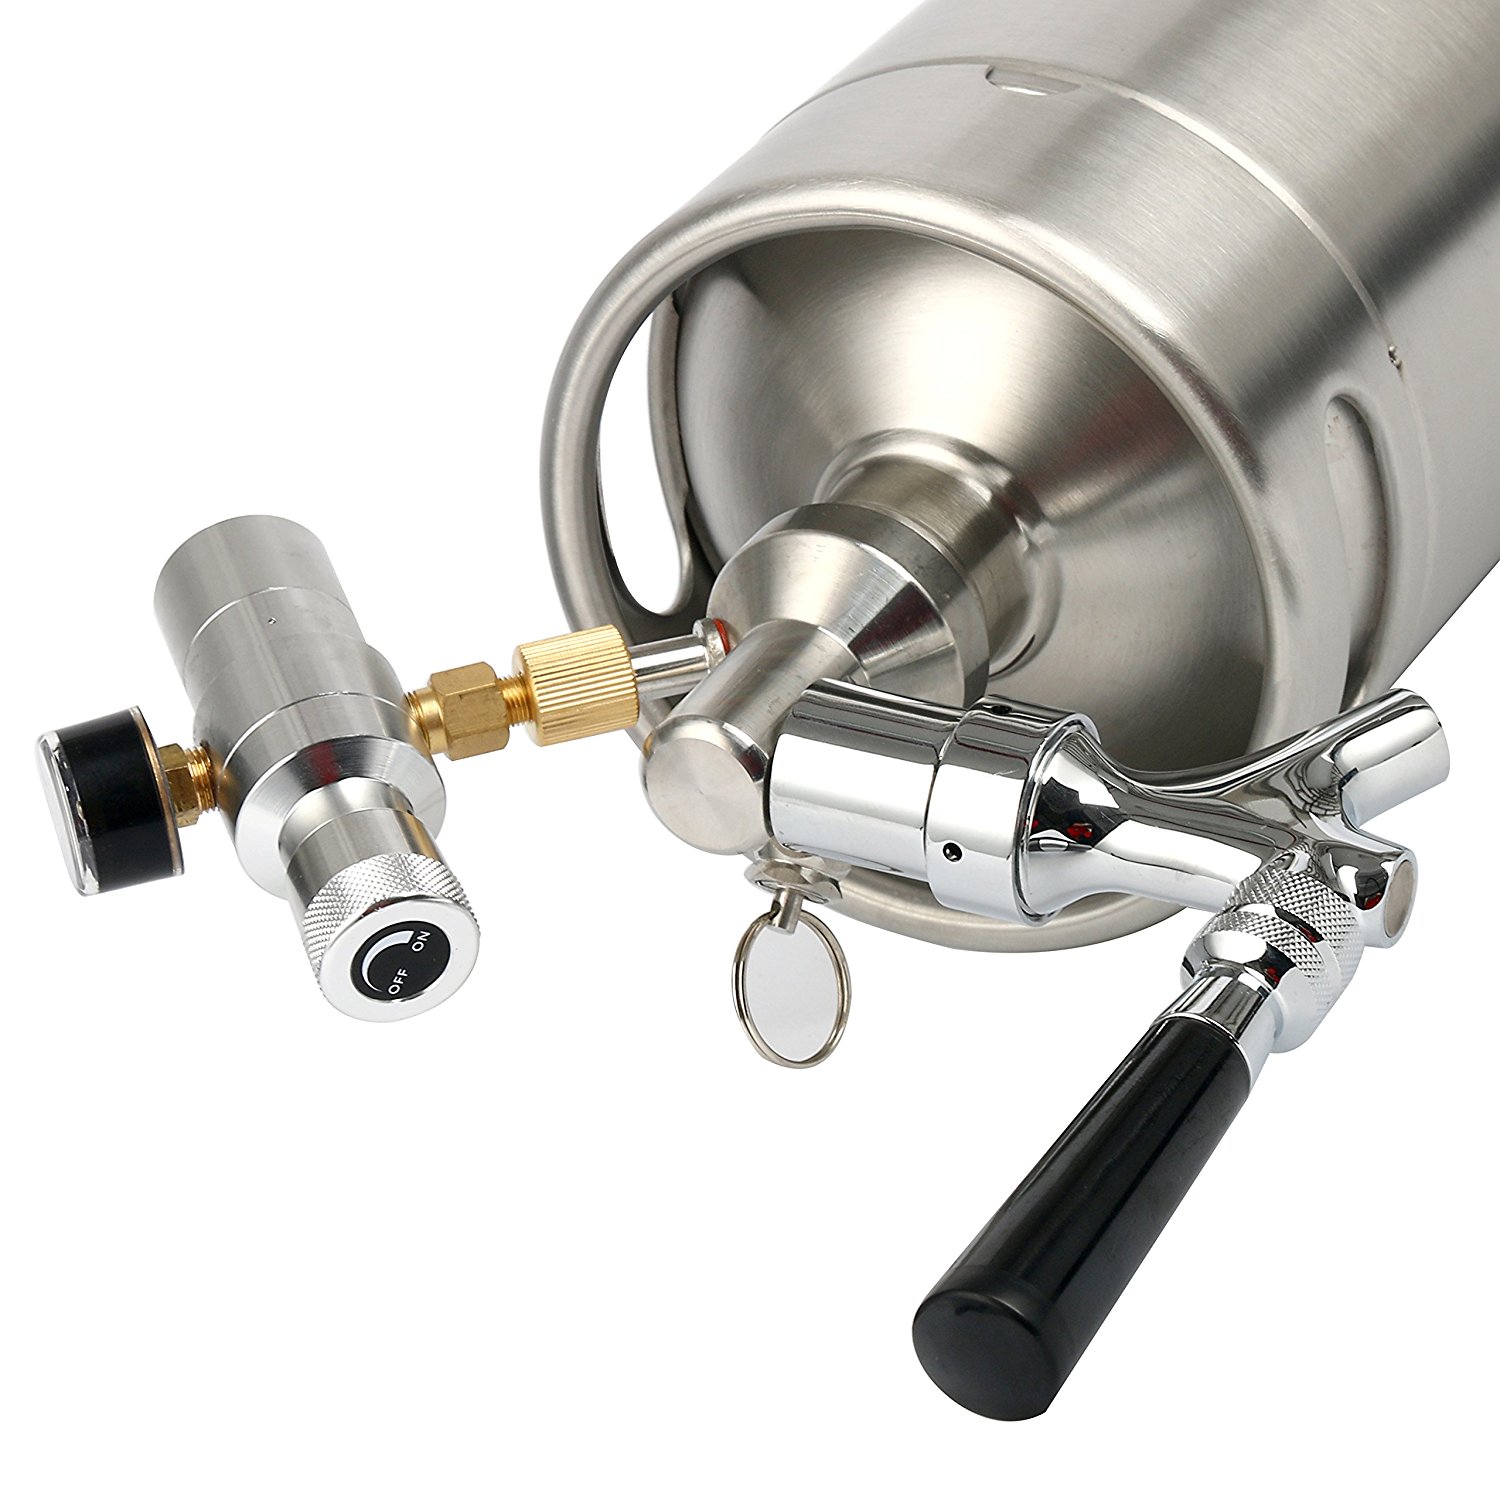
- Inside the kegerator: Some kegerators are designed with the CO2 tank housed inside the unit. To locate it, open the door of the kegerator and look for a compartment or bracket where the tank is secured.
- Outside the kegerator: In other cases, the CO2 tank may be located outside of the kegerator. Look for a designated area, often at the back or side of the kegerator, where the tank is connected.
Once you have located the CO2 tank, take a moment to inspect its condition. Look for any signs of wear, damage, or leakage. If you notice any issues with the tank, it’s best to replace it entirely rather than risking potential hazards or malfunctions.
When you are confident in the condition of the CO2 tank, it’s time to move on to the next step: releasing the pressure in the kegerator.
Step 4: Properly release the pressure in the kegerator
Before removing the CO2 tank from your kegerator, it’s crucial to release the pressure inside to ensure a safe and controlled process. Releasing the pressure will prevent any sudden bursts or spills when disconnecting the tank.
Follow these steps to properly release the pressure in your kegerator:
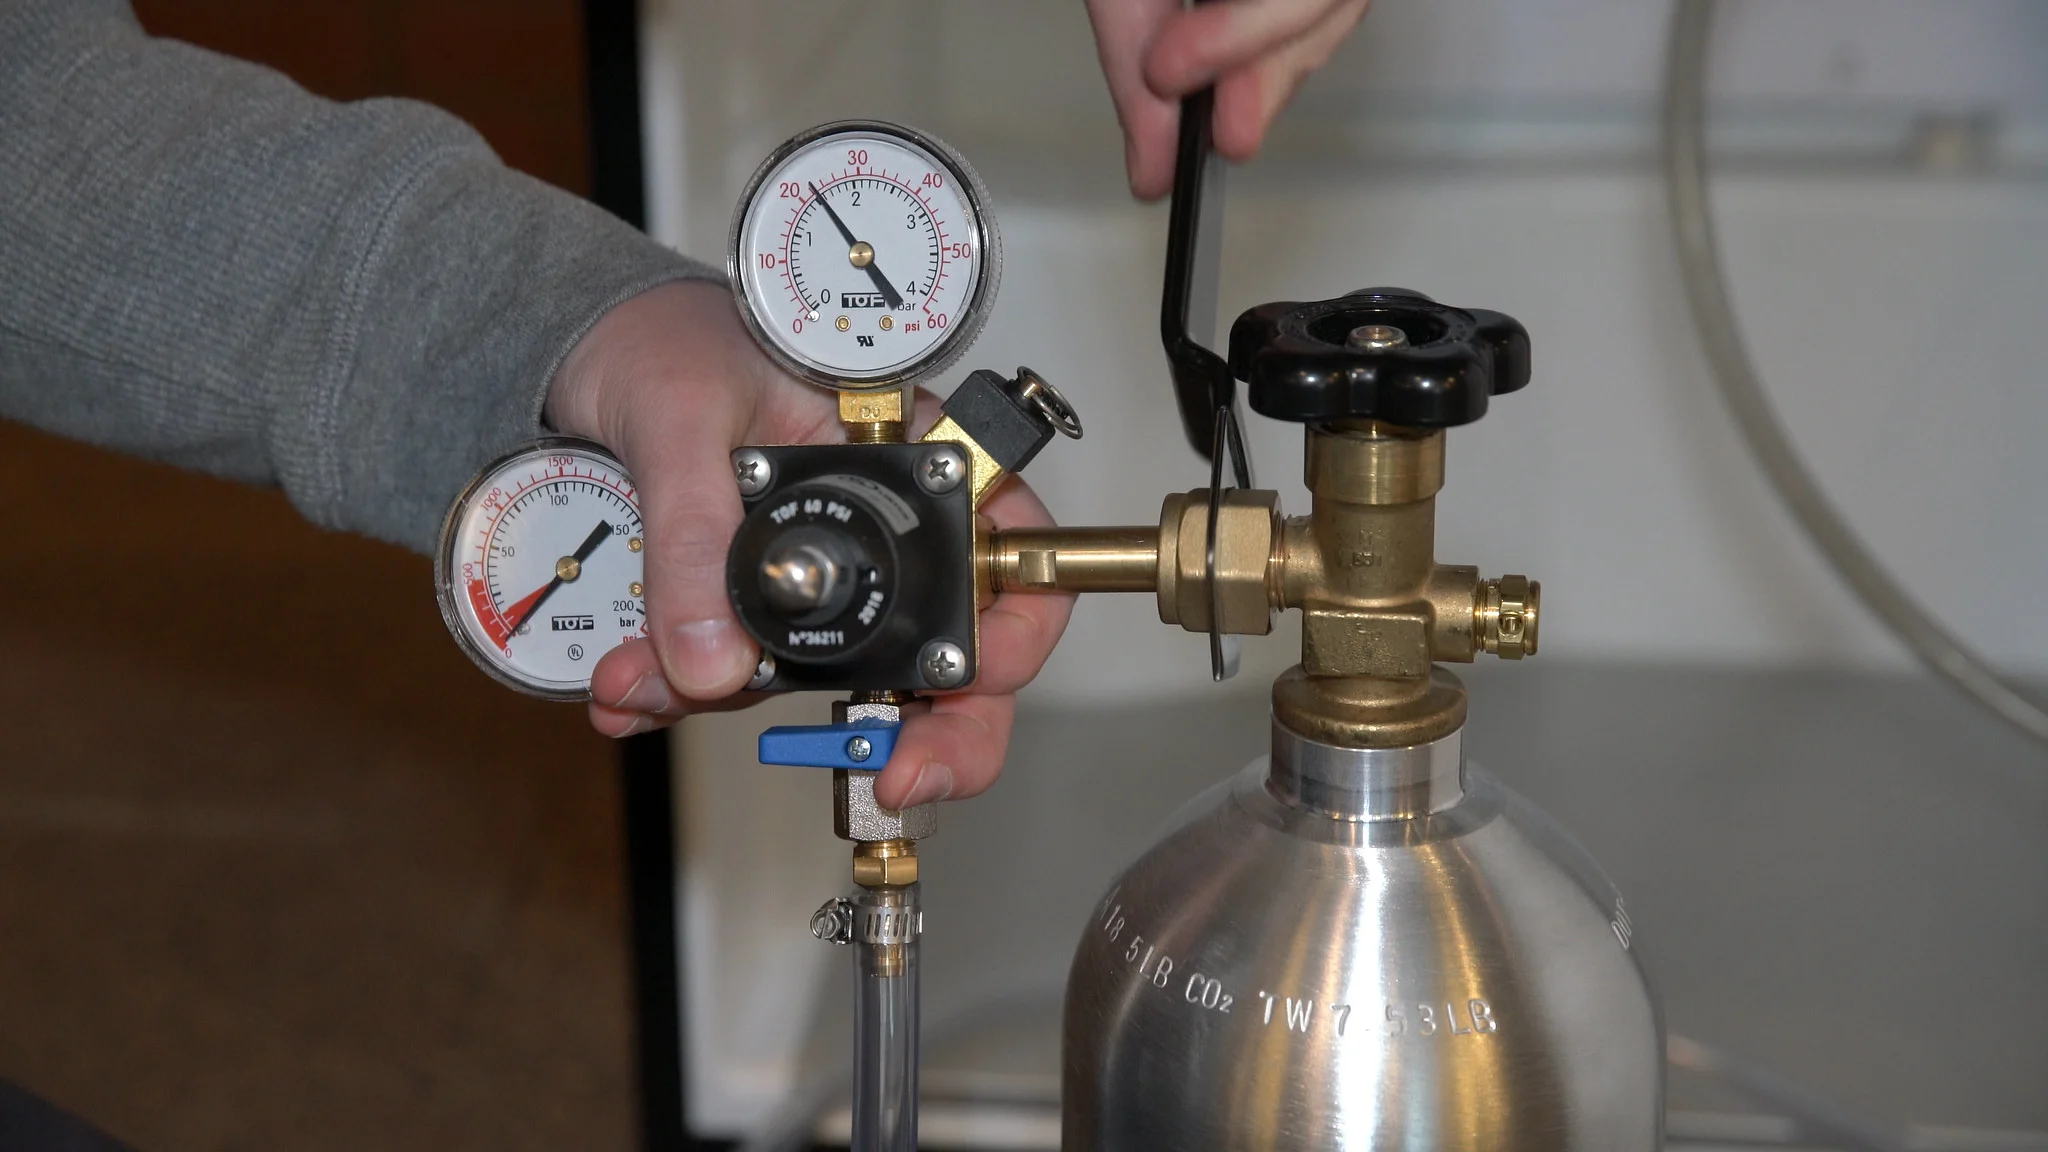
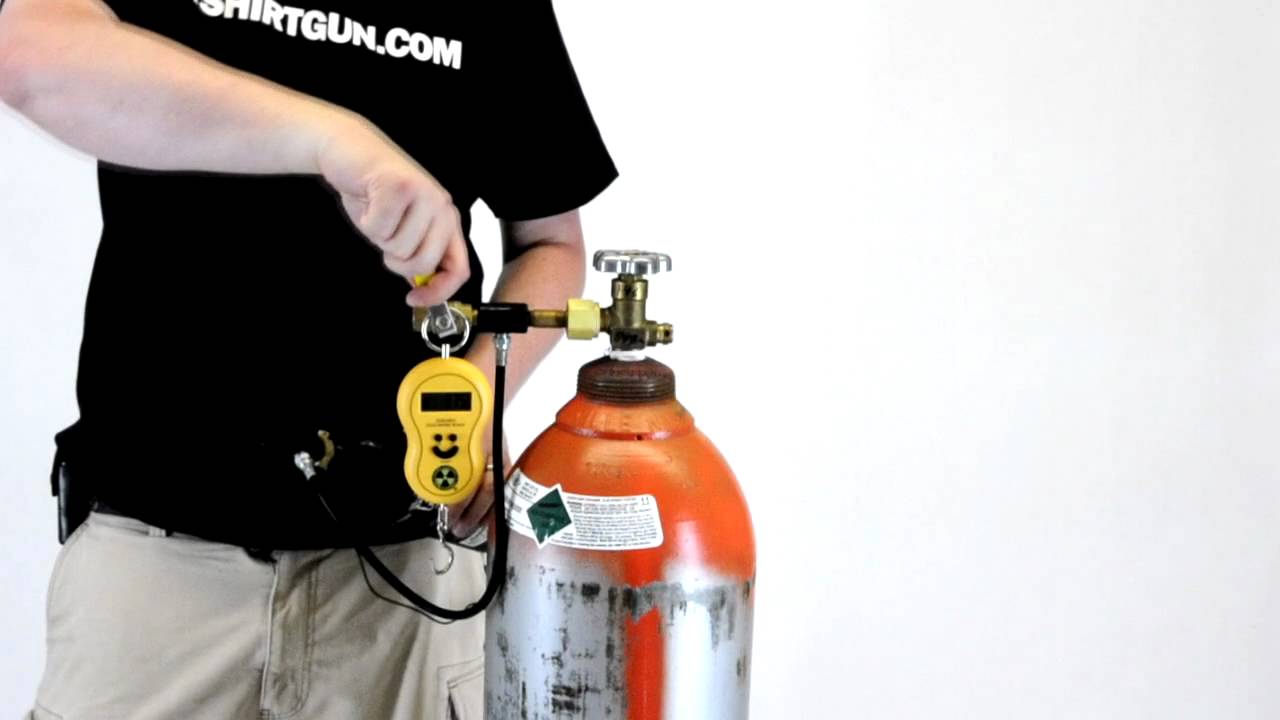
- Locate the pressure relief valve on the kegerator. The pressure relief valve is typically found on the regulator or near the top of the CO2 tank.
- Using a wrench or your hand, carefully turn the pressure relief valve counterclockwise to open it. You may hear a hiss as the pressure is released.
- Allow the pressure to release fully before moving on to the next step. This may take a few moments depending on the amount of pressure in the kegerator.
Releasing the pressure is a vital step to ensure a safe and controlled CO2 tank replacement process. It reduces the risk of accidental leaks or injuries during the tank removal.
Once the pressure has been released, you can move on to the next step of disconnecting the old CO2 tank from your kegerator.
Step 5: Disconnect the old CO2 tank
Now that you have properly released the pressure in your kegerator, it’s time to disconnect the old CO2 tank. Follow these steps to safely remove the old tank:
- Put on a pair of gloves to protect your hands from any residual CO2 or other substances.
- Locate the regulator, which is usually connected to the CO2 tank. The regulator controls the flow of CO2 into the kegerator.
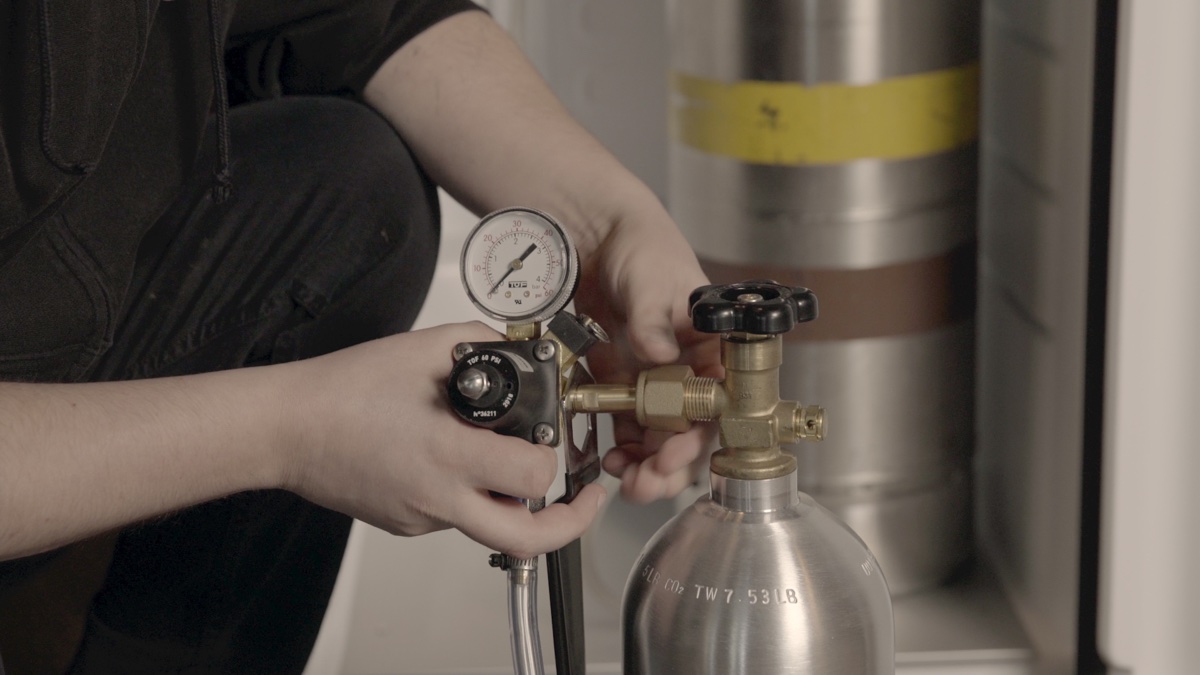
- Using a wrench, carefully loosen and remove the nut or collar that secures the regulator to the CO2 tank. Turn the nut counterclockwise to loosen it.
- Once the nut is loosened, gently pull the regulator away from the CO2 tank. Be cautious as there may still be some residual pressure remaining.
- Set the regulator aside in a safe place, making sure not to damage it.
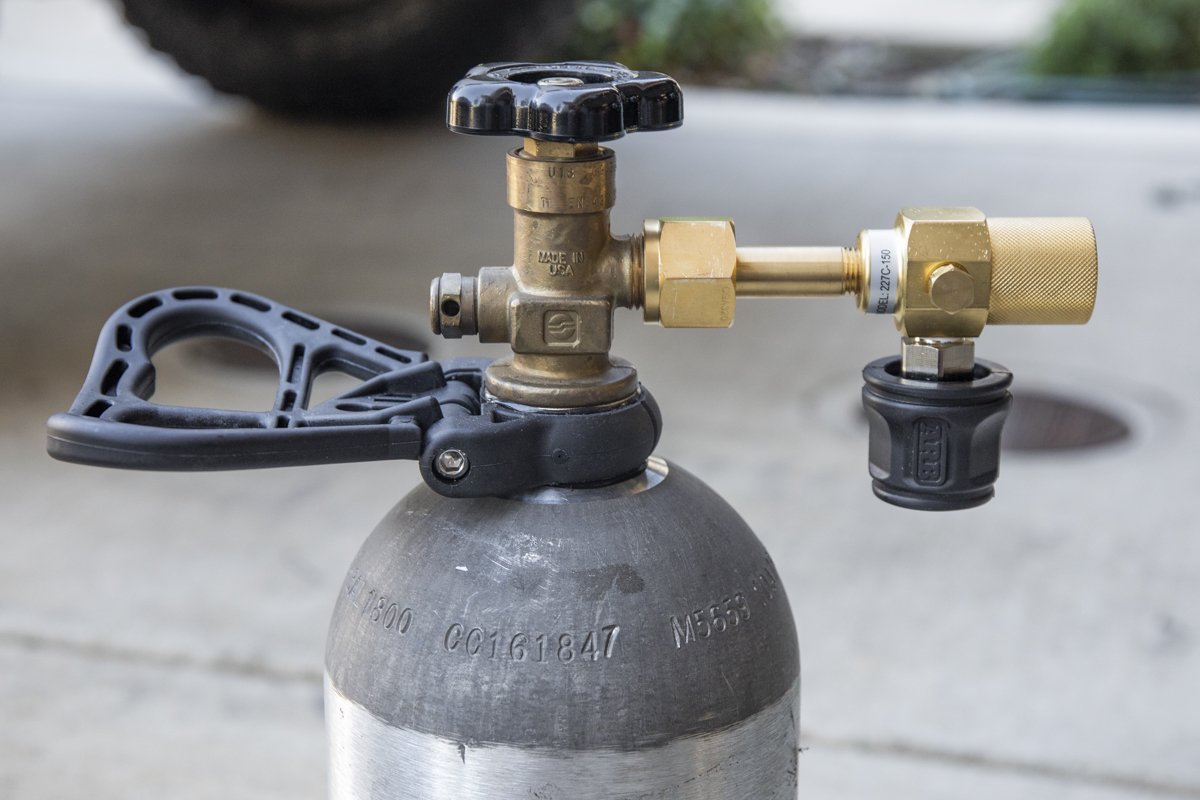
- Next, locate the coupling nut that connects the CO2 tank to the kegerator. This nut is usually at the top of the tank.
- Using a wrench, loosen and remove the coupling nut by turning it counterclockwise. You may need to hold the CO2 tank steady with your other hand to prevent it from rotating.
- Once the coupling nut is removed, carefully lift the old CO2 tank out of the kegerator and set it aside. Be mindful of its weight, as CO2 tanks can be heavy.
With the old CO2 tank successfully disconnected, you’re ready to move on to the next step: installing the new CO2 tank.
Before changing the CO2 tank in your kegerator, make sure to turn off the regulator and release any remaining pressure in the system by pulling the pressure relief valve. This will make the tank easier and safer to remove.
Step 6: Install the new CO2 tank
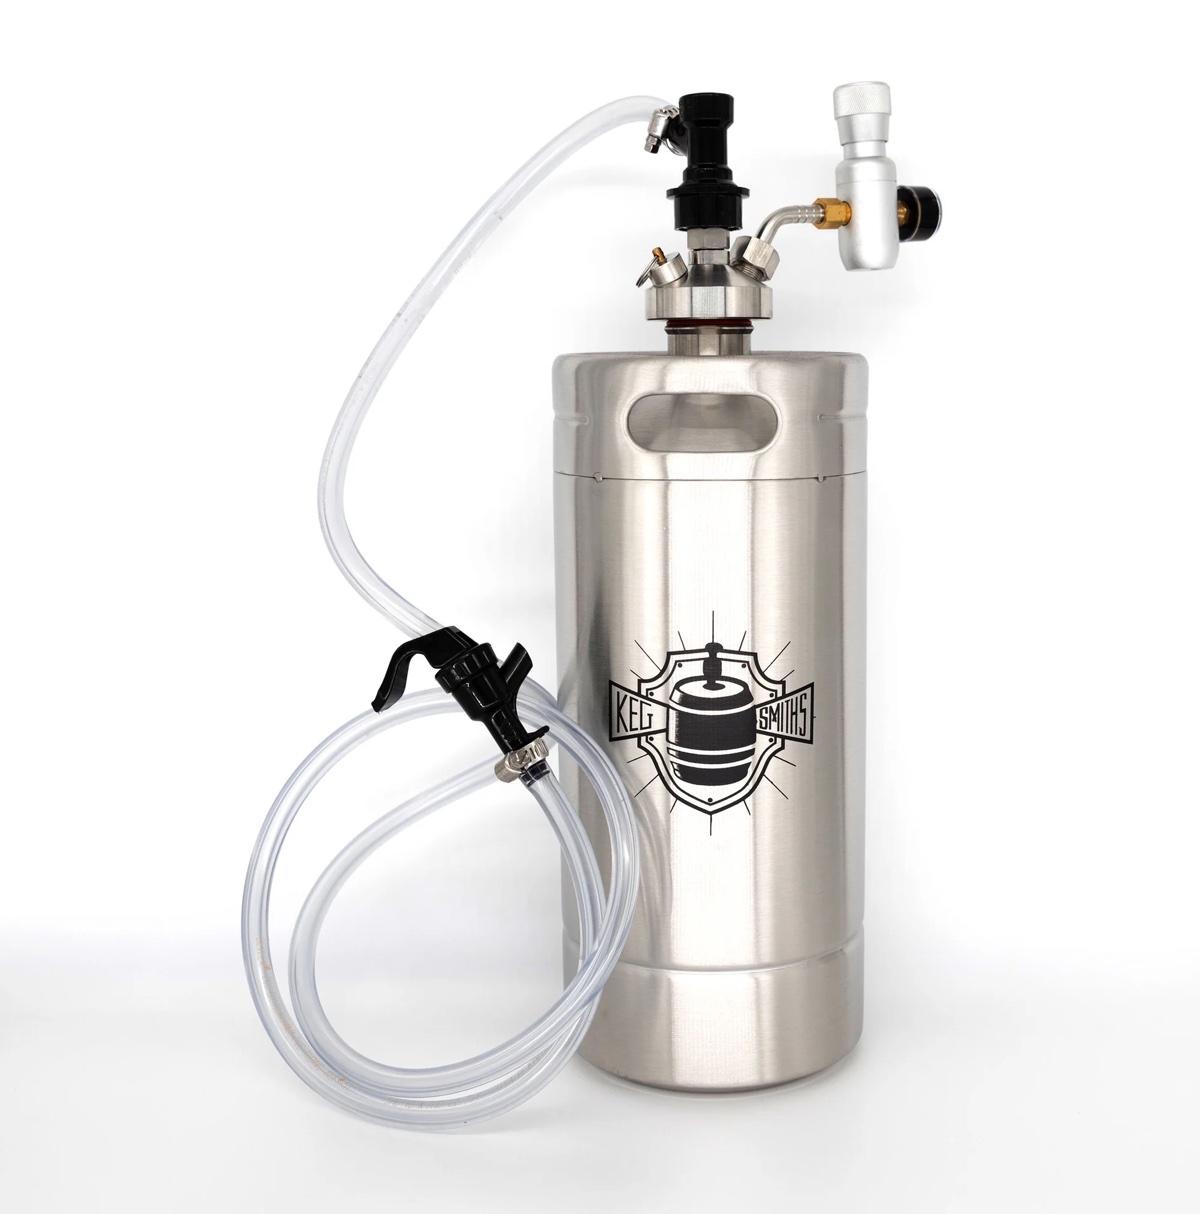
With the old CO2 tank safely removed, it’s time to install the new tank in your kegerator. Follow these steps to properly install the new CO2 tank:
- Take the new CO2 tank and ensure that it is in good condition, free from any damage or leaks.
- Place the new CO2 tank in the same position where the old tank was located. Make sure it is securely positioned and upright.
- Take the coupling nut and ensure it is clean and free from any debris or residue. If necessary, use a cloth or brush to clean it.
- Screw the coupling nut onto the top of the new CO2 tank by turning it clockwise. Use a wrench to tighten it securely but be careful not to overtighten.
- Next, take the regulator that you removed earlier and align it with the CO2 tank’s coupling nut.
- Slide the regulator’s nut or collar onto the coupling nut and tighten it by turning it clockwise with a wrench. Ensure that it is securely attached but again, avoid overtightening.
- Check that all connections are tight and secure. Ensure there are no leaks or loose fittings.
By following these steps, you have successfully installed the new CO2 tank in your kegerator. Now it’s time to move on to the next step of reconnecting any fittings or connections.
Step 7: Reconnect any fittings or connections
Now that you have installed the new CO2 tank in your kegerator, it’s time to reconnect any fittings or connections that were previously disconnected. Follow these steps to ensure proper reconnection:
- Check the connections between the CO2 tank and the regulator. Ensure that the nut or collar is tightened securely but not overtightened.
- Inspect the connection between the regulator and the kegerator. Make sure it is firmly attached and free from any leaks.
- If you have a CO2 manifold or distribution system, reconnect any additional hoses or fittings according to the manufacturer’s instructions. Ensure all connections are tight.
- If there are any other accessories or components connected to your kegerator, such as a gas line or tap, check that they are properly reconnected.
- Double-check all connections to ensure a secure fit. Give each connection a gentle tug to confirm that it is properly attached.
Properly reconnecting all fittings and connections is crucial to ensure the smooth operation and functionality of your kegerator. Take your time to double-check each connection and make any necessary adjustments to ensure a tight and secure fit.
Now that all fittings and connections are reconnected, it’s time to move on to the next step: checking for leaks.
Step 8: Check for leaks
After reconnecting all the fittings and connections in your kegerator, it’s important to check for any potential leaks. Ensuring a leak-free system is essential for the proper functioning and efficiency of your kegerator. Follow these steps to check for leaks:
- Prepare a mixture of soapy water by mixing water with a few drops of dish soap in a spray bottle or bowl.
- Carefully spray or apply the soapy water solution onto each connection, including the regulator, CO2 tank valve, and any other fittings or connections.
- Observe the connections closely and look for any signs of bubbles forming. Bubbles indicate a leak in the connection.
- If you see any bubbles forming, tighten the corresponding connection using a wrench or adjustable pliers. Be cautious not to overtighten and damage the fittings.
- Continue spraying or applying the soapy water solution to each connection until you have checked all potential areas for leaks.
- If you find any stubborn leaks that you are unable to tighten or resolve, consider replacing the faulty component or seek professional assistance.
Checking for leaks is an essential step to ensure the seamless operation of your kegerator and prevent any potential CO2 loss or damage to your equipment. Take your time to carefully inspect each connection, and if any leaks are detected, address them promptly.
Once you have confirmed that there are no leaks, you can move on to the final step: turning on the kegerator and testing the new CO2 tank.
Read also: 8 Amazing Co2 Tank For Kegerator For 2025
Step 9: Turn on the kegerator and test the new CO2 tank
Congratulations! You’re almost finished with the process of changing the CO2 tank in your kegerator. Now it’s time to turn on the kegerator and test the new CO2 tank to ensure everything is working correctly. Follow these steps to complete the process:
- Double-check that all fittings and connections are secure and free from leaks.
- Plug in the kegerator and switch it on according to the manufacturer’s instructions.
- Allow the kegerator to cool down to its desired temperature before proceeding.
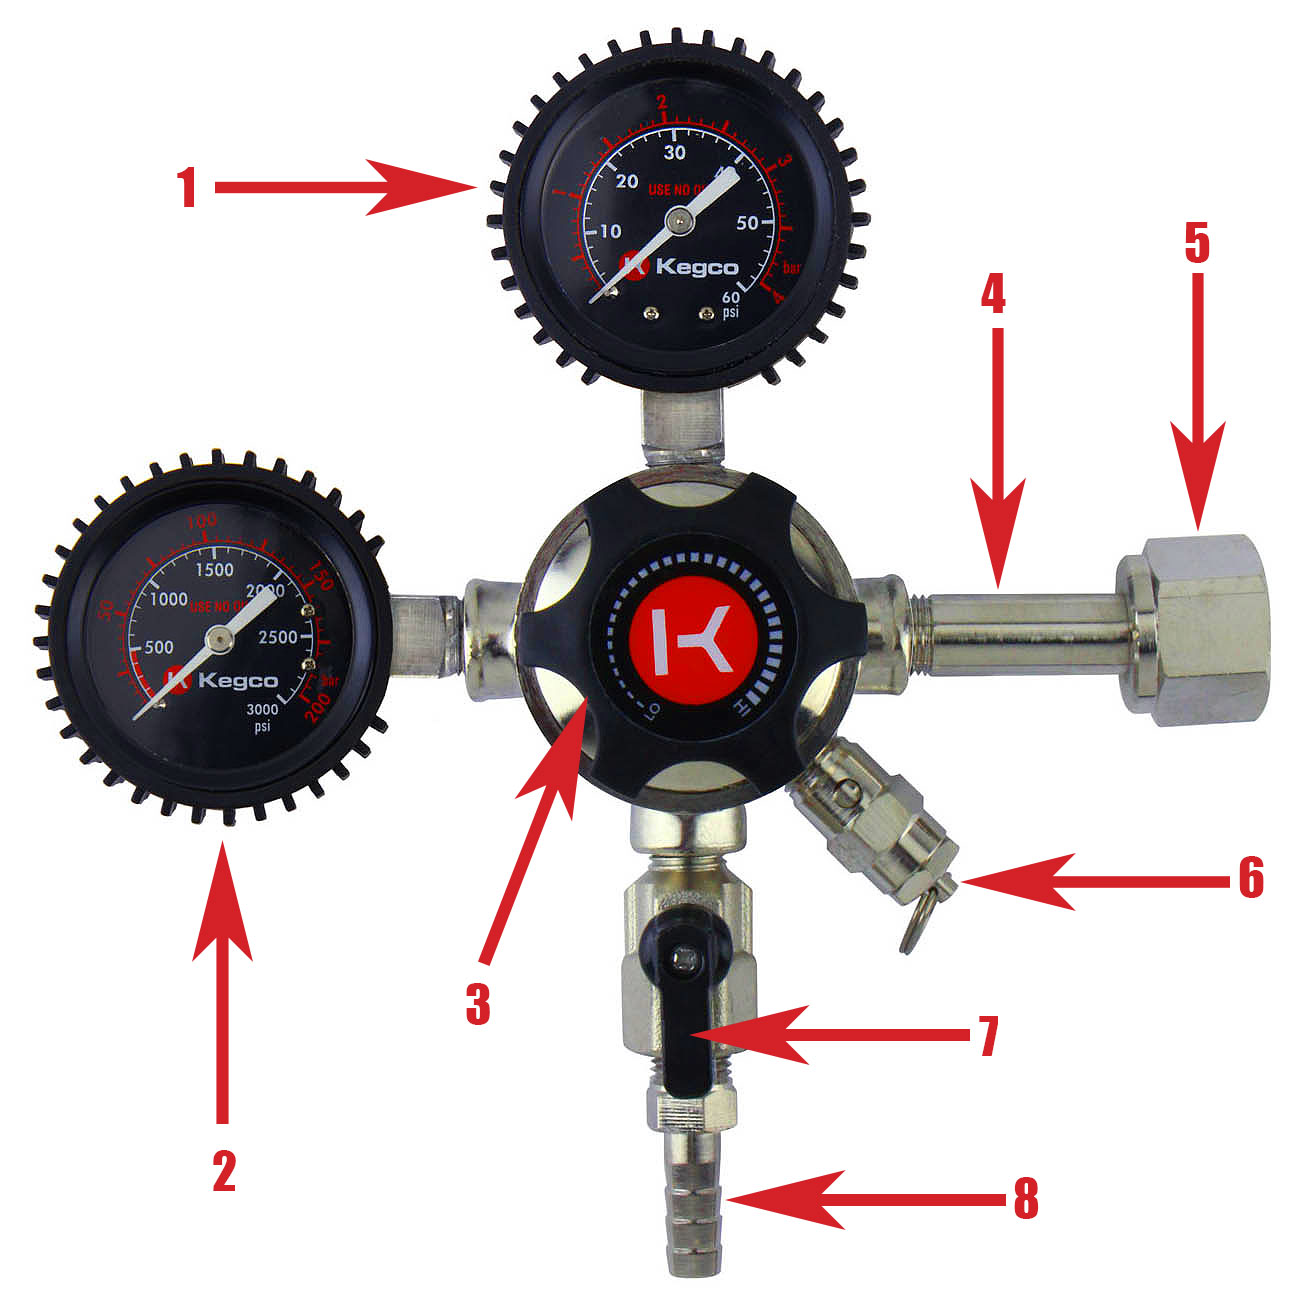
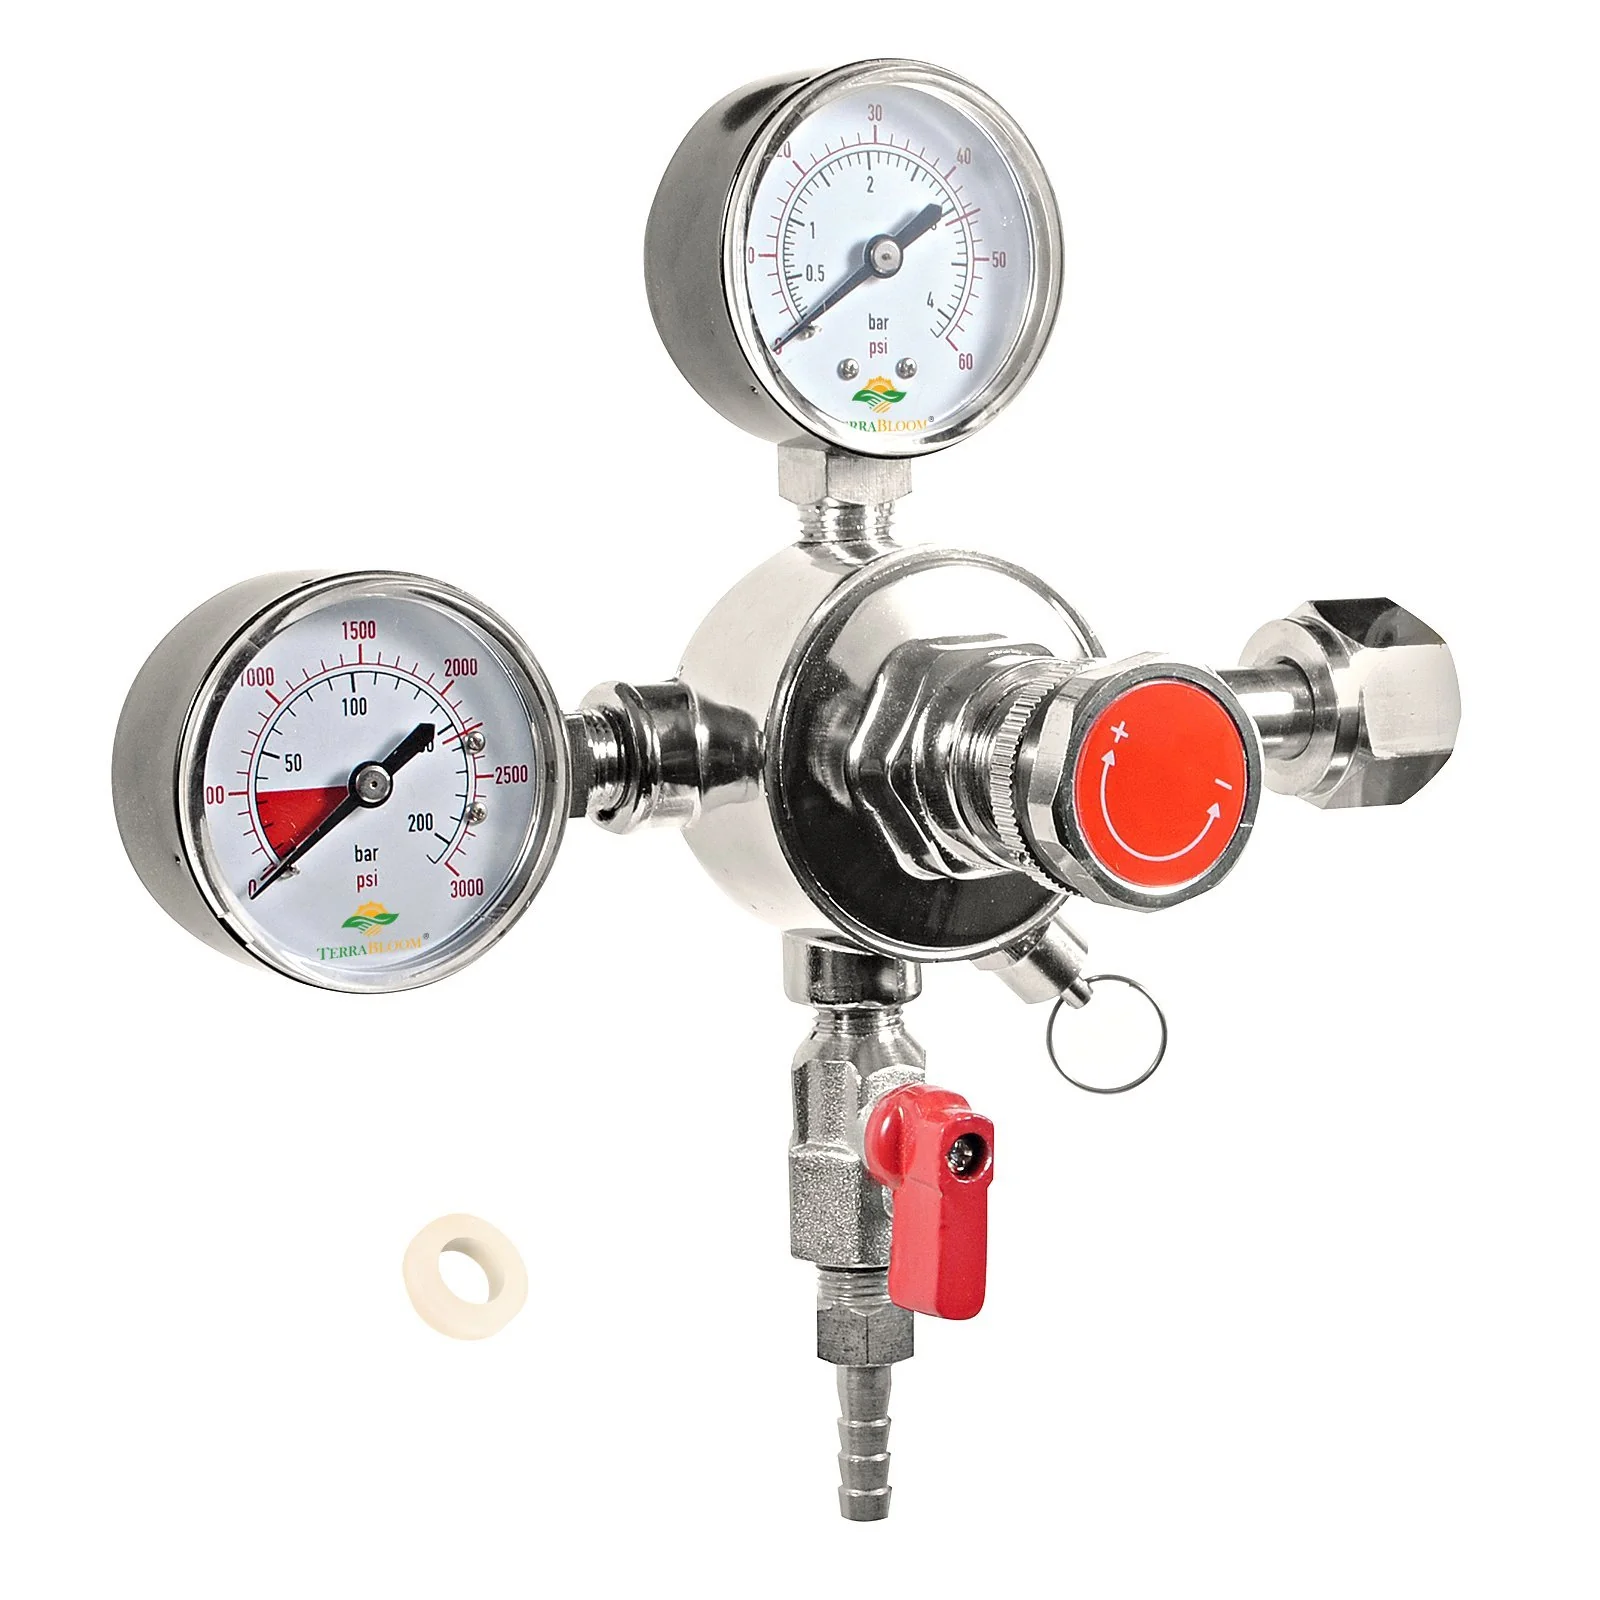
- Check the pressure gauge on the regulator to ensure that it is within the recommended range for your specific kegerator model.
- If necessary, adjust the pressure by turning the adjustment knob on the regulator. Refer to the kegerator’s manual for specific instructions on pressure adjustment.
- Wait for a few moments, and then dispense a small amount of beer from the keg to ensure that the CO2 is properly carbonating the beer.
- Observe the beer flow and check for any signs of excessive foam or improper carbonation. Make any necessary adjustments to the CO2 pressure or temperature to achieve optimal results.
- Enjoy your freshly dispensed, perfectly carbonated beer!
Testing the new CO2 tank is the final step in the process of changing the CO2 tank in your kegerator. By diligently following these steps, you can confidently enjoy your favorite draft beer with friends and family without any interruptions.
Remember, if you encounter any issues or difficulties during the process, consult the manufacturer’s manual or seek professional assistance. Cheers to a successful CO2 tank replacement!
Conclusion
Changing the CO2 tank in your kegerator may seem like a daunting task, but with the right knowledge and step-by-step guidance, it can be a straightforward and rewarding process. By following the steps outlined in this guide, you can confidently replace the CO2 tank in your kegerator and continue to enjoy crisp, carbonated draft beer.
We started by gathering the necessary equipment, including a replacement CO2 tank, adjustable wrench, Teflon tape, gloves, and a rag or towel. We then proceeded to turn off and unplug the kegerator, ensuring our safety throughout the process.
Locating the CO2 tank was the next step, followed by properly releasing the pressure in the kegerator to avoid any accidents or mishaps. We then disconnected the old CO2 tank, making sure to handle it with care.
Installing the new CO2 tank was a crucial step, ensuring a proper fit and secure connection. We then reconnected all fittings and connections, ensuring they were tight and leak-free. Checking for leaks using soapy water helped us identify and address any potential issues.
Finally, we turned on the kegerator and tested the new CO2 tank to ensure everything was functioning properly. Adjusting the CO2 pressure as needed, we enjoyed dispensed beer with optimal carbonation and taste.
Remember, safety is paramount throughout the process. Follow the specific instructions of your kegerator model and consult the manufacturer’s manual if needed. If you encounter any difficulties or are unsure about any step, don’t hesitate to seek professional assistance.
Now that you have the knowledge and confidence to change the CO2 tank in your kegerator, you can continue to enjoy the convenience and pleasure of perfectly poured draft beer. Cheers to a successful CO2 tank replacement and many delightful moments of beer enjoyment ahead!
Frequently Asked Questions about How To Change Co2 Tank In Kegerator
Was this page helpful?
At Storables.com, we guarantee accurate and reliable information. Our content, validated by Expert Board Contributors, is crafted following stringent Editorial Policies. We're committed to providing you with well-researched, expert-backed insights for all your informational needs.


0 thoughts on “How To Change Co2 Tank In Kegerator”