Home>Furniture>Kitchen Furniture>How To Fill A Growler Using Your Kegerator
Kitchen Furniture
How To Fill A Growler Using Your Kegerator
Modified: October 19, 2024
Learn how to fill a growler from a kegerator with our informative articles. Get expert tips and guidance on filling your growler to enjoy fresh beer at home.
(Many of the links in this article redirect to a specific reviewed product. Your purchase of these products through affiliate links helps to generate commission for Storables.com, at no extra cost. Learn more)
Introduction
Welcome to the world of craft beer! If you’re a beer enthusiast, you may have encountered the term “growler” before. A growler is a container typically made of glass, ceramic, or stainless steel, used to transport draft beer from a brewery or a taproom to your home. It’s a perfect way to enjoy your favorite brews without sacrificing freshness or quality.
But what if you have a kegerator at home and want to fill your growler directly from the tap? Fortunately, it’s a relatively easy process that will allow you to enjoy your favorite beers on the go. In this article, we’ll guide you through the steps of filling a growler from a kegerator, ensuring that you can enjoy the perfect pour every time.
Before we dive into the steps, let’s first take a look at the equipment you’ll need to accomplish this task. Having the right tools will ensure a smooth and successful growler filling experience.
Key Takeaways:
- Enjoy fresh craft beer on the go by filling your growler from a kegerator. Properly prepare your equipment, connect the growler, and seal it tightly to preserve carbonation and flavors.
- Maintain your kegerator and equipment for a fresh and enjoyable beer experience. Clean and sanitize your growler, beer line, and tap, and follow regular maintenance to ensure the best taste with every pour.
Read also: 11 Best Growler Kegerator For 2025
Equipment needed
Before you can start filling your growler from a kegerator, it’s important to gather the necessary equipment. Here is a list of items you’ll need:
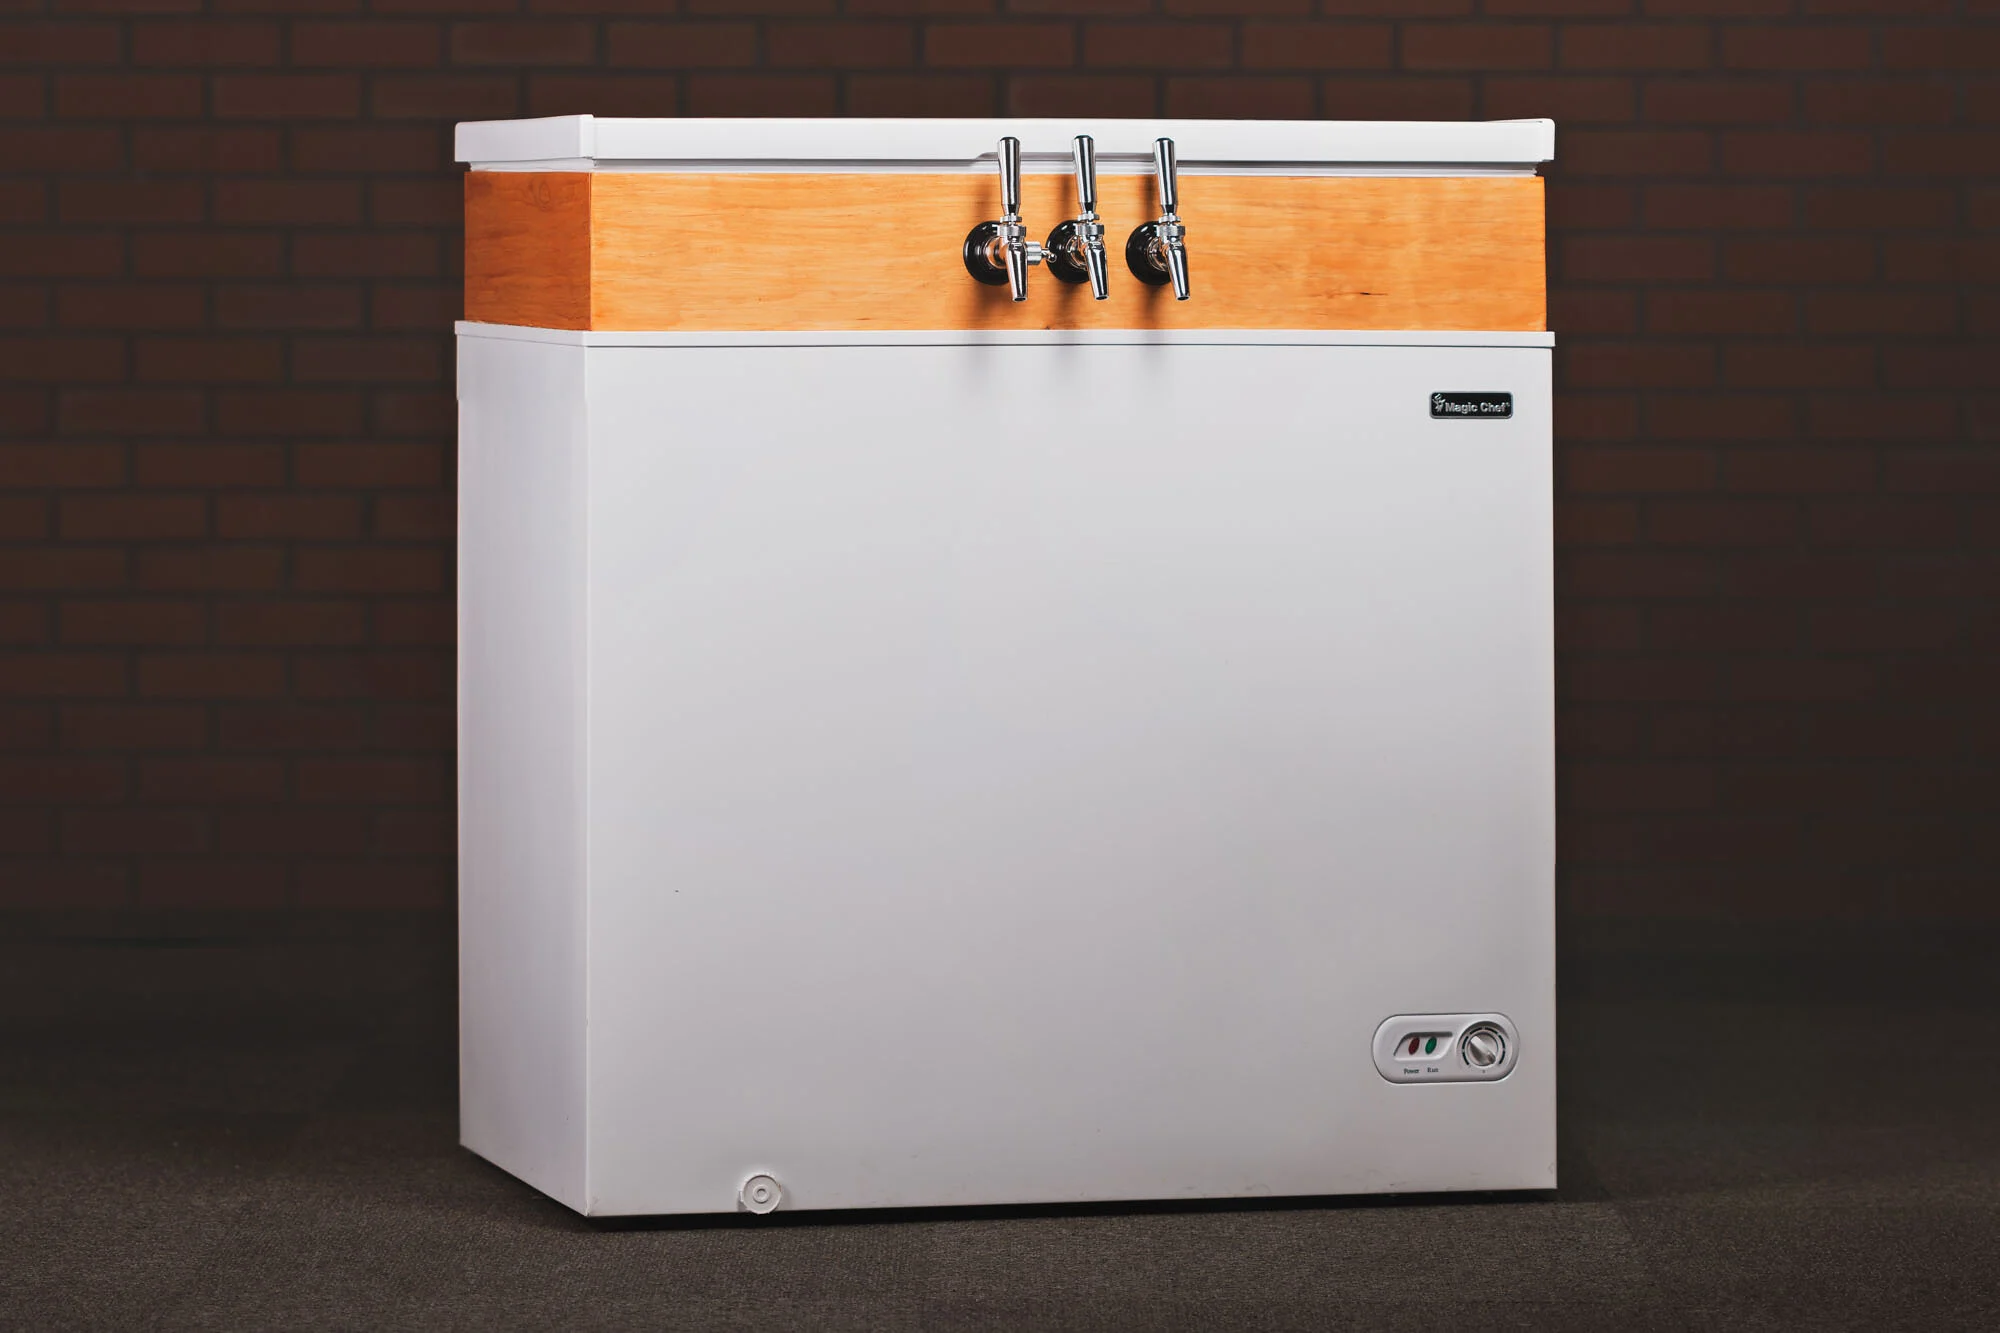
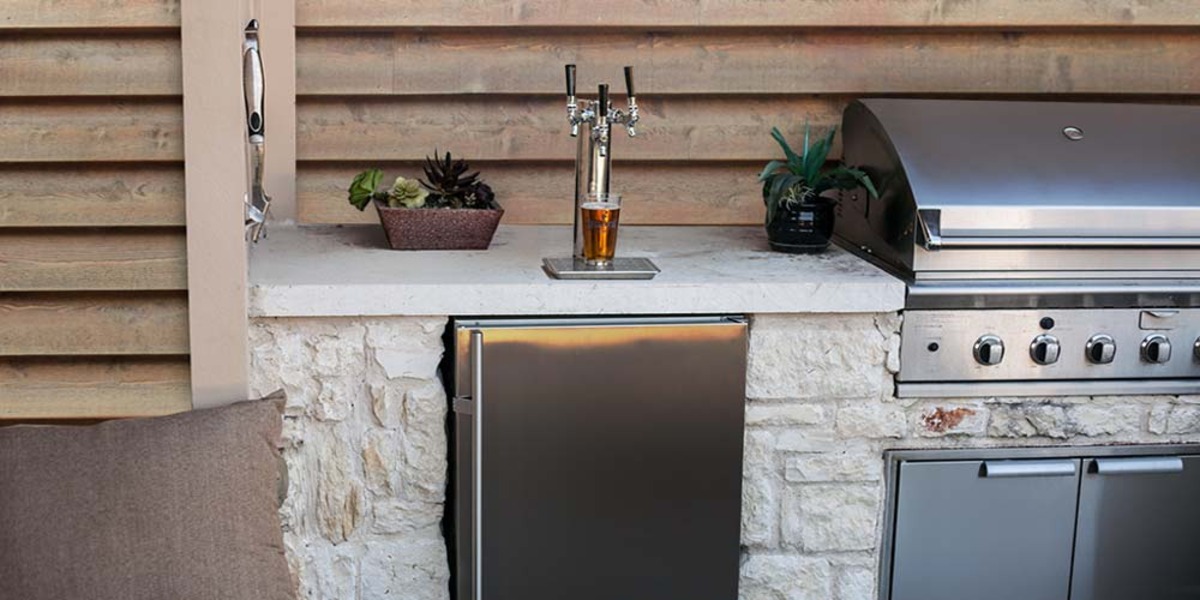
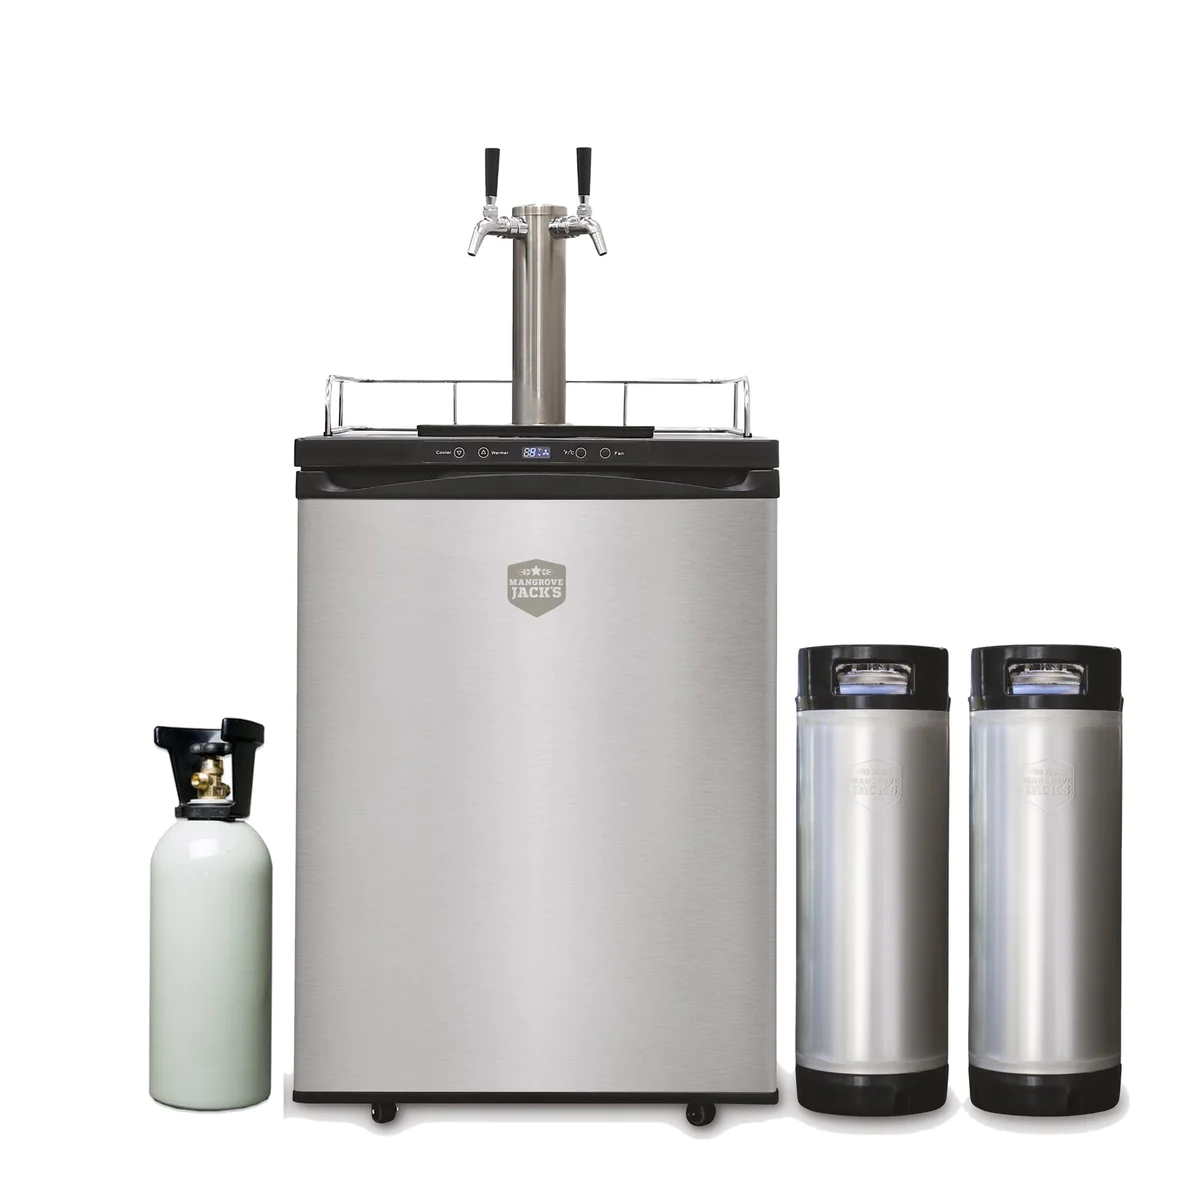
- A kegerator: This is a refrigerated appliance that holds kegs of beer and dispenses them through a tap. Make sure your kegerator is in good working condition before you begin the process.
- A growler: Choose a growler that is compatible with your kegerator, typically a glass or stainless steel container with a tight-sealing cap. Make sure the growler is clean and free from any residue before using it.
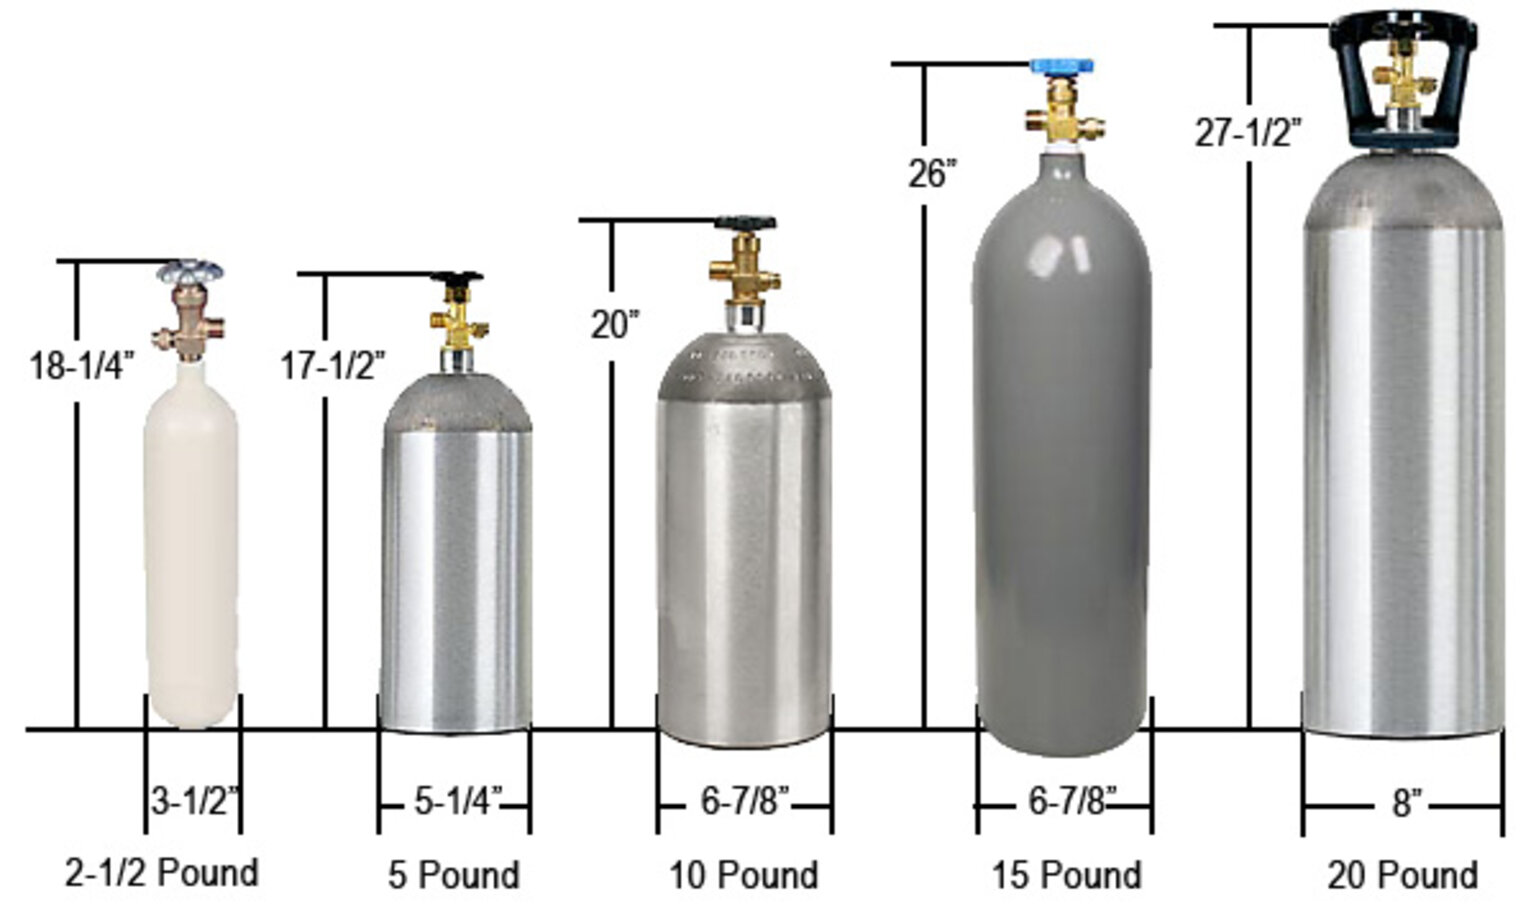
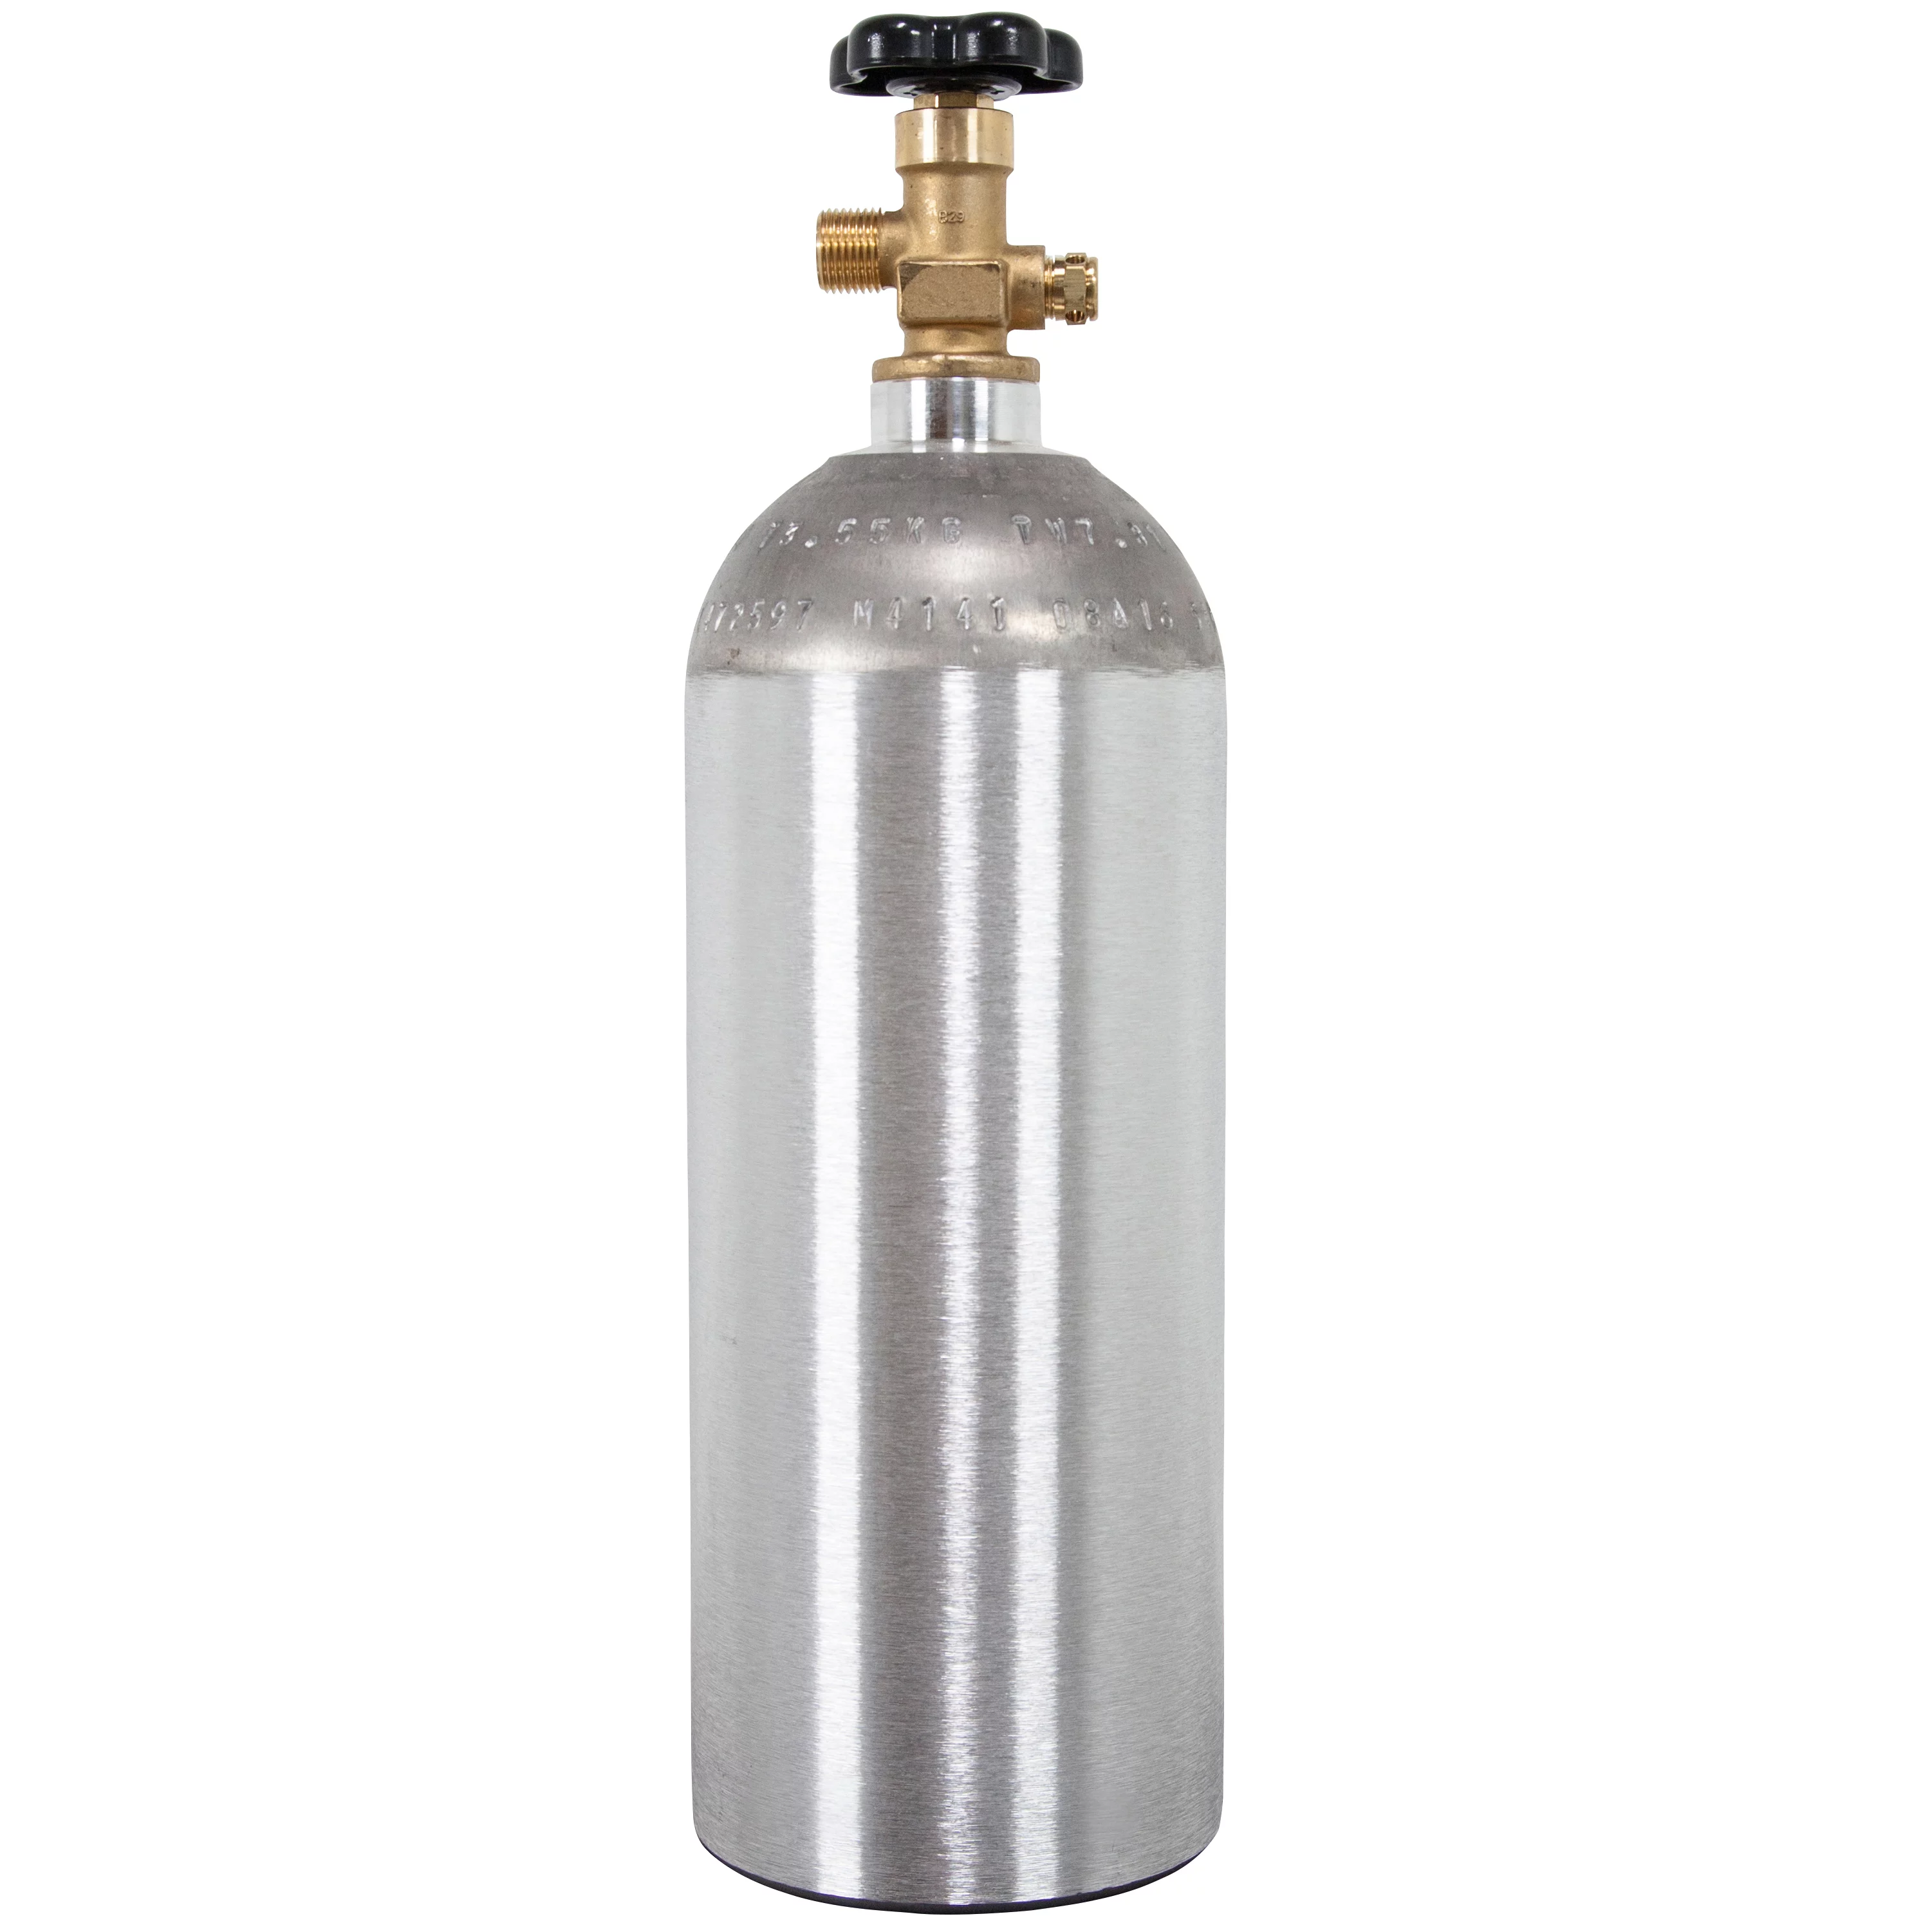
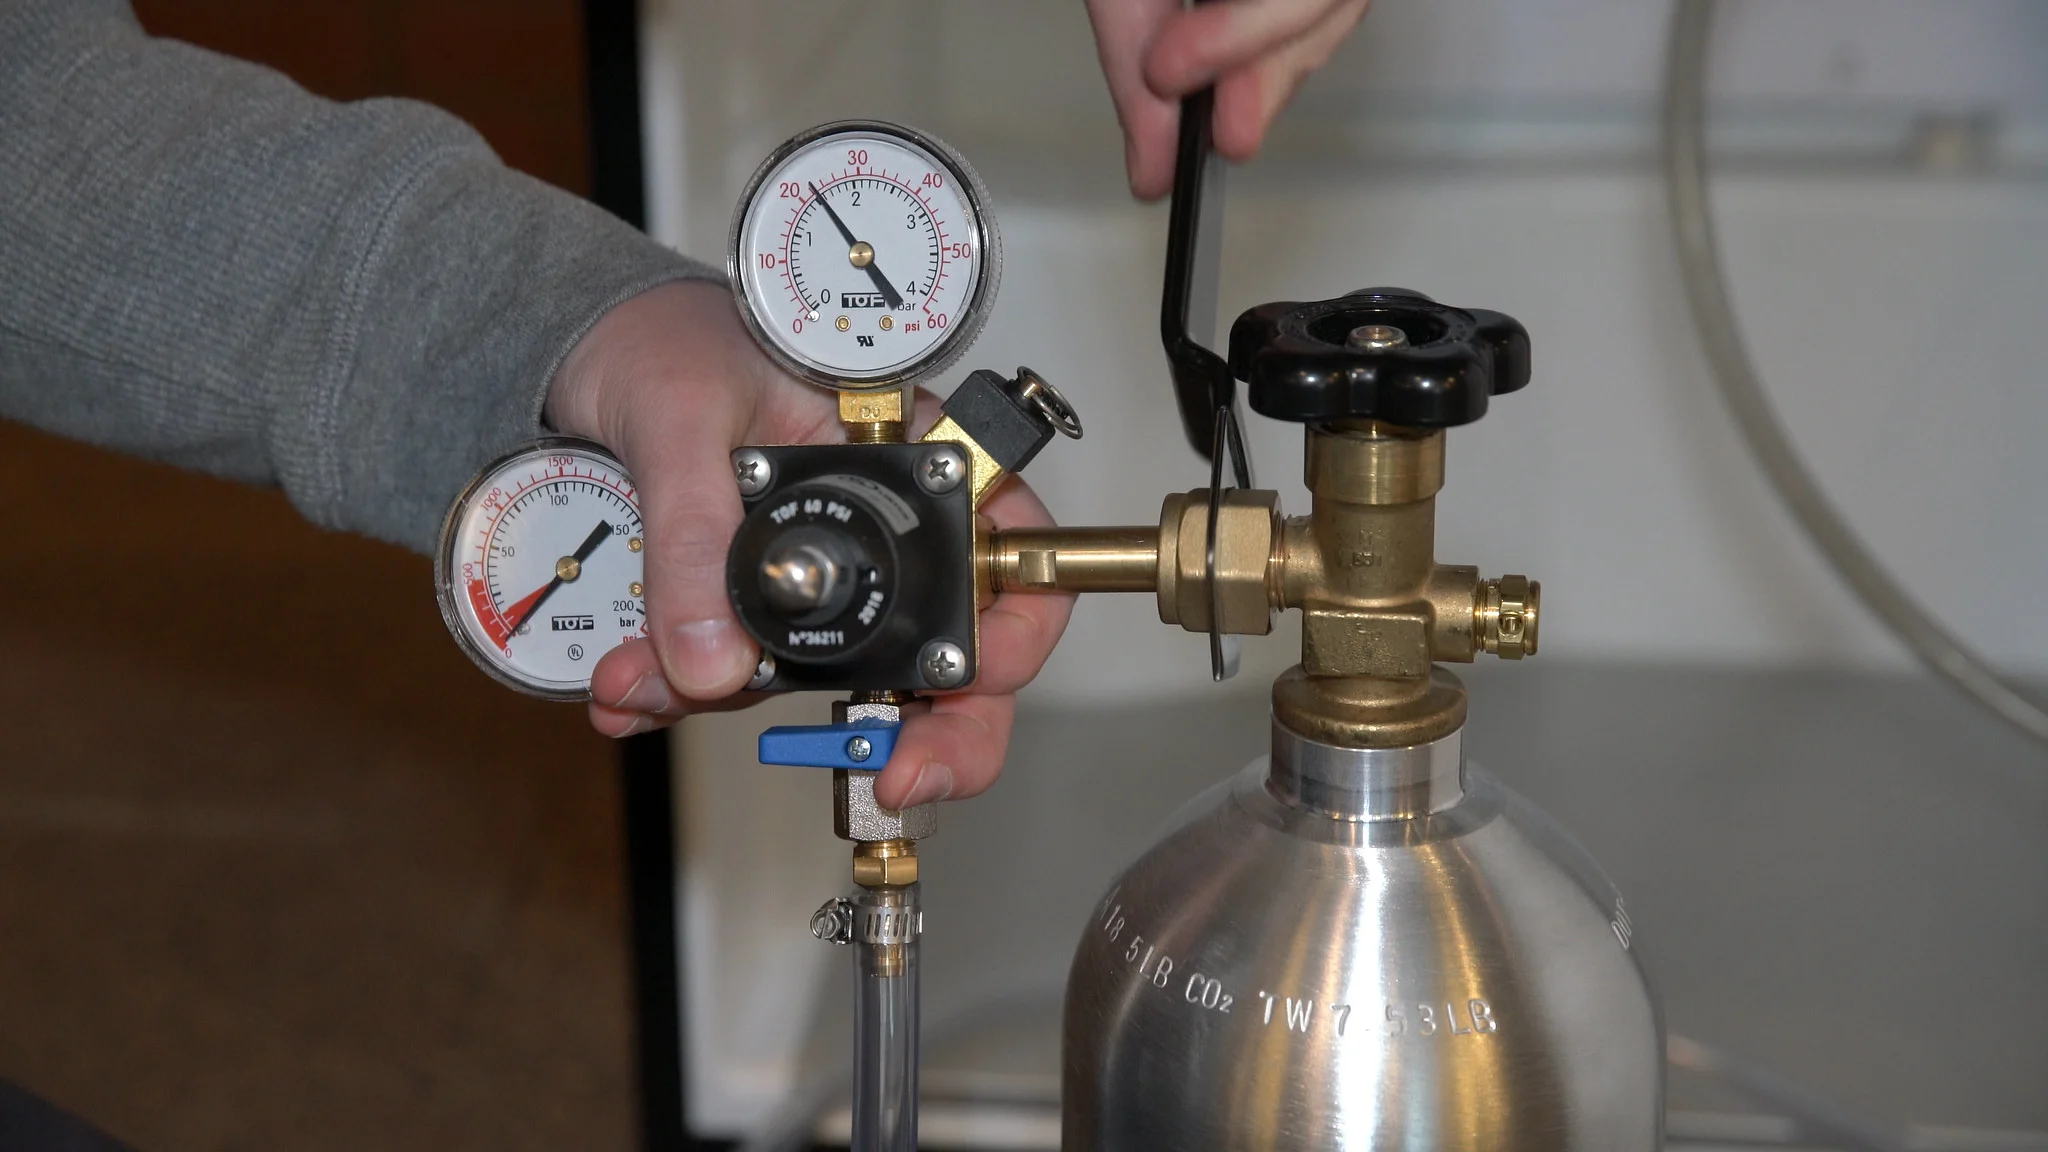
- A CO2 tank: This is required to pressurize the kegerator and maintain carbonation in the beer. Ensure that the CO2 tank is properly filled and connected to your kegerator.
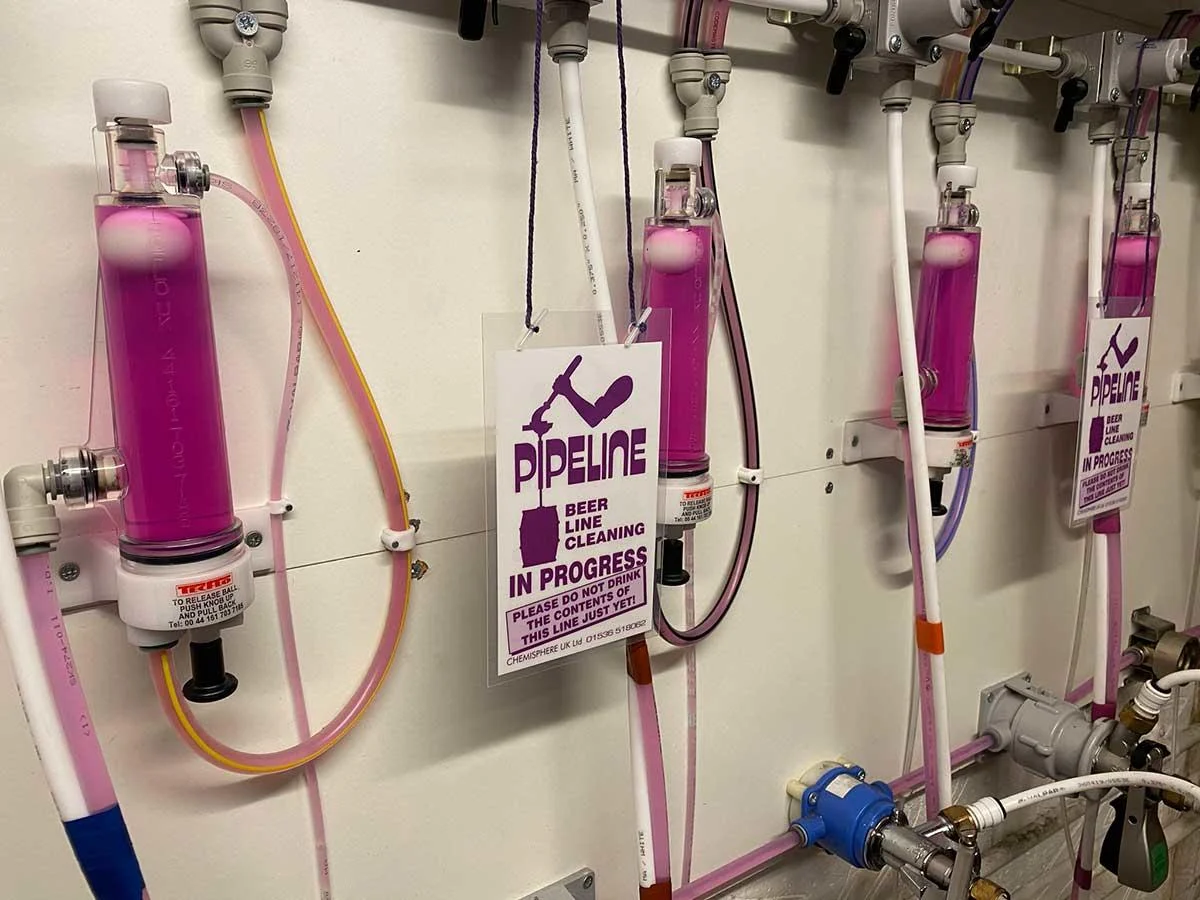
- A beer line: This is a tube that connects the keg to the tap. Make sure the beer line is free of any clogs or blockages to ensure a smooth flow of beer into the growler.
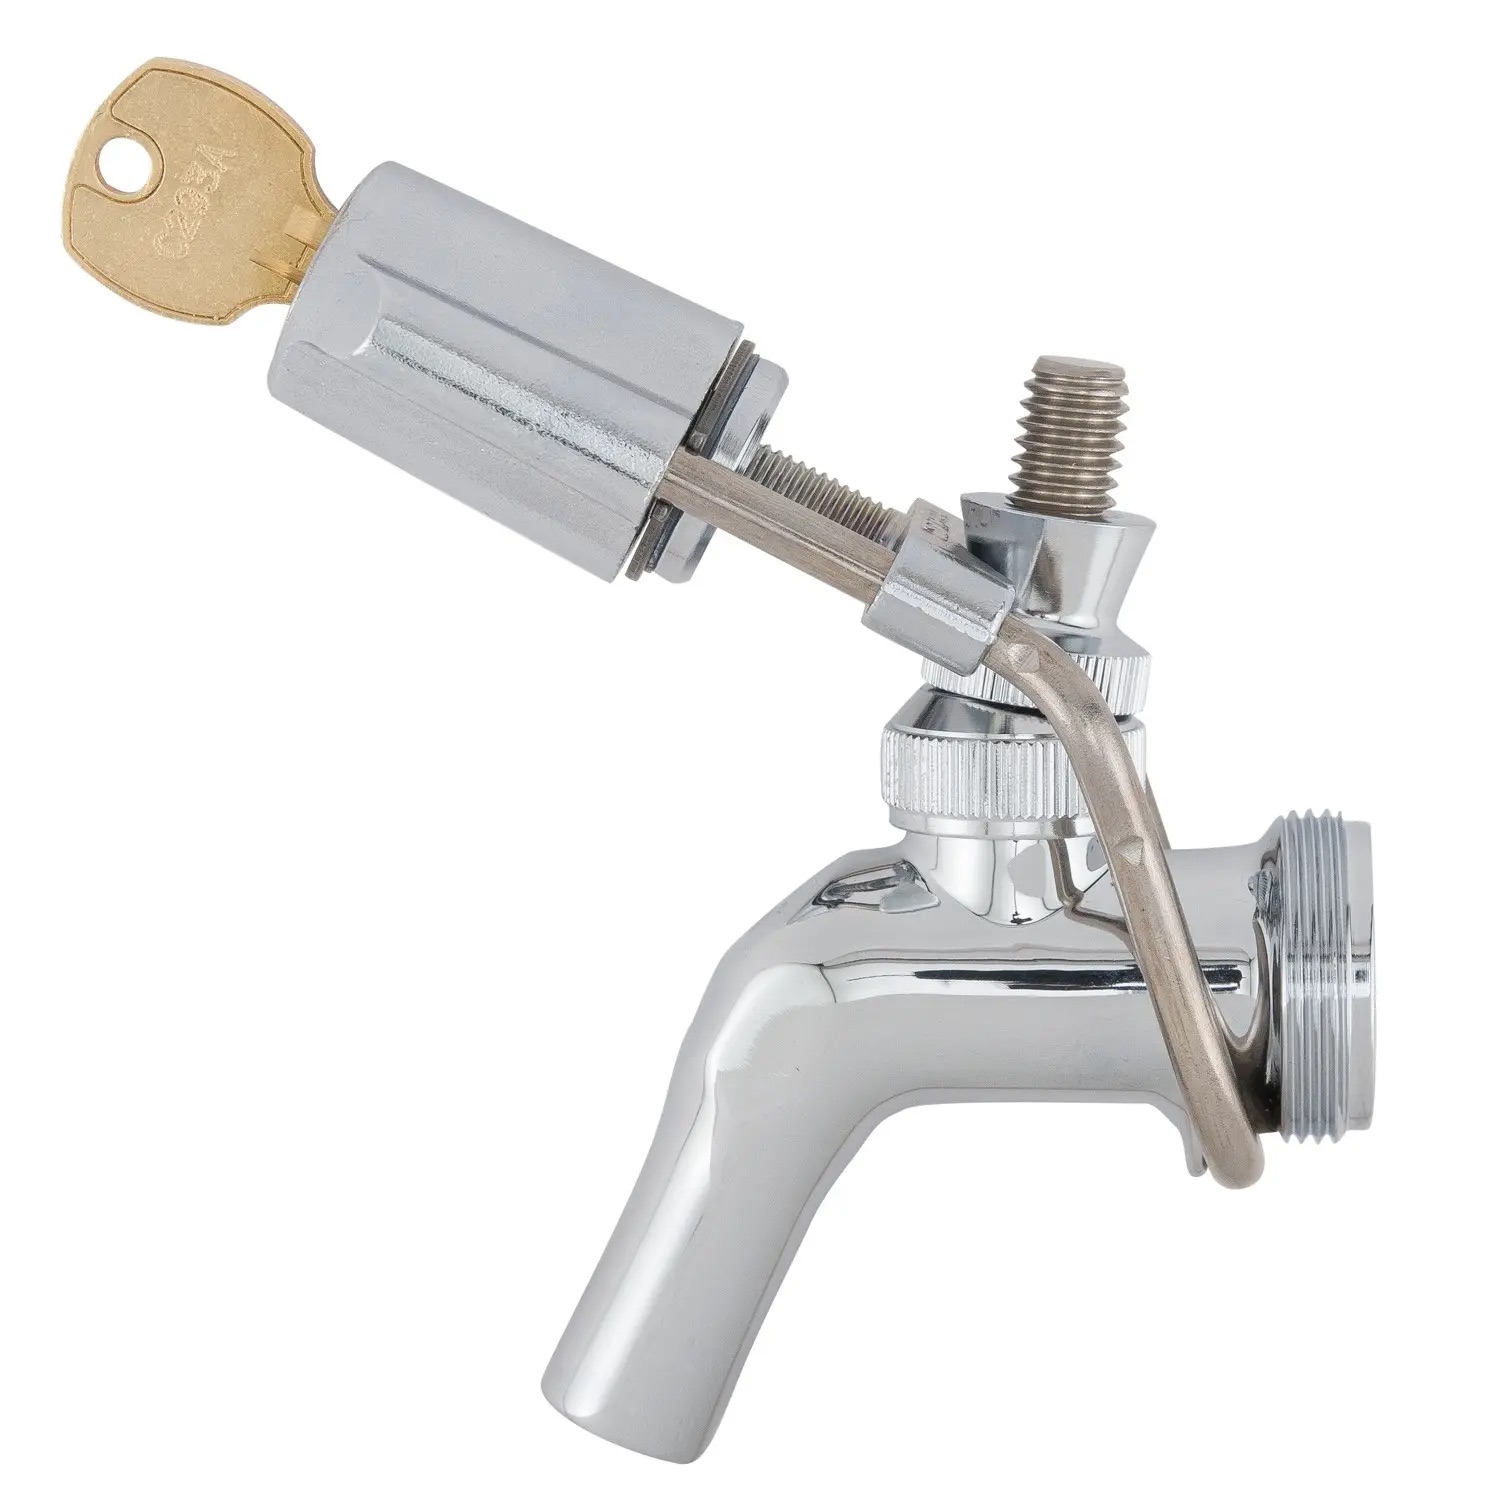
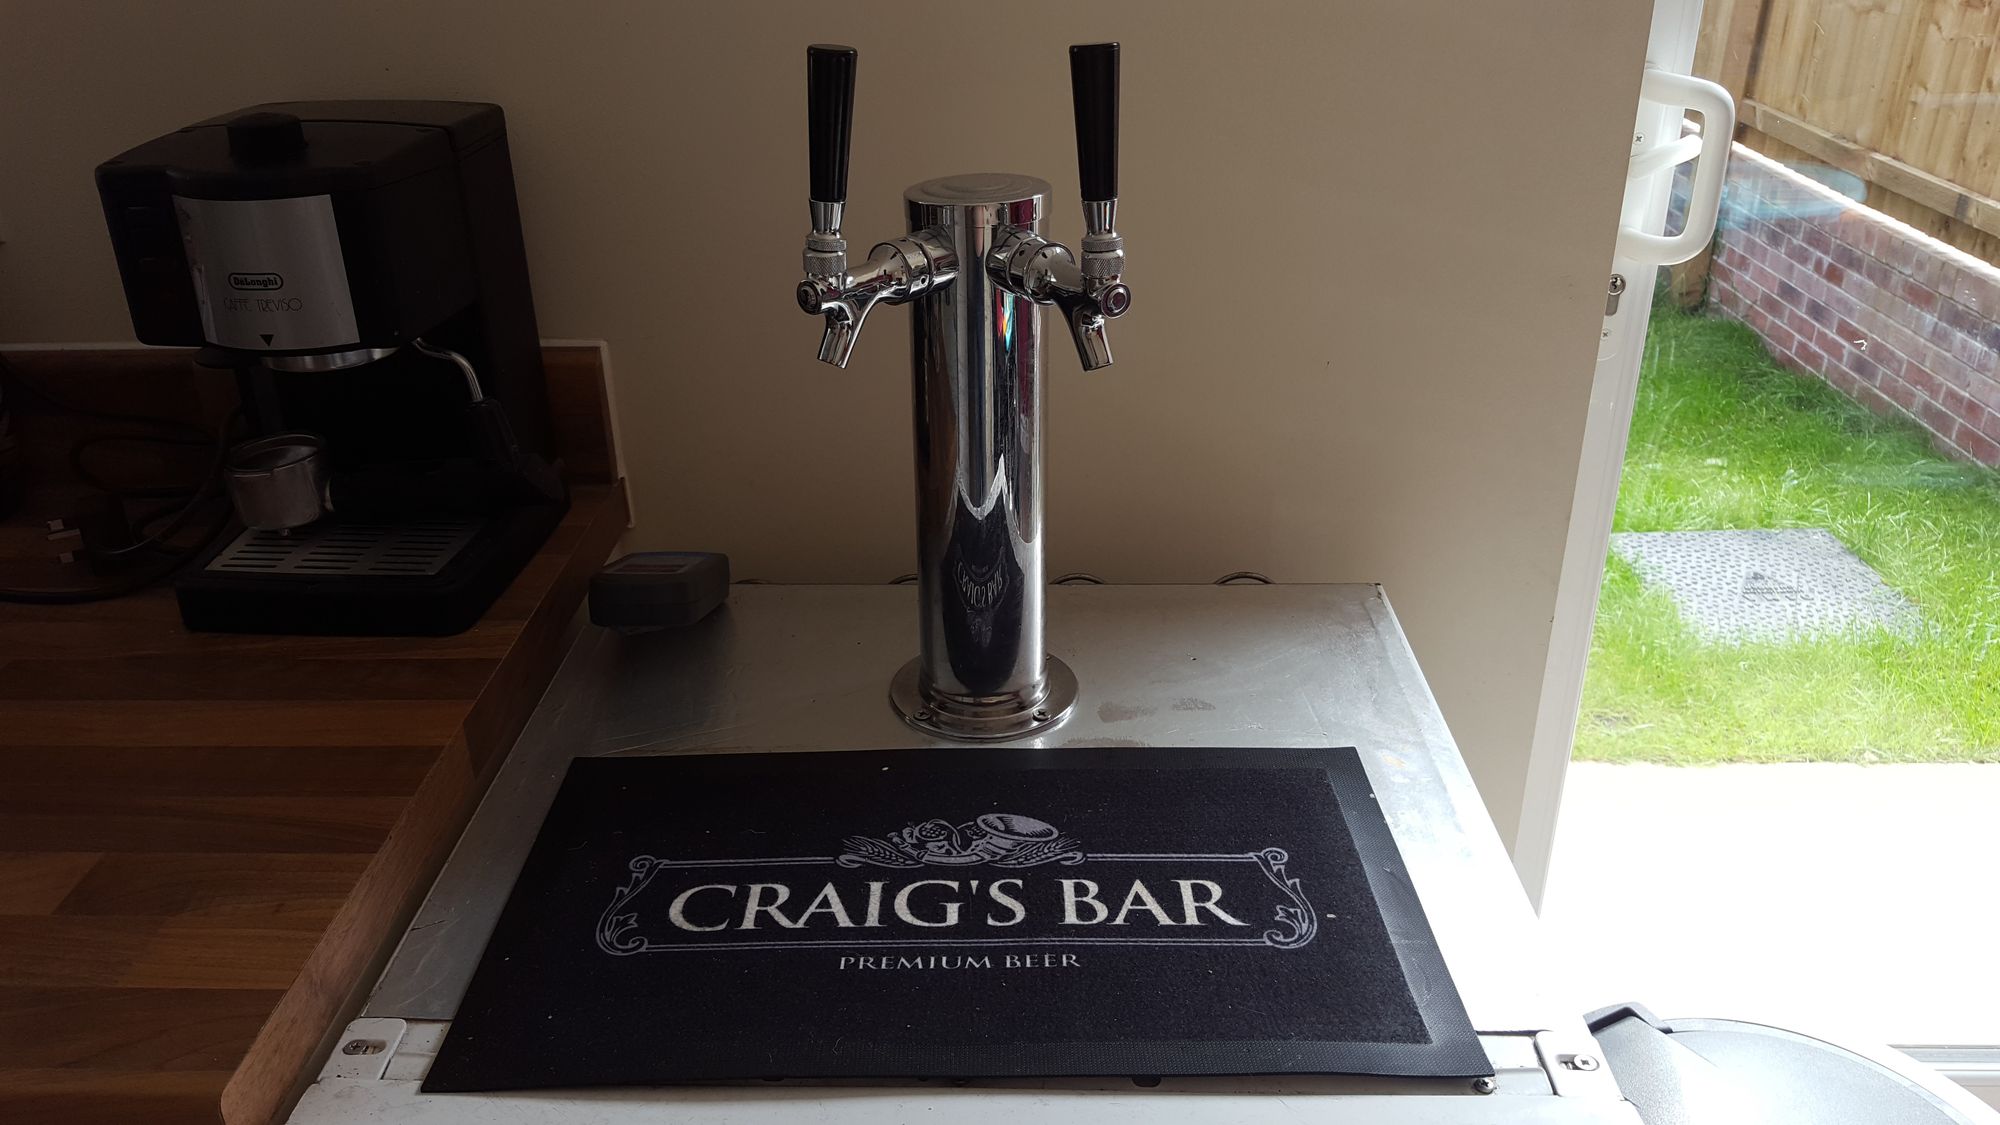
- A beer faucet: This is the tap from which the beer will be dispensed. Ensure that the beer faucet is clean and in good condition before proceeding.
- A beer line cleaning kit: This will come in handy for regular maintenance and cleaning of your kegerator and beer lines to prevent any contamination or off-flavors in your beer.
- A sanitizer: It’s crucial to sanitize both the growler and the beer line to prevent any unwanted bacteria or contamination from affecting the quality of the beer.
Once you have gathered all these items, you’re ready to move on to the next steps of filling your growler from the kegerator. Preparation is key to ensure a smooth and enjoyable filling process.
Step 1: Prepare the growler
Before you can fill your growler from the kegerator, it’s essential to properly prepare the container. Follow these steps to ensure a clean and ready-to-fill growler:
- Thoroughly clean the growler: Start by rinsing the growler with warm water to remove any dirt or debris. Use a bottle brush or a sponge to clean the inside of the growler, making sure to reach all areas. Avoid using any harsh detergents or soaps that could leave a residue behind, as this may impact the flavor of the beer.
- Sanitize the growler: Once the growler is clean, it’s time to sanitize it. Fill the growler with a sanitizing solution recommended for use with brewing equipment. Let the solution sit in the growler for the recommended amount of time, ensuring that it sanitizes the entire inside surface. After the appropriate time has passed, rinse the growler with clean water to remove any sanitizer residue.
- Inspect the growler’s seal: Check the cap or lid of the growler to ensure it’s in good condition and properly seals the container. This will help prevent any leakage or loss of carbonation during the filling process.
By properly cleaning and sanitizing your growler, you’ll ensure that it’s ready to receive the fresh beer from your kegerator. Maintaining a clean and sanitized container is crucial for preserving the quality and flavors of the beer.
Step 2: Set up the kegerator
Now that your growler is prepared, it’s time to set up your kegerator for the filling process. Follow these steps:
- Ensure the kegerator is plugged in and powered on: Before you begin, make sure your kegerator is properly plugged into an electrical outlet and turned on. This will ensure that the beer is kept at the optimal serving temperature.
- Check the CO2 tank: Verify that the CO2 tank connected to your kegerator is properly filled. You can usually do this by checking the pressure gauge on the regulator. If the tank is low, refill or replace it as necessary.
- Adjust the temperature: Depending on the style of beer you’ll be filling your growler with, set the temperature of your kegerator accordingly. Most kegerators have a temperature control dial that allows you to adjust the cooling level.
- Clean the beer line: Before you begin filling the growler, it’s a good idea to flush out any residue or stale beer that may be present in the beer line. You can do this by running a small amount of beer through the tap until it runs clear. This will ensure a fresh and clean flow of beer into your growler.
By properly setting up your kegerator, you’ll ensure that the beer inside the keg is at the right temperature, properly carbonated, and ready to be filled into your growler.
Step 3: Connect the growler to the kegerator
With your kegerator set up and ready to go, it’s time to connect your growler to the kegerator. Follow these steps:
- Ensure the tap is closed: Before connecting the growler, make sure the tap on your kegerator is closed. This will prevent any beer from flowing out before you’re ready.
- Attach the beer line to the tap: Take the beer line and connect it to the tap on your kegerator. Make sure it is securely fastened and that there are no leaks.
- Purge the beer line: It’s essential to purge any excess air from the beer line before filling your growler. To do this, open the tap briefly and let a small amount of beer flow out into a sink or drain. This will ensure that you have a smooth and continuous flow of beer when filling your growler.
By properly connecting the growler to the kegerator, you’ll ensure that the beer flows smoothly and efficiently, preserving the carbonation and flavors of the beer.
Before filling a growler from a kegerator, make sure the growler is clean and sanitized to prevent contamination. Use a counter-pressure filler to maintain carbonation and minimize oxygen exposure.
Read more: How Do You Fill A Kegerator
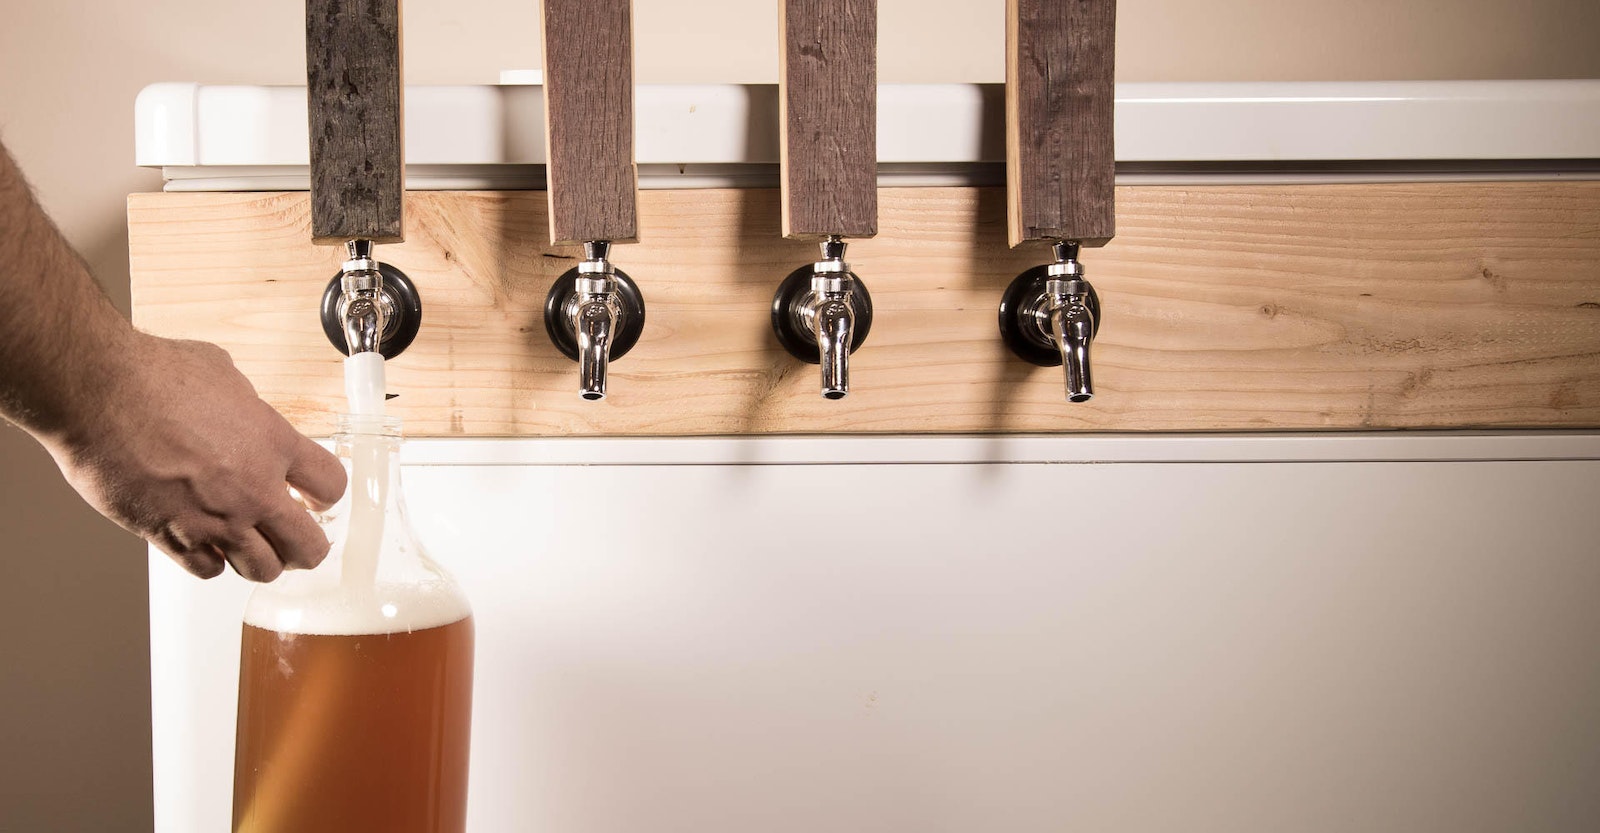
Step 4: Fill the growler
Now that everything is set up and connected, it’s time to fill your growler with delicious, fresh beer. Follow these steps:
- Position the growler: Hold your growler under the tap, tilting it at a slight angle. This will minimize the foam and ensure a smoother fill.
- Open the tap: Slowly open the tap on the kegerator, allowing the beer to flow into the growler. Be careful not to open it too quickly, as this can cause excessive foaming.
- Fill the growler: As the beer flows, gradually straighten the growler to an upright position. Fill it until you have approximately half an inch of headspace at the top to accommodate carbonation. This will prevent overflow when sealing the growler later.
- Avoid excessive agitation: Try to minimize movement or shaking of the growler while filling to prevent any excessive foaming or loss of carbonation.
Remember, the goal is to fill the growler without excessive foam. Take your time and ensure a controlled pour to maximize the quality and freshness of the beer inside.
Step 5: Seal the growler
Once your growler is filled with your favorite beer, it’s time to seal it to preserve freshness and carbonation. Here’s how to properly seal your growler:
- Clean the cap or lid: Before sealing the growler, make sure the cap or lid is clean and free from any dirt or debris.
- Place the cap on the growler: Gently place the cap or lid on the growler, ensuring that it is aligned properly with the opening.
- Secure the cap tightly: Use your hands to firmly screw the cap or lid onto the growler. Ensure that it is tightly sealed to prevent any leaks or loss of carbonation.
It’s important to note that once the growler is sealed, it’s best to consume the beer within a few days to maintain its freshness and optimal flavor.
If you plan to transport the filled growler, it’s a good idea to store it in a cool and dark place to minimize temperature fluctuation and exposure to light, which can affect the beer’s quality.
Remember, the seal on the growler plays a crucial role in maintaining carbonation and preventing oxidation. So be sure to seal it tightly to enjoy the best possible taste experience.
Step 6: Clean up and maintenance tips
After filling your growler and sealing it, it’s important to clean up your equipment and ensure proper maintenance for future use. Follow these clean up and maintenance tips:
- Disconnect the growler: Carefully disconnect the beer line from the tap on your kegerator, taking care to avoid any spills or drips. Empty any remaining beer from the line into a designated container or sink.
- Sanitize the beer line: To maintain cleanliness and prevent any potential contamination, sanitize the beer line using a cleaning solution specifically designed for beer lines. Follow the instructions provided with the cleaning kit for best results.
- Clean the tap and faucet: Wipe down the tap and faucet with a clean cloth to remove any beer residue or buildup. This will help maintain the integrity and functionality of the tap for future use.
- Properly store the growler: Once you have enjoyed your beer, clean the growler thoroughly with warm water and a mild detergent. Rinse it well to remove any soap residue. Allow the growler to air dry completely before storing it in a clean and dry area. Avoid storing the growler with the cap or lid on to prevent any potential mold or odor buildup.
- Regular maintenance: It’s important to regularly clean and maintain your kegerator according to the manufacturer’s instructions. This includes cleaning the keg couplers, checking the CO2 tank pressure, and ensuring all components are in good working condition.
By following these clean up and maintenance tips, you’ll extend the life of your equipment, prevent any off-flavors in your beer, and ensure a fresh and enjoyable experience with every fill.
Conclusion
Filling your growler from a kegerator is a convenient and enjoyable way to enjoy your favorite beers at home or on the go. By following the steps outlined in this guide and using the right equipment, you can ensure a successful and satisfying fill every time.
Remember to properly prepare your growler, set up your kegerator, and connect the growler to the tap. Take your time with the filling process, ensuring a controlled pour and avoiding excessive foaming. Once your growler is filled, seal it tightly to maintain freshness and carbonation.
Afterwards, don’t forget to clean and sanitize your equipment for future use. Regular maintenance and care will prolong the life of your kegerator and ensure the best taste experience with every pour.
Now that you have the knowledge and steps to fill your growler from a kegerator, it’s time to enjoy the wide array of craft beers available to you. So go ahead, share your favorite brews with friends, take them to outdoor events, or simply savor the taste in the comfort of your own home. Cheers!
Frequently Asked Questions about How To Fill A Growler Using Your Kegerator
Was this page helpful?
At Storables.com, we guarantee accurate and reliable information. Our content, validated by Expert Board Contributors, is crafted following stringent Editorial Policies. We're committed to providing you with well-researched, expert-backed insights for all your informational needs.


0 thoughts on “How To Fill A Growler Using Your Kegerator”