Articles
How To Make A Chess Board With Hand Tools
Modified: January 22, 2024
Learn how to create a stunning chess board using only hand tools with our comprehensive articles. Master the art of woodworking and impress your friends with your craftsmanship.
(Many of the links in this article redirect to a specific reviewed product. Your purchase of these products through affiliate links helps to generate commission for Storables.com, at no extra cost. Learn more)
Introduction
Welcome to the exciting world of woodworking! In this article, we will explore how to make a chess board using only hand tools. Crafting your own chess board is a fulfilling and rewarding project that allows you to showcase your craftsmanship while creating a functional and beautiful game board.
Woodworking has been practiced for centuries, and the art of creating intricate designs from wood continues to captivate and inspire craftsmen of all skill levels. Making a chess board with hand tools allows you to connect with the timeless traditions of woodworking while honing your skills and creating a unique piece that can be cherished for years to come.
Not only does making a chess board provide a practical platform for the game, but it is also an opportunity to showcase your creativity and personal style. By carefully selecting different wood types, you can create a visually stunning chess board with contrasting colors and grains. Whether you prefer a traditional, elegant design or a modern, sleek style, the possibilities are endless.
While power tools may offer convenience and efficiency, using hand tools provides a more intimate and hands-on experience. Throughout the process, you will have direct control over every cut, shaping, and detail, allowing you to fully immerse yourself in the art of woodworking.
So, grab your hand tools, let your creativity flow, and let’s dive into the steps of making a chess board that will become a treasured piece in your home or a cherished gift for a loved one.
Key Takeaways:
- Craft a timeless chessboard with hand tools, showcasing creativity and woodworking skills. Enjoy the intimate, hands-on experience of creating a functional and visually stunning game board.
- Connect with tradition and craftsmanship by making a unique chessboard. Embrace the joy of woodworking and create a treasured piece for strategic gameplay and cherished gifts.
Read more: How To Make A Cutting Board Using Hand Tools
Materials Needed
Before starting your chess board project, gather the following materials:
- Wood: Choose two contrasting types of wood, such as walnut and maple, for the chessboard squares. Ensure the wood is of sufficient thickness and free from cracks or defects.
- Saw: A fine-toothed hand saw or a Japanese pull saw will be needed to cut the wood accurately.
- Try Square: This tool is essential for ensuring straight and square cuts.
- Marking Gauge: Use a marking gauge to make precise and consistent markings on the wood.
- Chisels: A set of sharp chisels will be required for creating the chessboard squares and border.
- Smoothing Plane: This tool is used to achieve a smooth and level surface on the chessboard.
- Sandpaper: Various grits of sandpaper, ranging from coarse to fine, will be needed for sanding and polishing.
- Wood Finish: Choose a suitable finish, such as varnish or oil, to protect and enhance the natural beauty of the wood.
- Chess Pieces: You will need a set of chess pieces to complete the board. These can be purchased or handcrafted.
- Clamps: Use clamps to secure the wood while cutting, shaping, and gluing.
- Safety Equipment: Ensure you have safety goggles, ear protection, and a dust mask to protect yourself during the woodworking process.
It’s worth mentioning that while hand tools are the focus of this article, you may also need a workbench or a sturdy table, as well as some basic woodworking supplies like glue, brushes, and a burnisher. These additional items will aid in the construction and finishing stages of your chess board project.
Now that you have all the necessary materials, it’s time to embark on the journey of creating your very own chess board using hand tools. Let’s move on to the first step: selecting the wood.
Step 1: Selecting the Wood
The choice of wood is crucial in creating a visually striking and durable chess board. Select two different types of wood that offer contrasting colors and grains. Popular choices include walnut and maple, but you can explore other options such as cherry and mahogany, or even exotic woods for a unique aesthetic.
Before purchasing the wood, ensure that it is the appropriate thickness for your chess board project. Typically, a thickness of 3/4 inch (19 mm) works well, but you can adjust this depending on your preference.
Inspect the wood for any defects such as cracks, knots, or warping. It’s best to choose high-quality wood to ensure the longevity and overall appearance of your chess board.
Once you have selected your desired wood types, measure and mark the dimensions you want for your chessboard squares. Standard chessboard squares are usually around 2 inches (5 cm) in size, but you can adjust the dimensions according to your preference.
Using a try square and a marking gauge, carefully mark the dimensions on the wood, ensuring that each square is accurately measured and consistent in size. Double-check your measurements before proceeding to the next step.
With the wood selected and marked, you are now ready to move on to the next step: cutting the wood into individual chessboard squares.
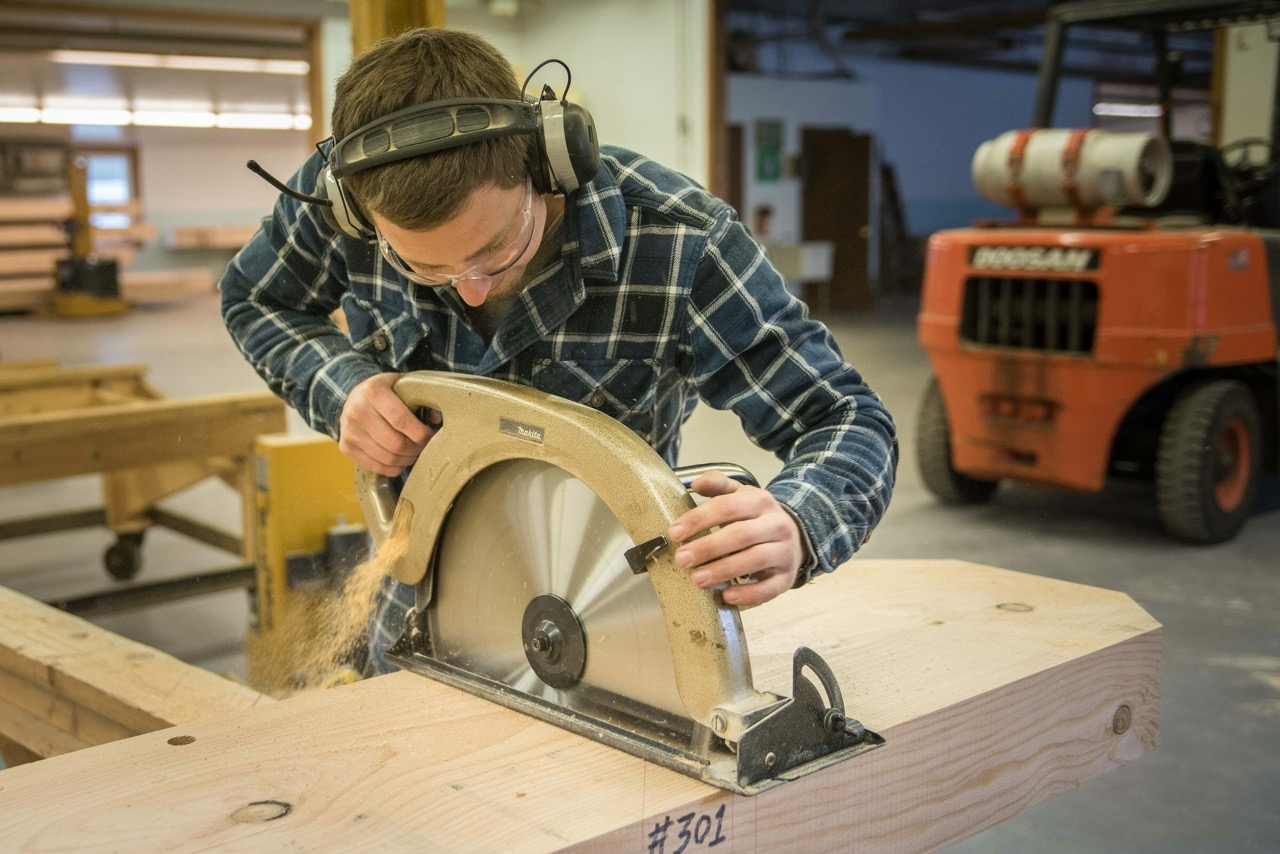
Step 2: Cutting the Wood
Now that you have your wood marked for the chessboard squares, it’s time to cut them out. This step requires precision and accuracy to ensure that each square is cut to the correct dimensions.
Using a fine-toothed hand saw or a Japanese pull saw, carefully cut along the marked lines. Take your time and make steady, controlled cuts to avoid any mistakes or splintering. It’s always better to cut slightly outside the lines and then use a chisel to trim the squares to the exact size.
Use a try square to check that each square has straight and perpendicular edges. This is crucial to ensure a seamless and professional-looking chessboard.
As you cut each square, label them to keep track of their position and orientation. This will prevent any confusion later on when you assemble the chessboard.
Continue cutting until you have all the necessary squares for your chessboard. Remember to exercise patience and precision during this step, as it will contribute to the overall quality of your chessboard.
With the squares cut, you have completed the second step of creating a chessboard with hand tools. Next, we will move on to preparing the chessboard squares to be assembled into a cohesive board.
Step 3: Preparing the Chessboard Squares
Now that you have all the chessboard squares cut to size, it’s time to prepare them for assembly. This step involves creating a smooth and flat surface on each square, ensuring that they fit together seamlessly.
Start by using a chisel to remove any rough edges or imperfections on the squares. Take care to make precise cuts and maintain the square shape of each piece.
Once you have smoothed the edges, use a smoothing plane to level the surface of each chessboard square. This tool will help you achieve a consistent thickness across all the squares, resulting in a professional-looking chessboard.
After planing, it’s essential to sand the squares to create a smooth and splinter-free surface. Begin with coarse-grit sandpaper to remove any remaining roughness, then progress to finer-grit sandpaper for a polished finish.
As you sand each square, keep them organized and in order to ensure proper alignment during assembly. Additionally, be mindful of the wood grain direction and sand in the same direction to maintain a uniform appearance.
After sanding, use a damp cloth to wipe away any dust or debris that may have accumulated. This step will allow you to better inspect the quality of your squares before moving on.
With the chessboard squares now prepared, you are ready to move on to the next step: creating the border that will hold the squares together and give the chessboard its final shape.
When making a chess board with hand tools, ensure that your measurements are precise and accurate to create evenly sized squares for a professional-looking finish.
Read more: How To Flatten Board With Hand Tools
Step 4: Creating the Chessboard Border
Now that the chessboard squares are ready, it’s time to create the border that will hold them together and give the chessboard its distinctive look. The border adds stability and enhances the overall aesthetics of the board.
Start by selecting a contrasting wood type for the border. This can be the same wood used for the squares or a different type to create a striking contrast. Measure and mark the dimensions for the border on the wood, ensuring that it matches the size of the assembled squares.
Using a fine-toothed hand saw or a Japanese pull saw, carefully cut along the marked lines to create the individual pieces for the border. Take your time during this step to ensure clean and accurate cuts.
Once the border pieces are cut, use a chisel to trim any rough edges and ensure they are flush with the edge of the chessboard squares. The border pieces should fit snugly against the squares without any gaps.
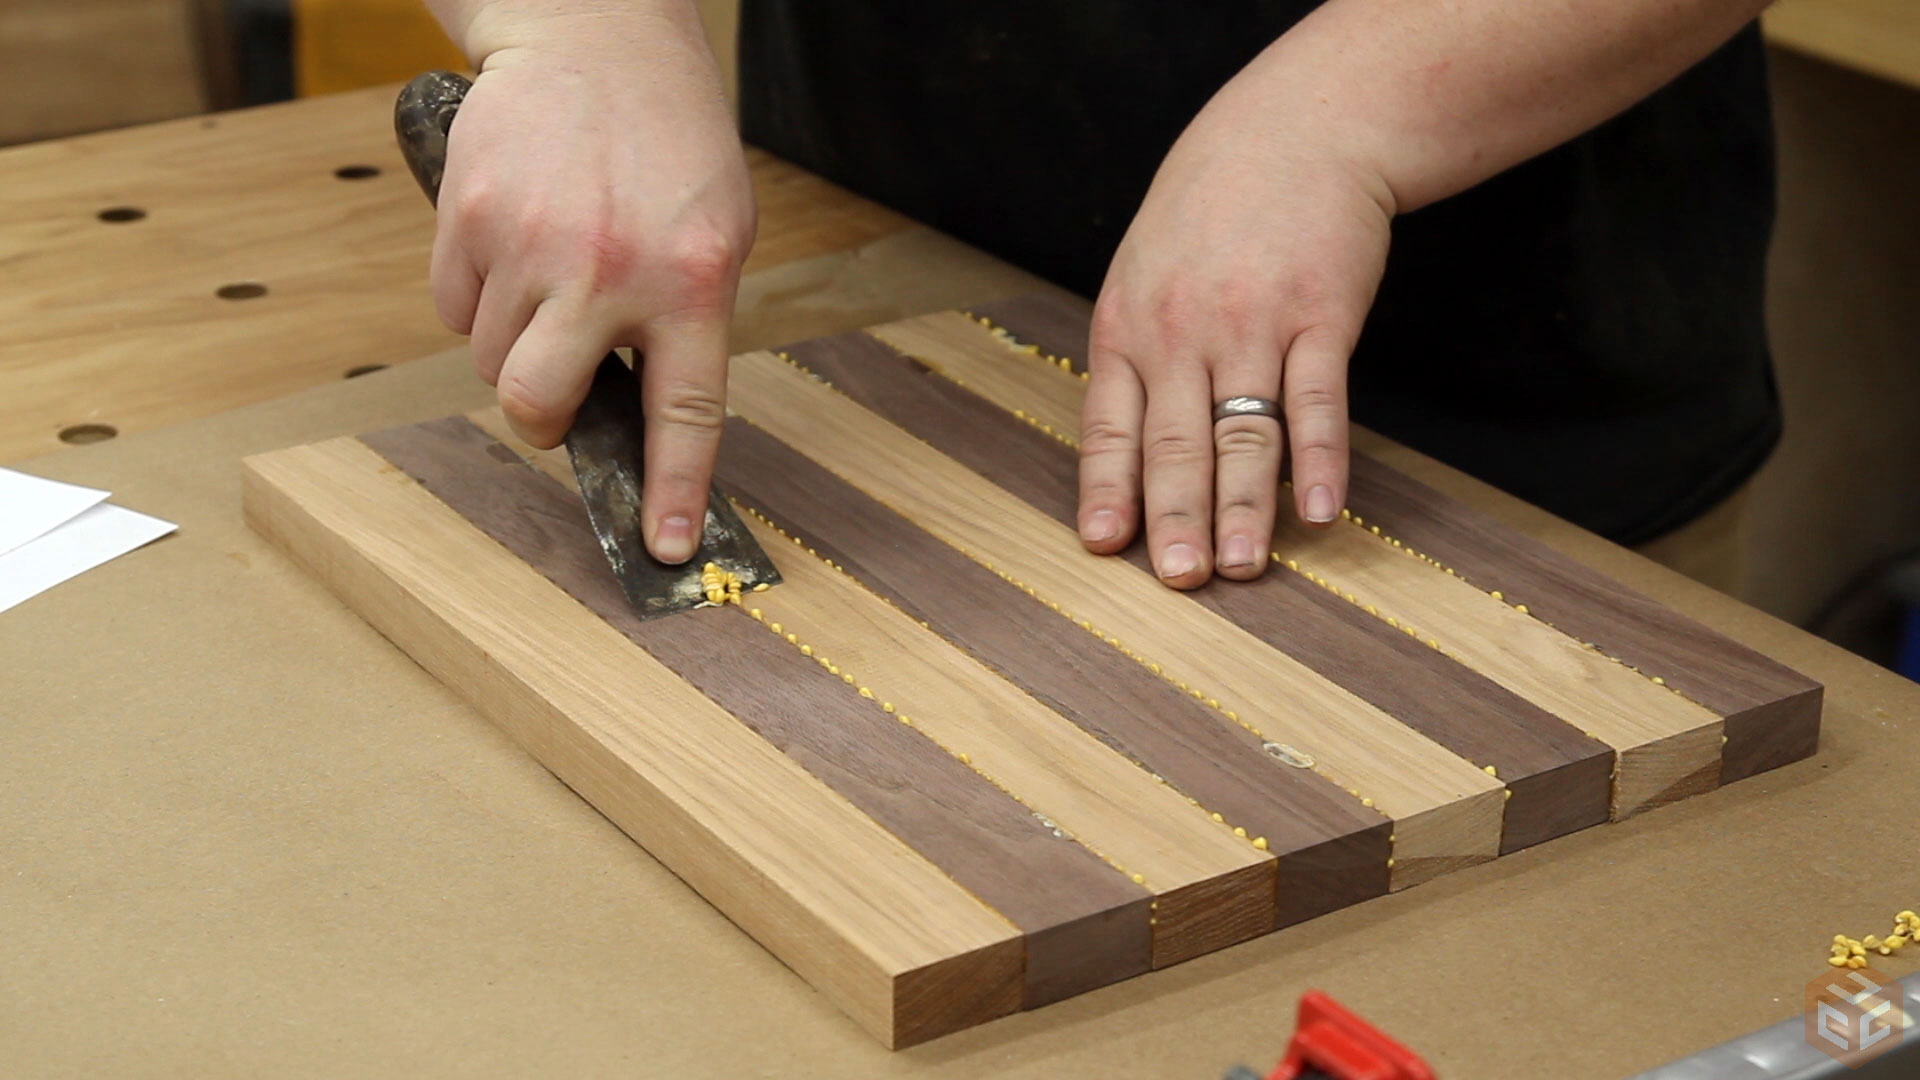
Next, apply a thin layer of glue to the edges of the chessboard squares. Carefully align and place the border pieces onto the glued edges of the squares, pressing them firmly together to create a tight bond. Use clamps to hold everything in place while the glue dries.
After the glue has cured, remove the clamps and clean off any excess glue with a damp cloth. At this point, you should have a solid and well-defined chessboard border that securely holds the squares together.
With the border in place, you have completed the fourth step of creating a chessboard with hand tools. Next, we will move on to sanding and smoothing the surface of the chessboard to prepare it for the final finish.
Step 5: Sanding and Smoothing the Surface
Now that the chessboard has been assembled with the border, it’s time to focus on sanding and smoothing the surface. This step will give the chessboard a polished and flawless appearance.
Start by using coarse-grit sandpaper to remove any rough edges or imperfections on the surface. Sand in the direction of the wood grain, applying even pressure to achieve a uniform result. Be sure to sand the border as well.
Once the rough spots are smoothed out, gradually progress to finer-grit sandpaper. This will help refine the surface and eliminate any remaining scratches or blemishes. Remember to sand with the grain to avoid creating any new marks.
After sanding, use a damp cloth to wipe away any dust or debris. This will provide a clean surface for the final smoothing stage.
To achieve an impeccably smooth surface, use a smoothing plane or a sanding block to glide across the chessboard’s surface. This will help level the wood and create a consistent texture.
As you smooth the surface, pay close attention to the corners and edges of the chessboard. Ensure that they are smooth and free from any rough edges.
Periodically check the smoothness of the surface by running your hand lightly over it. If there are any remaining rough spots, continue sanding until the entire chessboard feels smooth to the touch.
With the surface now sanded and smoothed, you have completed the fifth step of creating a chessboard with hand tools. Next, we will move on to applying the finish to protect and enhance the wood.
Step 6: Applying the Finish
Applying a finish to your chessboard serves two purposes: it enhances the natural beauty of the wood and provides protection against moisture and wear. There are various finishes you can choose from, such as varnish, oil, or wax, each offering a different level of sheen and protection.
Start by ensuring the chessboard is free from any dust or debris. Use a clean, dry cloth or a soft brush to gently remove any residual particles from the surface.
If you’re using a liquid finish such as varnish or oil, apply a small amount to a clean cloth or brush. Begin by coating the entire chessboard surface, including the border, using long, smooth strokes that follow the direction of the wood grain.
Take care to apply a thin, even layer of the finish, ensuring that it doesn’t pool or drip on the surface. If needed, you can apply multiple coats, allowing each coat to dry completely before applying the next. This will help to build up a durable and glossy finish.
Alternatively, if you opt for a wax finish, follow the product instructions for application. Typically, you would rub a thin layer of wax onto the chessboard with a clean cloth. Allow the wax to dry and then buff the surface to achieve a smooth and lustrous finish.
Give the finish ample time to dry or cure according to the manufacturer’s instructions. This will ensure that it fully sets and provides adequate protection to the wood.
Once the finish is dry, inspect the chessboard for any unevenness or imperfections. If needed, use fine-grit sandpaper to lightly sand the surface, followed by another application of finish to achieve a flawless result.
With the finish properly applied and dried, your chessboard will have a stunning and durable surface that showcases the natural beauty of the wood. Now it’s time for the final step: adding the chess pieces to complete the board.
Step 7: Adding the Chess Pieces
With the chessboard complete, it’s time to add the chess pieces to bring the game to life. The choice of chess pieces can vary based on personal preference and style, whether you prefer traditional Staunton pieces or unique handcrafted designs.
Begin by selecting a set of chess pieces that complement the aesthetics of your chessboard. Consider the size and weight of the pieces to ensure they are well-suited for the size and thickness of the squares on your board.
Carefully place the chess pieces on their respective squares, adhering to the traditional placement of pawns, knights, bishops, rooks, queen, and king. Take your time to align and position the pieces accurately. You can reference chessboard diagrams to ensure the correct placement.
Once the pieces are arranged, step back and admire the magnificent combination of the chessboard and pieces. Feel the satisfying culmination of your handcrafted chess set, ready to be enjoyed for many games to come.
It’s worth noting that if you plan to use the chessboard for regular games, it’s a good idea to apply a clear protective coating over the chessboard’s surface and the chess pieces. This will help safeguard them against wear and tear and maintain their appearance for longer.
Now that you have added the chess pieces to your handcrafted chessboard, your project is complete. Enjoy the satisfaction of creating a functional and beautiful piece of art that will provide countless hours of strategic gameplay and become an heirloom for generations to come.
Congratulations on successfully making a chessboard with hand tools. Your craftsmanship and dedication have created a truly remarkable piece.
Have fun playing your first game on your newly crafted chessboard!
Read more: Who Makes Milwaukee Hand Tools?
Conclusion
Crafting a chessboard with hand tools is a rewarding and fulfilling woodworking project that allows you to showcase your creativity and craftsmanship. By carefully selecting and preparing the wood, cutting precise chessboard squares, creating a beautiful border, and applying a flawless finish, you have created a stunning piece of art that is both functional and visually appealing.
Throughout the process, you have honed your woodworking skills and connected with the timeless traditions of craftsmanship. Working with hand tools has provided a unique and intimate experience, allowing you to have direct control over every detail and ensuring a high level of quality in your final product.
By adding the chess pieces, you have transformed your chessboard into a complete game set, ready for many exciting matches. Whether you’re an avid chess player or looking to create a special gift for someone, this handcrafted chessboard holds sentimental value and will be cherished for years to come.
Remember to protect your chessboard and pieces by applying a suitable finish and, if desired, adding a clear protective coating. This will ensure their longevity and maintain their beauty throughout countless games and generations.
Creating a chessboard with hand tools is not just about the end result, but also about the journey itself. It’s about the joy of working with your hands, the satisfaction of seeing your vision come to life, and the pride of knowing you have crafted something truly unique and special.
So, embrace the art of woodworking, let your creativity flow, and enjoy the process of creating beautiful pieces that will bring joy to your life and the lives of others. Your newly crafted chessboard is a testament to your skills and passion, a treasured possession that represents both the artistry of woodworking and the strategic world of chess.
Congratulations on completing your chessboard with hand tools! May it bring you and others countless hours of strategic fun, bonding, and enjoyment.
Frequently Asked Questions about How To Make A Chess Board With Hand Tools
Was this page helpful?
At Storables.com, we guarantee accurate and reliable information. Our content, validated by Expert Board Contributors, is crafted following stringent Editorial Policies. We're committed to providing you with well-researched, expert-backed insights for all your informational needs.


0 thoughts on “How To Make A Chess Board With Hand Tools”