Articles
How To Cut A Dado Joint With Hand Tools
Modified: May 6, 2024
Learn how to create a sturdy dado joint using only hand tools with our informative articles. Master the art of woodworking today!
(Many of the links in this article redirect to a specific reviewed product. Your purchase of these products through affiliate links helps to generate commission for Storables.com, at no extra cost. Learn more)
Introduction
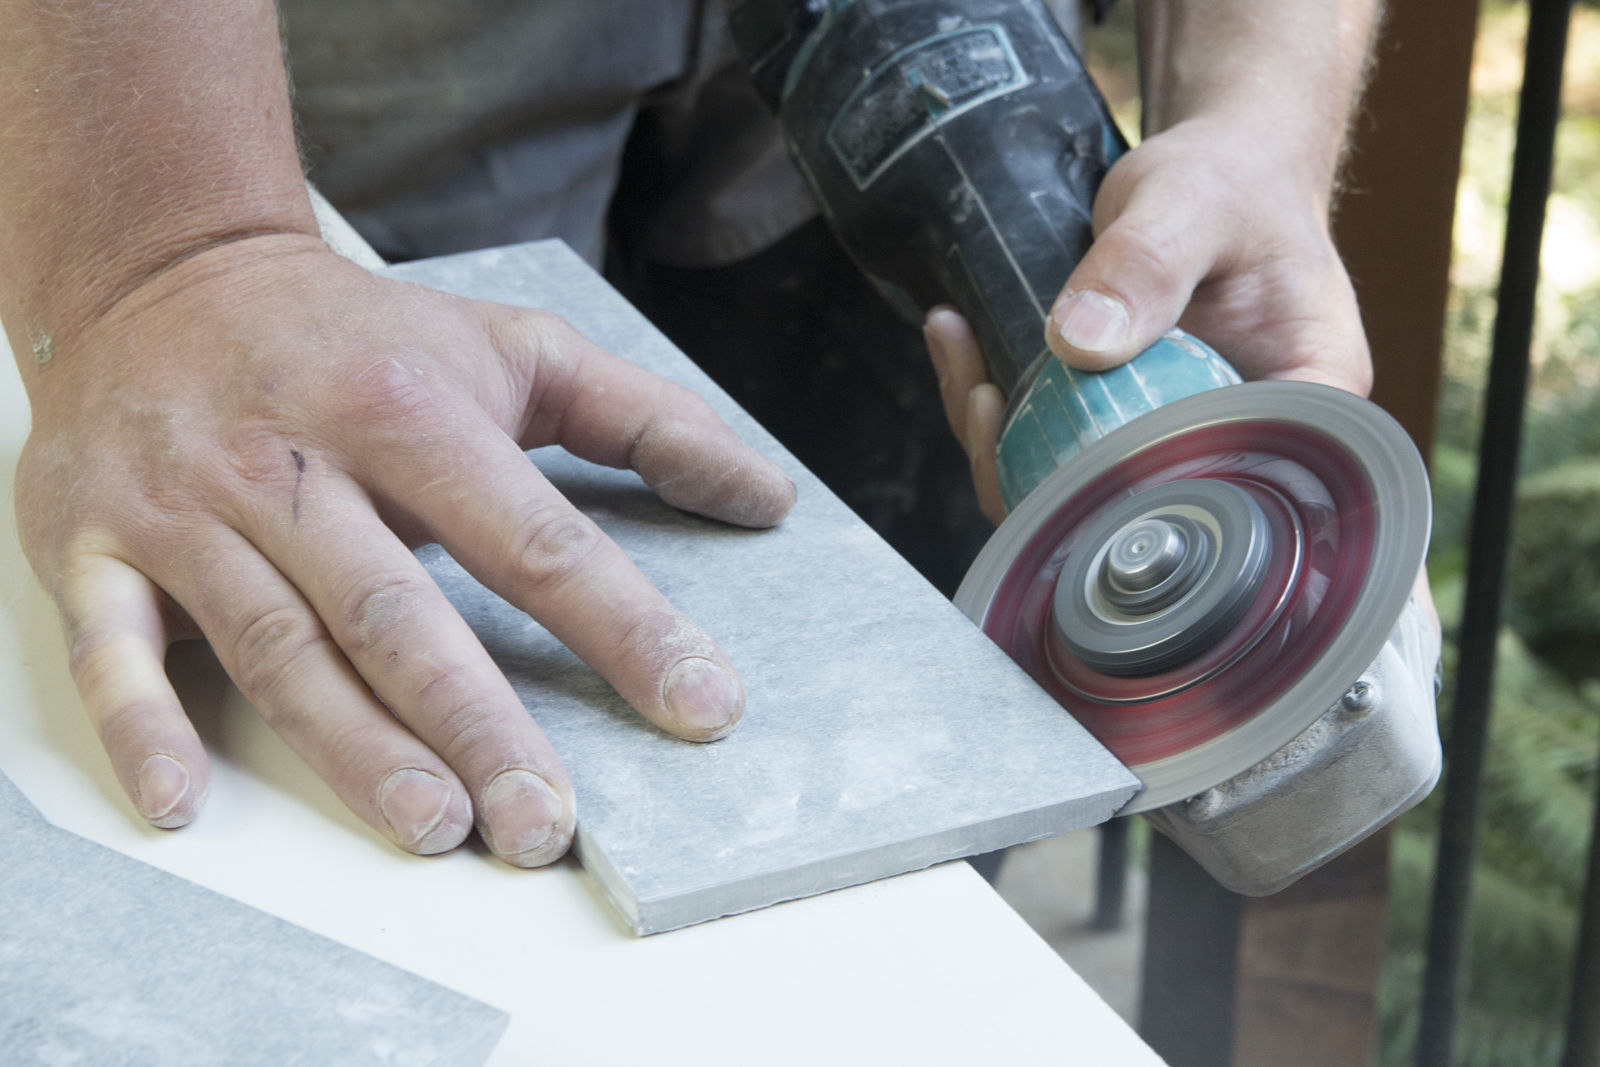
When it comes to woodworking, there are endless techniques and methods that can be used to create strong and seamless joints. One such joint is the dado joint, which is commonly used to join pieces of wood together to form shelves, cabinets, and other furniture pieces. While there are many power tools available that can make creating dado joints a breeze, in this article, we will focus on how to create a dado joint using hand tools.
Using hand tools for woodworking projects can be a rewarding experience. It allows for a deeper connection with the wood and a more hands-on approach to craftsmanship. Creating a dado joint with hand tools requires patience, precision, and attention to detail, but with the right tools and techniques, anyone can achieve professional-looking dado joints.
In this article, we will walk you through the process of creating a dado joint with hand tools, from the essential tools needed to the step-by-step instructions and handy tips and techniques for achieving a perfect fit. Whether you are a seasoned woodworker or a beginner looking to explore the world of hand tool woodworking, this article will provide you with the knowledge and guidance you need to master the art of the dado joint.
Key Takeaways:
- Embrace the art of hand tool woodworking and master the skill of creating perfect dado joints with patience, precision, and the right tools. It’s a rewarding and fulfilling experience that enhances your woodworking repertoire.
- Prioritize safety, precision, and attention to detail when creating dado joints with hand tools. Avoid common mistakes, practice on scrap wood, and follow the step-by-step guide to achieve flawless and professional results.
What is a Dado Joint?
A dado joint, also known as a housing joint or trench joint, is a type of woodworking joint that is used to join two pieces of wood at a right angle. It is commonly used in cabinetmaking, bookcase construction, and other furniture projects where strong and sturdy joints are required. The dado joint consists of a groove or channel, known as the dado, that is cut into one piece of wood to accommodate the other piece.
The dado joint is known for its strength and versatility. It provides a wide contact area between the two pieces of wood, which enhances the overall stability and load-bearing capacity of the joint. This makes it an ideal choice for applications that require a solid and dependable connection, such as when creating shelves or supporting structures.
The depth and width of the dado can vary depending on the specific woodworking project and the thickness of the wood being used. It is essential to create a tight-fitting dado to ensure a secure joint. This can be achieved through precise measurements, careful marking, and accurate cutting techniques.
There are several types of dado joints, including through dado, stopped dado, and dado and rabbet joints. The through dado joint extends all the way through the wood, while the stopped dado joint stops before reaching the edge of the wood, leaving a clean and seamless appearance. The dado and rabbet joint combines the dado joint with a rabbet joint to create a more intricate and versatile joint.
Overall, the dado joint is a fundamental technique in woodworking that allows for strong and durable connections between wood pieces. By mastering the art of creating dado joints with hand tools, you can elevate your woodworking skills and create high-quality and long-lasting furniture pieces.
Tools Needed for a Hand Tool Dado Joint
Creating a dado joint with hand tools requires a specific set of tools that will enable you to accurately and precisely cut the groove in the wood. While power tools can make the process faster and easier, using hand tools allows for a more traditional and hands-on approach to woodworking. Here are the essential tools you will need to create a dado joint with hand tools:
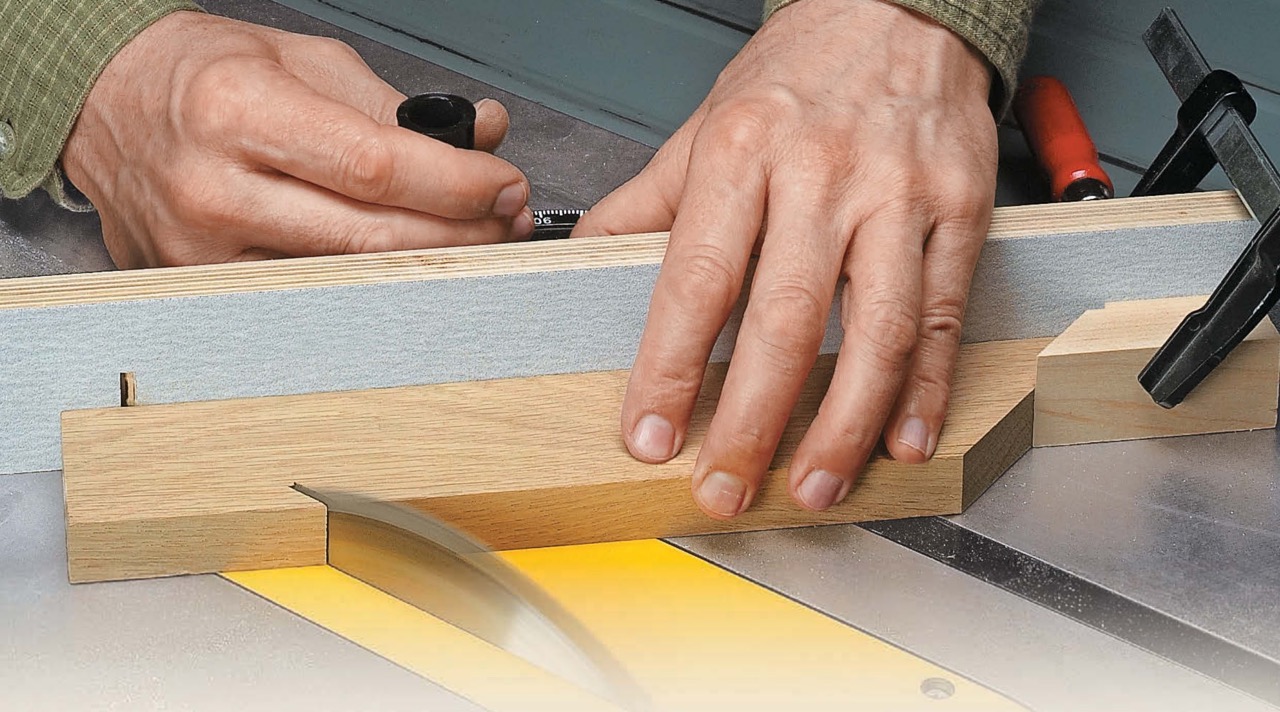
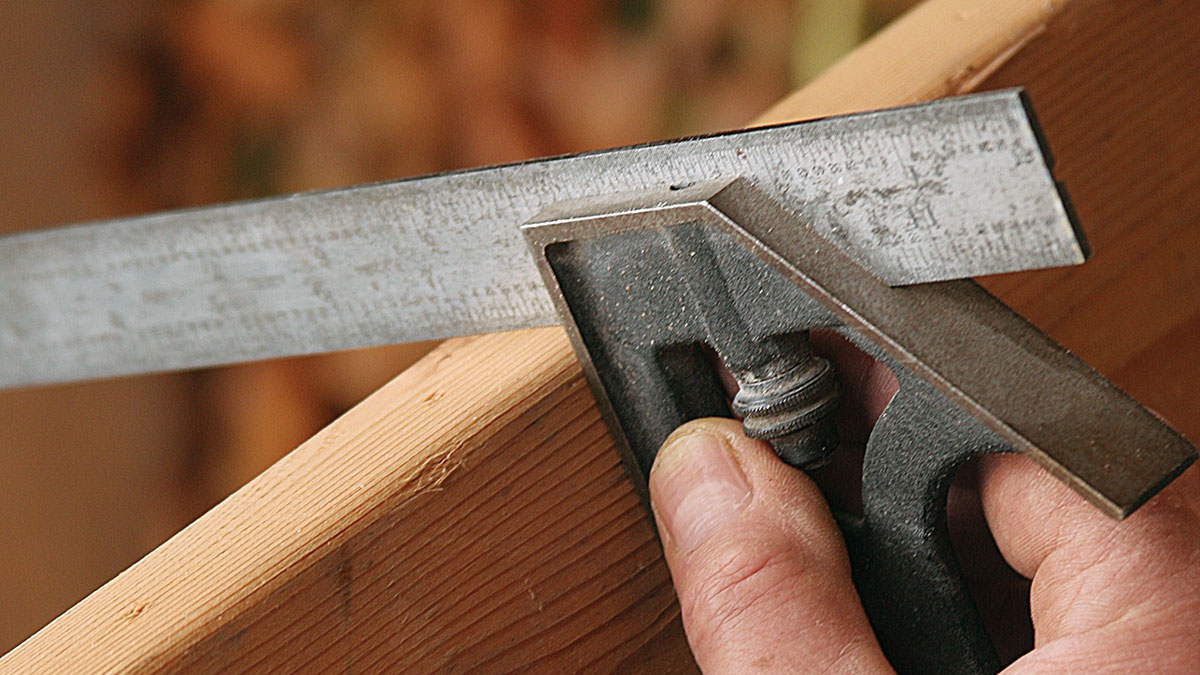
- Marking tools: A good set of marking tools is crucial for accurately measuring and marking the location and dimensions of the dado. A marking gauge, combination square, and a sharp pencil or marking knife are typically used for this purpose.
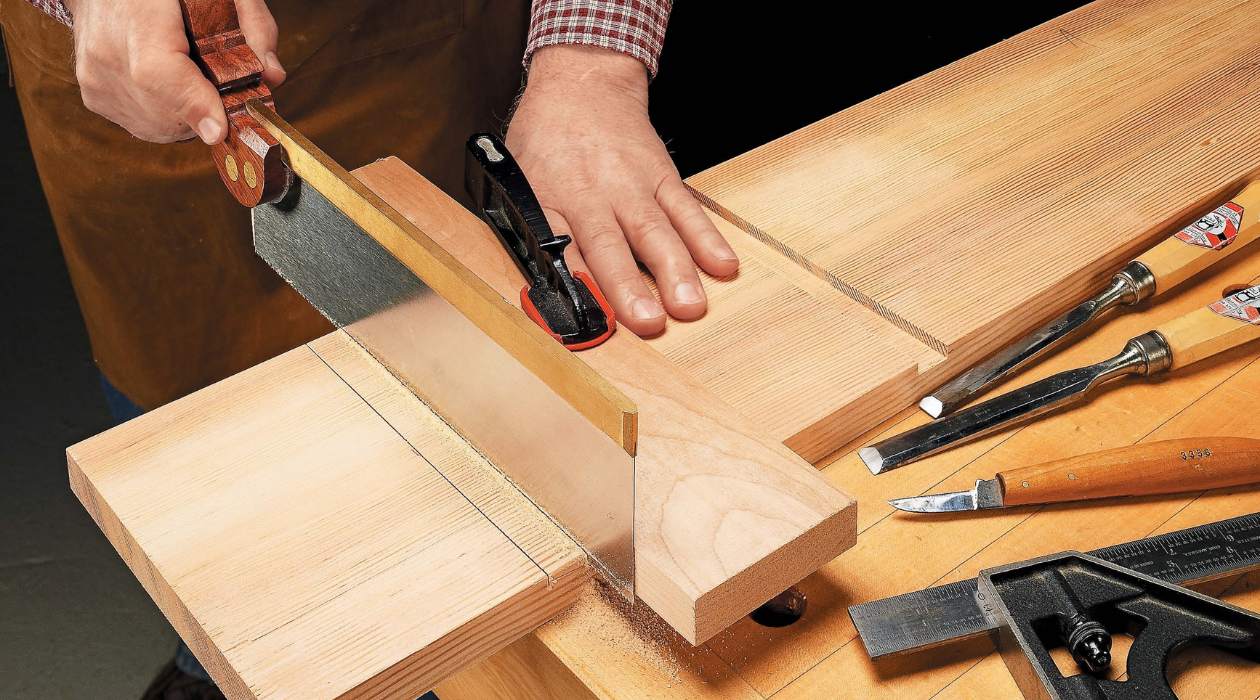
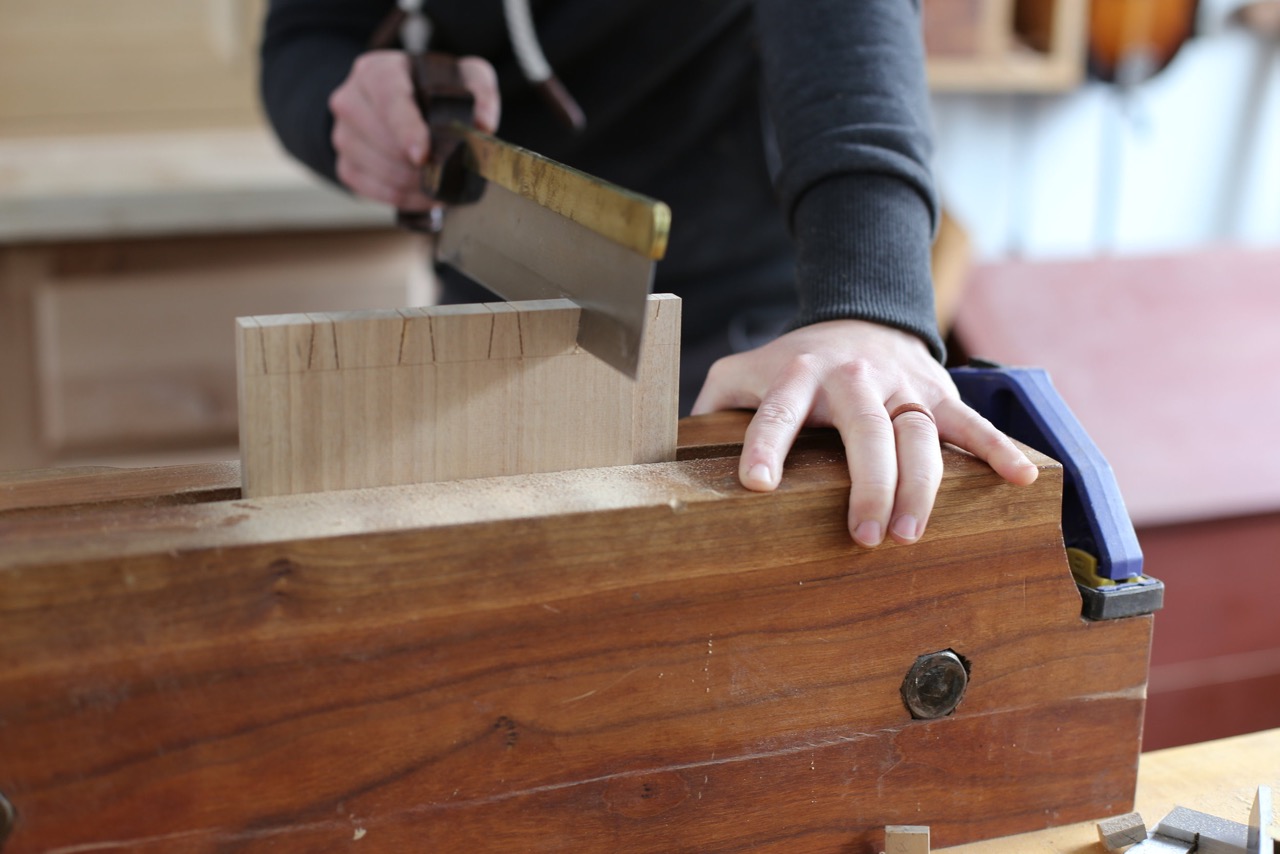
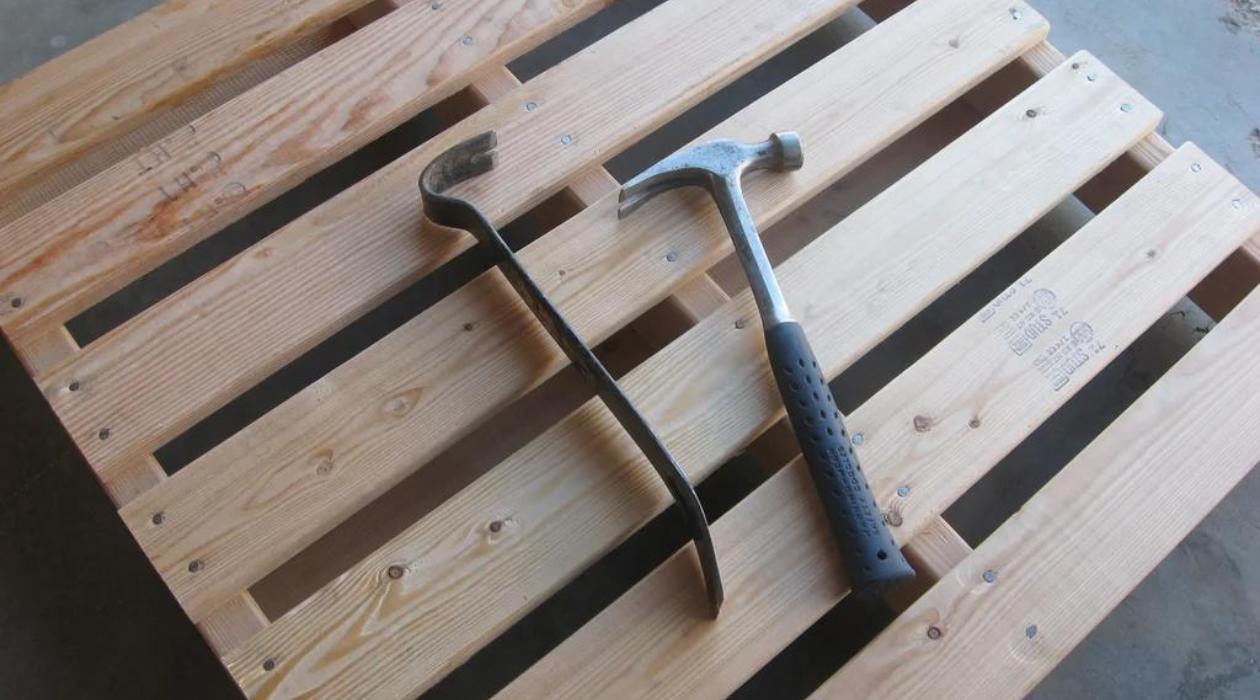
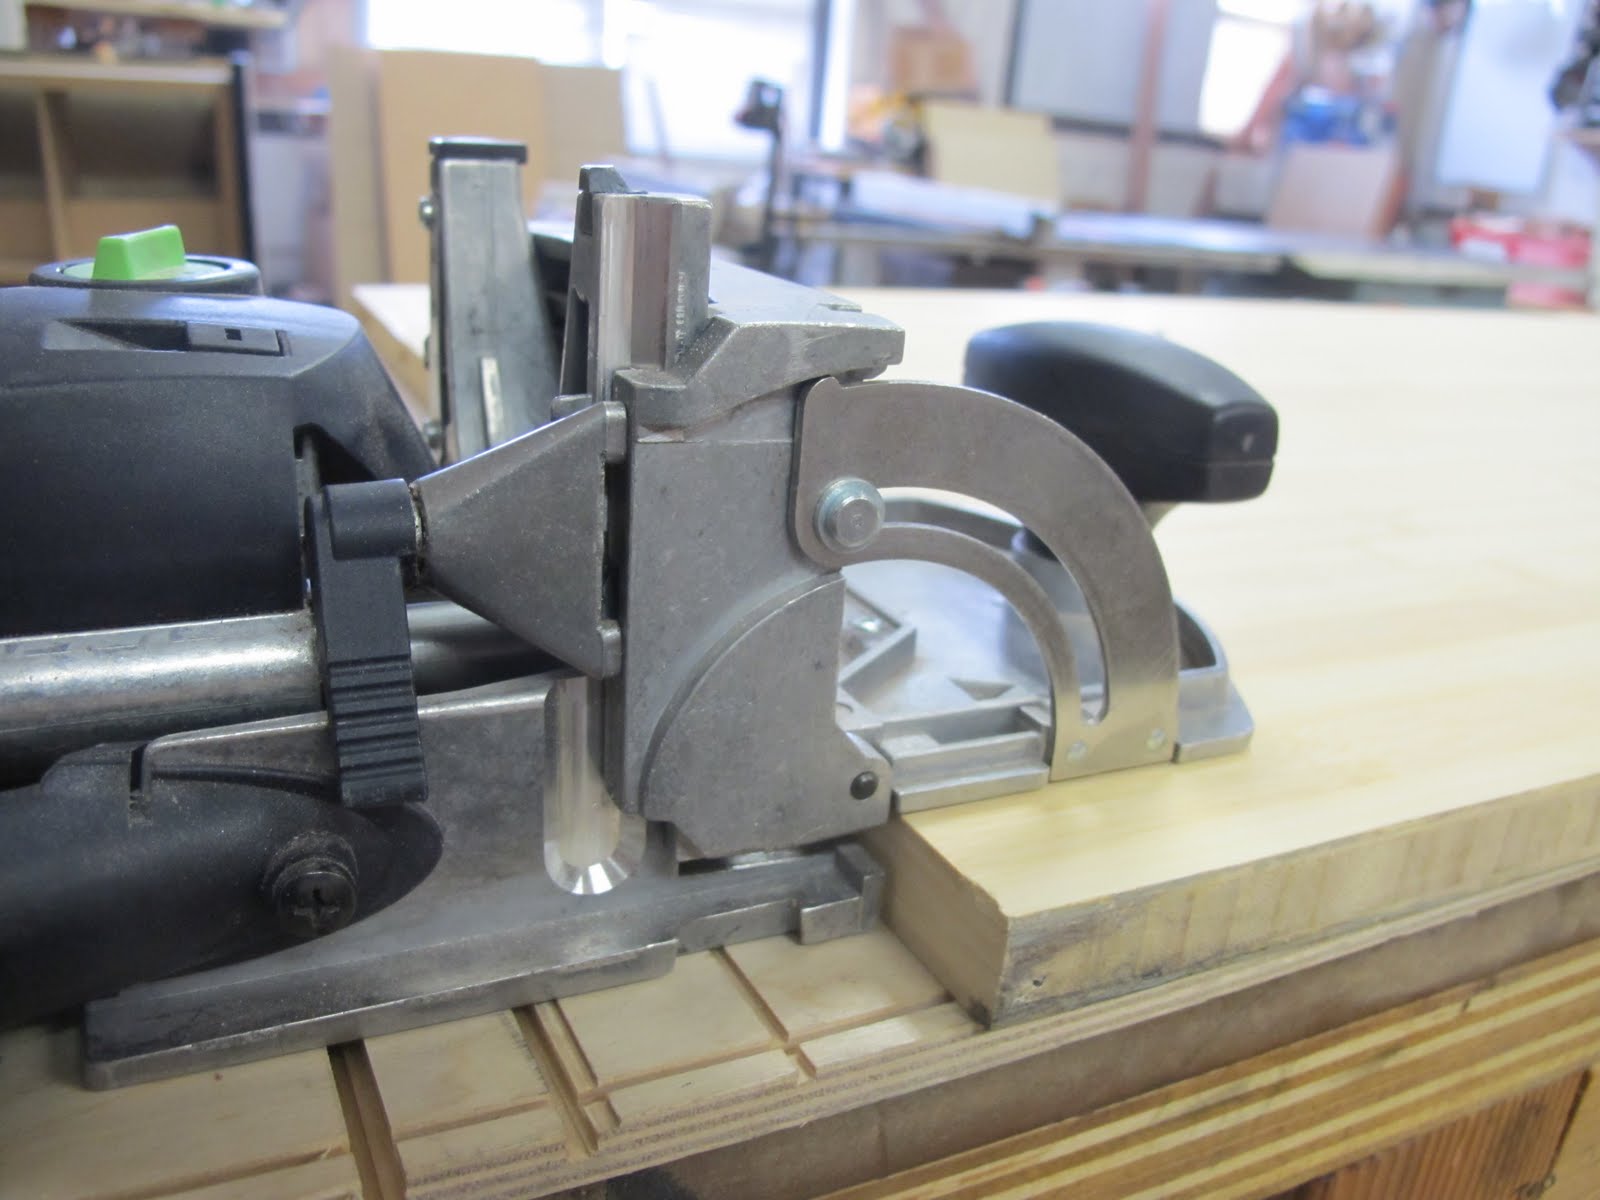
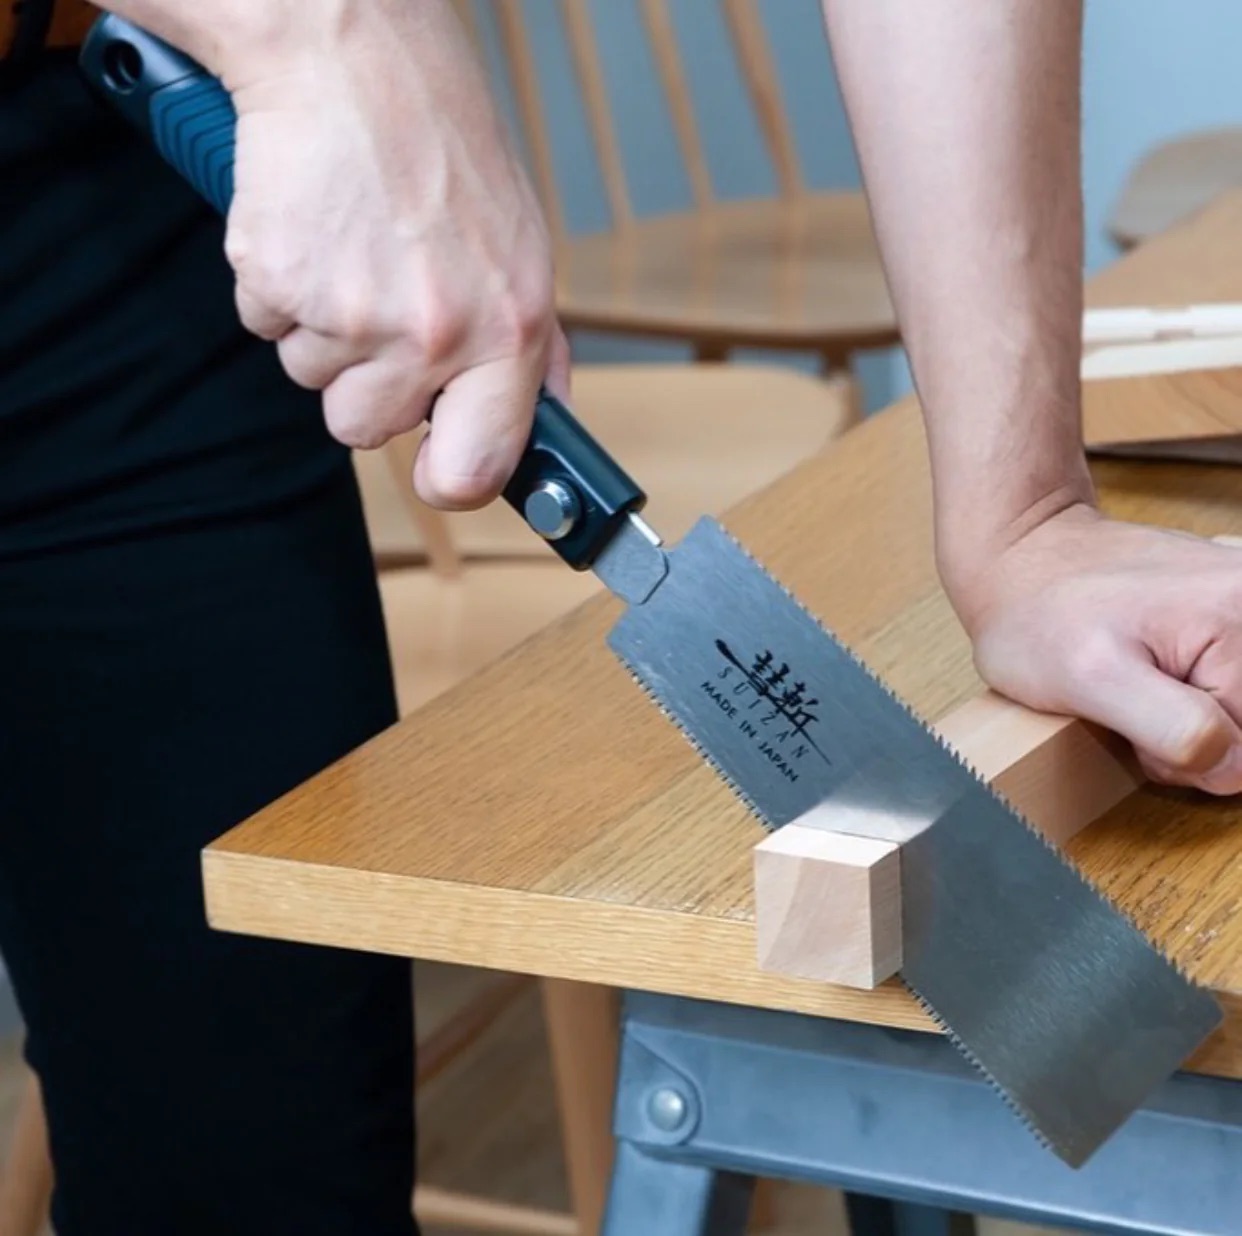
- Hand saw: A hand saw with a thin kerf and crosscut teeth is essential for cutting the walls of the dado. A backsaw or a tenon saw is commonly used for this task, as they provide better control and accuracy.
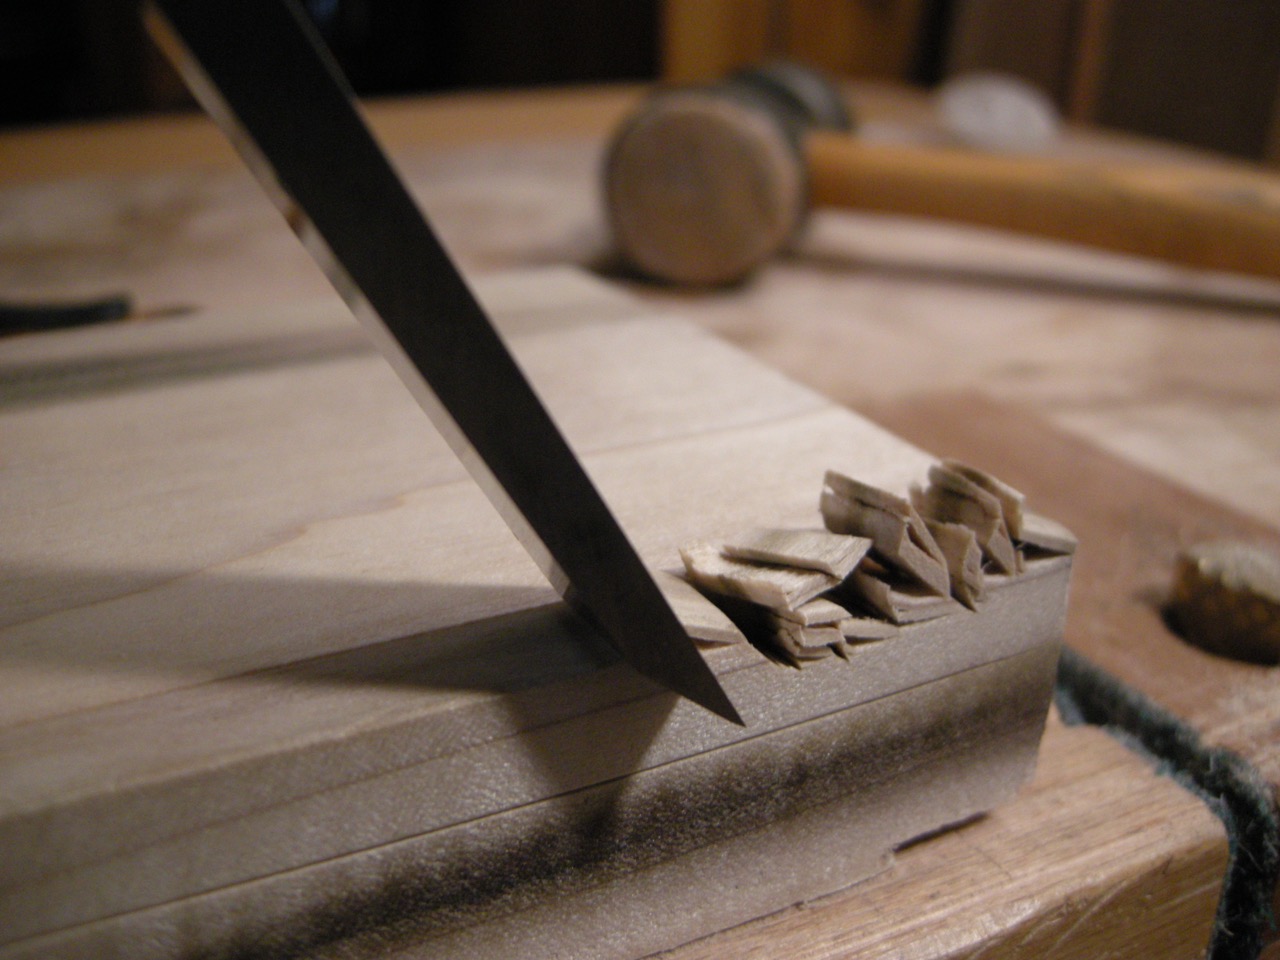
- Chisels: Chisels are used to remove the waste material from the dado. You will need both a narrow chisel for removing the bulk of the waste and a wider chisel for cleaning up the walls of the dado and achieving a smooth finish.
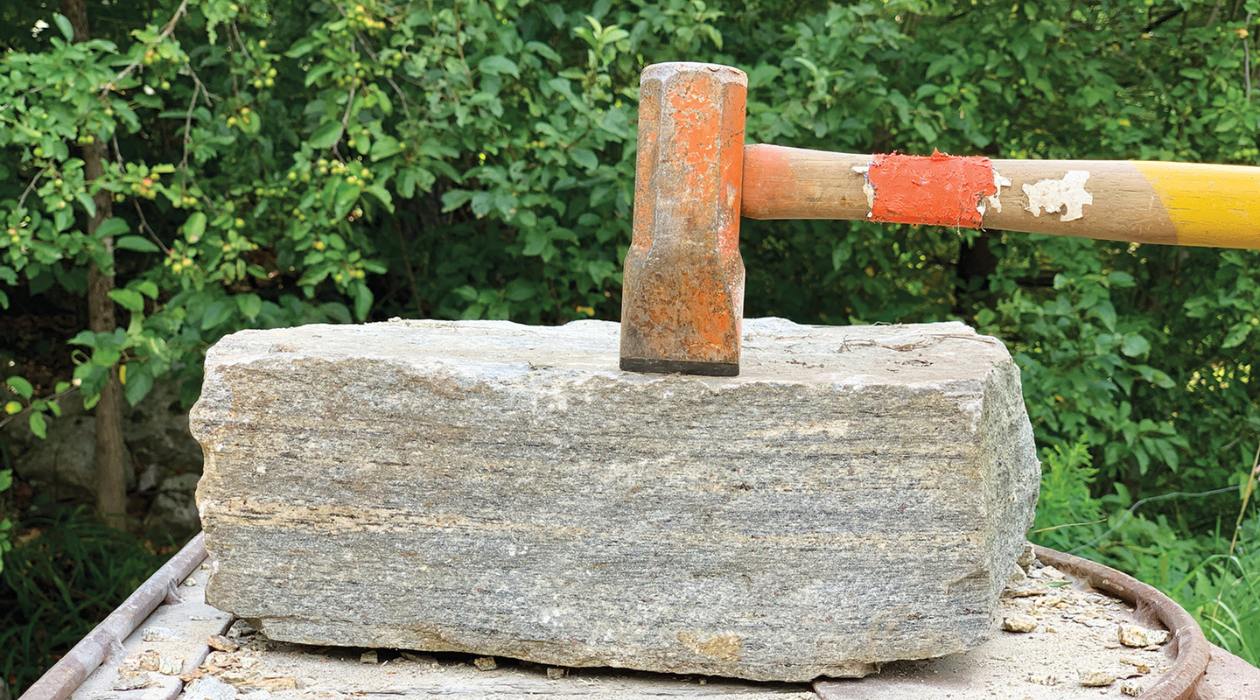
- Mallet or hammer: A mallet or hammer is used to strike the chisels and remove the waste material from the dado.
- Sharpening tools: Keeping your tools sharp is essential for clean and precise cuts. A sharpening stone or honing guide will help you maintain the sharpness of your saw blades and chisels.
- Measuring and layout tools: In addition to marking tools, you may also need measuring and layout tools such as a tape measure, a try square, and a bevel gauge to ensure accurate measurements and angles.
- Safety equipment: Safety should always be a priority when working with hand tools. Make sure to wear safety glasses, a dust mask, and hearing protection to protect yourself from any potential hazards.
Having a good set of high-quality hand tools will not only make the process of creating a dado joint easier but also ensure the longevity and precision of your woodworking projects.
Step-by-Step Guide to Creating a Dado Joint with Hand Tools
Creating a dado joint with hand tools requires patience and precision. Follow these step-by-step instructions to create a strong and seamless dado joint:
- Measure and mark: Measure and mark the location and dimensions of the dado on both pieces of wood. Use a marking gauge, combination square, or a sharp pencil to ensure accurate measurements.
- Cut the shoulders: Use a hand saw to cut along the marked lines on both pieces of wood, creating the outer boundaries of the dado. Make sure to cut straight and perpendicular to the surface of the wood.
- Create the cheeks: Next, use a chisel and a mallet or hammer to remove the waste material between the two saw cuts. Start by making a series of shallow cuts along the marked lines to create a guide for the chisel. Gradually increase the depth of the cuts until you reach the desired depth of the dado. Be careful not to remove too much material at once, as this can lead to inaccuracies.
- Refine the cheeks: Once the bulk of the waste material has been removed, switch to a wider chisel to clean up the walls of the dado. Use light, controlled strikes with the mallet or hammer to remove any remaining unevenness and achieve a smooth finish. Take your time and make small adjustments as needed.
- Test the fit: Before finalizing the dado joint, test the fit by inserting the mating piece into the dado. It should fit snugly but not be too tight. Make any necessary adjustments to ensure a proper fit. If the fit is too tight, carefully trim the sides of the dado with a chisel until the fit is satisfactory.
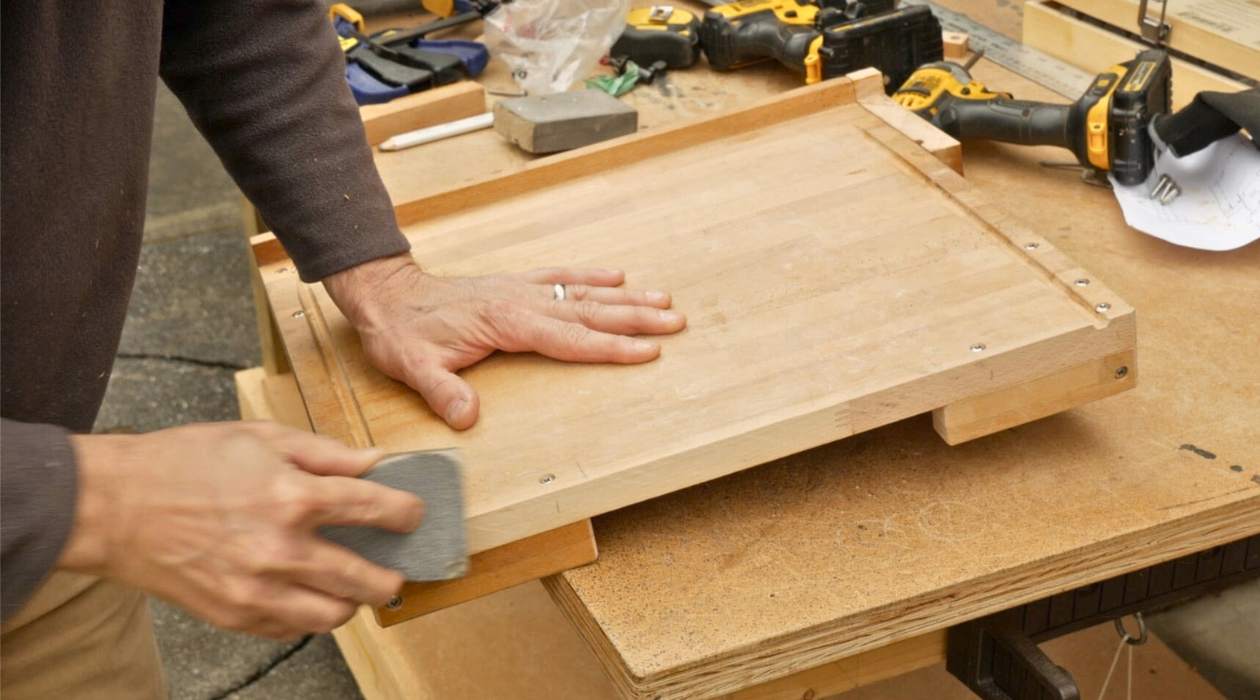
- Sand and finish: Once you are satisfied with the fit of the joint, sand the surfaces of the wood to ensure a smooth finish. Apply any desired finishes or coatings to protect the wood and enhance its appearance.
Creating a dado joint with hand tools requires practice and a steady hand. Take your time, work patiently, and constantly check your progress to achieve the best results. Remember, precision and attention to detail are key to creating a strong and seamless dado joint.
When cutting a dado joint with hand tools, make sure to use a marking gauge to scribe the edges of the joint for accuracy, and use a sharp chisel to carefully remove the waste material. Keep the chisel perpendicular to the wood to ensure a clean and precise joint.
Tips and Techniques for Achieving a Perfect Dado Joint
Creating a perfect dado joint with hand tools requires a combination of skill, knowledge, and careful execution. These tips and techniques will help you achieve a flawless and professional-looking dado joint:
- Practice on scrap wood: Before attempting to create a dado joint on your actual project, practice on a piece of scrap wood. This will allow you to familiarize yourself with the tools, refine your technique, and make any necessary adjustments before working on your final piece.
- Choose the right tools: Ensure that you have sharp and properly maintained tools for the task. Dull saw blades and chisels can result in imprecise cuts and poor-fitting joints. Regularly sharpen your tools to maintain their cutting efficiency.
- Make multiple passes: When removing the waste material from the dado, make multiple shallow passes with the chisel instead of trying to remove it all at once. This will allow for better control and reduce the risk of damaging the surrounding wood.
- Keep the chisel sharp: Maintain a sharp edge on your chisel throughout the process. A dull or improperly sharpened chisel can lead to splintering or tear-out, ruining the appearance of the joint.
- Use light hammer strikes: When striking the chisel with a mallet or hammer, use light and controlled strikes. Heavy blows can cause the chisel to dig too deeply into the wood, resulting in an uneven and messy dado.
- Check for squareness: Use a try square or combination square to ensure that the walls of the dado are square to the surface of the wood. This will help to maintain the structural integrity and stability of the joint.
- Measure twice, cut once: Double-check your measurements and markings before making any cuts. Accuracy is crucial for achieving a tight-fitting and seamless dado joint.
- Take breaks: Woodworking with hand tools can be physically demanding. Take breaks as needed to rest your hands and maintain focus. Fatigue can lead to mistakes and compromised results.
- Experiment with different techniques: Don’t be afraid to experiment with different techniques and approaches to find what works best for you. Every woodworker has their own unique style, so embrace it and find the method that yields the best results for you.
By following these tips and techniques, you can enhance your skill set and increase your chances of creating a perfect dado joint with hand tools. Remember, practice makes perfect, so don’t get discouraged if your first attempts are not flawless. With time and experience, you will master the art of creating impeccable dado joints.
Read more: How To Make A Finger Joint With Hand Tools
Common Mistakes to Avoid When Creating a Hand Tool Dado Joint
Creating a dado joint with hand tools requires precision and attention to detail. However, certain mistakes can easily occur if proper care is not taken. Here are some common mistakes to avoid when creating a hand tool dado joint:
- Incorrect measurements: One of the most common mistakes is inaccurate measurements. Make sure to measure and mark the location and dimensions of the dado carefully. Double-check your measurements before making any cuts to avoid a poorly fitting joint.
- Uneven cutting: Cutting the dado walls unevenly can lead to a sloppy joint. Take your time and ensure that your saw cuts are straight and perpendicular to the wood surface. Use a guide or a square to maintain accuracy.
- Removing too much material at once: Trying to remove all the waste material in one go can lead to rough and jagged sides of the dado. Instead, remove the waste in shallow passes with the chisel, gradually increasing the depth. This will help you achieve a smoother finish and more accurate fit.
- Using a dull chisel or saw blade: A dull chisel or saw blade can result in splintered or rough cuts, compromising the quality of the joint. Ensure that your tools are properly sharpened and maintained for clean and precise cuts.
- Not testing the fit: Failing to test the fit of the joint before finalizing it is a common oversight. Insert the mating piece into the dado and check if it fits snugly. If it’s too tight, adjust the width of the dado using a chisel until the fit is perfect.
- Rushing the process: Impatience can lead to mistakes and sloppy workmanship. Take your time, work carefully, and double-check each step of the process to ensure a high-quality dado joint. Remember, woodworking is a skill that requires practice and attention to detail.
- Skipping sanding and finishing: Neglecting to sand and finish the wood after creating the dado joint can leave it rough and prone to splintering. Sand the surfaces of the joint to achieve a smooth finish, and apply the desired finish or coating to protect the wood and enhance its appearance.
- Not using proper safety precautions: Working with hand tools can be hazardous if proper safety precautions are not taken. Always wear safety glasses, a dust mask, and hearing protection when working with hand tools to protect yourself from flying debris and loud noises.
Avoiding these common mistakes will greatly improve the quality and durability of your hand tool dado joints. Remember to work meticulously and prioritize accuracy to achieve professional results in your woodworking projects.
Conclusion
Creating a dado joint with hand tools is a rewarding and fulfilling woodworking experience. While power tools may offer convenience, using hand tools allows for a more intimate connection with the wood and a greater level of craftsmanship. By following the step-by-step guide, utilizing the right tools, and incorporating the tips and techniques provided, you can achieve a perfect dado joint.
A dado joint is a strong and versatile woodworking joint that is commonly used in furniture construction, providing stability and enhancing the overall strength of the piece. It consists of a groove or channel cut into one piece of wood to accommodate the other, creating a seamless and reliable connection.
When embarking on a hand tool dado joint project, it is essential to have the right tools, such as marking tools, a hand saw, chisels, and measuring and layout tools. Furthermore, employing proper techniques and avoiding common mistakes will ensure the success of your woodworking project.
Take your time, practice, and be patient. Woodworking is a skill that requires practice and attention to detail. As you gain experience, you will improve your techniques and develop your unique style.
Remember to prioritize safety by wearing appropriate protective gear and practicing caution when working with hand tools. Always double-check your measurements, make precise cuts, and test the fit before finalizing the joint.
In conclusion, creating a dado joint with hand tools is a valuable skill to have in your woodworking repertoire. It allows you to experience the satisfaction of creating a strong and seamless joint through your own craftsmanship. So, embrace the art of hand tool woodworking, refine your techniques, and master the art of creating perfect dado joints.
Ready to take your woodworking skills up a notch? Our upcoming guide, "14 Best Woodworking for 2024," is packed with insights and recommendations to keep you ahead in crafting. Whether you're a seasoned woodworker or just starting, this article will provide valuable techniques and tool reviews to refine your craft and inspire your next projects.
Frequently Asked Questions about How To Cut A Dado Joint With Hand Tools
Was this page helpful?
At Storables.com, we guarantee accurate and reliable information. Our content, validated by Expert Board Contributors, is crafted following stringent Editorial Policies. We're committed to providing you with well-researched, expert-backed insights for all your informational needs.

0 thoughts on “How To Cut A Dado Joint With Hand Tools”