Articles
How To Make A Cutting Board Using Hand Tools
Modified: December 7, 2023
Learn how to make a cutting board using only hand tools in this informative article. Discover the step-by-step process for creating your own unique and functional cutting board.
(Many of the links in this article redirect to a specific reviewed product. Your purchase of these products through affiliate links helps to generate commission for Storables.com, at no extra cost. Learn more)
Introduction
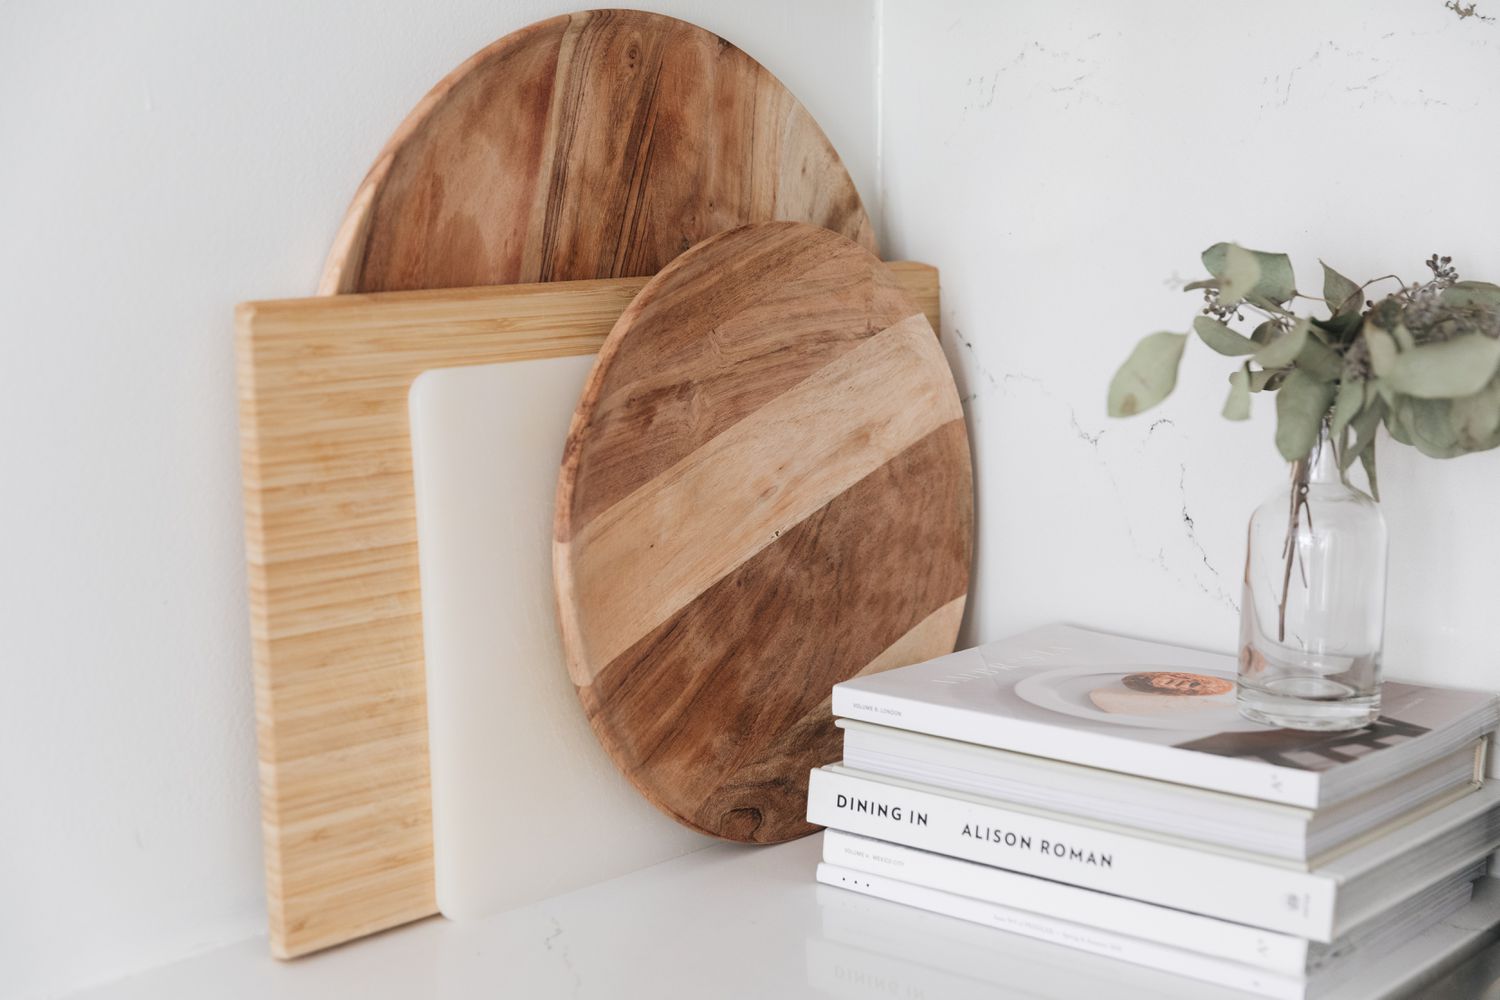
Having a handmade cutting board not only adds a touch of personalized charm to your kitchen, but it also offers a practical and durable surface for all your chopping, slicing, and dicing needs. Creating a cutting board by hand allows you to customize its size, shape, and wood type, ensuring that it perfectly suits your kitchen decor and culinary preferences.
In this article, we will guide you through the step-by-step process of creating a cutting board using basic hand tools. Whether you are a seasoned woodworker or a DIY enthusiast looking for a new project, this guide will help you create a beautiful and functional cutting board that you can proudly display in your kitchen.
Before diving into the process, let’s take a look at the tools and materials you will need.
Key Takeaways:
- Create a personalized and durable cutting board using basic hand tools, allowing you to showcase your woodworking skills and customize a functional kitchen tool to suit your culinary needs.
- From selecting quality wood to applying a food-safe finish, follow the step-by-step process to craft a beautiful cutting board and ensure its longevity through proper maintenance and care.
Read more: How To Make A Chess Board With Hand Tools
Tools and Materials Required
Before you start making your cutting board, gather the following tools and materials:
- A selection of hardwood boards (such as maple, walnut, or cherry) – Make sure the boards are at least 1 inch thick and of sufficient length and width for your desired cutting board size.
- Measuring tape – For precise measurements.
- Straight edge or a combination square – Used to ensure straight cuts.
- A handsaw or a circular saw with a fine-toothed blade – For cutting the wood.
- A plane or sandpaper – To smooth the surface of the wood.
- A router with a decorative bit – For routing the edges of the cutting board.
- Food-safe finish (such as mineral oil or beeswax) – To protect and seal the wood.
- Clamps – To hold the wood pieces together during gluing.
- Sandpaper or a sanding block – For the final smoothing and finishing touches.
- A soft cloth or brush – To apply the food-safe finish.
These are the basic tools and materials needed to make a cutting board. Depending on your preferences and available resources, you may require additional tools or accessories.
Now that you have everything you need, let’s move on to the step-by-step process of making a cutting board by hand.
Step 1: Selecting the Wood
The first step in making a cutting board is selecting the wood. It’s important to choose a hardwood that is both durable and food-safe. Some popular choices for cutting boards include maple, walnut, and cherry. These woods are known for their strength and resistance to moisture.
When selecting the wood, consider the size and thickness of the boards. You’ll want boards that are at least 1 inch thick to ensure sturdiness. The length and width will depend on the size of the cutting board you want to create.
Take the time to inspect the wood for any defects, such as knots or cracks. These imperfections can weaken the board over time. Additionally, make sure that the wood is properly dried and does not have excessive moisture content, as this can lead to warping.
Once you’ve chosen the wood, you can proceed to the next step of measuring and marking the boards.
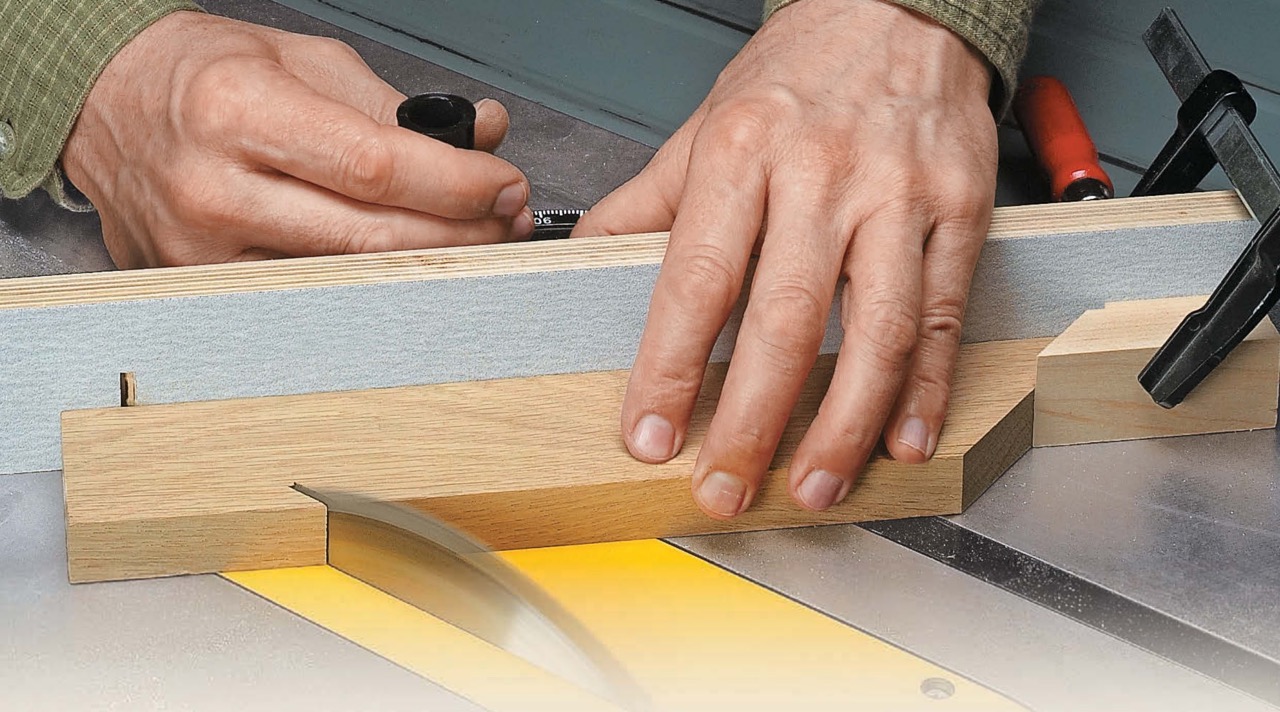
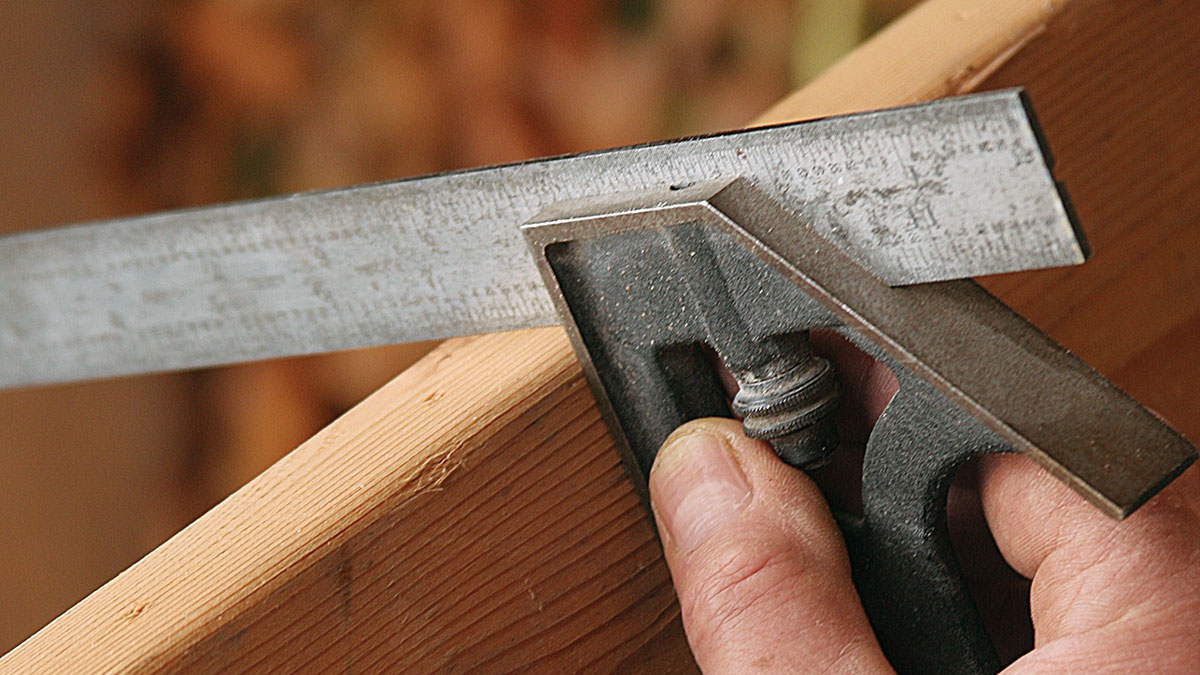
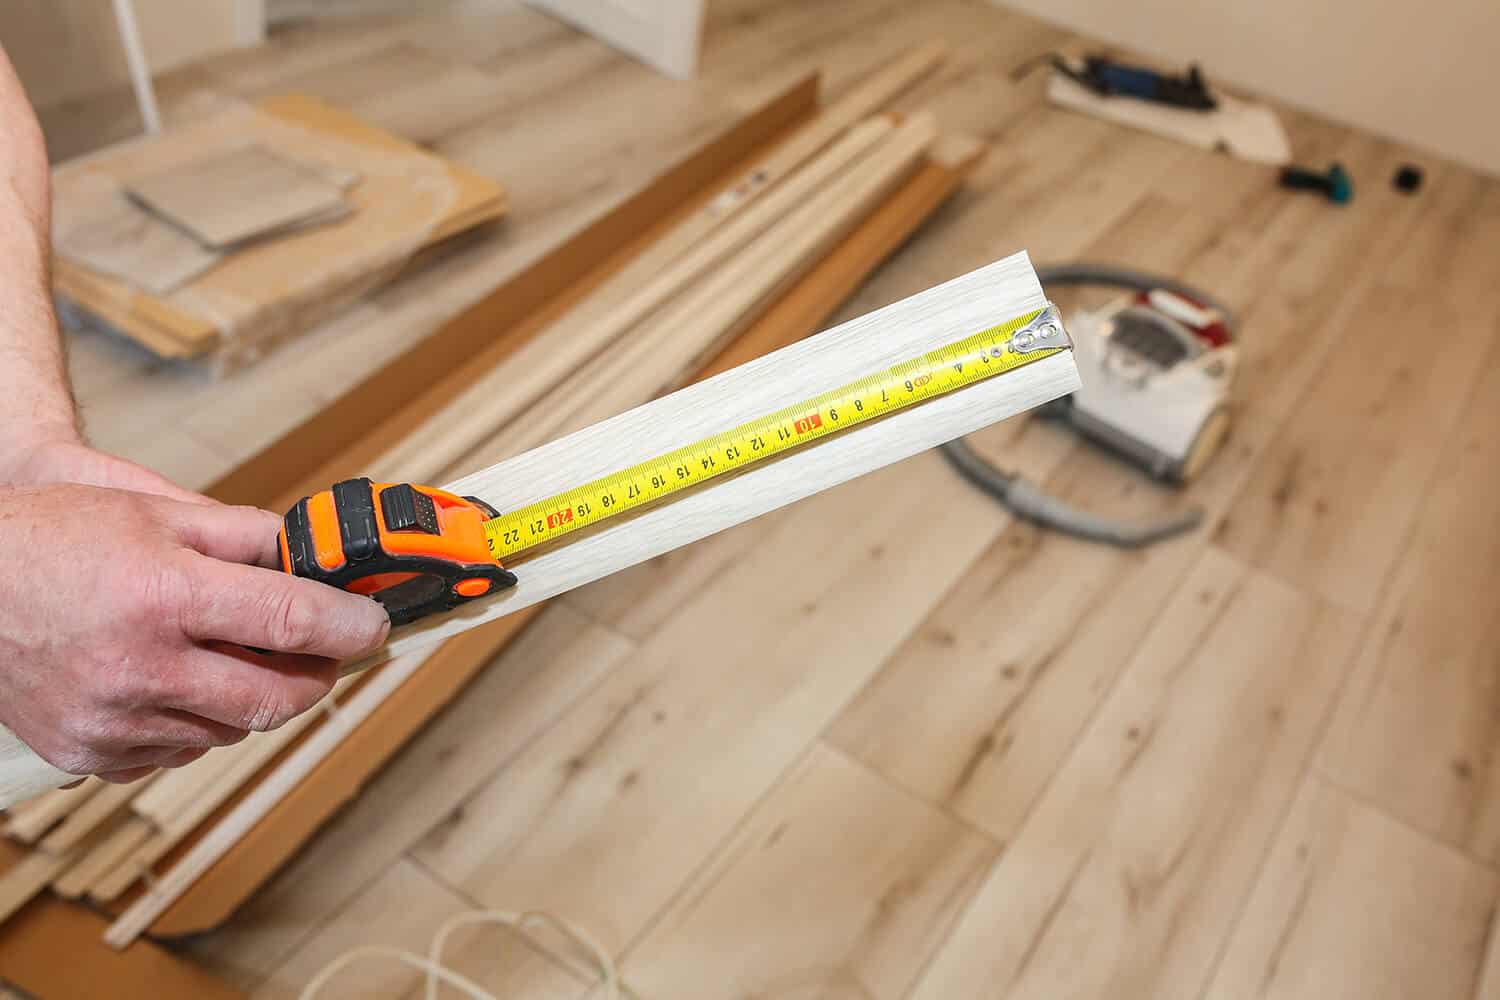
Step 2: Measuring and Marking
After selecting the wood for your cutting board, it’s time to measure and mark the boards to the desired size and shape. This step is crucial for ensuring accuracy and precision in your cutting board.
Start by determining the dimensions of your cutting board. Consider the available space in your kitchen and your personal preferences. A common size for a cutting board is around 12 inches by 18 inches, but feel free to adjust the dimensions to suit your needs.
Using a measuring tape, measure and mark the desired length and width on the selected wood boards. Make sure to make your marks on the smoother side of the wood to avoid any inconsistencies caused by grain patterns or knots.
Next, use a straight edge or combination square to draw straight lines along the marked measurements. This will serve as a guideline for cutting the wood later on.
In addition to marking the dimensions, you may also want to mark the corners for a rounded or chamfered edge. This can be done using a pencil or a template to ensure consistent and symmetrical markings.
Double-check your measurements and markings to ensure accuracy before proceeding to the next step. Once you’re confident with your marks, it’s time to move on to cutting the wood.
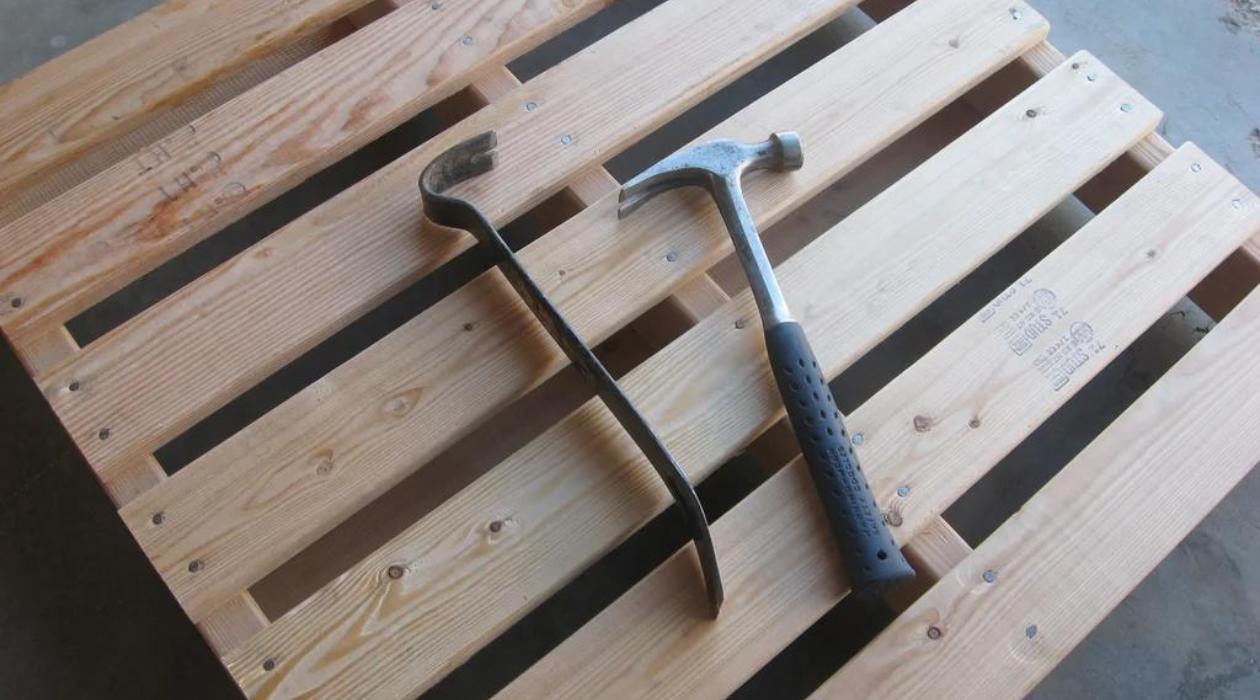
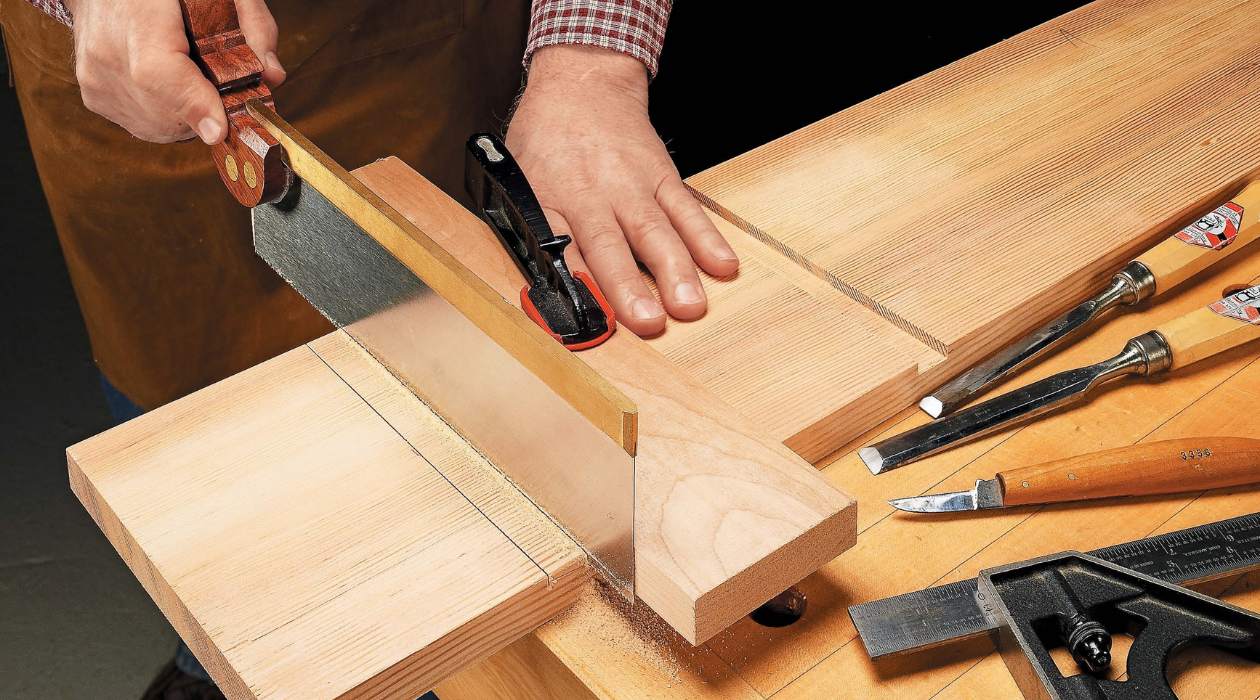
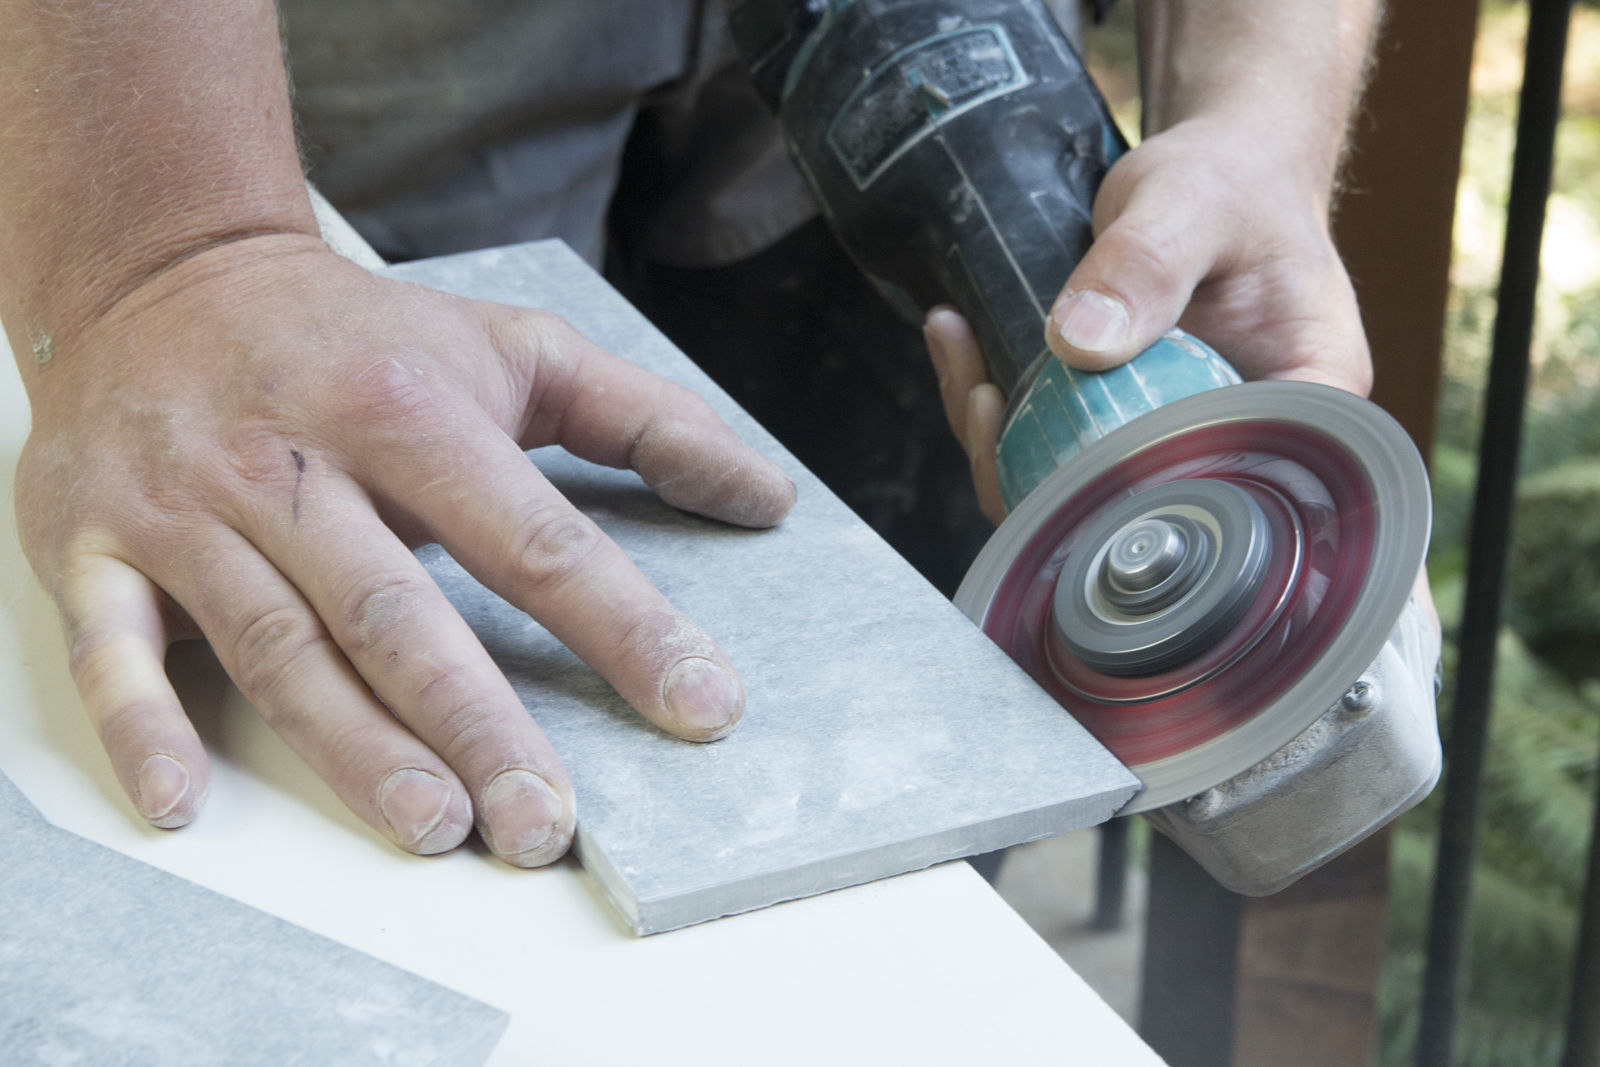
Step 3: Cutting the Wood
With your measurements and markings in place, it’s time to cut the wood boards to the desired size and shape for your cutting board. This step requires precise cutting to ensure clean edges and a professional finish.
Before you start cutting, it’s important to take proper safety precautions. Use safety goggles to protect your eyes and work in a well-ventilated area to prevent inhalation of sawdust.
If you have access to a table saw or a circular saw, use a fine-toothed blade to ensure smooth cuts. Follow the marked lines carefully and make slow, steady cuts to maintain accuracy.
If you don’t have power tools, a handsaw can also be used. Choose a saw with fine teeth to minimize splintering and ensure cleaner cuts.
Once you’ve made your cuts, inspect the edges to ensure they are straight and even. Use sandpaper or a plane to remove any rough spots or imperfections.
Remember to take your time and work patiently, as rushing through this step may result in uneven cuts and a less professional-looking cutting board.
Once you’ve cut all the wood pieces to size, it’s time to move on to the next step: planing and sanding.
When making a cutting board by hand tools, always use hardwoods such as maple, cherry, or walnut for durability. Softwoods like pine are not suitable for cutting boards.
Read more: How To Cut Asphalt With Hand Tools
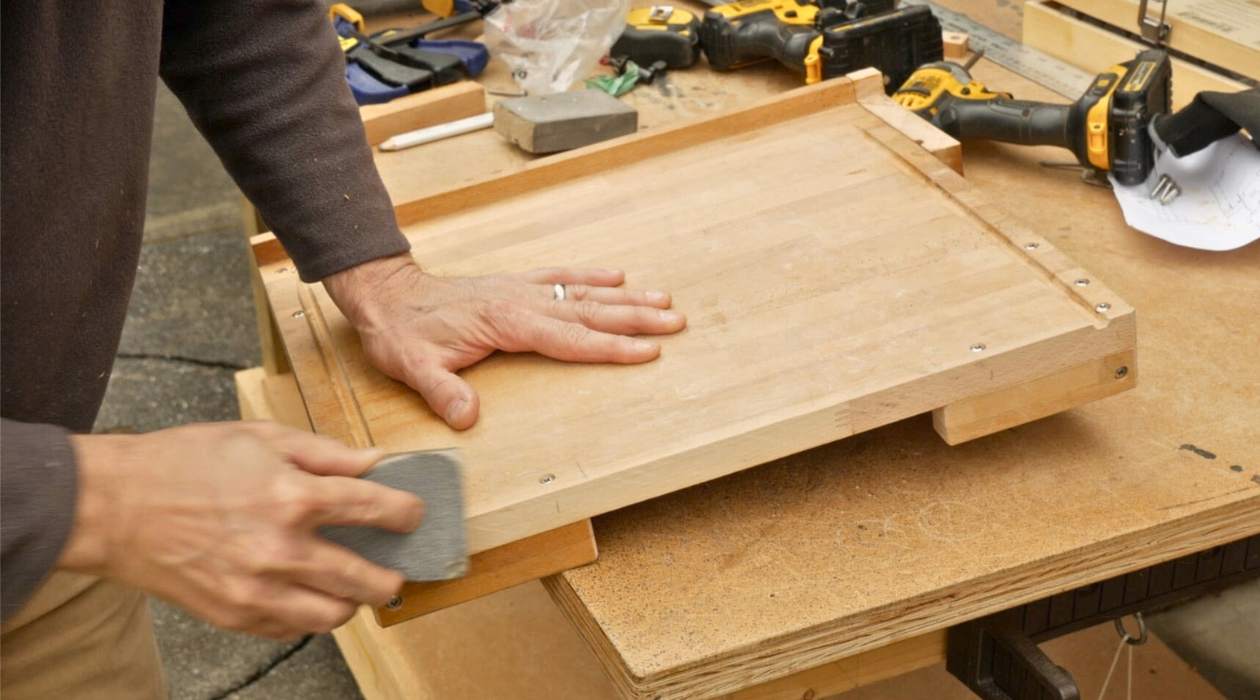
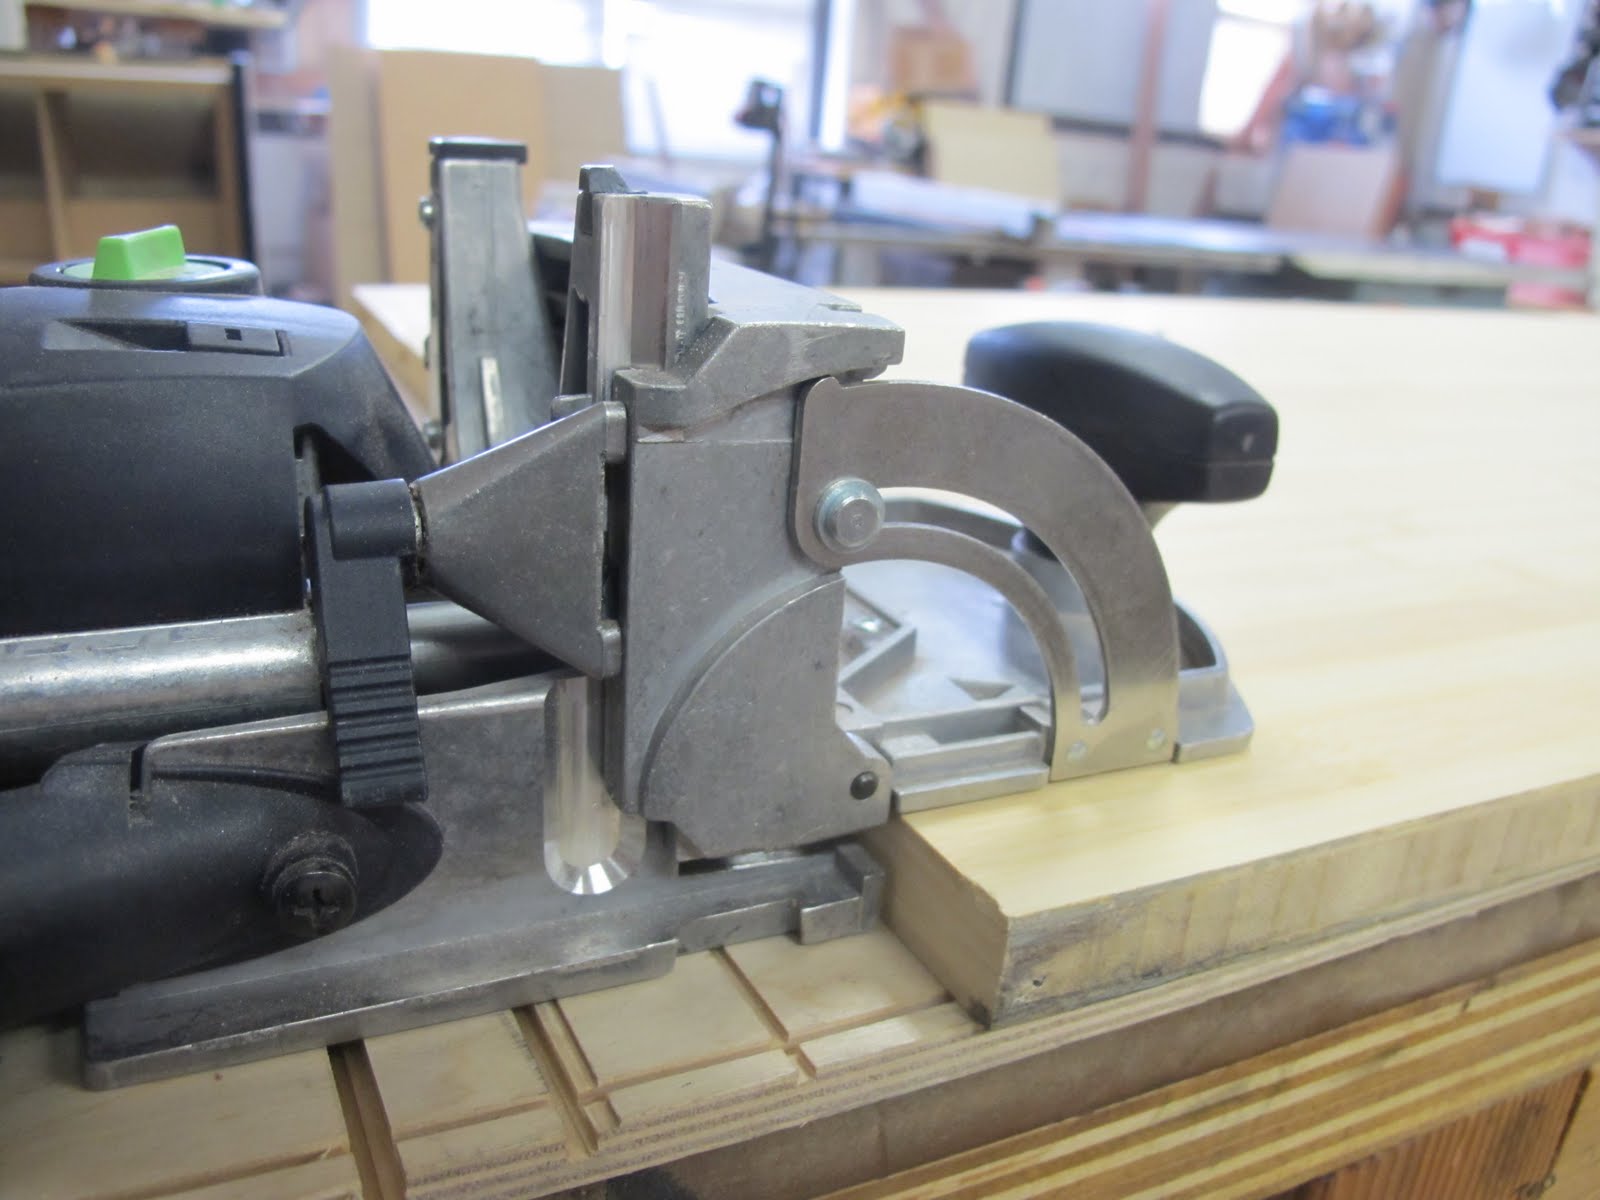
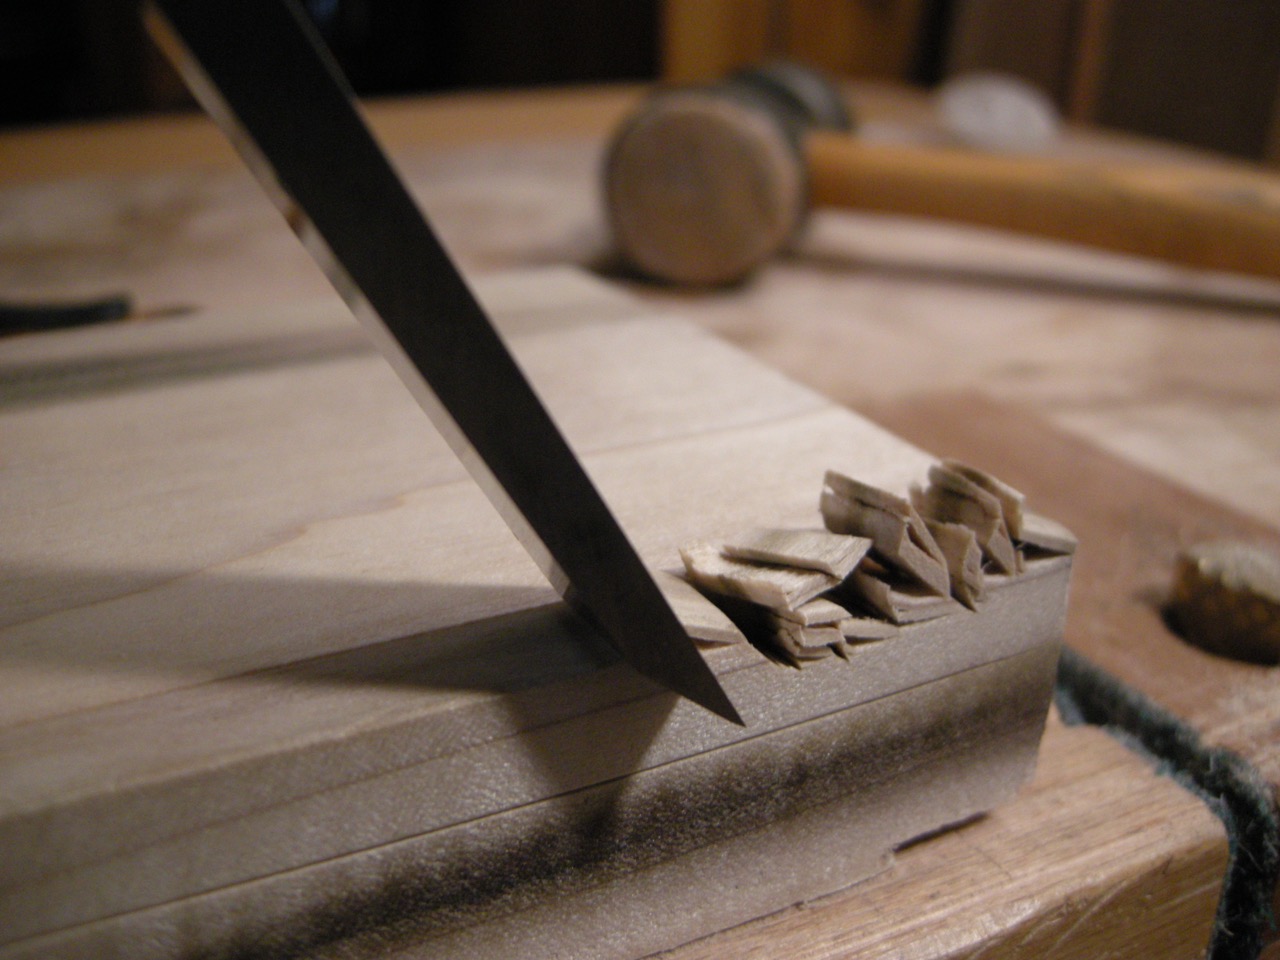
Step 4: Planing and Sanding
After cutting the wood to the desired size and shape, it’s time to smooth the surface and ensure that all the pieces are even and well-fitted. This step involves planing and sanding the wood to create a smooth and cohesive surface for your cutting board.
Start by using a plane to remove any rough spots or unevenness on the surface of the wood. This will help create a flat and uniform surface for your cutting board. Gradually work the plane across the surface, taking thin shavings until you achieve a smooth and even surface.
Once the surface is planed, it’s time to move on to sanding. Begin with a coarse-grit sandpaper to remove any remaining roughness or imperfections. Use long, even strokes along the length of the wood to ensure a consistent finish.
After sanding with the coarse-grit sandpaper, switch to a finer-grit sandpaper to further smooth the surface. Continue sanding until you achieve a silky-smooth texture on all sides of the wood pieces.
Remember to sand the edges and corners of the wood pieces as well, to create a uniform and polished look for your cutting board.
Once you’re satisfied with the smoothness of the wood, it’s time to move on to the next step: routing the edges.
Step 5: Routing the Edges
Routing the edges of your cutting board not only adds a decorative touch but also provides a comfortable grip for handling and prevents sharp edges. This step involves using a router with a decorative bit to shape the edges of your cutting board.
Start by selecting a decorative bit that suits your preference and complements the overall design of your cutting board. There are various options available, such as round-over, beading, or ogee bits.
Secure the wood piece firmly in place and set the depth of the router according to your desired profile. It is best to start with a shallow depth and gradually increase it to achieve the desired shape without risking any mistakes or damage to the wood.
Slowly guide the router along the edges of the wood, applying consistent pressure and making sure to cover the entire perimeter. Take your time and go at a steady pace to ensure clean and smooth edges.
After routing all the edges, carefully inspect them for any rough spots or inconsistencies. Use sandpaper or a sanding block to smooth out any imperfections and make the edges uniform.
Routing the edges not only enhances the appearance of your cutting board but also provides a functional and safe design. It’s now time to move on to the next step: applying a finish to protect and seal the wood.
Step 6: Applying a Finish
Applying a finish to your cutting board is essential to protect the wood from moisture, stains, and bacterial growth. It also enhances the natural beauty of the wood and gives it a polished look.
When choosing a finish for your cutting board, it’s important to select a food-safe option that will not leach harmful chemicals into your food. Mineral oil and beeswax are popular choices that are safe for food contact.
Before applying the finish, make sure the wood surfaces are clean and free from dust and debris. Use a soft cloth or brush to gently wipe the wood and ensure a smooth application.
Start by applying a generous amount of the chosen finish to one side of the cutting board. Use a brush or cloth to spread the finish evenly, making sure to cover the entire surface. Allow the finish to penetrate and soak into the wood for a few minutes.
After the initial application, wipe off any excess finish using a clean cloth. This step ensures that the finish doesn’t leave a sticky or greasy residue on the surface of the cutting board.
Repeat the process for all sides of the cutting board, including the edges. Apply multiple coats if desired, allowing each coat to fully absorb and dry before applying the next one.
Once you’ve applied the finish to your satisfaction, allow the cutting board to fully dry and cure for at least 24 hours. This will ensure that the finish has properly set and the board is ready for use.
Now that your cutting board is finished and protected, it’s time to move on to the final step: conditioning and maintaining the cutting board.
Step 7: Conditioning and Maintaining the Cutting Board
Once your cutting board is finished and ready for use, it’s important to regularly condition and maintain it to ensure its longevity and optimal performance. Proper care and maintenance will keep your cutting board looking beautiful and functional for years to come.
Start by regularly applying a food-safe oil or conditioner to the cutting board. This helps replenish the wood’s natural moisture and prevents it from drying out and cracking. Simply apply a thin layer of oil or conditioner to the entire surface of the board, allowing it to soak in for a few hours or overnight.
After the oil has absorbed, wipe off any excess with a clean cloth. This step helps create a protective barrier and keeps the wood hydrated.
When using your cutting board, be mindful of the types of food you cut on it. Avoid using highly acidic or heavily pigmented foods, as they can stain and damage the wood. Additionally, always use a separate cutting board for raw meat and poultry to prevent cross-contamination.
To clean your cutting board, use a mild dish soap and warm water. Avoid soaking the board or submerging it in water, as excessive moisture can warp the wood. After washing, pat the board dry with a clean towel and allow it to air dry completely before storing it.
Avoid exposing your cutting board to extreme temperatures, such as placing it near a hot stove or in direct sunlight. These conditions can cause the wood to warp or crack.
Periodically inspect your cutting board for any signs of wear or damage. If you notice any deep cuts or scratches, lightly sand the affected area and reapply a coat of food-safe oil to maintain the board’s smoothness.
By regularly conditioning and maintaining your cutting board, you can ensure its durability and extend its lifespan. With proper care, your handmade cutting board will continue to be a functional and beautiful addition to your kitchen.
Congratulations! You have successfully completed all the steps to create a cutting board by hand. Enjoy your new kitchen tool and the satisfaction of crafting something unique and practical.
Remember, making a cutting board by hand is not only a rewarding woodworking project, but it also allows you to customize and personalize a functional item that you will use daily in your kitchen.
Now go ahead and showcase your creativity and woodworking skills by making a beautiful cutting board that you can proudly display and use for all your culinary adventures!
Happy woodworking!
Read more: How To Flatten Board With Hand Tools
Conclusion
Crafting a cutting board by hand is a rewarding and fulfilling endeavor that allows you to showcase your woodworking skills while creating a practical and personalized kitchen tool. By following the step-by-step instructions outlined in this guide, you can create a beautiful cutting board that reflects your unique style and meets your culinary needs.
From selecting the right wood to measuring, cutting, and finishing, each step plays a crucial role in creating a durable and aesthetically pleasing cutting board. By taking the time to choose quality materials, make precise measurements, and implement proper woodworking techniques, you can ensure that your cutting board is both functional and visually appealing.
Remember to properly maintain and care for your cutting board by regularly applying a food-safe finish, cleaning it properly, and avoiding exposure to extreme temperatures. With proper maintenance, your handmade cutting board will remain a reliable kitchen companion for years to come.
Whether you are an experienced woodworker or a novice DIY enthusiast, creating a cutting board by hand is a fulfilling project that allows you to unleash your creativity and craftsmanship. It is a practical and useful item that you can proudly showcase and utilize in your kitchen.
So, gather your tools and materials, follow the steps outlined in this guide, and embark on the journey of creating your own cutting board by hand. Enjoy the process and the satisfaction of using a unique, handmade tool in your everyday cooking endeavors.
Happy woodworking!
Frequently Asked Questions about How To Make A Cutting Board Using Hand Tools
Was this page helpful?
At Storables.com, we guarantee accurate and reliable information. Our content, validated by Expert Board Contributors, is crafted following stringent Editorial Policies. We're committed to providing you with well-researched, expert-backed insights for all your informational needs.

0 thoughts on “How To Make A Cutting Board Using Hand Tools”