Articles
How To Flush AC System In Car
Modified: October 20, 2024
Learn how to effectively flush your car's AC system with this informative article. Keep your vehicle's air conditioning running smoothly with these step-by-step instructions.
(Many of the links in this article redirect to a specific reviewed product. Your purchase of these products through affiliate links helps to generate commission for Storables.com, at no extra cost. Learn more)
Introduction
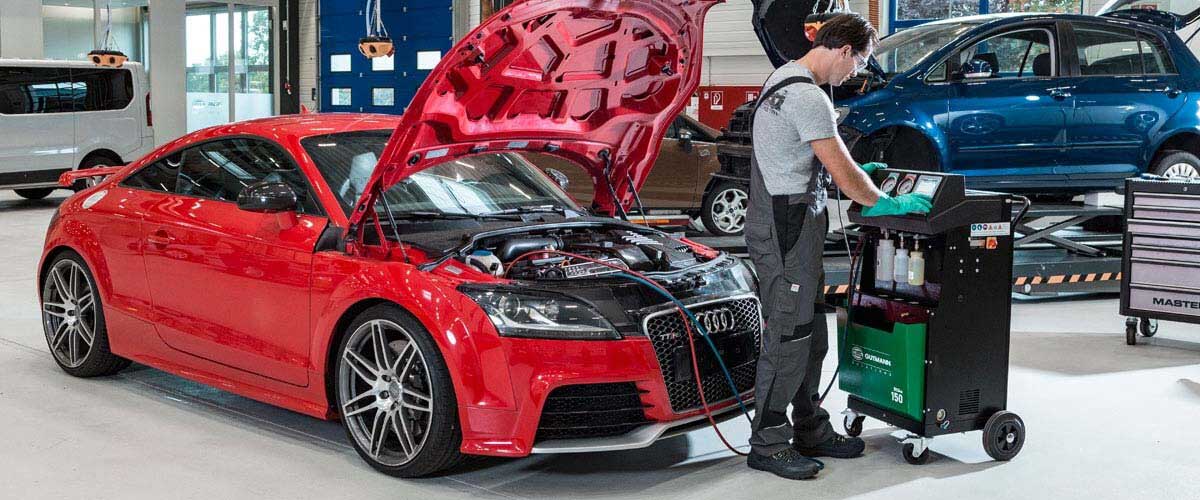
The air conditioning (AC) system in your car plays a vital role in keeping you comfortable during the hot summer months. However, over time, the AC system can accumulate contaminants and debris, which can hinder its performance and efficiency. That’s why it’s important to regularly flush the AC system to remove any built-up residue and ensure optimal functionality.
Flushing the AC system in your car involves removing the old refrigerant, cleaning the system with a flush solution, and then recharging it with fresh refrigerant. This process helps to eliminate any contaminants, such as dirt, debris, or excess oil, that may have accumulated in the system, which can obstruct the flow of refrigerant and reduce the cooling capacity of your AC.
Regularly flushing your AC system has several benefits. Not only does it improve the efficiency and performance of your AC, but it also helps extend the lifespan of your system, prevents costly repairs, and ensures that you get the maximum cooling effect from your car’s air conditioning.
In this article, we will guide you through the step-by-step process of flushing the AC system in your car. We will also discuss the tools and materials you’ll need, as well as tips for safety and maintenance along the way.
Key Takeaways:
- Regularly flushing your car’s AC system removes contaminants, prevents blockages, and enhances performance, ensuring optimal cooling and extending the system’s lifespan.
- Following safety precautions, preparing the flush solution, and performing a leak test are crucial steps in effectively flushing and maintaining your car’s AC system.
Read more: How To Vacuum A Car AC System
Why is Flushing the AC System Important?
Flushing the AC system in your car is essential for maintaining the optimal performance and efficiency of the air conditioning system. Here are a few reasons why flushing is important:
- Removes Contaminants: Over time, the AC system can accumulate contaminants such as dirt, debris, and excess oil. These contaminants can hinder the flow of refrigerant, leading to reduced cooling capacity and inefficient operation. Flushing helps to remove these contaminants, ensuring that the system operates at its best.
- Prevents Blockages: When contaminants build up in the AC system, they can form blockages in the refrigerant lines and components. These blockages can restrict the flow of refrigerant, causing the system to work harder and potentially leading to damage or failure of the AC components. Flushing helps to clear out any blockages and ensures a smooth flow of refrigerant throughout the system.
- Eliminates Excess Oil: The AC system relies on a specific amount of refrigerant and oil to operate effectively. Over time, however, excess oil can accumulate in the system, which can disrupt the proper functioning of the compressor and other components. Flushing helps to remove any excess oil, allowing the system to operate efficiently and preventing potential damage.
- Prevents Contaminant Transfer: If you’re replacing a failed AC component or performing repairs on the system, it’s crucial to flush the system to prevent any contaminants from the old component from transferring to the new one. This helps to avoid future issues and ensures the longevity of the replaced AC component.
- Enhances System Performance: By removing contaminants, blockages, and excess oil, flushing the AC system improves its overall performance. The system will be able to cool the cabin more effectively, providing you with optimal comfort during hot weather conditions.
Overall, flushing the AC system in your car is a necessary maintenance step to keep your air conditioning system functioning at its best. It helps to remove contaminants, prevent blockages, and enhance the overall performance and efficiency of the AC system. By performing regular flushing, you can prolong the lifespan of your AC components and ensure that your car’s air conditioning keeps you cool and comfortable on your journeys.
Tools and Materials Needed
Before you begin the process of flushing the AC system in your car, it’s essential to gather the necessary tools and materials. Here’s a list of what you’ll need:
- AC Flush Kit: Purchase an AC flush kit, which typically includes a canister, hoses, and fittings. This kit is specifically designed for flushing automotive AC systems and will make the process easier and more efficient.
- AC Flush Solution: You’ll need an AC flush solution, which is a specialized cleaning agent designed to remove contaminants and residue from the AC system. Make sure to check the compatibility of the flush solution with your car’s AC system before purchasing.
- Safety Gloves and Goggles: It’s crucial to protect yourself during the flushing process. Wear safety gloves and goggles to shield your hands and eyes from any potential harm or chemical contact.
- Wrench or Socket Set: Depending on the specific components of your car’s AC system, you may need a wrench or socket set to disconnect certain connections during the flushing process. It’s a good idea to have these tools on hand, as they can be useful for other automotive repairs as well.
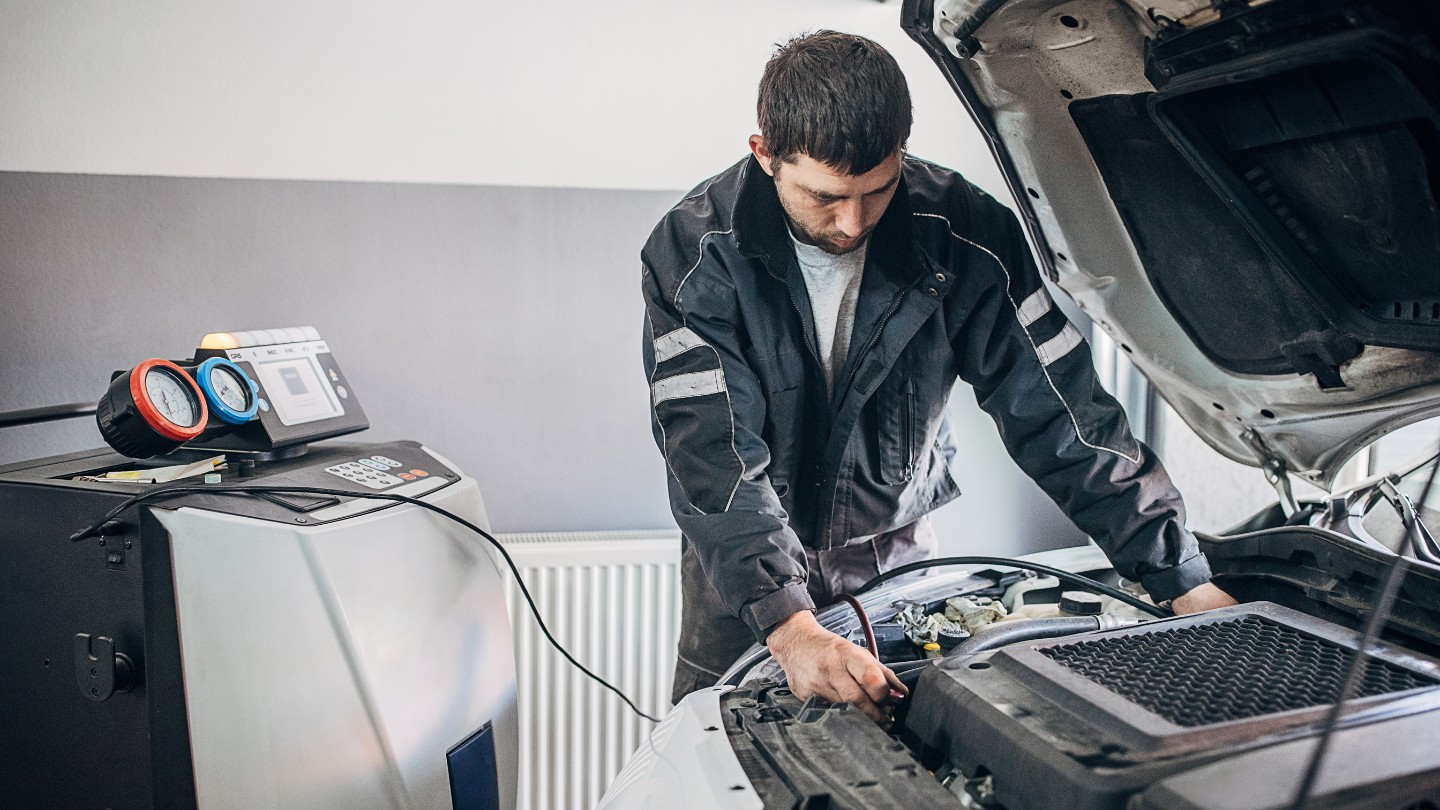
- Refrigerant Recovery Machine: If you plan on recharging the AC system yourself, you’ll need a refrigerant recovery machine to safely remove the old refrigerant from the system. This is a crucial step to comply with environmental regulations and prevent any harm from releasing refrigerant into the atmosphere.
- New Refrigerant: After flushing and recharging the AC system, you’ll need to refill it with fresh refrigerant. Make sure to know the correct type and amount of refrigerant required for your specific car’s AC system. Consult your car’s manual or a professional if you’re unsure.
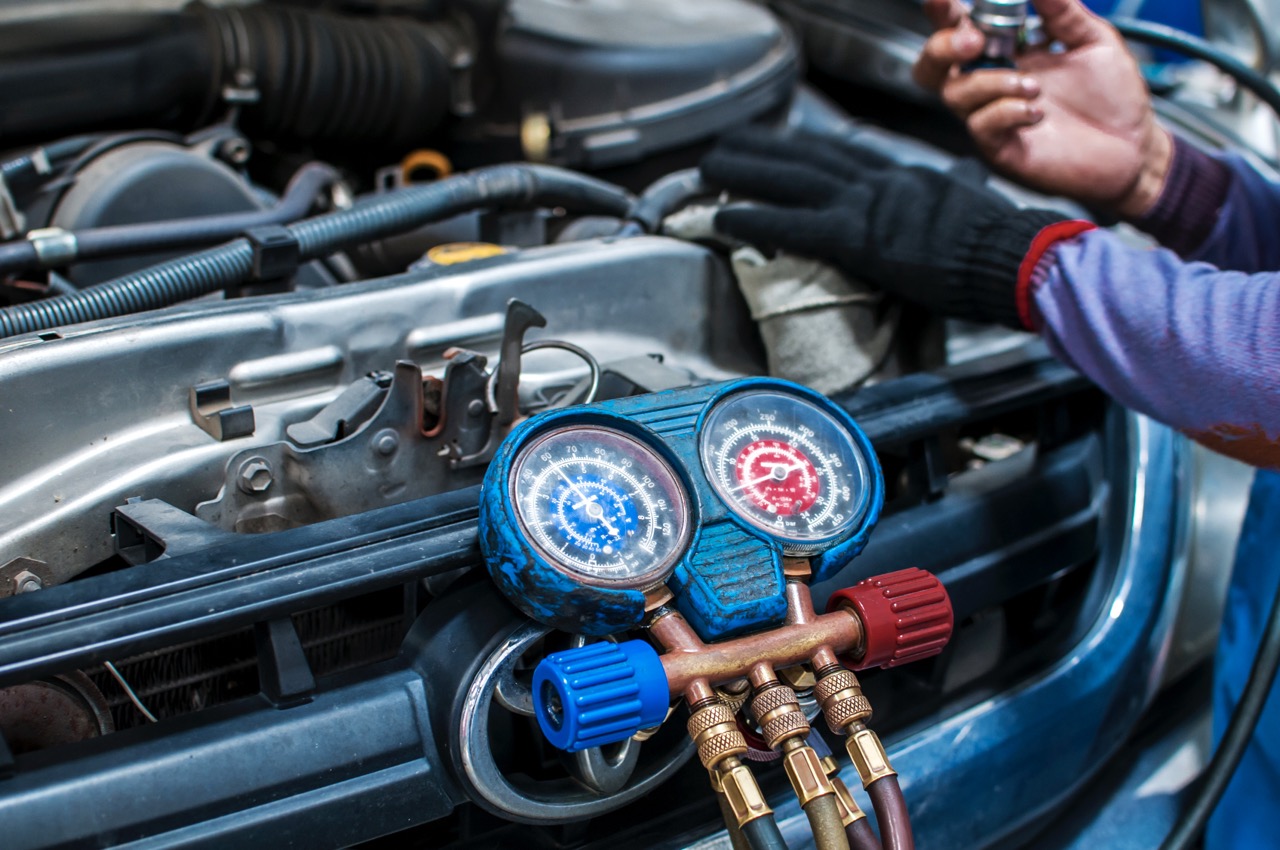
- Pressure Gauge: A pressure gauge will help you monitor the pressure levels during the flushing and recharging process. This will ensure that the AC system is properly pressurized for optimal performance.
- Shop Towels: Have a supply of shop towels or lint-free cloths available to clean any spills or drips that may occur during the flushing process. It’s essential to keep the work area clean and free from any debris or contaminants.
Having these tools and materials ready before you begin will make the process smoother and more efficient. It’s important to remember that working on the AC system involves handling potentially hazardous materials, so take the necessary precautions and follow safety guidelines throughout the process.
Step 1: Gather Necessary Safety Equipment
Before you start the process of flushing the AC system in your car, it’s crucial to ensure your safety by gathering the necessary safety equipment. Follow these steps to gather the required safety gear:
- Safety Gloves: Put on a pair of safety gloves to protect your hands from any chemicals, contaminants, or sharp edges you may encounter during the flushing process. Opt for gloves that provide good grip and dexterity while still offering adequate protection.
- Safety Goggles: Wear safety goggles to shield your eyes from any potential splashes or spills of the AC flush solution. This will prevent the solution from coming into contact with your eyes, which can cause irritation or injury.
- Protective Clothing: Consider wearing long-sleeved clothing and long pants to protect your arms and legs from any accidental spills or contact with the flush solution. This will help prevent skin irritation or chemical exposure.
- Work in a Well-Ventilated Area: When working with the AC flush solution, ensure that you are in a well-ventilated area. This will help to disperse any fumes or odors that may be emitted during the process. Open the garage door or work outdoors if possible.
- Fire Extinguisher: Have a fire extinguisher nearby as a precautionary measure. While the likelihood of a fire is minimal, it’s always better to be prepared for any unexpected situations.
- First Aid Kit: Keep a first aid kit handy in case of any minor injuries or accidents. This should include items such as bandages, antiseptic wipes, and adhesive tape.
By gathering and utilizing the necessary safety equipment, you can minimize the risk of injury and ensure a safe working environment during the AC system flushing process. Remember to always prioritize your safety and follow proper guidelines throughout the entire process.
Step 2: Locate the AC System Components
Before you can begin flushing the AC system in your car, you need to familiarize yourself with the location of the various AC system components. Here are the essential components you’ll need to locate:
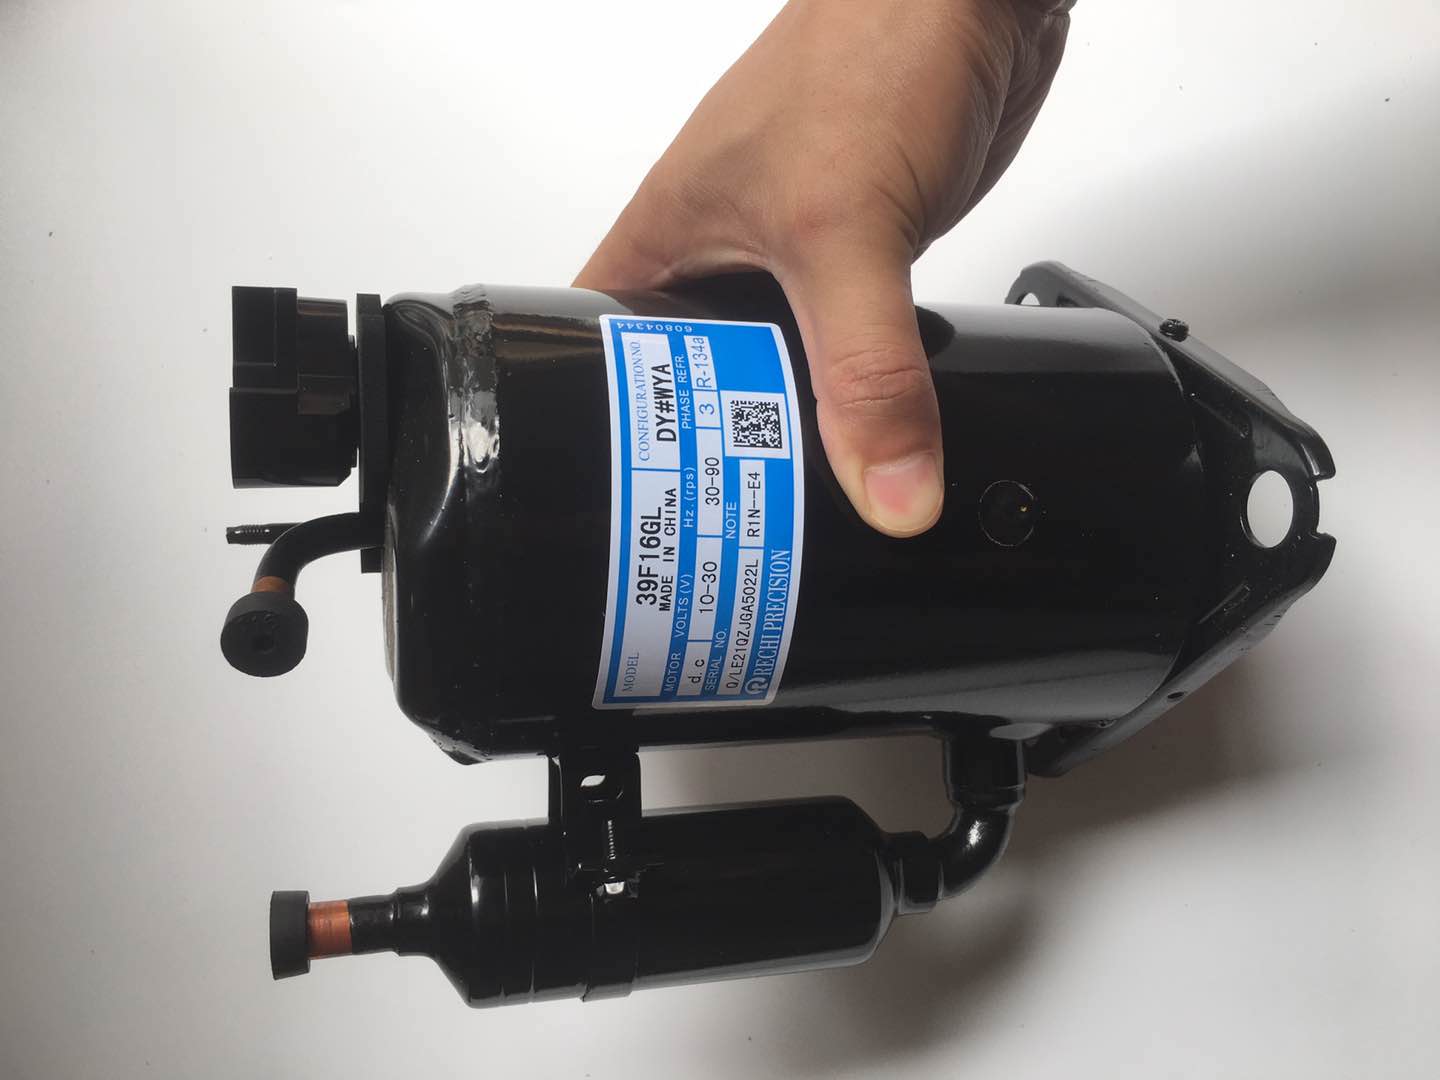
- Compressor: The compressor is a vital component of the AC system. It is typically located at the front of the engine compartment and has a belt connected to it. Familiarize yourself with its location and appearance.
- Receiver/Dryer: The receiver/dryer is responsible for removing moisture and contaminants from the refrigerant. It is usually a cylindrical or rectangular-shaped component and is often located near the front of the engine compartment, close to the condenser.
- Condenser: The condenser is located in front of the radiator and helps to cool the refrigerant by dissipating heat. It resembles a radiator and is typically made of aluminum or copper. Locate the condenser and identify its placement in relation to other components.
- Evaporator: The evaporator is located inside the car’s cabin, usually behind the dashboard. It cools the air inside the cabin by extracting heat from it. Locate the access point to the evaporator and observe its placement within the AC system.
- Hoses and Connections: Take note of the various hoses and connections that link the different AC components together. Make sure you have a clear understanding of where these hoses and connections are located for proper disconnection and reconnection during the flushing process.
Consult your car’s manual or do some research specific to your vehicle’s make and model to get a more detailed understanding of your AC system components’ location. This will help you approach the flushing process with confidence and accuracy.
Knowing the location of the AC system components will not only facilitate the flushing process but also enable you to identify and address any potential issues or damages that may arise during the process. Being familiar with your car’s AC system will streamline the overall procedure and ensure that each step is executed correctly.
Read more: How To EvACuate Car AC System At Home
Step 3: Prepare the Flush Solution
Once you have familiarized yourself with the location of the AC system components, the next step in flushing the AC system in your car is to prepare the flush solution. The flush solution is a specialized cleaning agent designed to remove contaminants and residue from the AC system. Here’s how to prepare the flush solution:
- Obtain the AC Flush Solution: Purchase an AC flush solution from an automotive supply store or online. Ensure that the flush solution is compatible with your specific car’s AC system. Refer to the manufacturer’s recommendations or consult a professional if you’re unsure about the right flush solution to use.
- Read and Follow the Instructions: Carefully read the instructions provided with the flush solution. The instructions will provide specific guidelines on how to mix the solution and any additional steps or precautions you need to take. Follow the instructions closely to ensure the best results.
- Mix the Flush Solution: Prepare the flush solution according to the instructions. This often involves diluting the flush solution with a specific amount of clean water. Use the appropriate containers and measuring tools to ensure accuracy.
- Use the Recommended Ratio: It’s crucial to follow the recommended ratio of flush solution to water for optimal cleaning effects. Using too much or too little flush solution can affect the effectiveness of the flushing process.
- Prepare Sufficient Flush Solution: Determine the amount of flush solution you’ll need based on the size of your AC system and the manufacturer’s guidelines. Prepare enough flush solution to clean the entire AC system thoroughly.
Preparing the flush solution correctly is crucial for effectively removing contaminants and residue from your AC system. Follow the instructions provided and ensure that you use the recommended ratio and quantity of flush solution. Taking the time to prepare the flush solution will set you up for a successful and thorough flushing process.
Step 4: Disconnect the AC System
After preparing the flush solution, it’s time to disconnect the various components of the AC system in order to facilitate the flushing process. Follow these steps to disconnect the AC system:
- Ensure Safety Precautions: Before you begin, make sure the car’s engine is turned off and that the AC system has been inactive for a while to avoid any contact with hot components. Also, wear the appropriate safety gloves and goggles to protect yourself during the process.
- Locate the AC System Connections: Refer back to Step 2 to identify the various AC system connections, including hoses, pipes, and fittings. These connections are typically found near the compressor, receiver/dryer, condenser, and evaporator.
- Use the Appropriate Tools: Depending on the type of connections in your car’s AC system, you may need to use a wrench or socket set to safely disconnect the fittings. Carefully remove any bolts, screws, or clamps that secure the connections in place.
- Drain the Refrigerant: Using a refrigerant recovery machine, follow the manufacturer’s instructions to safely drain the old refrigerant from the AC system. This is an important step to comply with environmental regulations and prevent the release of harmful substances.
- Cap or Plug Open Hoses and Connections: After disconnecting the AC system components, immediately cap or plug any open hoses and connections to prevent the entry of debris or moisture into the system.
Take your time and exercise caution when disconnecting the AC system components. Avoid forcefully pulling or twisting the connections, as this can cause damage. If you encounter any resistance during the disconnection process, double-check for any additional bolts or fasteners that may need to be removed.
Once you have successfully disconnected the various components of the AC system, you are ready to move on to the next step of the flushing process.
Before flushing the AC system in your car, make sure to wear safety goggles and gloves. Use an approved AC flush solution and follow the manufacturer’s instructions carefully. After flushing, use a vacuum pump to remove any remaining moisture before recharging the system.
Step 5: Connect the Flush Kit
After disconnecting the AC system components, the next step in flushing the AC system is to connect the flush kit. The flush kit is designed to help circulate the flush solution through the system and remove any contaminants. Follow these steps to connect the flush kit:
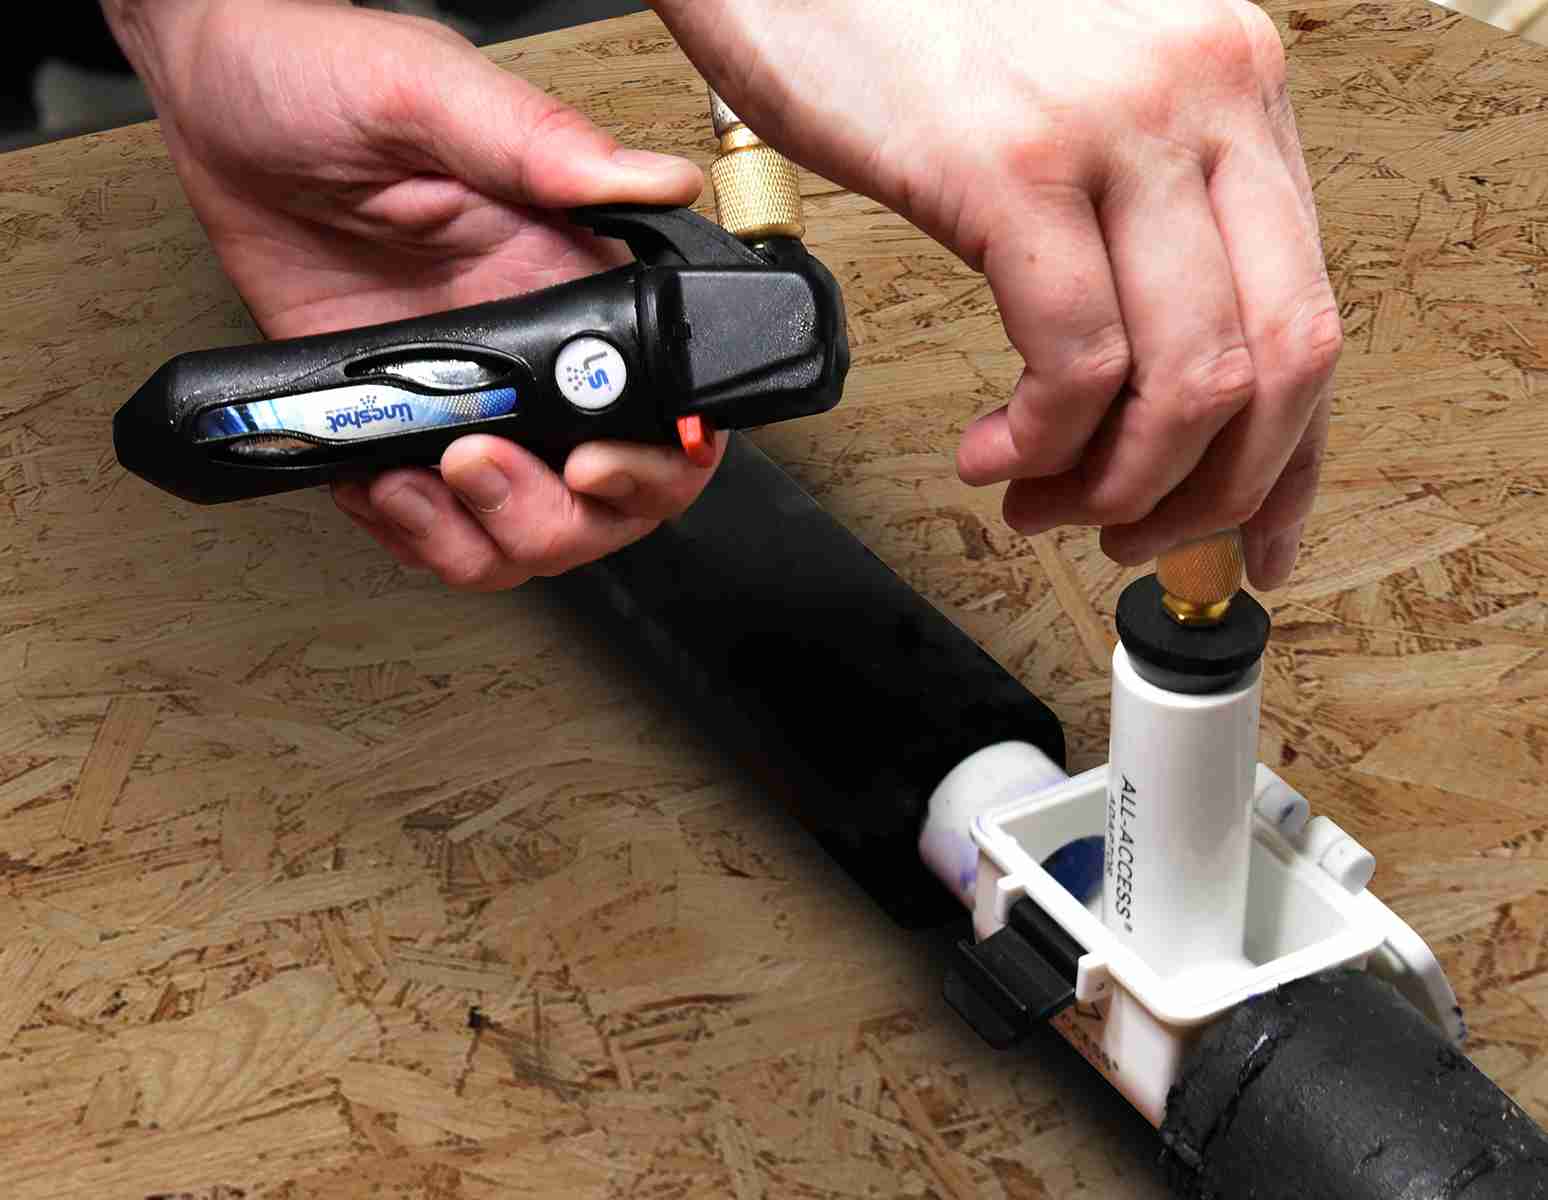
- Locate the Flush Kit: Retrieve the AC flush kit, which typically includes a canister, hoses, and fittings. Ensure that all the components of the flush kit are present and in good condition.
- Choose the Appropriate Hose and Fittings: Select the hose and fittings from the flush kit that are compatible with your car’s AC system. Refer to the manufacturer’s instructions or consult a professional if you’re unsure which hose and fitting to use.
- Connect the Flush Kit Canister: Attach one end of the hose to the canister of the flush kit. Make sure it is securely fastened to prevent any leaks during the flushing process.
- Connect the Hose to the AC System: Connect the other end of the hose to the designated connection point on the AC system. This is typically done by matching the fittings on the flush kit hose with the corresponding fittings on the AC system.
- Secure the Connections: Once the hose is connected, ensure that all connections are secure and tight. Double-check for any signs of leakage or loose fittings. If necessary, use a wrench or socket set to tighten the connections.
It’s important to follow the manufacturer’s instructions for connecting the flush kit and ensure that the components are properly secured. This will prevent any leaks or accidents during the flushing process.
Once the flush kit is securely connected, you’re ready to move on to the next step of the AC system flushing process, which involves flushing the system with the prepared flush solution.
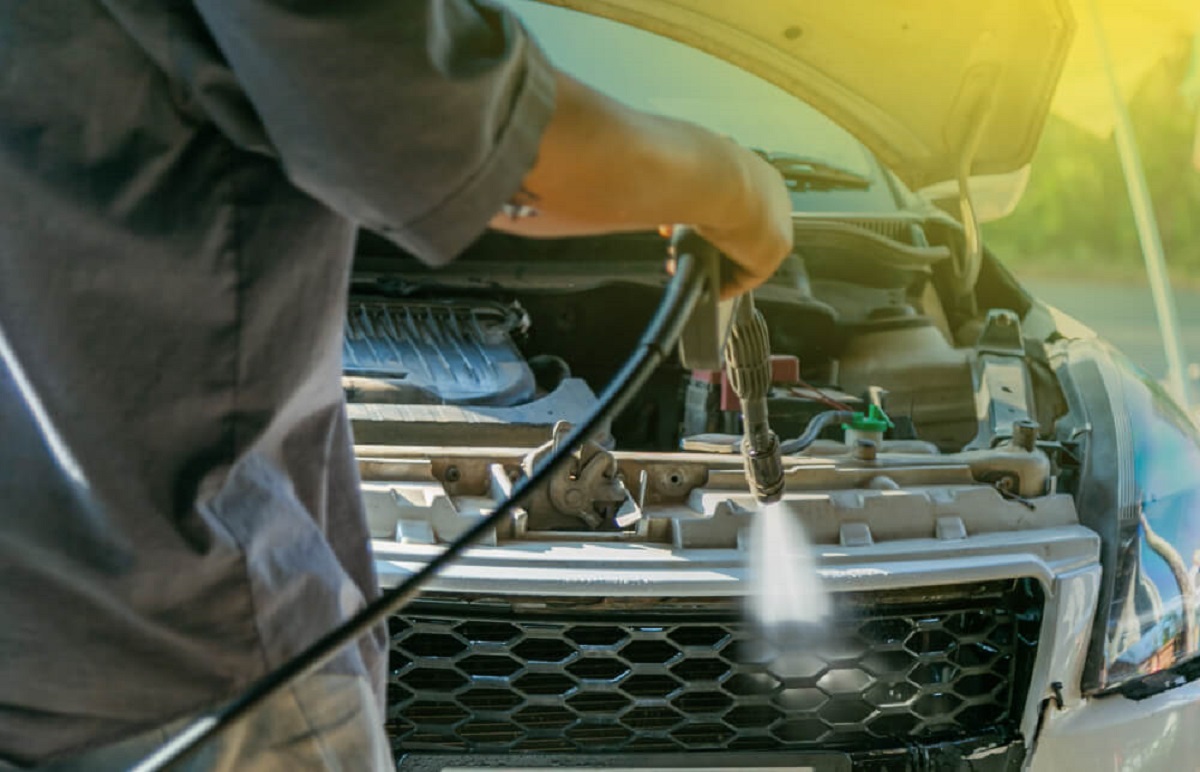
Step 6: Flush the AC System
Now that the flush kit is properly connected, it’s time to flush the AC system in your car. This step involves circulating the flush solution through the system to remove any contaminants and residue. Follow these steps to effectively flush the AC system:
- Position the Flushing Canister: Position the flush kit canister, containing the flush solution, in an elevated position so that it can flow through the AC system by gravity.
- Turn on the Flushing Solution: Slowly open the valve on the flush kit canister to allow the flush solution to flow into the AC system. Ensure that the flush solution enters the system in a controlled manner to prevent any overflow or spills.
- Activate the AC System: Start the car’s engine and turn on the AC system. This will activate the AC components and allow the flush solution to circulate through the system.
- Run the AC System: Let the AC system run for a specified duration, as recommended by the flush solution manufacturer. This will ensure that the flush solution fully circulates through the AC components, cleaning them thoroughly.
- Monitor the Flushing Process: Keep an eye on the flush solution as it flows through the transparent hoses of the flush kit. Look for any signs of contaminants or debris being flushed out of the system.
- Continue Flushing until Clear: Continue the flushing process until the flush solution flowing out of the AC system is clear and free of any contaminants. This indicates that the system has been thoroughly cleaned.
It’s important to follow the manufacturer’s instructions for the specific flush solution being used. Different flush solutions may have different recommended flushing durations and instructions. Make sure to comply with these guidelines to ensure effective cleaning of the AC system.
By completing this step, you have successfully flushed the AC system in your car, removing any contaminants and residue that may have been affecting its performance. Now, you can proceed to the next step to reconnect and evacuate the AC system.
Read more: How To Flush A Central Heating System
Step 7: Reconnect and Evacuate the AC System
After flushing the AC system and ensuring that it is clean, it’s time to reconnect the disconnected components and evacuate the system. This step prepares the AC system for recharging and optimal performance. Follow these steps to reconnect and evacuate the AC system:
- Remove the Flush Kit: Disconnect the hose from the flush kit canister and remove the flush kit from the AC system. Set it aside for cleaning and future use.
- Verify Proper Connections: Double-check all the connections and fittings of the AC system. Ensure that they are securely fastened and free from any signs of leaks or damages. If necessary, use a wrench or socket set to tighten any loose connections.
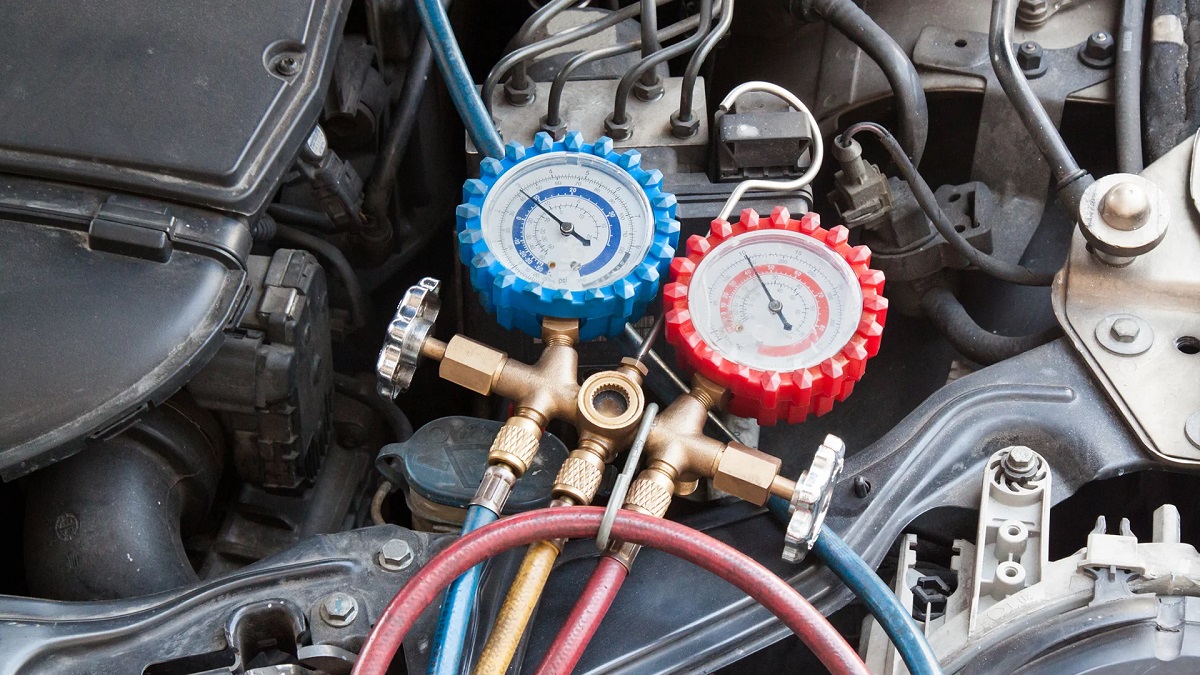
- Attach the Gauges: Connect the pressure gauges to the designated ports on the AC system. This will allow you to monitor the system’s pressure levels during the evacuation process.
- Start the Vacuum Pump: Attach the vacuum pump to the AC system and turn it on. The vacuum pump will remove any remaining air and moisture from the system, creating a vacuum environment.
- Monitor the Vacuum Level: Keep an eye on the pressure gauges while the vacuum pump is running. Ensure that the system holds a steady vacuum and that there are no significant pressure drops or leaks.
- Evacuate for Recommended Time: Follow the manufacturer’s guidelines or professional recommendations to determine the recommended evacuation time for your car’s AC system. Typically, it is recommended to evacuate the system for at least 30 minutes to ensure proper moisture removal.
- Close the Vacuum Valve: Once the recommended evacuation time has elapsed, close the valve on the vacuum pump to stop the vacuum process. Observe the pressure gauges to ensure that the system holds the vacuum without any noticeable pressure changes.
- Disconnect the Vacuum Pump: Safely disconnect the vacuum pump from the AC system, taking care to avoid any sudden releases of pressure or refrigerant. Set the vacuum pump aside for future use or storage.
Completing this step ensures that the AC system is free from air and moisture, which can negatively impact its performance. By evacuating the system, you create an optimal environment for the refrigerant to flow smoothly and efficiently.
With the AC system reconnected and properly evacuated, you can now proceed to the next step of recharging the AC system with fresh refrigerant.
Step 8: Recharge the AC System
After completing the evacuation process, the next step in flushing the AC system is to recharge it with fresh refrigerant. Recharging the AC system ensures proper cooling performance. Follow these steps to recharge the AC system:
- Prepare the Refrigerant: Obtain a canister of the appropriate refrigerant for your car’s AC system. Make sure to check your car’s manual or consult a professional to determine the correct type and amount of refrigerant needed.
- Attach the Refrigerant Canister: Connect the refrigerant canister to the AC system using the appropriate fittings and hoses. Ensure a secure and leak-free connection to prevent any refrigerant from escaping during the charging process.
- Open the Refrigerant Valve: Slowly open the valve on the refrigerant canister to allow the refrigerant to enter the AC system. Monitor the pressure gauges to ensure that the refrigerant is flowing into the system properly.
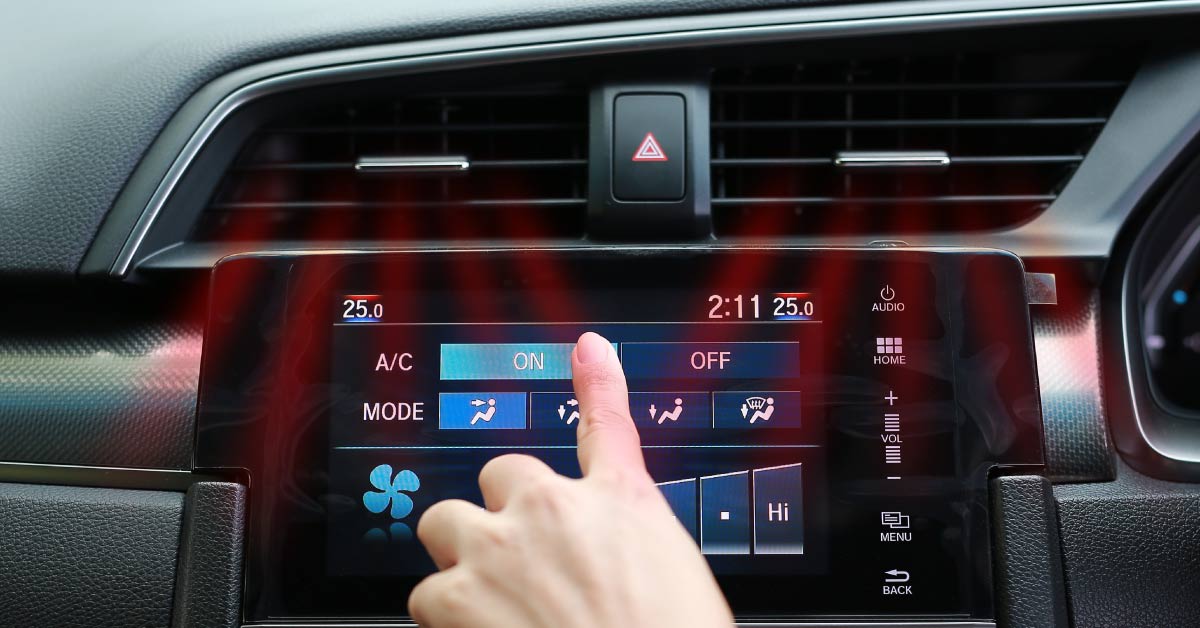
- Start the Engine and Activate the AC System: Start the car’s engine and turn on the AC system. This will activate the compressor and enable the refrigerant to circulate through the AC system.
- Monitor the Refrigerant Gauge: Keep an eye on the refrigerant gauge to ensure that the system is being charged with the correct amount of refrigerant. Avoid overcharging the system, as this can lead to poor performance or damage.
- Follow the Manufacturer’s Recommendations: Consult the refrigerant canister label or consult the manufacturer’s instructions to determine the recommended charging time. Different refrigerants may have different charging requirements, so it’s essential to follow the specific guidelines.
- Adjust the Refrigerant Level: While monitoring the refrigerant gauge, adjust the flow of refrigerant from the canister to maintain the recommended pressure range. This ensures that the AC system is charged properly and is not over or under-filled.
- Close the Refrigerant Valve: Once the AC system has been sufficiently charged, close the valve on the refrigerant canister to stop the flow of refrigerant into the system.
- Disconnect the Refrigerant Canister: Safely disconnect the refrigerant canister from the AC system, ensuring that all connections are properly closed. Store the canister or dispose of it according to local regulations.
Completing this step allows you to recharge the AC system with fresh refrigerant, ensuring optimal cooling performance. Follow the guidelines provided by the refrigerant manufacturer and ensure that the AC system is properly charged to provide efficient and effective cooling for your car.
With the AC system recharged, you’re now ready to move on to the next step of the process, which involves performing a leak test to ensure there are no refrigerant leaks in the system.
Step 9: Perform a Leak Test
After recharging the AC system, it’s crucial to perform a leak test to ensure there are no refrigerant leaks. This step is essential for the proper functioning and longevity of the AC system. Follow these steps to perform a leak test:
- Inspect AC System Components: visually inspect all AC system components, including hoses, fittings, connections, and the compressor, for any signs of refrigerant leaks. Look for oil stains, residue, or frost around the components, which may indicate a leak.
- Use a Leak Detection Kit: If a visual inspection does not reveal any leaks, you can use a leak detection kit, which typically consists of a UV dye and a UV light. Follow the instructions provided with the kit to add the UV dye to the AC system.
- Run the AC System: Start the car’s engine and turn on the AC system. Allow it to run for a few minutes to circulate the UV dye throughout the system.
- Inspect with UV Light: Use the provided UV light to inspect the AC system components. Shine the UV light around the hoses, connections, and other AC system parts. If there is a refrigerant leak, the UV dye will glow under the UV light.
- Repair Any Leaks: If you detect any refrigerant leaks during the inspection, it’s important to repair them promptly. Consult a professional technician or refer to your car’s manual for proper leak repair procedures. It’s crucial to fix any leaks to prevent refrigerant loss and maintain the AC system’s efficiency.
- Recheck the System: After repairing any leaks, reinspect the AC system with the UV light to ensure that all leaks have been properly addressed and resolved.
Performing a leak test is an important step in maintaining the integrity of the AC system. By identifying and fixing any leaks, you can prevent further refrigerant loss and ensure that the system operates efficiently. It’s important to address any leaks as soon as possible to prevent damage to the AC components and maintain optimal cooling performance.
Once you have completed the leak test and repaired any leaks, you can consider the AC system flushing process complete. Your AC system should now be thoroughly cleaned, recharged, and free from any leaks, ready to provide cool and comfortable air during your car journeys.
Conclusion
Flushing the AC system in your car is a crucial maintenance task that helps to ensure optimal performance and efficiency. By following the step-by-step process outlined in this article, you can effectively flush your AC system and reap the benefits of a cleaner and more effective cooling system.
Starting with gathering the necessary safety equipment, locating the AC system components, preparing the flush solution, disconnecting the AC system, connecting the flush kit, and flushing the system, you can remove contaminants and debris that hinder the system’s functionality.
After flushing, reconnecting and evacuating the AC system sets the stage for recharging with fresh refrigerant. Following the manufacturer’s instructions, you can recharge the system to restore its cooling capabilities.
Lastly, performing a leak test ensures there are no refrigerant leaks, and any identified leaks should be promptly repaired to maintain system efficiency and prevent further damage.
Regularly flushing the AC system in your car will help prolong its lifespan, prevent costly repairs, and ensure that you stay cool and comfortable while driving. It’s important to keep up with regular maintenance to keep your AC system in top condition.
Remember, if you are uncertain or uncomfortable performing these tasks yourself, it’s best to consult a professional technician who can assist you and ensure the job is done correctly.
By following these steps and taking proper care of your car’s AC system, you can enjoy efficient cooling and a comfortable driving experience, even during the hottest summer days.
Frequently Asked Questions about How To Flush AC System In Car
Was this page helpful?
At Storables.com, we guarantee accurate and reliable information. Our content, validated by Expert Board Contributors, is crafted following stringent Editorial Policies. We're committed to providing you with well-researched, expert-backed insights for all your informational needs.


0 thoughts on “How To Flush AC System In Car”