Articles
How To Find AC Leak
Modified: October 20, 2024
Learn effective techniques and tools in these informative articles on how to find and fix AC leaks to keep your home cool and comfortable.
(Many of the links in this article redirect to a specific reviewed product. Your purchase of these products through affiliate links helps to generate commission for Storables.com, at no extra cost. Learn more)
Introduction
During the hot summer months, an air conditioning (AC) system becomes an essential part of our lives, providing cool and comfortable indoor environments. However, if you begin to notice that your AC is not cooling as effectively as before, or if you detect strange odors or hissing sounds emanating from the system, you might be experiencing an AC leak.
An AC leak occurs when refrigerant, the crucial substance responsible for cooling the air, escapes from the system. Not only does this cause the AC to lose its cooling capacity, but it can also lead to increased energy consumption, potential damage to the AC components, and environmental concerns due to the release of harmful refrigerant gases.
Fortunately, finding and fixing an AC leak is a relatively straightforward process that can be done by following a few simple steps. In this article, we will guide you through the process of finding an AC leak and provide you with the necessary tools and techniques to effectively repair or replace the affected component.
Before we begin, it’s important to note that working with an AC system involves handling potentially hazardous substances and electrical components. If you are not comfortable or confident in your abilities, it is recommended to seek professional assistance. Safety should always be a top priority when working with any HVAC system.
Key Takeaways:
- Promptly recognizing signs of an AC leak, such as reduced cooling performance and strange odors, and having the right tools for detection and repair can help maintain the efficiency and functionality of your AC system.
- Thoroughly testing the AC system after repairs or replacements, monitoring performance, and scheduling regular maintenance are essential steps to ensure optimal functionality and prolong the lifespan of your AC unit.
Read more: How To Find Car AC Leak
Signs of an AC Leak
Before you can begin searching for an AC leak, it’s important to be able to recognize the signs that indicate a potential leak. By identifying these signs, you can take prompt action to prevent further damage and ensure that your AC system operates at its optimal efficiency. Here are some common signs that may indicate an AC leak:
1. Reduced Cooling Performance: If your AC is not cooling your space as effectively as before, it could be a sign of a refrigerant leak. Insufficient refrigerant levels can impact the cooling capacity of your AC system, resulting in decreased performance.
2. Hissing or Bubbling Sounds: Unusual sounds, such as hissing or bubbling noises, coming from your AC unit can indicate a refrigerant leak. These sounds are caused by the leaking refrigerant escaping from the system.
3. Strange Odors: A pungent or foul odor emitted from your AC unit can be a sign of a refrigerant leak. Refrigerants have distinct smells, often described as sweet, chemical-like, or similar to nail polish remover. If you notice any unusual odors, it’s essential to investigate further.
4. Ice Build-Up: Excessive ice formation on the AC unit can be a result of low refrigerant levels caused by a leak. The lack of refrigerant flows can cause the evaporator coil to become too cold and freeze over.
5. Increased Energy Consumption: If you notice a sudden spike in your energy bills without a corresponding increase in usage, it could be due to an AC leak. When refrigerant levels are low, the AC system has to work harder to maintain the desired temperature, leading to higher energy consumption.
6. Visual Signs of Oil Stains: If you observe oil stains or residue around your AC unit or on the components, it could be an indication of a refrigerant leak. Refrigerant often carries oil with it, and when it leaks, it can leave behind oil stains.
It’s important to remember that these signs are not exclusive to AC leaks and can also be symptoms of other issues with the AC system. If you notice any of these signs, it’s best to evaluate the situation by following the necessary steps to locate and repair the leak.
Tools Needed
Before you begin searching for an AC leak and attempting to repair or replace the affected component, it’s essential to gather the necessary tools. Having the right tools on hand will make the process smoother and more efficient. Here are the tools you’ll need:
1. Safety Gear: Working with an AC system involves potential hazards, so it’s important to prioritize safety. Make sure you have the appropriate safety gear, including safety glasses, gloves, and a face mask, to protect yourself from any refrigerant or chemical exposure.
2. AC Leak Detection Kit: An AC leak detection kit is a valuable tool that helps you identify the location of the leak. The kit typically includes a UV dye, a UV light, and safety glasses. The UV dye is added to the AC system, and when the UV light is used, it causes the dye to fluoresce, indicating the presence of a leak.
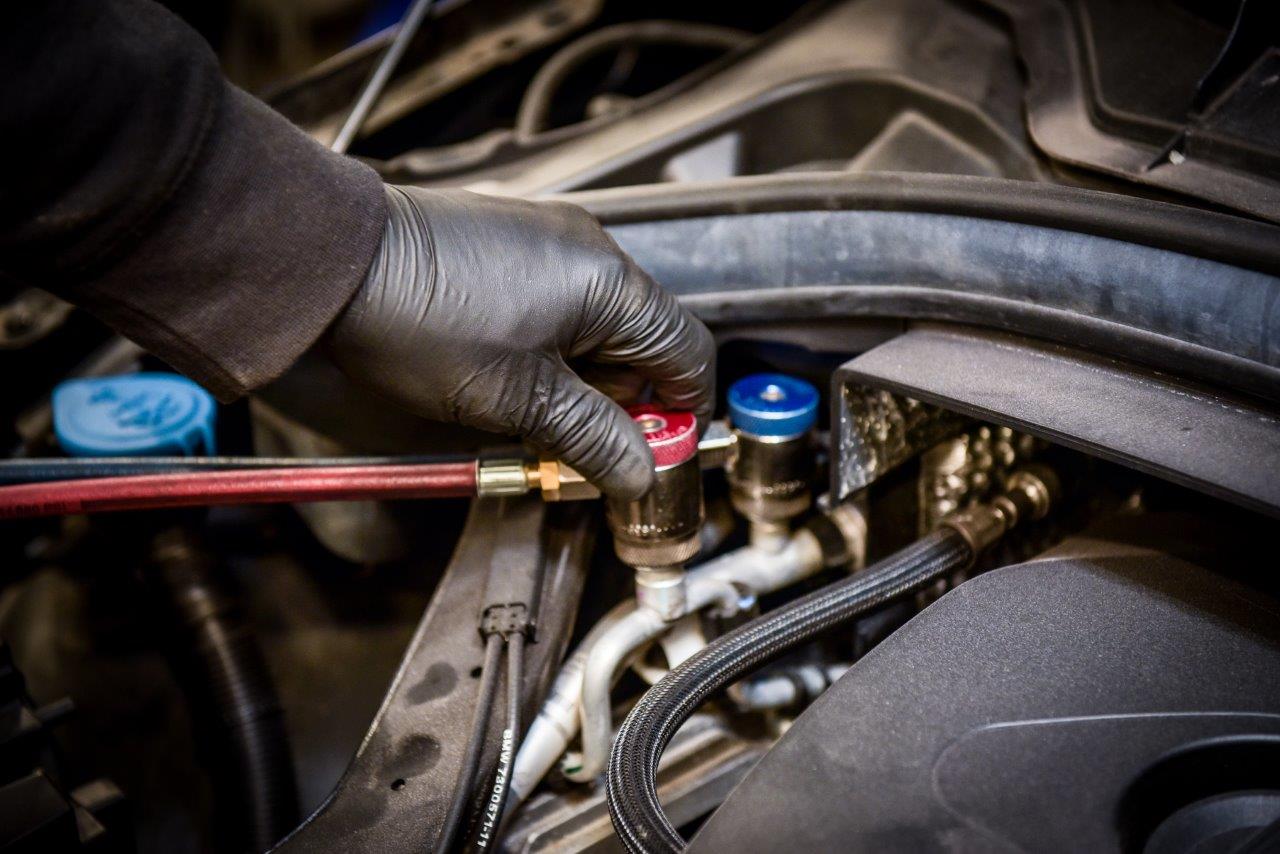
3. Refrigerant Gauge: A refrigerant gauge is used to measure the pressure levels of the AC system. It helps determine if the system has sufficient refrigerant or if there is a leak. Make sure to have a gauge that is compatible with your AC system’s refrigerant type.
4. AC System Toolkit: A basic toolkit with screwdrivers, pliers, wrenches, and socket sets will come in handy when working on the AC system. Different components may require specific tools, so having a versatile toolkit will allow you to tackle various repair or replacement tasks.
5. Leak Repair Materials: Depending on the severity of the leak and the component affected, you may need leak repair materials. This can include O-rings, gaskets, refrigerant sealants, or replacement parts such as valves or coils. Make sure to identify the specific components that need repair or replacement and have the necessary materials on hand.
6. Cleaning Supplies: Before attempting any repairs, it’s important to clean the area around the leak to ensure accurate detection and prevent contamination. Have cleaning supplies such as a degreaser or isopropyl alcohol and clean rags or paper towels ready.
7. System Pressure Testing Tools: If you suspect a significant leak or want to conduct a thorough inspection of the AC system, you may need additional tools such as a refrigerant leak detector or a smoke machine to help you pinpoint the exact location of the leak.
Having these tools readily available will streamline the process of finding and repairing the AC leak. It’s crucial to familiarize yourself with the purpose and usage of each tool to ensure safe and efficient work.
Step 1: Turn off the AC System
Before you begin your search for the AC leak, it is crucial to turn off the AC system to ensure your safety and prevent further damage. Here’s how to properly turn off the AC system:
1. Locate the AC Circuit Breaker: Find the AC circuit breaker in your main electrical panel. Open the panel and identify the breaker that corresponds to the AC unit. Usually, the breaker is labeled, but if it’s not, refer to the user manual or contact an HVAC professional for guidance.
2. Flip the Circuit Breaker Switch: Once you locate the AC breaker, switch it to the “Off” position. This action will cut off the power supply to the AC unit, ensuring that there is no electrical current running through it. This step is crucial for your safety while working on the AC system.
3. Double-Check Power Sources: In addition to turning off the circuit breaker, it’s a good practice to double-check other power sources that may be connected to the AC system. Look for any additional switches, plugs, or power sources and make sure to turn them off or unplug them to ensure complete disconnection from the power supply.
4. Wait for the System to Completely Power Down: After turning off the AC system, give it some time to completely power down. Depending on your system, it may take a few minutes for the remaining electrical charge to dissipate. Waiting ensures that you are working with an AC system that is completely disconnected from any power source.
Remember, turning off the AC system is a crucial step to ensure your safety while working on the system. Never skip this step or attempt to work on the system while it is still powered on. If you are unsure about any aspect of turning off the AC system, it is always advisable to seek assistance from a professional HVAC technician.
Step 2: Locate the Leak
Once you have turned off the AC system and ensured your safety, the next step is to locate the source of the AC leak. Here’s how you can effectively locate the leak:
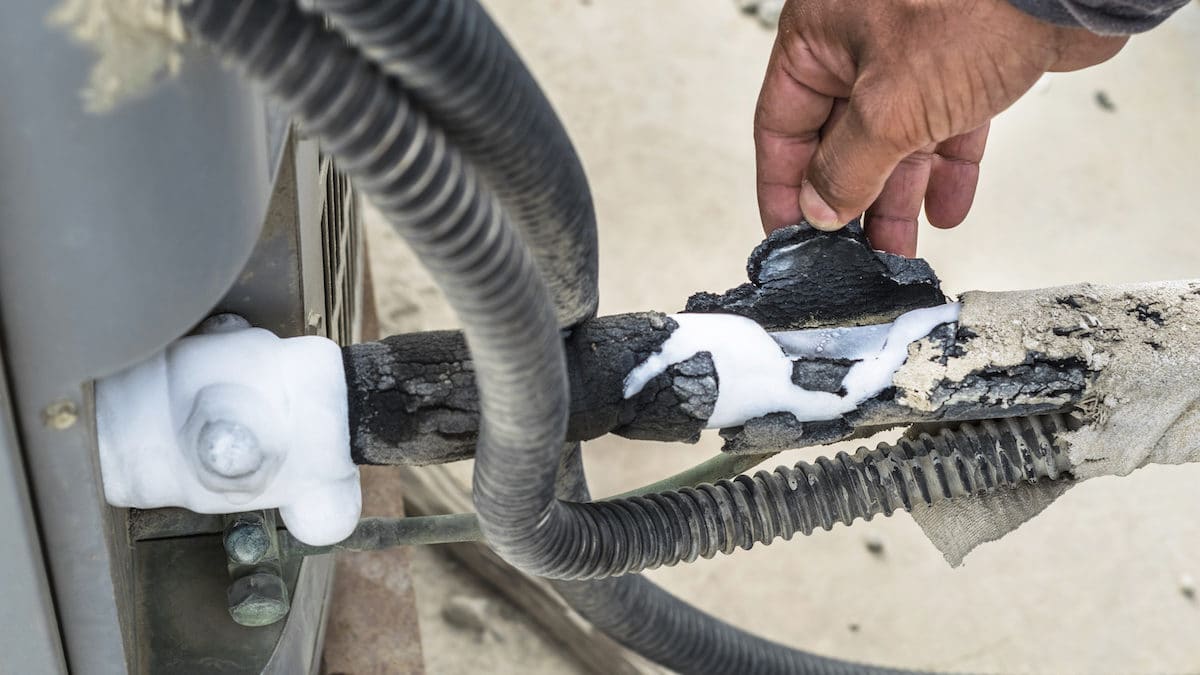
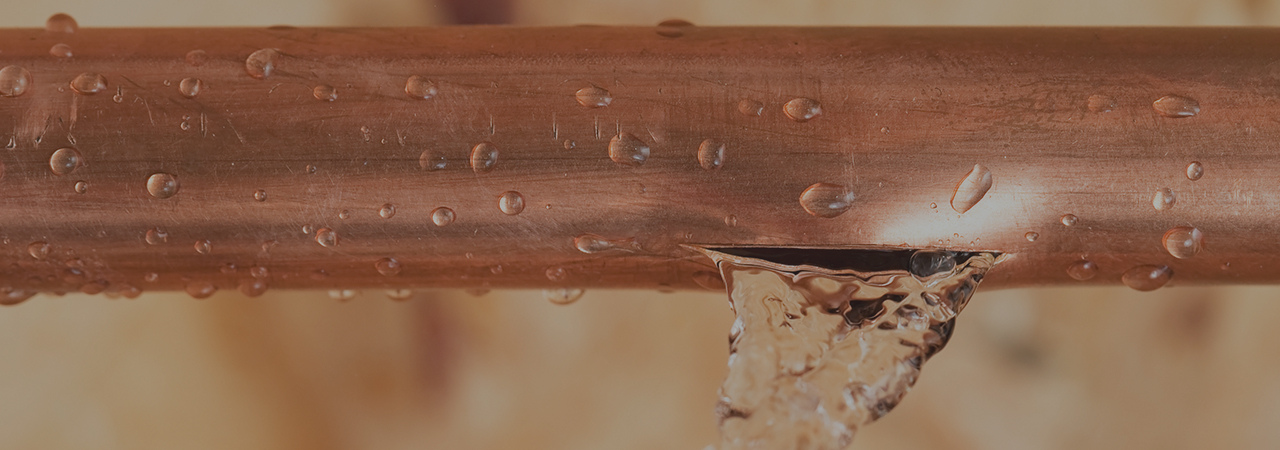
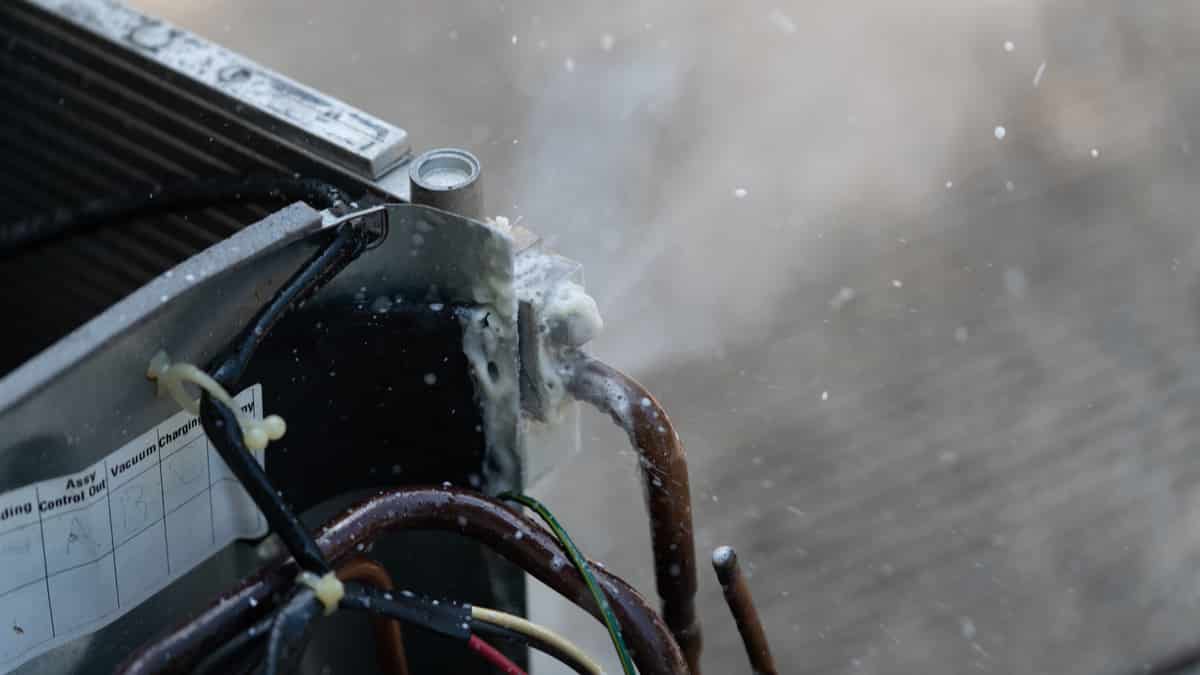
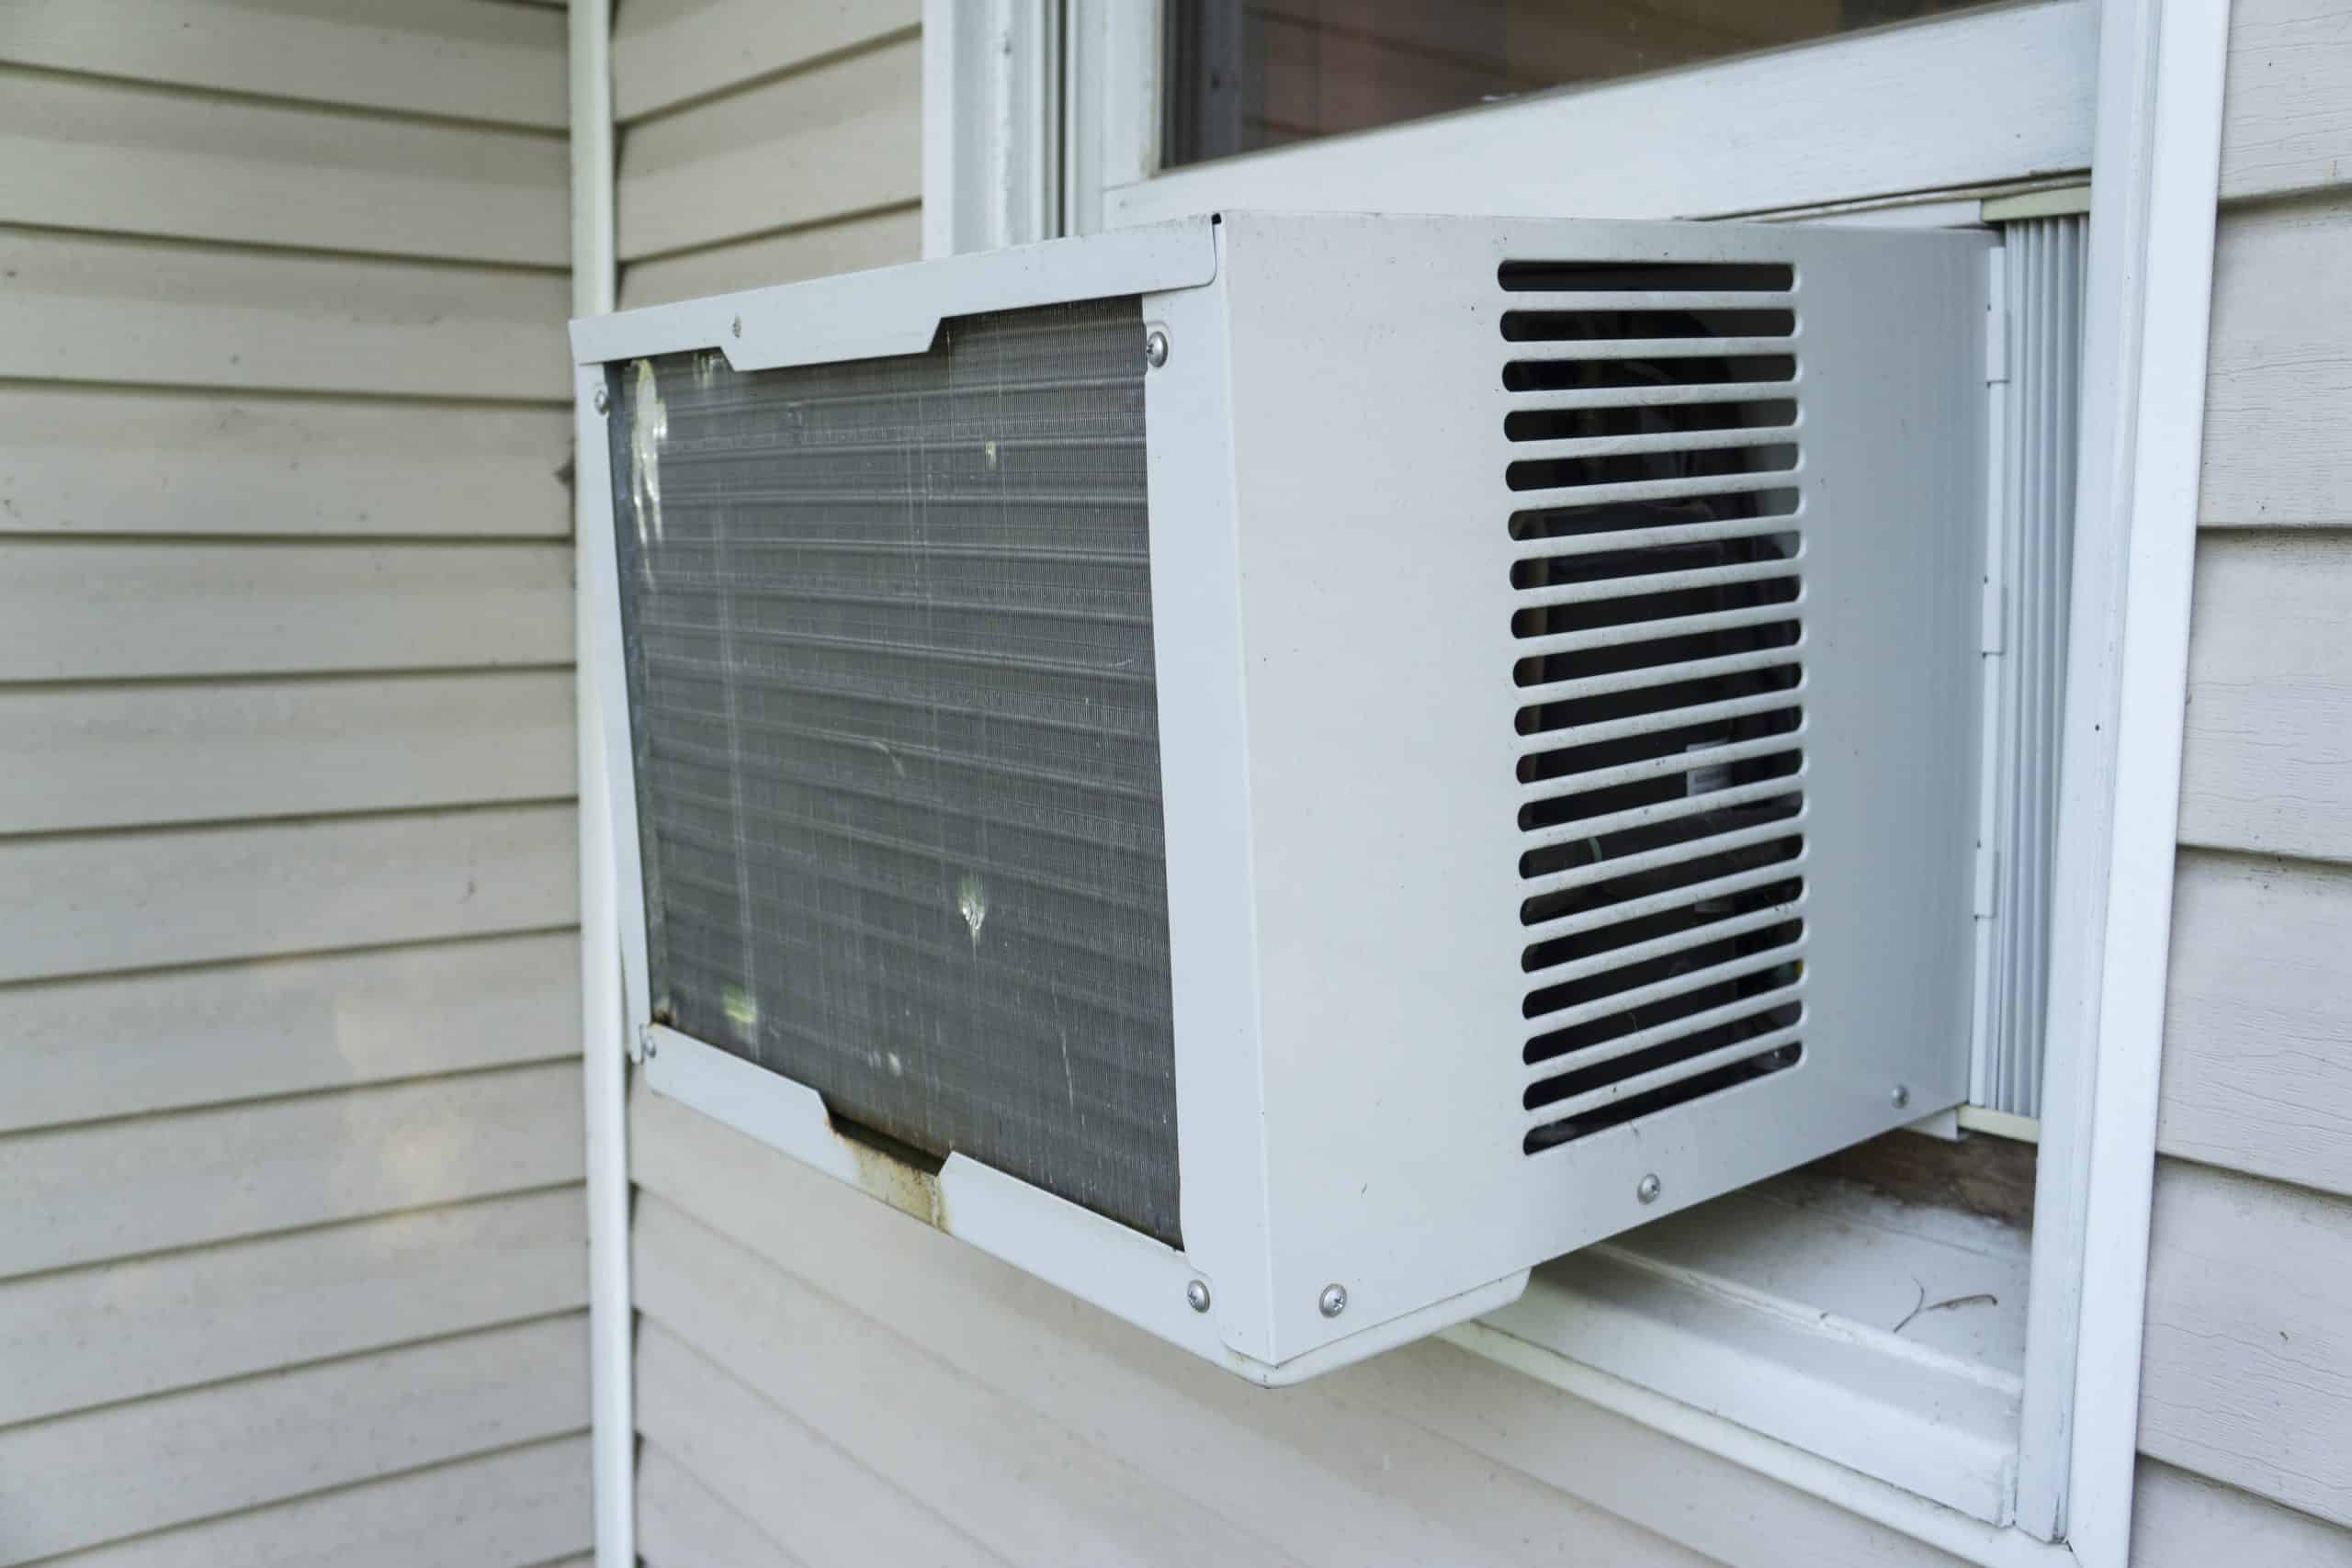
1. Inspect Visible Components: Start by visually inspecting the visible components of the AC system. Look for any signs of oil stains, residue, or wet spots around the AC unit or on the connecting pipes and fittings. These visual cues may direct you towards the general location of the leak.
2. Use an AC Leak Detection Kit: An AC leak detection kit can be a valuable tool in locating the exact source of the leak. Follow the instructions provided with the kit to add the UV dye to the AC system. Once the dye is added, use the included UV light and safety glasses to inspect the components. The UV dye will fluoresce, making it easier to spot the location of the leak.
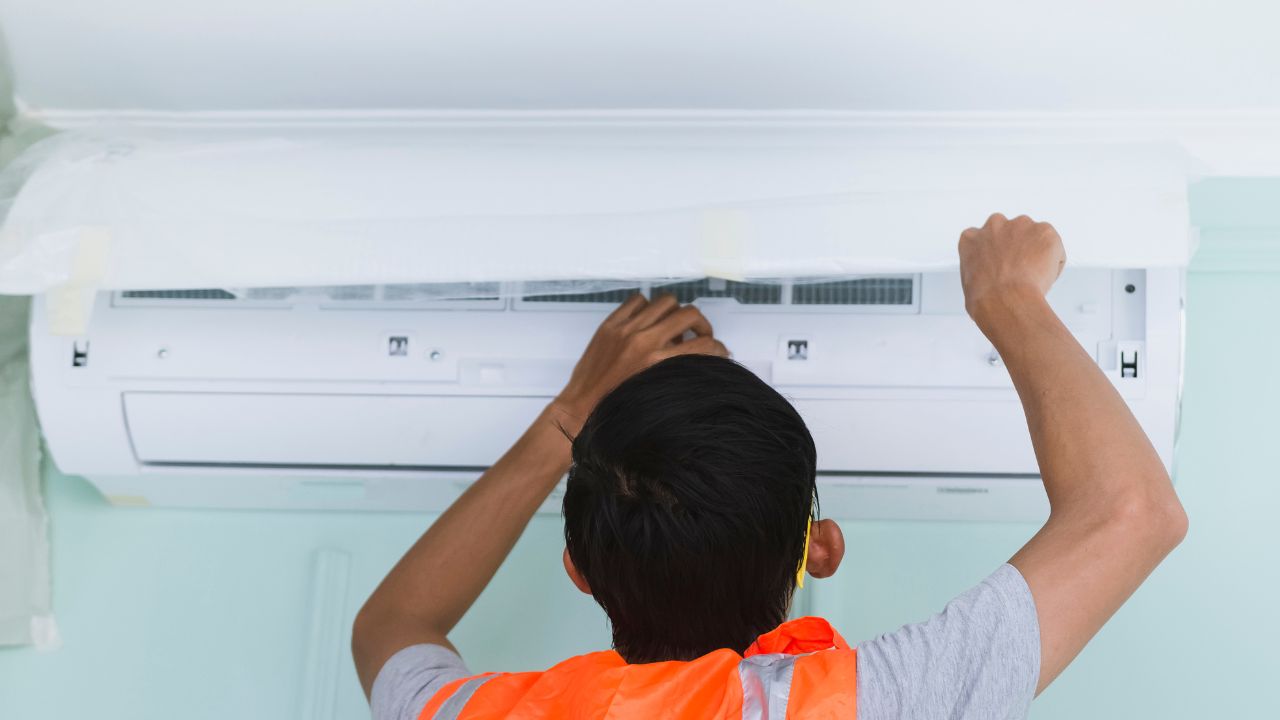
3. Check the Evaporator Coil: The evaporator coil is a common area for AC leaks. Inspect the coil for any signs of corrosion, damage, or ice build-up. A damaged or corroded coil can lead to refrigerant leakage. If you notice any issues with the evaporator coil, it may need to be repaired or replaced to fix the leak.
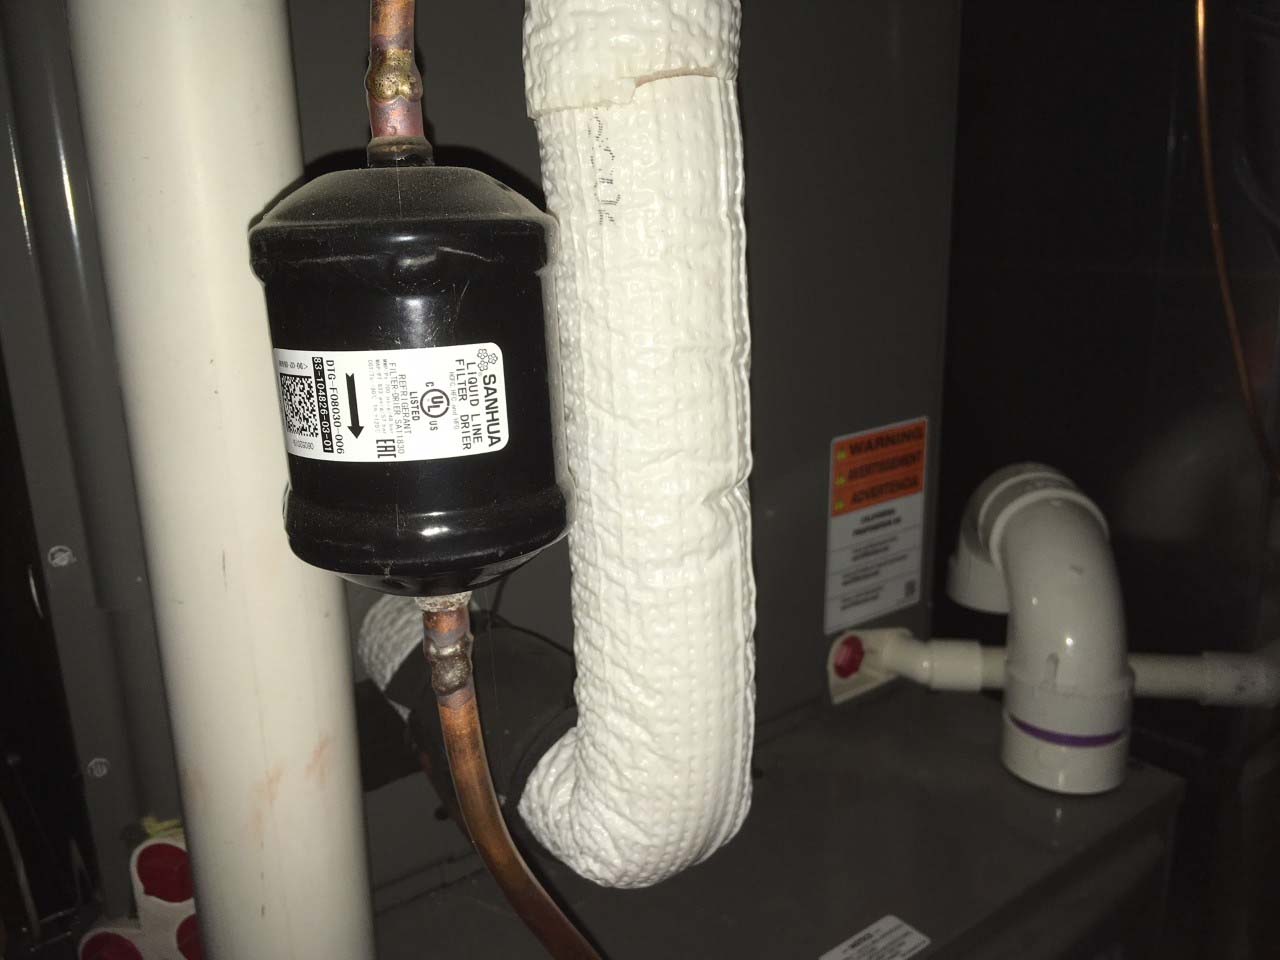
4. Inspect the Refrigerant Lines: Carefully examine the refrigerant lines that connect the indoor and outdoor units. Look for any visible damage, loose fittings, or signs of wear and tear. These lines are prone to leaks, particularly at the connection points, due to the constant expansion and contraction caused by temperature changes.
5. Check the Condensate Drain Pan and Line: The condensate drain pan and line collect and remove excess moisture from the AC system. Inspect the drain pan for any cracks, holes, or clogs that may cause water to leak. Also, check the condensate drain line for any blockages or breaks that could result in water leakage.
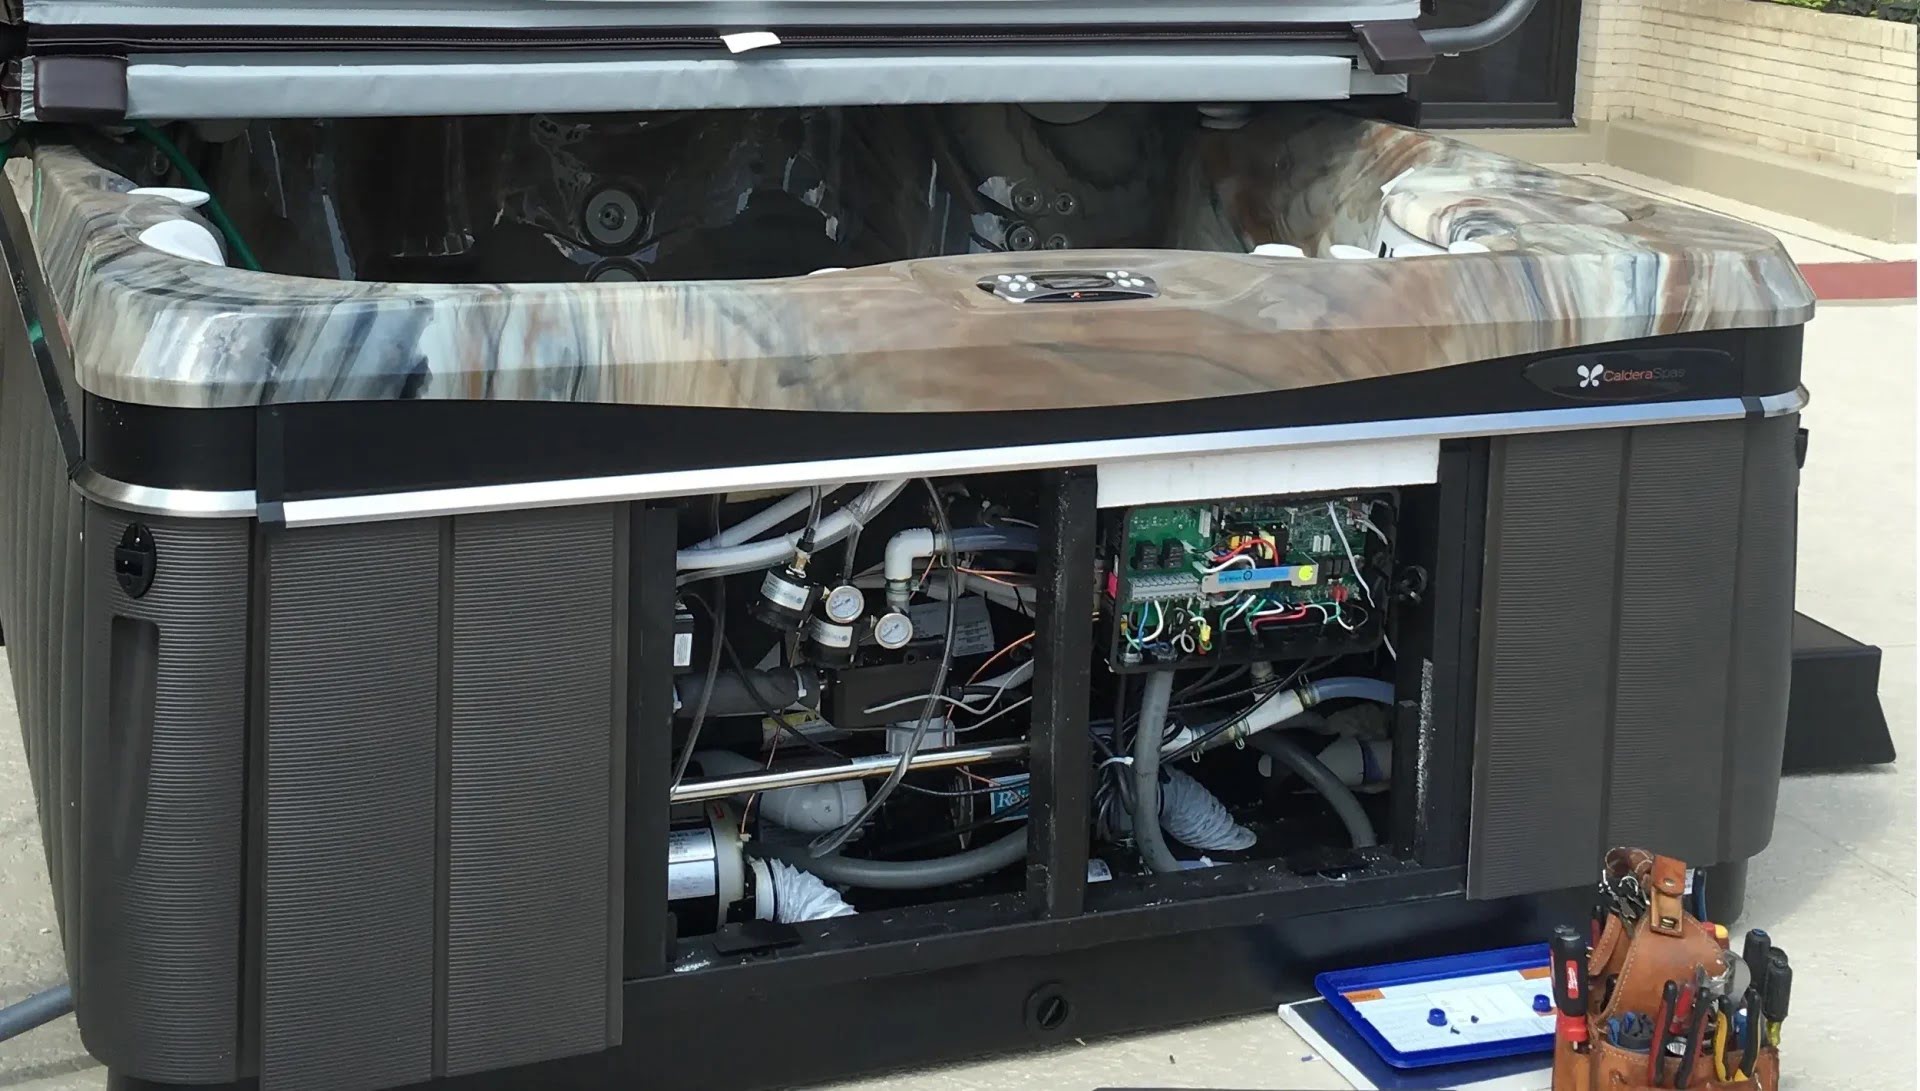
6. Inspect Other Components: Depending on the design of your AC system, there may be other components that can potentially develop leaks. These can include valves, fittings, joints, or even the compressor. Thoroughly examine these components for any signs of leakage, such as oil stains or wet spots.
During the inspection process, document any findings and note the location and severity of the leaks. This information will be useful when it comes time to repair or replace the affected components. If you are unable to locate the source of the leak or if the damage seems extensive, it is best to seek the assistance of a professional HVAC technician to ensure a thorough and accurate diagnosis.
One tip for finding an AC leak is to use a UV dye and a black light. Inject the dye into the system and then use the black light to locate the source of the leak by looking for the fluorescent glow.
Read more: How To Find Roof Leak
Step 3: Clean the Area
After identifying the source of the AC leak, it is important to clean the surrounding area before proceeding with any repairs or component replacements. Cleaning the area not only ensures proper visibility but also helps prevent further contamination and damage to the AC system. Follow these steps to effectively clean the area:
1. Gather the Necessary Cleaning Supplies: Collect the cleaning supplies you will need for the task. This can include a degreaser, isopropyl alcohol, clean rags or paper towels, and a sponge or scrub brush. Having the right supplies readily available will make the cleaning process more efficient.
2. Turn off the AC System: Before you begin cleaning, ensure that the AC system is still turned off to prevent any accidental electric shocks or injuries.
3. Clear Debris or Obstructions: Remove any debris or obstructions around the area where the leak is located. This includes leaves, dirt, or any other items that may hinder the cleaning process or potentially cause further damage to the AC system.
4. Apply Degreaser or Isopropyl Alcohol: Apply a degreaser or isopropyl alcohol to a clean rag or paper towel. Gently wipe the surface around the leak, including the affected components, to remove any oil, dirt, or grime. This step ensures a clean surface for proper inspection and repair.
5. Use a Sponge or Brush: For more stubborn stains or residue, use a sponge or scrub brush soaked in a degreaser or isopropyl alcohol to scrub the surface. Be gentle to avoid causing any damage to the components or surrounding areas.
6. Dry the Area: After cleaning, use a clean, dry rag or towel to thoroughly dry the area. Moisture can interfere with the leak detection process and may lead to further corrosion or damage if not properly dried.
7. Dispose of Cleaning Materials Properly: Dispose of any used cleaning materials, such as soiled rags or paper towels, according to local regulations. Be mindful of proper disposal practices to maintain environmental consciousness.
By cleaning the area around the AC leak, you ensure a clear view of the components and can accurately assess the extent of the damage. This step is essential for effective repair or replacement of the affected parts and helps maintain the overall cleanliness and efficiency of the AC system.
Step 4: Repair or Replace the AC Component
Once you have located the AC leak and cleaned the area, the next step is to determine whether a repair or replacement of the affected component is necessary. The course of action will depend on the severity of the leak and the condition of the component. Follow these guidelines to effectively repair or replace the AC component:
1. Assess the Damage: Examine the component that is causing the leak, such as the evaporator coil, refrigerant lines, valves, or fittings. Evaluate the severity of the damage and determine if repair is feasible or if a complete replacement is necessary. Severely corroded or damaged components may require replacement to ensure optimal performance and prevent future leaks.
2. Consult a Professional if Needed: If you are unsure about the repair or replacement process, or if the damage is extensive, it is advisable to consult with an HVAC professional. They have the expertise and experience to accurately diagnose the issue and provide appropriate recommendations.
3. Repairing the Component: If the damage is minor and repairable, follow the manufacturer’s instructions or consult a professional technician for guidance. This may involve replacing O-rings, gaskets, or using refrigerant sealants to seal the leak. Follow proper procedures and use compatible materials to maintain the integrity of the AC system.
4. Replacing the Component: In cases where the damage is severe or the component is beyond repair, replacement is the most effective solution. Contact an HVAC professional to source the correct replacement parts and ensure proper installation. Properly install the new component, ensuring all connections are secure and leak-free.
5. Test for Leaks: After repairing or replacing the AC component, it is crucial to test for leaks before restoring the AC system to full operation. Use an AC leak detection kit or a refrigerant gauge to check for any remaining leaks. Follow the testing procedures provided with the kits and ensure that the system holds pressure without any signs of leakage.
6. Make Necessary Adjustments: If the component replacement or repair requires adjustments to the AC system, such as recharging the refrigerant or recalibrating settings, follow the manufacturer’s instructions or consult a professional. Proper adjustments ensure the system operates efficiently and effectively.
7. Document and Maintain Records: Keep records of the repairs or replacements performed on the AC system, including specific details such as the replacement parts used, repair methods, and repair dates. Maintaining accurate records is beneficial for future reference and potential warranty claims.
By effectively repairing or replacing the AC component causing the leak, you restore the functionality and efficiency of your AC system. It is important to follow proper procedures and seek professional assistance if needed, ensuring that the repairs or replacements are conducted safely and accurately.
Step 5: Test the System
After repairing or replacing the AC component and ensuring there are no remaining leaks, it is crucial to test the system to ensure it is functioning optimally. Testing the AC system allows you to verify that the repairs or replacements have been successful and that the system is providing cool air efficiently. Follow these steps to effectively test the AC system:
1. Restore Power: Once you have completed the repairs or replacements, carefully restore power to the AC system. Turn on the AC circuit breaker and any other power sources that were turned off during the repair process. Ensure all connections are secure and there are no loose wires.
2. Set the Thermostat: Adjust the thermostat settings to a desired temperature and mode. Set the AC system to the cooling mode and set the temperature lower than the current room temperature to initiate the cooling process.
3. Pay Attention to Performance: Monitor the performance of the AC system closely. Check if cool air is being delivered consistently throughout the space and if the desired temperature is being reached. Pay attention to any unusual noises, odors, or fluctuations in performance.
4. Check Airflow and Temperature: Feel the airflow from the vents to ensure it is strong and consistent. Use a thermometer to measure the temperature of the air being emitted by the AC system. Compare the measured temperature with the set temperature on the thermostat. The temperature difference indicates how effectively the AC system is cooling the air.
5. Monitor Energy Consumption: Keep track of the energy consumption of the AC system after repairs or replacements. Compare it to previous energy consumption levels to determine if there are any significant changes. Lower energy consumption indicates improved efficiency and performance of the AC system.
6. Observe for Abnormalities: Continuously observe the AC system for any abnormalities, such as unusual noises, leaks, or inconsistent cooling. If you notice any issues, address them promptly to prevent further damage or loss of efficiency.
7. Schedule Regular Maintenance: After testing the AC system, it is essential to establish a schedule for regular maintenance. Regular maintenance includes tasks such as cleaning or replacing air filters, inspecting and cleaning coils, and checking refrigerant levels. Regular maintenance helps identify and address any potential concerns before they become major issues.
By thoroughly testing the AC system after repairs or replacements, you ensure that it is functioning properly and providing effective cooling. Monitoring performance, airflow, temperature, and energy consumption allows you to identify any issues that may require further attention. Regular maintenance prolongs the lifespan of the AC system and maintains its efficiency over time.
Conclusion
Dealing with an AC leak can be a frustrating experience, but with the right knowledge and steps, you can effectively address the issue. By following the outlined steps in this guide, you can locate and repair or replace the AC component causing the leak. Remember to prioritize safety throughout the process and consult a professional if you are unsure or uncomfortable with any step.
Recognizing the signs of an AC leak, such as reduced cooling performance, hissing sounds, strange odors, or increased energy consumption, is important in addressing the issue promptly. Having the necessary tools, including safety gear, AC leak detection kit, refrigerant gauge, and a reliable toolkit, will make the process smoother and more efficient.
Once you have turned off the AC system, it’s crucial to locate the leak accurately. Visual inspection, use of AC leak detection kits, and thorough examination of the evaporator coil, refrigerant lines, and other components will help identify the source of the leak. Cleaning the area around the leak is essential to ensure proper visibility and prevent further contamination.
Based on the extent of the damage, you can decide whether to repair or replace the AC component causing the leak. Assess the severity of the damage and consult a professional if needed. Proper repairs or replacements, along with thorough testing of the system, will ensure that the AC system is functioning optimally.
Testing the AC system includes restoring power, setting the thermostat, monitoring performance, checking airflow and temperature, and observing energy consumption. By doing so, you can verify that the repairs or replacements have been successful and the AC system is providing effective cooling.
Lastly, scheduling regular maintenance is crucial to keep the AC system in good condition and catch any potential issues early on. Regular maintenance, including cleaning or replacing air filters, inspecting and cleaning coils, and checking refrigerant levels, will help prolong the life of the AC system and maintain its efficiency over time.
In conclusion, resolving an AC leak requires a systematic approach. By following the steps outlined in this guide and taking appropriate safety measures, you can effectively locate and address the issue, ensuring that your AC system operates efficiently and provides the cool comfort you need, especially during the hot summer months.
Frequently Asked Questions about How To Find AC Leak
Was this page helpful?
At Storables.com, we guarantee accurate and reliable information. Our content, validated by Expert Board Contributors, is crafted following stringent Editorial Policies. We're committed to providing you with well-researched, expert-backed insights for all your informational needs.


0 thoughts on “How To Find AC Leak”