Home>Interior Design>How To Paint Behind A Radiator
Interior Design
How To Paint Behind A Radiator
Modified: October 20, 2024
Learn how to easily paint behind a radiator and improve your interior design. Follow our step-by-step guide for a flawless finish.
(Many of the links in this article redirect to a specific reviewed product. Your purchase of these products through affiliate links helps to generate commission for Storables.com, at no extra cost. Learn more)
Introduction
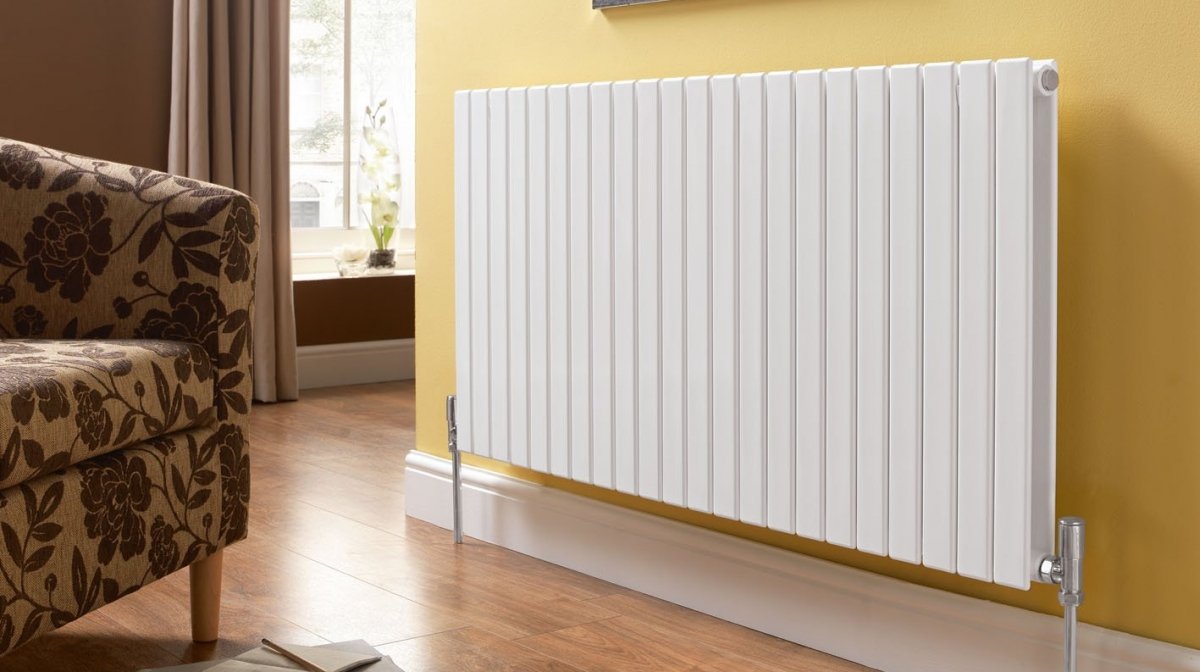
Painting behind a radiator may seem like a daunting task, but with the right approach and a few handy tips, it can be a straightforward and rewarding project. Whether you’re looking to freshen up the wall behind your radiator or simply want to address any discolored areas, this article will guide you through the process step by step.
Painting behind a radiator is crucial not only for aesthetic purposes but also for maintaining the efficiency of your heating system. Over time, dust, grime, and even cobwebs can accumulate behind the radiator, creating a barrier that prevents heat from radiating into the room effectively. By painting this area, you can ensure optimal heat distribution and restore the visual appeal of your living space.
In this article, we will explore the necessary preparations, materials and tools needed, and the step-by-step process to effectively paint behind a radiator. Let’s jump right in!
Key Takeaways:
- Ensure optimal heat distribution and restore the visual appeal of your living space by painting behind a radiator. Follow the step-by-step guide for a rewarding and successful DIY project.
- With proper preparation, patience, and attention to detail, transform the wall behind your radiator into a beautiful and cohesive part of your interior design. Enjoy the process and take pride in your DIY accomplishments.
Preparing the area
Before you begin painting behind a radiator, it’s essential to prepare the surrounding area to ensure a smooth and hassle-free process. Here are the two key steps to take:
1. Clearing the surroundings: Start by removing any furniture, decorations, or belongings near the radiator. This will give you ample space to work and minimize the risk of paint splatters or damage to your belongings. Moreover, it will make the process of accessing the radiator much easier.
2. Turning off the radiator: To avoid accidental burns and ensure a safe working environment, it’s important to turn off the radiator before you start painting. This can usually be done by locating the radiator valve, typically located on one of the sides or beneath the radiator, and turning it in a clockwise direction until it stops. By doing so, you’ll prevent hot water from flowing through the radiator while you work.
It’s worth mentioning that it may be necessary to wait for the radiator to cool down completely before proceeding with the painting process. This will not only protect you from burns but also ensure that the paint adheres properly to the surface without any heat-related issues.
Once you’ve cleared the surroundings and turned off the radiator, you’re ready to move on to the next phase – gathering the necessary materials and tools.
Gathering materials and tools
Before you begin painting behind a radiator, it’s important to gather all the necessary materials and tools. Having everything prepared in advance will ensure a smooth and efficient painting process. Here are the key items you’ll need:
1. Paintbrushes: Choose a high-quality paintbrush with synthetic bristles for better precision and control. Opt for brushes of different sizes to accommodate the various nooks and crannies behind the radiator.
2. Paint rollers and trays: If you have ample space behind the radiator, using a paint roller can save you time and effort. Look for small-sized paint rollers that are suitable for tight spaces. Don’t forget to have a tray to hold the paint for easy dipping.
3. Drop cloths or plastic sheets: To protect the floor and surrounding area from accidental paint spills or splatters, lay down drop cloths or plastic sheets. Ensure they cover a wide area to catch any stray drips or splashes.
4. Extension poles: If your radiator is positioned in a hard-to-reach area or if you’re dealing with a tall radiator, consider using an extension pole. This will allow you to reach behind the radiator and paint more comfortably.
Additionally, gather other essential painting accessories such as a putty knife for scraping off any loose paint, a sanding block for smoothing the surface, and painter’s tape to protect adjacent walls or surfaces from accidental paint marks.
By gathering these materials and tools before you begin, you’ll have everything you need at your fingertips, making the painting process more efficient and enjoyable. With these preparations in place, you’re now ready to move on to the next steps of painting behind a radiator – cleaning the radiator surface.
Cleaning the radiator
Before you start painting behind a radiator, it’s crucial to ensure the surface is clean and free from dust, grime, and any other contaminants. Cleaning the radiator will help the paint adhere better and result in a more polished and long-lasting finish. Here are the steps to follow:
1. Dusting off and removing grime: Begin by dusting the surface of the radiator using a soft brush or a vacuum cleaner with a brush attachment. Gently remove any visible dust or dirt that may have accumulated on the radiator. Use a microfiber cloth or sponge to wipe away stubborn grime or grease.
2. Cleaning with a suitable cleaner: Once you’ve removed the loose debris, it’s time to clean the radiator with a suitable cleaner. Choose a cleaner that is safe for use on radiators, such as a mild detergent solution mixed with warm water. Apply the cleaner to a sponge or cloth and gently scrub the surface of the radiator, paying special attention to any stained or dirty areas. Be careful not to apply excessive pressure that could damage the fins or pipes of the radiator.
3. Drying the radiator completely: After cleaning, it’s crucial to ensure that the radiator is completely dry before proceeding with the painting process. Use a dry cloth or towel to absorb any excess moisture and allow the radiator to air dry for a few hours. This step is essential as painting on a damp surface can lead to improper adhesion of the paint and cause long-term issues.
By thoroughly cleaning the radiator surface, you’ll create a clean and smooth canvas for the paint. This will ensure better paint adhesion and a more professional and aesthetically pleasing result. Once the radiator is clean and dry, it’s time to move on to the next step – protecting the radiator.
Protecting the radiator
When painting behind a radiator, it’s important to protect the radiator itself from accidental paint splatters or drips. Here are two common methods you can use to safeguard your radiator:
1. Covering with aluminum foil or heat-resistant tape: One simple and cost-effective way to protect your radiator is by covering it with aluminum foil or heat-resistant tape. Start by tearing off a piece of foil or tape that is slightly larger than the surface of the radiator. Carefully wrap it around the radiator, covering all exposed areas. Make sure to press it firmly against the radiator to ensure a snug fit. This will act as a barrier, shielding the radiator from any potential paint splatters.
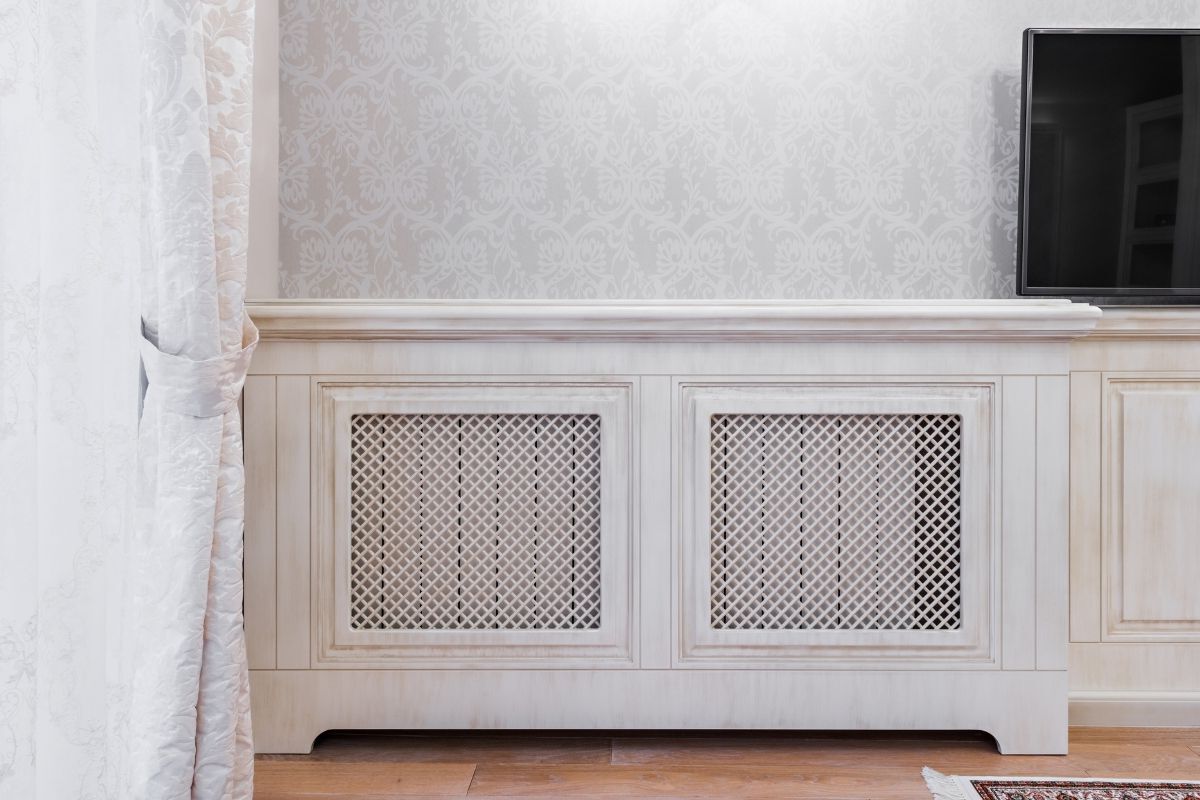
2. Using a radiator cover: Another option is to install a radiator cover. Radiator covers are available in various designs and sizes to suit different radiator types. They not only provide protection but also enhance the aesthetics of the room. Simply place the cover over the radiator, ensuring that it fits securely and doesn’t obstruct the airflow.
By taking these precautionary measures, you can paint behind the radiator with peace of mind, knowing that your radiator is adequately protected. Once you’ve safeguarded the radiator, it’s time to move on to the next step – choosing the right paint.
Use a small, angled paintbrush to reach behind the radiator and apply paint. You can also use a radiator roller or attach a long handle to your paintbrush for easier access.
Choosing the right paint
When it comes to painting behind a radiator, selecting the appropriate paint is crucial for both durability and safety. Here are some factors to consider when choosing the right paint:
1. Heat-resistant and radiator-safe options: Radiators generate heat, so it’s important to select a paint that can withstand high temperatures without discoloration or damage. Look for heat-resistant paint specifically designed for use on radiators. These paints are formulated to withstand the heat and maintain their color and finish even under constant exposure to hot temperatures.
2. Matching the existing color or choosing a new one: Consider whether you want to match the existing color behind the radiator or take the opportunity to introduce a fresh look. If you opt for a new color, choose a shade that complements the overall aesthetic of the room. Take into account the color scheme and the atmosphere you want to create.
It’s also worth noting that water-based paints are generally recommended for painting behind radiators as they have lower VOC emissions and dry quickly. However, always check the manufacturer’s instructions and recommendations for the specific paint you choose.
If you’re uncertain about the best paint choice for your radiator, consult with a paint specialist or hardware store expert. They can provide guidance on suitable options and help ensure that you choose a paint that will stand the test of time.
Once you’ve selected the right paint, it’s time to move on to the exciting part – painting behind the radiator.
Painting behind the radiator
Now that you have everything prepared, it’s time to start painting behind the radiator. Follow these steps to ensure a successful and professional-looking finish:
1. Starting from the top or bottom: Decide whether you want to start painting from the top or the bottom of the wall behind the radiator. It’s generally easier to start from the top and work your way down, as this allows the paint to flow downwards naturally without dripping onto areas you’ve already painted.
2. Using a brush or roller, depending on accessibility: Depending on the accessibility of the space behind the radiator, you may choose to use a paintbrush or a small roller. A paintbrush is ideal for smaller areas and tight spaces, while a roller can cover larger surfaces more quickly. Use a brush to reach corners, edges, and areas near pipes, and a roller for larger, more open spaces.
3. Applying thin and even coats: Dip your brush or roller into the paint tray and remove any excess paint. Begin applying the paint in thin, even coats. Avoid applying too much paint at once, as this can lead to drips and an uneven finish. Take your time and ensure that the paint is evenly distributed for a professional result.
4. Letting the paint dry between coats: Allow the paint to dry completely between each coat. This may take anywhere from a few hours to overnight, depending on the specific paint and environmental conditions. Ensure good ventilation in the room to facilitate drying. Applying multiple thin coats will result in a smoother and more durable finish.
Remember to follow the manufacturer’s guidelines regarding drying times and instructions for the specific paint you’re using.
By following these steps and taking your time, you can achieve a flawless paint job behind the radiator. But before you consider the project complete, make sure to add the finishing touches.
Finishing touches
As you near the completion of painting behind the radiator, there are a few final touches you should make to ensure a polished and professional result. Consider the following steps:
1. Removing the aluminum foil or tape: If you used aluminum foil or heat-resistant tape to protect the radiator during the painting process, carefully remove them once the paint has dried. Peel them off slowly and gently, being cautious not to damage the newly painted surface.
2. Touching up any missed spots: Inspect the painted area behind the radiator for any missed spots or uneven coverage. Use a brush or small roller to touch up these areas, ensuring a consistent and seamless finish. Take your time to achieve a cohesive look.
3. Allowing the paint to cure before turning on the radiator: Before you turn on the radiator and resume normal heating, it’s essential to allow the paint to cure fully. Curing time can vary depending on the type of paint used, so refer to the manufacturer’s recommendations. Generally, it’s best to wait at least 24 hours to ensure that the paint has fully dried and hardened.
During this curing period, avoid touching or placing any objects against the newly painted surface. Patience is key in achieving a durable and long-lasting finish.
Once the paint has cured, you can turn on the radiator and enjoy the refreshed look of your living space. Take a step back and admire your handiwork. Painting behind the radiator not only enhances the aesthetics of the room but also contributes to maintaining the efficiency of your heating system.
Remember, with proper preparation, the right materials, and attention to detail, painting behind a radiator can be a rewarding and successful DIY project. So, roll up your sleeves, grab your brushes or rollers, and transform the wall behind your radiator into a beautiful and cohesive part of your interior design.
Good luck and happy painting!
Conclusion
Painting behind a radiator may seem like a daunting task, but with the right approach and a little know-how, it can be a rewarding and manageable project. By following the steps outlined in this guide, you can achieve a professional-looking finish while ensuring the functionality and efficiency of your heating system.
Preparing the area, gathering the necessary materials and tools, and cleaning the radiator are crucial steps to set the stage for a successful painting project. Protecting the radiator with aluminum foil, heat-resistant tape, or a radiator cover will help prevent any accidental paint mishaps. Selecting the right paint that is heat-resistant, radiator-safe, and complements your room’s aesthetic is vital for long-lasting and visually pleasing results.
When it comes to painting behind the radiator, remember to start from either the top or bottom, depending on your preference, and use a brush or roller depending on accessibility. Apply thin and even coats, allowing each layer to dry before adding another. Take your time and pay attention to detail to achieve a flawless finish.
Adding the finishing touches, such as removing the protective covering, touching up any missed spots, and allowing the paint to cure fully, will ensure that your newly painted wall behind the radiator looks seamlessly integrated into the room.
Painting behind a radiator not only enhances the visual appeal of your living space but also contributes to the efficient functioning of your heating system. By removing dust, grime, and obstructions, you can restore the radiator’s ability to radiate heat effectively into the room, resulting in a cozy and comfortable environment.
So, roll up your sleeves, gather your supplies, and embark on the journey of painting behind the radiator. With proper preparation, patience, and attention to detail, you can transform the wall behind your radiator into a beautiful and cohesive part of your interior design.
Remember to enjoy the process and take pride in your DIY accomplishments. Happy painting!
Frequently Asked Questions about How To Paint Behind A Radiator
Was this page helpful?
At Storables.com, we guarantee accurate and reliable information. Our content, validated by Expert Board Contributors, is crafted following stringent Editorial Policies. We're committed to providing you with well-researched, expert-backed insights for all your informational needs.

0 thoughts on “How To Paint Behind A Radiator”