Articles
How To Fold The End Of A Pillowcase
Modified: August 27, 2024
Learn how to fold the end of a pillowcase with ease using this step-by-step guide. Check out our collection of articles for more helpful tips and tricks!
(Many of the links in this article redirect to a specific reviewed product. Your purchase of these products through affiliate links helps to generate commission for Storables.com, at no extra cost. Learn more)
Introduction
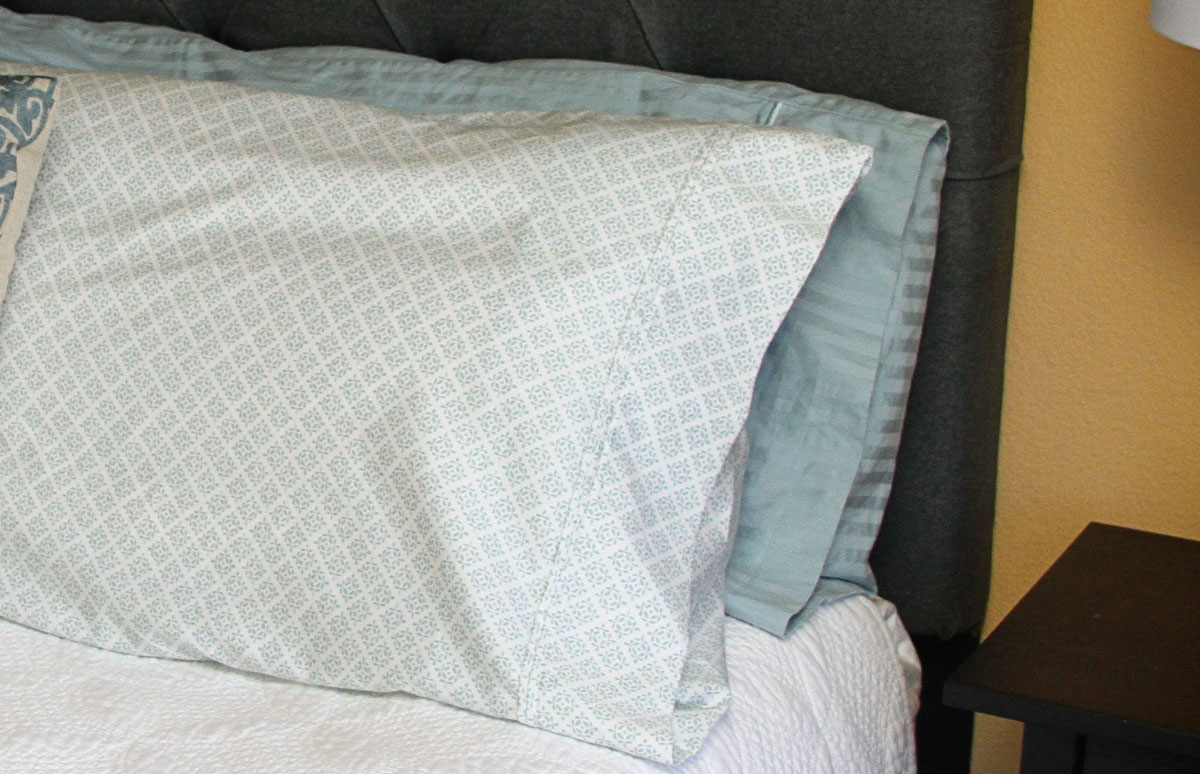
Welcome to our guide on how to fold the end of a pillowcase. Folding the end of a pillowcase not only helps maintain a neat and organized linen closet, but it also adds a touch of elegance to your bedding. Whether you’re a perfectionist looking for a crisp, tailored look or someone who simply wants to make their linen closet more organized, mastering the art of folding pillowcases is a skill worth acquiring.
In this article, we will walk you through a step-by-step process of folding the end of a pillowcase. With just a few simple steps, you can achieve a clean and professional fold that will keep your pillowcases wrinkle-free and easy to store.
Before we begin, it’s important to gather the materials you will need for this task:
- A clean pillowcase
- A flat surface, such as a table or countertop
- An iron and ironing board (optional)
- A steamer (optional)
Now that you have your materials ready, let’s get started with step one.
Key Takeaways:
- Master the art of folding pillowcases to maintain a neat linen closet and add elegance to your bedding. Follow simple steps to achieve a clean and professional fold, keeping pillowcases wrinkle-free and easy to store.
- Embrace the process of folding pillowcases to create an organized and refined linen collection. Enjoy the satisfaction of neatly folded pillowcases that bring a touch of elegance to your home.
Read more: How To Tuck In The Ends Of A Pillowcase
Materials Needed
Before you can begin folding the end of a pillowcase, it’s important to gather the necessary materials. The good news is, you won’t need much! Here’s what you’ll need:
- A clean pillowcase: Make sure the pillowcase you’re working with is clean and free of wrinkles.
- A flat surface: Find a sturdy, flat surface where you can lay out the pillowcase. A table or countertop works well for this purpose.
- An iron and ironing board (optional): If your pillowcase has stubborn wrinkles, you may want to use an iron and ironing board to smooth them out before folding. This step is optional and depends on the condition of your pillowcase.
- A steamer (optional): If you don’t have an iron or prefer not to use one, a steamer can also be used to remove wrinkles from the pillowcase before folding. Again, this step is optional and depends on your personal preference.
Having these materials on hand will ensure that you have everything you need to fold the end of a pillowcase with ease. Once you’re ready, let’s move on to the step-by-step process of folding the pillowcase.
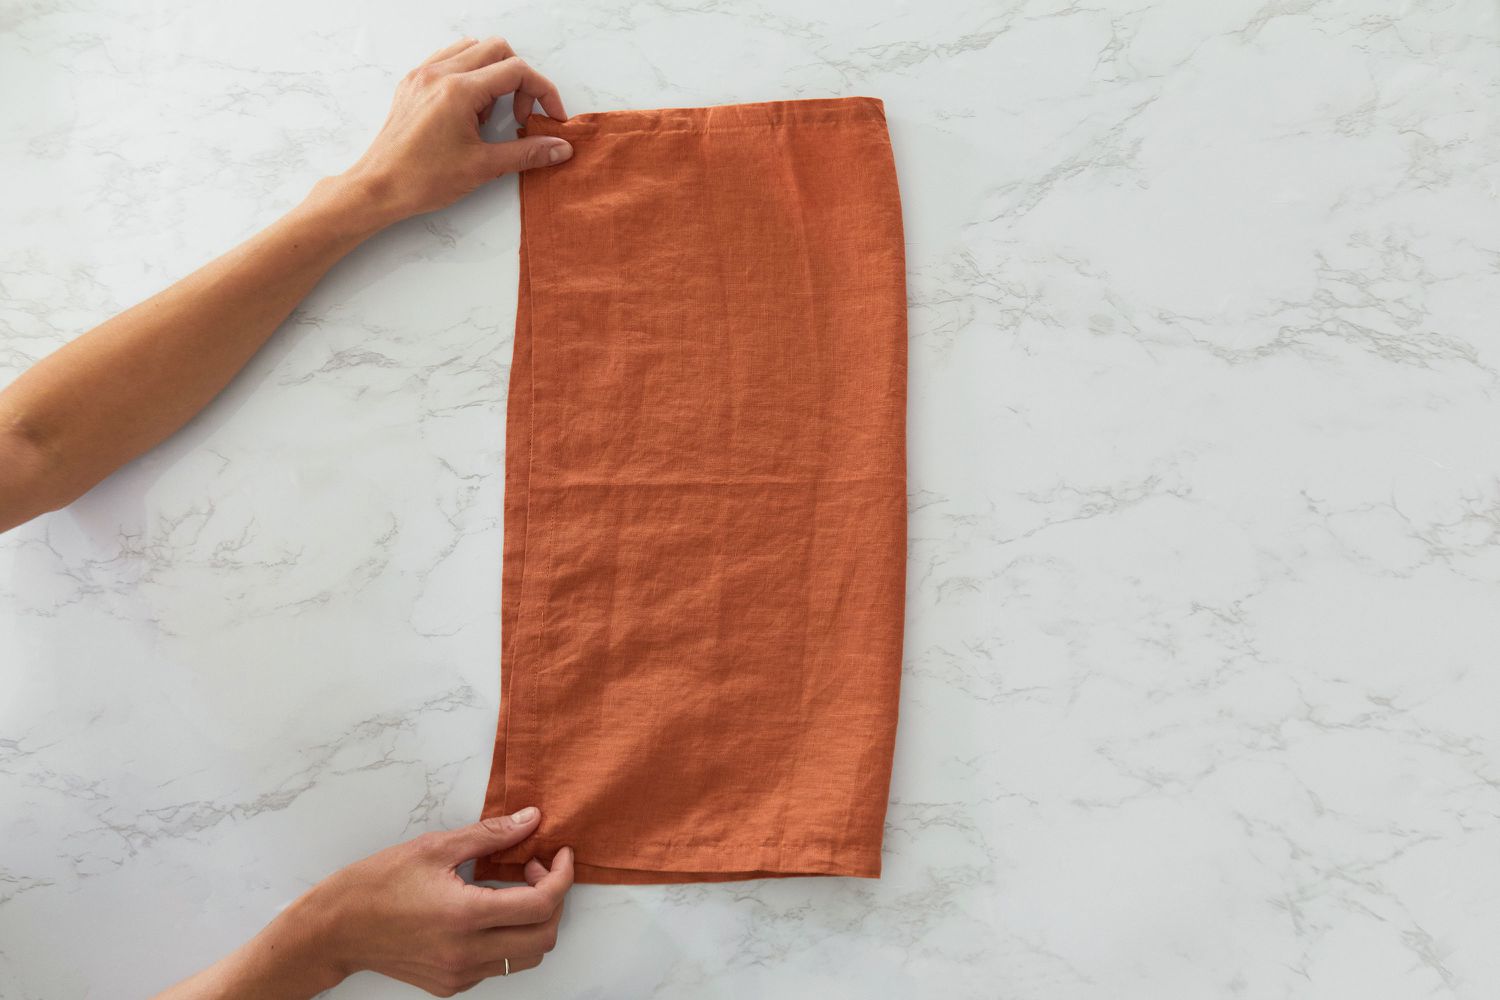
Step 1: Lay out the Pillowcase
To begin folding the end of a pillowcase, you’ll want to start by laying it out on a flat surface. Remove any existing creases or wrinkles by smoothing it out with your hands. It’s important to make sure the pillowcase is as flat and even as possible before moving on to the next step.
If your pillowcase has noticeable wrinkles, you have a couple of options to address them. First, you can use an iron and ironing board to press out the wrinkles. Set the iron to a suitable temperature for the fabric of the pillowcase and run it over the surface, using smooth and even strokes. Be sure to iron both sides of the pillowcase for a thorough wrinkle removal.
If you prefer not to use an iron or don’t have one available, you can opt for a steamer. Fill the steamer with water and allow it to heat up. Once ready, hold the steamer a few inches away from the pillowcase and move it across the surface in a vertical motion. The steam will help relax the fabric and eliminate wrinkles.
Whichever method you choose, make sure to give the pillowcase enough time to cool and dry completely before proceeding to the next step. This will prevent any residual moisture from causing new wrinkles during the folding process.
Once your pillowcase is flat and free of wrinkles, you’re ready to move on to the next step: folding the top edge.
Step 2: Fold the Top Edge
Now that you have a smooth and flat pillowcase, it’s time to start folding the end. We’ll start with the top edge of the pillowcase. Follow these simple instructions:
- Take hold of the top edge of the pillowcase with both hands.
- Fold the top edge downwards, towards the center of the pillowcase.
- Bring the top edge down to the desired fold length. This will depend on your preference and the size of your pillowcase. You can fold it halfway down, or if you prefer a smaller fold, fold it one-third or one-quarter of the way down.
- Smooth out any wrinkles or creases as you fold, ensuring a clean and crisp edge.
By folding the top edge of the pillowcase, you create a finished look and prevent the end from fraying or becoming unraveled. It also helps keep your pillowcase neatly folded when stored in the linen closet.
If you want to achieve an even more polished appearance, you can use an iron to press the folded edge. Lay a thin cloth or pressing cloth over the folded edge to protect the fabric from direct heat. Gently press the iron over the cloth, applying slight pressure to create a crisp and defined fold.
Once the top edge is folded to your desired length and smoothed out, it’s time to move on to the next step: folding the sides of the pillowcase.
After ironing the pillowcase, fold the open end in half to create a clean edge. Then fold it in half again and tuck the rest of the fabric inside for a neat finish.
Step 3: Fold the Sides
After folding the top edge of the pillowcase, it’s time to move on to folding the sides. This step will help create a neat and uniform fold throughout the entire pillowcase. Here’s how you can do it:
- Hold one side of the pillowcase near the top edge.
- Fold the side towards the center of the pillowcase, lining it up with the folded top edge.
- Smooth out any wrinkles or creases as you fold, ensuring a clean and straight edge.
- Repeat the same process for the other side of the pillowcase, folding it towards the center and aligning it with the top edge and the first folded side.
By folding the sides of the pillowcase, you create a more compact and organized fold that will help keep the pillowcase in place when stored. Additionally, it adds a touch of elegance to the overall appearance of the folded pillowcase.
If you want to give your folded pillowcase an extra touch of finesse, you can use an iron to press the folded sides. Again, place a thin cloth or pressing cloth over the folded sides to protect the fabric. Gently press the iron over the cloth to create crisp, defined edges.
Once you have folded both sides towards the center and smoothed out any wrinkles, it’s time to move on to the final step: folding the bottom edge of the pillowcase.
Read more: How To Fold Bed Sheets Into A Pillowcase
Step 4: Fold the Bottom Edge
Now that you have successfully folded the top and sides of the pillowcase, it’s time to tackle the bottom edge. This step will complete the folding process and ensure a neatly folded pillowcase. Follow these instructions to fold the bottom edge:
- Hold the bottom edge of the pillowcase with both hands.
- Fold the bottom edge upwards, towards the top of the pillowcase.
- Align the folded bottom edge with the existing folds of the top and sides.
- Smooth out any wrinkles or creases as you fold, ensuring a clean and tidy edge.
Folding the bottom edge of the pillowcase not only completes the folding process but also creates a solid base for the folded pillowcase. It helps maintain the overall shape and structure of the fold, making it easier to store and retrieve from your linen closet.
If you want to achieve a flawless finish, you can use an iron to press the folded bottom edge. As before, place a thin cloth or pressing cloth over the folded edge to protect the fabric. Apply gentle pressure with the iron to smooth out any remaining wrinkles and create a crisp, straight edge.
With the bottom edge folded and any wrinkles smoothed out, you have successfully completed the folding process for the pillowcase. The next step is to flatten and press the folded pillowcase to ensure it maintains its shape and remains wrinkle-free.
Step 5: Flatten and Press the Folded Pillowcase
After folding the bottom edge of the pillowcase, it’s important to flatten and press the folded pillowcase to ensure it maintains its shape and stays wrinkle-free. Here’s how you can do it:
- Lay the folded pillowcase on a flat surface.
- Using your hands, gently flatten the pillowcase, smoothing out any bumps or uneven folds.
- If desired, you can use an iron to press the folded pillowcase. Set the iron to a suitable temperature for the fabric of the pillowcase and ensure there is a thin cloth or pressing cloth between the iron and the pillowcase to protect the fabric.
- Gently press the iron over the surface of the pillowcase, applying light pressure and moving in smooth, even strokes. Pay extra attention to any areas that may have wrinkles or creases.
- Allow the pillowcase to cool completely before handling or storing it to prevent new wrinkles from forming.
Flattening and pressing the folded pillowcase not only helps to eliminate any remaining wrinkles or creases but also ensures a clean and polished look. It will make it easier to stack and store the pillowcases in your linen closet, as well as enhance the overall aesthetic appeal.
Remember to adjust the iron’s temperature based on the fabric of your pillowcase. Delicate fabrics may require lower heat settings, while cotton or linen may need slightly higher temperatures to achieve optimal results. Always check the care instructions on the pillowcase for guidance.
With the folded pillowcase flattened and pressed, you have successfully completed the folding process. Congratulations! Your neatly folded pillowcase is now ready to be stored in your linen closet or used to bring a touch of elegance to your bedding.
Conclusion
Folding the end of a pillowcase is a simple yet effective way to add organization and sophistication to your linen closet. With just a few easy steps, you can achieve a neatly folded pillowcase that is not only visually appealing but also practical in terms of storage and maintenance.
In this guide, we have walked you through the step-by-step process of folding the end of a pillowcase. From laying out the pillowcase to folding the top, sides, and bottom edges, each step contributes to creating a clean and professional fold. Remember to use an iron or steamer to remove wrinkles and press the folded edges for a more polished look.
By following these folding techniques, you can not only keep your pillowcases wrinkle-free but also make them easier to stack, store, and retrieve from your linen closet. The organized and aesthetically pleasing appearance will not only save you time when searching for the perfect pillowcase but also bring a sense of refinement to your bedding.
So, next time you find yourself with a pile of unfolded pillowcases, remember these easy steps to fold the end of a pillowcase. Embrace the process and enjoy the satisfaction of a well-folded linen collection that adds a touch of elegance to your home.
Happy folding!
Frequently Asked Questions about How To Fold The End Of A Pillowcase
Was this page helpful?
At Storables.com, we guarantee accurate and reliable information. Our content, validated by Expert Board Contributors, is crafted following stringent Editorial Policies. We're committed to providing you with well-researched, expert-backed insights for all your informational needs.


0 thoughts on “How To Fold The End Of A Pillowcase”