Articles
How To Embroider On A Pillowcase
Modified: August 20, 2024
Learn step-by-step techniques for embroidering on a pillowcase with our helpful articles. Enhance your home decor and personalize your pillowcases with ease.
(Many of the links in this article redirect to a specific reviewed product. Your purchase of these products through affiliate links helps to generate commission for Storables.com, at no extra cost. Learn more)
Introduction
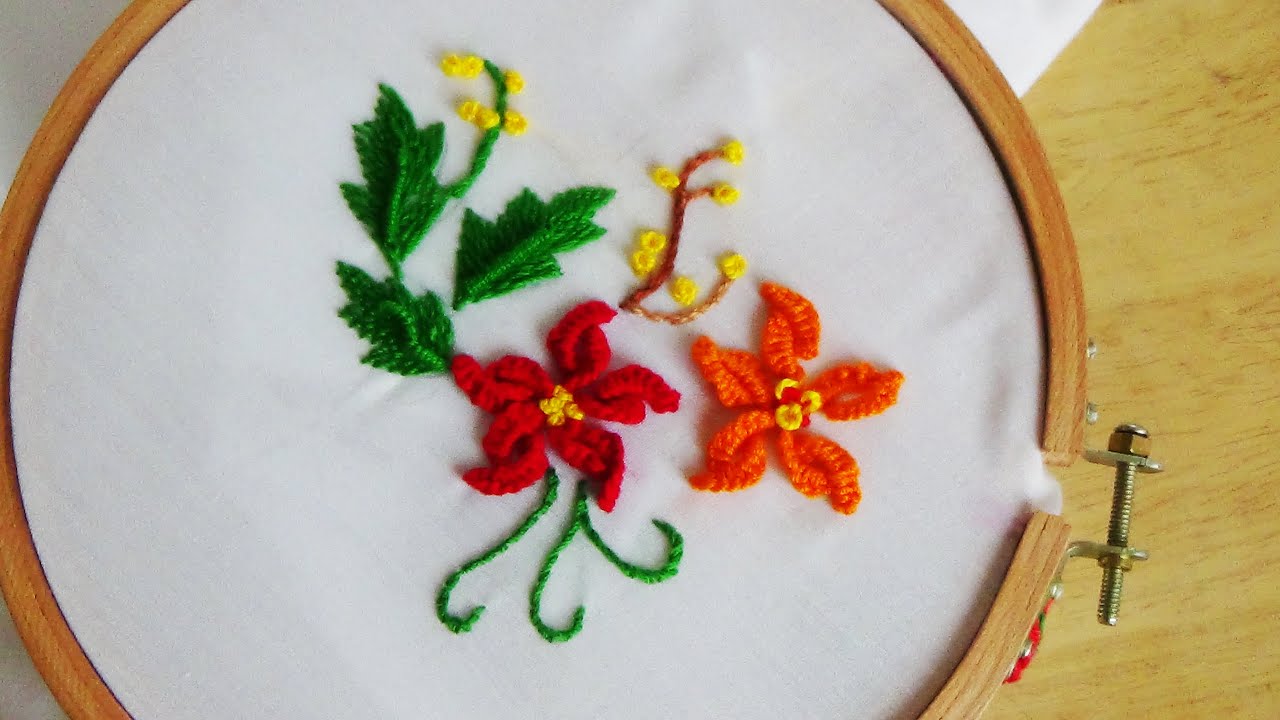
Embroidery is a timeless art form that allows for creative expression and personalization. One popular project that many people enjoy is embroidering on a pillowcase. Not only does it add a unique touch to your home decor, but it also gives you the opportunity to showcase your stitching skills and create a one-of-a-kind piece.
In this article, we will walk you through the step-by-step process of embroidering on a pillowcase. From selecting a design to stitching techniques and finishing touches, we will cover all the essential aspects to help you create a stunning embroidered pillowcase.
Before we dive into the details, let’s take a look at the materials you will need for this project.
Key Takeaways:
- Create a stunning embroidered pillowcase by carefully preparing the fabric, selecting the perfect design, and mastering various stitching techniques. Add optional embellishments for a unique touch and finish with professional touches to showcase your creativity.
- Embroidery on a pillowcase is a rewarding and meditative activity that allows for personal expression and artistic flair. With attention to detail and creativity, you can transform a plain pillowcase into a beautiful, one-of-a-kind piece of art.
Read more: How To Embroider On A Quilt
Materials Needed
To get started with your pillowcase embroidery project, you will need the following materials:
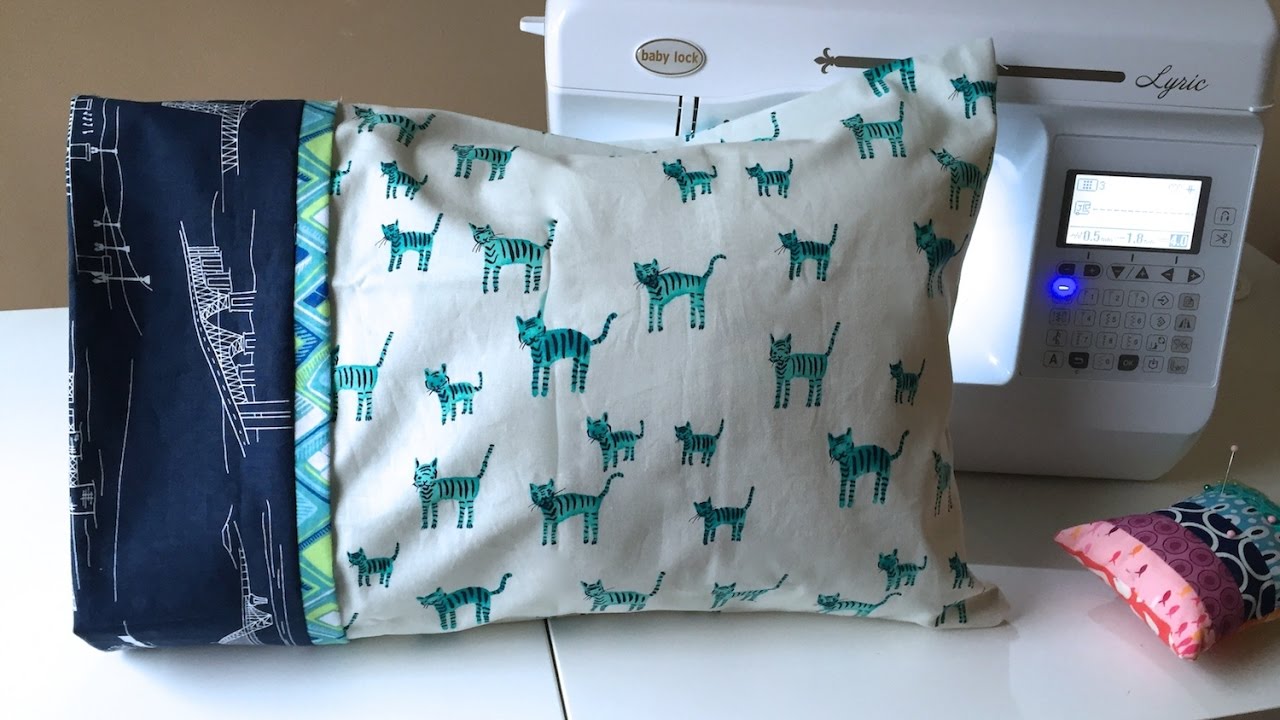
- Pillowcase: Choose a plain pillowcase made of a fabric that is suitable for embroidery, such as cotton or linen.
- Embroidery Thread: Select high-quality embroidery thread in various colors to bring your design to life.
- Embroidery Hoop: Use an embroidery hoop to keep the fabric taut and prevent wrinkles during the stitching process.
- Embroidery Needles: Use sharp embroidery needles in different sizes to accommodate different thread thicknesses.
- Transfer Method: Choose a transfer method that best suits your design, such as dressmaker’s carbon paper, water-soluble pens, or iron-on transfers.
- Scissors: Have a pair of sharp scissors to carefully trim excess threads and fabric.
- Embroidery Floss Organizer: Optional but helpful, use an organizer to keep your embroidery floss neatly arranged and easily accessible.
- Design Reference: Find or create a design that you would like to embroider on your pillowcase. You can use pre-made patterns, stencils, or create your own.
- Light Source: Make sure you have adequate lighting to see your stitches clearly and prevent strain on your eyes.
Once you have gathered all the necessary materials, you’re ready to start embroidering on your pillowcase. Let’s dive into the step-by-step process!
Step 1: Preparing the Pillowcase
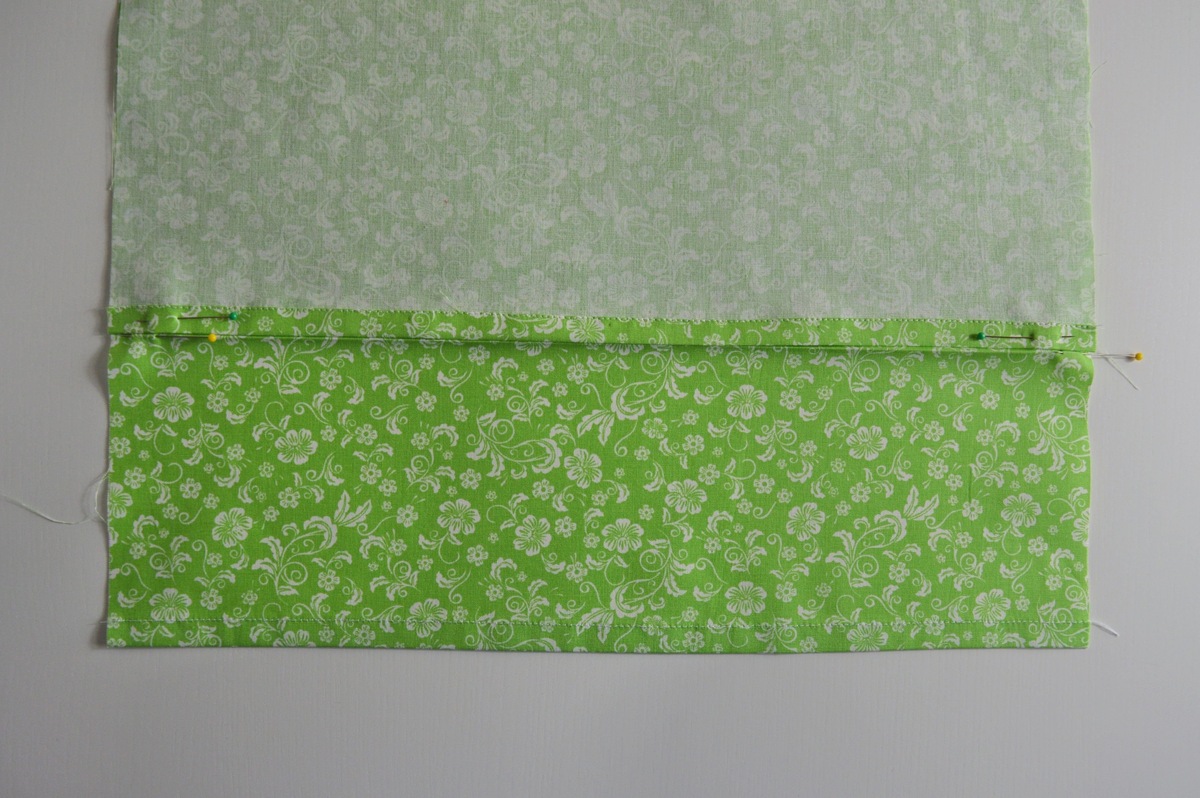
Before you begin embroidering on the pillowcase, it’s important to prepare the fabric to ensure a smooth and even stitching surface. Follow these steps to properly prepare your pillowcase:
- Wash and Iron: If the pillowcase is new, give it a gentle wash to remove any sizing or starch. Iron the pillowcase afterward to ensure a wrinkle-free surface. If you’re using an old pillowcase, make sure it’s clean and free of any stains or debris.
- Choose the Embroidery Area: Determine where you want to embroider on the pillowcase. It could be the center, the corner, or even a border. Place a small mark on the fabric to indicate the starting point of your design.
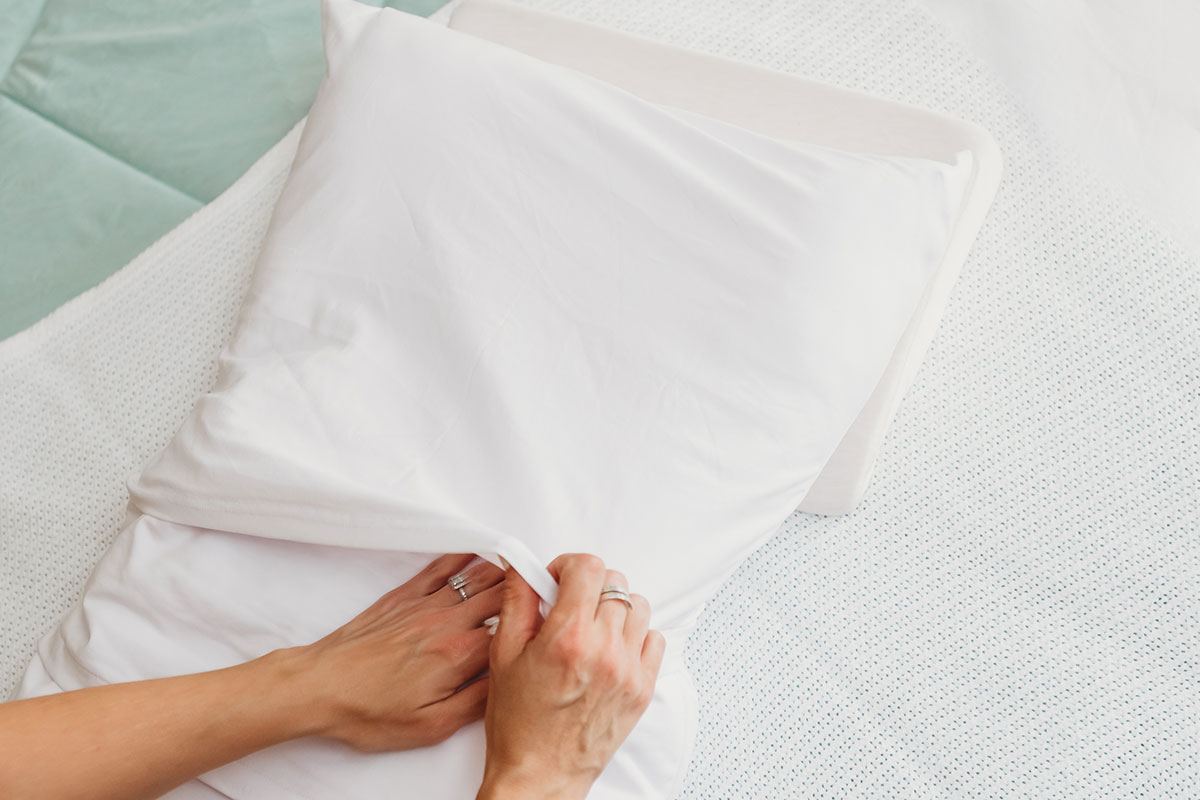
- Positioning: Lay the pillowcase on a flat surface, ensuring it is smooth and free of any wrinkles or creases. You can use a fabric stretcher or pins to secure the fabric in place.
By properly preparing the pillowcase, you set the foundation for a successful embroidery project. Taking the time to wash, iron, and position the fabric will result in a professional-looking finished product. Once the pillowcase is prepared, you’re ready to move on to the next step: choosing a design.
Step 2: Choosing a Design
Choosing the right design is a crucial step in creating a visually appealing and personalized embroidered pillowcase. Here are some tips to help you select the perfect design:
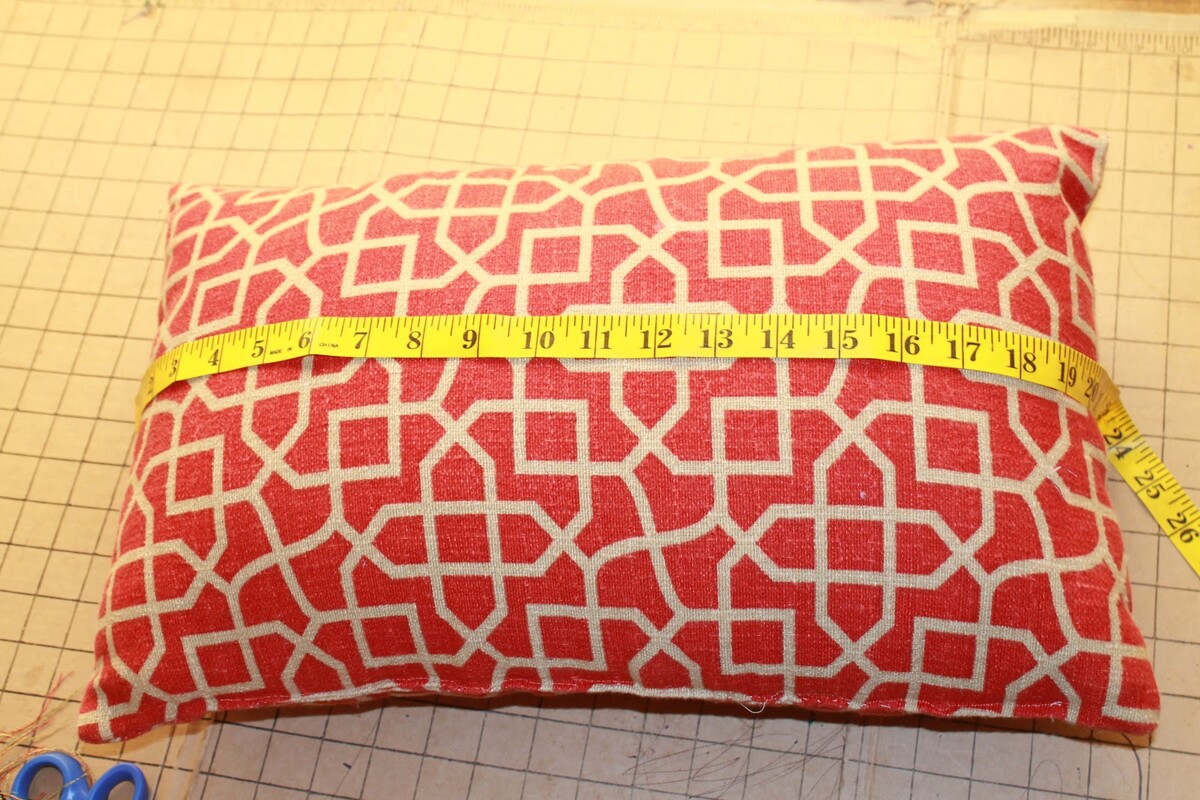
- Consider the Pillowcase Size: Take into account the size of your pillowcase and choose a design that fits well within the available space. A small design may get lost on a large pillowcase, while a large design may overwhelm a small pillowcase.
- Think About the Theme: Consider the overall theme or style you want to achieve with your pillowcase. Are you aiming for something whimsical, traditional, or modern? Look for designs that align with your desired theme.
- Personalize It: If you want to add a personal touch, consider using initials, names, or significant symbols in your design. This will make your embroidered pillowcase truly unique and meaningful.
- Draw Inspiration: Browse through embroidery books, magazines, or websites to get inspiration for your design. You can also look for free embroidery patterns online or create your own using design software or hand drawing.
- Consider Skill Level: Assess your embroidery skill level and choose a design that matches your abilities. If you’re a beginner, opt for simpler designs with fewer intricate details.
Remember, the design you choose will be the focal point of your embroidered pillowcase, so take your time and select one that resonates with you. Once you have decided on a design, it’s time to transfer it onto the pillowcase for stitching.
Step 3: Transferring the Design Onto the Pillowcase
Now that you have chosen your design, it’s time to transfer it onto the pillowcase. There are several methods you can use to transfer your design, depending on personal preference and the complexity of the design. Here are a few common methods:
- Tracing with Dressmaker’s Carbon Paper: Place the carbon paper between your design and the pillowcase fabric. Trace over the design with a pencil or ballpoint pen, applying firm pressure. The carbon paper will leave a faint outline of the design on the fabric.
- Water-Soluble Pen: Use a water-soluble pen to directly draw your design onto the pillowcase. The ink will disappear when you wash the finished embroidery.
- Iron-On Transfers: Print or purchase iron-on transfers of your chosen design. Follow the instructions provided with the transfers to apply the design onto the pillowcase fabric using an iron.
When transferring the design, ensure that it is centered and aligned properly on the pillowcase. Take your time to accurately transfer the design to avoid any mistakes or uneven patterns. Once the design is successfully transferred, move on to the next step: setting up the embroidery hoop.
Read more: How To Embroider A Blanket By Hand
Step 4: Setting up the Embroidery Hoop
Setting up the embroidery hoop is an essential step in ensuring the fabric remains taut and stable while you embroider. Follow these steps to properly set up your embroidery hoop:
- Separate the Hoop: Loosen the screw on the embroidery hoop to separate the inner hoop from the outer hoop.
- Place the Fabric: Lay the inner hoop on a flat surface and position the pillowcase fabric over it. Center the embroidered design within the hoop by aligning the marked starting point with the center of the inner hoop.
- Adjust the Hoop: Carefully place the outer hoop over the fabric and inner hoop, ensuring that the fabric is evenly distributed and taut. Tighten the screw to hold the hoops together securely.
- Check Tension: Gently tug on the fabric to ensure it is firmly stretched across the hoop. Adjust the tension as needed by tightening or loosening the hoop screw.
By properly setting up the embroidery hoop, you create a stable and even surface for your stitching. This not only makes the embroidery process easier but also ensures that your stitches are uniform and consistent. With the hoop prepared, you’re now ready to start the embroidery process.
When embroidering on a pillowcase, use an embroidery hoop to keep the fabric taut and prevent puckering. This will ensure your stitches are even and the design looks professional.
Step 5: Starting the Embroidery
Now that your fabric is securely placed in the embroidery hoop, it’s time to begin the embroidery process. Follow these steps to start your embroidery on the pillowcase:
- Select the Thread: Choose the color of embroidery thread you want to start with. It’s a good idea to begin with an outline or a simple design element before moving on to more intricate details.
- Thread the Needle: Cut a length of embroidery thread, typically around 18 to 24 inches, and thread it through the eye of the embroidery needle. Tie a knot at the end of the thread to secure it.
- Anchor the Thread: Bring the threaded needle up from the back of the fabric to the front, near the starting point of your design. Leave a small tail of thread on the back and secure it with a few small stitches to anchor the thread.
- Embroidery Stitches: There are various embroidery stitches you can use to create different effects. Some common stitches include backstitch, satin stitch, stem stitch, and French knot. Refer to your chosen design or embroidery resources for instructions on specific stitch techniques.
- Follow the Design: Carefully follow the design lines, filling in or outlining as required. Take your time and make each stitch as neat and even as possible.
- Secure the Thread: When you finish stitching a section or reach the end of a thread, secure it on the back of the fabric by weaving it through a few nearby stitches. Trim any excess thread.
- Switching Colors: If your design requires multiple thread colors, switch threads by securing the current thread on the back and starting the next color with a new length of thread.
Take your time and enjoy the embroidery process. It’s a meditative and creative activity that allows you to bring your design to life. Continue stitching until you have completed the desired portions of your design. As you progress, you can experiment with different stitches and thread colors to add depth and texture to your embroidery.
Once you’re satisfied with the stitching, you can move on to the next step of selecting thread colors for additional details or embellishments in your design.
Step 6: Selecting Thread Colors
Selecting the right thread colors is an important aspect of creating a visually striking embroidered pillowcase. Here are some tips to help you choose the perfect thread colors:
- Consider the Design: Assess your design and determine which elements you want to highlight or emphasize. Choose thread colors that will complement or contrast with the existing colors in your design.
- Color Theory: Familiarize yourself with basic color theory principles to create a harmonious color palette. You can opt for analogous colors (colors next to each other on the color wheel), complementary colors (opposite colors on the wheel), or monochromatic tones (variations of a single color).
- Texture and Contrast: Experiment with different thread textures, such as metallic or variegated threads, to add depth and visual interest to your embroidery. Additionally, consider using thread colors that provide a noticeable contrast against the fabric color to make your stitches stand out.
- Test Swatches: Before committing to a specific thread color, create small swatches of stitches using the potential thread colors. Place the swatches against the fabric to see how they look in combination. This will help you make an informed decision about the final thread colors.
- Personal Preference: Ultimately, trust your instincts and go with the thread colors that you are drawn to and feel excited about. Embroidery is a personal expression of creativity, so choose colors that resonate with your style and vision.
Remember, there are no strict rules when it comes to selecting thread colors for your embroidery. The goal is to create a visually pleasing and aesthetically pleasing design that reflects your personal preference. Don’t be afraid to experiment and have fun with color combinations!
Once you have selected your thread colors, you’re ready to continue stitching and adding the final touches to your embroidered pillowcase.
Step 7: Stitching Techniques
Mastering different stitching techniques will elevate the overall look of your embroidered pillowcase. Here are some common stitching techniques to consider:
- Backstitch: This is a versatile and commonly used stitch for outlining and creating clean, straight lines. Start by bringing the needle up from the back of the fabric, then insert it back into the fabric a short distance ahead. Bring the needle up again at the end of the previous stitch, and repeat.
- Satin Stitch: Ideal for filling in solid areas, the satin stitch creates a smooth and glossy surface. Bring the needle up at one edge of the area to be filled, and take it down at the opposite edge. Repeat this process, making parallel stitches next to each other, until the area is completely covered.
- Stem Stitch: This stitch is perfect for creating curved lines or outlining designs. Bring the needle up from the back, then insert it back into the fabric slightly ahead of the starting point. Bring the needle up again, overlapping the previous stitch, and continue in this manner.
- French Knot: Use the French knot stitch to add texture and dimension to your design. Bring the needle up from the back and wrap the thread around the needle two or three times. Insert the needle back into the fabric very close to the insertion point and gently pull the thread to create a knot.
- Chain Stitch: The chain stitch creates a delicate line with a series of looped stitches. Start by creating a small straight stitch. Bring the needle up from the back through the end of that stitch and insert it back into the fabric a short distance ahead. Before pulling the thread all the way through, pass the needle through the loop created. Repeat this process to form a chain of stitches.
These are just a few examples of the many stitching techniques available for embroidery. Experiment with different stitches and combinations to achieve different effects and add depth to your design. Always practice on a scrap fabric before attempting new stitches on your embroidered pillowcase.
Continue stitching using the appropriate techniques based on your chosen design and thread colors. Take breaks when needed, and don’t rush the process. Embroidery requires patience and attention to detail. As you stitch, refer to your design reference or embroidery resources for guidance on specific stitch placements and techniques.
With your stitches taking shape, you can now consider adding optional embellishments in the next step.
Read more: How To Sew A Cuffed Pillowcase
Step 8: Adding Embellishments (optional)
Adding embellishments to your embroidered pillowcase can take your design to the next level and add a unique touch. While optional, embellishments can include beads, sequins, ribbons, or any other decorative elements that complement your design. Here are a few ideas to inspire you:
- Beadwork: Sewing small beads onto your embroidered design can add sparkle and texture. Use a beading needle and thread to carefully attach beads along the outlines or focal points of your design.
- Sequin Accents: Add a touch of glamour by stitching sequins onto your pillowcase. Choose sequins that match your design and sew them individually or in clusters to create eye-catching accents.
- Ribbon Embroidery: Incorporate ribbons into your embroidery by weaving them through the stitches or creating decorative bows. This adds dimension and a soft, tactile element to your design.
- Embroidery Floss Variations: Consider using different types of embroidery floss, such as metallic or variegated thread, to create visual interest and highlight specific areas of your design.
- Fabric Appliqué: Cut out small shapes or designs from fabric and attach them to your pillowcase using embroidery stitches. This technique adds texture and layers to your embroidery.
When adding embellishments, keep in mind the overall balance and cohesion of your design. Use them sparingly and strategically, so they enhance the embroidery without overpowering it. Experiment with different combinations and placements to achieve the desired effect.
Remember that embellishments are optional and should be chosen based on your personal preference and the style of your pillowcase embroidery. If you prefer a more minimalist look, you can skip this step and move on to the final step of finishing touches.
After adding any desired embellishments, you’re almost ready to complete your embroidered pillowcase. All that’s left is the final step of adding the finishing touches.
Step 9: Finishing Touches
Your embroidered pillowcase is almost complete! The final step involves adding the finishing touches to ensure your project looks polished and professional. Follow these steps to perfect your embroidered pillowcase:
- Trim Excess Threads: Carefully examine your embroidery and trim any loose or excess threads using sharp embroidery scissors. Be cautious not to cut any of the stitches or the fabric itself.
- Inspect Your Stitches: Take a close look at your embroidery and make any necessary touch-ups or adjustments. Check for consistent stitching tension and fix any areas where the stitches may be loose or uneven.
- Iron the Finished Embroidery: Once you are satisfied with your embroidery, place a clean cloth over the design and lightly press it with an iron on a low heat setting. This will help flatten any minor wrinkles and give your pillowcase a polished look.
- Wash or Clean if Needed: Consider washing or dry cleaning your pillowcase if necessary, following the instructions for the fabric used. This step will ensure that your embroidered pillowcase is fresh and ready to be displayed or used.
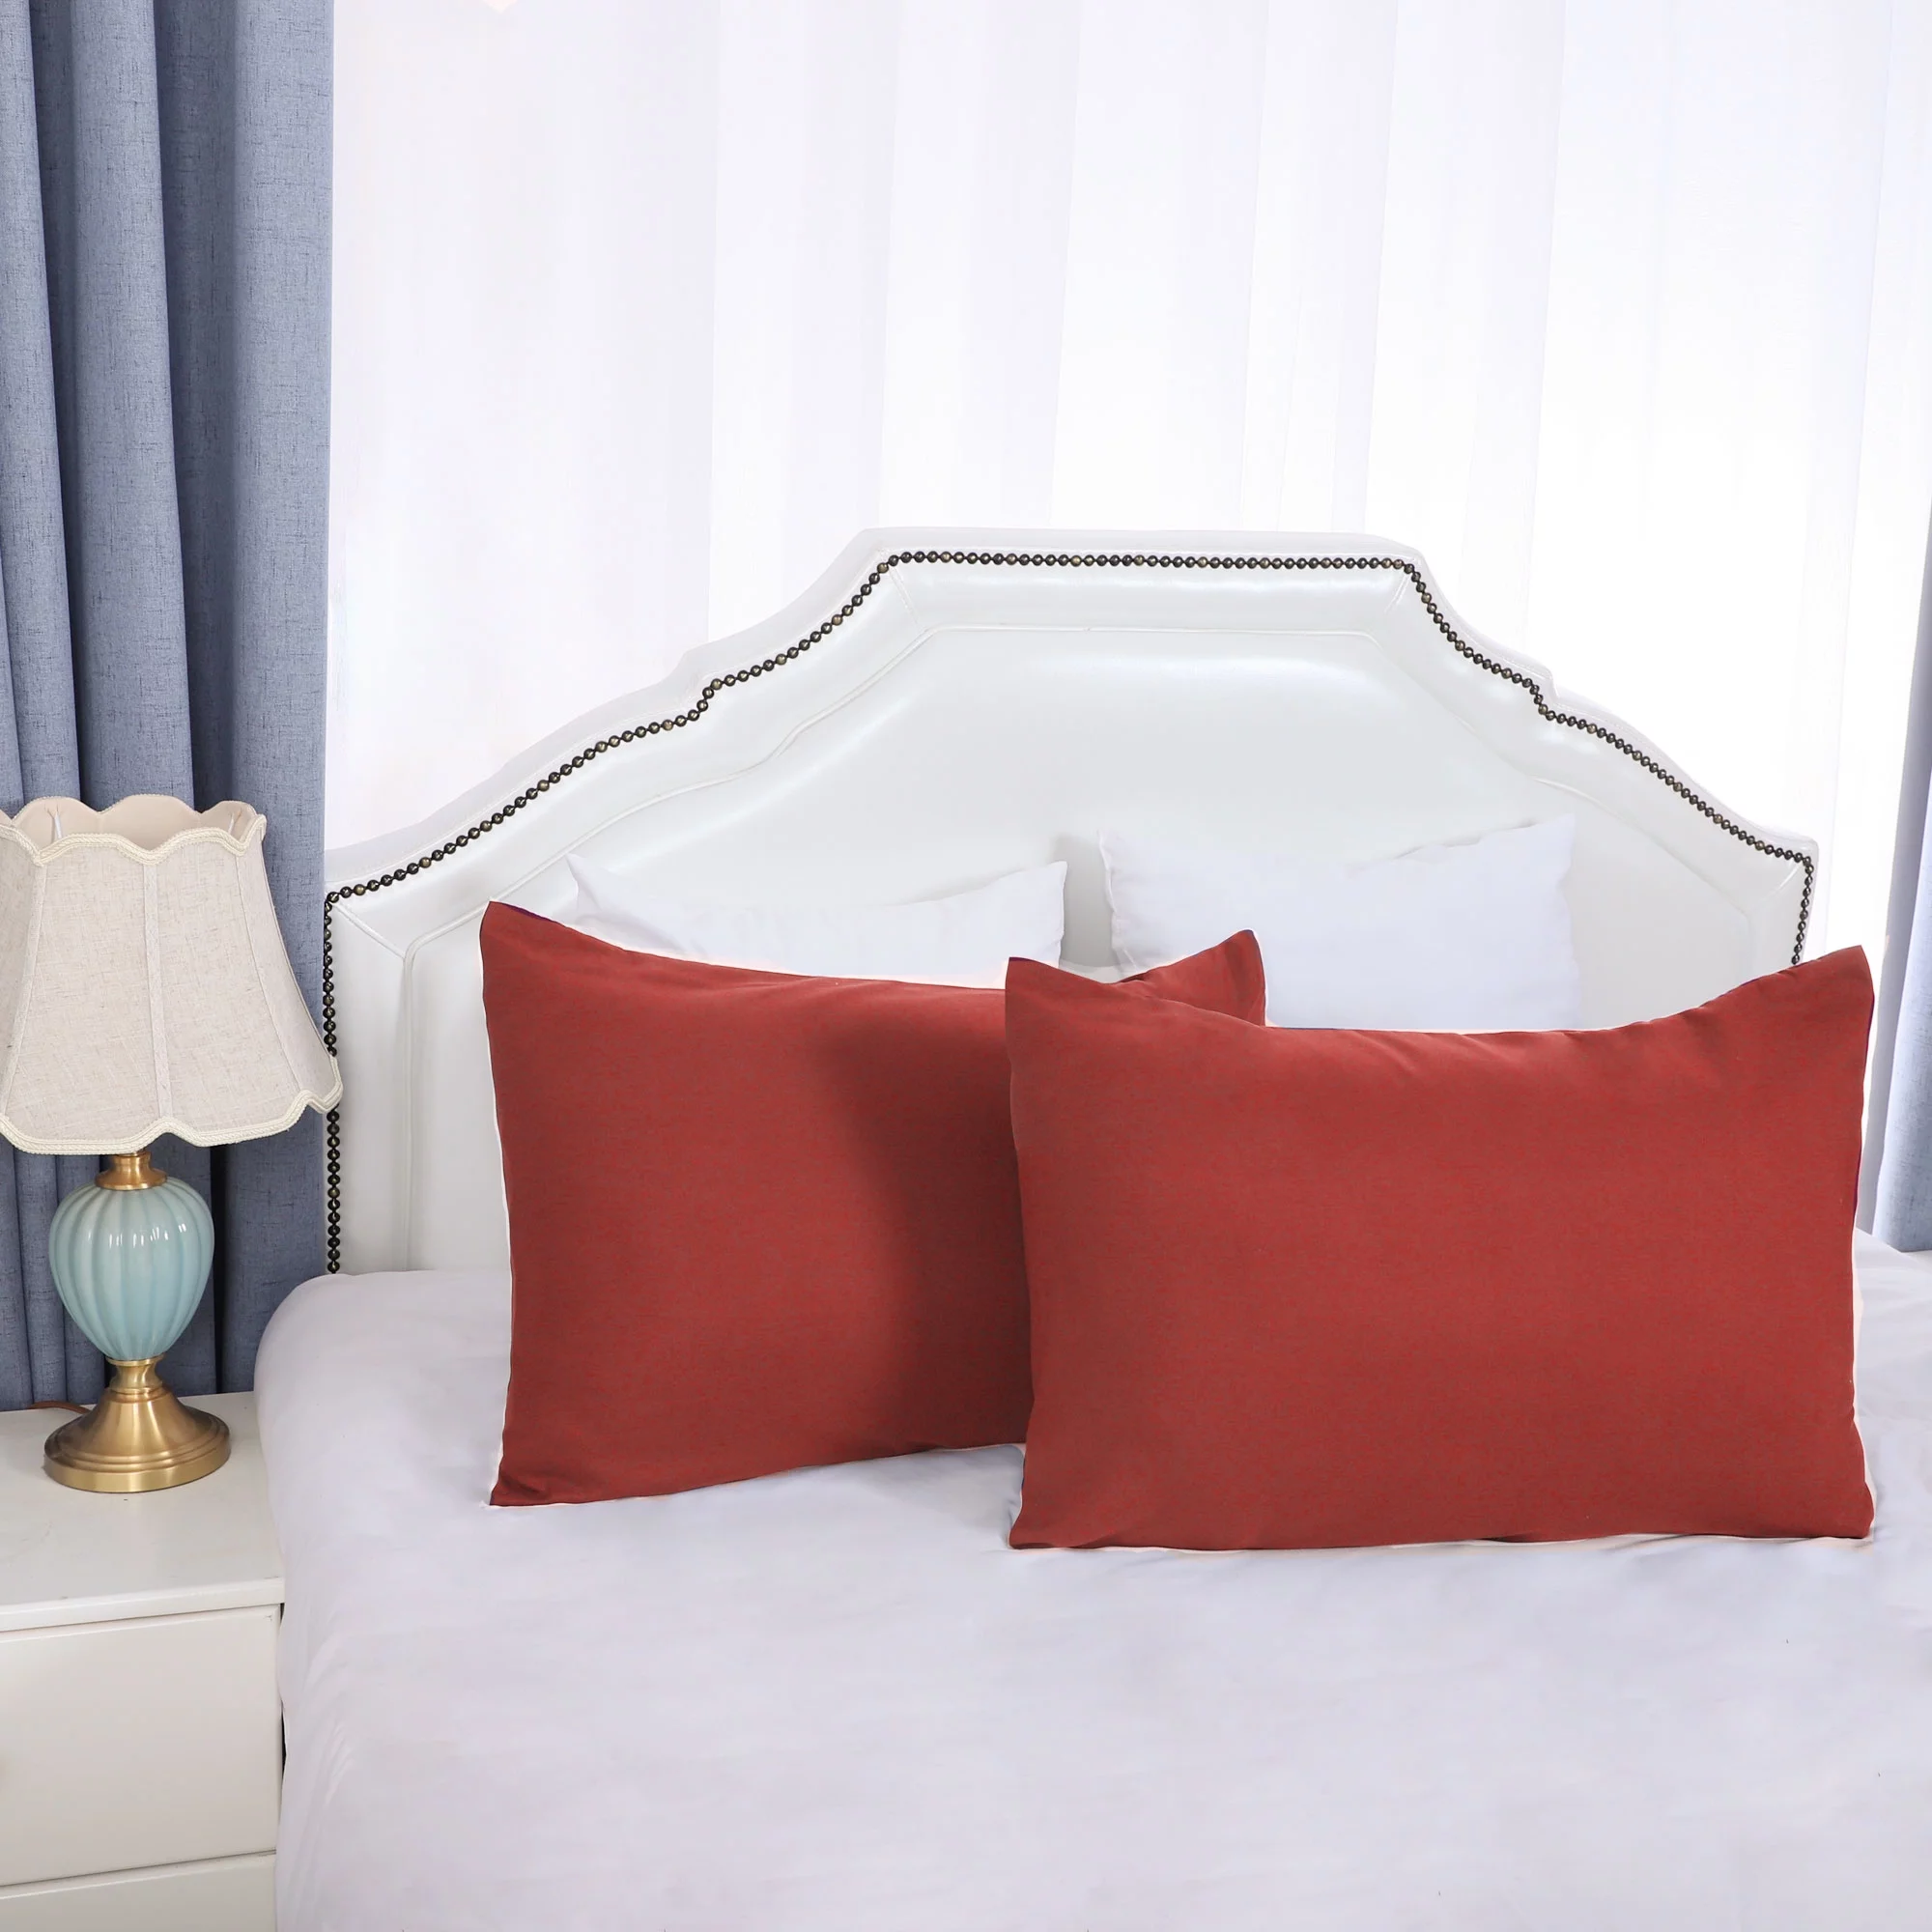
- Showcase Your Creation: Display your embroidered pillowcase proudly on a pillow or as a decorative element in your home. Admire the hard work and creativity you’ve put into this unique piece of art.
By giving attention to these finishing touches, you ensure that your embroidered pillowcase looks professional and well-crafted. Taking the time to trim threads, inspect stitches, and give the embroidery a final press will make a noticeable difference in the overall appearance of your project.
Congratulations! You have successfully completed the embroidery process and added the finishing touches to your pillowcase. Enjoy and admire your beautiful creation, or consider gifting it to someone special who will appreciate the artistry and effort.
Remember, embroidery is a skill that improves with practice, so don’t be afraid to continue exploring new designs and techniques to further enhance your embroidery skills.
Happy embroidering!
Conclusion
Embroidering on a pillowcase is a rewarding and creative project that allows you to showcase your stitching skills and add a personal touch to your home decor. Throughout this article, we have outlined the step-by-step process to help you embroider a stunning pillowcase.
From preparing the pillowcase and selecting a design to transferring it onto the fabric, setting up the embroidery hoop, and stitching with different techniques, each step plays a crucial role in creating a beautiful embroidered masterpiece. Adding optional embellishments and giving attention to the finishing touches will further elevate the overall look of your project.
Embroidery is not only a form of artistic expression but also a relaxing and meditative activity. Take your time, enjoy the process, and let your creativity flourish. Remember, practice makes perfect, and with each embroidery project, your skills will continue to grow.
Now that you have completed your embroidered pillowcase, proudly display it as a unique piece of art in your home or consider giving it as a heartfelt gift to someone special.
So gather your materials, choose a design, and embark on your embroidery journey. Have fun, be creative, and let the thread guide your imagination!
Happy embroidering!
Frequently Asked Questions about How To Embroider On A Pillowcase
Was this page helpful?
At Storables.com, we guarantee accurate and reliable information. Our content, validated by Expert Board Contributors, is crafted following stringent Editorial Policies. We're committed to providing you with well-researched, expert-backed insights for all your informational needs.
0 thoughts on “How To Embroider On A Pillowcase”