Articles
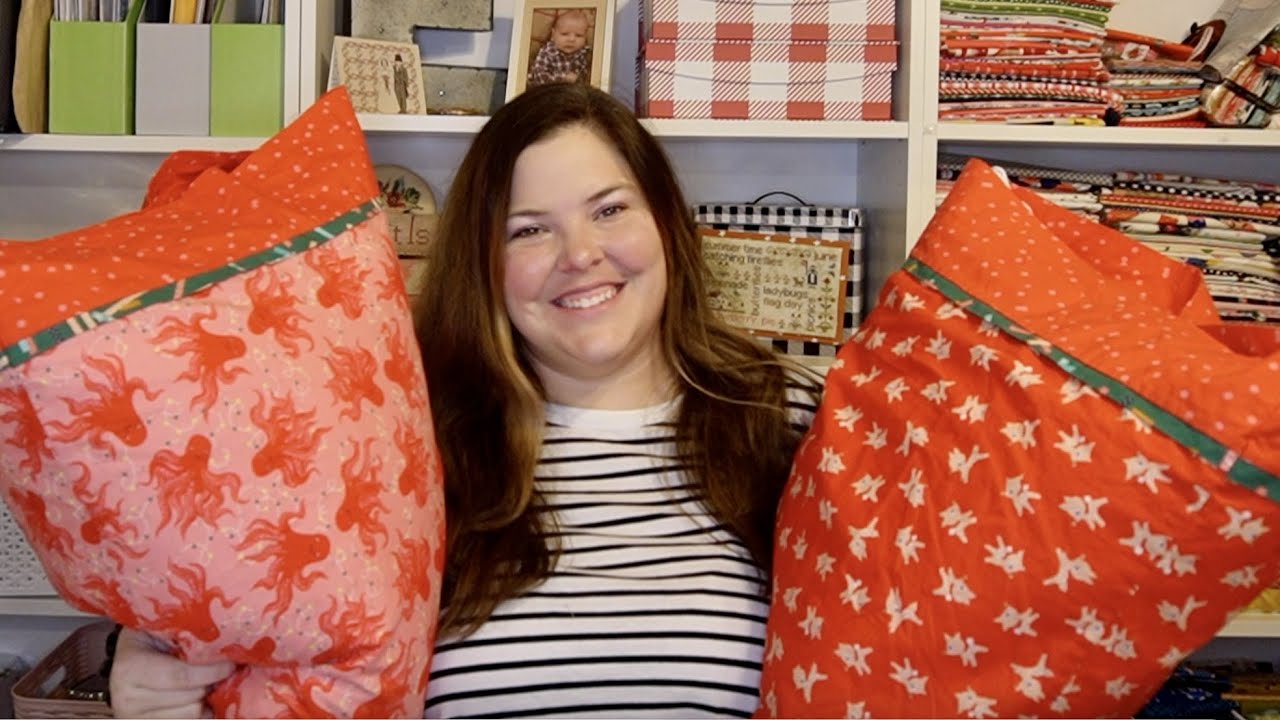
How To Sew A Cuffed Pillowcase
Modified: August 16, 2024
Learn how to sew a cuffed pillowcase with our informative articles. Follow our step-by-step guide for professional-looking results.
(Many of the links in this article redirect to a specific reviewed product. Your purchase of these products through affiliate links helps to generate commission for Storables.com, at no extra cost. Learn more)
Introduction
Are you ready to add a touch of elegance to your bedroom decor with a custom-made cuffed pillowcase? Sewing your own pillowcases not only allows you to showcase your creativity, but also enables you to choose the fabric and design that best complements your personal style. In this step-by-step guide, we will walk you through the process of creating a cuffed pillowcase that will add a luxurious and tailored look to your bedding ensemble.
Whether you are a seasoned seamstress or new to sewing, this project is beginner-friendly and can be completed in just a few hours. So grab your sewing machine and let’s get started!
Key Takeaways:
- Elevate your bedroom decor with a custom cuffed pillowcase that showcases your creativity and sewing skills. Enjoy the process and create unique, stylish pillowcases to add a personal touch to your home.
- Unleash your sewing prowess and creativity by following this beginner-friendly guide to create a luxurious cuffed pillowcase. Experiment with different fabrics and designs to reflect your unique style and elevate your bedroom decor.
Read more: How To Sew A Pillowcase With A Flap
Materials Needed
- Fabric (1 yard)
- Thread
- Pins
- Scissors
- Iron
- Measuring tape
- Sewing machine
Before diving into the sewing process, let’s gather all the materials you’ll need to complete your cuffed pillowcase project. First and foremost, you’ll need fabric. Choose a fabric of your liking that matches your bedroom decor or adds a pop of color.
In addition to the fabric, you’ll need thread that complements or matches the fabric. Make sure you have enough thread to complete the entire project.
To hold the fabric in place while sewing, you’ll need pins. These will help ensure that the fabric stays in place and prevents any shifting while sewing.
Scissors are essential for cutting the fabric and trimming any excess threads. It’s important to have a sharp pair of scissors to ensure clean cuts.
An iron is a crucial tool in sewing. It helps in pressing the fabric to create crisp edges and seams, giving your pillowcase a polished look.
Measuring tape is necessary to measure and cut the fabric to the correct dimensions. This ensures that your pillowcase will fit your pillows perfectly.
Lastly, you’ll need a sewing machine to sew the fabric together. While hand sewing is an option, a sewing machine will make the process faster and provide stronger and more durable stitches.
Now that you have all the necessary materials, it’s time to move on to the next step: cutting the fabric.
Step 1: Cutting the Fabric
The first step in creating your cuffed pillowcase is cutting the fabric to the appropriate size. Take your fabric and unfold it on a flat surface, ensuring that it is free of any wrinkles or creases. It’s always a good idea to iron the fabric beforehand to ensure a smooth surface.
Using your measuring tape, measure and mark the dimensions for your pillowcase. For a standard-sized pillow, you’ll want to cut a piece of fabric that measures 21 inches by 31 inches. This will allow for a 4-inch cuff and a little bit of ease for the pillow to fit inside.
Once you have the dimensions marked, use your scissors to carefully cut along the lines. Take your time and make sure to cut straight, clean lines to ensure a professional-looking final product.
After cutting the main piece of fabric for the pillowcase body, you’ll also need to cut a smaller piece for the cuff. To determine the size of the cuff, multiply the width of the main fabric by 1.5. For example, if the width of your main fabric is 21 inches, you’ll need to cut a cuff piece that measures 21 inches by 6 inches.
Now that you have cut both the main fabric and the cuff, it’s time to move on to the next step: preparing the cuff.
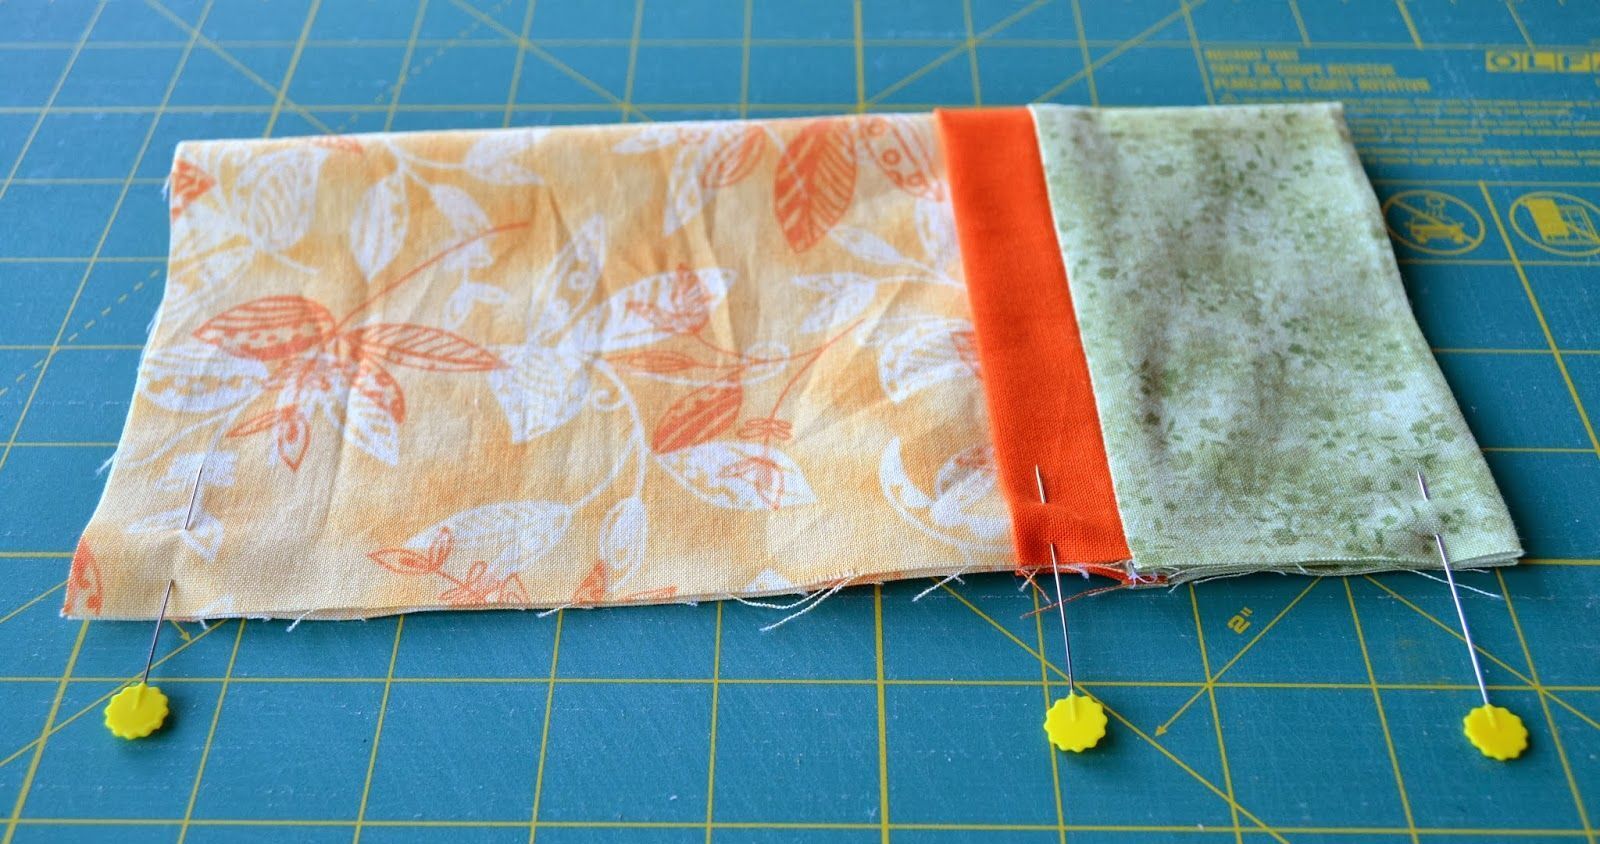
Step 2: Preparing the Cuff
Now that you have cut the fabric for your cuffed pillowcase, it’s time to prepare the cuff that will add a stylish touch to the pillowcase design.
Take the piece of fabric you cut for the cuff and fold it in half lengthwise, with the right sides facing each other. Use your iron to press along the fold to create a crisp edge.
Next, unfold the fabric and fold each side towards the center crease. Press along these folds with your iron to create two additional creases.
Once you have pressed the fabric, fold it in half again along the original center crease, with the wrong sides facing each other. Align the raw edges and pin them in place to hold the fabric together.
Take your sewing machine and stitch along the raw edges of the cuff, using a ¼ inch seam allowance. Backstitch at the beginning and end to secure the stitches.
After sewing the cuff, trim any excess fabric and threads. Press the seam allowance open with your iron to ensure a flat and neat finish.
Now that the cuff is ready, it’s time to move on to the next step: sewing the pillowcase body.
When sewing a cuffed pillowcase, be sure to press the seams and hems with an iron before stitching. This will create crisp, professional-looking edges.
Step 3: Sewing the Pillowcase Body
With the cuff prepared, it’s now time to sew the main fabric of the pillowcase together to create the body of the pillowcase.
Start by taking the main fabric piece and fold it in half lengthwise, with the right sides facing each other. Ensure that the raw edges are aligned and the fabric is smooth.
Using your pins, secure the sides of the fabric together to prevent shifting during sewing. Leave one short end open for now.
Now, take your sewing machine and starting from the top folded edge, sew a straight stitch along the pinned sides with a ½ inch seam allowance. Backstitch at the beginning and end of the seam to reinforce the stitches.
Once you’ve sewn the sides, remove the pins and trim any excess fabric and threads. This will help to reduce bulk and ensure a clean finish.
Next, turn the pillowcase right side out by pulling the fabric through the open end. Gently press the sewn edges with your iron to create crisp seams.
With the body of the pillowcase complete, it’s time to move on to the next step: attaching the cuff.
Read more: How To Sew The Burrito Method Pillowcase
Step 4: Attaching the Cuff
Now that you have sewn the body of the pillowcase, it’s time to attach the cuff to create the cuffed pillowcase design.
Take the cuff that you prepared earlier and insert it into the open end of the pillowcase body. Ensure that the raw edges of both the cuff and the pillowcase line up.
Align the center crease of the cuff with the sewn seam of the pillowcase body. This will ensure that the cuff is evenly distributed around the pillowcase.
Using your pins, secure the cuff to the pillowcase body. Start at the seam and work your way around, ensuring that the edges are aligned and the cuff is evenly attached.
Once the cuff is pinned in place, take your sewing machine and sew a straight stitch along the pinned edge, securing the cuff to the pillowcase body. Use a ½ inch seam allowance and remove the pins as you sew.
After sewing the cuff, trim any excess fabric and threads. Press the seam allowance towards the body of the pillowcase with your iron to create a seamless transition between the cuff and the body.
Now that the cuff is attached, it’s time to move on to the final step: adding the finishing touches.
Step 5: Finishing Touches
With the cuff attached, you’re almost done with your cuffed pillowcase! However, there are a few final touches you can add to give it a polished look.
First, go over the entire pillowcase with your iron, pressing any remaining wrinkles or creases. This will ensure that your pillowcase looks crisp and neat.
If you’d like to add an extra decorative element, consider topstitching along the seam where the cuff is attached to the pillowcase body. This will give your pillowcase a professional and finished appearance.
Finally, give your pillowcase a final inspection, ensuring that all seams are secure and there are no loose threads. If you notice any loose threads, trim them with your scissors to achieve a clean finish.
Once you’re satisfied with the appearance of your cuffed pillowcase, insert your pillow and marvel at your handiwork! Your custom-made pillowcase is now ready to enhance your bedroom decor and provide cozy comfort.
Remember, you can repeat these steps to create matching pillowcases or experiment with different fabric patterns and designs to suit your personal style.
Congratulations! You’ve successfully completed your cuffed pillowcase project. You now have a unique and stylish addition to your bedroom that showcases your sewing skills and creativity. Enjoy the comfort and beauty of your handmade pillowcase!
Thank you for joining us on this sewing adventure. Happy sewing!
Conclusion
Creating your own cuffed pillowcase is a rewarding sewing project that allows you to add a personal touch to your bedroom decor. By following the step-by-step instructions outlined in this guide, you have learned how to cut the fabric, prepare the cuff, sew the pillowcase body, attach the cuff, and add the finishing touches.
Throughout this process, you have honed your sewing skills and unleashed your creativity. The end result is a beautifully crafted cuffed pillowcase that adds elegance and style to your bedding ensemble.
Don’t be afraid to experiment with different fabrics, patterns, and designs to create unique pillowcases that reflect your personal style and showcase your sewing prowess. You can create matching sets or mix and match fabrics for a playful and eclectic look.
Remember, sewing is a journey of self-expression and creativity. So, enjoy the process, embrace your individual style, and have fun creating custom-made pillowcases that make a statement in your home.
Thank you for joining us on this sewing adventure. We hope this guide has inspired you to try more DIY projects and explore the world of sewing further.
Happy sewing!
Frequently Asked Questions about How To Sew A Cuffed Pillowcase
Was this page helpful?
At Storables.com, we guarantee accurate and reliable information. Our content, validated by Expert Board Contributors, is crafted following stringent Editorial Policies. We're committed to providing you with well-researched, expert-backed insights for all your informational needs.


0 thoughts on “How To Sew A Cuffed Pillowcase”