Articles
How To Install Dishwasher End Panel
Modified: October 18, 2024
Learn how to properly install a dishwasher end panel with our step-by-step guide. Explore our informative articles for useful tips and tricks.
(Many of the links in this article redirect to a specific reviewed product. Your purchase of these products through affiliate links helps to generate commission for Storables.com, at no extra cost. Learn more)
Introduction
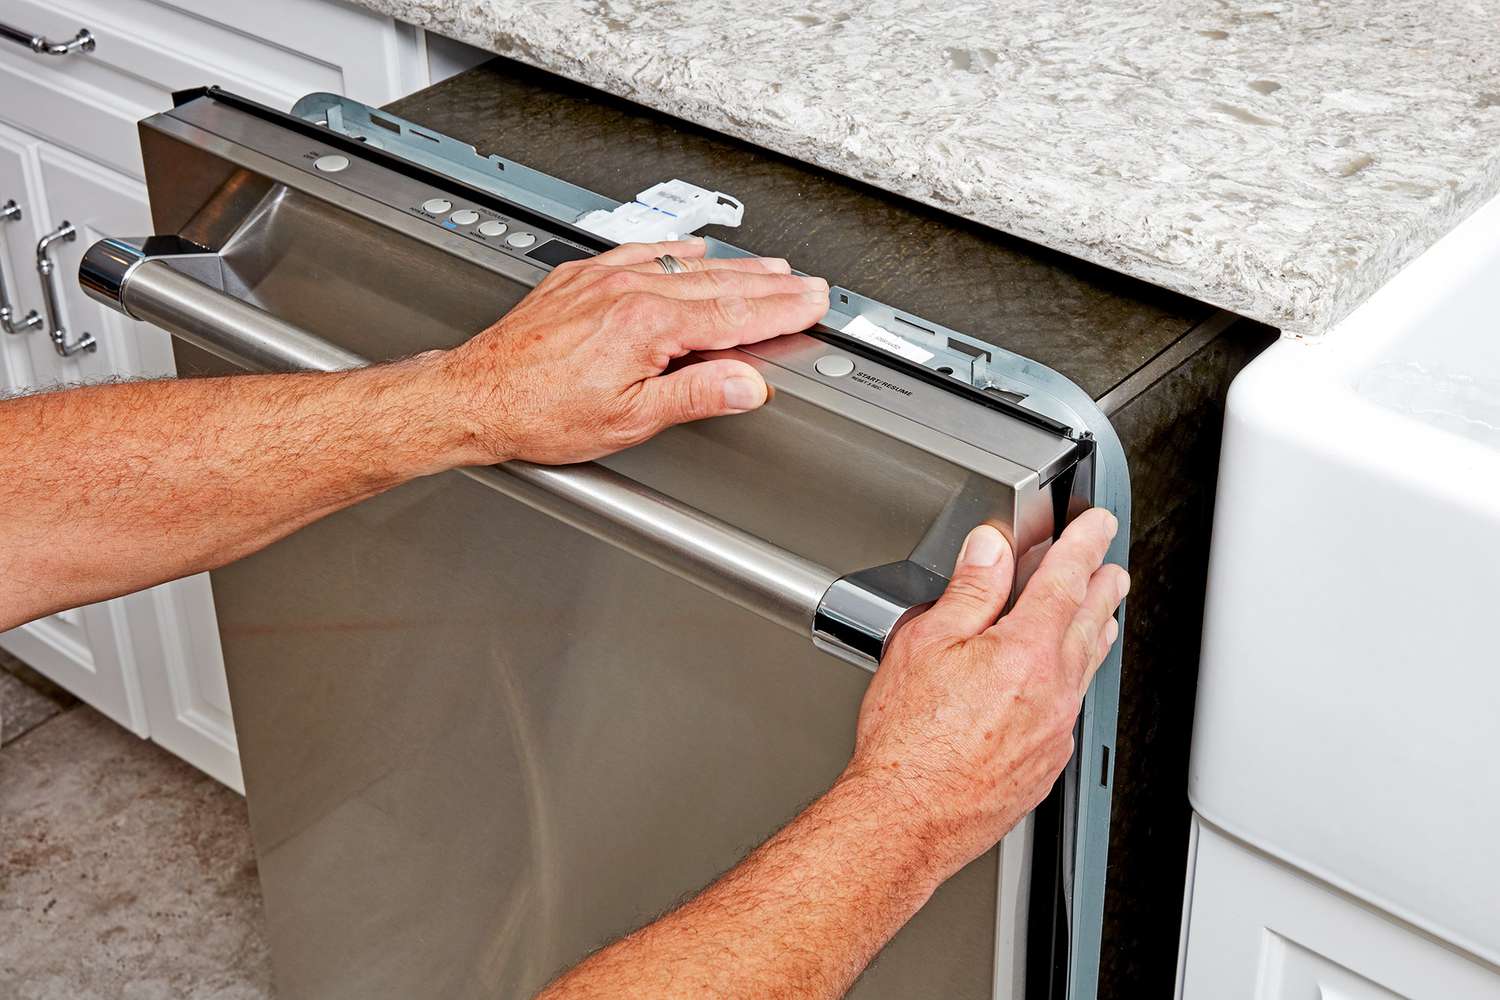
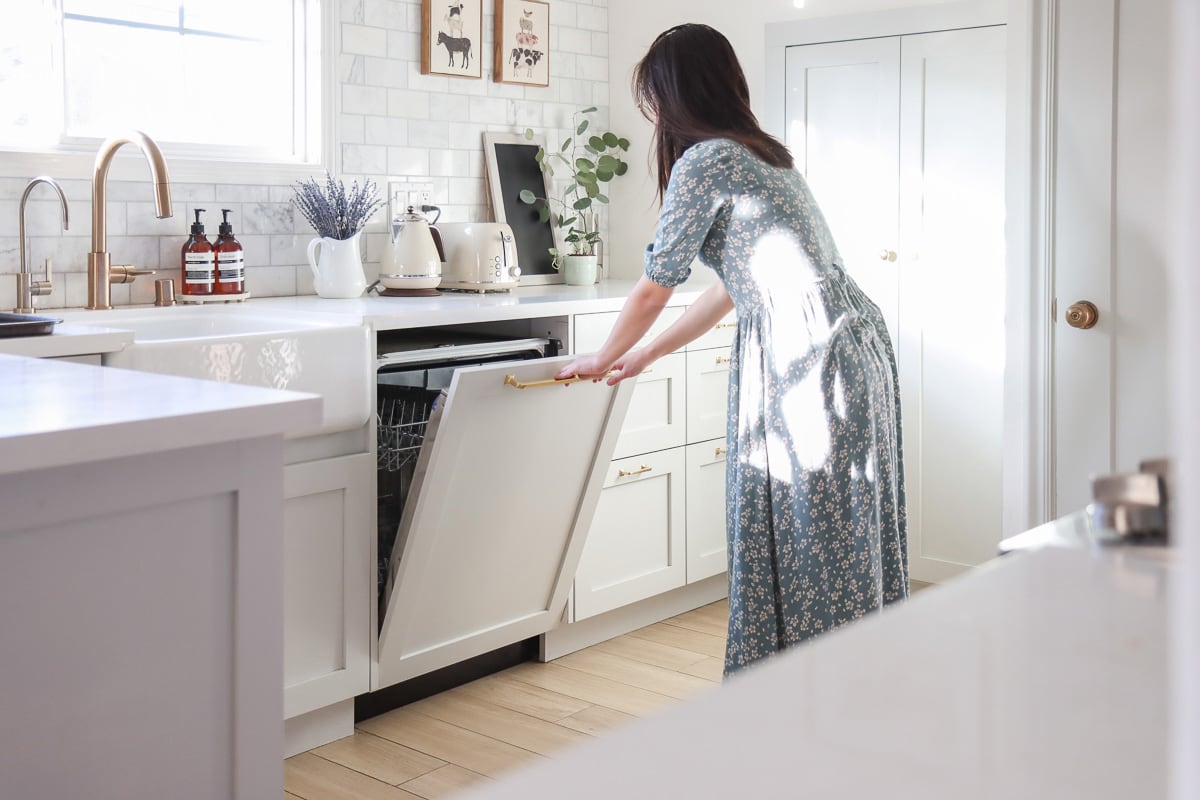
Installing an end panel on your dishwasher not only enhances its appearance but also provides a seamless integration with your kitchen cabinetry. The end panel is designed to cover the side of the dishwasher, hiding any exposed parts and creating a cohesive look in your kitchen. Whether you are replacing an old end panel or installing a new one, this step-by-step guide will walk you through the process.
Before you begin, it’s important to gather all the necessary tools and materials. Having everything on hand will make the installation process more efficient and ensure you have everything you need to complete the job.
Key Takeaways:
- Enhance your kitchen’s appearance and functionality by seamlessly integrating your dishwasher with cabinetry through the installation of an end panel. Follow the step-by-step guide for a professional and polished result.
- Ensure a proper fit and long-lasting stability by accurately measuring, preparing, and securely attaching the end panel to your dishwasher. Pay attention to finishing touches for a seamless and visually appealing integration with your kitchen cabinetry.
Read more: How To Install End Caps On Gutters
Tools and Materials Needed
Before you start installing the end panel on your dishwasher, make sure you have the following tools and materials:
- Measuring tape
- Pencil or marker
- Saw (such as a circular saw or jigsaw)
- Sandpaper
- Screwdriver or drill
- Wood glue or adhesive
- Clamps
- End panel material (such as plywood or MDF)
- Decorative laminate or veneer (optional)
- Finishing nails or screws
- Wood filler
- Paint or stain (if desired)
- Paintbrush or roller
- Protective gloves and safety glasses
Having these tools and materials ready will ensure a smooth installation process and allow you to achieve a professional-looking end result. Take the time to gather everything you need before you begin.
Step 1: Measure and Cut the End Panel
Measuring and cutting the end panel accurately is crucial to ensure a proper fit and seamless integration with your dishwasher. Follow these steps:
- Start by measuring the height and width of the side of your dishwasher where the end panel will be installed. Take precise measurements using a measuring tape.
- Transfer the measurements onto your end panel material. Use a pencil or marker to mark the dimensions, making sure to account for any necessary gaps or allowances.
- Using a saw, such as a circular saw or jigsaw, carefully cut the end panel material along the marked lines. Take your time to make precise cuts, as any inaccuracies can impact the final fit.
- After cutting the end panel, use sandpaper to smooth out any rough edges or imperfections. This step will ensure a clean and professional finish.
Remember to double-check your measurements before cutting the end panel material. Double-checking will help prevent costly mistakes and ensure that the end panel fits your dishwasher perfectly.
Step 2: Preparing the End Panel
Before attaching the end panel to the dishwasher, it’s important to prepare it for installation. Follow these steps:
- If desired, you can apply a decorative laminate or veneer to the visible side of the end panel for a more polished look. This step is optional but can add an extra touch of style to your dishwasher.
- If you choose to apply laminate or veneer, carefully cut it to match the dimensions of the end panel. Use a sharp utility knife or scissors to achieve clean edges.
- Apply wood glue or adhesive to the back of the laminate or veneer, then carefully press it onto the end panel surface. Use a roller or your hands to smooth out any air bubbles or wrinkles.
- If necessary, use clamps to hold the laminate or veneer in place until the glue dries. Follow the manufacturer’s instructions regarding the drying time.
- If you prefer, you can also paint or stain the end panel to match your kitchen’s color scheme. Apply a thin and even layer of paint or stain using a brush or roller, allowing each coat to dry before applying the next.
Preparing the end panel ensures that it is ready to be attached to the dishwasher and adds a finished look to the overall installation. Take your time with this step to achieve the desired aesthetic.+
When installing a dishwasher end panel, make sure to measure the space accurately and use a level to ensure it is installed straight. Also, leave enough clearance for the dishwasher door to open and close smoothly.
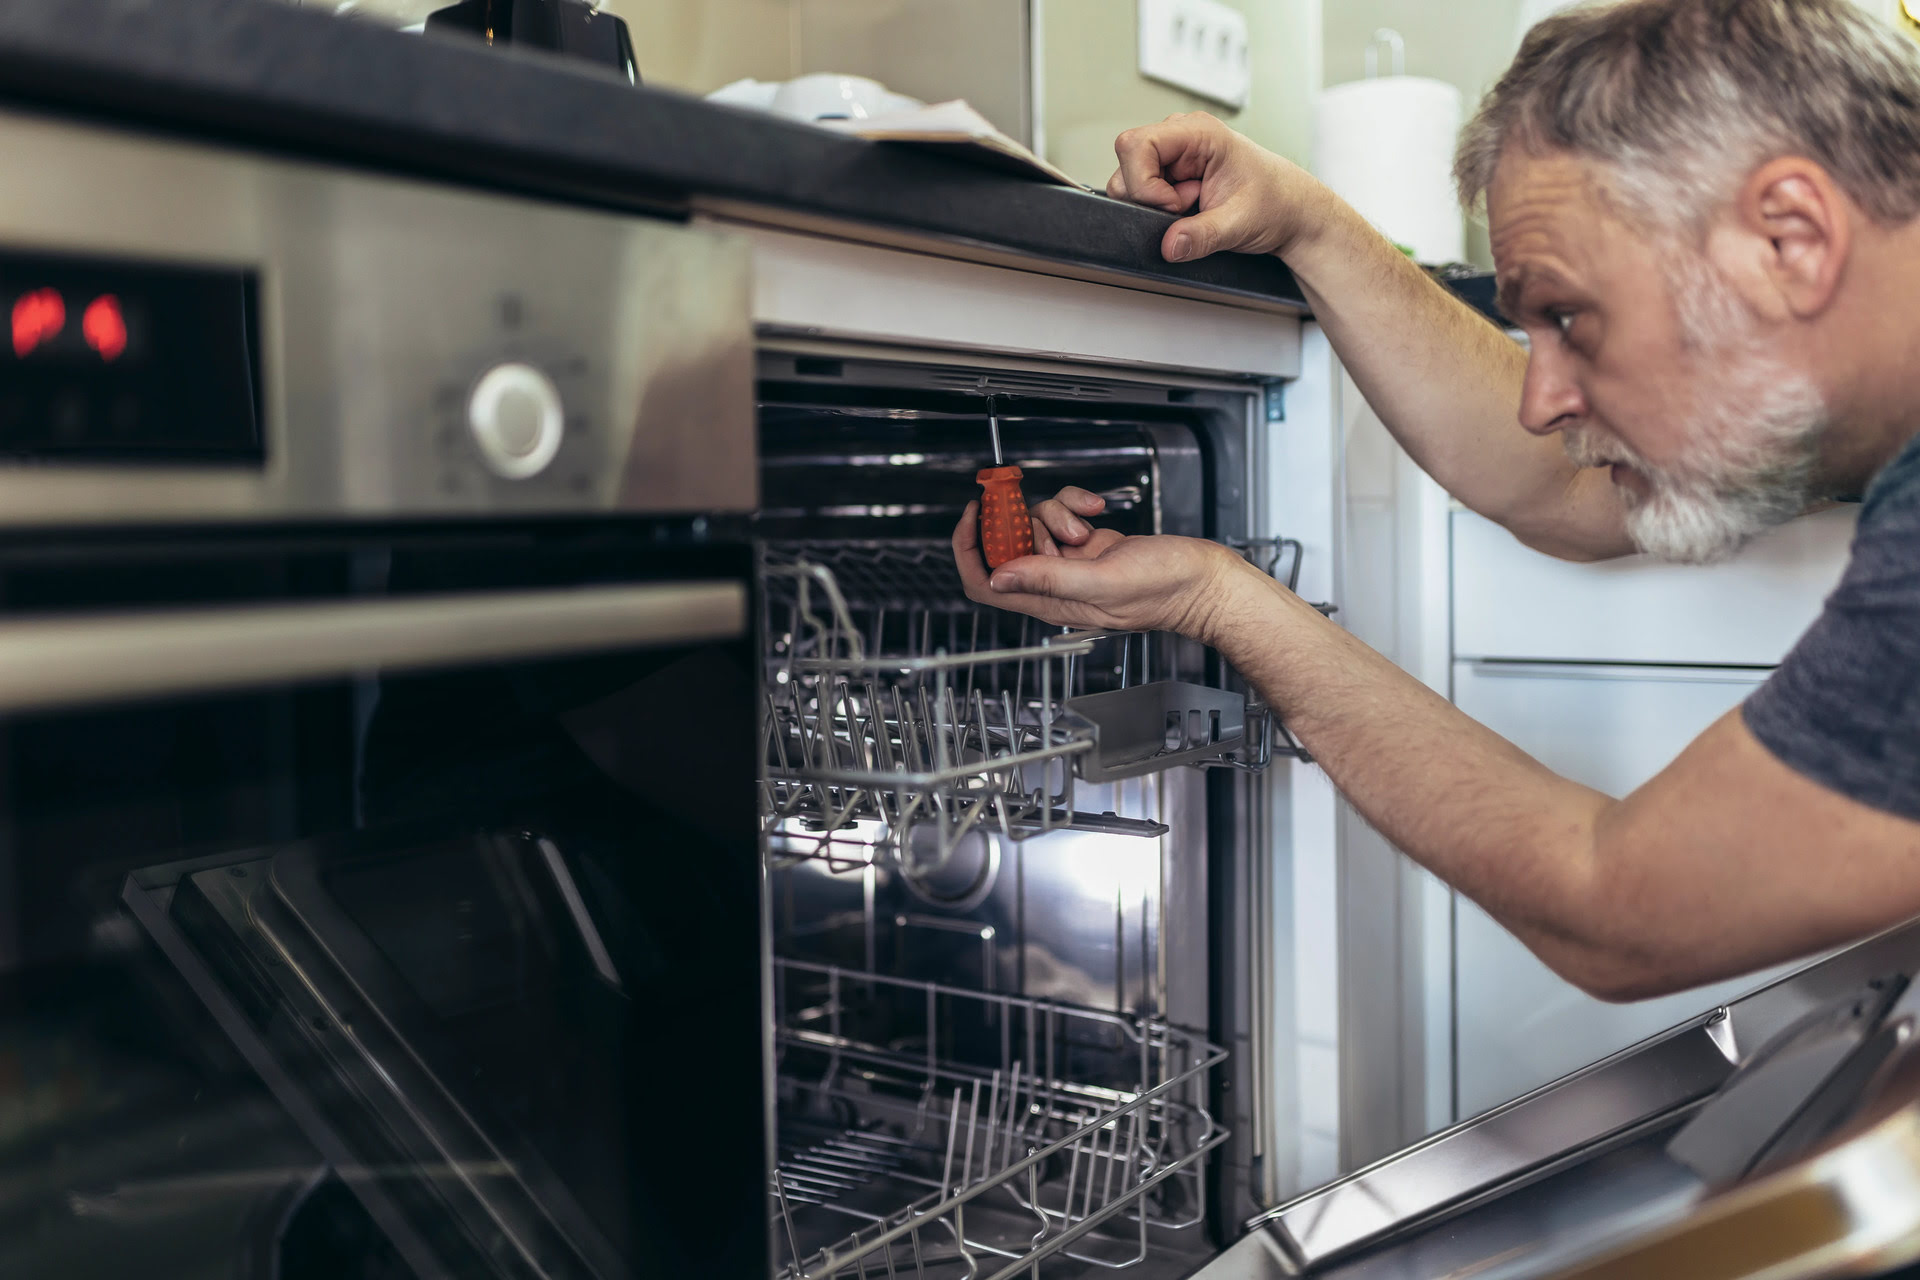
Step 3: Attach the End Panel to the Dishwasher
Now that you have prepared the end panel, it’s time to attach it to the dishwasher. Follow these steps:
- Slide the dishwasher out slightly from its enclosure to create space for the end panel installation.
- Position the end panel against the side of the dishwasher, ensuring it aligns properly with the front of the dishwasher and any adjacent cabinets.
- Use a screwdriver or drill to secure the end panel to the dishwasher. Depending on your dishwasher model, there may be pre-drilled holes or slots specifically designed for this purpose.
- If necessary, enlist the help of another person to hold the end panel in place while you secure it. This will ensure a steady installation and prevent any accidental damage.
- Double-check that the end panel is properly aligned and level with the front of the dishwasher and adjacent cabinets. Adjust as needed before moving on to the next step.
Attaching the end panel to the dishwasher is a critical step in the installation process, as it ensures a secure and stable attachment. Take your time to ensure proper alignment and positioning for a professional-looking finish.
Read more: How To Install End Caps On Countertops
Step 4: Secure the End Panel in Place
After attaching the end panel to the dishwasher, it’s important to secure it in place to ensure long-lasting stability. Follow these steps:
- If necessary, use clamps to hold the end panel tightly against the dishwasher and adjacent cabinets. This will help maintain a snug fit while securing the end panel in place.
- Using either finishing nails or screws, attach the end panel to the dishwasher. Make sure to place the fasteners strategically, ensuring they go through the dishwasher’s side panel and into the end panel securely.
- If using finishing nails, sink the nails slightly below the surface of the end panel using a nail set. This step allows for a seamless finish and prevents any splintering or visible nail heads.
- For a more secure attachment, consider applying wood glue or adhesive between the end panel and the dishwasher’s side panel. This will further strengthen the bond and ensure the end panel remains firmly in place.
Take your time during this step to ensure the end panel is securely fastened to the dishwasher. A secure attachment will prevent any movement or sagging over time, giving you a durable and professional-looking installation.
Step 5: Finishing Touches
With the end panel securely in place, it’s time to add the finishing touches to complete the installation. Follow these steps:
- Inspect the end panel to ensure there are no visible gaps or uneven surfaces. If needed, use wood filler to fill in any gaps or imperfections, then sand it down to achieve a smooth and seamless finish.
- If you haven’t done so already, paint or stain the end panel to match the rest of your kitchen. Apply multiple thin coats for an even and professional finish, allowing each coat to dry completely before applying the next.
- Once the paint or stain has dried, inspect the end panel for any touch-up areas. Use a small brush or roller to touch up any paint or stain that may have worn off during installation.
- Finally, wipe down the end panel to remove any dust or debris. This will ensure a clean and polished appearance.
By paying attention to these finishing touches, you can achieve a seamless and professional look for the end panel installation. Taking the time to address any imperfections and adding the final coats of paint or stain will provide a cohesive and visually appealing integration with your kitchen cabinetry.
Conclusion
Installing an end panel on your dishwasher is a great way to enhance the overall look and functionality of your kitchen. By following the steps outlined in this guide, you can successfully install the end panel and achieve a seamless integration with your cabinetry.
Remember to start by measuring and cutting the end panel accurately, ensuring a proper fit. Take the time to prepare the end panel by applying decorative laminate or veneer, or painting and staining it to match your kitchen’s aesthetic. Then, securely attach the end panel to the dishwasher, making sure it is level and aligned with adjacent cabinets.
To ensure long-lasting stability, be sure to secure the end panel in place using clamps, screws, and wood glue if necessary. Pay attention to the finishing touches, filling any gaps, touching up paint or stain, and giving the end panel a thorough wipe down.
With the installation complete, step back and admire your work. The end panel not only enhances the appearance of your dishwasher but also creates a cohesive look in your kitchen. Now, you can enjoy the seamless integration of your dishwasher with the surrounding cabinetry.
Thank you for following this step-by-step guide. We hope it has been helpful in guiding you through the process of installing an end panel on your dishwasher.
Now that you've mastered installing a dishwasher end panel, why not tackle optimizing your kitchen storage? Our latest guide offers expert advice on arranging kitchen spaces efficiently. With insights from a top designer, you'll learn secrets that transform even the smallest kitchen into a model of efficiency. Don't miss out on these invaluable tips to make every inch count.
Frequently Asked Questions about How To Install Dishwasher End Panel
Was this page helpful?
At Storables.com, we guarantee accurate and reliable information. Our content, validated by Expert Board Contributors, is crafted following stringent Editorial Policies. We're committed to providing you with well-researched, expert-backed insights for all your informational needs.


0 thoughts on “How To Install Dishwasher End Panel”