
Articles
How To Remove Beaters From Hand Mixer
Modified: August 23, 2024
Learn how to remove beaters from a hand mixer in this helpful article. Follow our step-by-step guide to safely detach beaters from your hand mixer.
(Many of the links in this article redirect to a specific reviewed product. Your purchase of these products through affiliate links helps to generate commission for Storables.com, at no extra cost. Learn more)
Introduction
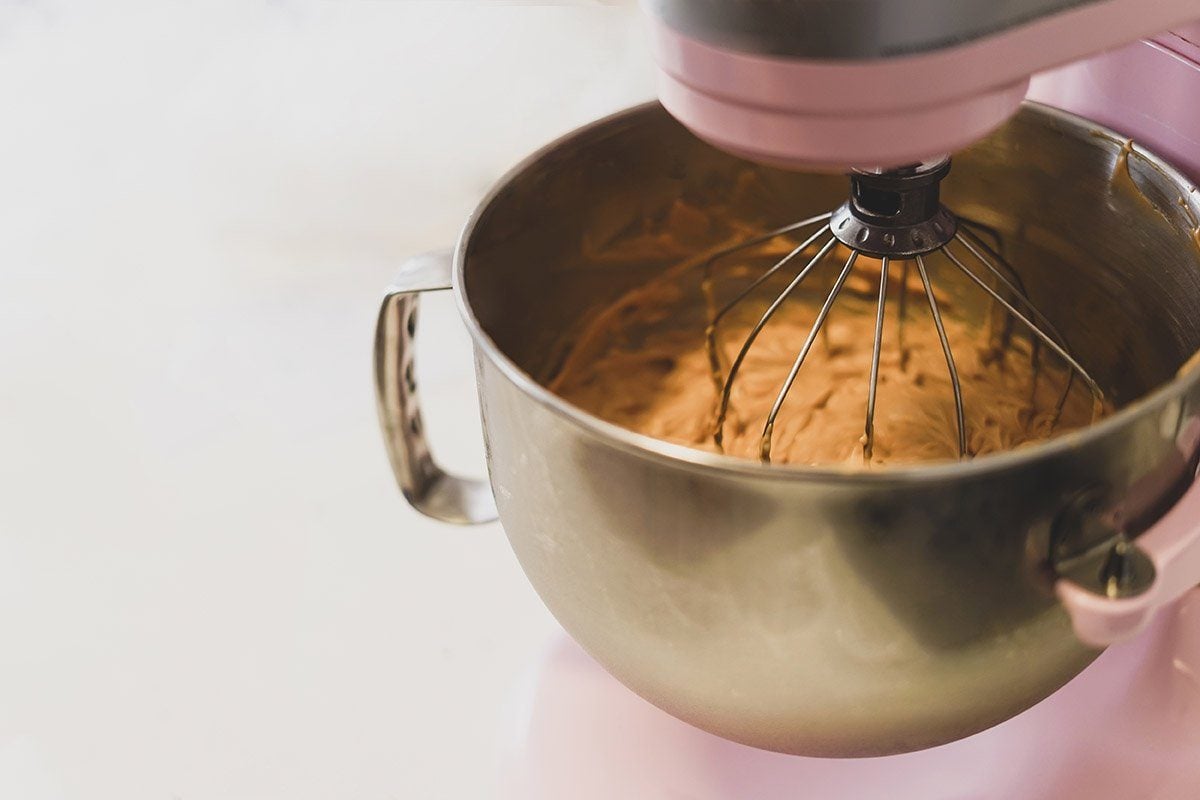
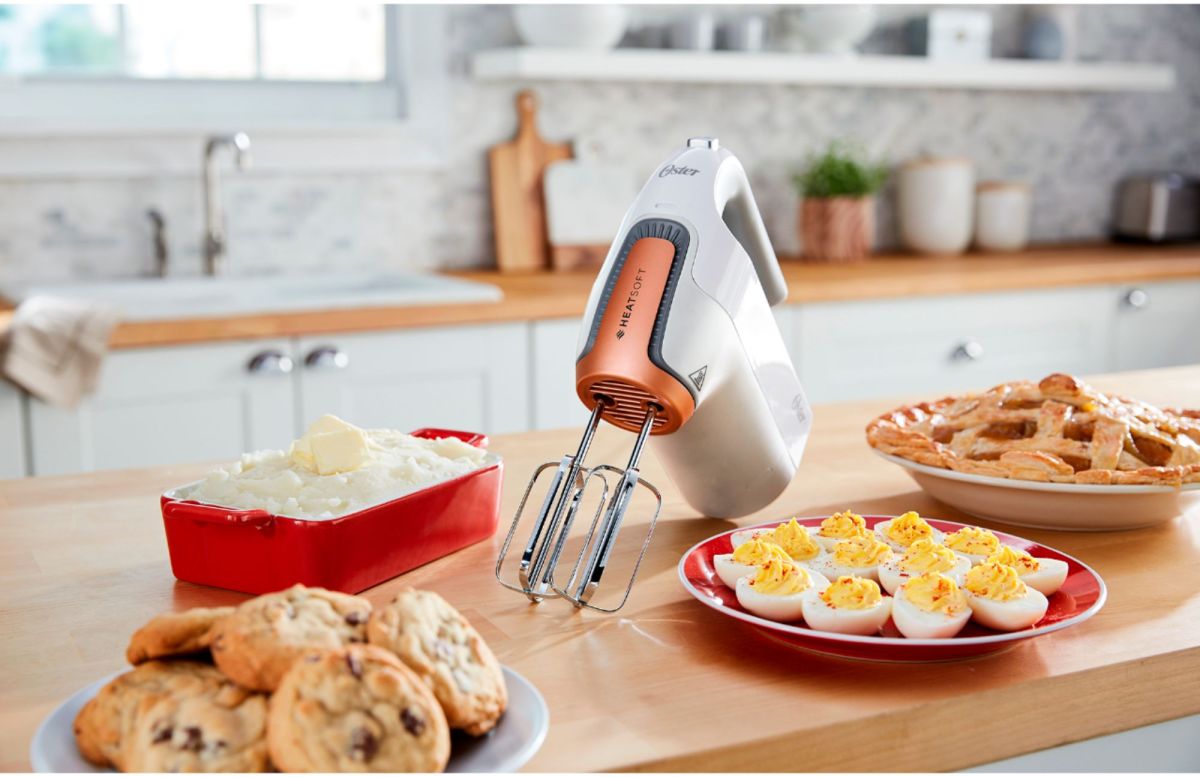
Hand mixers are essential kitchen tools that make our baking and cooking tasks easier and more efficient. Whether you’re whipping up a batch of fluffy pancakes or preparing a creamy frosting for your favorite cake, a hand mixer with removable beaters is a versatile option that allows for easy cleaning and maintenance. In this article, we will guide you through the step-by-step process of removing beaters from a hand mixer.
Gone are the days of struggling with cumbersome appliances and hard-to-clean beaters. With the right knowledge and a few simple steps, you’ll be able to detach the beaters from your hand mixer in no time. Whether you need to clean the beaters after use or replace them with a different attachment, we’ve got you covered.
Before we dive into the details, it’s worth noting that hand mixers may differ in design and assembly, so it’s always a good idea to consult your device’s manual for specific instructions. However, the following steps will provide you with a general guideline that applies to most hand mixer models.
Key Takeaways:
- Easily detach beaters from hand mixer by following simple steps: gather tools, identify attachment mechanism, prepare mixer, remove beaters, and clean thoroughly for optimal performance.
- Regular cleaning and maintenance of beaters ensures longevity and optimal performance of hand mixer. Store beaters properly and inspect for damage to maintain efficiency.
Read more: How To Remove Beater From Kitchenaid Mixer
Step 1: Gathering the necessary tools
Before you begin the process of removing the beaters from your hand mixer, it’s important to gather the necessary tools. Having everything prepared in advance will make the process smoother and more efficient. Here’s what you’ll need:
- Screwdriver (if necessary): Some hand mixer models may have screws securing the beaters in place. In such cases, a screwdriver will be required to loosen and remove the screws.
- Bowl or sink: Place a bowl or sink nearby to catch any excess food or liquid that may drip from the beaters during the removal process.
- Soap and water: It’s important to have soap and water readily available for cleaning the beaters once they are detached.
- Towel or drying rack: After cleaning the beaters, you’ll need a towel or drying rack to let them air dry before reattaching them to the hand mixer.
Once you have gathered these tools, you’re ready to move on to the next step.
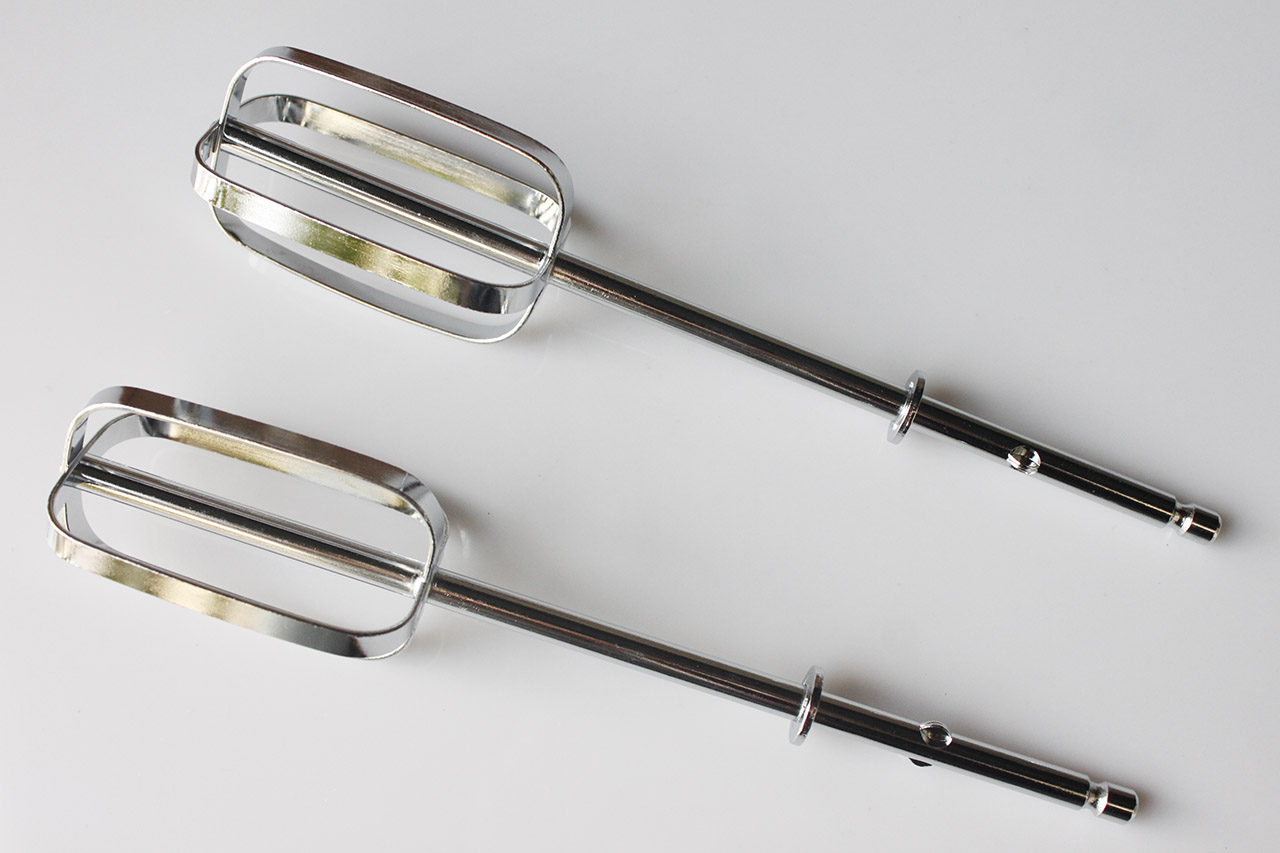
Step 2: Identifying the attachment mechanism
One of the key factors in successfully removing the beaters from a hand mixer is understanding the attachment mechanism. Different hand mixers have varying methods of securing the beaters in place. Here are some common attachment mechanisms you may come across:
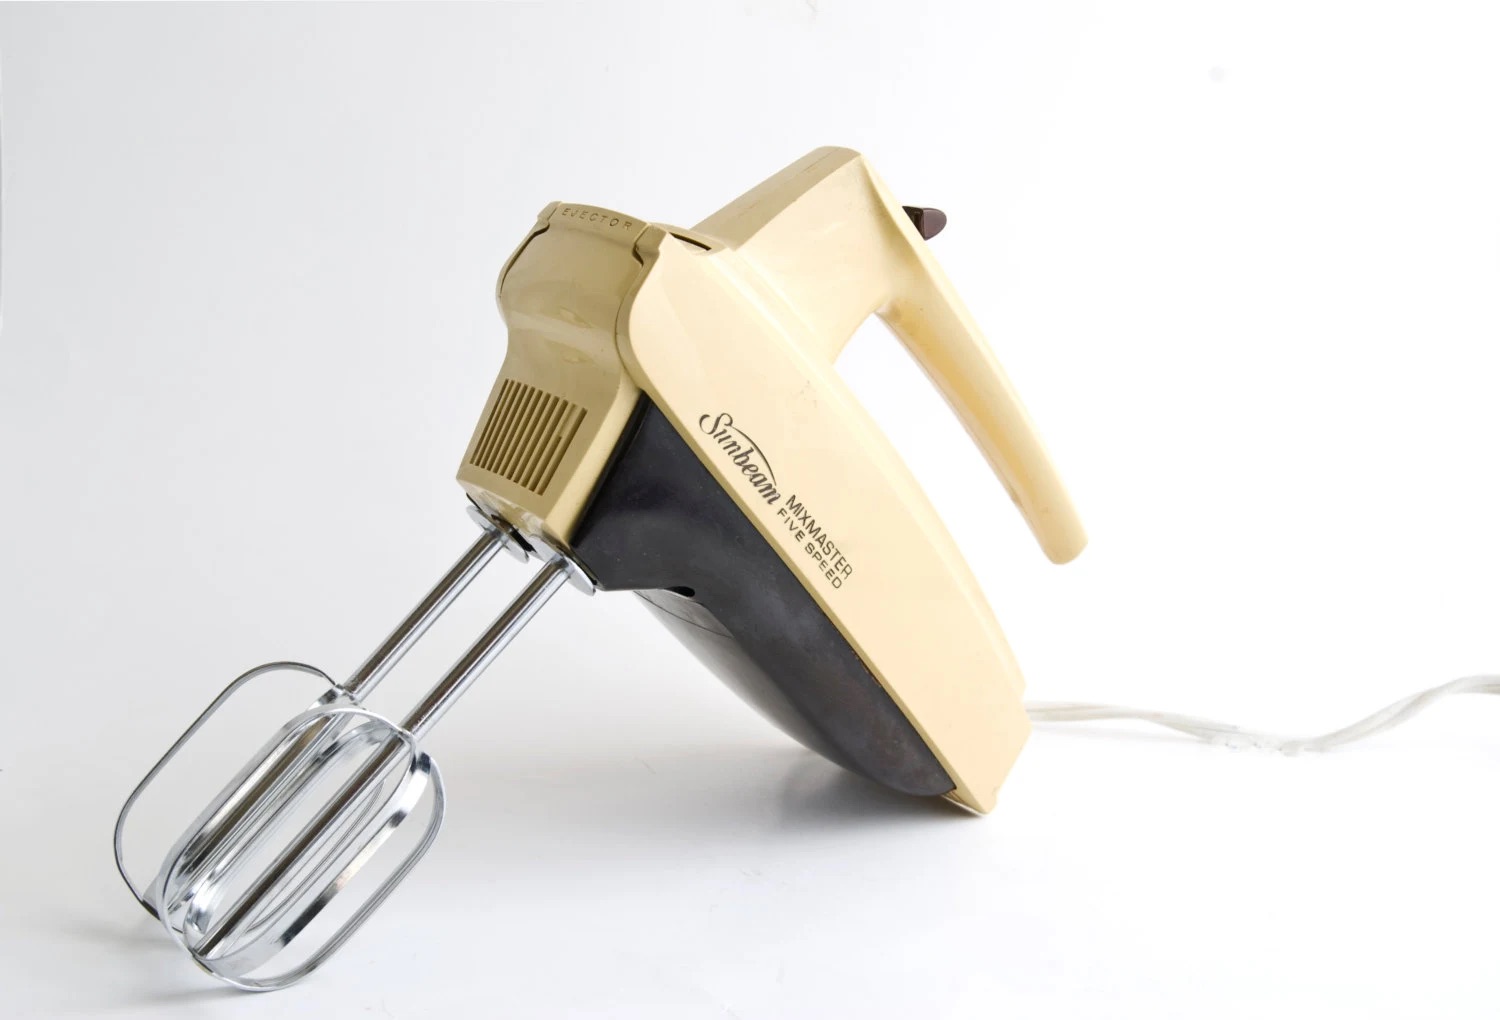
- Twist and release: Many hand mixers have beaters that attach by twisting them into place. Look for a section on the bottom of the handheld unit where the beaters are inserted. Twist the beaters counterclockwise to unlock them from the base.
- Button or release lever: Some hand mixers feature a button or lever that releases the beaters. Look for a small button or lever, usually located near the beaters themselves. Press or slide the button/lever to release the beaters.
- Screwed attachment: In some cases, the beaters may be secured with screws. If this is the case, you will need to use a screwdriver to loosen and remove the screws before detaching the beaters.
- Slide and release: Another attachment mechanism involves sliding the beaters into a slot and then releasing them. Look for a tab or switch that allows you to slide the beaters out of their slots.
Take a close look at your hand mixer and determine the type of attachment mechanism it uses. This will help you better understand how to detach the beaters in the next step.
Step 3: Preparing the hand mixer
Before you can remove the beaters from your hand mixer, it’s important to ensure that the device is in a safe and stable condition. Here’s how to prepare your hand mixer for the removal process:
- Unplug the hand mixer: For safety purposes, always unplug the hand mixer from the power source before attempting to remove the beaters. This will prevent any accidental operation of the mixer during the process.
- Clear the area: Make sure the countertop or surface where you’ll be working is clean and free from any obstacles. This will give you enough space to maneuver the hand mixer without any hindrances.
- Secure the hand mixer: If your hand mixer has a stand or locking mechanism, engage it to provide stability while removing the beaters. This will prevent the hand mixer from tipping over or moving around during the process.
- Inspect the mixer: Take a quick look at the hand mixer to ensure that there are no visible damages or defects. Check the cord, buttons, and any other components to make sure everything is in proper working order.
By following these preparation steps, you’ll create a safe and suitable environment for removing the beaters from your hand mixer. Once you’ve completed these steps, you’re ready to move on to the next step.
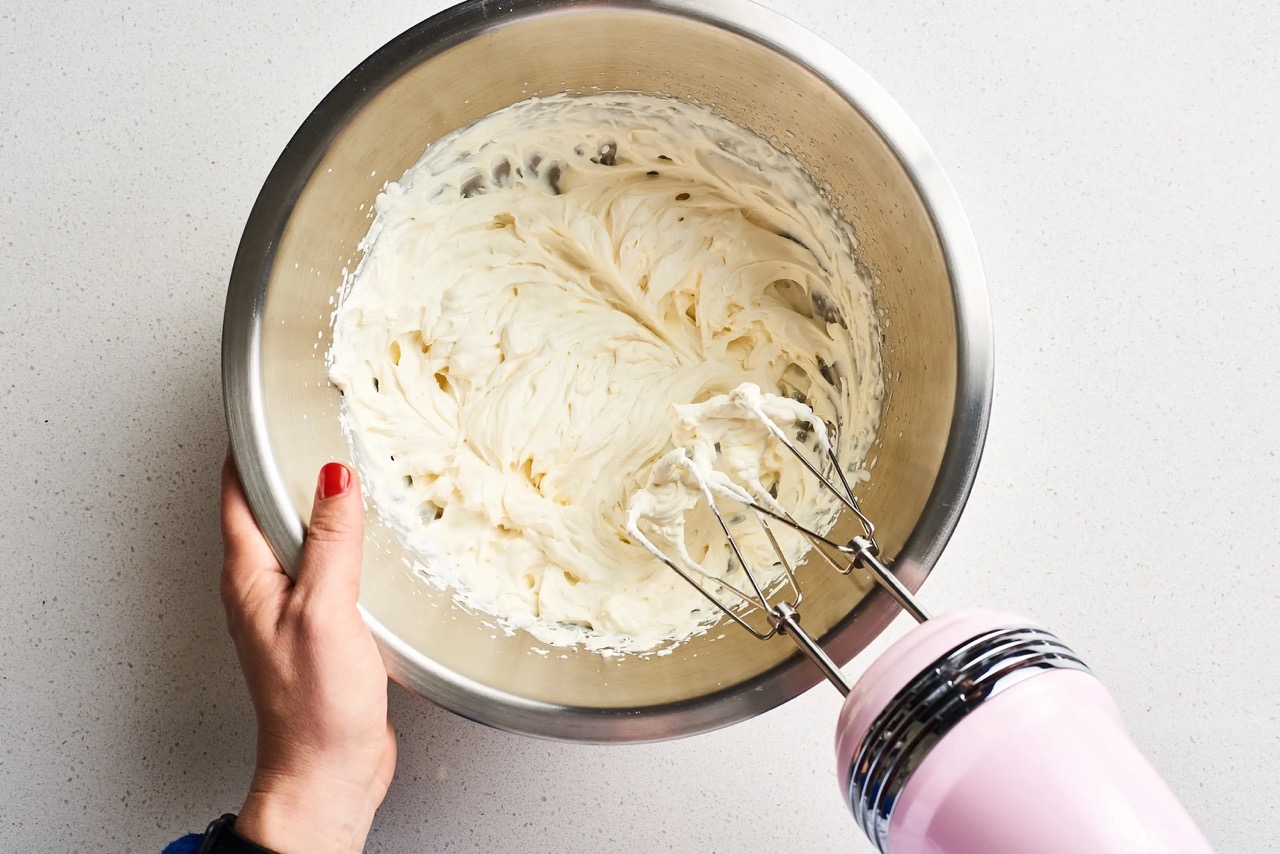
Before removing the beaters from a hand mixer, make sure the appliance is unplugged for safety. Most hand mixers have a button or lever that releases the beaters for easy removal. Press or slide this button/lever to release the beaters and gently pull them out.
Step 4: Removing the beaters
Now that you’ve gathered the necessary tools, identified the attachment mechanism, and prepared your hand mixer, it’s time to remove the beaters. Follow these steps:
- If applicable, remove any screws: If your hand mixer has screws securing the beaters in place, use a screwdriver to carefully loosen and remove them. Set the screws aside in a safe place.
- Engage the release mechanism: Depending on the attachment mechanism of your hand mixer, twist, press, slide, or release the appropriate button or lever to disengage the beaters.
- Gently pull the beaters out: Once the attachment mechanism has been released, gently pull the beaters straight out from the hand mixer. Take care not to force or twist them excessively, as this may damage the beaters or the mixer itself.
- Place beaters in a safe location: Set the removed beaters aside in a secure and clean area to prevent them from getting damaged or lost.
With these simple steps, you can safely remove the beaters from your hand mixer. Now that the beaters are detached, you can proceed to clean them and perform any necessary maintenance or replacement.
Read also: 15 Amazing Beaters For Hand Mixer for 2025
Step 5: Cleaning and maintenance tips
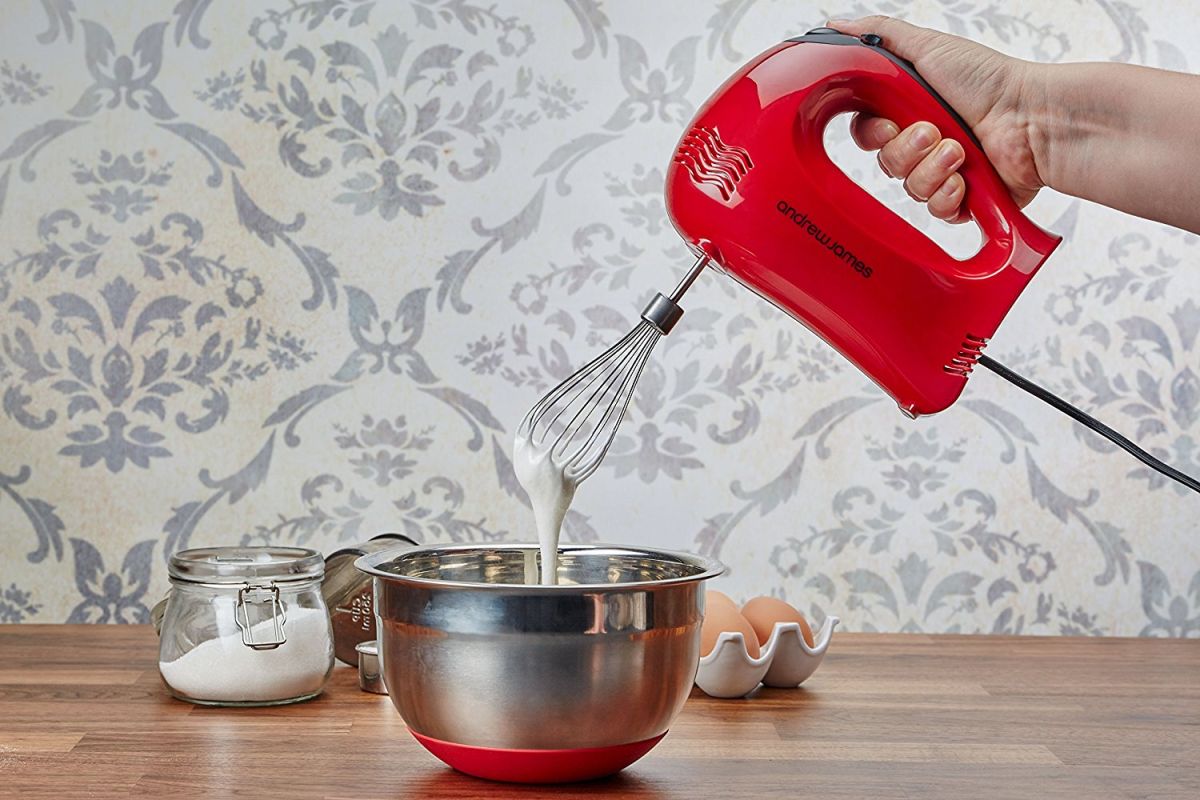
After removing the beaters from your hand mixer, it’s important to properly clean and maintain them for optimal performance and longevity. Here are some cleaning and maintenance tips to keep in mind:
- Hand wash the beaters: Most beaters are not dishwasher safe, so it’s recommended to hand wash them. Use warm soapy water and a sponge or dishcloth to gently clean the beaters, removing any residue or buildup. Rinse them thoroughly and dry them before reattaching them to the hand mixer.
- Clean the attachment area: Once the beaters are removed, take a moment to clean the attachment area on the hand mixer itself. Use a damp cloth or sponge to wipe away any food particles or debris. Make sure the area is dry before reattaching the beaters.
- Inspect for damage: While cleaning the beaters, inspect them for any signs of damage or wear. Check for loose or bent parts and ensure that the beaters are in good working condition. If you notice any significant damage, it may be time to replace the beaters.
- Store the beaters properly: When the beaters are clean and dry, store them in a safe and secure location. Some hand mixers come with storage cases or clips to keep the beaters organized. If not, you can use a zip-top bag or a dedicated container to prevent them from getting lost or damaged.
- Regularly check for maintenance needs: It’s a good practice to periodically inspect your hand mixer for any maintenance needs. Check the cord for any fraying or damage, and make sure the buttons and switches are working properly. If you notice any issues, consult the manual or contact the manufacturer for further assistance.
By following these cleaning and maintenance tips, you’ll ensure that your hand mixer and beaters stay in excellent condition, providing you with reliable performance for all your culinary creations.
Conclusion
Removing beaters from a hand mixer is a simple yet essential skill that every home cook should know. By following the step-by-step process outlined in this article, you can easily detach the beaters for cleaning, maintenance, or replacement.
Starting with gathering the necessary tools, identifying the attachment mechanism, and preparing your hand mixer, you’ll be well-prepared to remove the beaters with confidence. Remember to unplug the hand mixer, clear the area, and inspect the device before proceeding.
Once the beaters are removed, take the time to clean them thoroughly by hand washing with warm soapy water. Don’t forget to clean the attachment area on the hand mixer as well. Additionally, regularly check for any signs of damage and store the beaters properly to ensure their longevity.
By following these steps and incorporating regular cleaning and maintenance practices, you’ll extend the lifespan of your hand mixer and enjoy optimal performance. Remember to consult your device’s manual for any specific instructions that may differ from the general guidelines provided in this article.
With your newfound knowledge of how to remove beaters from a hand mixer, you can confidently tackle your culinary adventures and effortlessly whip up delicious creations in the kitchen.
Frequently Asked Questions about How To Remove Beaters From Hand Mixer
Was this page helpful?
At Storables.com, we guarantee accurate and reliable information. Our content, validated by Expert Board Contributors, is crafted following stringent Editorial Policies. We're committed to providing you with well-researched, expert-backed insights for all your informational needs.


0 thoughts on “How To Remove Beaters From Hand Mixer”