Articles
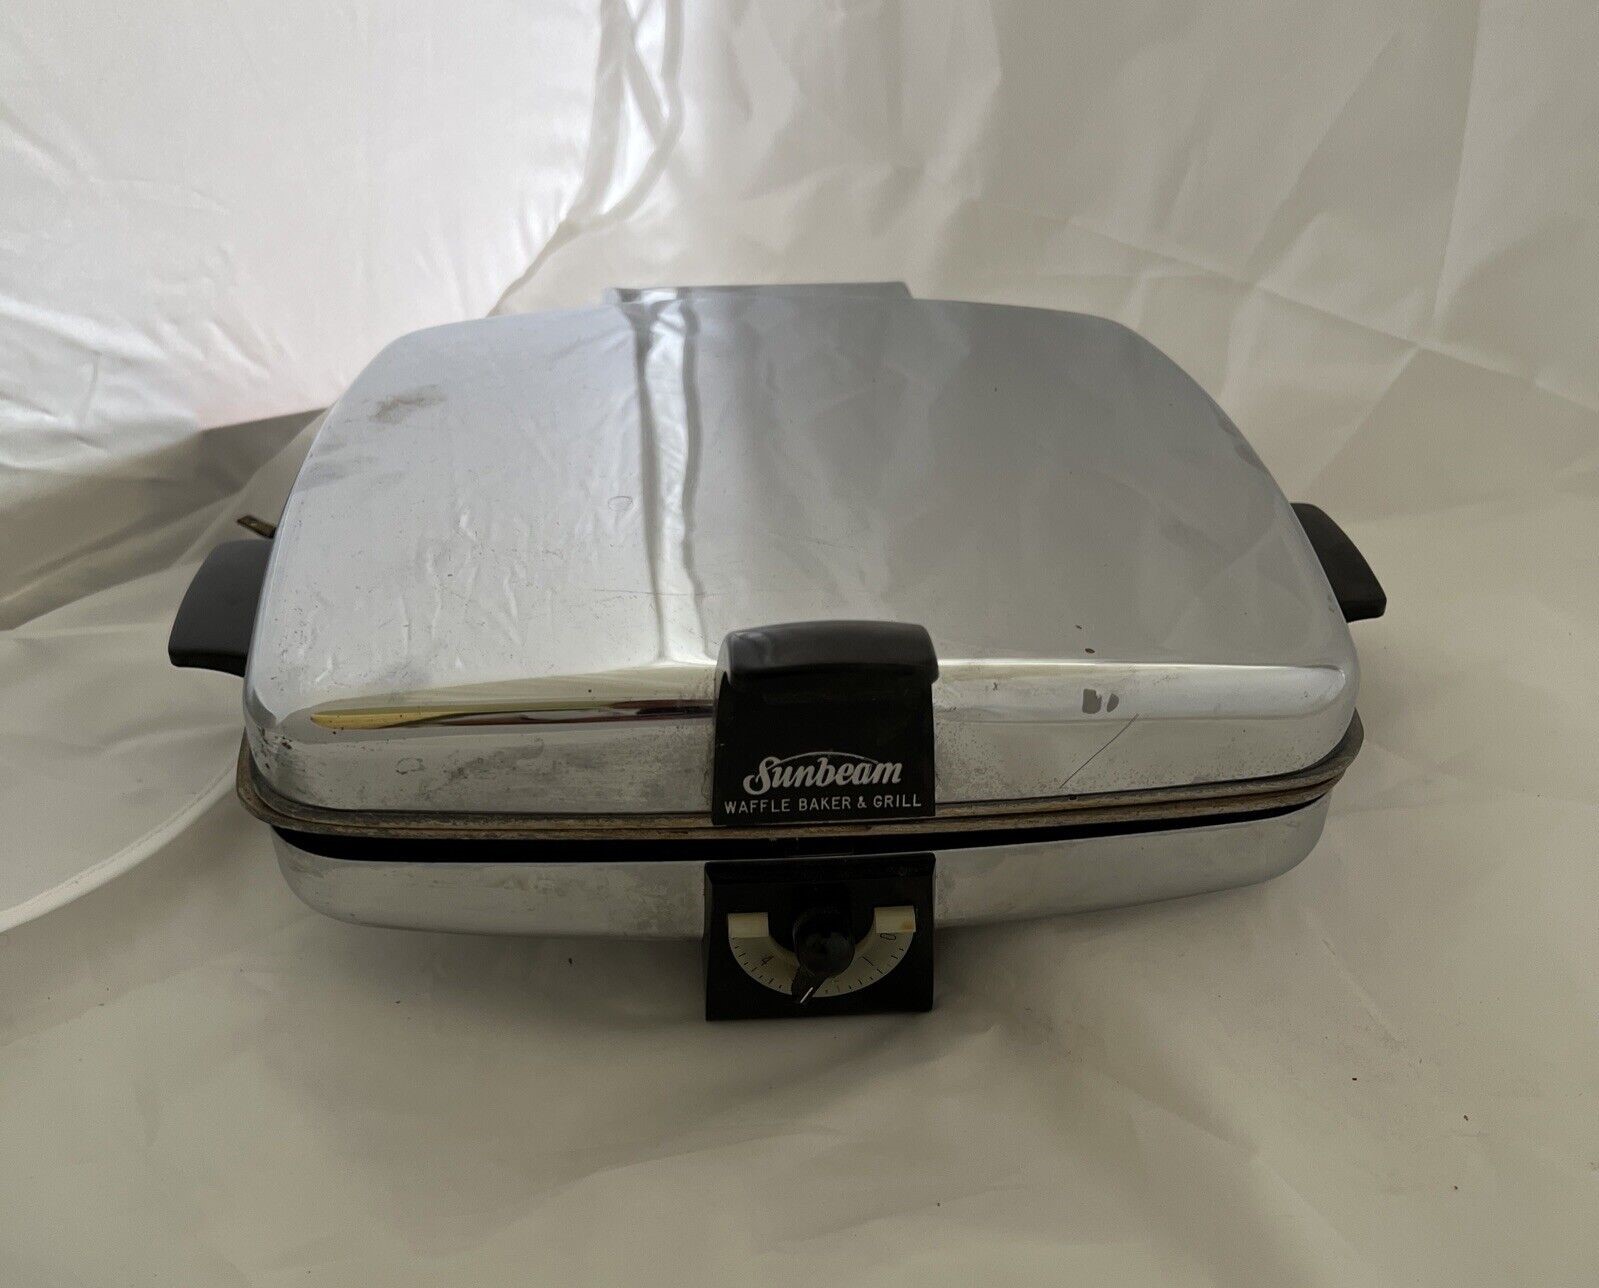
How To Disassemble A Sunbeam Waffle Iron
Modified: August 27, 2024
Learn the step-by-step process of disassembling a Sunbeam waffle iron in this informative article. Easy-to-follow instructions and helpful tips included.
(Many of the links in this article redirect to a specific reviewed product. Your purchase of these products through affiliate links helps to generate commission for Storables.com, at no extra cost. Learn more)
Introduction
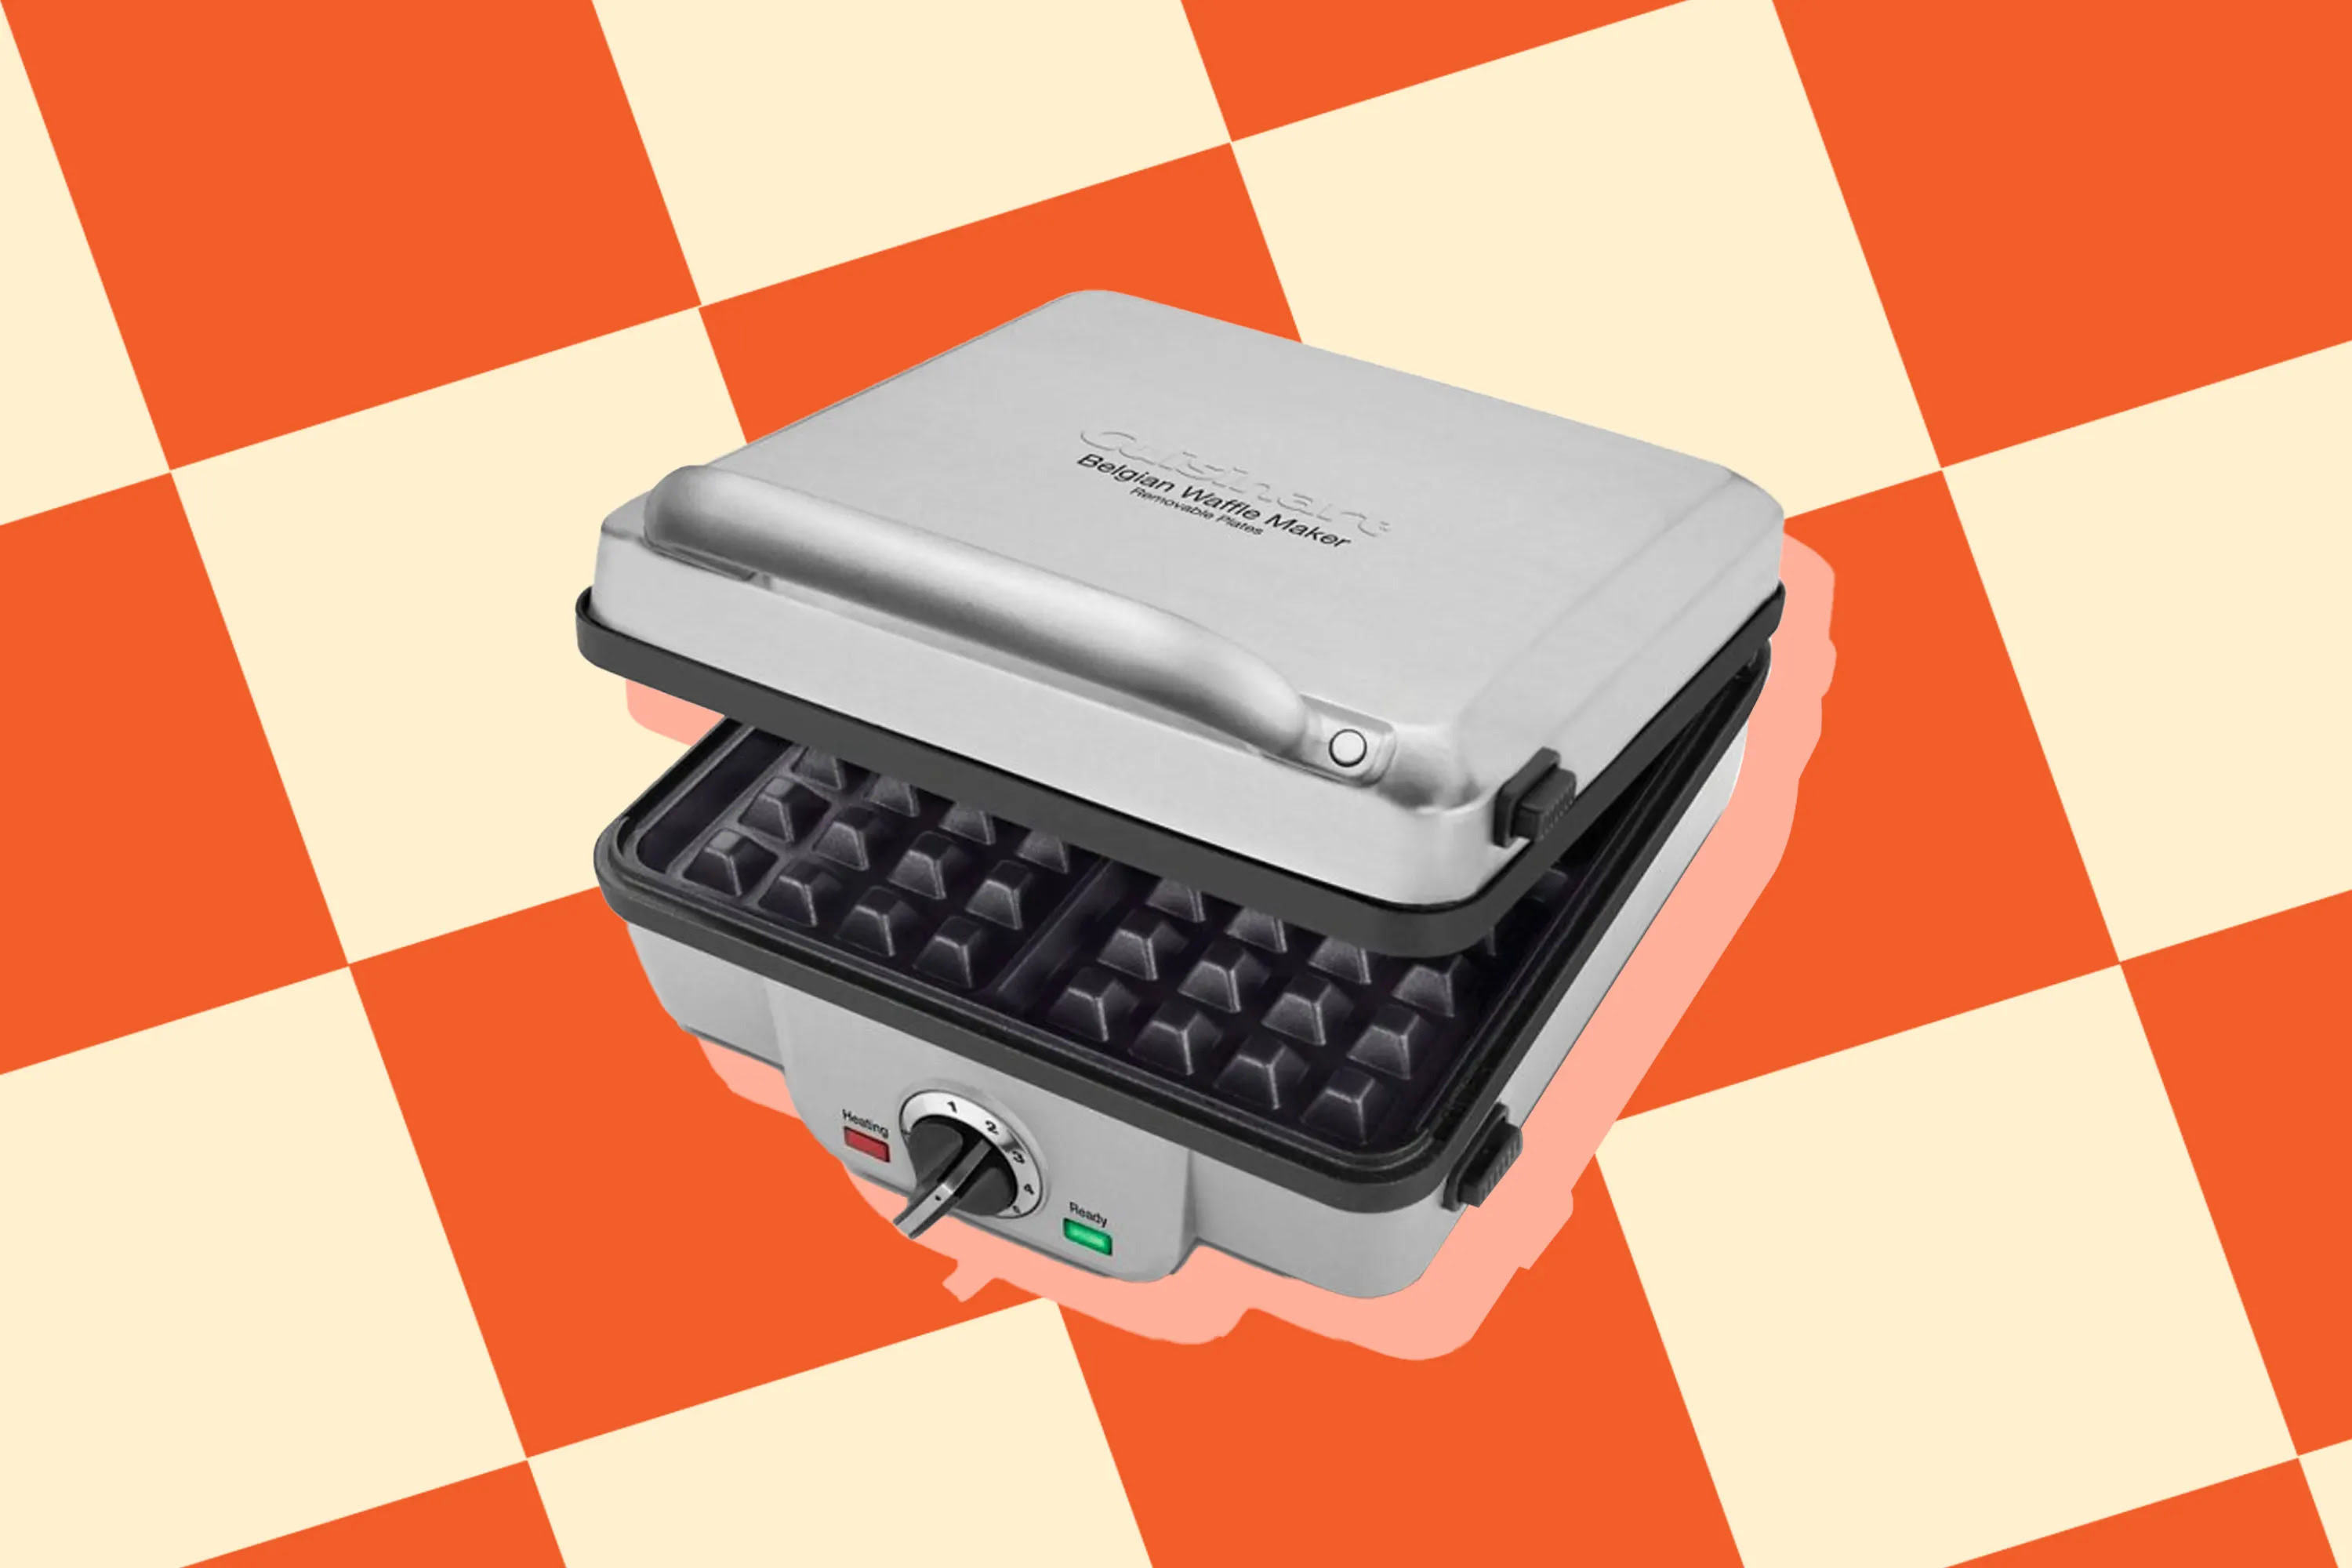
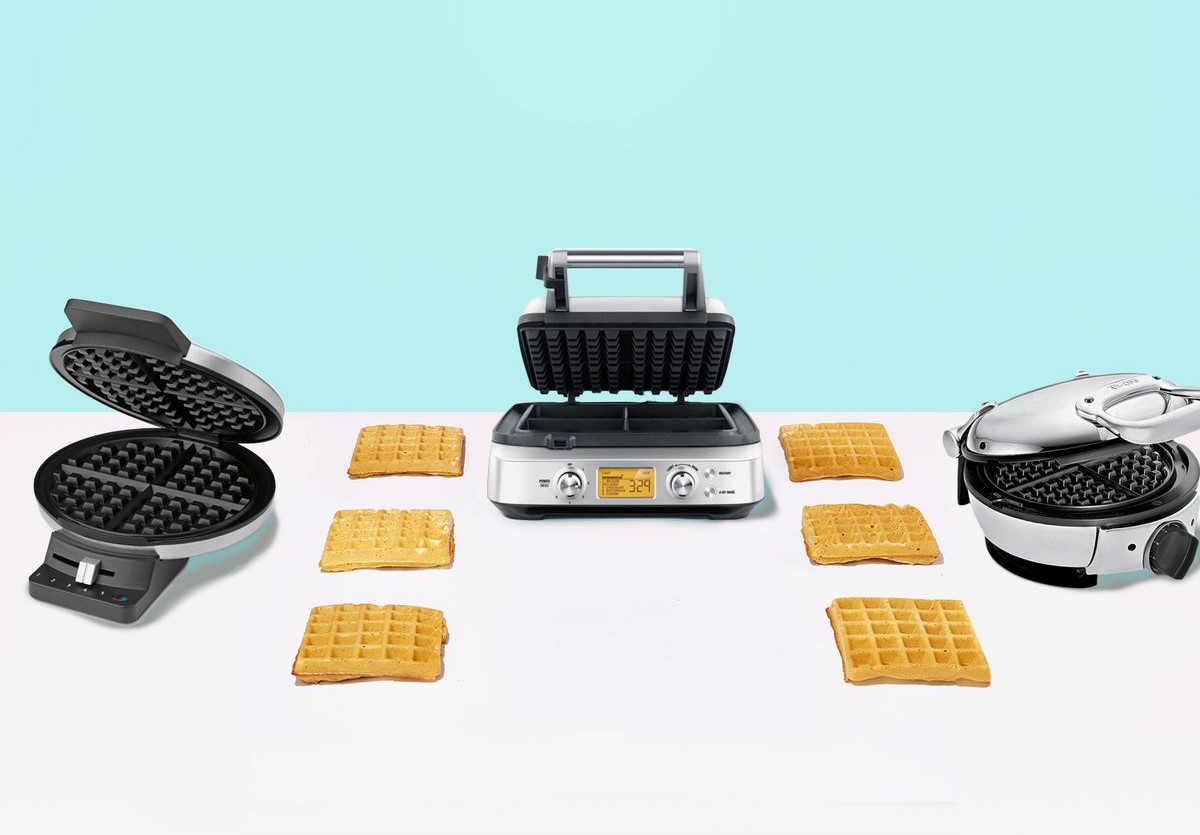
Welcome to this comprehensive guide on how to disassemble a Sunbeam Waffle Iron. Whether you’re a DIY enthusiast or simply looking to clean or repair your waffle iron, this step-by-step tutorial will provide you with the knowledge and guidance you need to effectively disassemble your Sunbeam waffle iron.
Sunbeam waffle irons are popular kitchen appliances that allow you to make delicious crispy waffles right at home. Over time, these appliances may require maintenance or repair due to wear and tear. Disassembling the waffle iron is often necessary for deep cleaning, fixing mechanical issues, or replacing damaged parts. While it may seem like a daunting task, with the right tools and instructions, it can be a straightforward process.
In this article, we will walk you through the disassembly process step by step, providing you with valuable tips along the way. We will cover the necessary tools and materials you’ll need, important safety precautions to take, and provide detailed instructions on how to disassemble the various components of your Sunbeam waffle iron. Additionally, we will discuss how to clean and maintain the disassembled parts and guide you through the reassembly process once you’ve completed the necessary repairs or cleaning.
It’s important to note that disassembling your Sunbeam waffle iron may void any existing warranties or guarantees, so proceed at your own discretion. If your waffle iron is still under warranty or you’re unsure about tackling the disassembly yourself, it’s recommended to reach out to the manufacturer or a qualified professional for assistance.
Now that you have a brief overview, let’s dive into the tools and materials you’ll need for this disassembly project.
Key Takeaways:
- Disassembling and reassembling a Sunbeam Waffle Iron is a manageable task with the right tools and precautions. Proper maintenance not only extends the appliance’s lifespan but also ensures optimal performance for delicious waffles.
- By mastering the disassembly process, you gain valuable skills to maintain other appliances. Regular cleaning and maintenance not only save money in the long run but also contribute to the efficient operation of kitchen appliances.
Tools and Materials Needed
Before you begin disassembling your Sunbeam Waffle Iron, it’s important to gather the necessary tools and materials. Having these items on hand will make the disassembly process much smoother and efficient. Here’s a list of what you’ll need:
- Flathead screwdriver
- Phillips screwdriver
- Needle-nose pliers
- Small adjustable wrench
- Cotton swabs
- Mild soapy water
- Soft cloth
- Brush or toothbrush for cleaning
These tools and materials are readily available in most households or can be easily obtained from a local hardware or kitchen supply store. Having a variety of screwdrivers is essential as different components of the waffle iron may have different types of screws.
The needle-nose pliers will come in handy for gripping and manipulating small parts during disassembly. The small adjustable wrench will be used to loosen or tighten nuts if necessary. Cotton swabs, mild soapy water, and a soft cloth will be used for cleaning the disassembled parts, ensuring they are free from any grease or debris. Lastly, a brush or toothbrush can be used to remove stubborn dirt or build-up.
Now that you’ve gathered your tools and materials, let’s move on to the first step of the disassembly process: taking safety precautions.
Step 1: Gather Safety Precautions
Prior to disassembling your Sunbeam Waffle Iron, it is essential to ensure your safety and the safety of those around you. Following these safety precautions will minimize the risk of accidents and injuries:
- Unplug the waffle iron: Before you begin the disassembly process, ensure that the waffle iron is completely disconnected from any power source. This will prevent any electrical shocks or accidents while working on the appliance.
- Allow the waffle iron to cool: It’s crucial to wait until the waffle iron has cooled down completely before attempting to disassemble it. The heating elements inside the waffle iron can remain hot for a while, so exercise caution to avoid burns.
- Work in a well-lit area: Find a well-lit workspace with enough room to comfortably disassemble and work on the waffle iron. Good lighting will help you see all the components clearly and minimize the chances of accidents or damage.
- Wear protective gloves and eyewear: Although not mandatory, wearing protective gloves and eyewear can provide an added layer of safety during the disassembly process. Gloves can protect your hands from any sharp edges or hot surfaces, while eyewear can shield your eyes from debris or small particles.
- Keep track of screws and parts: As you start disassembling the waffle iron, it’s important to keep track of all the screws and small parts. Consider using a tray or a small container to hold the disassembled components. This will help you keep everything organized and prevent any loss or misplacement of important pieces.
By following these safety precautions, you can ensure a safer disassembly process and minimize the risk of injuries or accidents. Now that you have taken the necessary safety measures, you’re ready to proceed to the next step: unplugging the waffle iron.
Step 2: Unplug the Waffle Iron
Before you can start the disassembly process, it is crucial to unplug the Sunbeam Waffle Iron from the power source. This step is necessary to ensure your safety and prevent any electrical accidents while handling the appliance.
Follow these steps to properly unplug the waffle iron:
- Locate the power cord: Identify the power cord connected to the waffle iron. It is generally located at the back of the appliance.
- Check the power outlet: Ensure that the waffle iron is unplugged from the power outlet. Double-check the outlet to make sure there is no power running to the appliance.
- Inspect the power cord: Examine the power cord for any signs of damage, such as frayed wires or exposed insulation. If you find any damage, it is recommended to replace the power cord before using the waffle iron again.
- Secure the power cord: Once you have unplugged the waffle iron, securely fasten the power cord away from any disassembled parts. This will prevent the cord from accidentally getting tangled or caught during the disassembly process.
By diligently following these steps, you can ensure that the waffle iron is safely disconnected from the power source, minimizing any potential electrical hazards. Now that the waffle iron is unplugged, you can move on to the next step: removing the drip tray.
Step 3: Remove the Drip Tray
The drip tray of the Sunbeam Waffle Iron is designed to catch any excess batter or oil that may drip during the cooking process. Before proceeding with the disassembly, it’s important to remove the drip tray. Here’s how you can do it:
- Locate the drip tray: Identify the drip tray on your waffle iron. Typically, it is located at the bottom of the appliance, below the cooking plates.
- Check for any screws: Some Sunbeam waffle irons may have screws securing the drip tray in place. If you spot any screws, use a screwdriver (most likely a Phillips screwdriver) to remove them carefully. Set the screws aside in a safe place for reassembly later.
- Remove the drip tray: Once any screws are removed, gently slide or lift the drip tray out of its position. Be cautious as it may be connected to the waffle iron by clips or tabs. If there are clips or tabs, carefully disengage them to fully detach the drip tray.
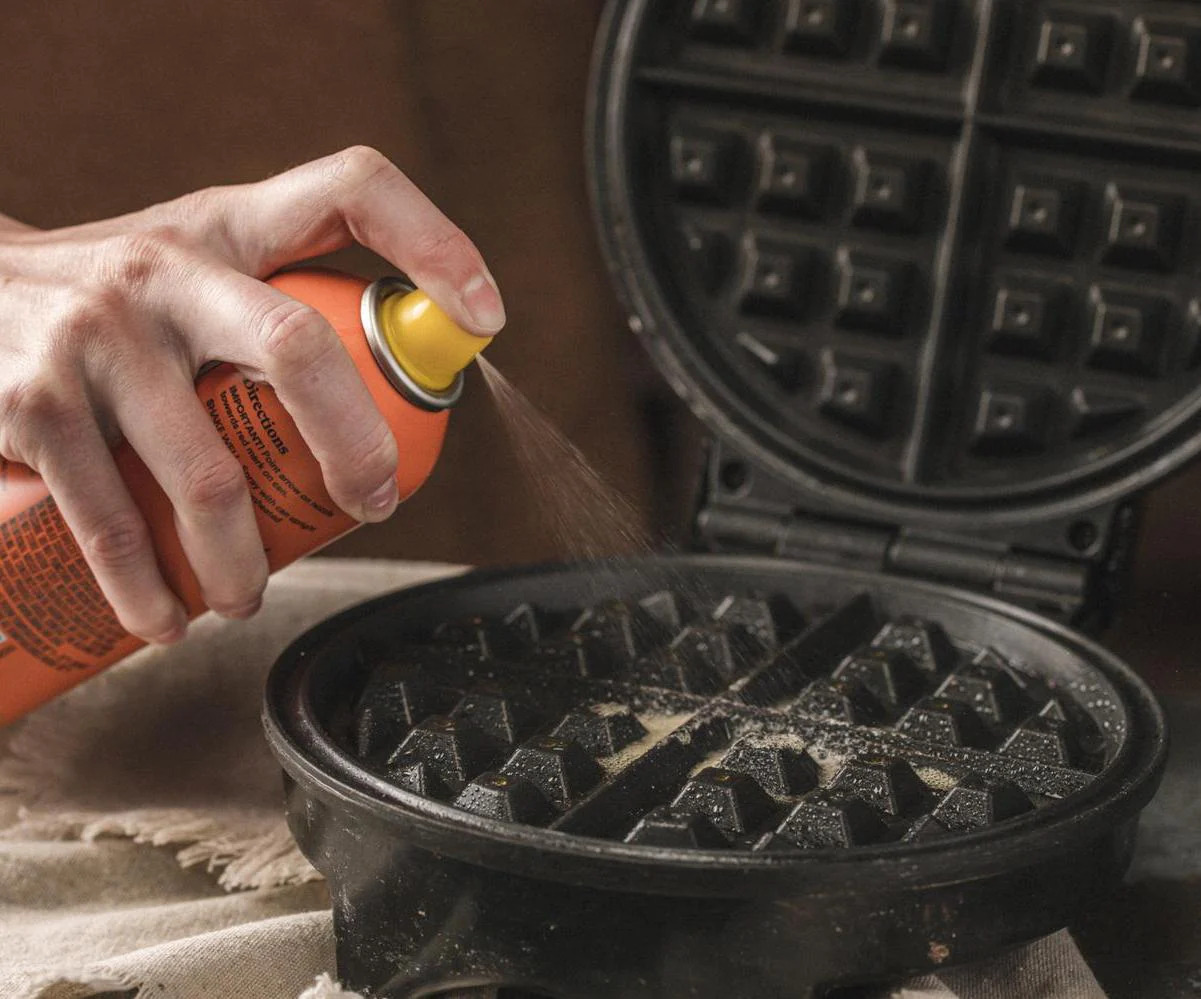
- Clean the drip tray: With the drip tray removed, take the opportunity to clean it thoroughly. Wash it with mild soapy water, using a soft cloth or sponge. Rinse and dry the drip tray before setting it aside for reassembly.
Removing the drip tray is an important step in the disassembly process, as it allows you to have better access to the internal components of the waffle iron. Now that the drip tray has been removed, you can proceed to the next step of detaching the cooking plates.
Read more: How To Use A Cast Iron Waffle Iron
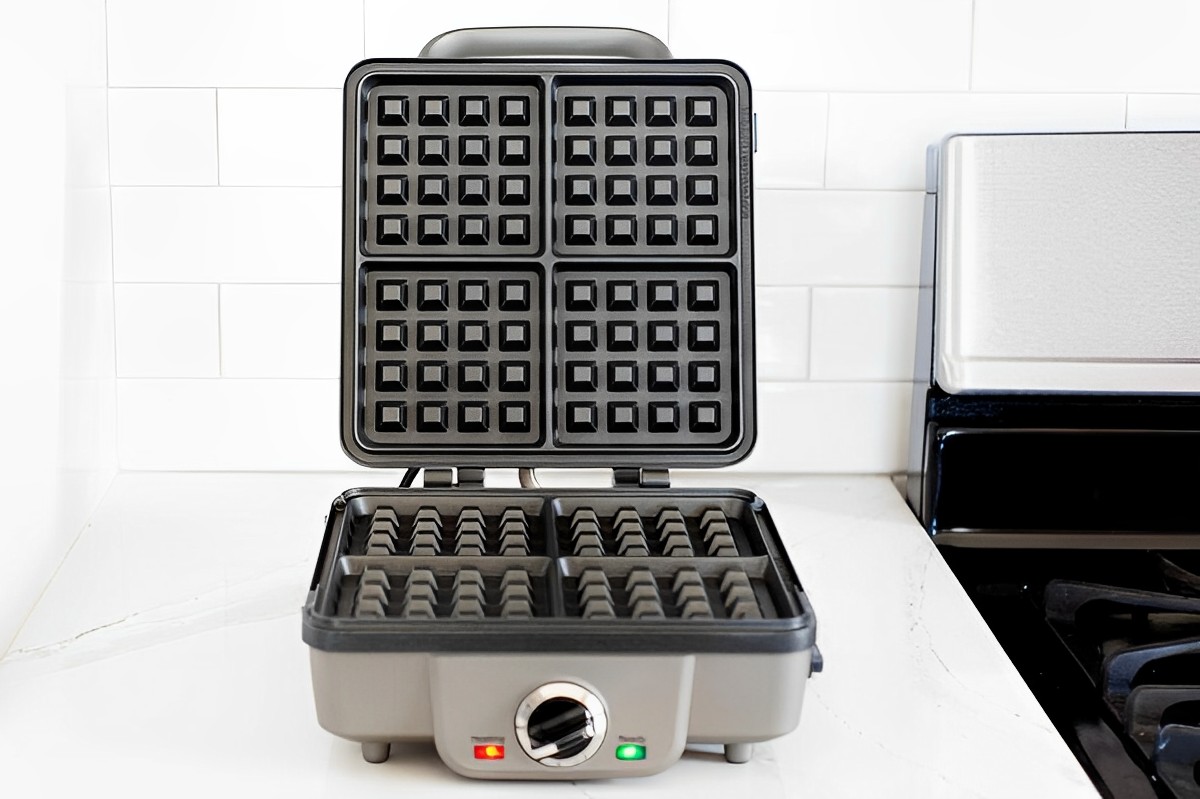
Step 4: Detach the Cooking Plates
The cooking plates of the Sunbeam Waffle Iron are the components that directly come in contact with the batter and heat to create delicious waffles. Before proceeding with the disassembly, you’ll need to detach the cooking plates. Here’s how:
- Check for any latches or clips: Inspect the waffle iron to see if the cooking plates are held in place with latches or clips. These are typically located on either side of the plates.
- Release the latches or clips: Use your fingers or a small flathead screwdriver to carefully release the latches or clips on both sides of the cooking plates. Gently push or pry them open to free the plates from the housing.
- Remove the cooking plates: Once the latches or clips are released, you can now lift or slide the cooking plates out of the waffle iron. Be cautious as the plates may be connected by electrical wires or connectors. If this is the case, carefully disconnect the wires or connectors following the manufacturer’s instructions.
- Clean the cooking plates: With the cooking plates detached, it’s a good time to clean them thoroughly. You can wash them with mild soapy water, using a soft cloth or sponge. For any stubborn stains or residue, you can use a brush or toothbrush to gently scrub the plates. Rinse and dry them completely before setting them aside for reassembly.
Detaching the cooking plates allows you to access other internal components and clean them more effectively. Now that the cooking plates are removed, you can proceed to the next step: unscrewing the housing.
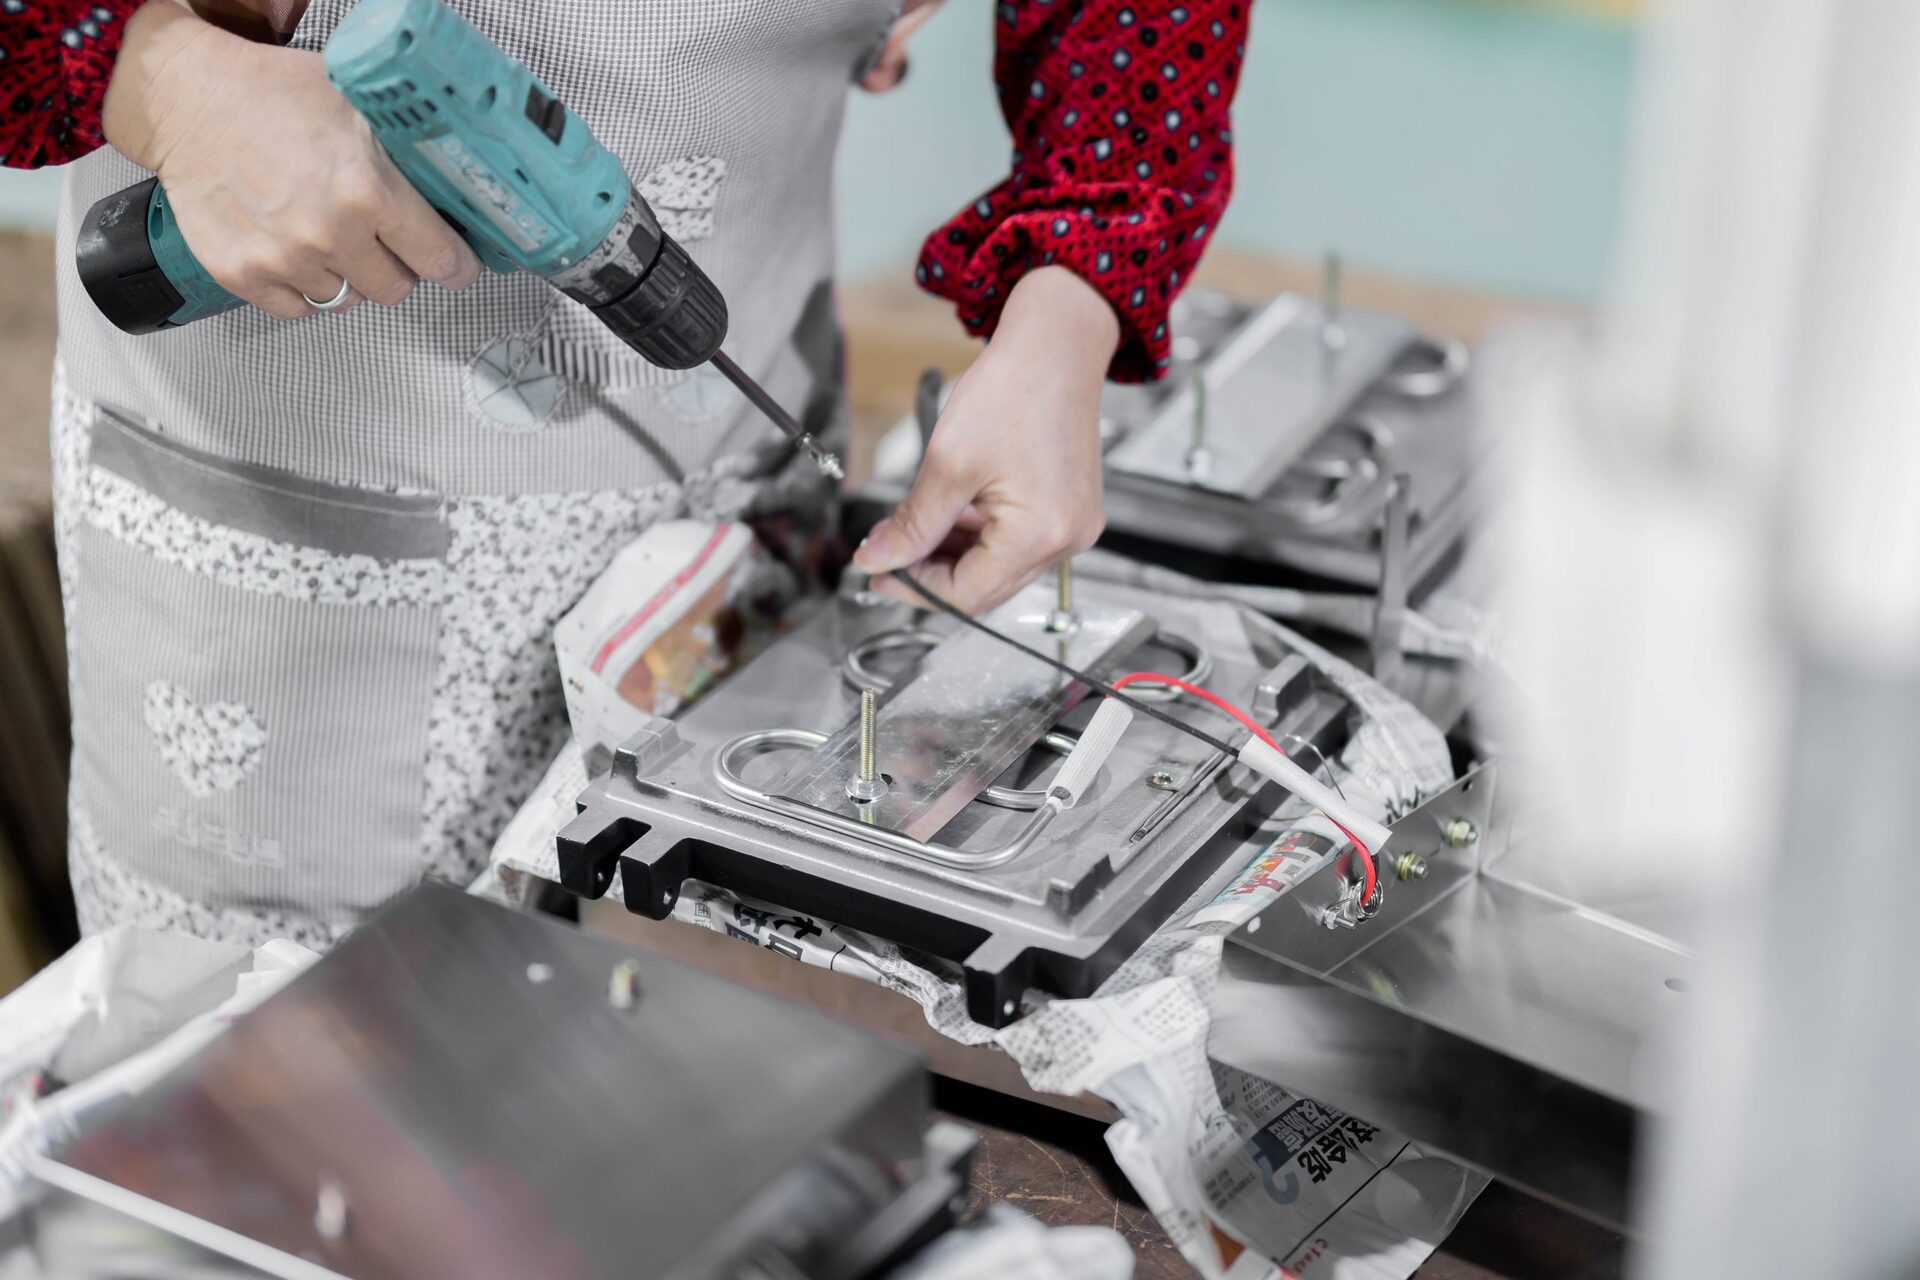
Step 5: Unscrew the Housing
The housing of the Sunbeam Waffle Iron is the outer shell that houses the internal components of the appliance. To gain access to these components, you’ll need to unscrew the housing. Follow these steps to do so:
- Inspect the housing: Take a close look at the housing of your waffle iron. You may find screws or fasteners securing the housing together. These are usually located on the sides or bottom of the appliance.
- Identify the screws: Once you’ve located the screws, use a screwdriver that matches the screw heads to begin unscrewing them. Most Sunbeam waffle irons use Phillips screws, but it’s always a good idea to confirm before proceeding.
- Remove the screws: Turn the screwdriver counterclockwise to loosen and remove each screw. Set the screws aside in a safe place for reassembly later.
- Separate the housing: Once all the screws are removed, carefully separate the housing using your hands or a thin, flat object such as a putty knife or plastic pry tool. Be gentle to avoid damaging any internal components.
- Access the internal components: With the housing removed, you will now have access to the internal components of the waffle iron. Take this opportunity to inspect and clean the components, paying particular attention to any areas with accumulated dirt or debris.
Unscrewing the housing allows you to reach the internal parts of the waffle iron for cleaning, maintenance, or repair purposes. Once you’re done with this step, you can move on to the next step: separating the handle from the base.
Before disassembling a Sunbeam waffle iron, make sure it is unplugged and completely cooled down to avoid any risk of burns or electric shock.
Step 6: Separate the Handle from the Base
The handle of the Sunbeam Waffle Iron is the part that you grip and use to open and close the appliance. To fully disassemble the waffle iron, you’ll need to separate the handle from the base. Follow these steps to do so:
- Inspect the handle: Examine the handle of your waffle iron to determine how it is attached to the base. Look for any screws, bolts, or clips that are keeping the handle in place.
- Unscrew or unfasten any screws or bolts: If there are screws or bolts securing the handle, use the appropriate screwdriver or wrench to loosen and remove them. Set the screws or bolts aside in a safe place.
- Release any clips or latches: If the handle is held in place by clips or latches, carefully manipulate them to disengage and release the handle from the base. You may need to use a small flathead screwdriver or your fingers to accomplish this.
- Separate the handle from the base: Once any screws, bolts, clips, or latches are disengaged, you can now separate the handle from the base. Gently lift or slide the handle away from the base, ensuring that you don’t force or damage any of the components.
- Set aside the handle: Place the detached handle in a safe and clean area where it will not get damaged. You can cover it with a cloth or place it in a protective container if desired.
Separating the handle from the base allows for easier access to the internal components and facilitates cleaning and repair if necessary. With the handle removed, we can now move on to disassembling the temperature control knob in the next step.
Step 7: Disassemble the Temperature Control Knob
The temperature control knob of the Sunbeam Waffle Iron is responsible for adjusting and regulating the heat settings during the cooking process. To fully disassemble the waffle iron, the temperature control knob needs to be taken apart. Follow these steps to disassemble the temperature control knob:
- Examine the temperature control knob: Take a closer look at the temperature control knob to determine how it is attached to the waffle iron. Look for any screws, clips, or other fasteners that may be holding it in place.
- Locate and remove any screws: If there are screws securing the temperature control knob, use the appropriate screwdriver to unscrew and remove them. Keep the screws in a safe place for reassembly later.
- Release any clips or latches: If the knob is held in place by clips or latches, gently manipulate them to release the knob. You may need to use your fingers or a small flathead screwdriver to accomplish this. Take care not to damage any of the components.
- Withdraw the knob from the waffle iron: Once any fasteners are removed or disengaged, you should be able to withdraw the temperature control knob from the waffle iron. Carefully pull it away from the housing, ensuring that you do not apply too much force or cause any damage to the knob or surrounding parts.
- Set aside the temperature control knob: Place the disassembled temperature control knob in a safe and clean area where it will not get misplaced or damaged. You can cover it with a cloth or set it aside in a container to keep it protected during the remainder of the disassembly process.
Disassembling the temperature control knob allows for a deeper cleaning and provides access to any internal components connected to it, such as the thermostat. With the knob now taken apart, we can proceed to the next step: removing the electrical wiring.
Read more: How To Make Waffle In A Waffle Iron
Step 8: Remove the Electrical Wiring
The electrical wiring of the Sunbeam Waffle Iron connects the various components and allows the appliance to function properly. To fully disassemble the waffle iron, the electrical wiring needs to be removed. Follow these steps to safely remove the electrical wiring:
- Ensure the waffle iron is unplugged: Before handling any electrical components, make sure the waffle iron is completely unplugged from the power source. This will prevent any potential electrical shocks or accidents.
- Identify the electrical connections: Take a close look at the internal components of the waffle iron to locate the electrical wiring. Look for any connectors, terminals, or soldered connections linking the different parts.
- Disconnect the connectors: If there are connectors, gently detach them by carefully pulling them apart. Avoid using excessive force to prevent damage to the connectors or wires. Note the orientation and position of the connectors for proper reassembly.
- Remove any screws or clips: In some cases, the electrical wiring may be secured in place with screws or clips. Unscrew the screws or unfasten the clips to free the wiring. Keep the screws or clips in a safe place for reassembly later.
- Cut and remove any soldered connections (if necessary): If the electrical wiring is soldered to any components, such as the heating elements or switches, you may need to desolder the connections. Use a soldering iron and desoldering braid or pump to safely remove the solder. Take caution to avoid burning yourself or damaging any nearby components.
- Set aside the disconnected wiring: Once the electrical wiring is removed, carefully set it aside in a safe and organized manner. You can coil it up or tape it together to keep it neat and prevent tangles.
Removing the electrical wiring allows for a more thorough cleaning and inspection of the individual components. It’s important to handle the wiring with care and follow proper safety procedures. With the electrical wiring removed, we can now move on to the next step: cleaning and maintaining the disassembled parts.
Step 9: Clean and Maintain the Parts
Now that you have disassembled the various components of your Sunbeam Waffle Iron, it’s essential to clean and maintain them before proceeding with reassembly. Proper cleaning and maintenance will ensure that the waffle iron operates smoothly and prolong its lifespan. Follow these steps to clean and maintain the disassembled parts:
- Prepare a cleaning solution: Fill a basin or sink with warm water and add a mild dish soap. Mix the soap into the water to create a gentle cleaning solution.
- Submerge the parts: Place the disassembled parts, such as the cooking plates, drip tray, and housing components, into the cleaning solution. Allow them to soak for a few minutes to loosen any stuck-on batter or grease.
- Scrub and rinse: Using a soft cloth or sponge, gently scrub the parts to remove any residue or debris. Pay attention to hard-to-reach areas and corners, ensuring proper cleaning. Rinse each part thoroughly with clean water to remove any soapy residue.
- Dry the parts: Once cleaned, use a soft cloth or towel to dry each part completely. Ensure that no moisture remains, as this can lead to rust or damage to the components.
- Inspect for damage: While cleaning, take the opportunity to inspect each part for any signs of damage or wear. Look for cracks, dents, or any other issues that may require repair or replacement. If you notice any significant damage, it’s advisable to consult the manufacturer or seek professional assistance.
- Maintain the electrical components: For the electrical components, such as the wiring or temperature control knob, use a soft brush or compressed air to remove any dust or debris. Avoid using water or cleaning solutions on these parts to prevent damage to the electrical connections.
- Store the disassembled parts: Keep the cleaned and dried parts in a clean and safe location until you are ready to begin reassembly. Ensure that they are protected from dust, moisture, and any potential damage.
By following these steps, you can effectively clean and maintain the disassembled parts of your Sunbeam Waffle Iron. Proper maintenance will not only improve the performance of the appliance but also extend its lifespan. Now that the parts are clean and well-maintained, we can proceed to the final step: reassembling the waffle iron.
Step 10: Reassemble the Waffle Iron
Now that you have thoroughly cleaned and maintained the disassembled parts of your Sunbeam Waffle Iron, it’s time to reassemble the appliance. Follow these steps to ensure a successful reassembly:
- Gather all the components: Gather all the cleaned and dried parts of the waffle iron, including the cooking plates, drip tray, housing components, handle, temperature control knob, and electrical wiring.
- Refer to the manufacturer’s instructions: If available, consult the manual or any specific instructions provided by the manufacturer for guidance on the correct order and placement of the components.
- Start with the base: Begin by placing the base of the waffle iron on a clean, stable surface. Make sure it sits flat and securely.
- Reattach the electrical wiring: If you removed any electrical wiring, connectors, or soldered connections, carefully reconnect them following the correct orientation and position. Ensure a secure connection but avoid applying excessive force that could damage the wires or components.
- Position and secure the housing: Place the housing over the base, aligning any screw holes or clips. If there are screws, insert them and tighten them using the appropriate screwdriver. If there are clips, snap them into place to secure the housing.
- Attach the handle: Position the handle in its designated spot on the base, aligning any screw holes or clips. If there are screws, insert them and tighten them accordingly. If there are clips, engage them to securely attach the handle to the base.
- Install the temperature control knob: Place the temperature control knob back onto its designated position on the waffle iron housing. If there were screws or fasteners, insert them and tighten them as needed.
- Reinstall the cooking plates: Carefully slide or place the cooking plates back into their designated slots or connectors. Ensure that they are properly aligned and seated in place.
- Secure any screws or fasteners: If there are any remaining screws or fasteners, double-check to ensure they are tightened properly. This will ensure that all the components are securely in place.
- Plug in and test the waffle iron: Once all the components are reassembled, plug in the waffle iron and turn it on to test its functionality. Make sure it heats up properly and functions as expected.
With these steps, you can successfully reassemble your Sunbeam Waffle Iron. Remember to follow any specific instructions provided by the manufacturer and exercise caution to avoid any damage during the reassembly process. Now, you can enjoy using your freshly cleaned and maintained waffle iron to make delicious waffles once again!
Remember that if you encounter any difficulties during the reassembly process or are unsure about any step, it’s always best to consult the manufacturer’s instructions or seek professional assistance.
Conclusion
Congratulations! You have successfully learned how to disassemble and reassemble your Sunbeam Waffle Iron. By following the step-by-step instructions and taking proper safety precautions, you were able to clean, maintain, and repair your appliance effectively. This newfound knowledge empowers you to tackle necessary maintenance tasks, prolonging the lifespan of your waffle iron and ensuring its optimal performance.
Disassembling the waffle iron allowed you to access and clean hard-to-reach areas, such as the cooking plates, temperature control knob, and housing. By removing dirt, debris, and grease, you’ve not only improved the overall cleanliness of your waffle iron but also maintained its functionality.
Throughout the process, it is important to remember to handle the components with care, follow the manufacturer’s instructions, and take proper safety measures. Always unplug the waffle iron and allow it to cool before starting the disassembly. Take note of the different screws, clips, and connectors used to reassemble the appliance, and ensure they are properly secured to avoid any potential issues.
Additionally, regular maintenance of your waffle iron is recommended to keep it operating at its best. A thorough cleaning after each use, as well as periodic inspections and maintenance, will help prevent any build-up or mechanical issues, ensuring your waffle iron remains in great condition for years to come.
Remember, if you encounter any challenges or are unsure about any step, consult the manufacturer’s instructions or seek professional assistance. It is always better to ask for help rather than risk damaging the appliance further.
By mastering the art of disassembling, cleaning, and reassembling your Sunbeam Waffle Iron, you’ve equipped yourself with valuable skills to maintain other appliances as well. Regular maintenance will not only extend the lifespan of your appliances but also save you money in the long run.
Now, enjoy your freshly cleaned and restored Sunbeam Waffle Iron, and savor the delight of making scrumptious waffles for yourself, your family, and friends!
Frequently Asked Questions about How To Disassemble A Sunbeam Waffle Iron
Was this page helpful?
At Storables.com, we guarantee accurate and reliable information. Our content, validated by Expert Board Contributors, is crafted following stringent Editorial Policies. We're committed to providing you with well-researched, expert-backed insights for all your informational needs.


0 thoughts on “How To Disassemble A Sunbeam Waffle Iron”