Articles
How To Repair A Waffle Iron
Modified: September 1, 2024
Learn how to repair a waffle iron with our informative articles. Discover expert tips and tricks for fixing your kitchen appliance.
(Many of the links in this article redirect to a specific reviewed product. Your purchase of these products through affiliate links helps to generate commission for Storables.com, at no extra cost. Learn more)
Introduction
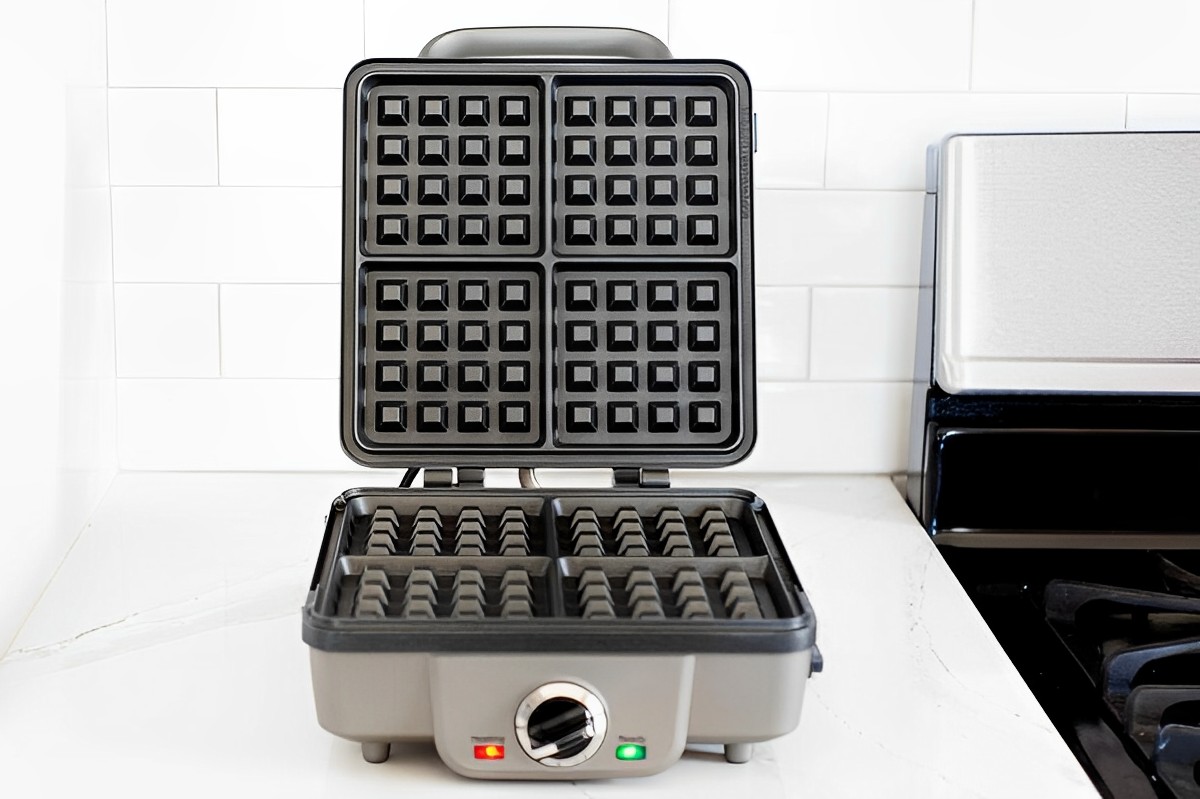
Having a waffle iron that works perfectly can make breakfast time a delight. However, over time, these appliances can develop issues such as a faulty power cord, loose or broken hinges, or non-heating elements. Instead of rushing out to buy a new one, why not try repairing your waffle iron yourself?
In this article, we will guide you through the process of repairing a waffle iron step-by-step. By following our instructions and using some basic tools and materials, you’ll be able to get your waffle iron back in working order without breaking the bank.
Before we dive into the repair process, it is important to note that your safety should be a top priority. Make sure to read and follow all safety precautions mentioned in the manual provided by the manufacturer. Additionally, always unplug the waffle iron before attempting any repairs.
Ready to give your waffle iron a much-needed revival? Let’s get started!
Key Takeaways:
- Safety First
Before attempting any waffle iron repair, prioritize safety by following precautions such as unplugging the appliance, wearing protective gear, and seeking professional help if unsure. Your safety is paramount! - DIY Waffle Iron Repair
With the right tools, materials, and step-by-step guidance, you can successfully repair common waffle iron issues like power cord damage, hinge problems, and heating element malfunctions. Save money and enjoy delicious waffles!
Read more: How To Cook Waffles In A Rival Waffle Iron
Safety Precautions
When it comes to any electrical appliance repair, safety should always be the foremost concern. Here are some important safety precautions to keep in mind before starting the repair process:
- Always unplug the waffle iron from the power outlet before attempting any repairs.
- Avoid working on the waffle iron when it is still hot to prevent the risk of burns.
- Handle all tools with care and ensure they are in good working condition before using them.
- Wear protective gloves and goggles to protect yourself from any potential hazards.
- Consult the waffle iron’s instruction manual for any specific safety instructions provided by the manufacturer.
- If you are unsure about any aspect of the repair process, it is always better to seek professional help rather than risking injury or further damage.
- Keep children and pets away from the repair area to avoid accidents or distractions.
- If you encounter any signs of damage, such as frayed wires or exposed electrical components, do not attempt the repair and contact a professional immediately.
- Dispose of any damaged or worn-out parts properly and safely.
By adhering to these safety precautions, you can ensure a safe and successful repair process for your waffle iron.
Tools and Materials Needed
Before you start repairing your waffle iron, gather the following tools and materials to ensure a smooth and efficient process:
Tools:
- Screwdriver set (Phillips and flathead)
- Wire cutters/strippers
- Multimeter (for electrical troubleshooting)
- Needle-nose pliers
- Cleaning brush or toothbrush
- Soldering iron (if required for electrical repairs)
- Heat-resistant gloves (if soldering iron is used)
Materials:
- New power cord (if the existing one is damaged)
- Replacement hinges (if the hinges are loose or broken)
- Heat-resistant adhesive (if needed for hinge repair)
- Electrical tape
- Isopropyl alcohol or mild detergent
- Cotton swabs or soft cloth for cleaning
- Replacement heating elements (if non-heating elements are the issue)
Having these tools and materials on hand will make the repair process more efficient and give you the best chance of successfully fixing your waffle iron.
Read more: How To Use A Cast Iron Waffle Iron
Step 1: Unplugging the Waffle Iron
Before starting any repair work on your waffle iron, it is crucial to unplug it from the power outlet. This step ensures your safety and prevents any electrical accidents or shocks.
Locate the power cord of the waffle iron and follow it to the plug. Firmly grasp the plug and gently pull it out of the socket. Make sure to handle the plug itself and not the cord to avoid any unnecessary strain on the cord.
Once the waffle iron is unplugged, it is safe to proceed with the repair process. Remember to never attempt any repairs while the appliance is still connected to a power source to prevent any potential harm to yourself or damage to the waffle iron.
By taking this simple precautionary step, you create a safe environment for yourself to work on the waffle iron without the risk of electric shock or injury.
Step 2: Assessing the Damage
After unplugging the waffle iron, take a close look at the appliance to assess the extent of the damage or malfunction. This step is crucial in determining the specific repairs that need to be carried out.
Inspect the power cord for any visible signs of damage, such as frayed or exposed wires. Check the hinges to see if they are loose or broken. Test the heating elements to determine if they are functioning properly. Make note of any other issues or abnormalities you observe during the assessment.
If the power cord is damaged, it may need to be replaced. Loose or broken hinges can often be repaired or replaced as well. Non-heating elements may require replacement or troubleshooting to identify and resolve the underlying issue.
Consider referring to the waffle iron’s instruction manual or any online resources specific to your model to understand common points of failure and potential repair solutions. This research can give you a better understanding of the problem you are facing and help guide your repair process.
Once you have assessed the damage and identified the required repairs, you can proceed to the next steps with a clear understanding of the issues that need to be addressed.
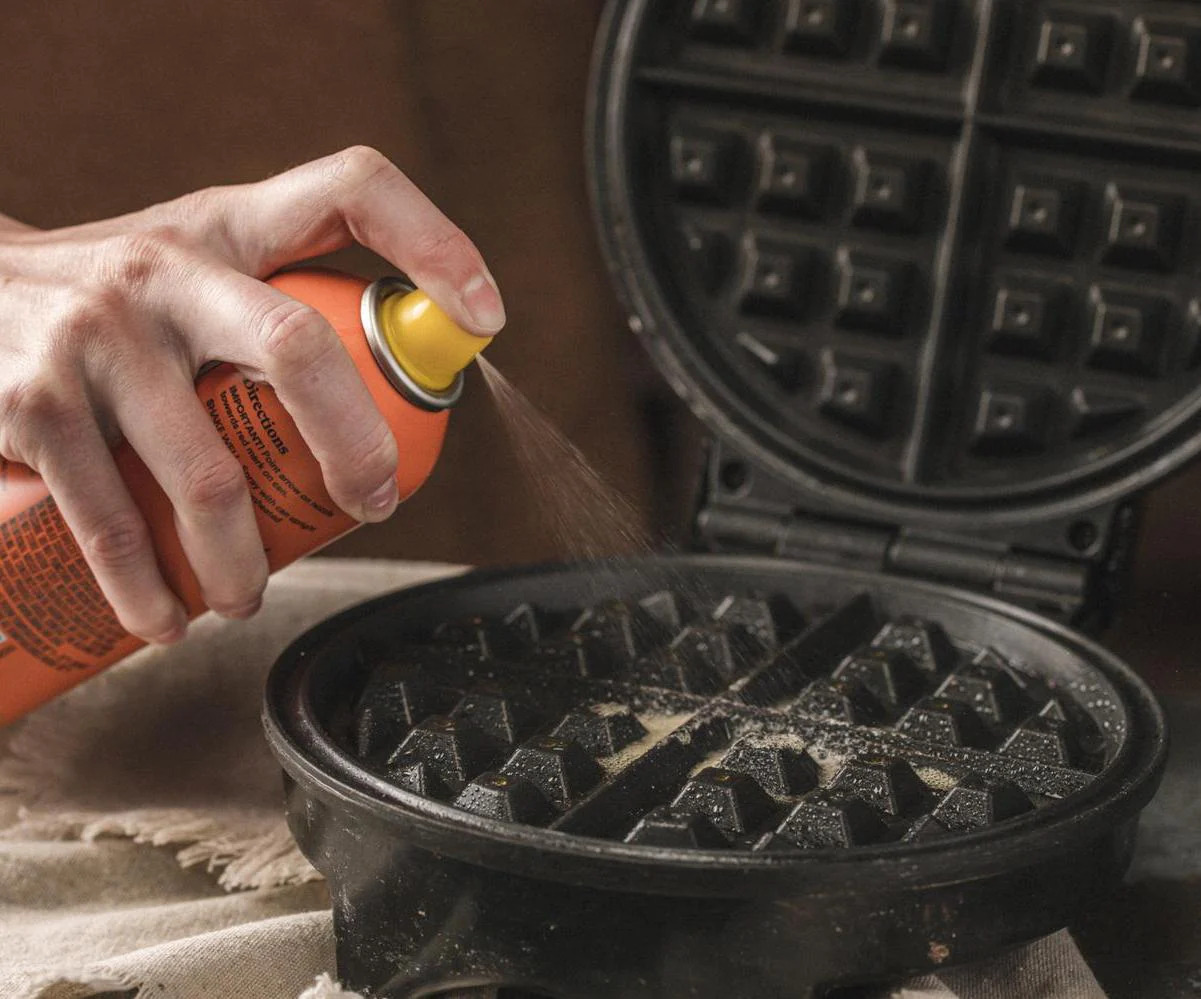
Step 3: Cleaning the Waffle Iron
Before diving into the repair process, it’s essential to clean your waffle iron thoroughly. Over time, residue and buildup can accumulate on the cooking surfaces, affecting the taste and quality of your waffles.
Follow these steps to clean your waffle iron:
- Ensure that the waffle iron is completely cool and unplugged before cleaning.
- Using a soft brush or toothbrush, remove any loose crumbs or debris from the cooking plates. Be gentle to avoid scratching the surfaces.
- Mix a solution of warm water and mild detergent or dish soap.
- Dampen a cloth or sponge in the solution and gently scrub the cooking plates to remove any stubborn residue or grease.
- If there are any tough-to-remove marks or stains, use a paste made of baking soda and water. Apply the paste to the affected areas and let it sit for a few minutes before scrubbing with a cloth or sponge.
- Rinse the cooking plates with clean water to remove any soap residue.
- Use cotton swabs or a soft cloth soaked in isopropyl alcohol to clean the exterior and hard-to-reach areas of the waffle iron.
- Finally, allow the waffle iron to dry completely before moving on to the next step.
Cleaning the waffle iron not only ensures proper hygiene but also helps the appliance function optimally. A clean waffle iron will provide better heat distribution and prevent any unwanted flavors from transferring to your waffles.
Once your waffle iron is spotless, you’re ready to move on to the next step: repairing any specific issues you identified during the assessment phase.
Step 4: Replacing the Power Cord
If you have determined that the power cord of your waffle iron is damaged or faulty, it’s time to replace it. Follow these steps to replace the power cord:
- Ensure that the waffle iron is unplugged and cooled down completely before starting the replacement process.
- Locate the point where the power cord connects to the waffle iron. This is usually found at the base or back of the appliance.
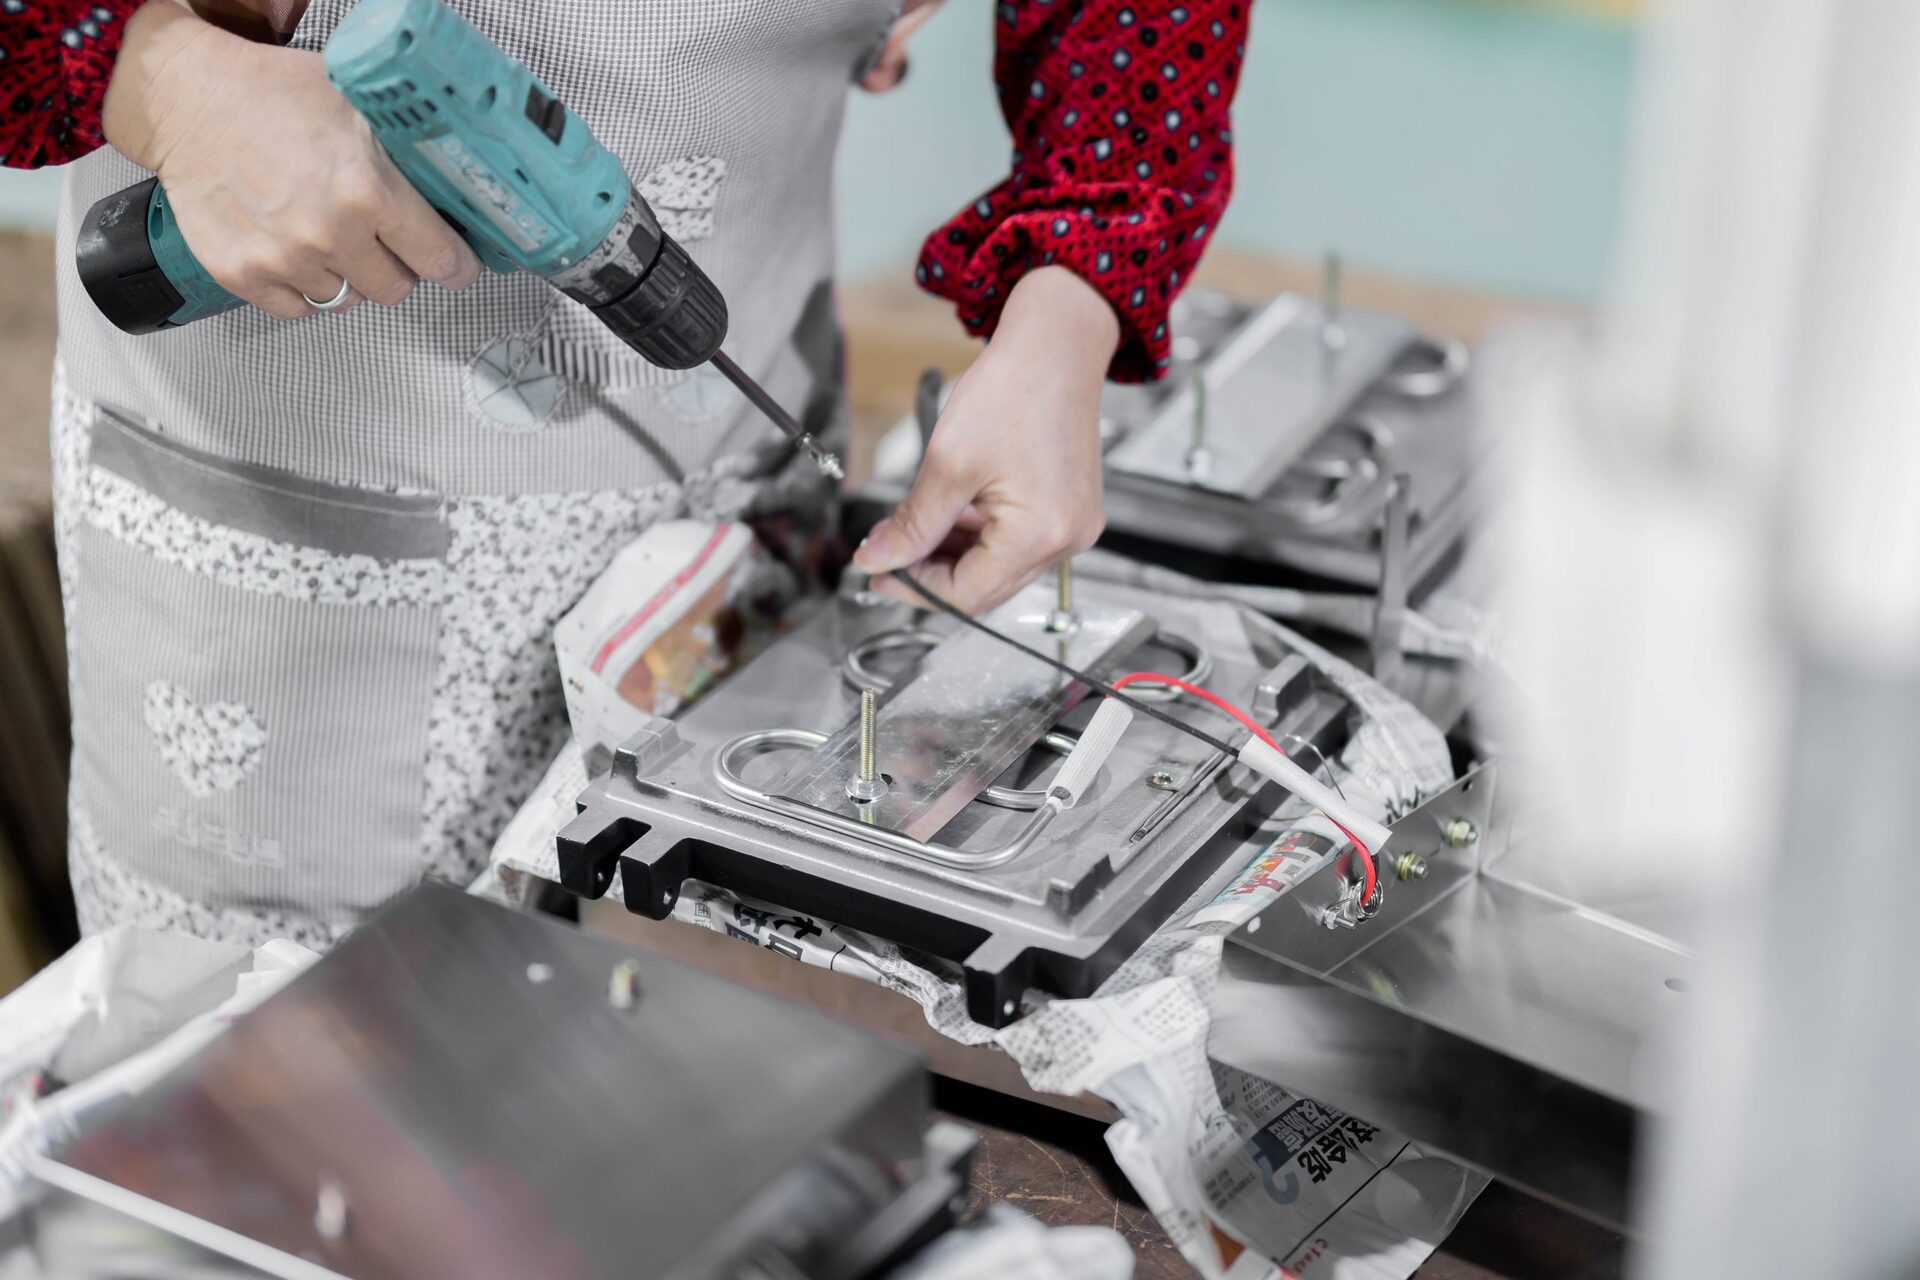
- Use a screwdriver to remove any screws or fasteners securing the access panel or cover.
- Carefully disconnect the old power cord from the internal wiring. Take note of how the wires are connected or take a picture for reference.
- Prepare the replacement power cord by stripping the outer insulation of the wires, exposing the copper wires inside.
- Following the color-coded wiring scheme or the reference picture, connect the corresponding wires of the new power cord to the internal wiring of the waffle iron. Use wire connectors or electrical tape to secure the connections.
- Once the new power cord is securely connected, carefully tuck the wires inside the waffle iron and reattach the access panel or cover with the screws or fasteners.
It is important to note that if you are unsure about handling electrical wiring or if the power cord replacement involves complex internal components, it is recommended to seek the assistance of a professional or contact the manufacturer for guidance.
After replacing the power cord, conduct a thorough visual inspection of the connections to ensure they are secure and that there are no exposed wires or loose connections. Once you are satisfied with the replacement, you can proceed to the next repair steps.
Always make sure to unplug the waffle iron before attempting any repairs. This will prevent any risk of electric shock or injury while working on the appliance.
Step 5: Fixing Loose or Broken Hinges
If your waffle iron has loose or broken hinges, it can affect the performance and functionality of the appliance. Follow these steps to fix the problem:
- Ensure the waffle iron is unplugged and cooled down completely before starting the repair process.
- Inspect the hinges to determine the extent of the damage. If the hinges are loose, tighten the screws or fasteners holding them in place. If the hinges are broken and cannot be repaired, they may need to be replaced.
- If the hinges need to be replaced, carefully remove the old hinges by unscrewing the screws or fasteners that hold them in place. Take note of their position or take a picture for reference.
- Obtain the replacement hinges that are compatible with your waffle iron. You can purchase these from the manufacturer or a suitable hardware store.
- Position the new hinges in the correct place and secure them by screwing in the screws or fasteners. Make sure they are tightly fastened but not over-tightened.
- If the hinges are not available for replacement or the damage is minor, you may be able to use a heat-resistant adhesive to repair them. Apply the adhesive to the broken parts of the hinges according to the manufacturer’s instructions. Allow the adhesive to set and cure completely before using the waffle iron.
Once you have fixed the hinges, open and close the waffle iron a few times to ensure that the hinges are working smoothly and securely. Make any necessary adjustments to the tightness of the screws or fasteners if needed.
Having properly functioning hinges will not only improve the overall stability of the waffle iron but also ensure that the cooking plates are properly aligned and that the batter is evenly distributed, resulting in perfectly cooked waffles.
With the hinges repaired or replaced, you are now ready to move on to the next steps in the repair process.
Step 6: Repairing Non-Heating Elements
If your waffle iron is not heating properly or certain heating elements are not functioning, it’s important to address this issue to ensure evenly cooked waffles. Follow these steps to repair non-heating elements:
- Make sure that the waffle iron is unplugged and cooled down completely before proceeding.
- Inspect the heating elements to identify any visible damage, such as burns, frayed wires, or signs of corrosion. If you spot any obvious issues, those elements may need to be replaced.
- If the heating elements appear to be in good condition, there may be a problem with the electrical connections or the temperature control mechanism.
- Use a multimeter to test the continuity of the heating elements. This will help determine if there is a break or a faulty connection.
- If the heating elements fail the continuity test, they will likely need to be replaced. Order compatible replacement parts from the manufacturer or a reputable supplier.
- If the heating elements pass the continuity test, check the electrical connections. Ensure that all wires are securely connected and that there are no loose or damaged connections.
- If you suspect a problem with the temperature control mechanism, consult the instruction manual or contact the manufacturer for guidance on troubleshooting options or replacement parts.
- If you have identified any loose or damaged connections, securely reconnect or repair them using electrical tape or wire connectors.
It is important to note that working with electrical components can be dangerous if you are not experienced. If you are unsure of your capabilities or the complexity of the repair, it is recommended to consult a professional or contact the manufacturer for assistance.
After repairing or replacing the necessary components, conduct a test run by turning on the waffle iron and allowing it to heat up. Ensure that all heating elements are functioning properly and that the waffle iron reaches the desired temperature before moving on to the final steps.
Step 7: Reassembling the Waffle Iron
After completing the necessary repairs and ensuring that all components are in working order, it’s time to reassemble the waffle iron. Follow these steps to correctly reassemble the appliance:
- Begin by ensuring that the waffle iron is unplugged and cooled down completely.
- If you had to remove any access panels or covers during the repair process, reattach them using the appropriate screws or fasteners. Make sure they are securely fastened.
- Double-check all the connections and make sure everything is properly secured and in its correct position.
- Inspect the power cord to ensure it is neatly tucked inside the waffle iron and not at risk of getting pinched or pulled.
- Give the waffle iron a final visual check to make sure that everything looks in order and all repairs have been completed.
By reassembling the waffle iron with care and attention to detail, you ensure that all components are properly aligned and secured, which will contribute to the safe and optimal functioning of the appliance.
Now that your waffle iron is reassembled, it’s time for the final step: testing the repaired appliance to ensure that it is working correctly.
Step 8: Testing the Repaired Waffle Iron
Now that you have completed the repair and reassembly of your waffle iron, it’s important to conduct a final test to ensure that all the repairs have been successful and that the appliance is functioning as expected. Follow these steps to test the repaired waffle iron:
- Ensure that the waffle iron is plugged into a functioning power outlet.
- Allow the waffle iron to preheat according to the manufacturer’s instructions.
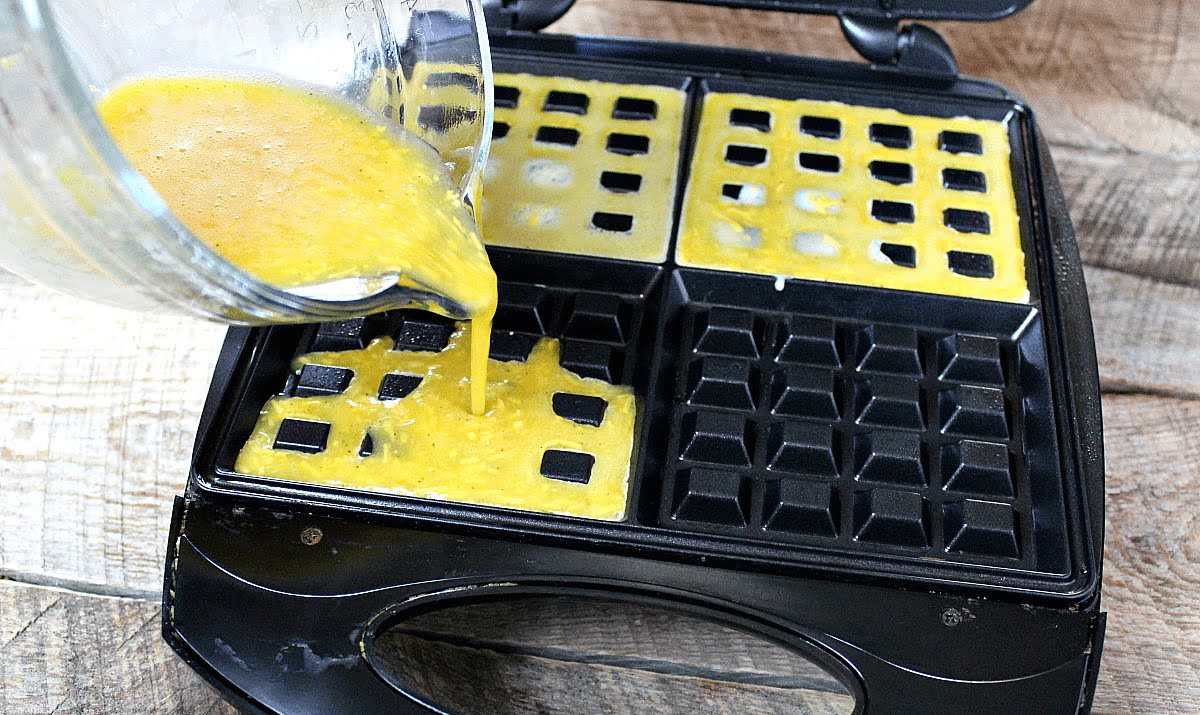
- Once the waffle iron has reached the desired temperature, carefully pour in your waffle batter, making sure not to overfill.
- Close the lid of the waffle iron and give it a gentle press to evenly distribute the batter.
- Monitor the cooking process and ensure that the waffle iron is heating evenly on both sides.
- Follow the recommended cooking time and open the lid to check if the waffle is cooked to your desired level of crispness and golden color.
- If the waffle is cooked to your satisfaction, carefully remove it from the waffle iron using a heat-resistant spatula.
- Repeat the process with additional batches of batter to ensure that the waffle iron continues to perform consistently.
During the testing phase, pay attention to any abnormal behavior, such as uneven cooking, heating issues, or any recurrence of the previous problems. If you encounter any issues, it may indicate that further repairs or adjustments are needed.
If the repaired waffle iron is functioning properly and producing delicious waffles, congratulations! You have successfully repaired and restored your waffle iron to optimal working condition.
In case the issues persist or if you encounter any other problems during the testing phase, it may be necessary to seek professional help or contact the manufacturer for further guidance or assistance.
By testing the repaired waffle iron, you ensure that it is safe to use and will provide you with many delightful waffle-making moments in the future.
Read more: How To Make Waffle In A Waffle Iron
Conclusion
Repairing a waffle iron can be a rewarding and cost-effective solution to getting your beloved appliance back in working order. By following the step-by-step guide we have provided, you can tackle common issues such as a faulty power cord, loose or broken hinges, or non-heating elements.
Throughout the repair process, it is essential to prioritize your safety by following the recommended safety precautions and unplugging the waffle iron before beginning any repairs. If you are unsure about any aspect of the repair process or encounter complex issues, it is always best to seek professional assistance.
By assessing the damage, cleaning the waffle iron, replacing the power cord, fixing loose or broken hinges, repairing non-heating elements, reassembling the appliance, and conducting a thorough test, you can restore your waffle iron to optimal functionality.
Remember that regular maintenance, including proper cleaning and handling, can help prolong the life of your waffle iron and prevent future issues. Consult the instruction manual provided by the manufacturer for specific maintenance recommendations.
Now that you have the knowledge and skills to repair your waffle iron, you can enjoy countless delicious waffles without the need to invest in a new appliance. Happy waffle-making!
Frequently Asked Questions about How To Repair A Waffle Iron
Was this page helpful?
At Storables.com, we guarantee accurate and reliable information. Our content, validated by Expert Board Contributors, is crafted following stringent Editorial Policies. We're committed to providing you with well-researched, expert-backed insights for all your informational needs.


0 thoughts on “How To Repair A Waffle Iron”