Home>Home Appliances>Lighting Appliances>How To Cut Ceiling Light Panels
Lighting Appliances
How To Cut Ceiling Light Panels
Modified: August 17, 2024
Learn how to cut ceiling light panels for your lighting appliances with our step-by-step guide. Find out the best techniques and tools to use for a professional finish.
(Many of the links in this article redirect to a specific reviewed product. Your purchase of these products through affiliate links helps to generate commission for Storables.com, at no extra cost. Learn more)
Introduction
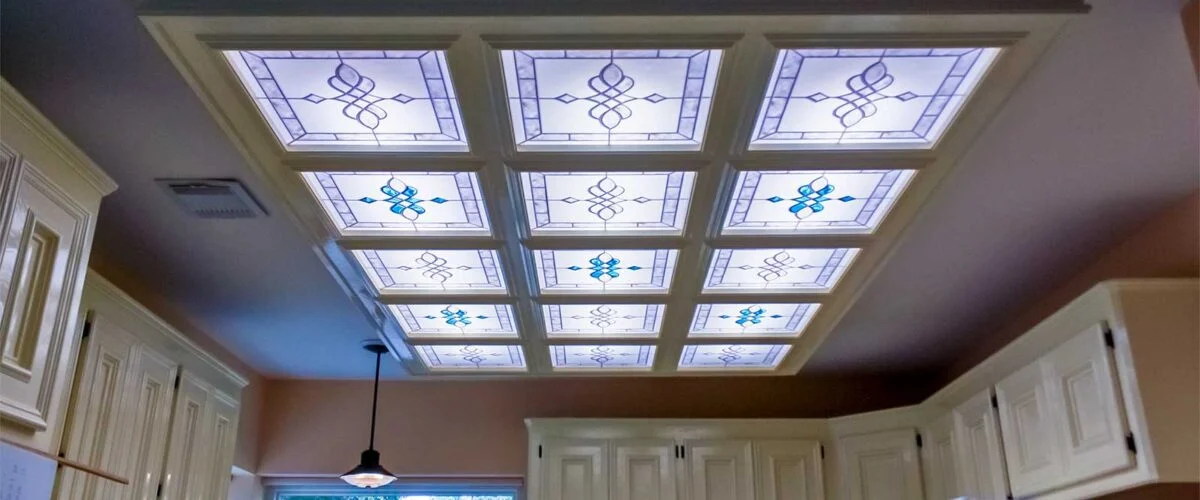
Cutting ceiling light panels is a crucial step in the process of installing or replacing lighting fixtures in a room. Whether you are upgrading to energy-efficient LED panels, replacing damaged panels, or customizing the lighting design in your space, knowing how to cut ceiling light panels is essential for achieving a polished and professional look.
In this comprehensive guide, we will walk you through the step-by-step process of cutting ceiling light panels with precision and confidence. By following these instructions, you will be able to seamlessly integrate new lighting elements into your ceiling, enhancing the ambiance and functionality of your living or working space.
Understanding the techniques and tools required for this task is vital for ensuring a successful outcome. From measuring and marking the panels to executing precise cuts and securely installing the panels, each step plays a crucial role in achieving a seamless and visually appealing result.
Whether you are a DIY enthusiast or a professional contractor, mastering the art of cutting ceiling light panels will empower you to elevate the aesthetics and functionality of any room. So, let's dive into the details and equip ourselves with the knowledge and skills needed to accomplish this task with finesse.
Key Takeaways:
- Mastering the art of cutting and installing ceiling light panels empowers DIY enthusiasts and professionals to elevate interior spaces with seamless and visually appealing lighting designs.
- By following a step-by-step process, individuals can transform the ambiance and functionality of rooms, bringing their unique lighting visions to life with precision and finesse.
Read more: How To Cut PVC Roof Panels
Step 1: Gather the necessary tools and materials
Before embarking on the process of cutting ceiling light panels, it is essential to gather the appropriate tools and materials to ensure a smooth and efficient workflow. Here's a comprehensive list of what you'll need:
Tools:
- Measuring Tape: Accurate measurements are crucial for achieving precise cuts, so a reliable measuring tape is indispensable.
- Pencil or Marker: These will be used for marking the panels before cutting, ensuring that the cuts are made in the right places.
- Straight Edge: A sturdy straight edge, such as a ruler or a T-square, will help you create straight and accurate cutting guidelines on the panels.
- Safety Glasses and Gloves: Safety should always be a priority when working with tools. Protect your eyes with safety glasses and your hands with gloves.
- Utility Knife or Scoring Tool: Depending on the type of ceiling light panels you are working with, a utility knife or a scoring tool will be necessary for making the initial cuts.
- Fine-Tooth Saw or Rotary Tool: These tools will be used to make the actual cuts on the panels. A fine-tooth saw is suitable for acrylic panels, while a rotary tool with a cutting bit is ideal for polycarbonate panels.
Materials:
- Ceiling Light Panels: Ensure that you have the correct type and size of panels for your specific lighting project. Whether you are working with acrylic, polycarbonate, or other materials, having the panels on hand is essential.
- Supporting Frame or Grid: If you are installing the panels within a suspended ceiling system, make sure you have the necessary supporting frame or grid in place.
- Cleaning Supplies: It's important to have a clean working environment, so keep some cleaning supplies handy to wipe down the panels and the work area as needed.
By gathering these tools and materials before you begin, you'll set yourself up for a successful and efficient process of cutting and installing ceiling light panels. This preparation will not only streamline the workflow but also contribute to the precision and quality of the final result.
Step 2: Measure and mark the panels
Accurate measurements and precise markings are fundamental to the successful cutting and installation of ceiling light panels. Before making any cuts, it is crucial to measure the dimensions of the installation area and the panels themselves. Here's a detailed breakdown of the process:
Read more: How To Cut Stone Veneer Panels
Measuring the Installation Area:
- Ceiling Dimensions: Begin by measuring the length and width of the area where the ceiling light panels will be installed. Use a measuring tape to record these dimensions accurately.
- Panel Placement: If you are installing multiple panels, determine the layout and spacing between each panel. Mark the positions where the panels will be placed on the ceiling, ensuring uniformity and balance in the overall design.
Measuring the Panels:
- Panel Dimensions: Carefully measure the dimensions of each ceiling light panel that will be cut. Use a measuring tape to determine the length and width of the panels, ensuring precision in the measurements.
- Account for Cutouts: If the panels require cutouts for fixtures or other elements, measure and mark the locations for these cutouts on the panels. Ensure that the cutouts align with the corresponding features in the installation area.
Marking the Panels:
- Transfer Measurements: Using a pencil or marker, transfer the measurements from the installation area to the panels. Mark the cutting lines and any required cutouts clearly and accurately. A straight edge or T-square can be used to ensure straight and precise markings.
- Double-Check Measurements: Before proceeding to the cutting phase, double-check all measurements and markings to confirm their accuracy. This step is crucial for avoiding errors that could compromise the fit and appearance of the panels.
Considerations for Custom Designs:
If you are creating custom designs or patterns with the ceiling light panels, take the time to plan and mark the design elements accurately. Whether it's geometric shapes, artistic cutouts, or intricate patterns, precise measurements and markings are essential for bringing your design vision to life.
By meticulously measuring and marking the panels, you lay the foundation for a seamless and visually appealing installation. These preparatory steps are vital for ensuring that the subsequent cutting and installation processes proceed smoothly and result in a professional-looking outcome.
Read more: How To Cut Ceiling Tile
Step 3: Cut the panels to size
With precise measurements and markings in place, it's time to proceed with cutting the ceiling light panels to the required size and shape. This step demands careful attention to detail and the use of appropriate cutting tools to ensure clean and accurate cuts. Here's a comprehensive guide to cutting the panels with precision:
Cutting Techniques:
-
For Acrylic Panels: If you are working with acrylic panels, a fine-tooth saw is the recommended tool for cutting. Secure the panel on a stable surface and use the saw to follow the marked cutting lines. Apply gentle and consistent pressure to achieve smooth and precise cuts without causing damage to the material.
-
For Polycarbonate Panels: Polycarbonate panels require a different approach. A rotary tool equipped with a cutting bit is ideal for making clean cuts in polycarbonate material. Exercise caution and patience as you guide the tool along the marked cutting lines, ensuring that the cuts are smooth and accurate.
-
Cutting Curves and Cutouts: When cutting curves or creating cutouts in the panels, employ the appropriate cutting tool based on the material. For intricate curves, consider using a jigsaw with a fine-tooth blade for acrylic panels, while a rotary tool with a small cutting bit is suitable for navigating tight curves in polycarbonate panels.
Safety Precautions:
-
Wear Protective Gear: Prioritize safety by wearing protective eyewear and gloves throughout the cutting process. This precaution is essential for safeguarding against potential debris and ensuring safe handling of the cutting tools.
-
Work in a Well-Ventilated Area: If you are cutting acrylic or polycarbonate panels indoors, ensure adequate ventilation to disperse any fumes generated during the cutting process. This promotes a safe and comfortable working environment.
Quality Checks:
-
Inspect the Cuts: After completing the cuts, carefully inspect the edges and surfaces of the panels to ensure that the cuts are clean and precise. Smooth out any rough edges using fine-grit sandpaper for a polished finish.
-
Verify Fit and Alignment: Before proceeding to the installation phase, verify that the cut panels align accurately with the installation area. Confirm that any cutouts for fixtures or design elements are positioned correctly.
By following these cutting techniques and safety precautions, you can effectively tailor the ceiling light panels to fit the designated space with accuracy and finesse. The meticulous execution of this step sets the stage for the seamless installation of the panels, bringing your lighting vision to fruition.
Read more: How To Install Access Panel In Ceiling
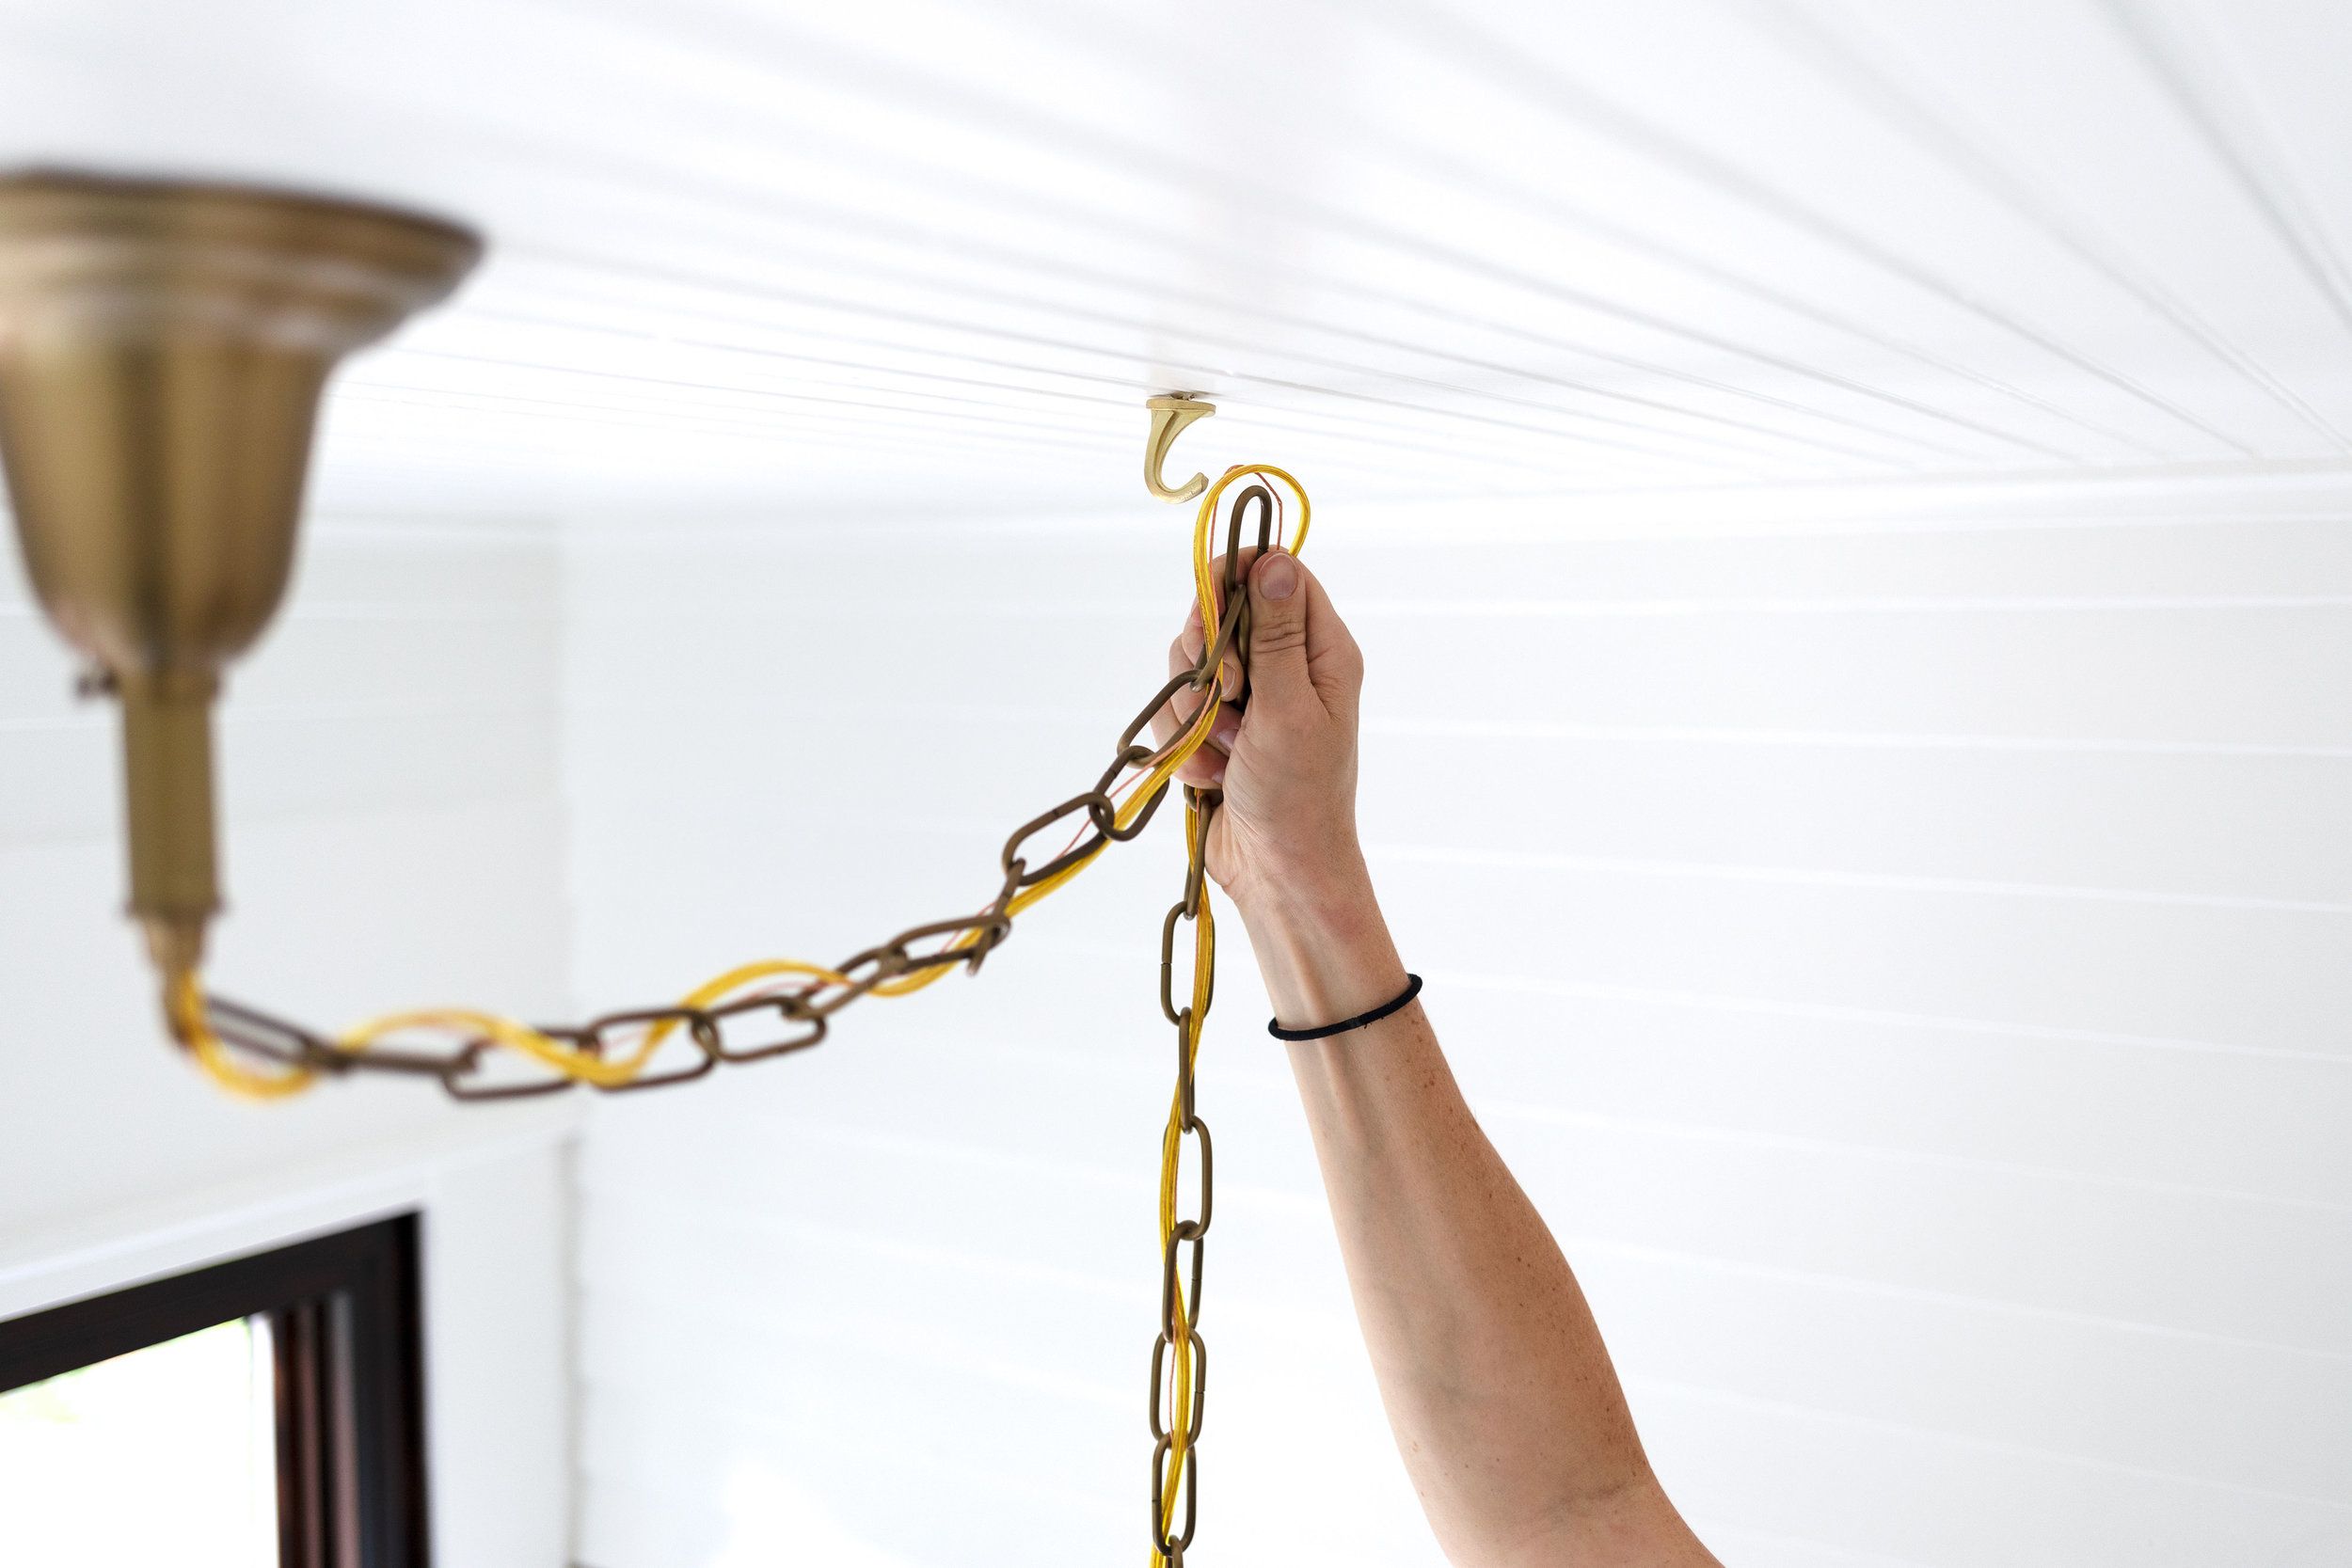
Step 4: Install the panels in the ceiling
With the ceiling light panels accurately cut to size and shape, the final step involves the precise installation of the panels in the designated ceiling area. This phase demands attention to detail and a methodical approach to ensure that the panels are securely positioned and seamlessly integrated into the overall lighting design.
Preparing the Installation Area:
Before installing the panels, ensure that the ceiling surface is clean and free of any debris or obstructions. If the panels are being installed within a suspended ceiling system, verify that the supporting frame or grid is structurally sound and capable of securely holding the panels in place.
Positioning the Panels:
Carefully lift each panel into position, aligning it with the marked placement indicators on the ceiling. If multiple panels are being installed, maintain uniform spacing and alignment to create a cohesive and balanced visual effect. Ensure that any cutouts for fixtures or design elements align accurately with the corresponding features in the installation area.
Securing the Panels:
Depending on the type of ceiling light panels and the installation method, secure the panels in place using the appropriate fastening or mounting techniques. For drop-in ceiling panels, gently press each panel into the grid, ensuring a snug fit. If the panels require additional support, such as clips or brackets, attach them securely to the ceiling structure according to the manufacturer's guidelines.
Read more: How To Hang Acoustic Panels On The Ceiling
Verifying Stability and Alignment:
Once the panels are in position, conduct a thorough assessment of their stability and alignment. Gently press on each panel to confirm that it is securely seated within the ceiling framework. Check for any signs of misalignment or unevenness, making adjustments as necessary to achieve a seamless and professional installation.
Final Quality Check:
Inspect the installed panels to ensure that they exhibit a clean and polished appearance. Verify that the edges and surfaces are free of any blemishes or imperfections resulting from the installation process. If needed, use a soft cloth to wipe down the panels and remove any smudges or marks, enhancing their visual appeal.
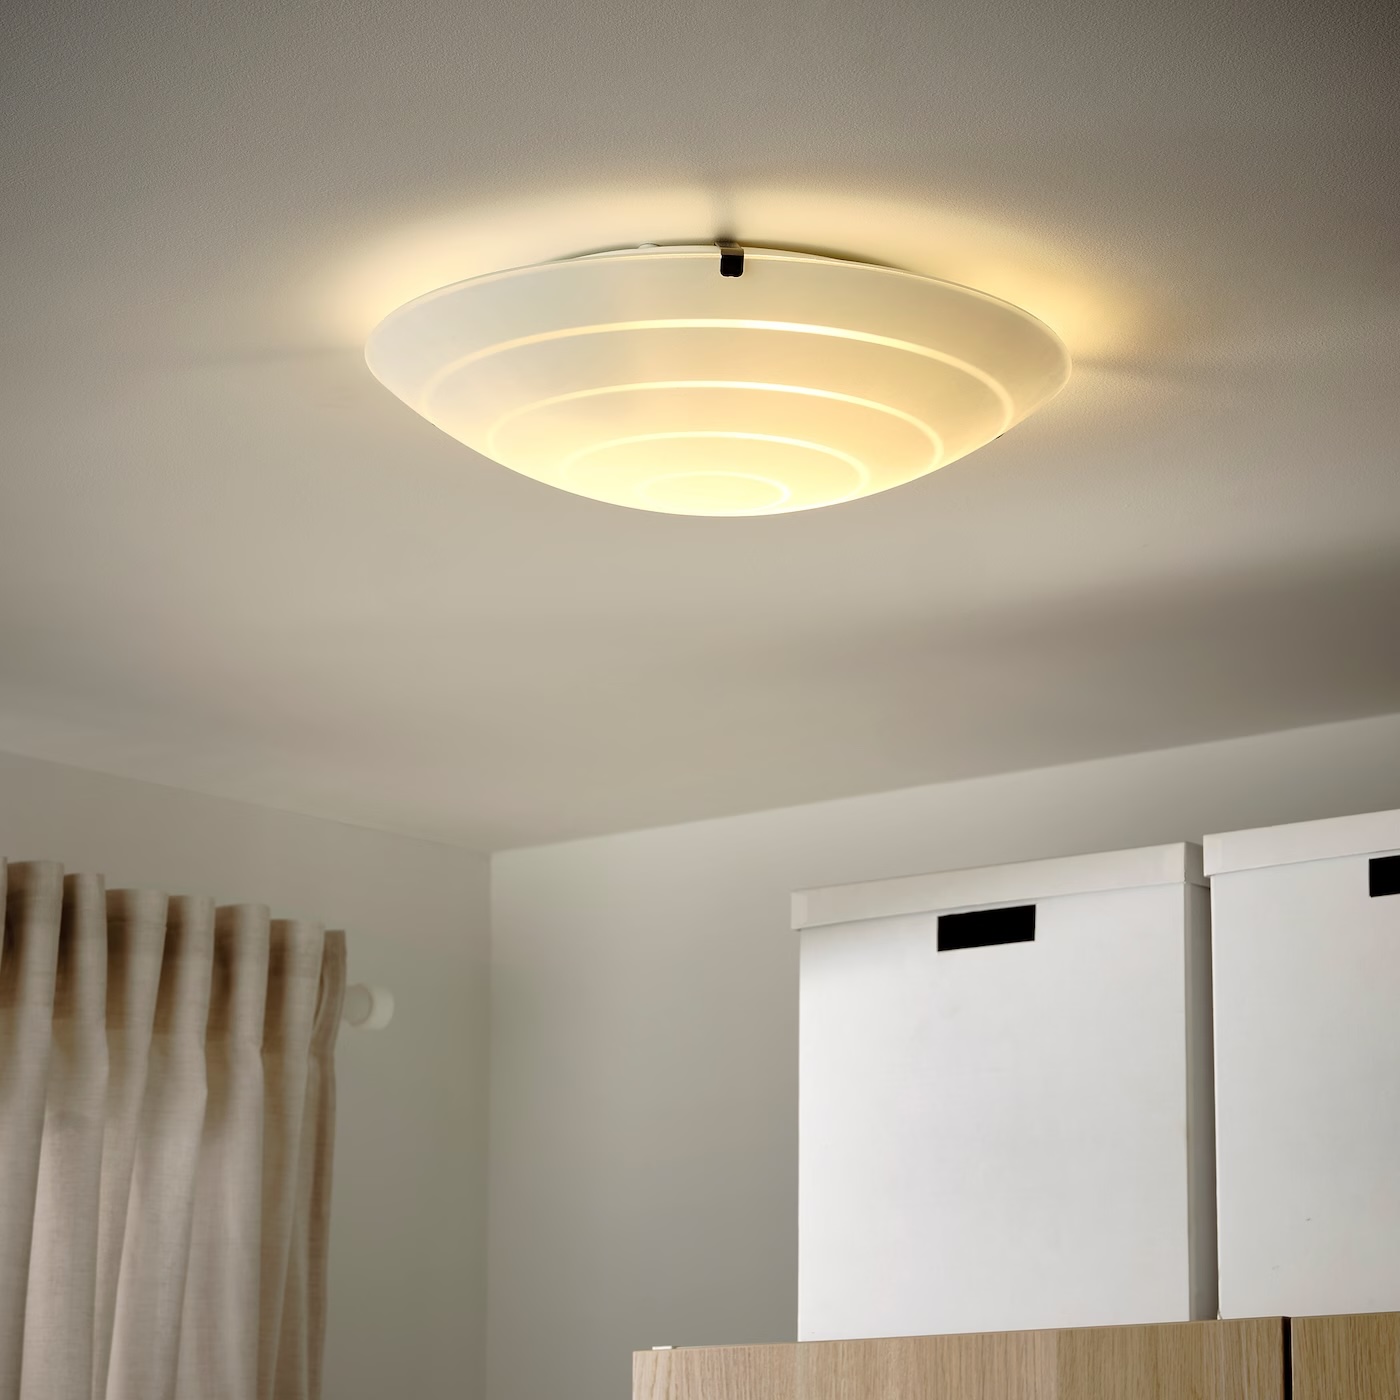
By meticulously following the installation steps and paying attention to the finer details, you can achieve a flawless integration of the ceiling light panels, elevating the ambiance and functionality of the space. The successful installation of the panels marks the culmination of the cutting and installation process, resulting in a visually striking and professionally executed lighting upgrade.
Conclusion
In conclusion, mastering the art of cutting and installing ceiling light panels is a valuable skill that empowers individuals to transform the ambiance and functionality of interior spaces. By following the step-by-step process outlined in this guide, enthusiasts and professionals alike can achieve a seamless and visually appealing integration of lighting elements into ceilings.
The journey begins with gathering the necessary tools and materials, setting the stage for a well-prepared and efficient workflow. From measuring and marking the panels with precision to executing clean and accurate cuts, each step contributes to the overall success of the installation. The careful consideration of safety precautions and the selection of appropriate cutting tools ensure a smooth and secure cutting process.
The installation phase represents the culmination of meticulous planning and precise execution. By positioning the panels with care and attention to detail, and ensuring their secure attachment to the ceiling structure, individuals can bring their lighting vision to fruition. The final quality checks and adjustments guarantee a polished and professional outcome, elevating the aesthetic appeal of the space.
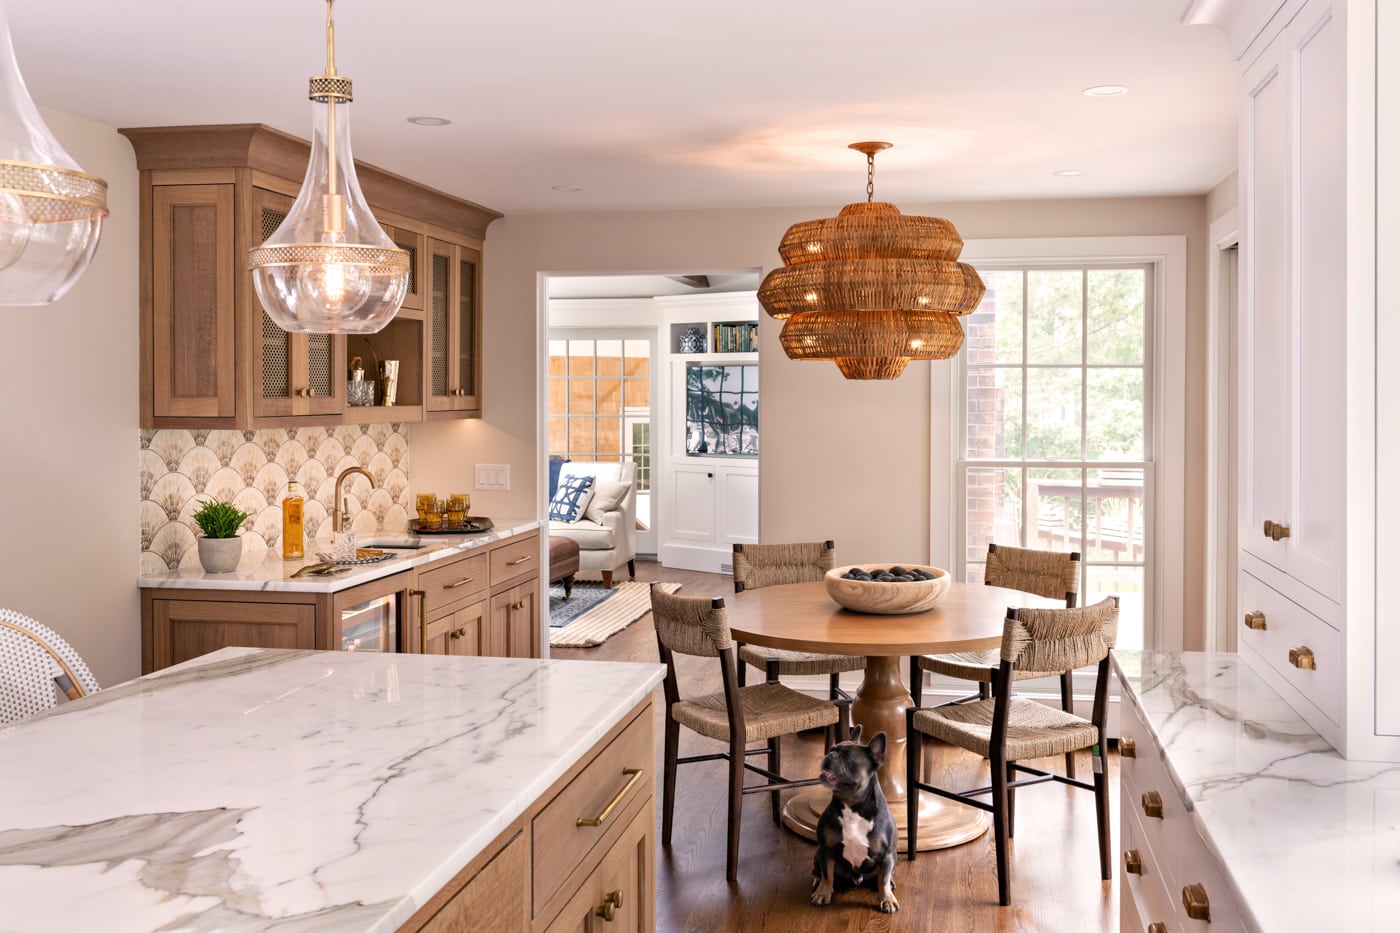
Ultimately, the ability to cut and install ceiling light panels opens up a world of creative possibilities, allowing individuals to customize lighting designs, replace damaged panels, or upgrade to energy-efficient solutions. Whether it's enhancing the ambiance of a residential living room, creating a well-lit workspace in a commercial setting, or adding a touch of sophistication to a retail environment, the impact of well-executed ceiling light panel installations is undeniable.
By honing these skills, individuals can take pride in their ability to elevate interior spaces through thoughtful lighting design and meticulous craftsmanship. The knowledge and expertise gained from mastering this process not only contribute to the visual appeal of spaces but also enhance the functionality and efficiency of lighting solutions.
In essence, the art of cutting and installing ceiling light panels represents a harmonious blend of creativity, precision, and practicality, offering a transformative approach to interior lighting design. With this guide as a companion, individuals are equipped to embark on their own lighting projects with confidence, bringing their unique vision to life through the seamless integration of ceiling light panels.
Frequently Asked Questions about How To Cut Ceiling Light Panels
Was this page helpful?
At Storables.com, we guarantee accurate and reliable information. Our content, validated by Expert Board Contributors, is crafted following stringent Editorial Policies. We're committed to providing you with well-researched, expert-backed insights for all your informational needs.


0 thoughts on “How To Cut Ceiling Light Panels”