Articles
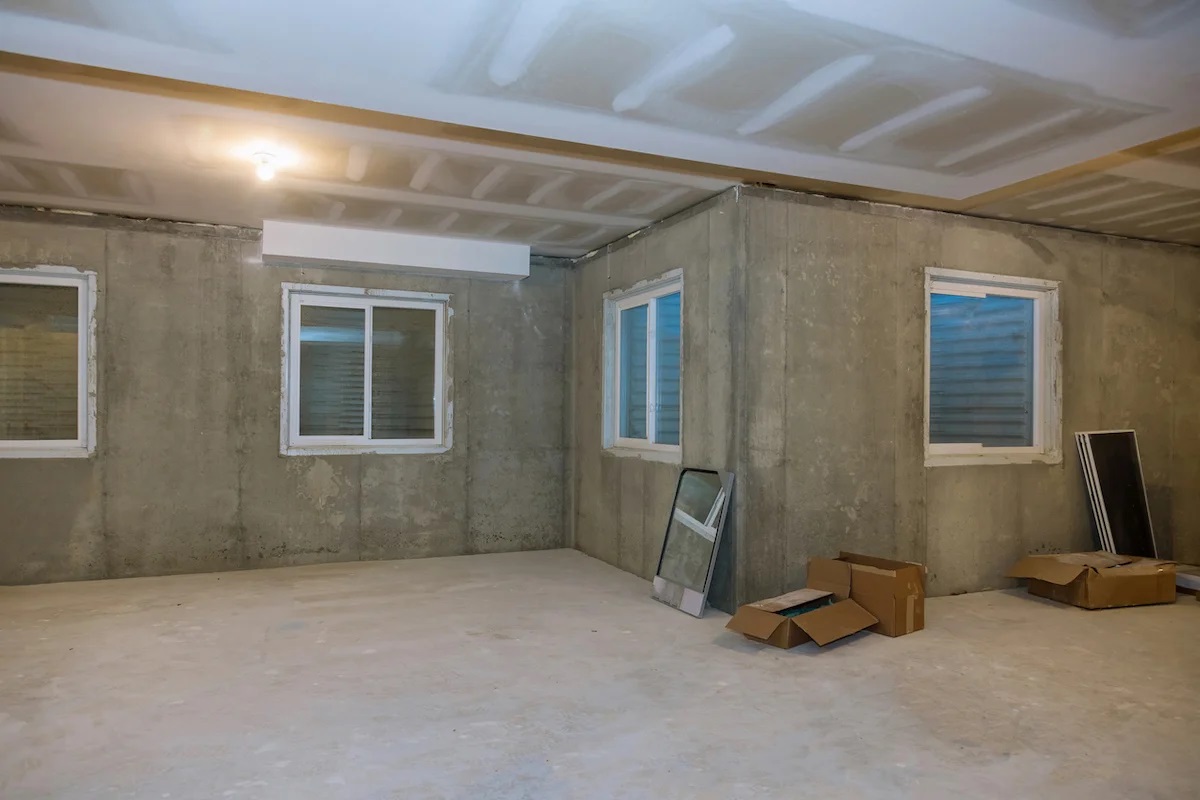
How To Drywall A Basement Ceiling
Modified: October 20, 2024
Learn step-by-step how to drywall a basement ceiling with our comprehensive articles. Find expert tips and techniques for a flawless finish.
(Many of the links in this article redirect to a specific reviewed product. Your purchase of these products through affiliate links helps to generate commission for Storables.com, at no extra cost. Learn more)
Introduction
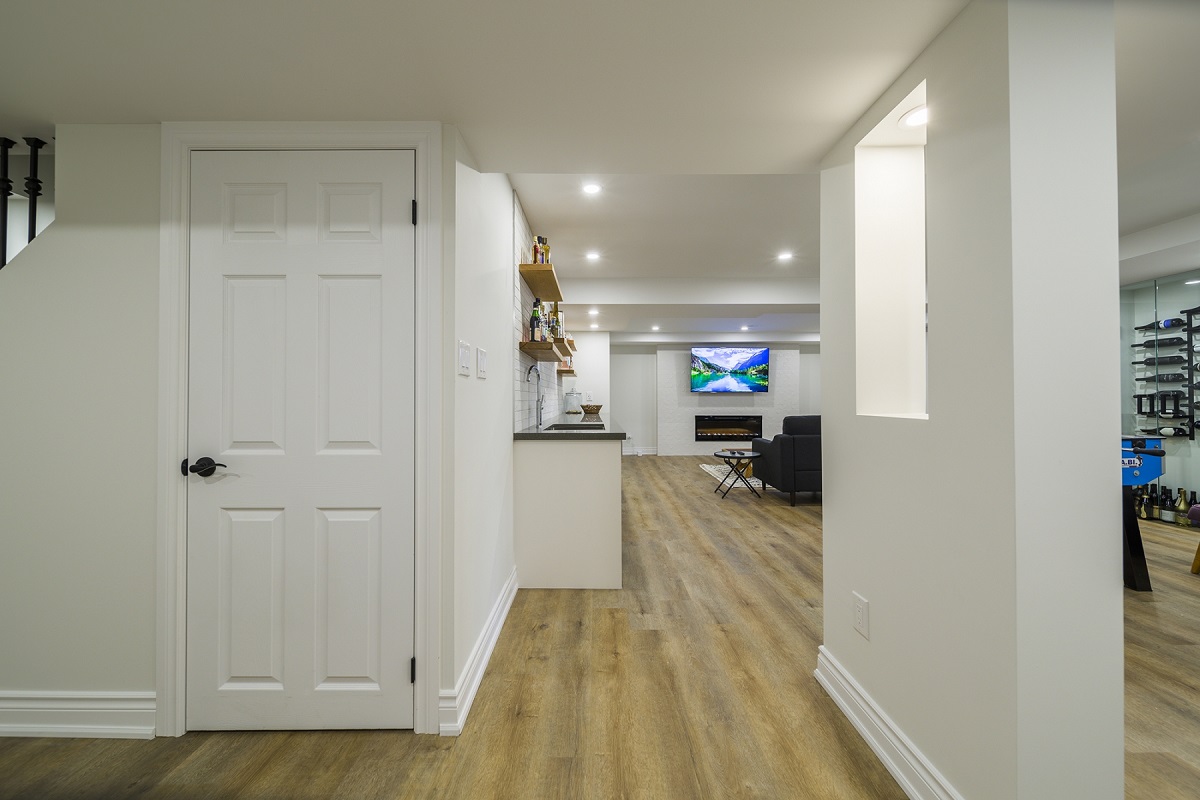
Welcome to the comprehensive guide on how to drywall a basement ceiling. If you’re looking to finish your basement and create a functional living space, installing drywall on the ceiling is an essential step. Not only does it provide a clean and polished look, but it also helps with insulation and soundproofing. With the right tools and techniques, you can tackle this project and transform your basement into a comfortable and inviting area.
Before we dive into the step-by-step process, it’s important to understand the basics of drywall and its benefits. Drywall, also known as plasterboard or gypsum board, is a popular material used in construction due to its ease of installation and durability. It consists of a gypsum core sandwiched between two layers of paper, creating a strong and lightweight panel.
Drywall not only provides a smooth and even surface for painting and other finishes but also acts as a fire-resistant barrier. This is especially crucial in basements where fire safety is a significant consideration. In addition to its practical advantages, drywall also offers aesthetic benefits, as it can be textured and painted to suit any style or design preference.
Now that you understand the importance of drywall in finishing a basement, let’s get started with the step-by-step process. From preparing the ceiling to installing the drywall sheets and finishing touches, we’ll cover everything you need to know. So grab your tools and let’s begin the journey of transforming your basement into a functional and beautiful space.
Key Takeaways:
- Transform your basement into a functional and inviting space by learning how to drywall a basement ceiling. Enhance aesthetics, insulation, and soundproofing while following proper installation techniques and adding finishing touches.
- Ensure a smooth and seamless finish by meticulously taping, mudding, and sanding the drywall seams. Apply additional coats of joint compound, sand the surface, and prime before painting or adding texture for a professional-looking result.
Read more: How Thick Should Ceiling Drywall Be?
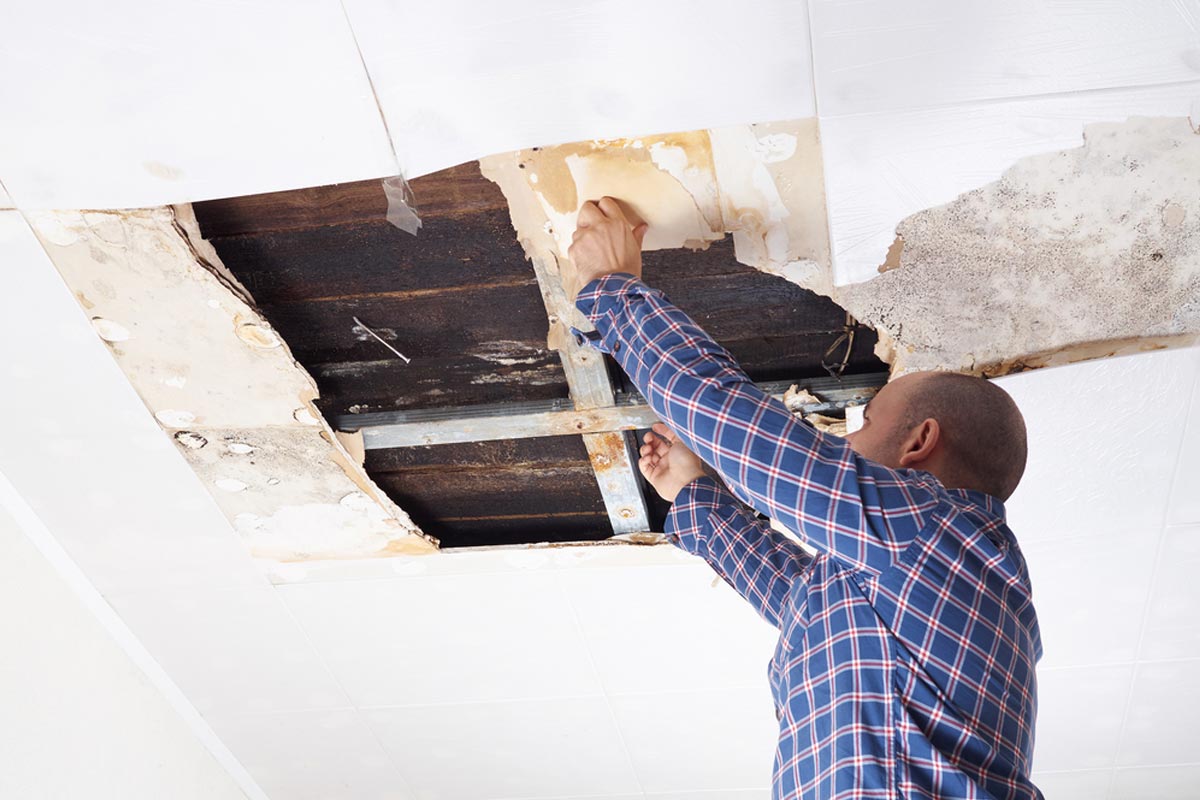
Step 1: Prepare the basement ceiling
Before you begin the process of drywalling your basement ceiling, it’s crucial to prepare the area properly. This step involves clearing the space, removing any existing ceiling materials, and checking for any structural issues. Here’s how to go about it:
- Clear the area: Start by removing any furniture, belongings, or obstructions from the basement. This will provide you with a clear and clutter-free workspace. It’s essential to have ample room to maneuver and work comfortably during the project.
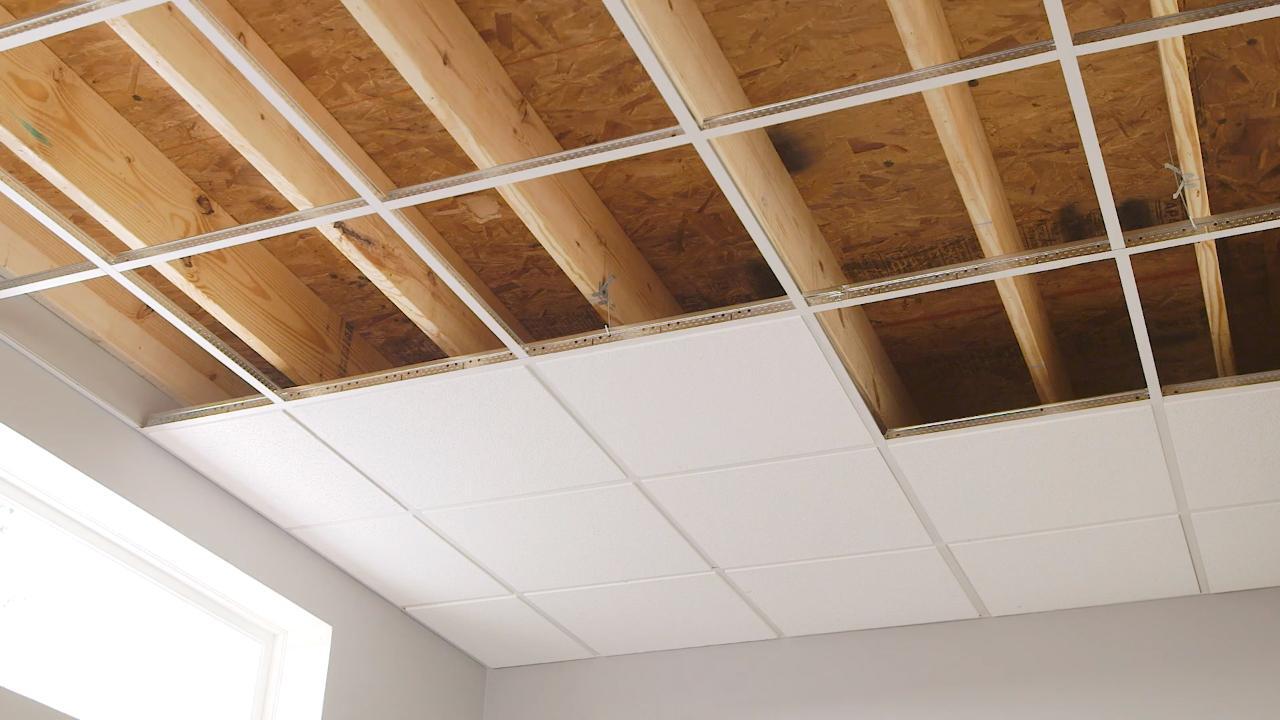
- Remove any existing ceiling materials: Next, inspect the current ceiling and remove any materials that may be in place. This could include drop ceiling tiles, suspended ceiling grids, or even a plaster ceiling. Use caution when removing these materials to avoid damaging surrounding areas.
- Check for any structural issues: Once the existing ceiling materials are removed, take the time to inspect the structural integrity of the basement ceiling. Look for any signs of water damage, mold, or sagging joists. If you notice any issues, it’s essential to address them before proceeding with the drywall installation. Consult a professional if needed.
Preparing the basement ceiling thoroughly will ensure a smooth installation process and help prevent any complications down the line. Take your time during this step to ensure that the ceiling area is clean, free of debris, and structurally sound. By doing so, you’ll be setting a solid foundation for the rest of the drywalling process.
Step 2: Measure and plan
Before you start installing drywall on your basement ceiling, it’s essential to measure the area and plan accordingly. This step involves measuring the ceiling area, determining the number of drywall sheets needed, and planning the layout to ensure proper support. Here’s a detailed guide on how to measure and plan for your drywall installation project:
- Measure the ceiling area: Use a tape measure to measure the length and width of the basement ceiling. Multiply these measurements to calculate the total square footage. This information will help you determine the amount of drywall you’ll need for the project.
- Determine the number of drywall sheets needed: Drywall typically comes in 4-foot by 8-foot sheets. Divide the total square footage of the ceiling by the square footage of a single sheet to determine the number of sheets required. It’s always a good idea to purchase some extra sheets to account for any mistakes or future repairs.
- Plan the layout and ensure proper support: Before starting the installation process, plan the positioning of the drywall sheets to create an aesthetically pleasing layout. It’s crucial to ensure that the edges of the drywall sheets end on a ceiling joist or a blocking strip for secure attachment. This will provide proper support for the drywall and reduce the risk of sagging over time.
By taking accurate measurements and carefully planning the layout, you’ll reduce material waste and streamline the drywall installation process. Proper planning also ensures that the ceiling is adequately supported by the framing, resulting in a durable and long-lasting finish. Spend time in this step to ensure precise measurements and a well-thought-out layout for a successful drywall installation on your basement ceiling.
Step 3: Gather the necessary materials and tools
To successfully drywall your basement ceiling, it’s crucial to gather all the necessary materials and tools beforehand. This step involves acquiring the right drywall sheets, screws, joint compound, and various tools needed for the installation process. Here’s a list of the essential materials and tools you’ll need:
- Drywall sheets: Choose the appropriate size and thickness of drywall sheets based on your measurements from the previous step. Common sizes are 4 feet by 8 feet or 4 feet by 12 feet, with thicknesses ranging from 1/2 inch to 5/8 inch.
- Screws: Opt for drywall screws specifically designed for drywall installations. Make sure the screws are long enough to penetrate through the drywall and into the ceiling joists securely without breaking the surface.
- Drywall joint compound: This compound, also known as mud, is used to cover the seams and screws on the drywall. It comes in pre-mixed or powder form and is available in different drying times (quick-drying or regular drying) depending on your preference and project timeline.
- Taping knife: A taping knife is used to apply the joint compound to the drywall seams. Choose a knife with a flexible blade, typically 6 to 12 inches in width, for smooth and even application.
- Drill: A drill is necessary for driving screws into the drywall and ceiling joists. Consider using a cordless drill for convenience and ease of movement during the installation process.
- Drywall saw: A drywall saw or keyhole saw is used to cut openings for fixtures, vents, or other necessary openings. Look for a saw with a sharp and fine-toothed blade for clean and precise cuts.
- Tape measure: Accurate measurements are essential throughout the drywall installation process. Use a reliable tape measure to ensure precise dimensions for cutting drywall sheets and planning the layout.
- Joint tape: Joint tape is used to reinforce the drywall seams and provide added strength. It’s available in paper or fiberglass mesh form. Choose a type that suits your preference and installation requirements.
- Router or RotoZip (optional): If you need to cut irregular or complex shapes in the drywall, a router or RotoZip tool can be handy. These tools allow for precise and clean cuts, especially for openings such as electrical outlets or recessed lights.
- Ladder or scaffolding: Depending on the height of your ceiling, you may need a ladder or scaffolding to reach and work comfortably. Choose a reliable and sturdy option to ensure safety during the installation process.
By gathering all the necessary materials and tools before starting the drywall installation, you’ll save time and ensure a smooth workflow. It’s essential to have everything ready and easily accessible to avoid unnecessary interruptions during the project. Now that you have everything you need, you’re ready to move on to the next step of installing the drywall on your basement ceiling.
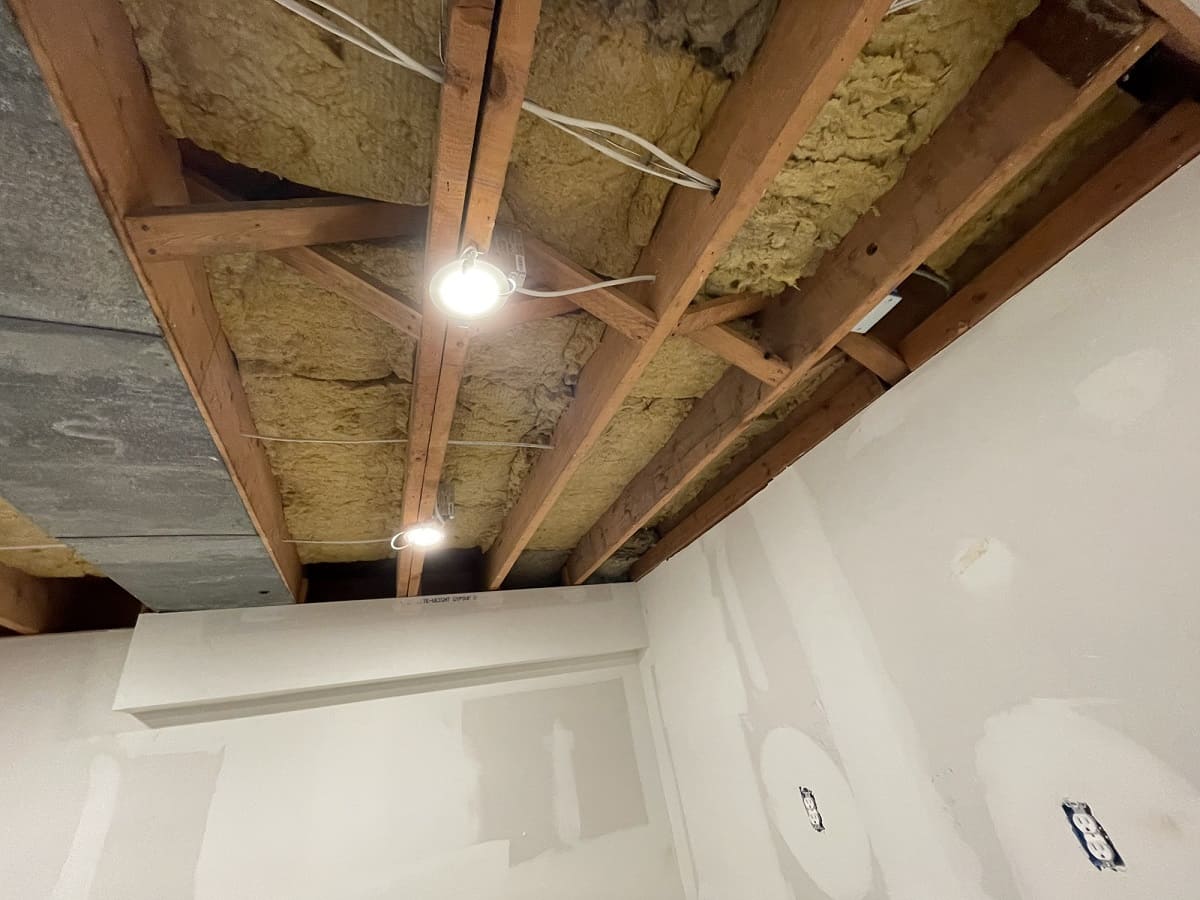
Step 4: Install the moisture barrier (if needed)
Before proceeding with the installation of drywall on your basement ceiling, it’s important to determine if a moisture barrier is necessary. A moisture barrier helps prevent moisture buildup and potential damage to the drywall. Here’s how to assess the need for a moisture barrier and how to install it if required:
- Determine if a moisture barrier is necessary: Basements can be susceptible to high humidity levels and moisture infiltration. Assess the conditions of your basement and evaluate if a moisture barrier is needed. This is especially important if you have experienced moisture issues in the past or if your basement is below ground level. Talk to a professional or consult local building codes for guidance.
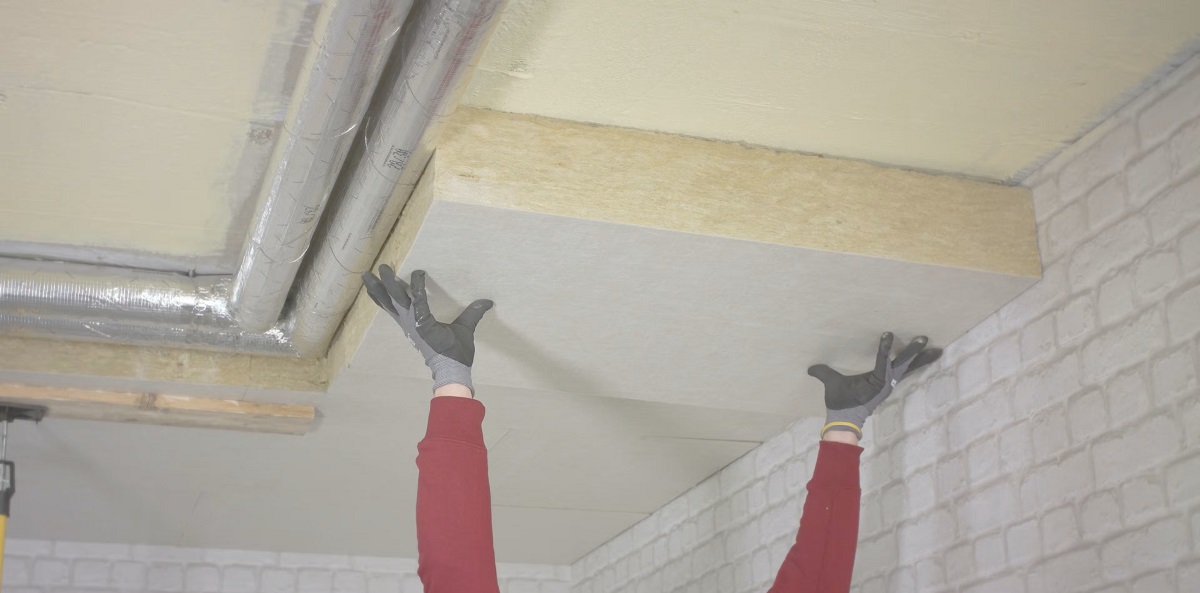
- Install the barrier following manufacturer instructions: If you determine that a moisture barrier is required, choose an appropriate barrier material and follow the manufacturer’s instructions for installation. Common moisture barrier options include plastic sheeting (polyethylene), vapor barriers, or moisture-resistant drywall. Install the barrier by applying it directly onto the exposed ceiling joists or furring strips, ensuring a tight and secure fit.
Installing a moisture barrier can help protect your drywall from moisture-related issues such as mold and mildew. It acts as a preventive measure, especially in basements prone to high humidity or potential water infiltration. Be sure to carefully assess the need for a moisture barrier and follow the proper installation instructions to ensure its effectiveness.
When drywalling a basement ceiling, be sure to use moisture-resistant drywall to prevent damage from potential moisture and humidity in the basement.
Read more: How To Repair Drywall Tape On Ceiling
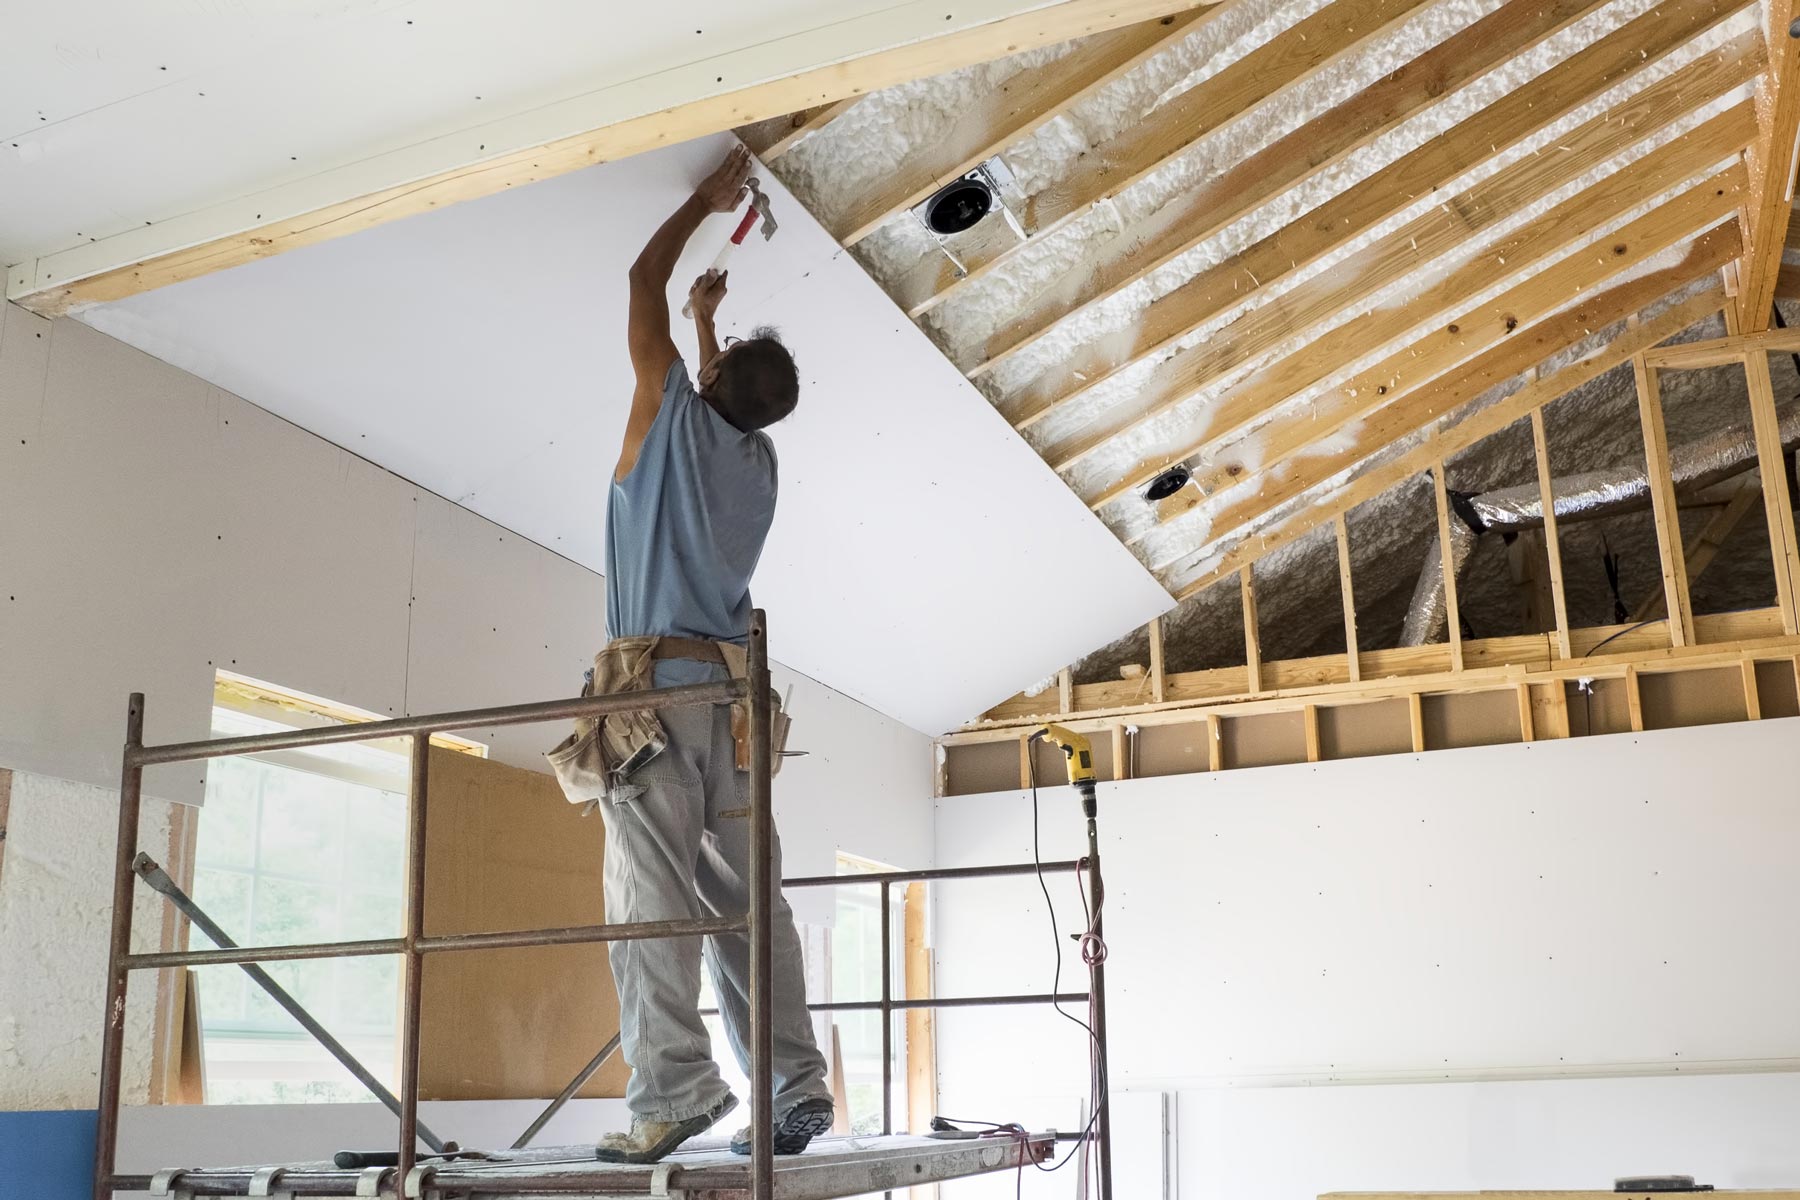
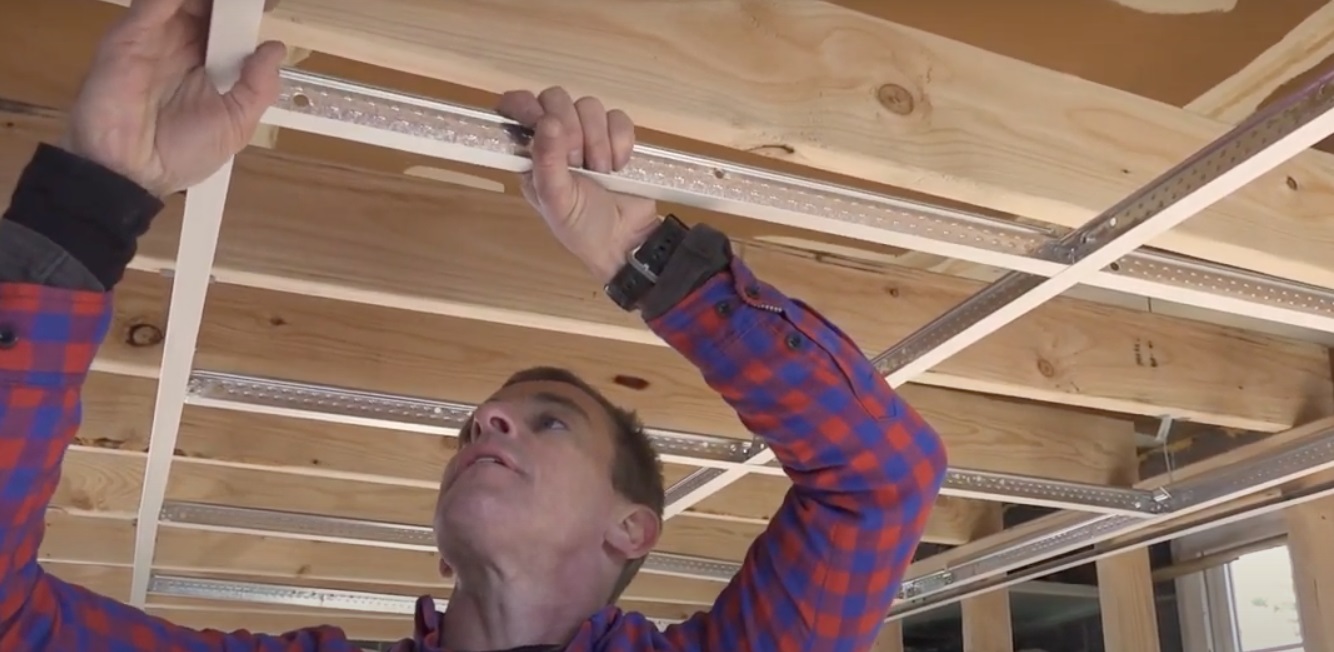
Step 5: Install the drywall sheets
Now it’s time to install the drywall sheets on your basement ceiling. This step involves starting at one corner of the ceiling, lifting and holding the drywall sheets in place, attaching them to the ceiling joists using screws, and cutting holes for light fixtures, vents, or other necessary openings. Follow these steps for a successful drywall installation:
- Start at one corner of the ceiling: Begin your installation at one corner of the basement ceiling. This will serve as your starting point to ensure a neat and organized layout.
- Lift and hold the drywall sheets in place: Lift a drywall sheet and position it against the ceiling, aligning it with the corner of the room. Have a helper hold the other end of the drywall sheet to ensure it stays in place during installation.
- Attach the drywall to the ceiling joists using screws: Using a drill and drywall screws, secure the drywall sheet to the ceiling joists. Start in the center of the sheet and work your way towards the edges, spacing the screws approximately 16 inches apart. Be careful not to over-tighten the screws, as this can break the drywall surface.
- Cut holes for light fixtures, vents, or other necessary openings: Measure and mark the location of any light fixtures, vents, or other openings on the drywall sheet. Use a drywall saw or a router to carefully cut out the marked areas, ensuring a clean and precise opening. Take care to handle the saw or router with caution to avoid any injuries.
Continue the installation process by repeating these steps for each drywall sheet, working your way across the basement ceiling. Ensure that the edges of adjacent sheets meet tightly without any gaps. Use a taping knife to remove excess joint compound that may squeeze out from the seams during installation.
Remember to work methodically and carefully during the installation to achieve a professional-looking finish. Take breaks as needed and enlist the help of a friend or family member to make the installation process smoother and more manageable.
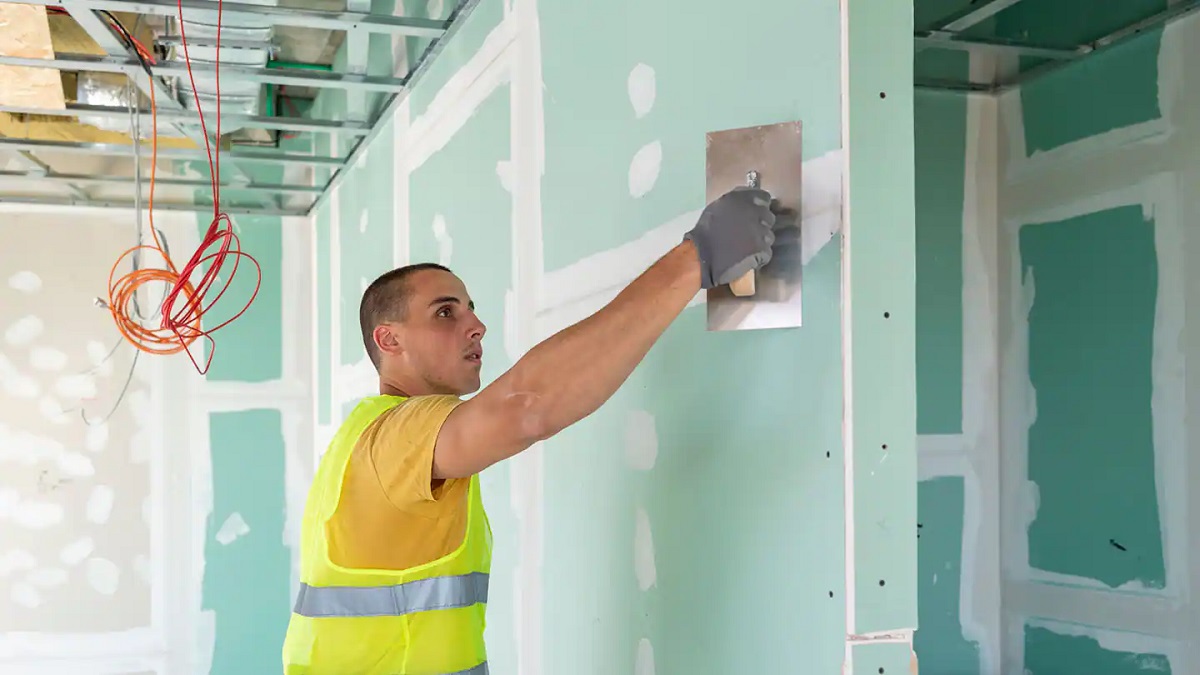
Step 6: Taping and mudding
After the drywall sheets are securely installed on your basement ceiling, it’s time to move on to taping and mudding. This step involves applying joint compound over the seams of the drywall sheets, embedding joint tape into the wet compound, smoothing out excess compound using a taping knife, allowing the compound to dry, and sanding the surface. Follow these steps for a seamless finish:
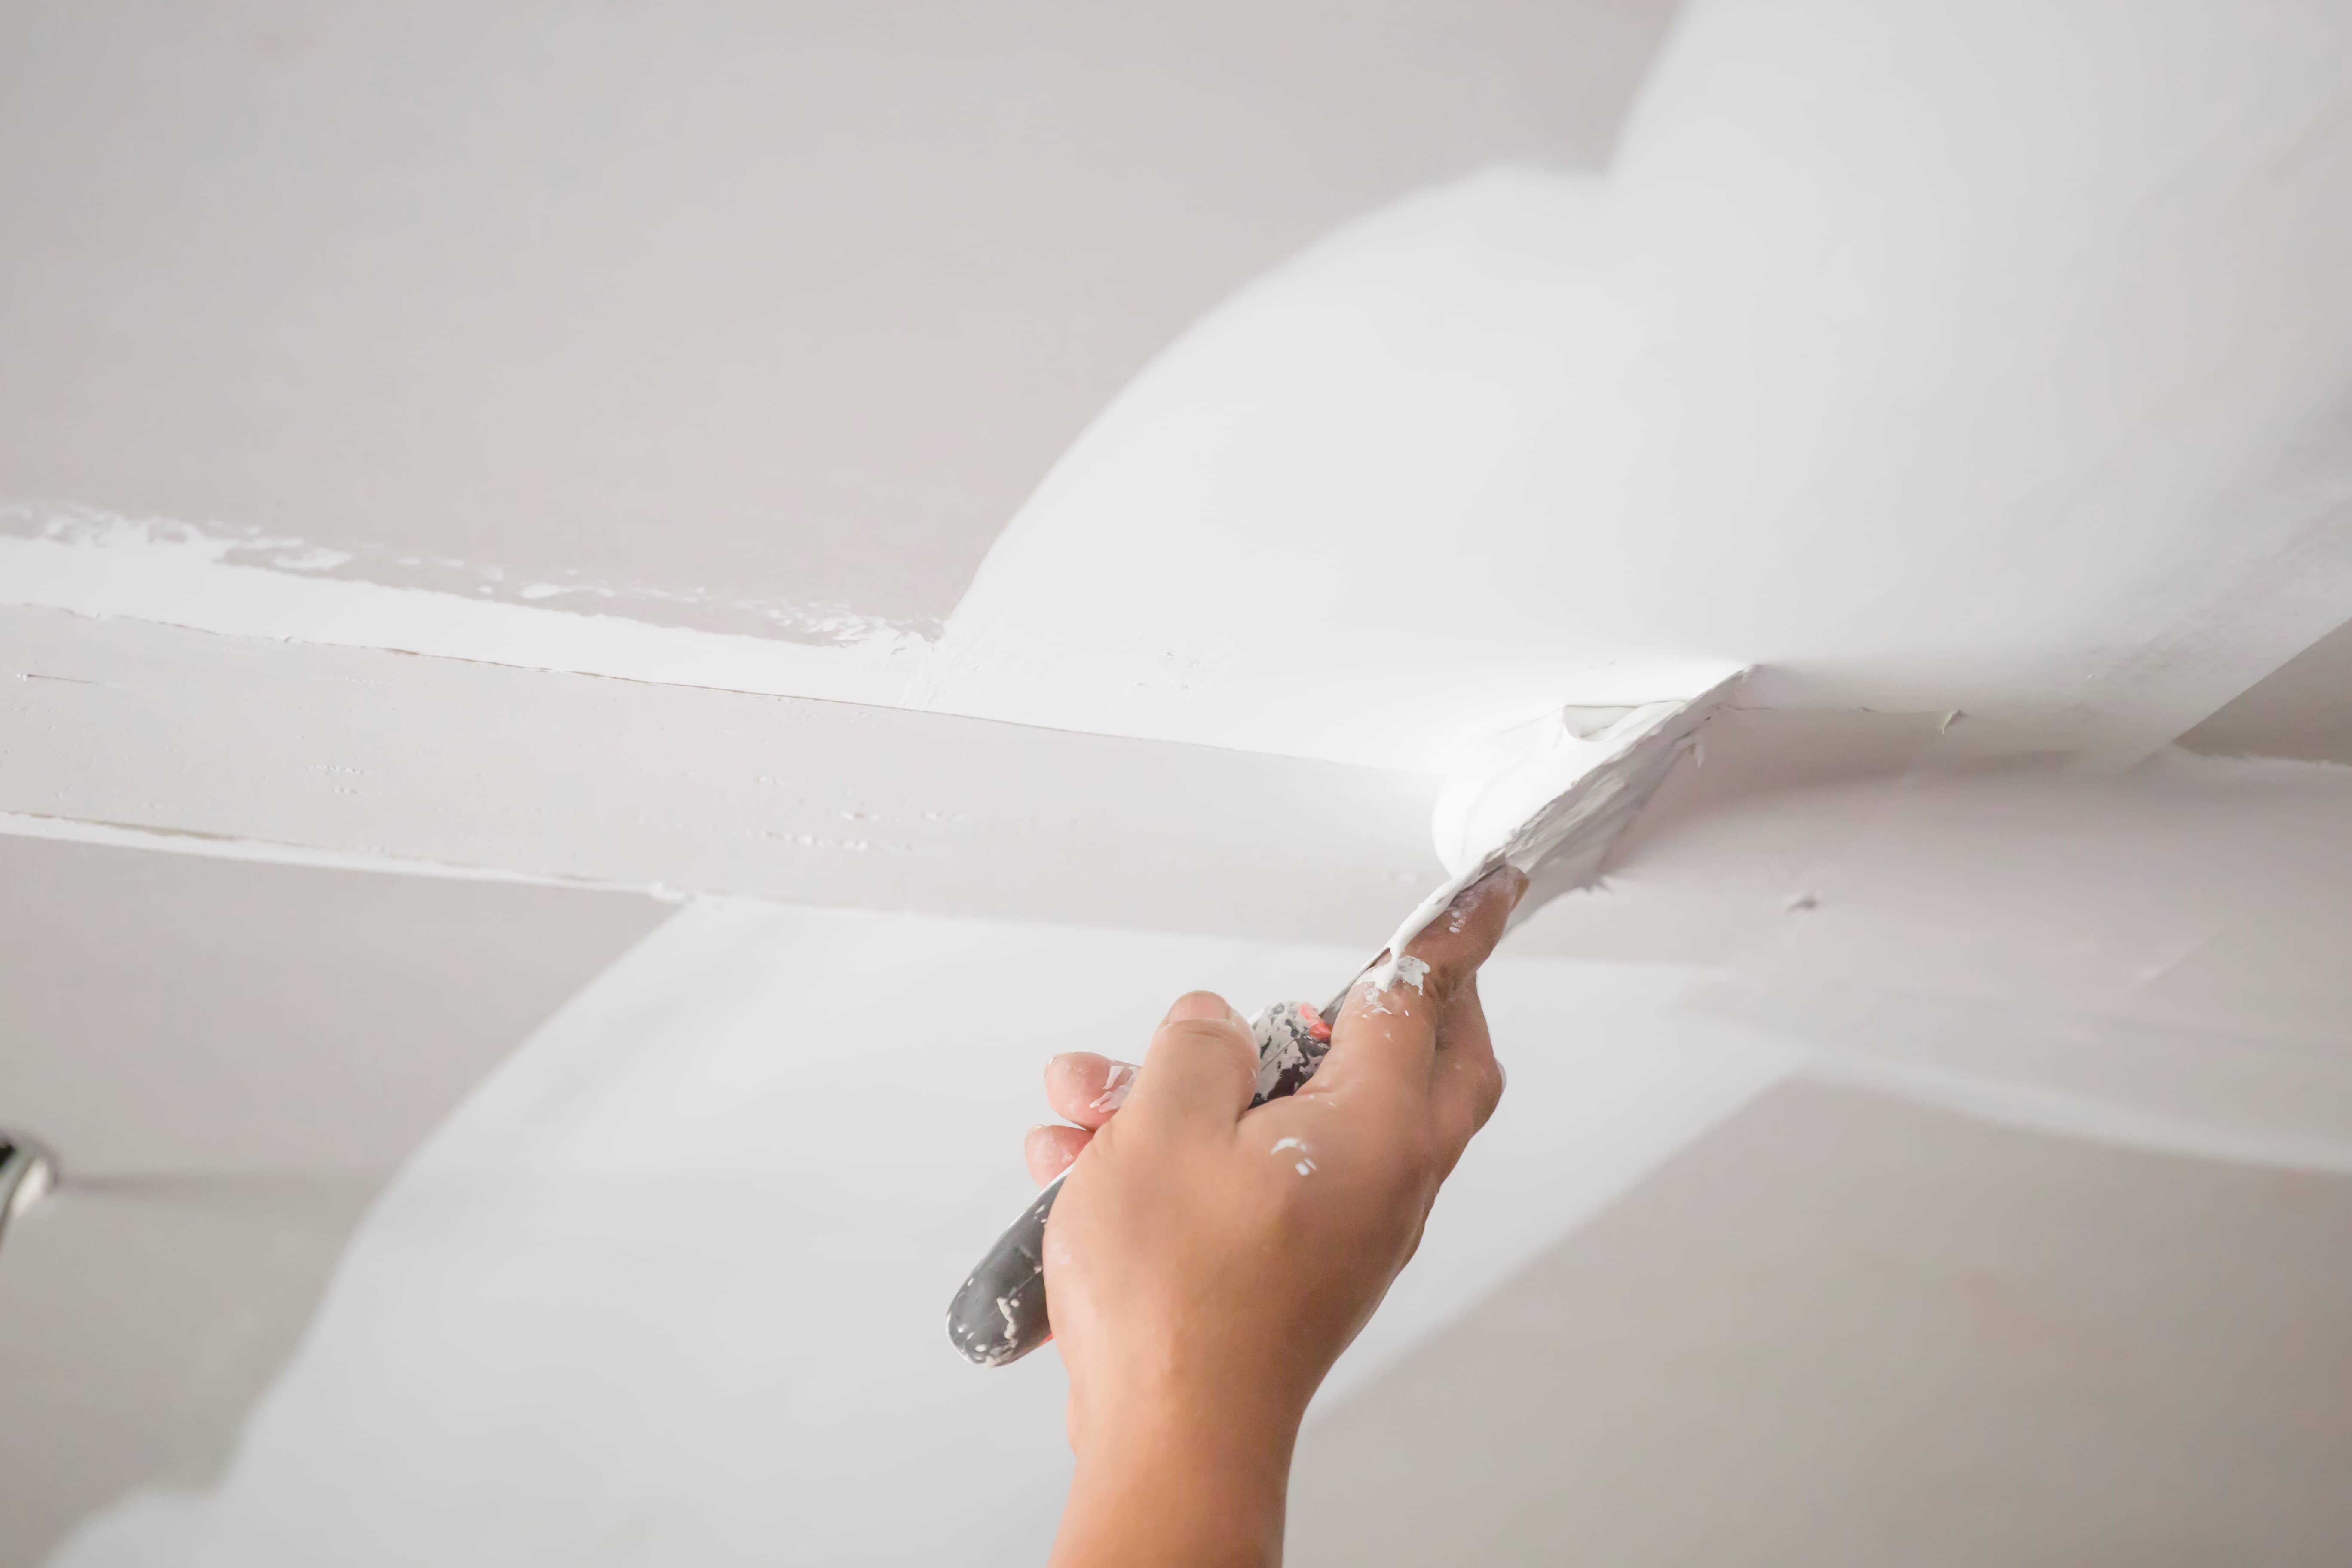
- Apply joint compound over the seams of the drywall sheets: Using a taping knife, apply a thin layer of joint compound directly over the seams of the drywall sheets. Extend the compound about 6 inches on either side of the seam, ensuring full coverage.
- Embed joint tape into the wet compound: Immediately after applying the joint compound, press a length of joint tape into the wet compound along the seam. Use the taping knife to gently smooth out the tape, ensuring it adheres well and is free of any air bubbles or wrinkles.
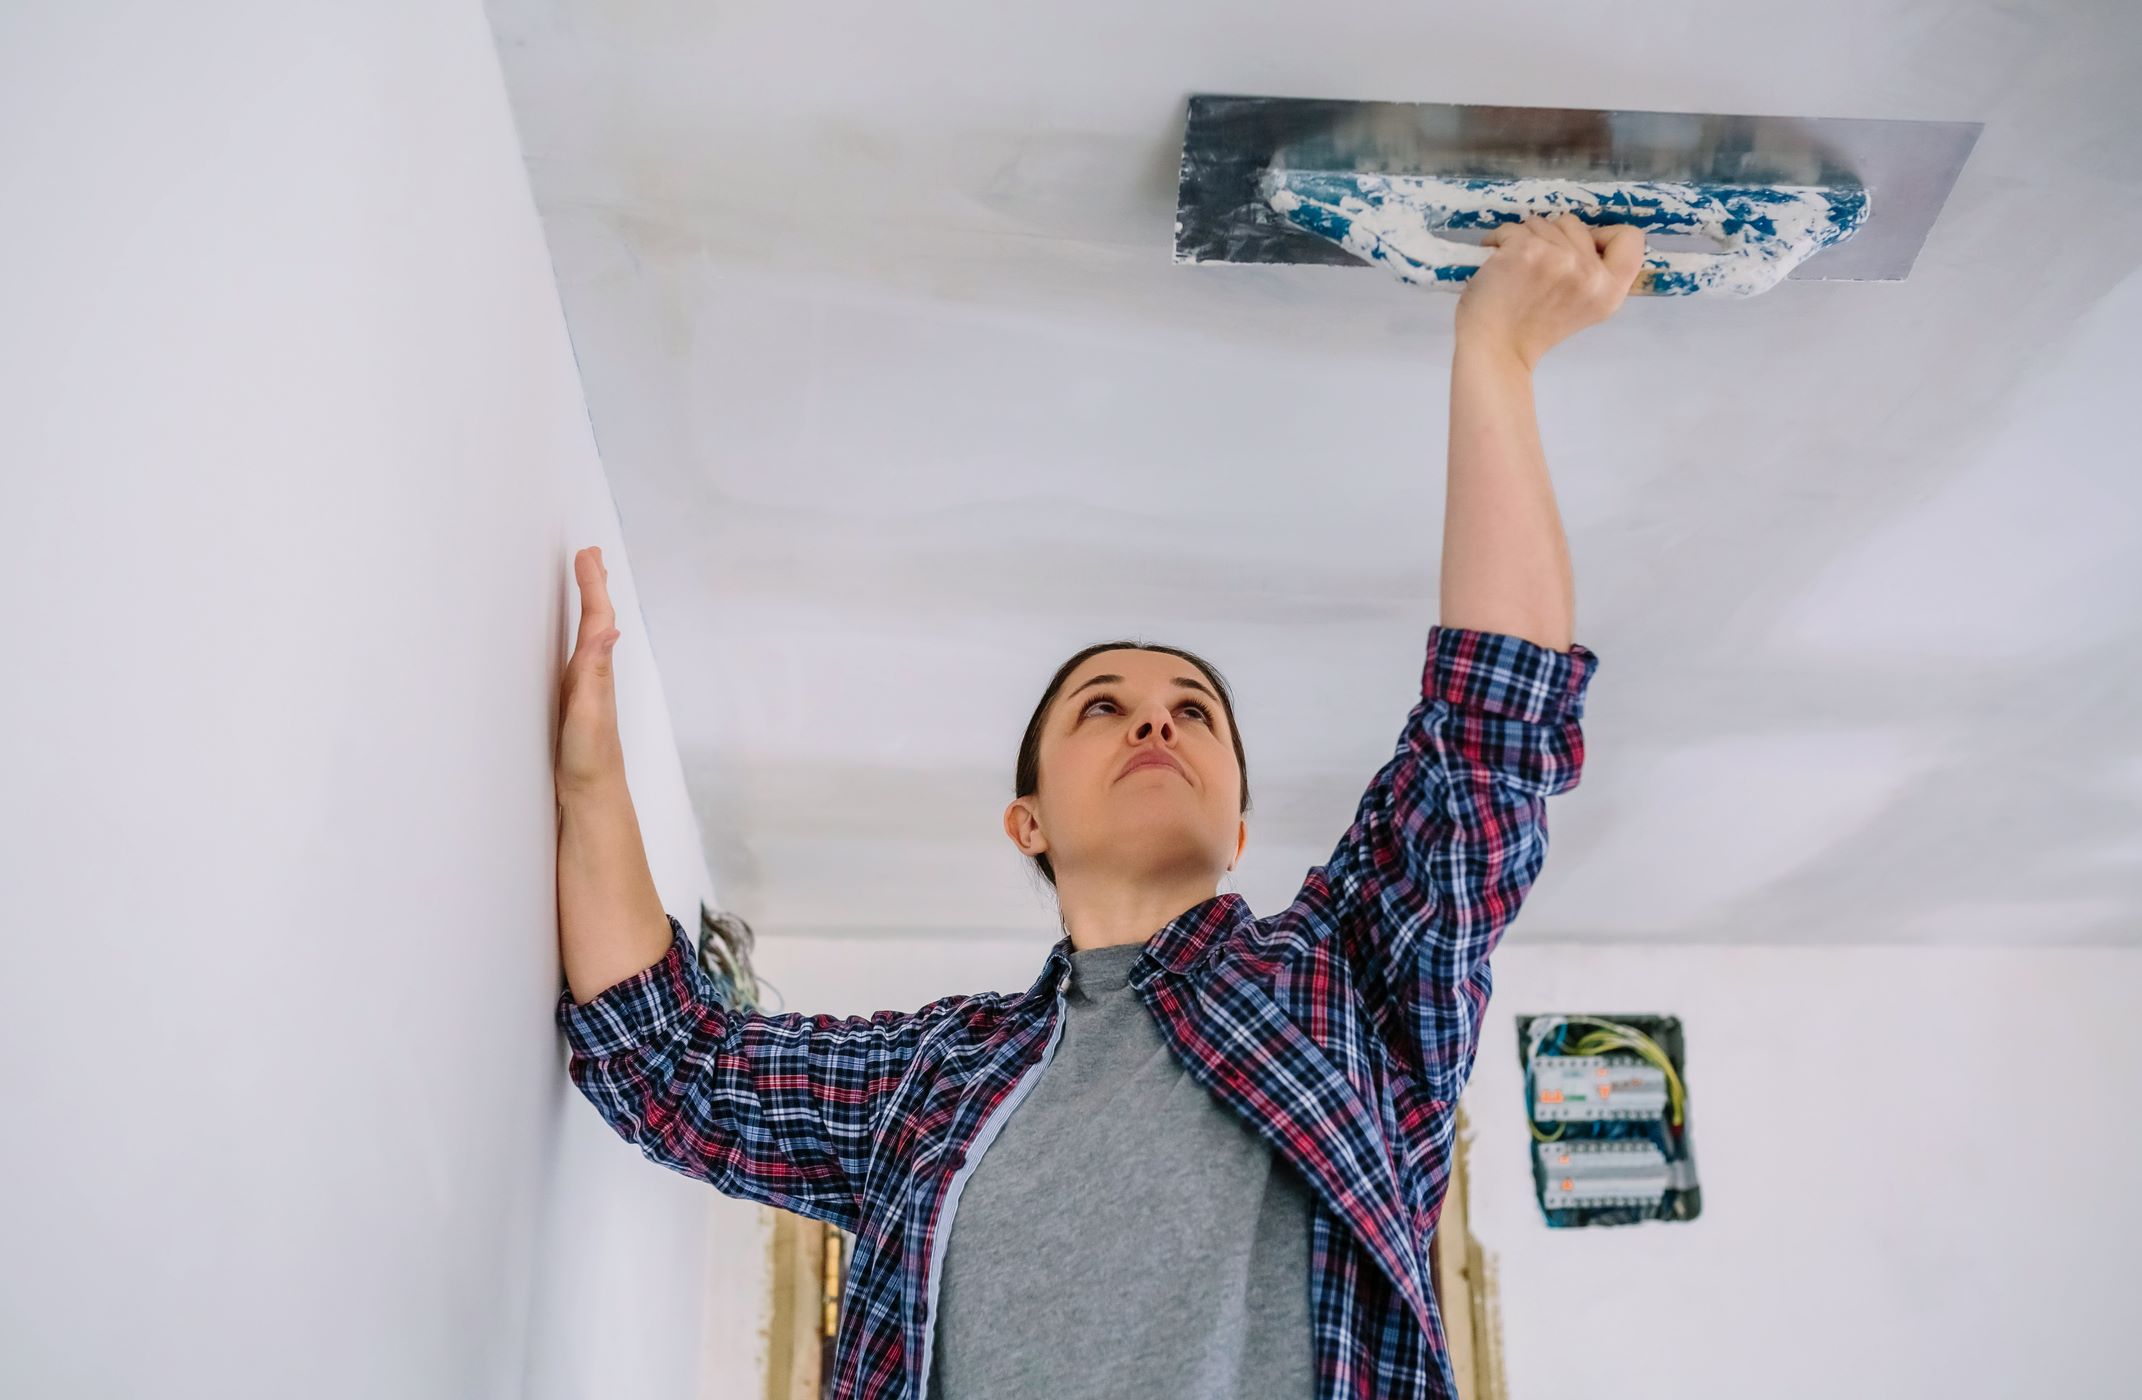
- Smooth out excess compound using a taping knife: Once the joint tape is in place, use the taping knife to smooth out the excess joint compound, feathering the edges to create a seamless transition between the drywall and the tape. Remove any excess compound to achieve a flat and even surface.
- Allow the compound to dry and sand the surface: Allow the joint compound to dry completely according to the manufacturer’s instructions. Once dry, use a drywall sander or sanding block to smooth out any imperfections, creating a smooth and uniform surface. Be sure to wear a dust mask while sanding to protect against airborne particles.
After sanding, inspect the surface for any visible imperfections or rough spots. Apply additional coats of joint compound, if necessary, to achieve a flawless finish. Repeat the mudding and sanding process until all seams and screw holes are seamlessly blended into the drywall surface.
Remember to allow sufficient drying time between coats and sanding to achieve the best results. Patience and attention to detail are key in this step to ensure a professional-looking finish for your basement ceiling.
Step 7: Finishing touches
Once the taping and mudding process is complete on your basement ceiling, it’s time to add the finishing touches. This final step involves applying additional coats of joint compound if necessary, sanding the surface to achieve a smooth finish, and priming the drywall before applying paint or texture. Take these steps to achieve a professional and polished look:
- Apply additional coats of joint compound if necessary: Inspect the drywall surface after the initial mudding and sanding process. If there are any visible imperfections, such as uneven seams or rough areas, apply another thin layer of joint compound using a taping knife. Feather the edges to create a smooth transition and blend it with the surrounding area.
- Sand the surface to achieve a smooth finish: After each coat of joint compound has dried, lightly sand the surface with a drywall sander or sanding block. This step helps to smooth out any remaining imperfections, ensuring a seamless and uniform finish. Be thorough but gentle to avoid damaging the drywall.
- Prime the drywall before applying paint or texture: Once the surface is smooth and free of imperfections, it’s important to apply a coat of primer to the drywall. Priming helps seal the drywall and creates a smooth surface for paint or texture application. Choose a primer suitable for drywall and follow the manufacturer’s instructions for application and drying time.
After the primer has dried, you’re ready to proceed with either painting or applying texture to your basement ceiling, depending on your desired finish. Whether you choose to paint the ceiling a solid color or add texture for a more decorative look, ensure you follow the manufacturer’s instructions for the chosen product.
Remember, the finishing touches are what bring your basement ceiling project to life. Take your time with this step to create a flawless and visually appealing result. The effort and attention to detail will be well worth it when you step back and admire your beautifully finished basement ceiling.
Conclusion
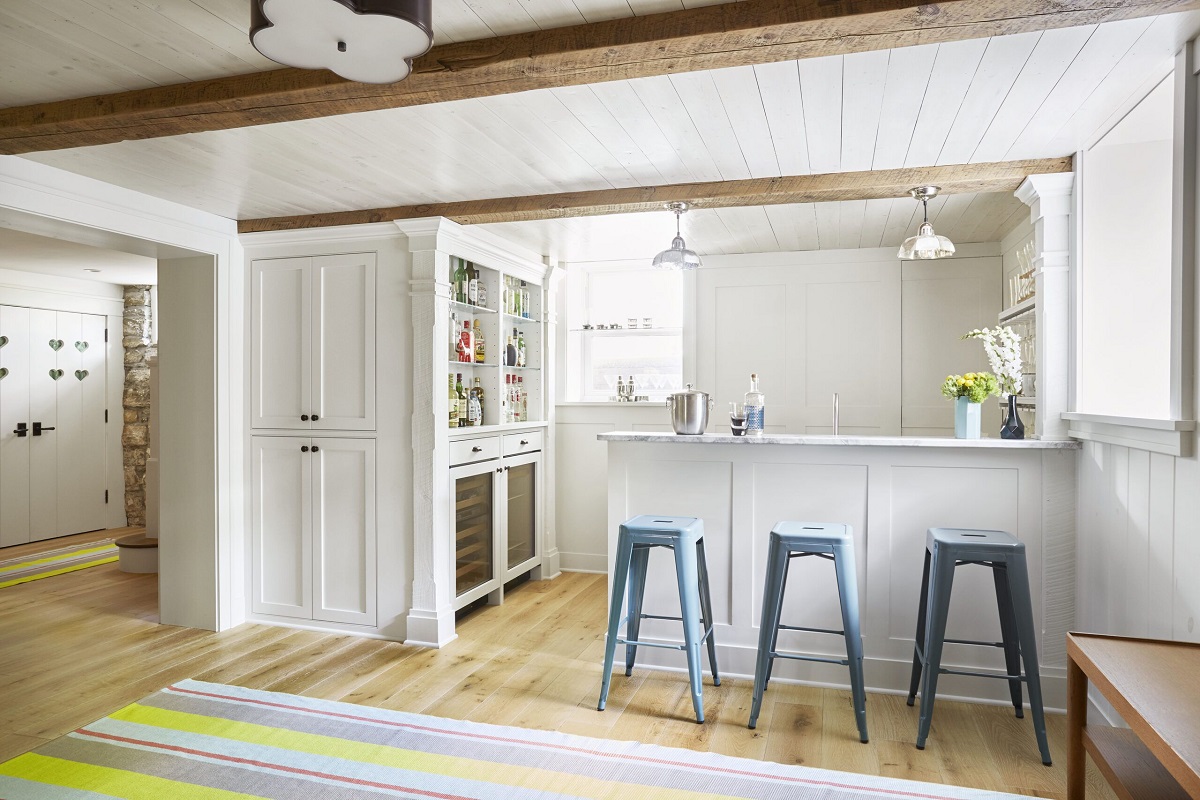
Congratulations! You have successfully learned how to drywall a basement ceiling. By following the step-by-step guide provided, you have transformed your basement into a functional and inviting space. Installing drywall on the ceiling not only enhances the overall aesthetics of the room but also provides insulation and soundproofing benefits.
Throughout the process, you learned how to prepare the basement ceiling by clearing the area and checking for any structural issues. You measured and planned accordingly, ensuring you had the right materials and tools for the job. By following proper installation techniques, you attached the drywall sheets securely to the ceiling joists.
Taping and mudding the seams, along with sanding the surface, allowed you to achieve a smooth and seamless finish. Adding the finishing touches, including applying additional coats of joint compound, sanding, and priming, prepared the drywall for paint or texture application.
Remember, safety should always be a priority during any renovation project. Use caution when handling tools, wear protective gear, and enlist the help of a friend or family member when needed. Taking your time and paying attention to detail will ensure professional-looking results.
Now that you’ve completed the drywall installation on your basement ceiling, you can proceed with the next steps in transforming your basement into a functional and comfortable living space. Whether you’re creating a home office, entertainment area, or extra living space, a finished basement adds value and functionality to your home.
Thank you for following this comprehensive guide. We hope it has been helpful in your drywalling project. Good luck, and enjoy your newly finished basement!
Now that you've got the scoop on installing drywall in your basement ceiling, why not dive deeper into the world of ceiling upgrades? Our next feature offers a fascinating look at how acoustic ceilings can enhance room acoustics while also providing style and functionality. Whether you're considering renovations or simply curious about different ceiling types, this article is packed with valuable insights that are sure to inform and inspire your next project.
Frequently Asked Questions about How To Drywall A Basement Ceiling
Was this page helpful?
At Storables.com, we guarantee accurate and reliable information. Our content, validated by Expert Board Contributors, is crafted following stringent Editorial Policies. We're committed to providing you with well-researched, expert-backed insights for all your informational needs.


0 thoughts on “How To Drywall A Basement Ceiling”