
Articles
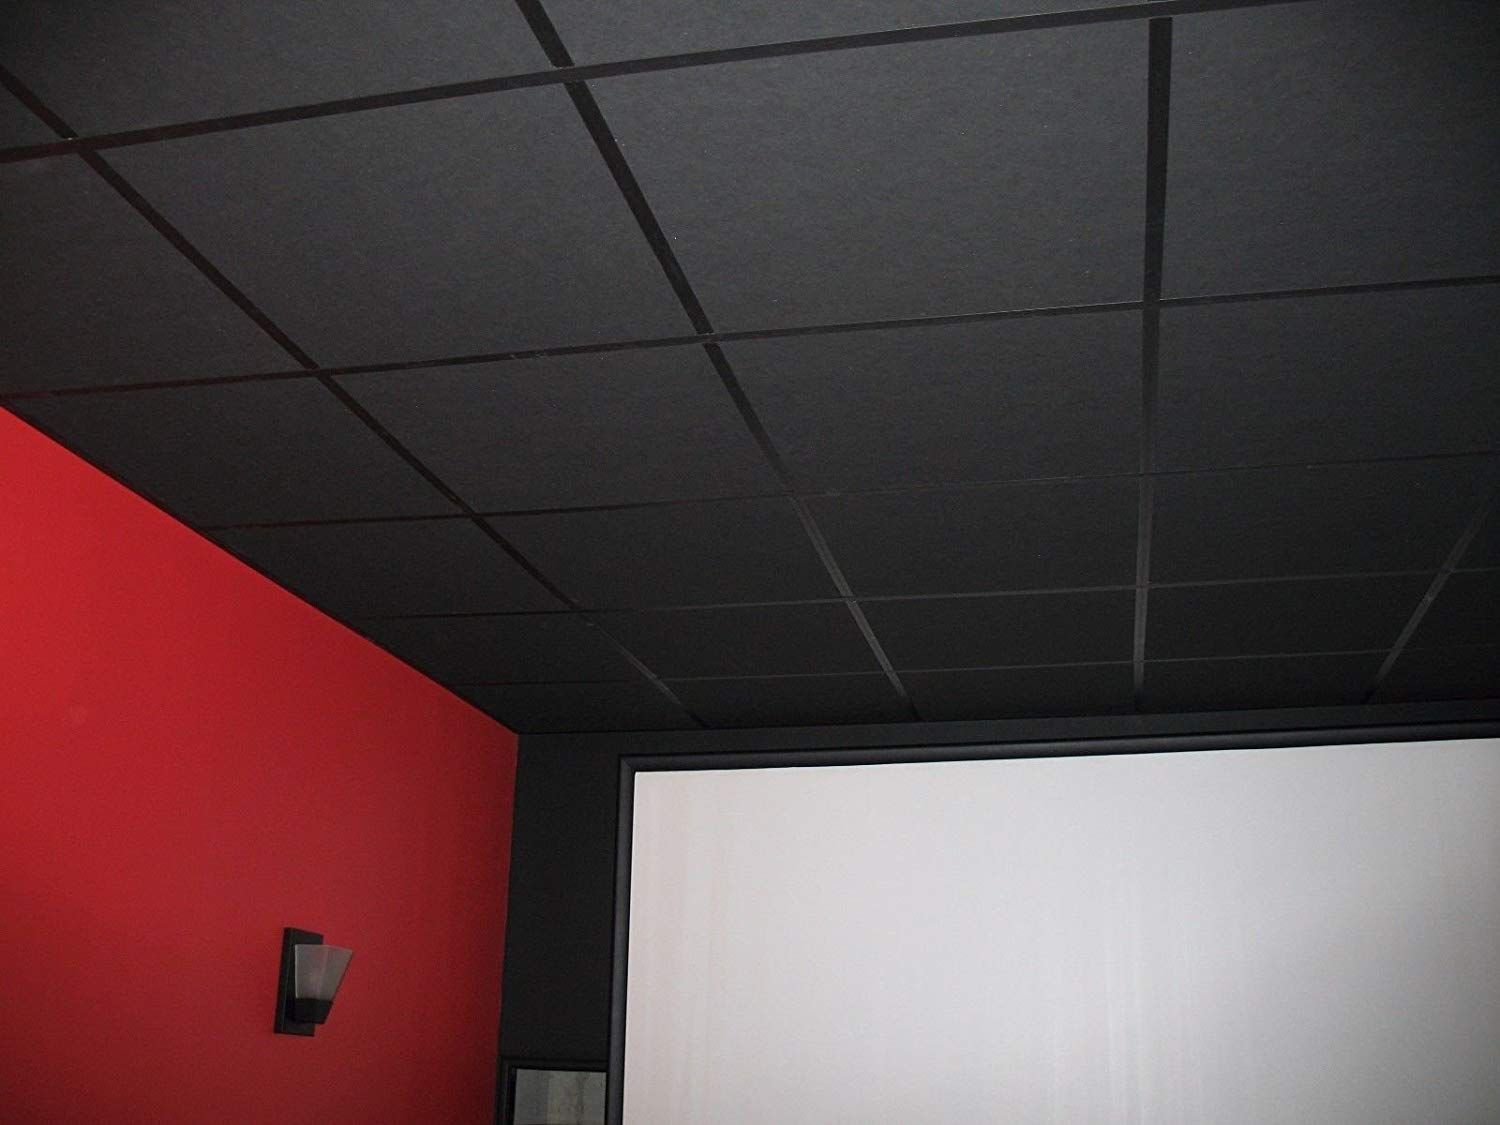
How To Install Ceiling Tiles
Modified: December 7, 2023
Learn how to install ceiling tiles with our informative articles. Step-by-step instructions and tips for a successful ceiling tile installation.
(Many of the links in this article redirect to a specific reviewed product. Your purchase of these products through affiliate links helps to generate commission for Storables.com, at no extra cost. Learn more)
Introduction
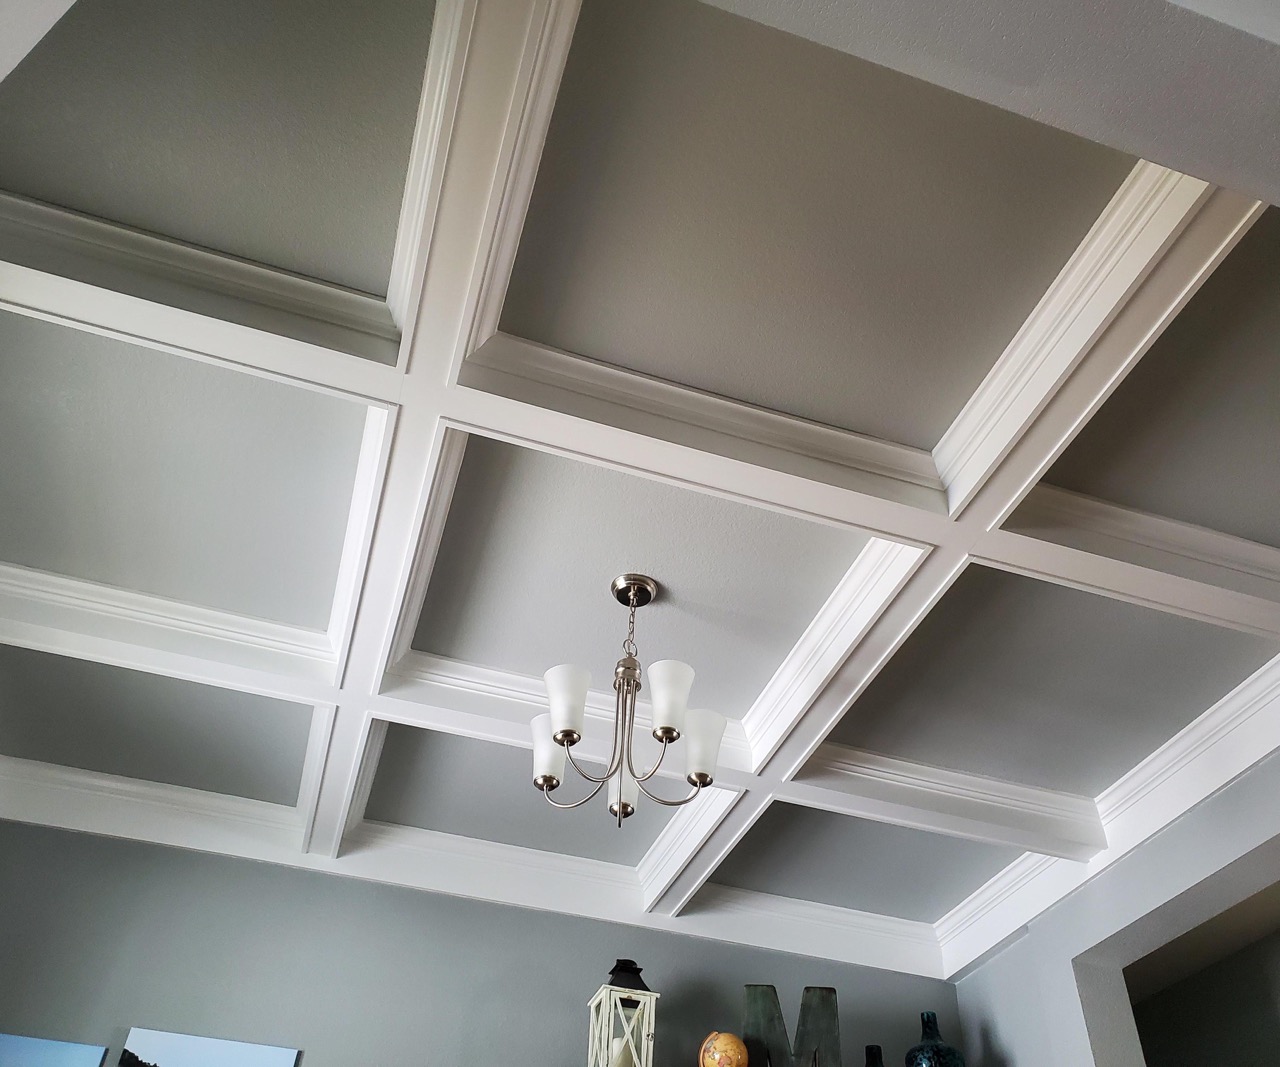
Installing ceiling tiles is a great way to enhance the aesthetic appeal of any space. Whether you want to add a touch of elegance to your home decor or transform a commercial setting, ceiling tiles can provide a stylish and functional solution. These tiles not only improve the look of the room but also help to dampen noise and improve acoustics.
In this article, we will guide you through the step-by-step process of installing ceiling tiles. From measuring and preparing the area to attaching the tiles, we will cover everything you need to know to ensure a successful installation. So, grab your tools and let’s get started!
Key Takeaways:
- Installing ceiling tiles is a DIY project that can elevate the aesthetic appeal and functionality of any space. Attention to detail, accurate measurements, and following instructions are crucial for a successful installation.
- The installation process involves measuring, preparing, gathering materials, removing existing ceiling, installing support grid, cutting and fitting tiles, attaching them to the grid, and adding finishing touches. Enjoy the transformed space and compliments on your stunning ceiling tiles!
Read more: How To Install Tin Ceiling Tile
Step 1: Measure and Prepare
The first and most important step in installing ceiling tiles is to accurately measure the area and prepare it for the installation process. Here’s what you need to do:
- Measure the ceiling: Use a tape measure to determine the dimensions of the ceiling. Measure the length and width of the room, and calculate the total square footage. This will help you determine the number of ceiling tiles you will need.
- Plan the tile layout: Before you start installing the tiles, plan the layout to create a balanced and visually appealing design. Decide on the orientation and pattern of the tiles, taking into consideration any light fixtures or vents that may need to be accommodated.
- Prep the ceiling: Clear the area of any furniture or obstructions. Ensure that the ceiling is clean, dry, and free from any loose debris. Repair any cracks or damages in the ceiling surface to ensure a smooth and even installation.
By carefully measuring and preparing the area, you can ensure that the installation process goes smoothly and that your ceiling tiles fit perfectly.
Step 2: Gather Materials and Tools
Before you begin installing ceiling tiles, it’s important to gather all the necessary materials and tools. Here’s a list of what you will need:
- Ceiling tiles: Choose the type and design of ceiling tiles that best suit your needs and style preferences. Consider factors such as material, color, texture, and pattern to achieve the desired look.
- Grid system: Depending on the type of ceiling tiles you choose, you may need a grid system to support the tiles. This typically includes main runners, cross tees, and wall molding.
- Measuring tape: A measuring tape is essential for accurately measuring the dimensions of the ceiling and determining the placement of the tiles.
- Pencil or marker: Use a pencil or marker to mark the measurements on the ceiling and grid system. This will help guide you during the installation process.
- Utility knife: A sharp utility knife is necessary for cutting ceiling tiles and making precise adjustments as needed. Make sure to use a fresh blade for clean and accurate cuts.
- Adhesive or clips: Depending on the type of ceiling tiles and grid system, you may need adhesive or clips to secure the tiles in place. Follow the manufacturer’s instructions for the type of adhesive or clips to use.
- Safety equipment: It’s important to prioritize safety during the installation process. Wear safety goggles, gloves, and a dust mask to protect yourself from any potential hazards.
- Step ladder or scaffolding: Depending on the height of the ceiling, you will need a step ladder or scaffolding to comfortably reach and install the tiles. Ensure that the ladder or scaffolding is sturdy and stable.
By gathering all the necessary materials and tools beforehand, you can streamline the installation process and ensure that you have everything you need to complete the project efficiently.
Step 3: Remove Existing Ceiling
If you have an existing ceiling in place, you’ll need to remove it before installing the new ceiling tiles. Here’s how to do it:
- Prepare the area: Start by removing any furniture or belongings from the room. Place drop cloths or plastic sheets on the floor to protect it from debris and dust.
- Turn off electricity: Before you begin any demolition work, it’s crucial to turn off the electricity to the room. Locate the breaker box and switch off the circuit that powers the ceiling lights or any other electrical connections.
- Remove light fixtures and vents: If you have any light fixtures or vents on the existing ceiling, carefully remove them using a screwdriver or appropriate tools. Take note of the wiring connections to ensure you can easily reinstall them later.
- Cut and remove the old ceiling: Use a utility knife to score the existing ceiling in a grid pattern. This will make it easier to remove in sections. Start cutting along the scored lines and carefully remove each section, taking care not to damage the underlying structure.
- Dispose of debris: Collect the removed ceiling tiles and debris and dispose of them properly. Place them in garbage bags or containers for easy disposal.
- Inspect the underlying structure: After removing the old ceiling, inspect the underlying structure for any damage or issues that need to be addressed before installing the new ceiling. Make any necessary repairs or reinforcements to ensure a solid foundation.
Removing the existing ceiling is a crucial step in the installation process, as it allows for a clean slate to work with. Take your time and exercise caution to avoid any accidents or damage to the surrounding area.
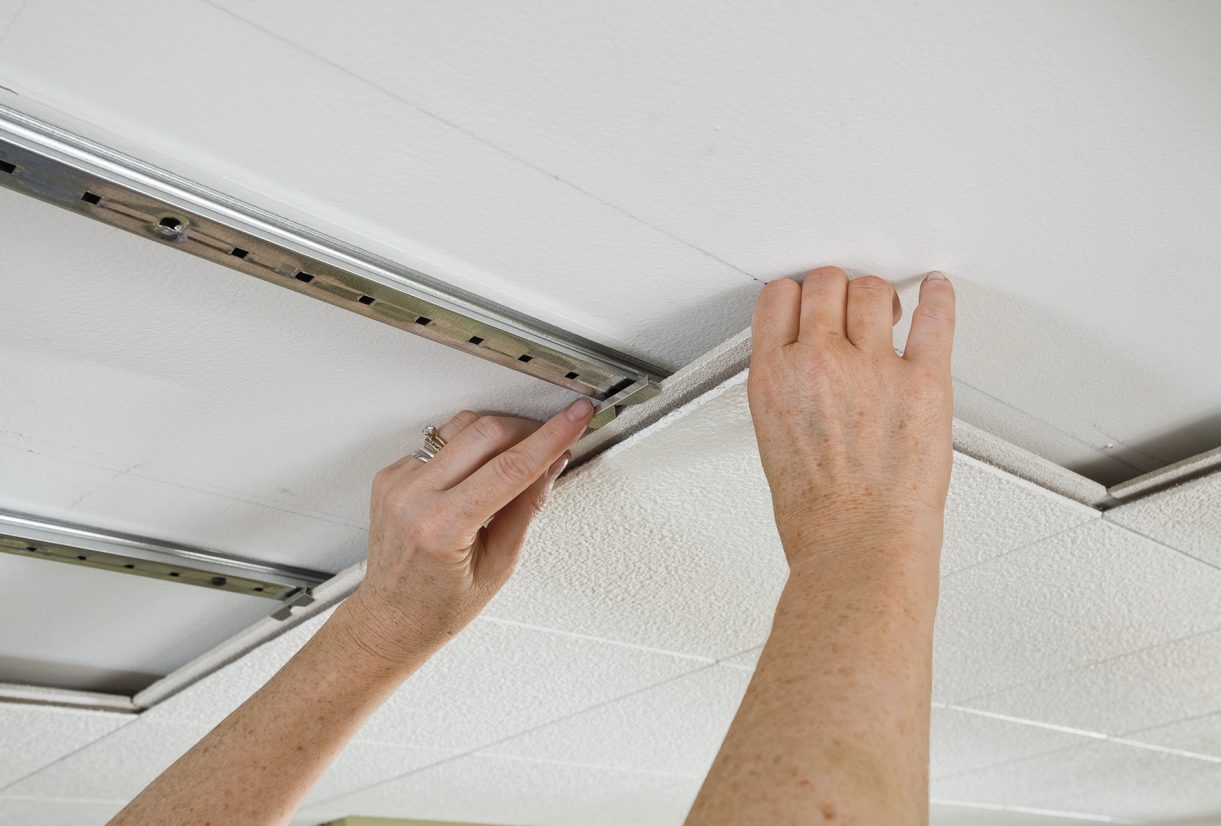
Step 4: Install Support Grid
After removing the old ceiling, it’s time to install the support grid for the new ceiling tiles. The grid system provides stability and holds the tiles in place. Follow these steps to install the support grid:
- Map out the grid: Begin by mapping out the grid pattern on the ceiling using a pencil or marker. Start with the main runners, which are the longest pieces that run parallel to the walls. Measure and mark their positions according to the dimensions of the room.
- Secure the wall moldings: Install the wall moldings along the perimeter of the ceiling, using screws or nails to secure them to the walls. Ensure that the moldings are level and straight.
- Attach the main runners: Install the main runners by sliding them into the wall moldings. Align them with the markings you made on the ceiling. Secure them in place using the appropriate clips or brackets provided with the grid system.
- Add cross tees: Once the main runners are in place, insert the cross tees across the main runners, creating a grid pattern. Make sure the cross tees are level and properly aligned with the markings on the ceiling.
- Adjust for light fixtures: If you have light fixtures or vents, cut and position the appropriate openings in the grid system to accommodate them. This may require cutting and adjusting the main runners or cross tees, ensuring a proper fit.
- Secure the grid system: Once the grid is complete, ensure that it is securely fastened to the walls and ceiling. Make any necessary adjustments to ensure a level and stable grid.
Installing the support grid is a critical step in the installation process, as it provides the foundation for the ceiling tiles. Take your time to ensure the grid is properly aligned and securely installed.
When installing ceiling tiles, make sure to measure and mark the exact center of the room to ensure a balanced and symmetrical layout. This will help to create a professional and polished look for your ceiling.
Step 5: Cut and Fit Ceiling Tiles
With the support grid in place, it’s time to cut and fit the ceiling tiles. Follow these steps to achieve a precise and seamless installation:
- Measure and mark the tiles: Using a measuring tape, measure the dimensions of the space where a tile is needed. Transfer these measurements onto the backside of the tile using a pencil or marker.
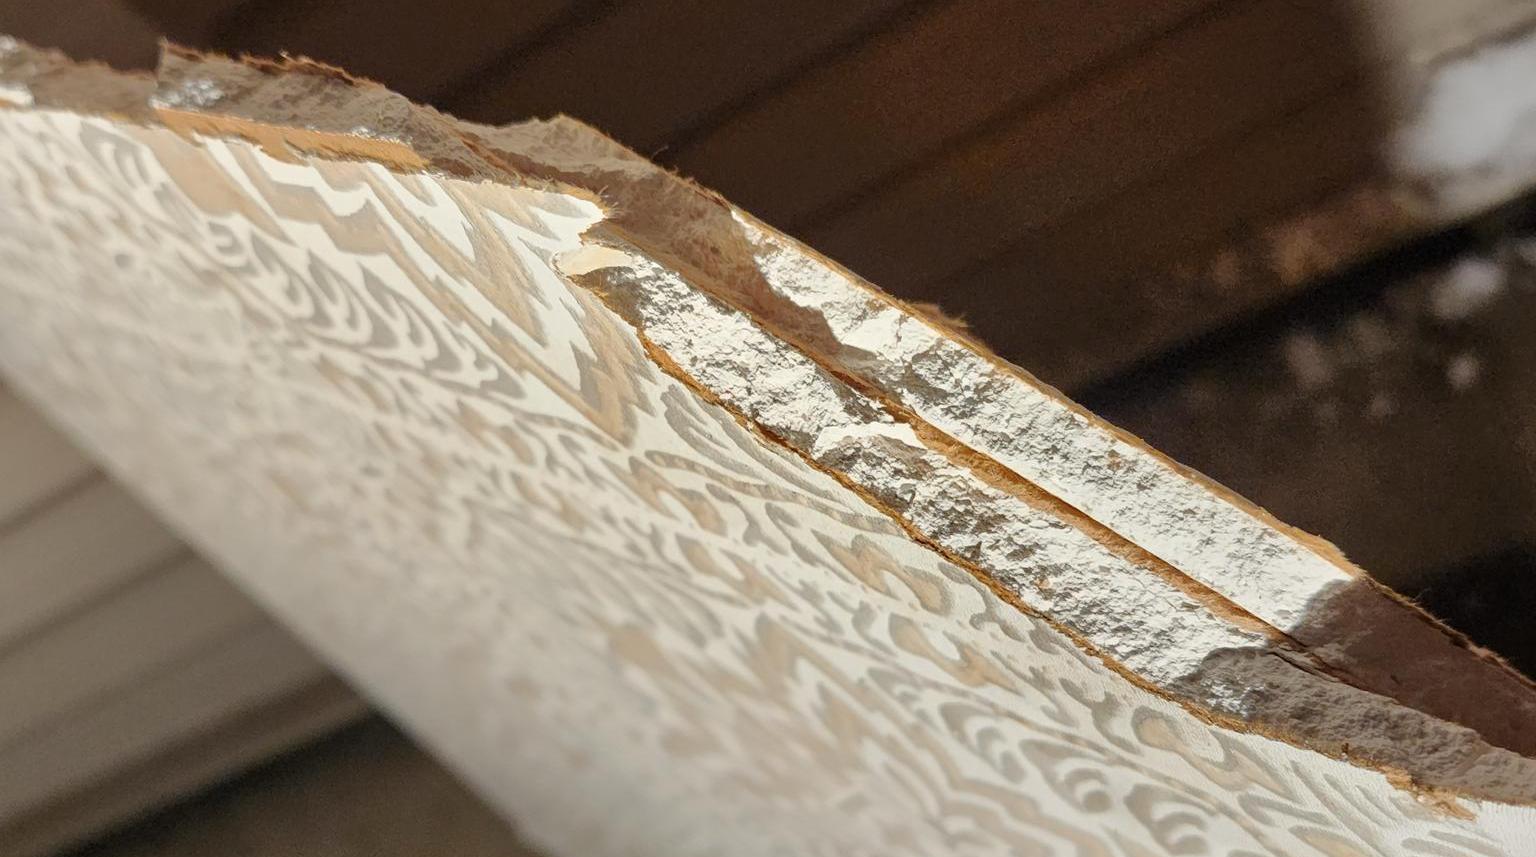
- Cut the tiles: Carefully cut the tiles along the marked lines using a sharp utility knife. Be sure to use a straightedge as a guide to achieve clean and straight cuts. Take your time and be precise during this step.
- Test the fit: Once a tile is cut, place it in the corresponding grid space to test the fit. It should slide in easily but still remain snug within the grid. Make any necessary adjustments or trims to ensure a proper fit.
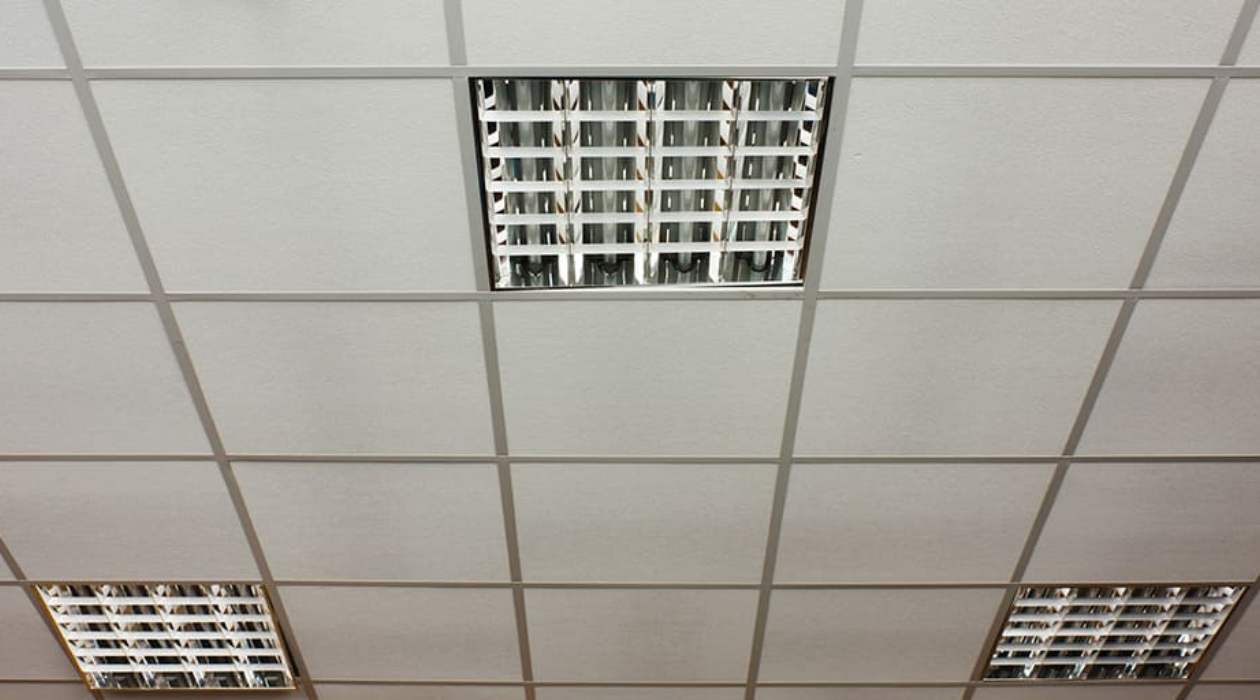
- Work around obstacles: If you encounter light fixtures, vents, or other obstacles on the ceiling, measure and mark the necessary openings on the tiles. Use a hole saw or a utility knife to carefully cut out these openings, ensuring a precise fit around the obstacles.
- Continue cutting and fitting: Repeat the process of measuring, cutting, testing, and fitting the tiles one by one. Take your time to ensure a consistent and seamless installation. Trim the tiles as needed to accommodate any irregularities in the space.
When cutting and fitting the ceiling tiles, accuracy and attention to detail are key. Take your time to ensure the tiles are cut perfectly and fit securely within the grid system. This will result in a professional and visually pleasing finish.
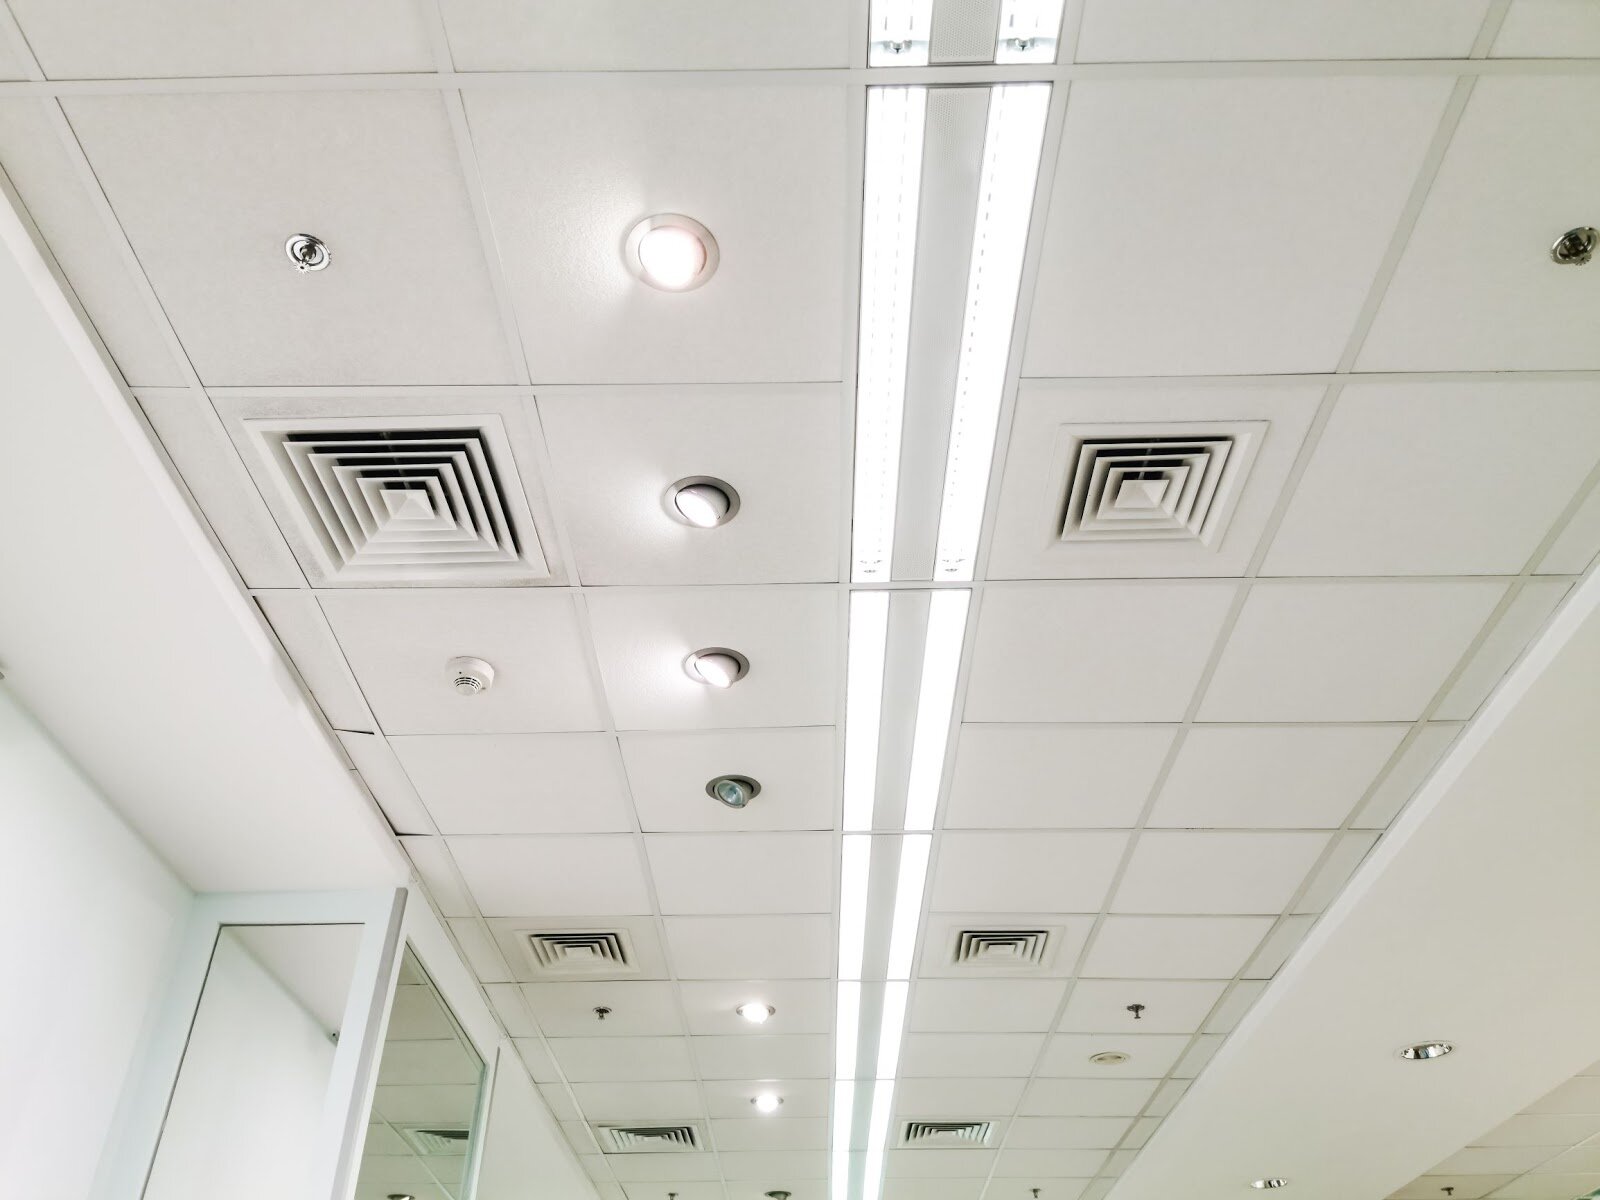
Step 6: Attach Ceiling Tiles to Grid
Now that the support grid is in place and the tiles are cut and fitted, it’s time to attach the ceiling tiles to the grid. Follow these steps to securely install the tiles:
- Apply adhesive (if required): If your ceiling tiles require adhesive to be attached to the grid, carefully follow the manufacturer’s instructions and apply the adhesive to the backside of each tile. Use a putty knife or trowel to spread the adhesive evenly.
- Place the tiles in the grid: Starting from one corner of the room, begin placing the tiles into the grid. Slide the tile up and into the corresponding grid space, ensuring that all edges fit snugly into the grid channels. Press down gently to secure the tile in place.
- Continue tile installation: Work your way across the room, installing one tile at a time. As you go, double-check that each tile is level and properly aligned with adjacent tiles. Make any necessary adjustments for a seamless and uniform appearance.
- Secure the tiles (if required): Depending on your ceiling tile system, you may need to use clips or other fasteners to secure the tiles to the grid. Follow the manufacturer’s instructions to ensure a secure installation.
- Trim tiles as needed: In some cases, you may encounter areas where full-sized tiles cannot fit. Measure and cut smaller pieces of tile to fill these gaps. Use a sharp utility knife and a straightedge to achieve clean and precise cuts.
- Step back and inspect: Once all the tiles are installed, step back and inspect the ceiling for any gaps, misalignments, or imperfections. Make any necessary adjustments or touch-ups to achieve a flawless finish.
Attaching the ceiling tiles to the support grid is the final step in the installation process. Take your time and ensure that each tile is securely in place, resulting in a stunning and professional-looking ceiling.
Step 7: Finishing Touches
After attaching the ceiling tiles to the grid, it’s time to add the finishing touches to complete the installation. Here are some final steps to ensure a polished and professional look:
- Clean the tiles: Use a soft cloth or damp sponge to gently clean the surface of the ceiling tiles. This will remove any dust, dirt, or adhesive residue that may have accumulated during the installation process.
- Paint or embellish (optional): If desired, you can paint the ceiling tiles to further enhance their appearance. Choose a paint color that complements the overall design of the space. Alternatively, consider adding decorative embellishments such as trims or moldings to create a more customized look.
- Reinstall light fixtures and vents: Carefully reinstall any light fixtures, vents, or other accessories that were removed during the installation process. Follow the manufacturer’s instructions to properly reconnect the wiring and ensure they are securely in place.
- Inspect for any touch-ups: Take a thorough look at the entire ceiling to identify any areas that may need touch-ups. This includes checking for any visible seams, uneven edges, or imperfections. Make any necessary repairs or adjustments to achieve a seamless and flawless finish.
- Enjoy your new ceiling: Once all the finishing touches are complete, it’s time to sit back and enjoy the transformation. Admire the new look and ambiance that the ceiling tiles have brought to your space. Bask in the knowledge that you successfully installed them yourself!
The final steps of the installation process are crucial for achieving a professional and refined result. Take the time to clean, inspect, and make any necessary adjustments to ensure that your new ceiling is visually stunning and complements the overall aesthetic of the room.
Conclusion
Congratulations! You have successfully completed the installation of ceiling tiles. By following the step-by-step guide in this article, you have transformed your space into a visually appealing and functional area. Here’s a quick recap of the installation process:
- Measure and prepare the area, ensuring a proper layout and a clean surface.
- Gather all the necessary materials and tools for the installation.
- Remove any existing ceiling to create a blank canvas.
- Install the support grid system for stability and structure.
- Cut and fit the ceiling tiles, ensuring a precise and seamless installation.
- Attach the tiles to the grid using adhesive or clips.
- Add finishing touches such as cleaning, painting, and reinstalling fixtures.
Installing ceiling tiles is a rewarding DIY project that can greatly enhance the aesthetic appeal and functionality of any room. Not only do they provide a beautiful design element, but they can also help with acoustics and noise reduction.
Remember, when installing ceiling tiles, it’s important to pay attention to detail, take accurate measurements, and carefully follow the manufacturer’s instructions. This will ensure a successful and professional-looking installation.
Now, step back and admire your handiwork. Your new ceiling is a testament to your skills and creativity. Enjoy the transformed space and the compliments you’ll receive on your stunning ceiling tiles!
Frequently Asked Questions about How To Install Ceiling Tiles
Was this page helpful?
At Storables.com, we guarantee accurate and reliable information. Our content, validated by Expert Board Contributors, is crafted following stringent Editorial Policies. We're committed to providing you with well-researched, expert-backed insights for all your informational needs.


0 thoughts on “How To Install Ceiling Tiles”