Articles
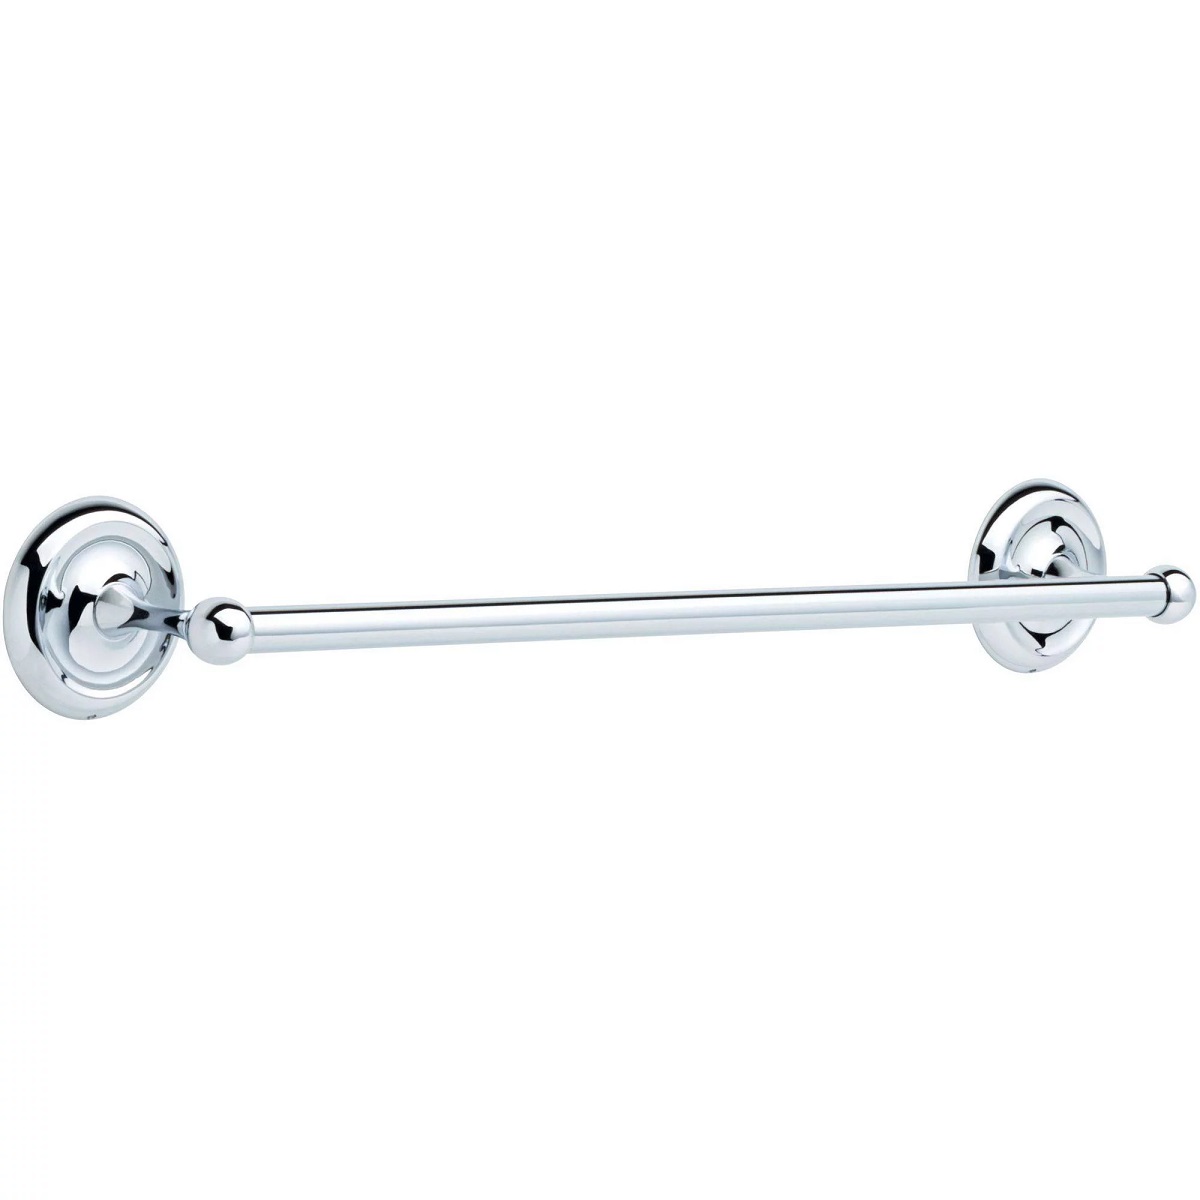
How To Hang Chapter 24 Inch Towel Bar
Modified: March 1, 2024
Discover the best way to hang your Chapter 24 Inch Towel Bar with our informative articles. Get expert tips and tricks for a flawless installation.
(Many of the links in this article redirect to a specific reviewed product. Your purchase of these products through affiliate links helps to generate commission for Storables.com, at no extra cost. Learn more)
Introduction
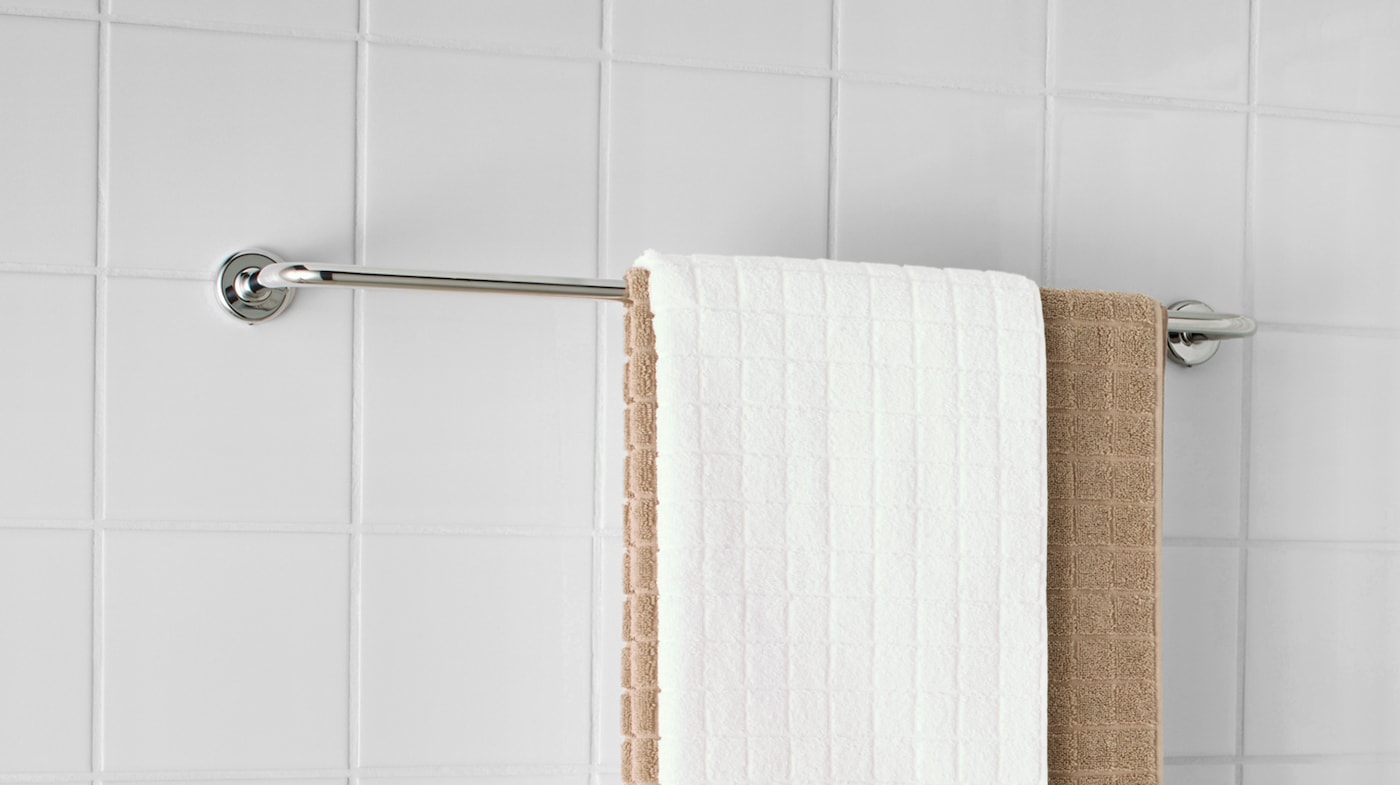
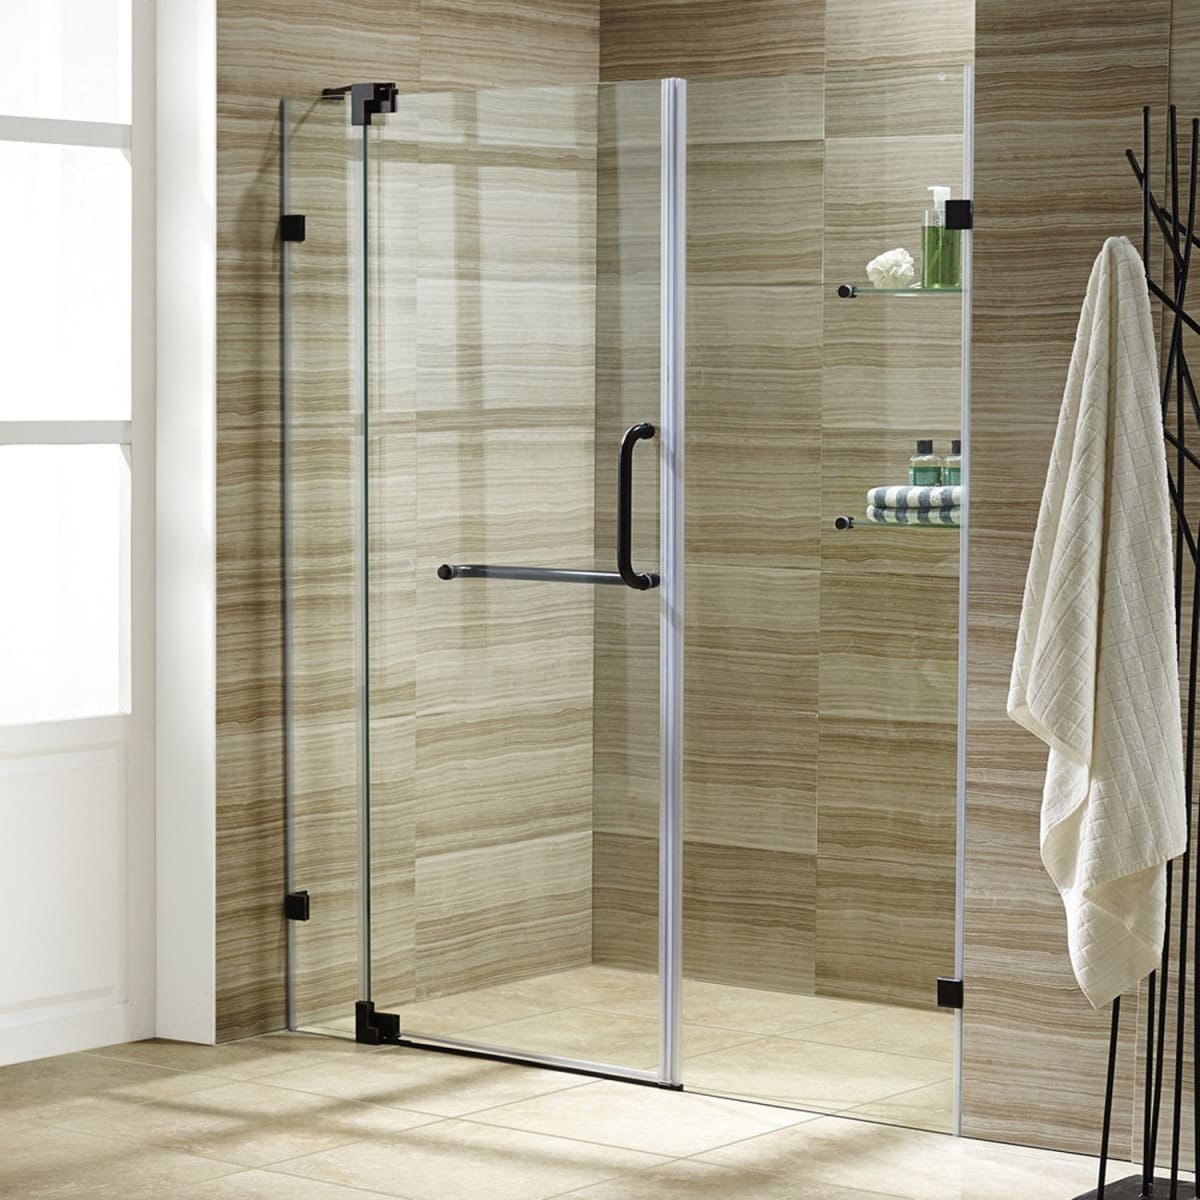
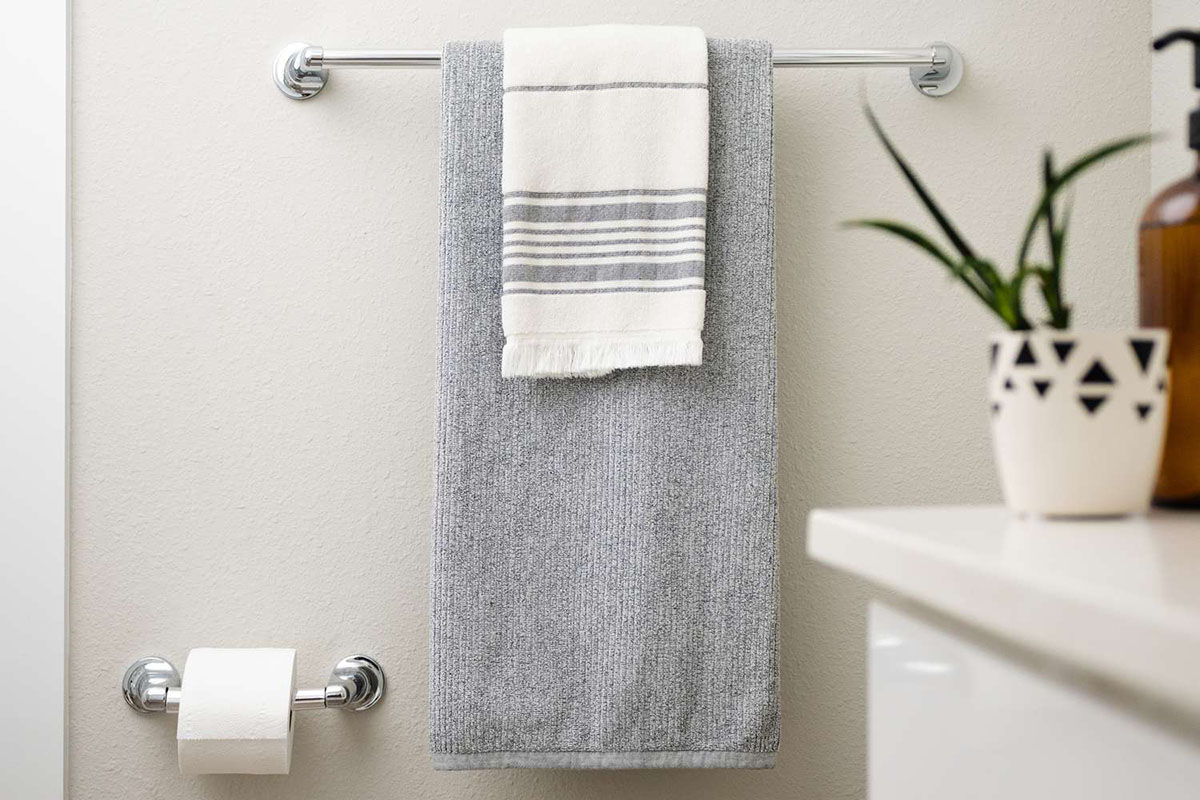
Adding a towel bar to your bathroom can greatly enhance both its functionality and aesthetic. It provides a convenient place to hang towels, keeping them within reach and ensuring they stay dry. If you’re looking to upgrade your bathroom with a 24-inch towel bar, this article will guide you through the step-by-step process of hanging it securely on your wall.
Whether you’re a DIY enthusiast or a beginner, you can successfully install a towel bar by following these instructions. By gathering the necessary tools and materials, accurately marking the installation points, and properly securing the towel bar, you’ll have a sturdy and functional addition to your bathroom in no time.
Before we get started, it’s important to note that the instructions provided in this article are applicable primarily to drywall installation. If you have a different type of wall surface, such as tile or plaster, you may need additional tools or techniques to complete the installation.
So, let’s dive into the process of hanging a 24-inch towel bar and transform your bathroom into a more organized and stylish space!
Key Takeaways:
- Upgrade your bathroom with a 24-inch towel bar by following these step-by-step instructions. From gathering tools to testing stability, achieve a functional and stylish addition to your space.
- Ensure a secure and durable installation of your towel bar by paying attention to detail during each step. Enjoy the convenience and aesthetic enhancement it brings to your bathroom.
Read also: 15 Amazing 24 Inch Towel Bar for 2024
Step 1: Gather the necessary tools and materials
Before you begin installing the 24-inch towel bar, it’s essential to gather all the tools and materials you’ll need. Having everything prepared in advance will make the installation process much smoother and efficient. Here’s a list of what you’ll typically need:
- 24-inch towel bar
- Mounting brackets
- Wall anchors (if not included with the mounting brackets)
- Screws
- Level
- Measuring tape
- Pencil or marker
- Power drill
- Drill bits
- Screwdriver (if necessary)
- Optional: Stud finder
When selecting a 24-inch towel bar, consider the style and finish that will complement your bathroom decor. Choose a high-quality towel bar to ensure durability and longevity.
If your mounting brackets don’t come with wall anchors, make sure to select the appropriate ones for your wall type. Wall anchors provide extra stability and prevent the towel bar from pulling out of the wall.
Once you have gathered all the necessary tools and materials, you’re ready to move on to the next step: determining the ideal placement for the towel bar.
Step 2: Determine the ideal placement for the towel bar
The placement of your 24-inch towel bar is crucial for both functionality and aesthetics. You want it to be easily accessible and at a height that suits your needs. Here’s how to determine the ideal placement:
- Measure and mark the distance between the floor and the desired height of the towel bar. A standard height is typically around 48 inches from the floor, but you can adjust it to your preference.
- Locate the studs in your wall using a stud finder. This step is important if you want to securely attach the towel bar to the studs for added stability. Mark the stud locations with a pencil or marker.
- Consider other fixtures in your bathroom, such as mirrors, cabinets, or adjacent towel bars. Ensure that the placement of your 24-inch towel bar allows enough space for other items and does not clash with existing fixtures.
- Use the level to ensure that your markings are straight and aligned. This will ensure a professional-looking installation.
By taking the time to accurately determine the ideal placement for your towel bar, you’ll ensure that it not only serves its purpose effectively but also enhances the overall design of your bathroom.
Once you have finalized the placement, it’s time to move on to the next step: marking the installation points on the wall.
Step 3: Mark the installation points on the wall
Now that you have determined the ideal placement for your 24-inch towel bar, it’s time to mark the installation points on the wall. Properly marking the points will ensure a precise and secure installation. Follow these steps:
- Using a measuring tape, measure and mark the exact positions where the mounting brackets will be placed. Take into account the width of the towel bar and make the markings accordingly.
- Align the level with your markings to ensure they are horizontal and straight. Adjust as necessary to achieve the desired alignment.
- If you are attaching the mounting brackets to studs, make sure the markings align with the stud locations you identified in the previous step. This will provide added stability for your towel bar.
- Use a pencil or marker to clearly mark the spots where the mounting brackets will be installed.
It’s important to be precise and double-check your markings to ensure accuracy. Straight and level markings will result in a professional-looking installation. Once you are satisfied with the placement and markings, you are ready to move on to the next step: pre-drilling holes for the mounting brackets.
Step 4: Pre-drill holes for the mounting brackets
Pre-drilling holes for the mounting brackets is a crucial step in ensuring a secure and stable installation of your 24-inch towel bar. This step helps prevent the wall from cracking or splitting when the screws are inserted. Follow these steps:
- Select an appropriate drill bit size for the wall anchors or screws you will be using. It should be slightly smaller than the diameter of the anchors or screws.
- Attach the drill bit to your power drill.
- Position the drill bit on one of the marked spots for the mounting bracket.
- Hold the drill perpendicular to the wall and start drilling, applying gentle but steady pressure. If you are drilling into a stud, you may not need to use anchors.
- Continue drilling until the hole is deep enough to accommodate the wall anchor or the screw.
- Repeat the drilling process for the remaining marked spots.
Remember to be cautious when drilling to avoid damaging the surrounding area. If you are unsure about drilling into your wall, it is recommended to consult a professional for assistance.
Once you have pre-drilled the necessary holes, you are ready to move on to the next step: installing the mounting brackets.
Read more: How Do I Hang A Towel Bar
Step 5: Install the mounting brackets
Now that you have pre-drilled the holes for the mounting brackets, it’s time to install them securely on the wall. Follow these steps to properly install the mounting brackets for your 24-inch towel bar:
- If your mounting brackets came with wall anchors, insert the anchors into the pre-drilled holes until they are flush with the wall surface. If you are attaching the brackets to studs, skip this step.
- Align the mounting brackets with the pre-drilled holes. Ensure that they are level and aligned with each other. Use a level to double-check the alignment.
- Insert the screws provided with the mounting brackets through the bracket and into the wall anchors or directly into the pre-drilled holes if attaching to studs.
- Tighten the screws using a screwdriver or drill until the mounting brackets are securely attached to the wall. Be careful not to overtighten and damage the wall surface.
- Repeat the process for the remaining mounting bracket.
Properly installed mounting brackets are crucial for the stability and longevity of your towel bar. Take your time to ensure they are securely attached to the wall and aligned correctly. Once the mounting brackets are installed, you are ready to move on to the next step: attaching the towel bar.
When hanging a 24-inch towel bar, use a level to ensure it is straight. Use wall anchors for added support, and make sure to screw it into a stud if possible for maximum stability.
Step 6: Attach the towel bar to the mounting brackets
With the mounting brackets securely installed on the wall, it’s time to attach the 24-inch towel bar to complete the installation process. Follow these steps to ensure a proper attachment:
- Take the towel bar and align the openings on each end with the mounting brackets. The towel bar should fit snugly into the brackets.
- Slide the towel bar into the mounting brackets until it is fully inserted.
- Ensure that the towel bar is level and straight by using a level. Make any necessary adjustments to achieve the desired alignment.
- Double-check that the towel bar is securely attached to the mounting brackets and is not loose or wobbly.
It is important to follow the manufacturer’s instructions for attaching the specific towel bar model you have. Some towel bars may have additional steps or require different attachment methods.
Once you have successfully attached the towel bar to the mounting brackets, you are ready to move on to the next step: double-checking the alignment and securing the towel bar.
Step 7: Double-check the alignment and secure the towel bar
After attaching the towel bar to the mounting brackets, it’s important to double-check the alignment and secure it in place. This step helps ensure that the towel bar is level, stable, and ready to hold towels. Follow these steps:
- Use a level to verify that the towel bar is straight and aligned with your markings.
- If necessary, make any slight adjustments to the positioning of the towel bar to achieve the desired alignment.
- Once you are satisfied with the alignment, tighten any set screws or locking mechanisms provided by the manufacturer. These screws help secure the towel bar to the mounting brackets more firmly.
- Ensure that the towel bar is securely in place and does not move or wobble. Giving it a gentle tug can help determine its stability.
Double-checking the alignment and securing the towel bar ensures that it will remain in place and withstand daily use. Take your time to make any necessary adjustments and ensure a sturdy installation.
Now that the towel bar is securely in place, you are ready to move on to the next step: testing the towel bar for stability.
Step 8: Test the towel bar for stability
Testing the stability of the towel bar is an important step to ensure that it can safely support towels and withstand everyday use. Follow these steps to test the stability of your newly installed 24-inch towel bar:
- Gently pull on the towel bar in different directions to simulate the weight and movement of a towel being hung and removed. Pay attention to any wobbling or movement.
- If the towel bar feels unstable or wobbly, double-check the tightness of the set screws or mounting brackets. Tighten them as necessary to improve stability.
- If the towel bar remains unstable even after tightening, you may need to reassess the installation. Ensure that the mounting brackets are securely attached to the wall and that the towel bar is properly aligned.
- Continue testing the stability of the towel bar and make any necessary adjustments until you are confident that it can safely support towels without any movement or instability.
Ensuring the stability of the towel bar is crucial to prevent accidents and maintain its functionality. Take the time to thoroughly test and adjust the installation if needed.
After testing and securing the stability of the towel bar, you are ready to move on to the final step: cleaning up and enjoying your newly hung 24-inch towel bar.
Read more: How To Hang A Towel Bar On Ceramic Tile
Step 9: Clean up and enjoy your newly hung 24-inch towel bar
Congratulations! You have successfully installed your 24-inch towel bar and it is now ready to be used. Before you start enjoying its convenience and functionality, there are a few final steps to wrap up the installation:
- Remove any debris or dust that may have accumulated during the installation process. Use a damp cloth or sponge to wipe down the area around the towel bar and ensure it looks clean and tidy.
- If you made any pencil or marker markings on the wall, gently erase or wipe them away to leave a clean finish.
- Inspect the towel bar once more for any loose screws, fittings, or other potential issues. Tighten anything that may have become slightly loose during the installation process.
- Take a step back and admire your newly hung towel bar. Appreciate the added functionality and aesthetic improvement it brings to your bathroom.
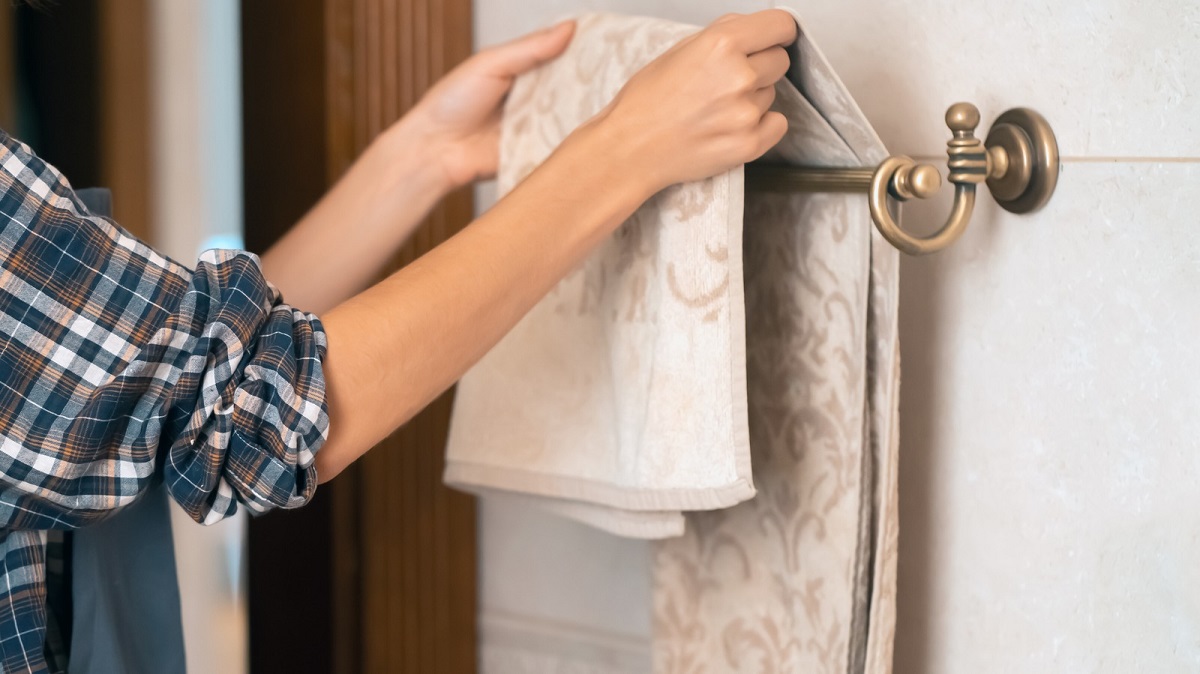
Now that you have completed the installation and cleanup process, it’s time to enjoy the convenience of having a 24-inch towel bar in your bathroom. Hang your towels with ease, keeping them within reach and neatly organized.
Remember to regularly check the towel bar for any signs of wear or loose fittings. Maintenance is key to ensuring its longevity and continued stability.
By following these steps, you have successfully hung your 24-inch towel bar. Well done! You can now enjoy the benefits of a functional and stylish addition to your bathroom.
Hopefully, this article has provided you with clear guidance and helpful tips for installing a towel bar. Happy hanging!
Conclusion
Installing a 24-inch towel bar in your bathroom is a simple yet impactful project that can greatly enhance the functionality and aesthetics of the space. With the step-by-step guide provided in this article, you can confidently hang your towel bar and enjoy the convenience it offers.
By gathering the necessary tools and materials, determining the ideal placement, and properly installing the mounting brackets, you have laid a solid foundation for a successful installation. Attention to detail during the pre-drilling and attachment process ensures a secure and durable towel bar.
Testing the stability of the towel bar and making any necessary adjustments adds to its functionality and reliability. Double-checking the alignment and securing the towel bar will provide peace of mind knowing it can support towels without any wobbling or movement.
With the installation complete, taking the time to clean up the area and appreciate your newly hung towel bar adds a finishing touch to the project. Regular maintenance and inspections will help keep your towel bar in top condition and extend its lifespan.
Now, with your 24-inch towel bar securely installed, you can enjoy the convenience of having a designated place to hang your towels. Keep them within reach and neatly organized, enhancing the overall efficiency and style of your bathroom.
Remember, if you are unsure about any step in the installation process or encounter difficulties, it is always recommended to consult a professional for assistance.
We hope this comprehensive guide has been helpful to you in installing your 24-inch towel bar. Enjoy the benefits of your new addition and the improved functionality it brings to your daily routine!
Frequently Asked Questions about How To Hang Chapter 24 Inch Towel Bar
Was this page helpful?
At Storables.com, we guarantee accurate and reliable information. Our content, validated by Expert Board Contributors, is crafted following stringent Editorial Policies. We're committed to providing you with well-researched, expert-backed insights for all your informational needs.


0 thoughts on “How To Hang Chapter 24 Inch Towel Bar”