Articles
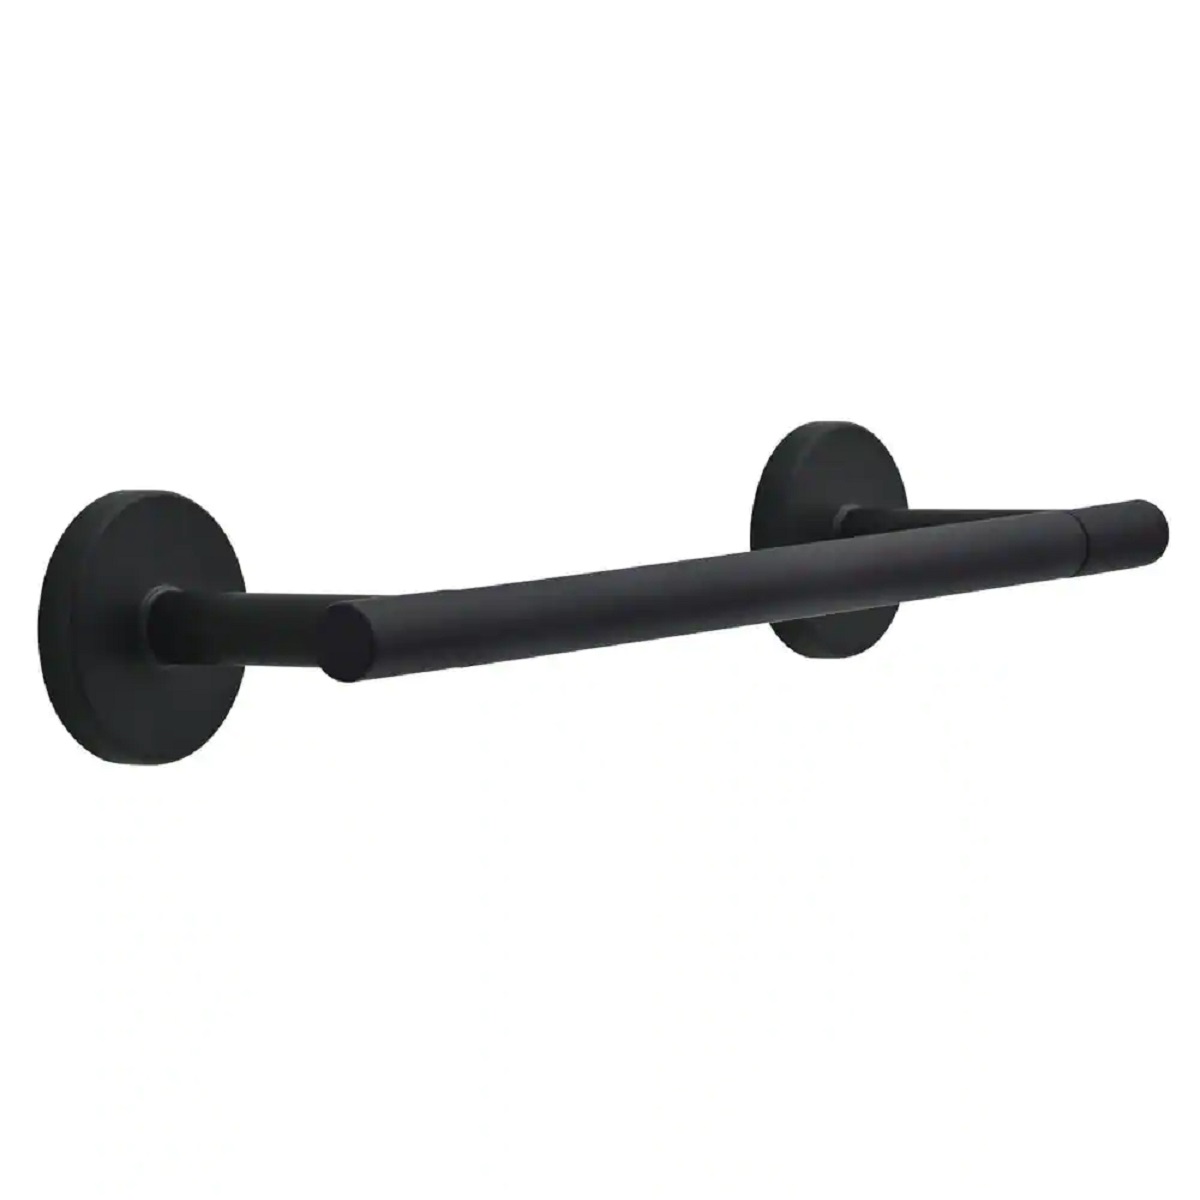
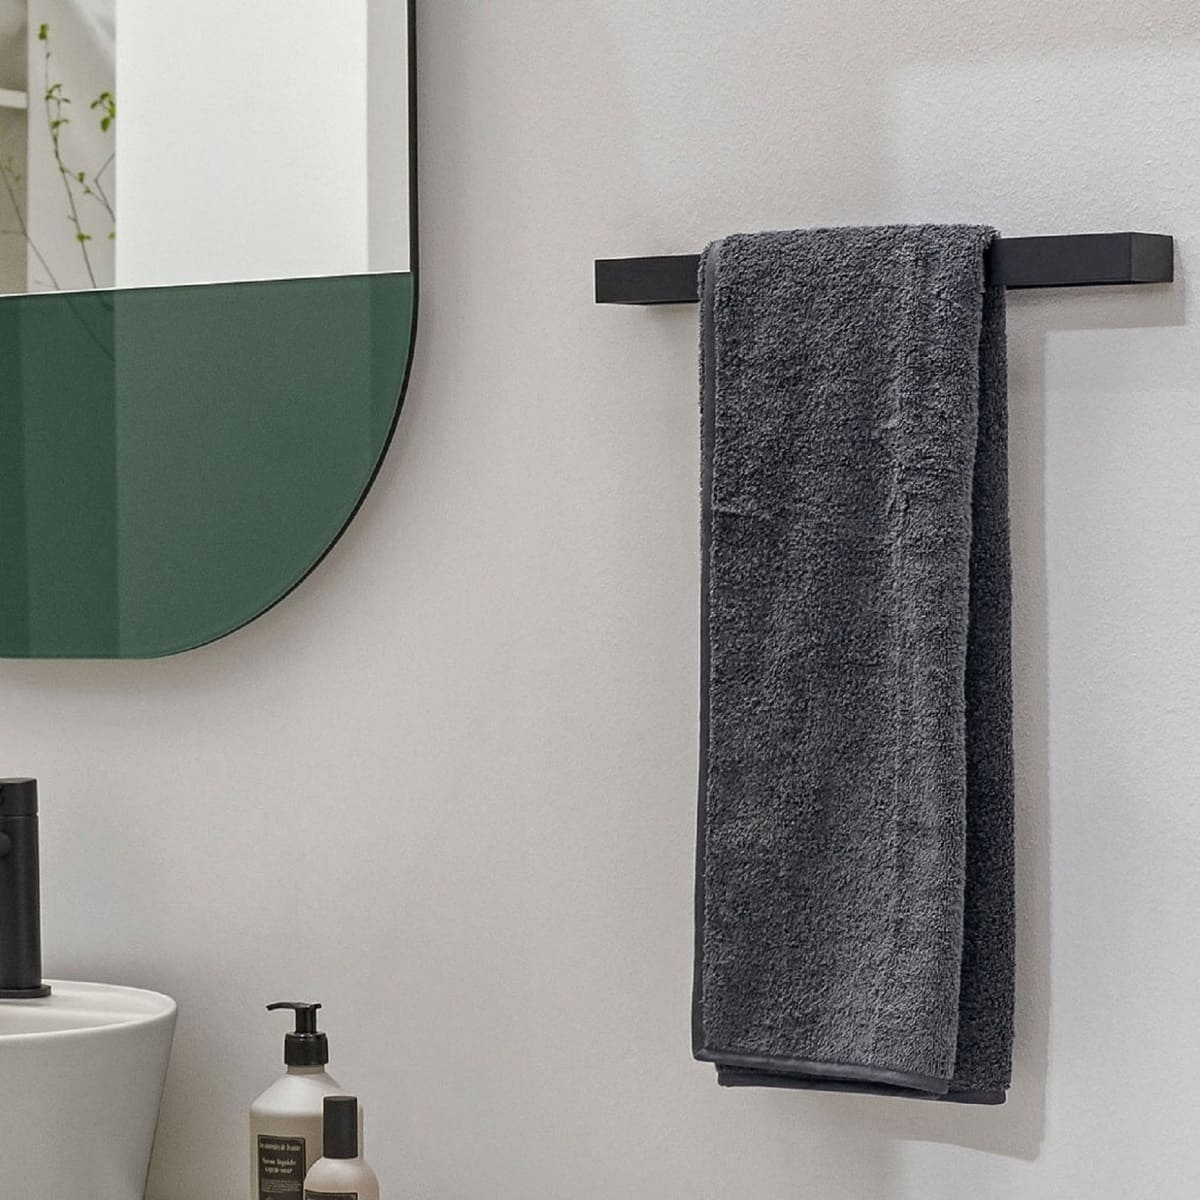
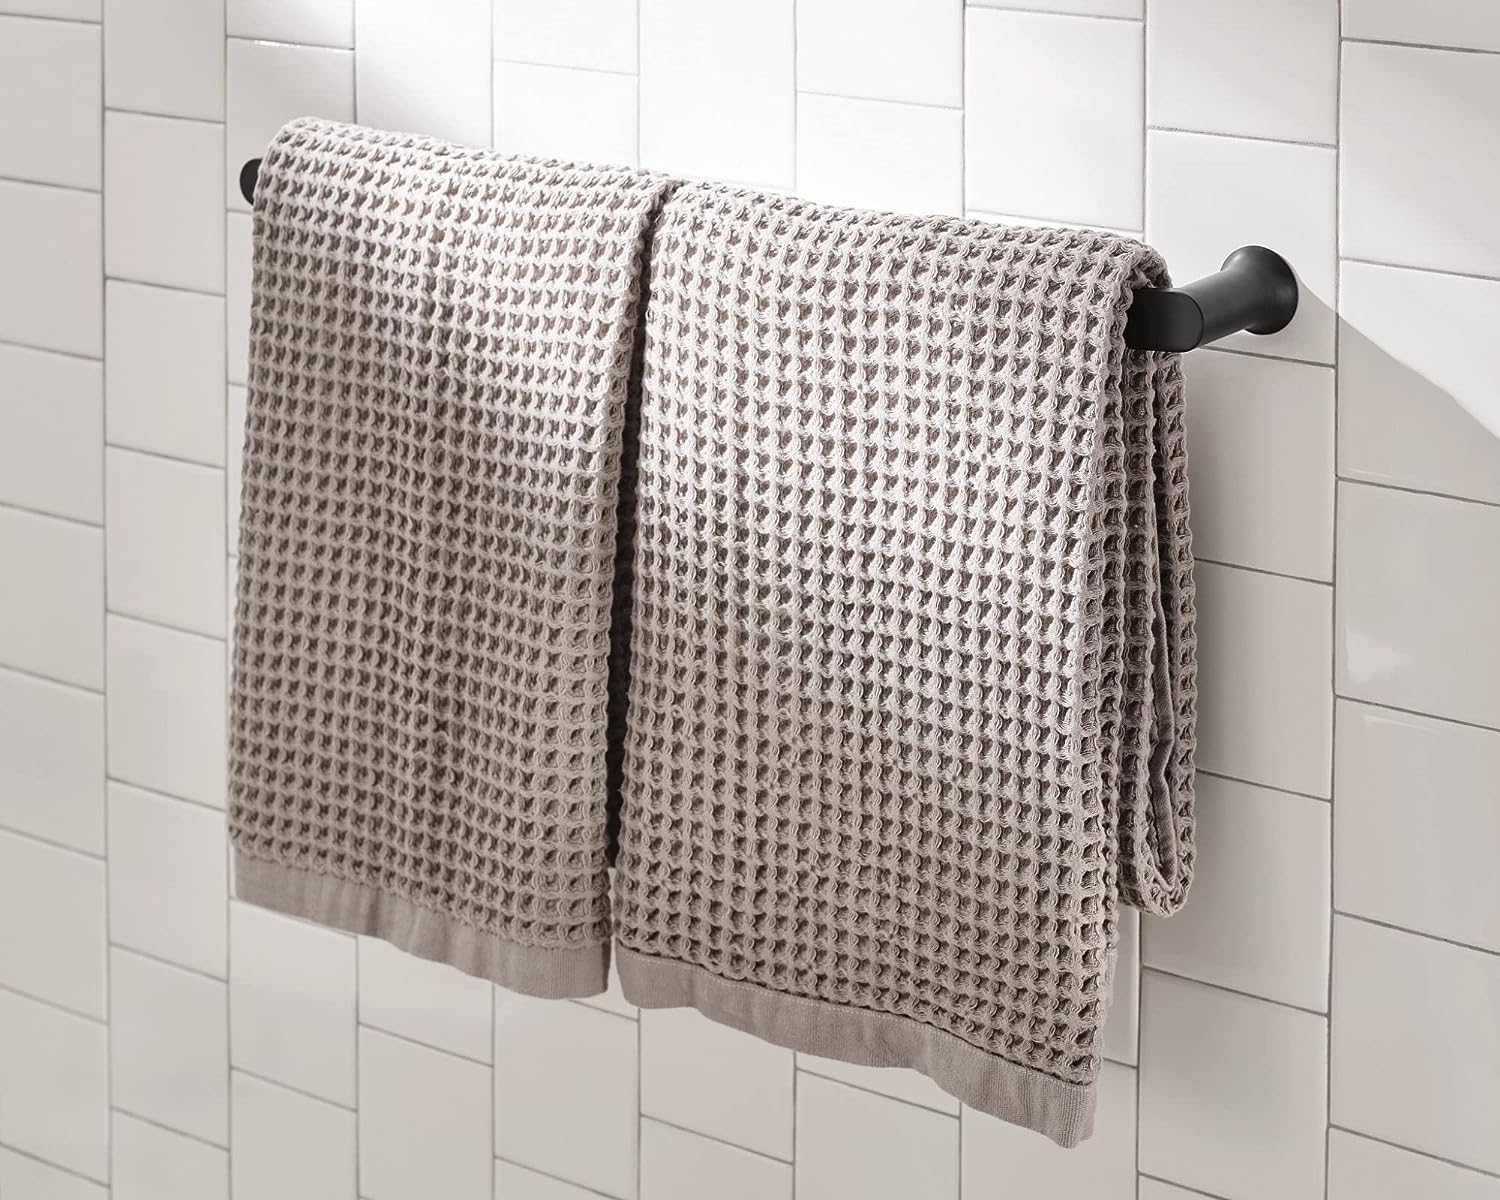
How To Remove Lyndall Towel Bar
Modified: March 1, 2024
Learn how to easily remove the Lyndall towel bar with our informative articles. Discover expert tips and step-by-step instructions to complete the task efficiently.
(Many of the links in this article redirect to a specific reviewed product. Your purchase of these products through affiliate links helps to generate commission for Storables.com, at no extra cost. Learn more)
Introduction
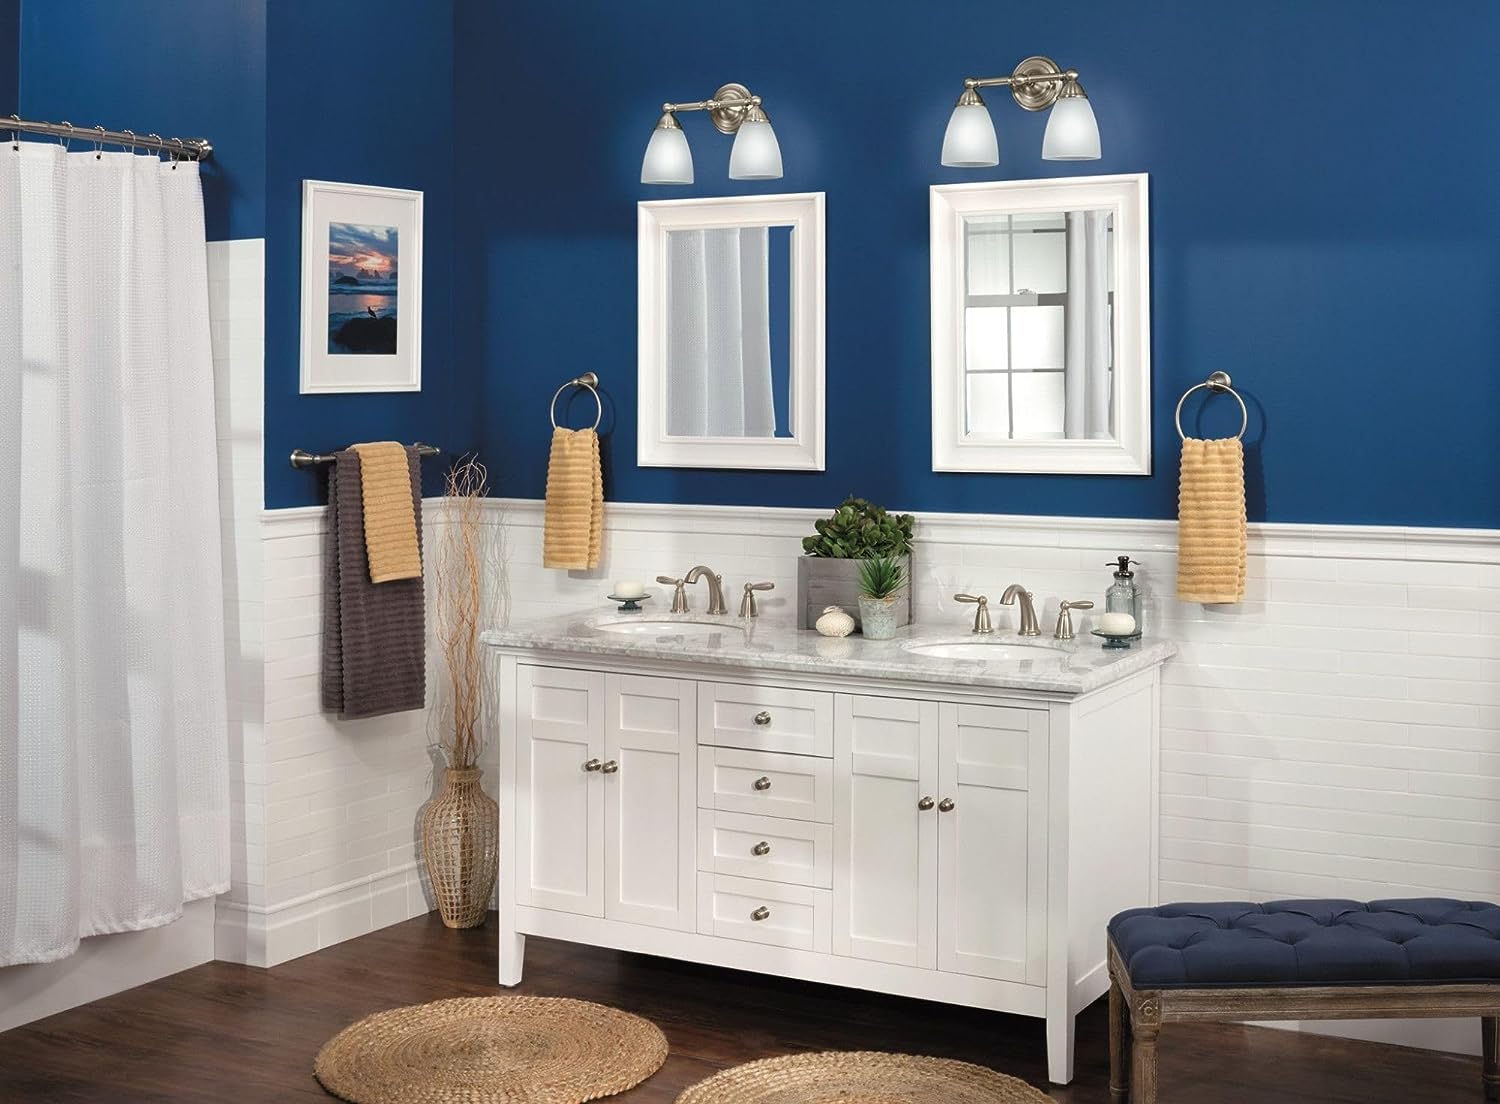
Removing a Lyndall towel bar can sometimes be a daunting task, but with the right tools and a little bit of know-how, you can easily accomplish this DIY project. Whether you are looking to replace your towel bar or simply need to remove it for maintenance purposes, this step-by-step guide will walk you through the process.
Lyndall towel bars are a popular choice due to their sleek design and durability. However, at some point, you may find yourself needing to remove it, whether it’s due to a bathroom remodel or a desire to change up your decor. This article will provide you with the necessary instructions and precautions to ensure that you remove your Lyndall towel bar safely and effectively.
Before diving into the steps, it’s important to note that this guide assumes that the Lyndall towel bar has been installed using the standard mounting techniques. If your towel bar has been installed using a different method, you may need to consult the manufacturer’s instructions or seek professional assistance.
Now, let’s get started on removing your Lyndall towel bar!
Key Takeaways:
- Easily remove a Lyndall towel bar by following safety precautions, assessing mounting type, and using the right tools. Clear the space, loosen mounting screws, and fill holes for a seamless finish.
- Prioritize safety, gather necessary supplies, and prepare the workspace before removing a Lyndall towel bar. Follow step-by-step instructions to safely detach the towel bar and finish with a clean wall surface.
Read more: How Remove Towel Bar
Tools Required
Before you begin the process of removing a Lyndall towel bar, it’s essential to gather the necessary tools. Having the right tools handy will make the task much more efficient and manageable. Here are the tools you will need:
- A screwdriver (Phillips or flathead, depending on the mounting screws used)
- An adjustable wrench
- Needle-nose pliers
- Masking tape
- An old towel or drop cloth
- A putty knife (optional, for filling holes)
- Spackle or wall putty (optional, for filling holes)
- A sanding block (optional, for filling holes)
- A small paintbrush (optional, for touch-ups)
- Matching paint or touch-up paint (optional, for touch-ups)
By having these tools ready before you start, you can ensure a smooth and hassle-free removal process. It’s always a good idea to have a variety of screwdriver types and sizes available in case the mounting screws on your Lyndall towel bar require a specific type.
Additionally, having needle-nose pliers can be helpful for any stubborn brackets or hardware that may need extra leverage to be removed. Masking tape can protect your walls from accidental scratches or damage while you work, and an old towel or drop cloth can catch any loose debris or prevent any accidental spills from staining your bathroom surfaces.
While filling any holes left behind by the towel bar removal is optional, having a putty knife, spackle or wall putty, and a sanding block on hand will allow you to patch and smooth the wall surface, leaving it ready for a fresh coat of paint or touch-up if desired.
Now that you have all the necessary tools, you’re ready to move on to the next steps of removing your Lyndall towel bar.
Step 1: Safety Precautions
Before you begin the process of removing your Lyndall towel bar, it’s important to take some safety precautions to ensure a safe and injury-free experience. Here are some guidelines to follow:
- Turn off the water supply: If your towel bar is located near a water source, such as a sink or shower, it’s a good idea to turn off the water supply to prevent any potential leaks or water damage during the removal process.
- Protect your hands and eyes: Wear gloves to protect your hands from any sharp edges or potential injuries. Safety goggles or glasses can help protect your eyes from any debris that may fall while removing the towel bar or from any splashes if your towel bar is located near a water source.
- Clear the space: Before you begin removing the towel bar, clear the surrounding area of any bathroom essentials or decorative items. This will help prevent any accidental damage or obstruction during the process.
By following these safety precautions, you can minimize any potential risks and ensure that your removal process goes smoothly and without incident.
Once you have taken these safety measures, you are ready to proceed to the next steps of assessing the mounting type and gathering the necessary supplies to remove your Lyndall towel bar.
Step 2: Assess the Mounting Type
Before you start removing your Lyndall towel bar, it’s important to assess the mounting type. Understanding how the towel bar is attached to the wall will help you determine the necessary steps for removal. Here are the most common mounting types for Lyndall towel bars:
- Screw-mounted: This is the most common type of mounting for Lyndall towel bars. It involves screws that are driven into the wall anchors or directly into the wall, securing the towel bar in place.
- Adhesive-mounted: Some Lyndall towel bars may be attached using adhesive strips or adhesive mounts. These types of mounts are often used for temporary installations or on surfaces where drilling is not desirable or possible. Adhesive-mounted towel bars can usually be removed by gently prying them off the wall.
- Pressure-mounted: In rare cases, Lyndall towel bars may be pressure-mounted, meaning they rely on tension and pressure to keep them in place. These towel bars can be easily removed by releasing the tension and pulling them away from the wall.
By identifying the mounting type, you can determine the specific steps required to remove your Lyndall towel bar. If you’re unsure about the mounting type, refer to the manufacturer’s instructions or consult a professional for guidance.
Once you have assessed the mounting type, you can gather the necessary supplies and move on to the next step of preparing your workspace for towel bar removal.
Step 3: Gather Necessary Supplies
Now that you have assessed the mounting type of your Lyndall towel bar, it’s time to gather the necessary supplies for the removal process. Here are the items you will need:
- Screwdriver: Depending on the mounting screws used, you may need a Phillips or flathead screwdriver.
- Adjustable wrench: This tool will come in handy if any bolts or nuts need to be loosened or tightened during the removal process.
- Masking tape: Use masking tape to protect the wall surface from scratches or damage while you work.
- Old towel or drop cloth: Place an old towel or drop cloth under the towel bar to catch any loose debris or prevent any accidental spills from staining your bathroom surfaces.
- Putty knife (optional): If you plan to fill any holes left behind by the towel bar, a putty knife will help you apply and smooth the wall putty or spackle.
- Spackle or wall putty (optional): Use spackle or wall putty to fill and patch any holes left behind by the towel bar.
- Sanding block (optional): If you choose to fill holes, a sanding block will help you sand the patched areas for a smooth finish.
- Small paintbrush (optional): If you plan to touch up the wall paint, a small paintbrush will come in handy for precise application.
- Matching paint or touch-up paint (optional): If necessary, have matching paint or touch-up paint available to ensure a seamless finish on your wall.
Gathering these supplies before starting the removal process will ensure that you have everything you need within reach and create a smooth and efficient experience.
Once you have all the necessary supplies, you can move on to the next step of preparing your workspace for the Lyndall towel bar removal.
Read more: How To Remove Delta Towel Bar
Step 4: Prepare the Workspace
Before you begin removing your Lyndall towel bar, it’s important to prepare your workspace to ensure a smooth and organized process. Here are the steps to prepare your workspace:
- Clear the area: Remove any objects or bathroom essentials that may obstruct your access to the towel bar. Clearing the area will prevent accidental damage and make it easier to work.
- Cover the surfaces: Place an old towel or drop cloth under the towel bar to catch any loose debris or protect your bathroom surfaces from any accidental spills.
- Tape the wall: Use masking tape to protect the wall surface around the towel bar. This will prevent any accidental scratches or damage while you work.
By following these steps, you create a clean and organized workspace, minimizing the risk of damage or accidents during the towel bar removal process.
Once you have prepared your workspace, it’s time to move on to the next step of removing the towel bar end caps.
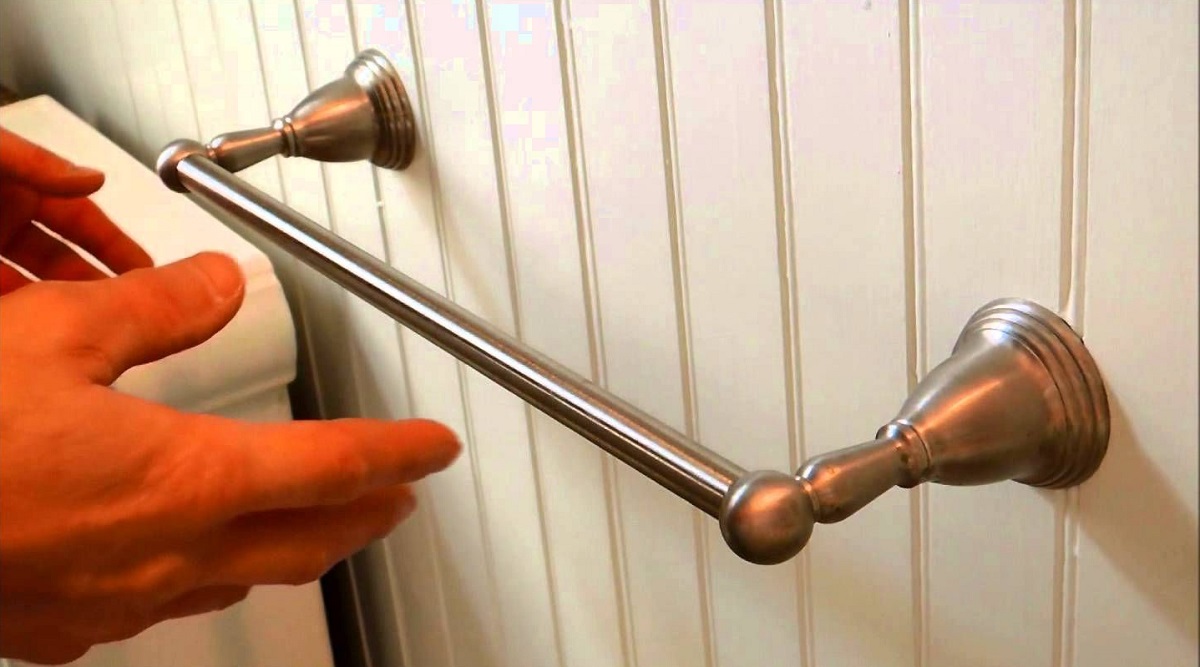
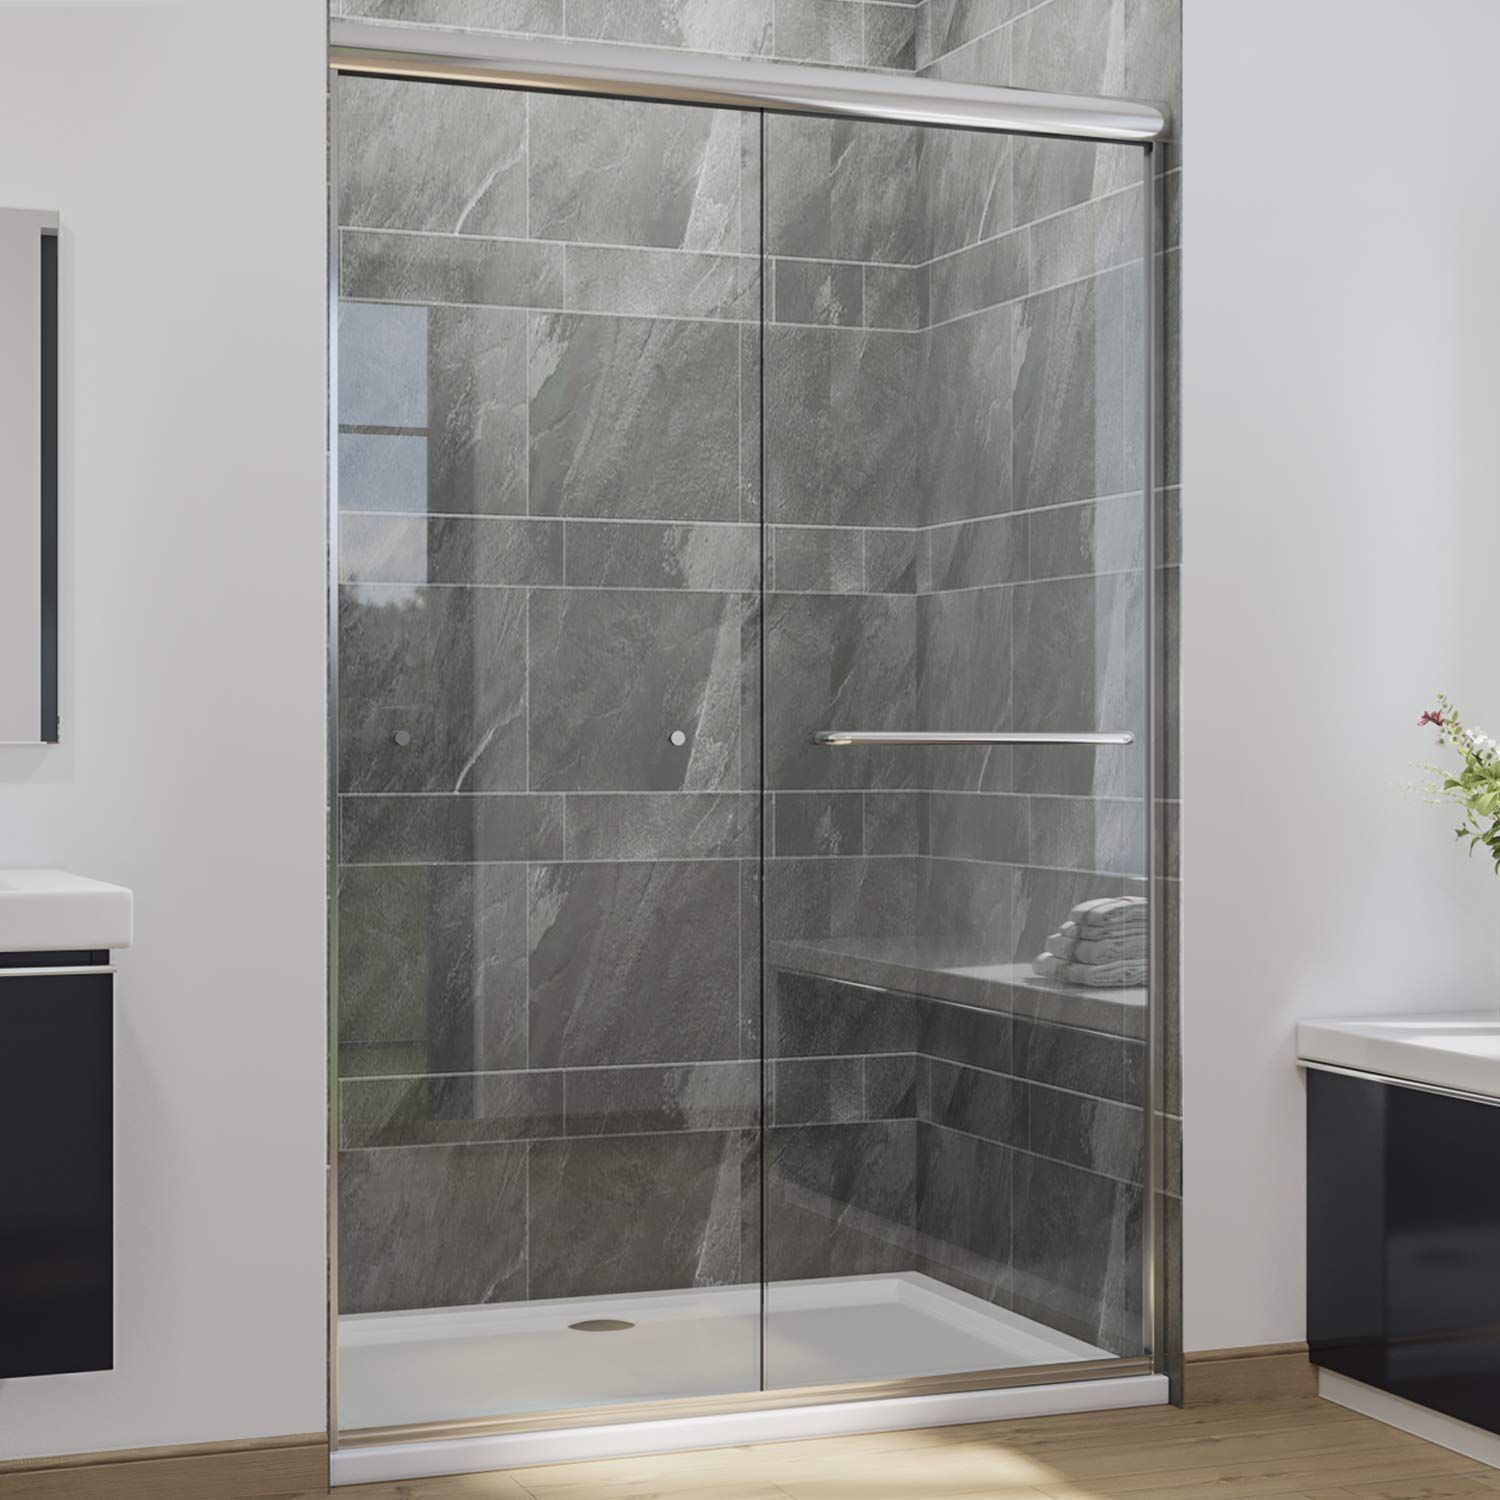
To remove a Lyndall towel bar, start by locating the set screw on the base of the bar and use an Allen wrench to loosen and remove it. Then, gently lift the bar off the mounting brackets and unscrew the brackets from the wall.
Step 5: Remove Towel Bar End Caps
Before you can remove the towel bar itself, you’ll need to remove the end caps that secure it in place. Here’s how to remove the towel bar end caps:
- Inspect the end caps: Take a close look at the end caps of your Lyndall towel bar. Depending on the model, they may be held in place by screws or adhesive.
- Remove screws: If your end caps are held in place with screws, use a screwdriver to unscrew them counterclockwise. Set aside the screws in a safe place where they won’t get lost.
- Release adhesive: If your end caps are secured with adhesive, gently pry them away from the wall using a putty knife or your fingers. Apply steady pressure to release the adhesive bond.
- Repeat on the other end cap: Once you have successfully removed one end cap, repeat the process on the other end cap to completely free the towel bar.
By removing the end caps, you’ll be able to access the mounting screws or hardware that attach the towel bar to the wall. This will make the next step of loosening the mounting screws much easier.
After removing the end caps, set them aside in a safe place in case you need to reuse them or for disposal if you plan on replacing the towel bar.
With the end caps removed, you’re ready to move on to the next step—loosening the mounting screws.
Step 6: Loosen Mounting Screws
With the towel bar end caps removed, you can now loosen the mounting screws to detach the towel bar from the wall. Follow these steps to loosen the mounting screws:
- Locate the mounting screws: Take a close look at the towel bar brackets or mounting plates. Identify the screws that hold the brackets or plates to the wall. These screws are typically located on the underside of the towel bar.
- Choose the appropriate screwdriver: Use a Phillips or flathead screwdriver, depending on the type of screws used. Select a screwdriver that fits securely into the screw head to avoid damaging the screws.
- Turn the screws counterclockwise: Place the screwdriver into the screw head and turn it counterclockwise to loosen the mounting screws. Apply steady but gentle pressure to avoid stripping the screws or damaging the wall.
- Continue loosening: Loosen all the mounting screws on both sides of the towel bar until they are completely detached from the wall. Set aside the screws in a safe place.
Loosening the mounting screws will detach the towel bar from the wall brackets or mounting plates. Be careful when handling the towel bar during this step, as it may become loose and may fall if not supported.
Once all the mounting screws are loosened and removed, you can proceed to the next step—removing the towel bar from the wall.
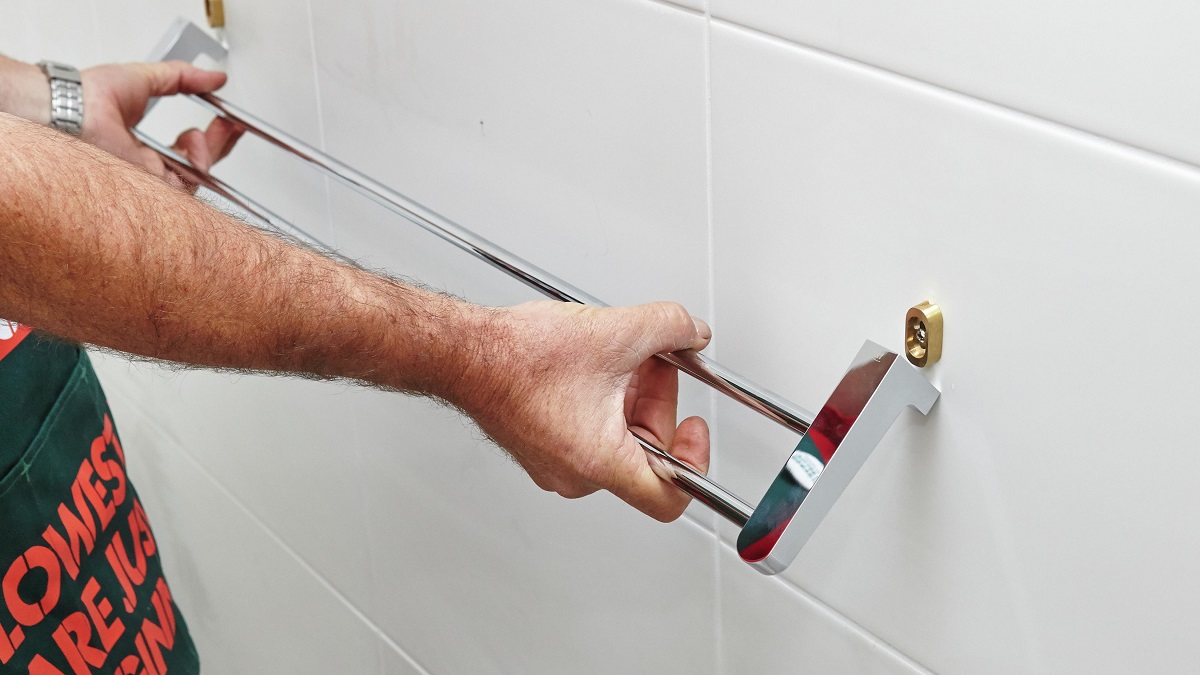
Step 7: Remove Towel Bar from Wall
Now that the mounting screws are loosened and removed, you can proceed to remove the towel bar from the wall. Follow these steps to safely detach the towel bar:
- Gently pull the towel bar: Carefully grip the towel bar with both hands and gently pull it away from the wall. Apply even pressure to avoid any sudden movements or damage to the wall surface.
- Inspect for any additional attachments or hardware: While pulling the towel bar, keep an eye out for any additional attachments that may be holding it to the wall. Some towel bars may have concealed screws or brackets that need to be detached separately.
- Detach any additional attachments: If you find any additional screws or brackets, use the appropriate tool (such as a screwdriver or wrench) to detach them from the wall or towel bar. Take your time to ensure all attachments are removed before proceeding.
- Set aside the towel bar: Once all attachments are removed, safely set aside the towel bar in a secure location to prevent any damage or accidents.
By following these steps, you can safely remove the towel bar from the wall without causing any damage or injury. Remember to handle the towel bar with care to avoid any accidental drops or mishaps.
With the towel bar successfully removed, you can now move on to the next optional step—filling any holes left behind by the towel bar.
Read more: How To Remove Towel Bar With Slot
Step 8: Fill Holes (Optional)
If you choose to have a seamless wall surface after removing the towel bar, you have the option to fill any holes left behind. Follow these steps to fill the holes:
- Clean the holes: Use a damp cloth or sponge to clean out any debris or dust from the holes. This will ensure that the filler adheres properly.
- Choose the appropriate filler: Depending on the material of your wall, select a suitable filler such as spackle, wall putty, or drywall compound. You can find these fillers at a local home improvement store.
- Apply the filler: Use a putty knife to apply the filler to the holes. Fill the holes evenly, slightly overfilling them to allow for shrinkage when the filler dries.
- Smooth the filler: After applying the filler, use the edge of the putty knife to smooth and level the surface, ensuring it is flush with the surrounding wall.
- Let the filler dry: Follow the manufacturer’s instructions for drying time. It typically takes a few hours for the filler to dry completely.
- Sand the filled area (optional): If necessary, lightly sand the dried filler with a sanding block to achieve a smooth surface. Be careful not to sand too vigorously to avoid damaging the surrounding wall.
- Clean the area: Once you finish sanding, use a clean cloth or sponge to wipe away any dust or residue from the filled areas.
By following these steps, you can achieve a clean and seamless wall surface. This optional step is particularly useful if you plan to paint the wall or if the holes are noticeable.
Once the filled areas are dry and cleaned, you can move on to the final step—cleaning and finishing up the removal process.
Step 9: Clean and Finish
After removing the towel bar and filling any holes (if applicable), it’s time to clean and put the finishing touches on your wall. Follow these steps to complete the removal process:
- Clean the wall: Use a damp cloth or sponge to wipe down the wall surface. This will remove any dust or debris that may have accumulated during the removal process.
- Inspect for any marks or scuffs: Check the wall for any marks, scuffs, or residue that may have been left behind by the towel bar or the removal process.
- Touch up the paint (if applicable): If the wall paint has been damaged or there are noticeable areas that need touch-up, use a small paintbrush and matching paint or touch-up paint to carefully touch up those areas. Allow the touch-up paint to dry before proceeding.
- Remove masking tape: Remove the masking tape that was used to protect the wall surface during the removal process. Pull it off gently and at a slight angle to avoid damaging the wall paint.
- Inspect the area: Take a step back and inspect the wall to ensure it looks clean and free from any signs of the removed towel bar.
Cleaning and finishing up the removal process will leave your wall looking fresh and tidy, as if there was never a towel bar attached. Taking the time to clean and touch up the wall will give a polished and professional appearance to the space.
Congratulations! You have successfully removed your Lyndall towel bar and completed the necessary steps to ensure a clean and finished look in your bathroom.
Now you can enjoy the new possibilities for your bathroom decor or move on to installing a new towel bar or other accessories.
Conclusion
Removing a Lyndall towel bar can be a straightforward process when you have the right tools and follow the necessary steps. Although the order and content of the steps may vary depending on the specific instructions provided in the article, the general process outlined in this guide will help you successfully remove your towel bar without any complications.
By assessing the mounting type, gathering the necessary supplies, and preparing your workspace, you set yourself up for a smooth removal process. Removing the towel bar end caps, loosening the mounting screws, and detaching the towel bar itself are key steps in safely removing the towel bar from the wall. If desired, filling any holes left behind and cleaning up the wall surface will give it a seamless and finished look.
Remember to prioritize safety throughout the process by wearing protective gear and turning off the water supply if necessary. Take your time and handle the towel bar and tools with care to avoid any accidents or damage to your bathroom.
Finally, it’s important to note that the specific steps and instructions may vary based on the Lyndall towel bar model you have and its installation requirements. Always refer to the manufacturer’s instructions or consult a professional if you have any doubts or specific concerns about the removal process.
With these guidelines, you can confidently remove your Lyndall towel bar and set the stage for a new towel bar installation or a fresh bathroom space. Enjoy your updated bathroom decor!
Frequently Asked Questions about How To Remove Lyndall Towel Bar
Was this page helpful?
At Storables.com, we guarantee accurate and reliable information. Our content, validated by Expert Board Contributors, is crafted following stringent Editorial Policies. We're committed to providing you with well-researched, expert-backed insights for all your informational needs.


0 thoughts on “How To Remove Lyndall Towel Bar”