Articles
How Remove Towel Bar
Modified: March 2, 2024
Looking for articles on how to remove a towel bar? Check out our comprehensive guide that provides step-by-step instructions and helpful tips.
(Many of the links in this article redirect to a specific reviewed product. Your purchase of these products through affiliate links helps to generate commission for Storables.com, at no extra cost. Learn more)
Introduction
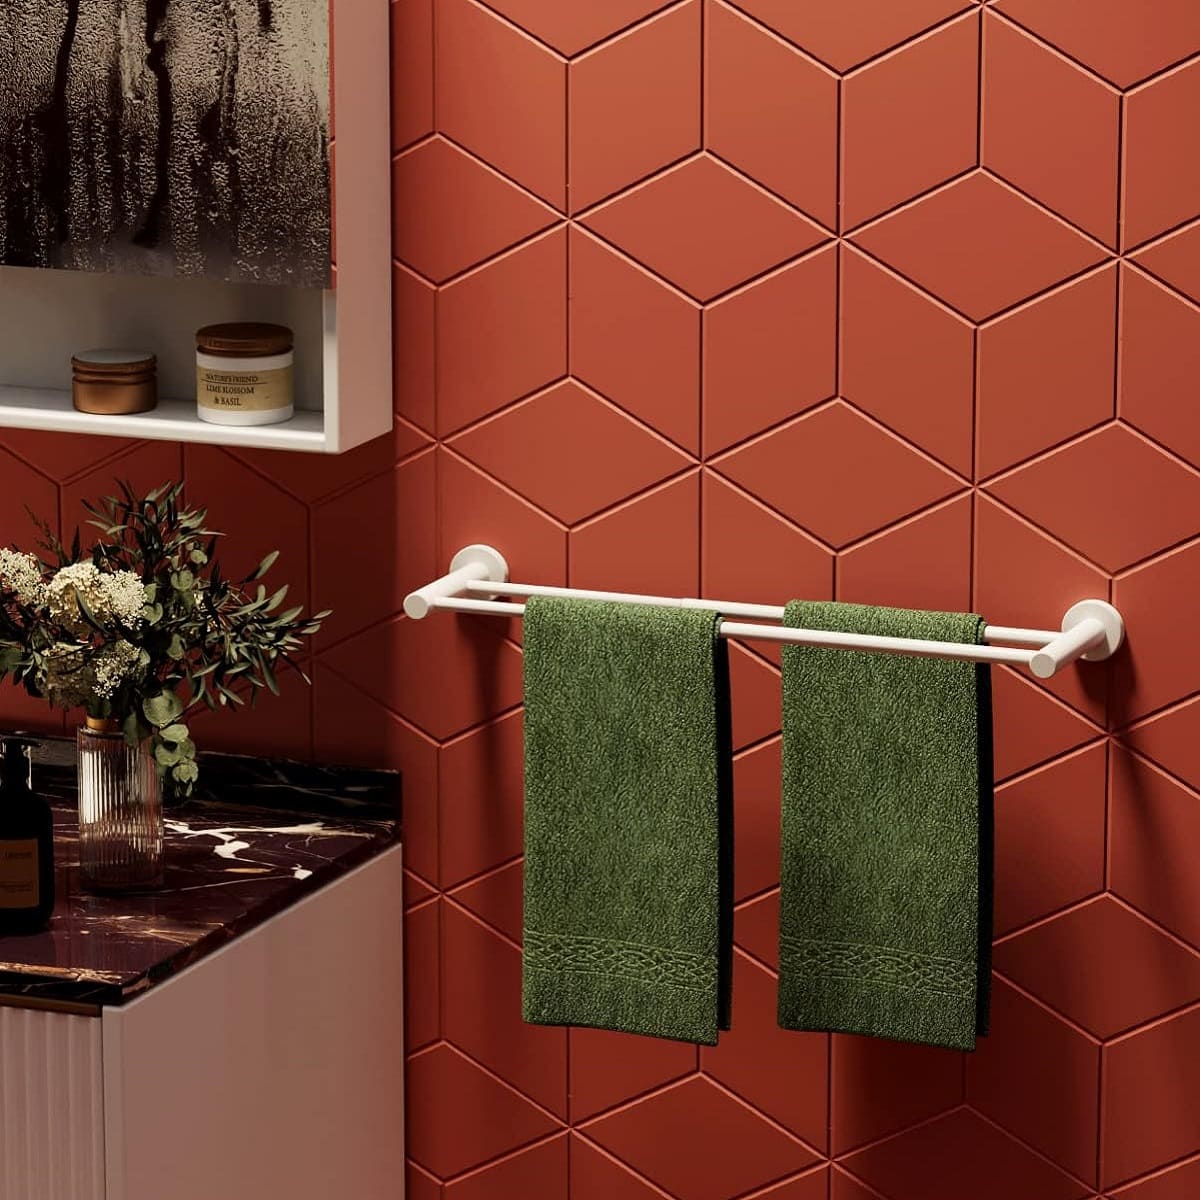
Removing a towel bar might seem like a simple task, but if done incorrectly, it can cause damage to your bathroom walls or leave unsightly holes behind. Whether you’re looking to update your bathroom decor or just need to replace a worn-out towel bar, it’s important to follow the proper steps to safely remove it.
In this article, we will guide you through the process of removing a towel bar, step by step. We will also provide valuable tips and precautions to ensure that you complete the task successfully and without any mishaps.
Before you get started, it’s essential to gather the necessary tools and materials. Having everything ready beforehand will make the process smoother and more efficient.
Key Takeaways:
- Safely and successfully remove a towel bar by gathering the right tools, locating mounting brackets, and following step-by-step removal and patching instructions for a clean and polished result.
- Explore alternative storage options and reevaluate bathroom layout after removing a towel bar to enhance functionality and aesthetics, creating a refreshed and organized space.
Read more: How To Remove Delta Towel Bar
Tools and Materials Needed
Before you begin removing the towel bar, make sure you have the following tools and materials:
- Phillips head screwdriver
- Allen wrench (if applicable)
- Putty knife or scraper
- Wall repair patch kit (optional)
- Spackle or wall filler (optional)
- Sanding block or sandpaper (optional)
- Paint or wallpaper to match the existing wall (optional)
Having these tools and materials readily available will ensure that you can complete the removal process smoothly and achieve the desired result.
Now that you’re prepared with the necessary tools and materials, let’s move on to the step-by-step guide to remove the towel bar.
Step 1: Gather your supplies
Before you begin removing the towel bar, it’s important to gather all the necessary supplies and ensure that you have everything you need. This will prevent any interruptions or delays during the removal process.
Start by collecting the tools mentioned in the previous section, including a Phillips head screwdriver and an Allen wrench (if applicable). These tools will be essential for loosening and removing the mounting hardware of the towel bar.
Additionally, it’s a good idea to have a putty knife or scraper on hand. This will come in handy if there is any adhesive or caulk holding the towel bar to the wall.
If you plan on patching the holes left behind by the towel bar or repairing any damage to the wall, you may need a wall repair patch kit, spackle or wall filler, a sanding block or sandpaper, and paint or wallpaper to match the existing wall color or pattern.
By gathering all the necessary supplies beforehand, you’ll have a smooth and uninterrupted removal process. So, take a few minutes to double-check your supplies before moving on to the next step.
Step 2: Locate the mounting brackets
After gathering your supplies, the next step is to find and locate the mounting brackets of the towel bar. These brackets are typically attached to the wall and hold the bar in place.
First, visually inspect the towel bar and determine where the mounting brackets are positioned. Look for any visible screws or hardware that may be securing the brackets to the wall. In some cases, the brackets may be concealed behind decorative covers or caps.
Once you have located the brackets, examine them closely to identify the type of fasteners used. It could be screws, Allen screws, or adhesive. This information will be crucial when it comes time to remove the towel bar in the subsequent steps.
If the brackets are secured with screws, make note of their placement and size. This will help you in using the appropriate screwdriver to loosen and remove them later on.
It’s also important to take note of any adhesive or caulk that might be holding the towel bar to the wall. This additional bonding may require some extra steps or tools for removal.
By taking the time to locate the mounting brackets and understand their attachment mechanism, you’ll have a better understanding of how to proceed with the removal process.
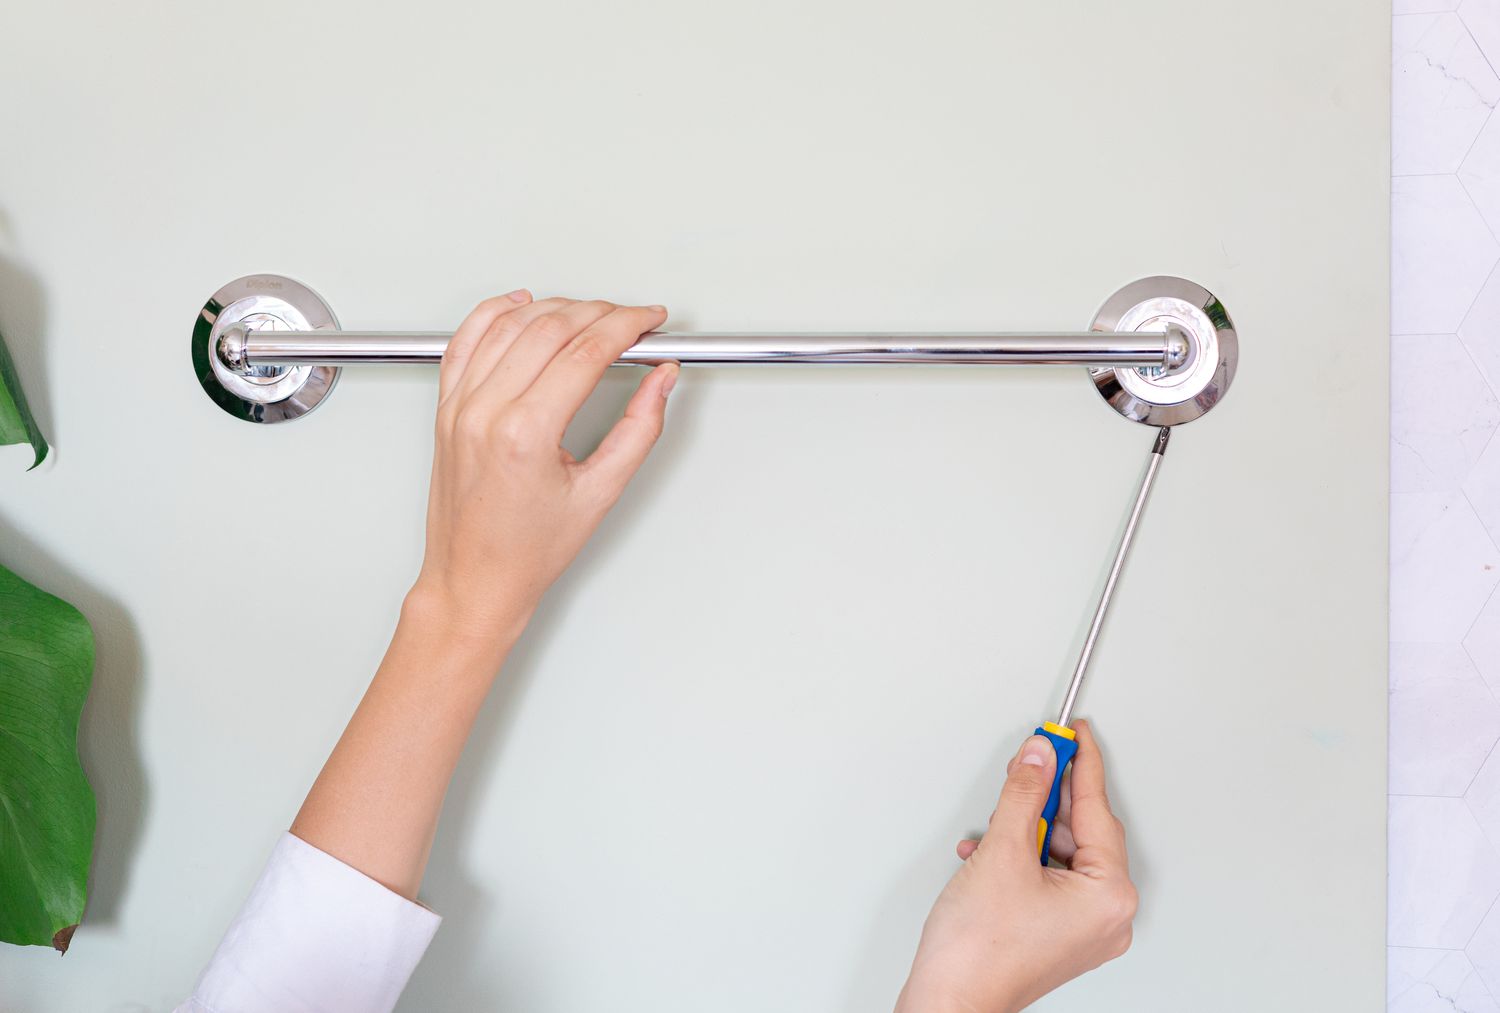
Step 3: Remove the set screws
Now that you have located the mounting brackets and have an understanding of how the towel bar is attached, it’s time to start removing it. The first task in the removal process is to remove any set screws that are holding the towel bar in place.
If your towel bar has set screws, they typically fasten the brackets to the bar itself. Look closely at the brackets and locate the small holes where the set screws are inserted.
Take your Phillips head screwdriver and insert it into the set screw hole. Turn it counterclockwise to loosen the screw. Once the set screw is loose, continue turning it until it is completely removed.
Repeat this process for all the set screws on both sides of the towel bar. Make sure to keep these small screws in a safe place so that they don’t get lost during the removal process.
If your towel bar doesn’t have set screws, it may use a different mounting mechanism such as adhesive or tension. In such cases, skip this step and proceed to the next step to remove the towel bar from the brackets.
By removing the set screws, you are detaching the brackets from the towel bar, making it easier to remove the bar from the wall in the following step.
To remove a towel bar, start by locating the set screw on the base of the bar and use an Allen wrench to loosen it. Once the set screw is removed, gently twist and pull the bar away from the wall. If there are any wall anchors, carefully remove them with a screwdriver.
Read more: How To Remove Towel Bar With Slot
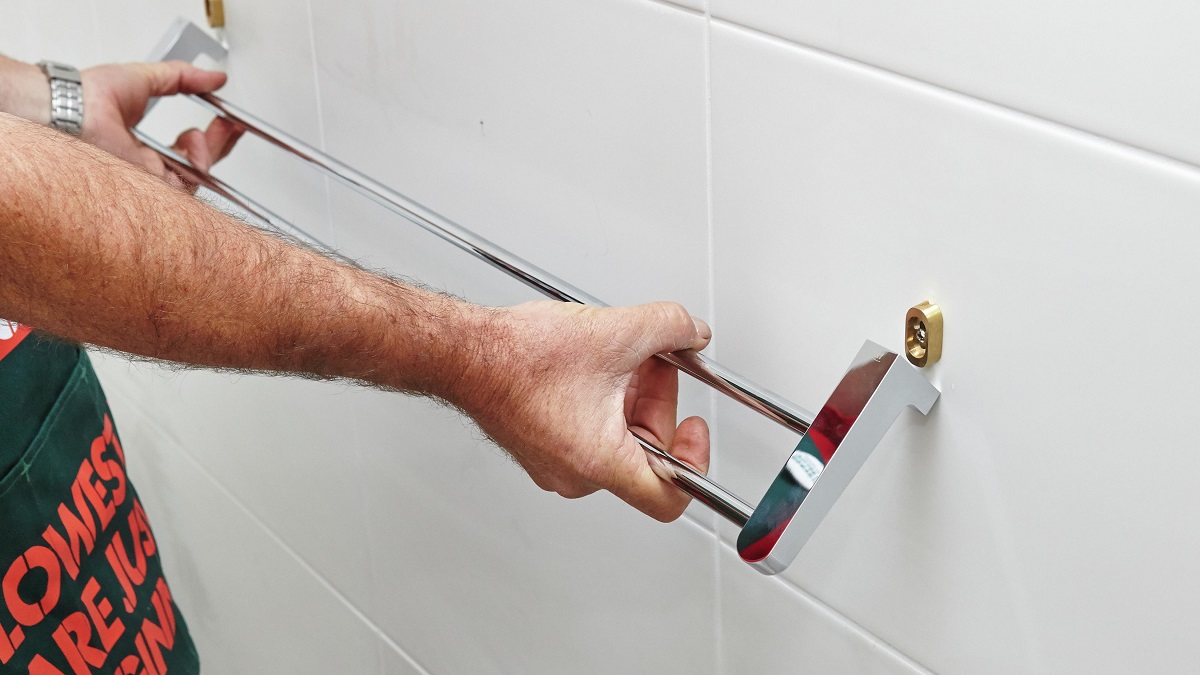
Step 4: Remove the towel bar from the brackets
With the set screws removed, it’s time to take the next step in removing the towel bar: detaching it from the mounting brackets. The method of detachment will depend on the type of brackets used.
- Screwed brackets: If the brackets are secured with screws, use your Phillips head screwdriver to remove them. Turn the screws counterclockwise until they are fully loosened. Once the screws are removed, gently pull the towel bar away from the brackets.
- Adhesive brackets: If the brackets are attached with adhesive, the removal process may be a bit more challenging. Start by using a putty knife or scraper to carefully pry the towel bar away from the wall. Apply gentle pressure and slowly work your way around the edges of the bar until it starts to come loose. Be cautious not to damage the wall during this process.
- Tension brackets: If the towel bar is held in place with tension brackets, it is designed to slide off the brackets easily. Grab the towel bar firmly with both hands and pull it towards you. It should slide off the brackets smoothly.
Regardless of the type of brackets, be mindful of any adhesive or caulk that may have been used to secure the towel bar to the wall. Take your time and use caution to avoid any damage to the surface.
Once the towel bar is successfully detached from the brackets, set it aside in a safe place for future use or disposal, depending on your needs.
Now that the towel bar has been removed from the brackets, it’s time to address any holes or damage that may have been left behind. This step is optional but highly recommended for a clean and finished look. Continue to the next step for instructions on patching the holes.
Step 5: Patch the holes (optional)
If you have removed a towel bar that was mounted with screws, you may now have unsightly holes in your wall. While this step is optional, patching the holes will help achieve a smooth and finished appearance.
To patch the holes, you will need a wall repair patch kit, spackle or wall filler, a putty knife, and sandpaper or a sanding block.
- Clean the area: Begin by cleaning the area around the holes using a damp cloth or sponge. This will ensure that the surface is free from dust and debris, allowing the patch material to adhere properly.
- Apply the patch: Take the wall repair patch from the kit and place it over the hole. Press it firmly onto the wall, ensuring that it covers the entire hole.
- Fill the holes: Using a putty knife, apply spackle or wall filler over the patch and holes. Smooth it out evenly, ensuring that it is flush with the surrounding wall surface.
- Sand and blend: Once the spackle or wall filler has dried, use sandpaper or a sanding block to sand the patched area. Sand gently in a circular motion until the surface is smooth and blends seamlessly with the surrounding wall.
- Paint or wallpaper: If necessary, apply a coat of paint or wallpaper to match the existing wall color or pattern. Allow it to dry completely before moving on.
Remember to follow the instructions provided with your wall repair patch kit and spackle for best results. The drying time may vary depending on the products used, so be patient and allow ample time for the patch to fully dry before proceeding.
By patching the holes left behind after removing the towel bar, you’ll achieve a clean and professional-looking finish to your bathroom walls.
Now that the wall has been repaired (if applicable), it’s time to move on to the last step to complete the towel bar removal process.
Step 6: Finishing touches
Now that you have successfully removed the towel bar and patched any holes, it’s time to add the finishing touches to ensure a seamless and polished look in your bathroom.
- Inspect the wall: Take a close look at the wall where the towel bar was previously mounted. Ensure that the surface is clean, smooth, and free from any imperfections. If needed, touch up the paint or wallpaper in the surrounding area to ensure a cohesive appearance.
- Consider alternative storage options: If you no longer need a towel bar in that location, you can explore alternative storage options for your towels. This could include installing shelves, hooks, or a different style of towel bar in a different location.
- Re-evaluate the bathroom layout: Removing a towel bar may provide an opportunity to rethink the layout and design of your bathroom. Take a step back and assess if any other changes or additions could further enhance the functionality and aesthetics of the space.
- Clean and organize: Take the time to thoroughly clean and organize the bathroom. Wipe down surfaces, tidy up any toiletries, and ensure that everything is in its proper place. This will give your bathroom a fresh and inviting feel.
Completing these finishing touches will ensure that the bathroom looks clean, organized, and visually appealing even after removing the towel bar.
With the towel bar successfully removed and the finishing touches in place, you can now enjoy a refreshed and updated bathroom space. Whether you are planning to install a new towel bar or exploring other storage options, your bathroom will feel renewed and ready to cater to your needs.
Remember, always exercise caution and care when removing or installing any fixtures in your home to prevent damage and ensure a job well done.
Thank you for following this step-by-step guide to remove a towel bar. We hope it was helpful and that you found success in your project!
Conclusion
Removing a towel bar may seem like a simple task, but it’s important to follow the proper steps to ensure a successful and damage-free removal process. By gathering the necessary tools and materials, locating the mounting brackets, removing the set screws, detaching the towel bar from the brackets, patching any holes (if desired), and adding the finishing touches, you can achieve a clean and polished result.
Throughout the process, it’s essential to exercise caution and care to avoid damaging the walls or leaving unsightly holes. Take your time and follow the instructions carefully to achieve the best possible outcome.
If you’re no longer in need of a towel bar in your bathroom, consider exploring alternative storage options or reevaluating the layout and design of the space. By doing so, you can further enhance the functionality and aesthetics of your bathroom.
Remember, always evaluate the type of mounting brackets used for your towel bar as it will determine the specific steps required for removal. Whether it’s screws, adhesive, or tension brackets, understanding the attachment mechanism is crucial for a smooth removal process.
By following this step-by-step guide, you can confidently remove a towel bar from your bathroom wall, updating the space and allowing for future design possibilities. Enjoy your refreshed and organized bathroom, and don’t forget to exercise proper caution and care when working on any home improvement projects.
Thank you for reading this guide, and we hope it has been helpful in your towel bar removal journey!
Frequently Asked Questions about How Remove Towel Bar
Was this page helpful?
At Storables.com, we guarantee accurate and reliable information. Our content, validated by Expert Board Contributors, is crafted following stringent Editorial Policies. We're committed to providing you with well-researched, expert-backed insights for all your informational needs.


0 thoughts on “How Remove Towel Bar”