Articles
How To Hang Drapes On A Traverse Rod
Modified: August 17, 2024
Learn how to hang drapes on a traverse rod with these helpful articles. Find step-by-step instructions and expert tips for achieving the perfect window treatment.
(Many of the links in this article redirect to a specific reviewed product. Your purchase of these products through affiliate links helps to generate commission for Storables.com, at no extra cost. Learn more)
Introduction
Welcome to this guide on how to hang drapes on a traverse rod! Drapes can not only add a touch of elegance and style to any room but also provide privacy and control over natural light. And, when it comes to hanging drapes, a traverse rod is a popular choice due to its functionality and convenience.
In this article, we will walk you through a step-by-step process to help you successfully hang drapes on a traverse rod. Whether you are a beginner or have some experience with DIY projects, this guide will provide you with all the necessary tools, materials, and instructions to complete the task seamlessly.
Before we begin, let’s take a quick look at what a traverse rod is and why it is an excellent choice for hanging drapes.
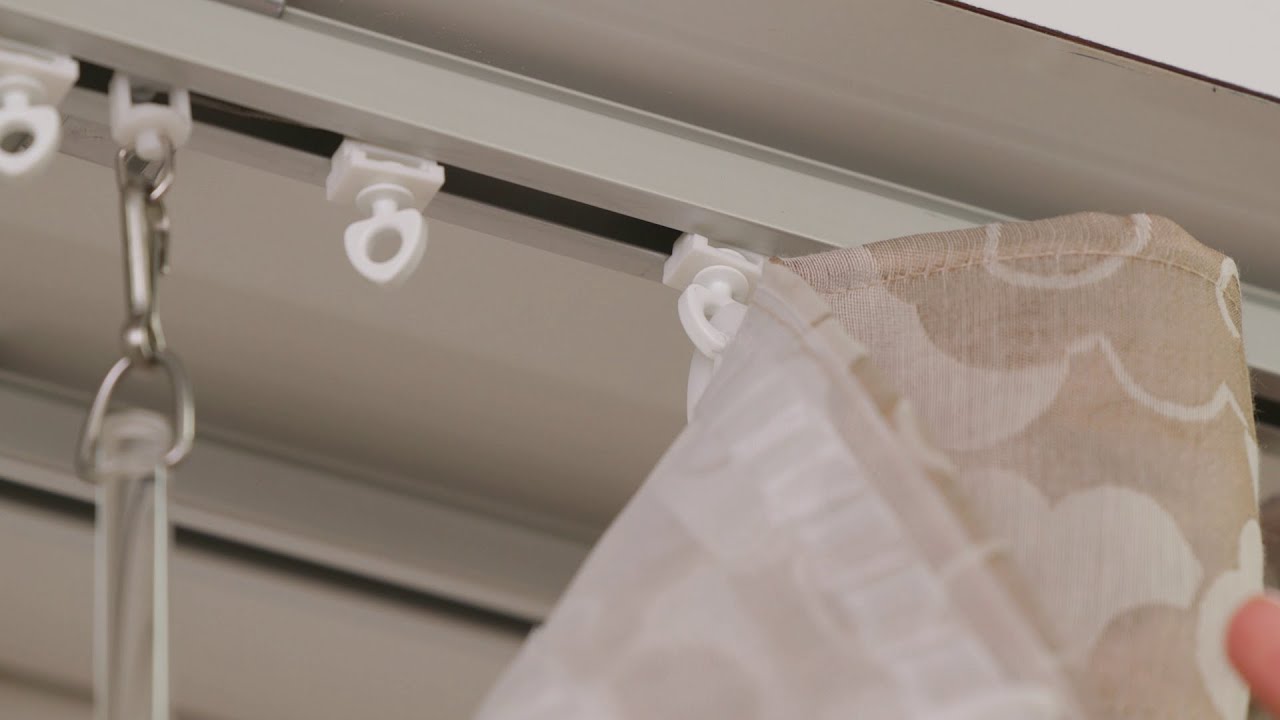
A traverse rod is a curtain rod with a cord mechanism that allows you to open and close the drapes smoothly. The cords are attached to carriers or sliders, which help the drapes to move along the rod easily. This functionality makes traverse rods a great choice for heavy or long drapes, as they provide stability and ease of use.
Now that you have a basic understanding of traverse rods, let’s dive into the step-by-step process of hanging drapes on one.
Key Takeaways:
- Elevate your room’s elegance and functionality by learning how to hang drapes on a traverse rod. Follow our step-by-step guide for a seamless installation process and polished window treatment.
- Ensure a professional-looking window treatment by gathering the right tools, measuring accurately, and making precise adjustments. Enjoy the beauty and comfort that drapes bring to your space!
Read more: How To Hang Curtains On Traverse Rod
Step 1: Gather Necessary Tools and Materials
Before you begin the process of hanging drapes on a traverse rod, it’s important to gather all the necessary tools and materials. Having everything prepared and within reach will make the installation process smoother and more efficient.
Here is a list of the tools and materials you will need:
- Traverse rod: Purchase a traverse rod suitable for your window size and drape weight. Traverse rods are available in various lengths and styles, so choose one that complements your decor.
- Drill with appropriate drill bits: A drill will be needed to install the traverse rod brackets securely. Ensure you have the correct drill bit size for the specific screws provided with your traverse rod.
- Pencil and measuring tape: These tools are essential for accurately measuring and marking the placement of the traverse rod brackets.
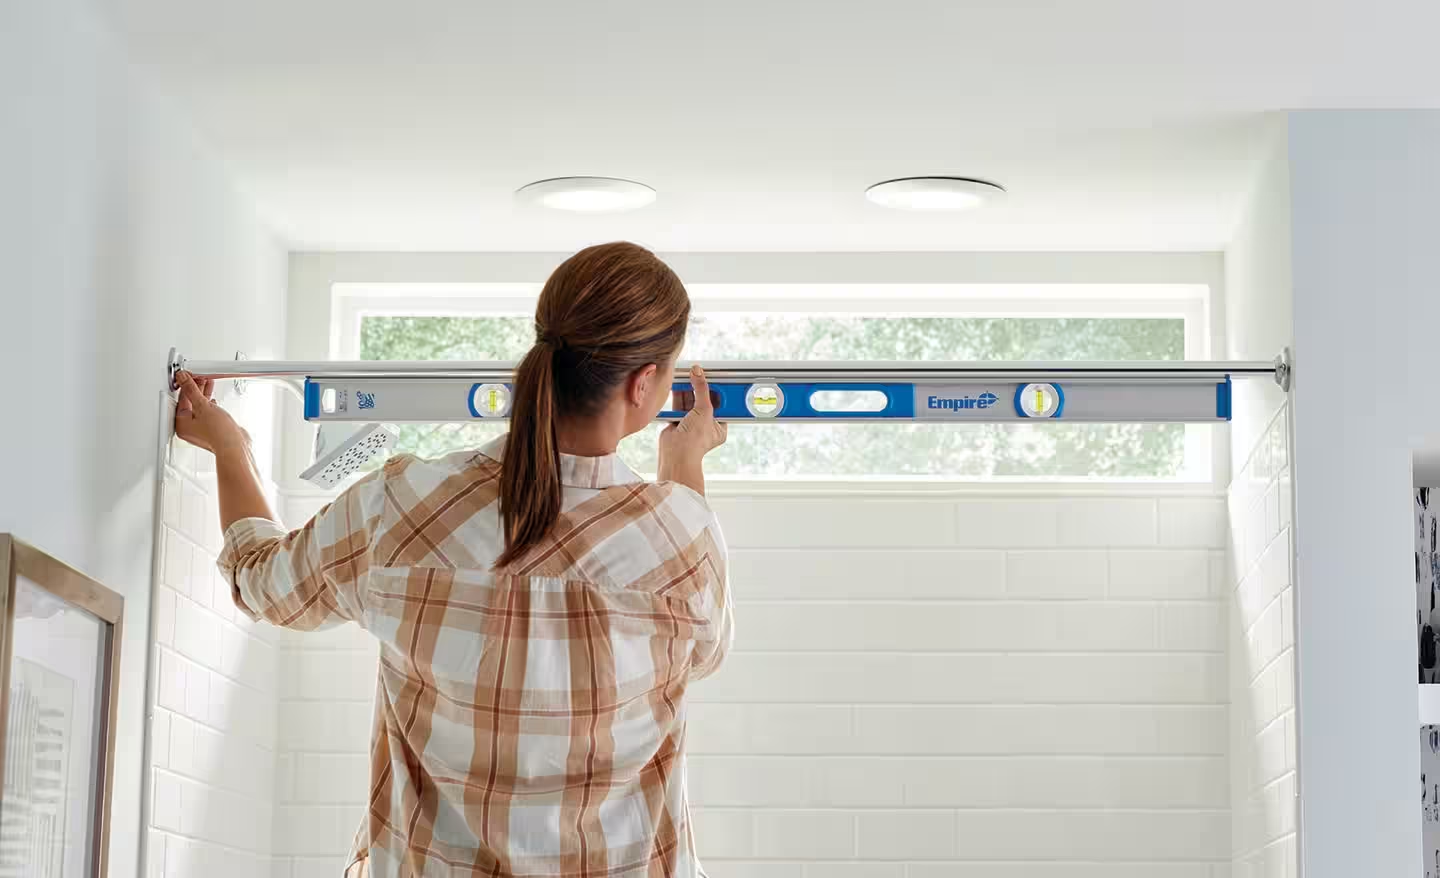
- Level: A level will help you ensure that the traverse rod is installed straight and level, resulting in a visually pleasing and functional drape installation.
- Screwdriver: You will need a screwdriver to attach the traverse rod brackets to the wall or window frame.
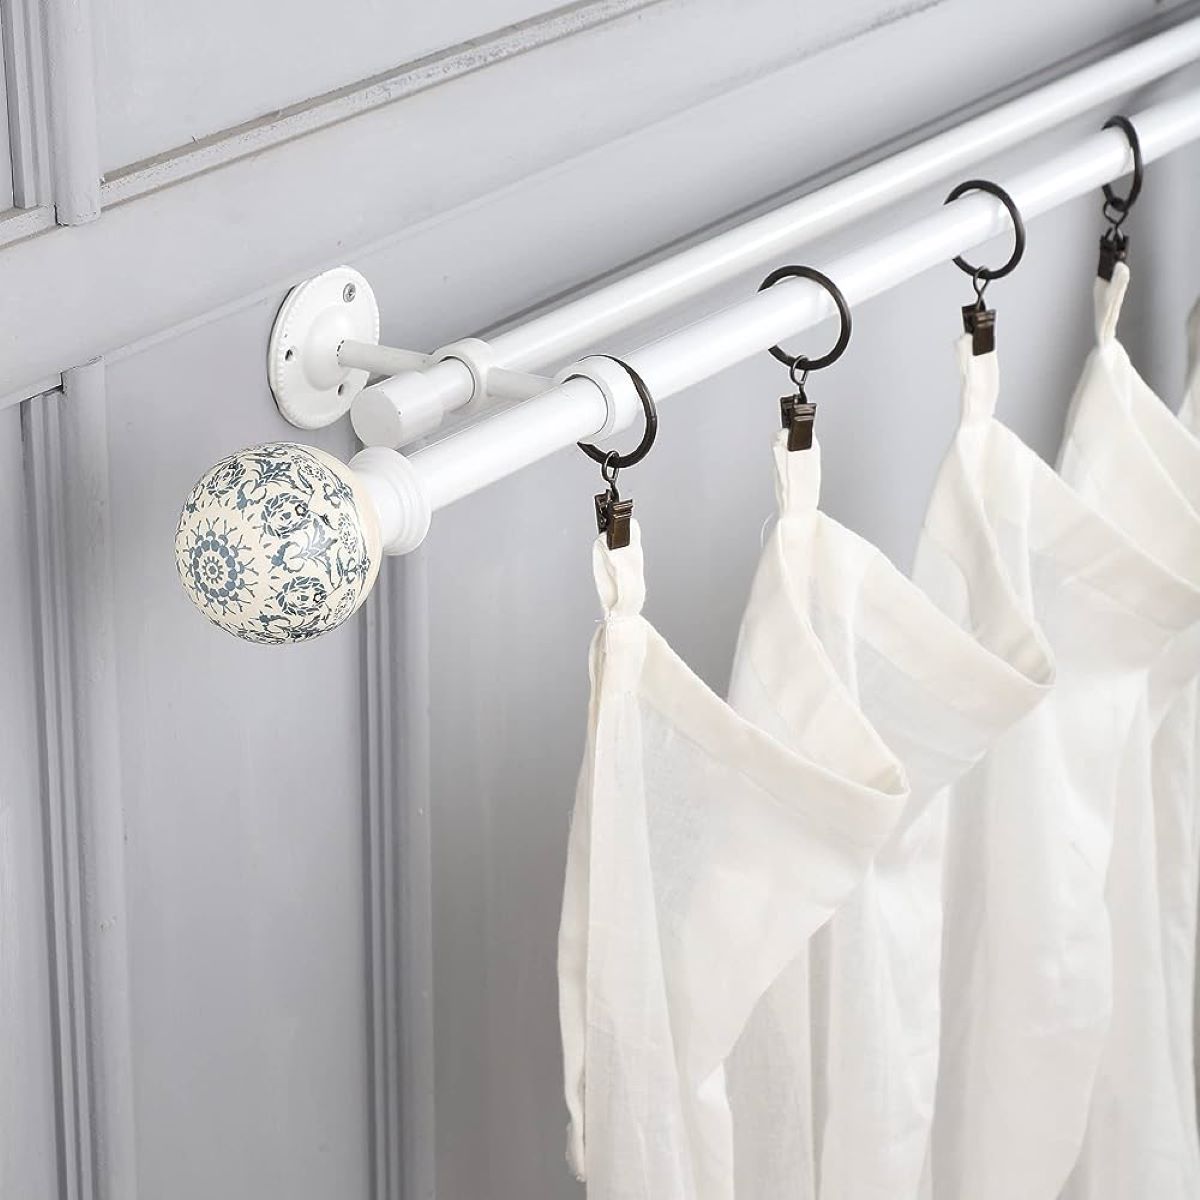
- Drapery hooks or rings: Depending on your drapery style, you will need hooks or rings that will attach the drapes to the traverse rod uniformly. Make sure to choose hooks or rings that are compatible with both the drapes and the traverse rod.
- Optional: Wall anchors or toggle bolts: If you are installing the traverse rod brackets onto a drywall or plaster wall, you may need wall anchors or toggle bolts for added stability.
Make sure you have all these tools and materials gathered before you start the installation process. This will save you time and prevent any interruptions or delays.
Now that you have everything you need, let’s move on to the next step: measuring and marking the placement for the traverse rod.
Step 2: Measure and Mark Placement for Traverse Rod
Now that you have all the necessary tools and materials, it’s time to measure and mark the placement for the traverse rod. This step is crucial to ensure that your drapes will hang evenly and cover the window appropriately.
Here’s how to measure and mark the placement for the traverse rod:
- Measure the width of your window: Use a measuring tape to determine the width of your window. Measure from the outside edges of the window frame or the area where you want your drapes to hang.
- Add extra space: Consider adding a few inches on each side of the window frame for a more aesthetically pleasing look. This additional space will allow the drapes to cover the entire window when open and provide better privacy and light control when closed.
- Mark the placement: Using a pencil and a measuring tape, mark the desired placement for the traverse rod brackets. Start by marking the height at which you want the top of the drapes to hang. This measurement will depend on your preference and the height of your window.
- Ensure even placement: Use a level to ensure that the marks for the traverse rod brackets are level. This will ensure that the drapes hang evenly and do not appear lopsided.
Once you have marked the placement for the traverse rod brackets, you are ready to move on to the next step: installing the traverse rod brackets.
Take your time to measure accurately and make the necessary marks. Precision at this stage will result in a professional-looking window treatment and a seamless installation process.
Step 3: Install Traverse Rod Brackets
With the placement for the traverse rod brackets marked, it’s time to move on to the installation process. Installing the traverse rod brackets properly is essential for the stability and functionality of your drapes.
Follow these steps to install the traverse rod brackets:
- Prepare the brackets: Depending on the specific instructions provided with your traverse rod, assemble the brackets if necessary. Some brackets may come in multiple pieces that need to be attached together before installation.
- Position the brackets: Place each bracket on the marked spots for the rod brackets, ensuring that they are aligned with the markings and level. Use a level to double-check the positioning.
- Mark the screw holes: Once the brackets are in position, use a pencil to mark the screw holes on the wall or window frame.
- Drill pilot holes: Using a drill and an appropriate drill bit, drill pilot holes on the marked screw hole locations. Make sure to use a bit that matches the size of the screws provided with your traverse rod.
- Attach the brackets: Place the brackets back on the wall or window frame, aligning the screw holes with the pilot holes. Use a screwdriver to securely fasten the brackets to the wall or window frame using the provided screws. If you are using wall anchors or toggle bolts for added stability, now is the time to install them according to the manufacturer’s instructions.
- Double-check the alignment: Once the brackets are attached, use a level to ensure that they are still level and aligned. Make any necessary adjustments.
By following these steps, you will have successfully installed the traverse rod brackets. The brackets play a crucial role in supporting the traverse rod and ensuring that your drapes hang properly.
Now, let’s move on to the exciting part: attaching the traverse rod to the brackets and getting ready to hang the drapes!
When hanging drapes on a traverse rod, make sure to attach the drapery hooks evenly across the top of the drape to ensure smooth and even movement when opening and closing the curtains.
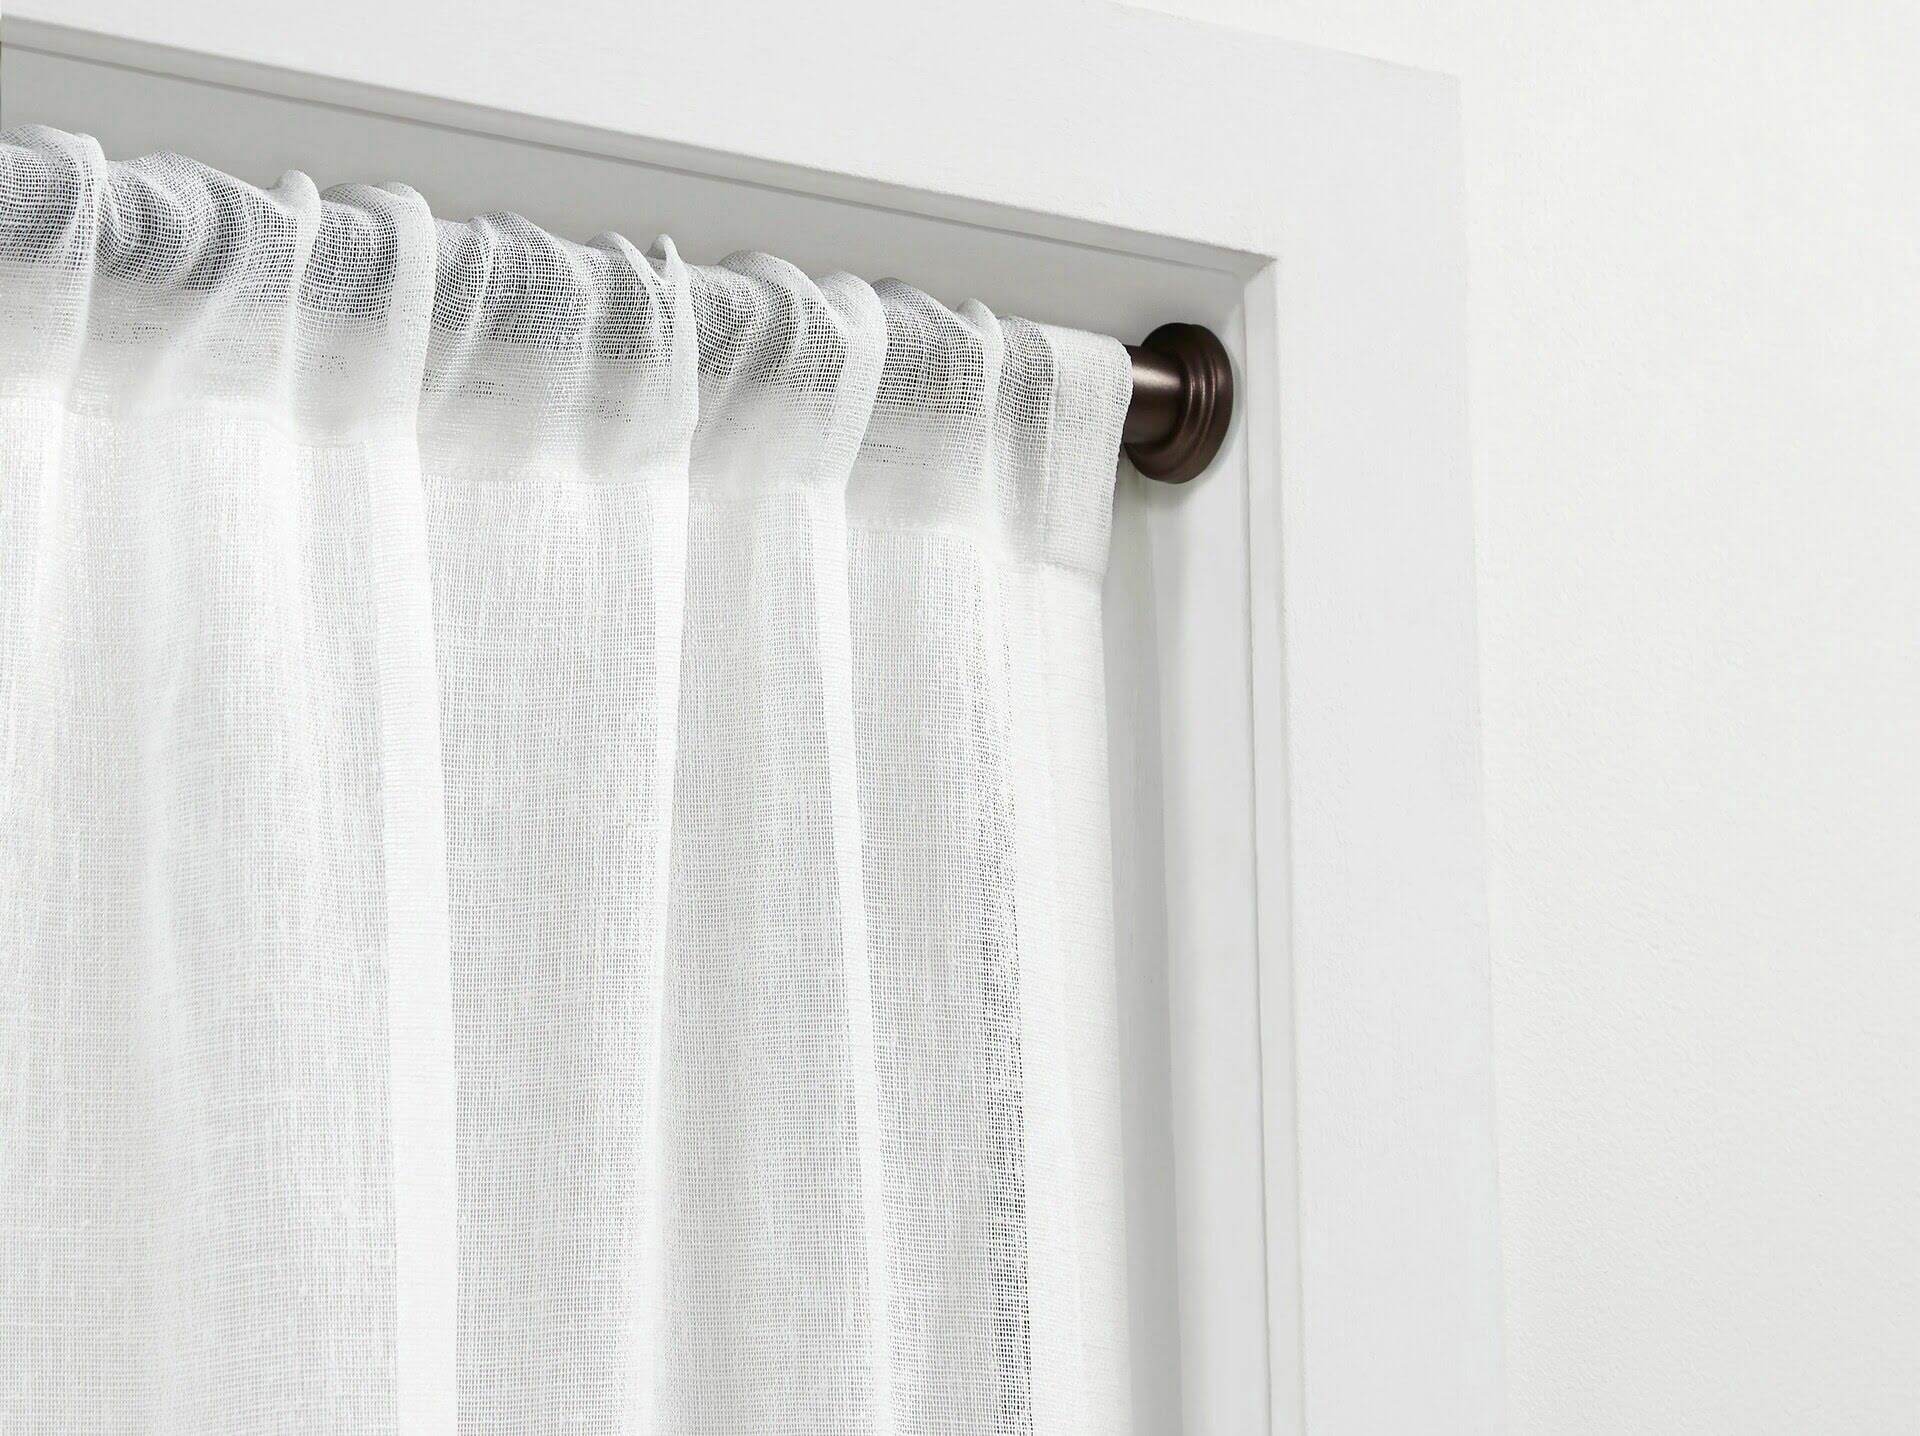
Step 4: Attach Traverse Rod to Brackets
Now that the traverse rod brackets are securely installed, it’s time to attach the traverse rod to the brackets. This step is essential for ensuring that the drapes hang properly and smoothly.
Follow these steps to attach the traverse rod to the brackets:
- Prepare the traverse rod: Remove any packaging material or protective coverings from the traverse rod. Familiarize yourself with the rod and any attachments it may have, such as end caps or sliders.
- Slide the drapery hooks or rings onto the rod: If your drapes require hooks or rings to hang from the traverse rod, slide them onto the rod evenly spaced apart. Make sure to follow the manufacturer’s instructions or any specific requirements for your drapery style.
- Insert the traverse rod into the brackets: Carefully lift the traverse rod and insert it into the brackets from one side. Make sure that the rod is fully inserted and securely seated in the brackets.
- Secure the rod in place: Depending on the specific design of your traverse rod, there may be mechanisms to secure it in place. This can include tightening screws or securing clips. Follow the manufacturer’s instructions to ensure that the traverse rod is properly secured.
- Test the movement of the traverse rod: Gently pull on the traverse cord to test the movement of the rod and ensure that it smoothly opens and closes the drapes. Make any necessary adjustments to ensure that the drapes move along the rod without any obstructions or difficulties.
By following these steps, you will have successfully attached the traverse rod to the brackets. Take your time to ensure that the rod is securely installed and that the movement is smooth and effortless.
Now, let’s move on to the final step: hanging the drapes onto the traverse rod and adjusting them for the perfect fit!
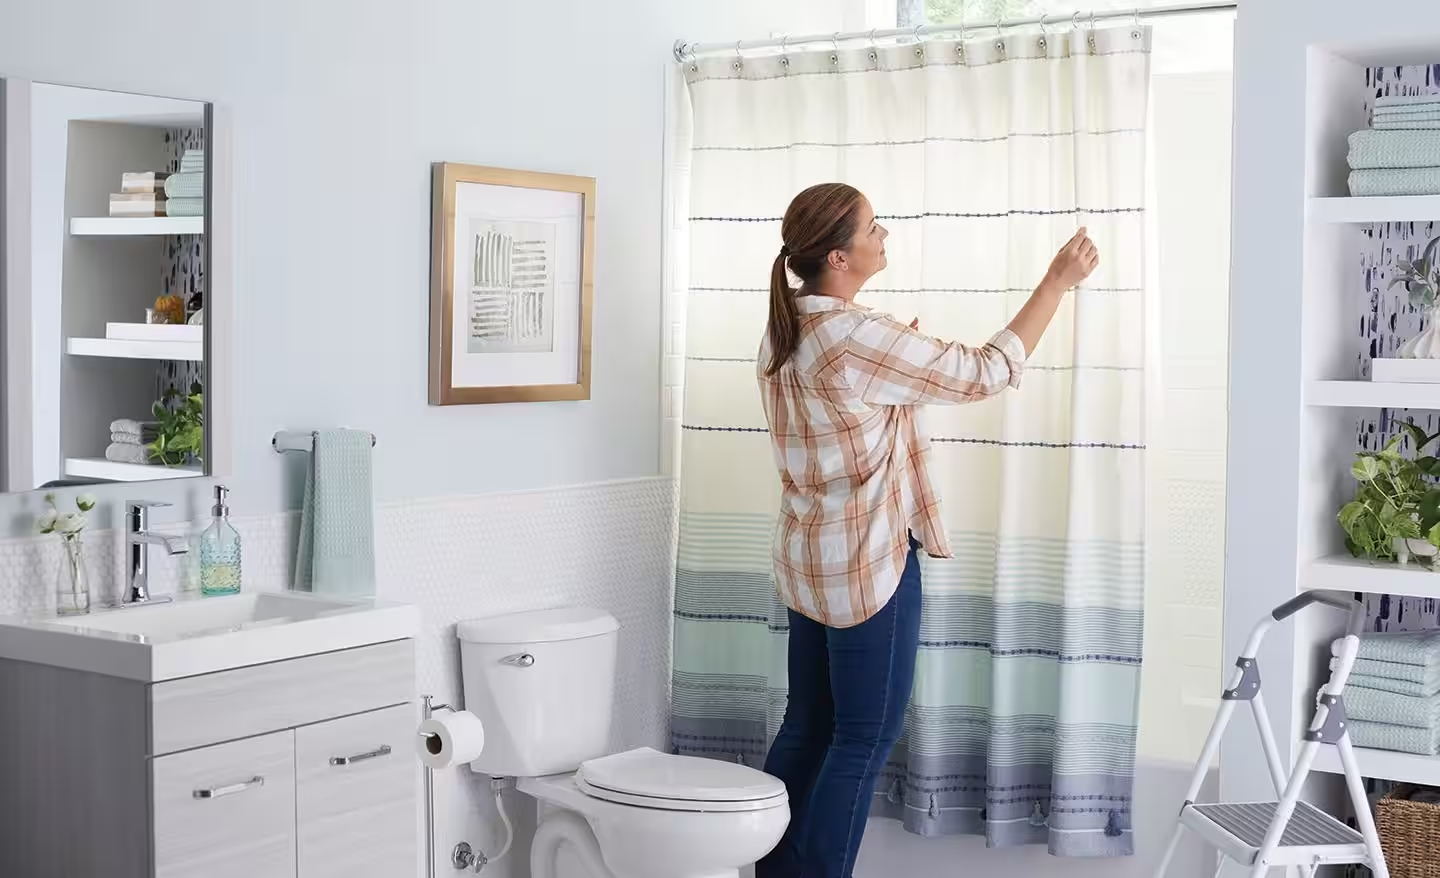
Step 5: Hang Drapes onto the Traverse Rod
With the traverse rod securely attached to the brackets, it’s time to hang the drapes onto the rod. This step brings your window treatment to life and adds a touch of elegance to your space.
Follow these steps to hang the drapes onto the traverse rod:
- Prepare the drapes: Before hanging the drapes, ensure they are clean and ironed or steamed if necessary. This will ensure that they hang smoothly and look their best.
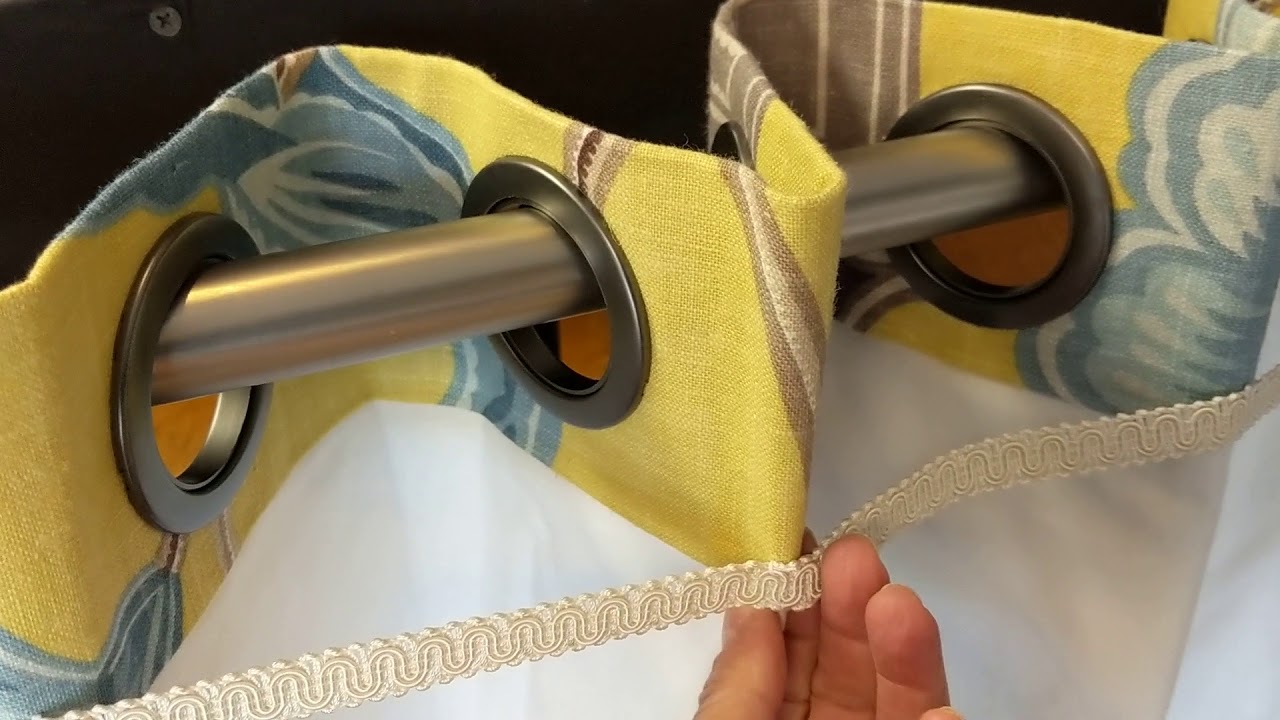
- Start from one end: Begin by placing one end of the drapes onto the traverse rod. If using hooks, insert them into the grommets or pockets of the drapes and attach them securely to the traverse rod sliders or carriers. If using rings, simply slide them onto the traverse rod.
- Continue hanging the drapes: Gradually work your way along the traverse rod, evenly distributing the drapes as you go. Ensure that the drapes are hanging straight and not twisted or bunched up.
- Check for evenness: Step back and observe the drapes to ensure that they are hanging evenly. Make any necessary adjustments to ensure that they are properly aligned.
By following these steps, you will have successfully hung the drapes onto the traverse rod. Take your time to ensure that each drape is attached securely and hanging evenly.
Now, let’s move on to the final step: adjusting and securing the drapes for the perfect finish!
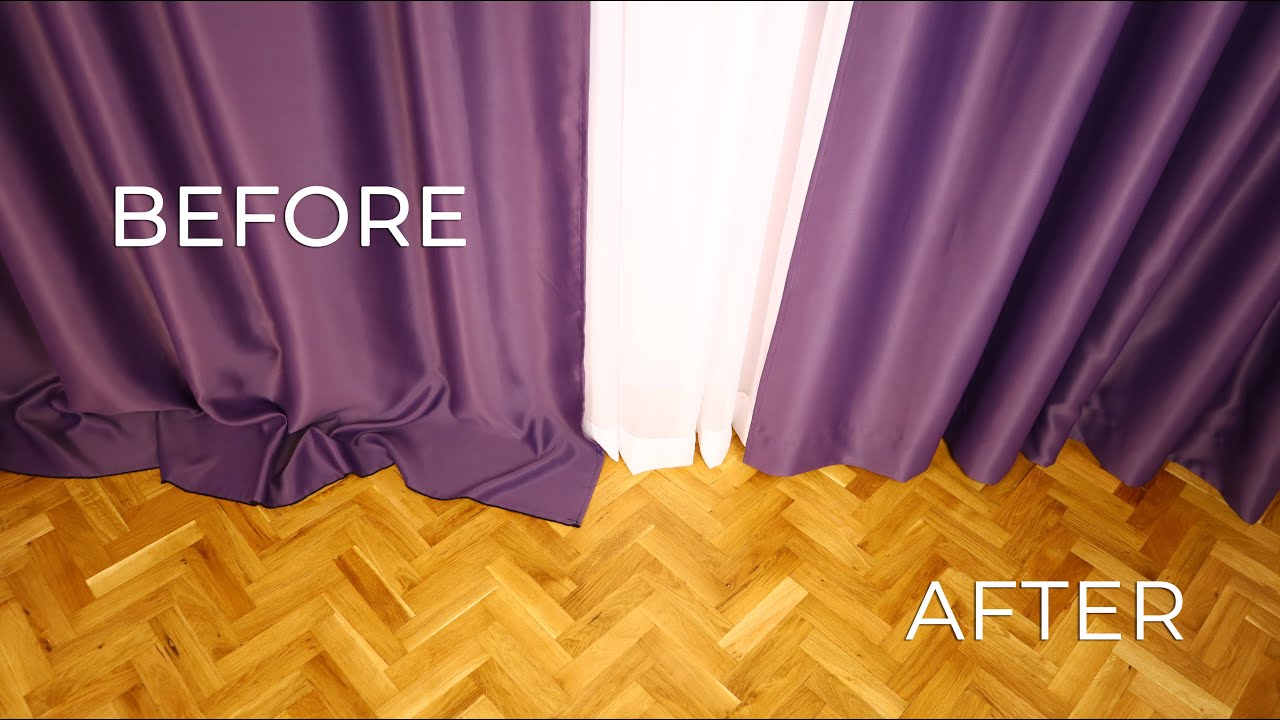
Step 6: Adjust and Secure Drapes
After hanging the drapes onto the traverse rod, it’s time to make some final adjustments and ensure that they are properly secured. This step will help achieve a polished and finished look for your window treatment.
Follow these steps to adjust and secure the drapes:
- Check the length and alignment: Step back and assess the length of the drapes. Make sure they are touching the floor or falling to the desired length without dragging. Adjust the length as needed by pinning or hemming the drapes.
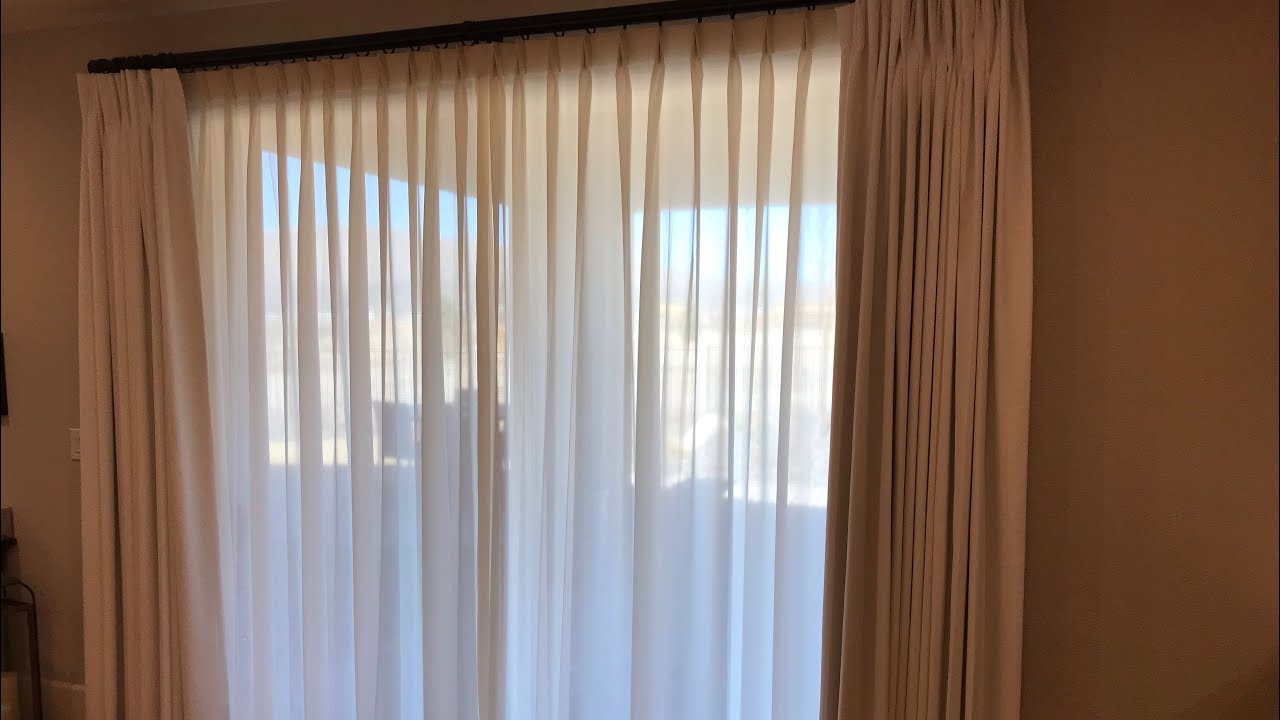
- Even out the pleats and folds: Arrange the pleats and folds of the drapes evenly to create a uniform and aesthetic appearance. Adjust any unevenness or skewing by tugging gently on the fabric.
- Secure tiebacks or holdbacks: If you have tiebacks or holdbacks, use them to gather the drapes to the sides and allow natural light into the room. Make sure they are properly secured and at an appropriate height to achieve the desired look.
- Ensure smooth and effortless movement: Test the movement of the drapes along the traverse rod. If they are not gliding smoothly, check for any obstructions or misalignment. Make any necessary adjustments to ensure smooth and effortless movement.
- Final visual inspection: Step back and visually inspect the drapes to ensure they are hanging evenly, aligned, and free from any noticeable flaws or imperfections. Make any final adjustments to achieve the desired appearance.
By following these steps, you will have successfully adjusted and secured the drapes for a polished finish. Take your time during this step to ensure every detail is perfect.
Congratulations! You have successfully hung drapes on a traverse rod. Your completed window treatment adds style, elegance, and functionality to your space.
Remember to regularly check and clean the drapes to keep them looking their best. Enjoy the beauty and comfort that they bring to your room!
Thank you for following this guide. We hope it has been helpful in your drapery hanging journey.
Happy decorating!
Conclusion
Hanging drapes on a traverse rod can elevate the look and feel of any room while providing functionality and convenience. By following the step-by-step guide provided in this article, you have learned how to successfully hang drapes on a traverse rod.
We started by gathering the necessary tools and materials, ensuring you have everything you need for a smooth installation process. Then, we moved on to measuring and marking the placement for the traverse rod, ensuring accuracy and proper coverage of the window.
Next, we installed the traverse rod brackets, securely attaching them to the wall or window frame. This step is crucial for the stability of the rod and ensuring that the drapes hang evenly.
After installing the brackets, we attached the traverse rod to them, making sure the rod was properly seated and secured. This allowed us to test the movement of the drapes, ensuring they smoothly open and close along the rod.
With the traverse rod in place, we proceeded to hang the drapes, starting from one end and evenly distributing them along the rod. Adjustments were made to ensure the drapes were hanging straight and aligned.
Finally, we made adjustments to the drapes by checking their length, evenness, and securing tiebacks or holdbacks. This step allowed us to achieve a polished and finished look for our window treatment.
Remember to regularly inspect and clean your drapes to maintain their beauty and functionality over time. By following these steps, you can enjoy the elegance and style that drapes bring to your living space.
We hope this guide has been helpful in your journey to hang drapes on a traverse rod. May your newly adorned windows bring joy and comfort to your home!
Happy decorating!
Frequently Asked Questions about How To Hang Drapes On A Traverse Rod
Was this page helpful?
At Storables.com, we guarantee accurate and reliable information. Our content, validated by Expert Board Contributors, is crafted following stringent Editorial Policies. We're committed to providing you with well-researched, expert-backed insights for all your informational needs.


0 thoughts on “How To Hang Drapes On A Traverse Rod”