Articles
How To Hang Pleated Drapes
Modified: February 23, 2024
Learn the step-by-step process of hanging pleated drapes with our informative articles. Discover tips and tricks for achieving a perfect installation and enhancing your home decor.
(Many of the links in this article redirect to a specific reviewed product. Your purchase of these products through affiliate links helps to generate commission for Storables.com, at no extra cost. Learn more)
Introduction
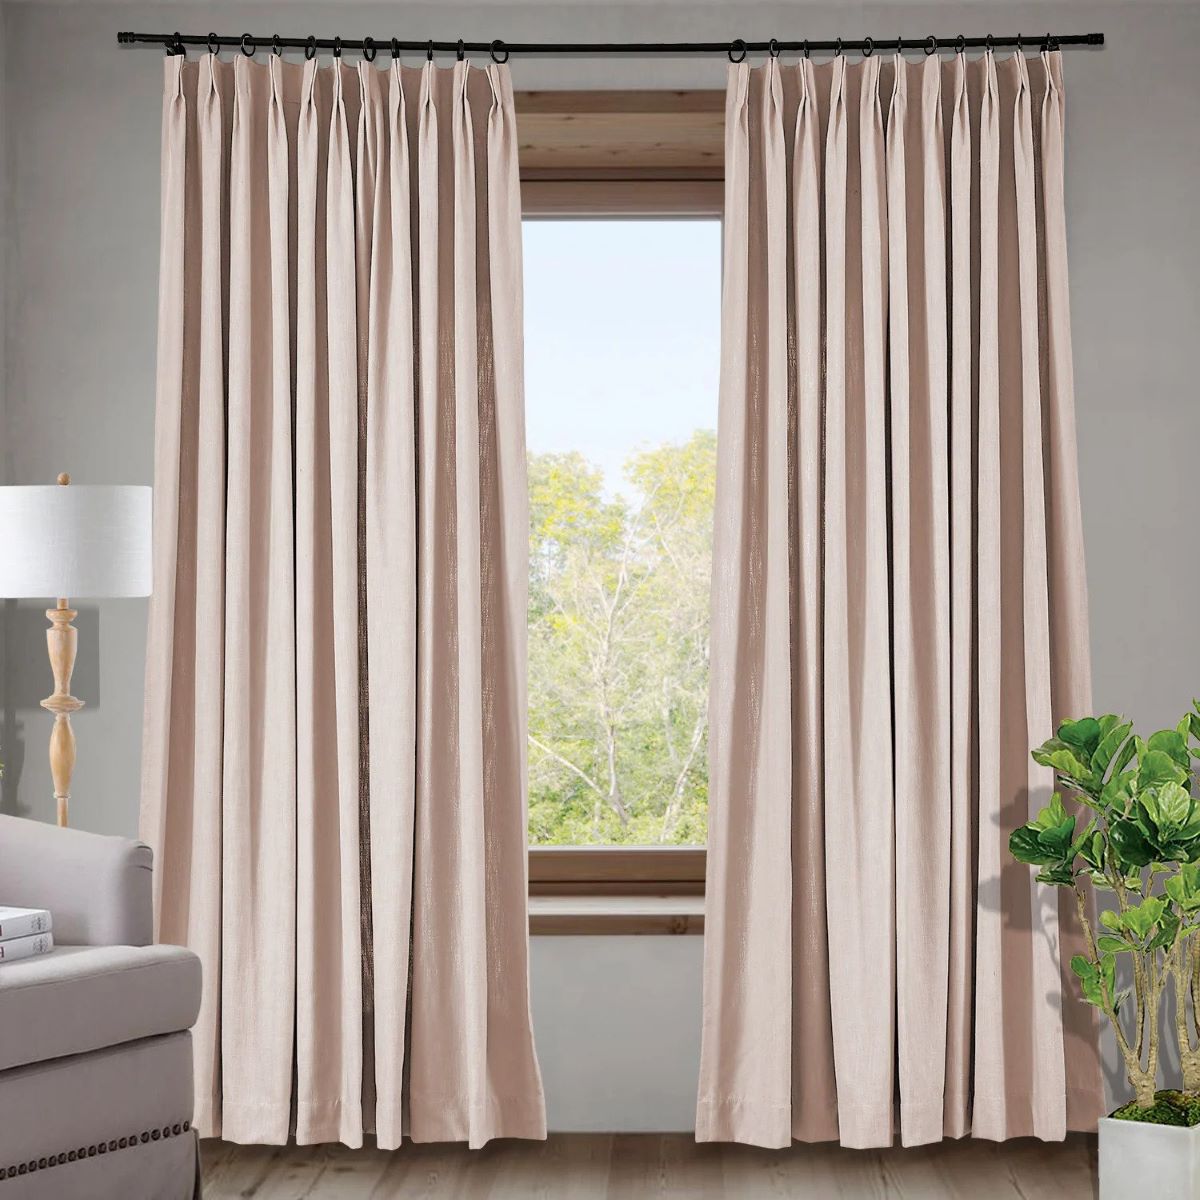
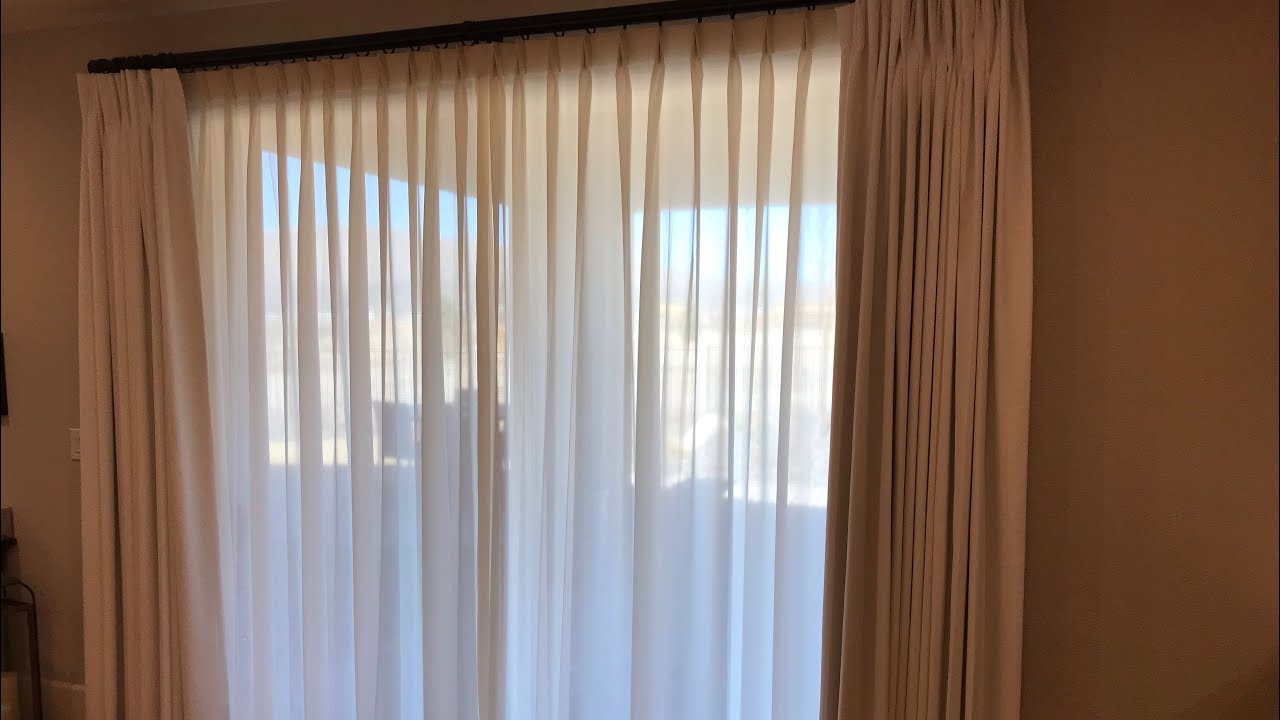
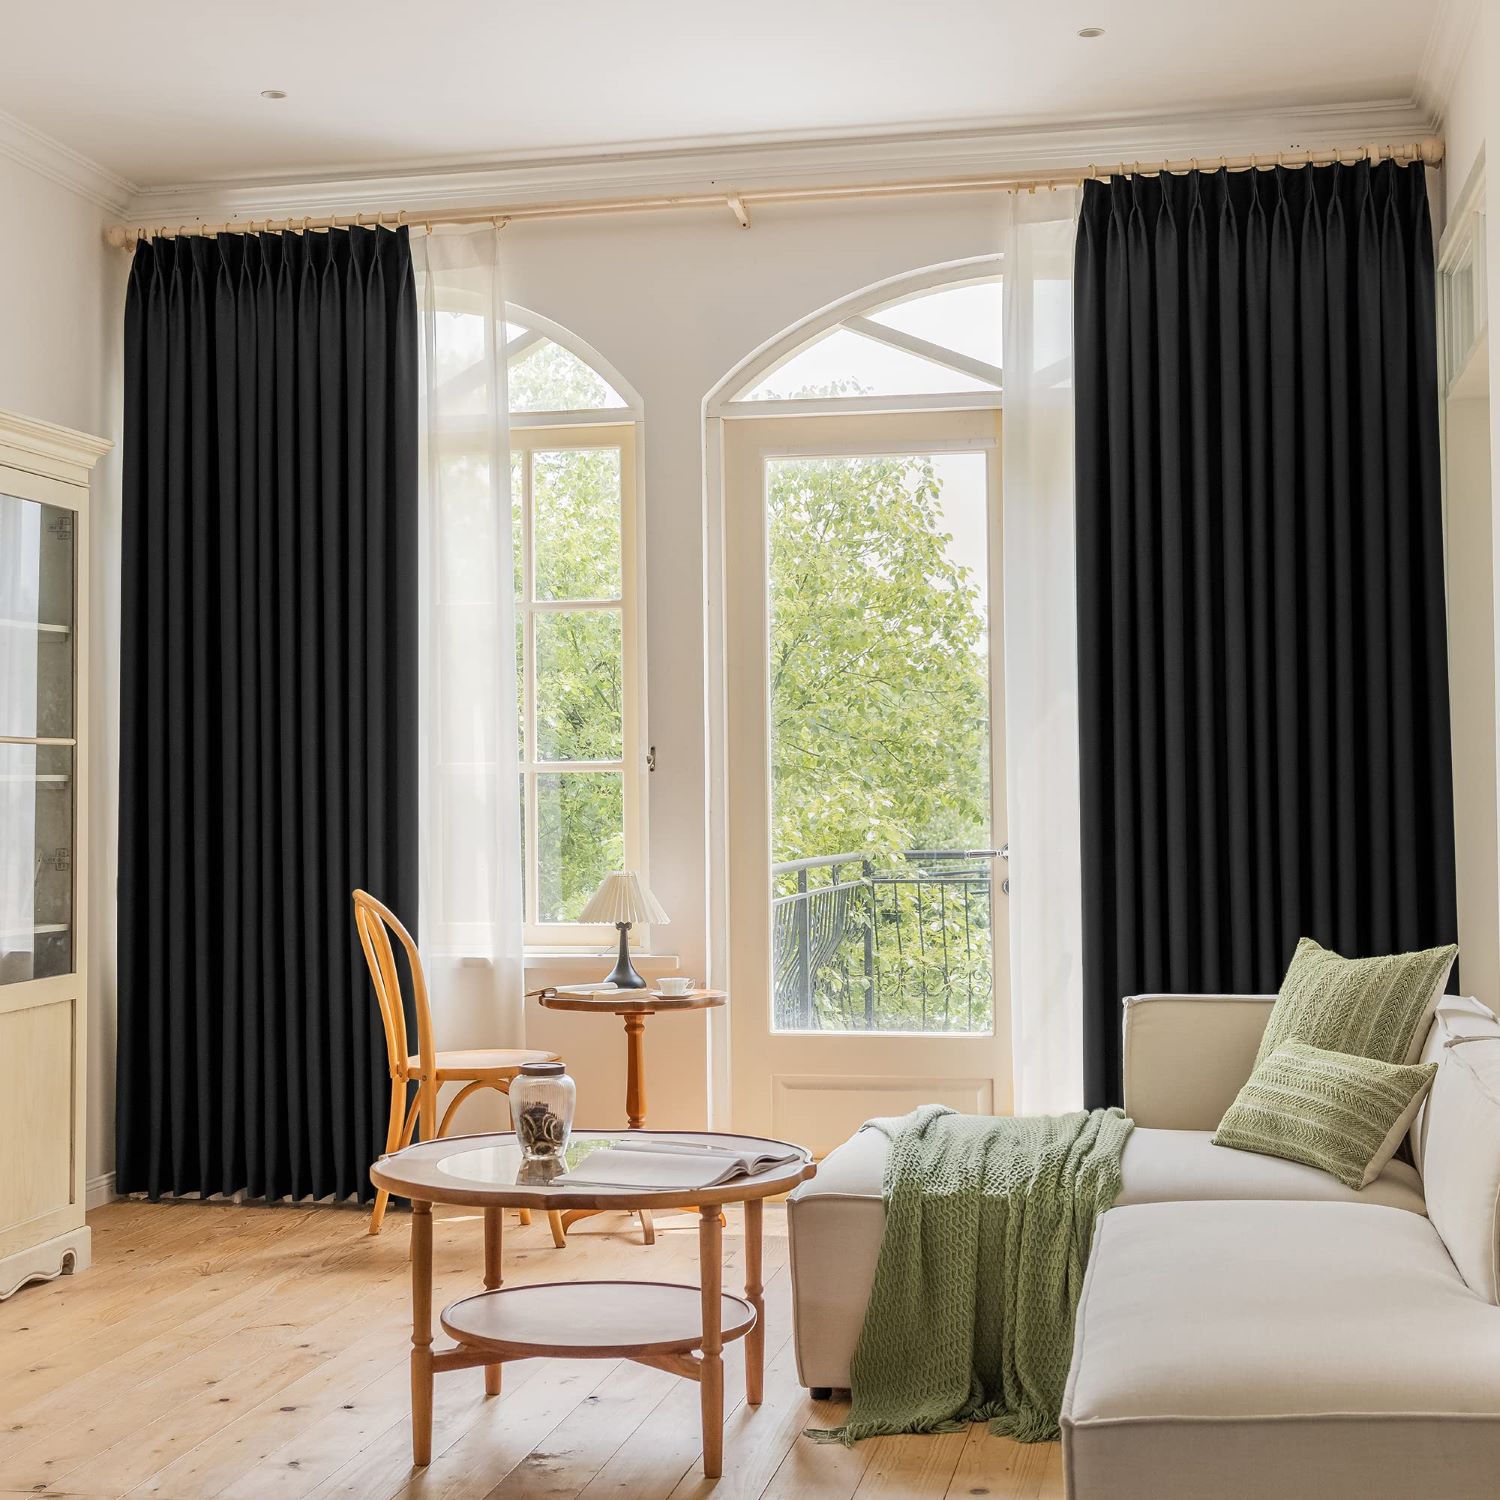
Welcome to our comprehensive guide on how to hang pleated drapes. Pleated drapes are not only functional but also add a touch of elegance and style to any room. Installing them properly requires a few steps, but with the right tools and techniques, you can achieve a polished and professional look.
In this article, we will walk you through the entire process of hanging pleated drapes, from gathering the necessary tools and materials to adjusting and leveling the drapes to achieve a perfect fit. Whether you are a beginner or have some experience with DIY projects, our step-by-step instructions will help you complete the installation with ease.
Before we begin, it’s important to note that pleated drapes come in various styles and fabric types. The specific instructions may vary depending on the type of pleated drapes you have chosen. However, the fundamental steps outlined in this article can be applied to most pleated drapes installations.
Now, let’s get started with the first step – gathering the necessary tools and materials.
Key Takeaways:
- Hanging pleated drapes is a DIY project that adds elegance to any room. From measuring and marking to adjusting and securing, this guide empowers you to achieve a professional and polished look.
- Attention to detail is key in hanging pleated drapes. Proper tools, accurate measurements, and optional securing steps ensure a stylish and functional window treatment.
Read more: How To Measure For Pinch Pleat Drapes
Step 1: Gathering the necessary tools and materials
Before you begin hanging your pleated drapes, it’s essential to gather all the tools and materials you will need. Having everything on hand before you start will save you time and ensure a smoother installation process. Here is a list of the tools and materials you’ll need:
- Tape measure: This will help you accurately measure the window or area where the drapes will be hung.
- Pencil: Use a pencil to mark the desired placement of the curtain rod.
- Drill: A drill will be needed to install the curtain rod brackets securely.
- Screwdriver: Depending on the type of screws used, you may need a flathead or Phillips screwdriver.
- Curtain rod: Choose a curtain rod that complements your pleated drapes and fits the width of the window.
- Curtain rod brackets: These brackets will support the curtain rod and hold it in place.
- Wall anchors: If you’re installing the brackets into drywall, wall anchors will provide extra support.
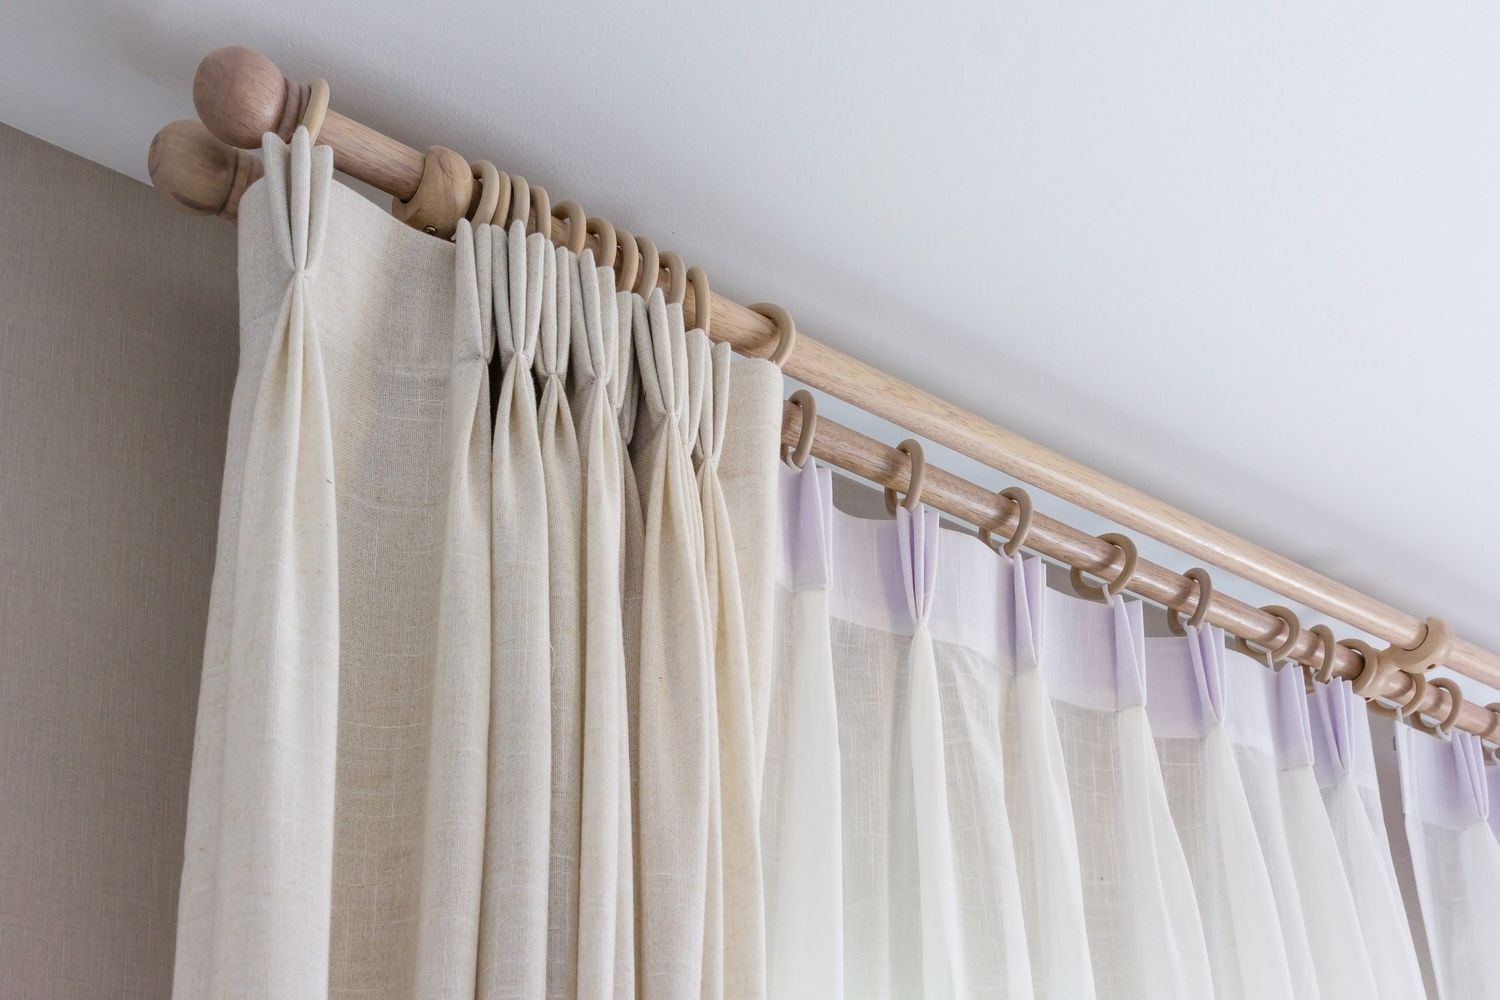
- Curtain hooks: You’ll need curtain hooks specifically designed for pleated drapes, which will attach to the curtain rod.
- Pleated drapes: Select the desired style, color, and fabric of pleated drapes that match your home decor.
- Level: A level tool will help you ensure that the curtain rod is straight and level.
By gathering these tools and materials in advance, you can avoid interruptions during the installation process and ensure a smooth and efficient hanging of your pleated drapes.
Now that you have everything you need, it’s time to move on to the next step – measuring and marking the curtain rod placement.
Step 2: Measuring and marking the curtain rod placement
Before you can install the curtain rod, you need to measure and mark the proper placement. This step is crucial to ensure that your pleated drapes hang at the desired height and width. Follow these steps to accurately measure and mark the curtain rod placement:
- Start by measuring the width of the window or the area where you want to hang the drapes. Add a few inches on each side to allow the drapes to fully cover the window when closed.
- Using a tape measure, measure the desired distance from the floor to determine the height at which you want the drapes to hang. Take into account any molding or other obstacles that may affect the placement.
- With the measurements in mind, use a pencil to mark the spot where the brackets will be installed. Make sure the markings are level and evenly spaced on both sides of the window.
- If you are hanging multiple sets of pleated drapes on the same curtain rod, measure and mark the center point for each set.
Once you have measured and marked the curtain rod placement, double-check your measurements and markings to ensure accuracy. It’s better to take a little extra time now to get it right rather than to have to make adjustments later.
Now that you have measured and marked the curtain rod placement, you are ready to move on to the next step – installing the curtain rod brackets.
Step 3: Installing the curtain rod brackets
Now that you have measured and marked the curtain rod placement, it’s time to install the curtain rod brackets. These brackets will support the curtain rod and hold it securely in place. Follow these steps to properly install the brackets:
- Using a drill, carefully place pilot holes in the marked spots where the brackets will be installed. Make sure to use the appropriate drill bit size for the screws you will be using.
- If you are installing the brackets into drywall, insert wall anchors into the pilot holes. This will provide extra support and prevent the screws from loosening over time.
- Position the bracket over the pilot holes and align it with the markings. Insert the screws through the bracket holes and into the pilot holes, or directly into the wall anchors if using.
- Tighten the screws snugly, but be cautious not to overtighten as it may damage the brackets or strip the screws.
- Repeat the process for the remaining brackets, ensuring they are aligned correctly and securely attached to the wall or window frame.
Once all the brackets are installed, give them a gentle tug to make sure they are firmly in place. If any brackets feel loose, tighten the screws a bit more. It’s important for the brackets to be secure to support the weight of the curtain rod and pleated drapes.
With the brackets successfully installed, you’re ready to proceed to the next step – attaching the curtain hooks to the pleated drapes.
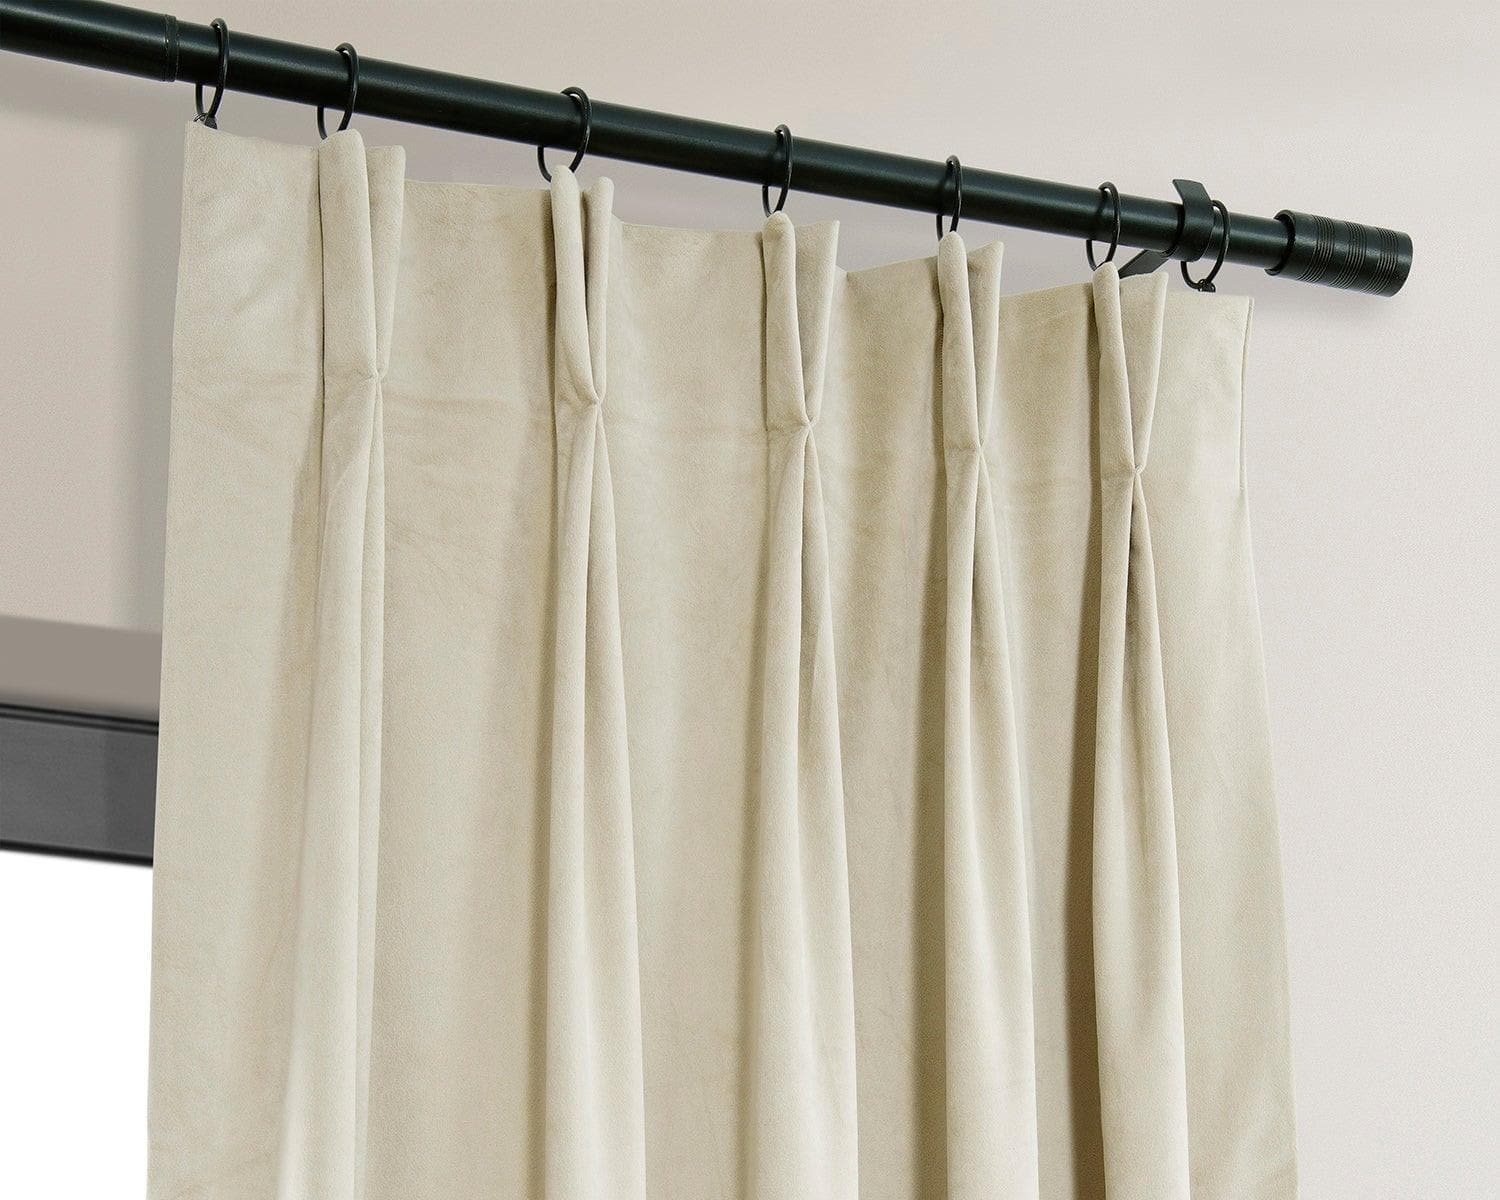
Step 4: Attaching the curtain hooks to the pleated drapes
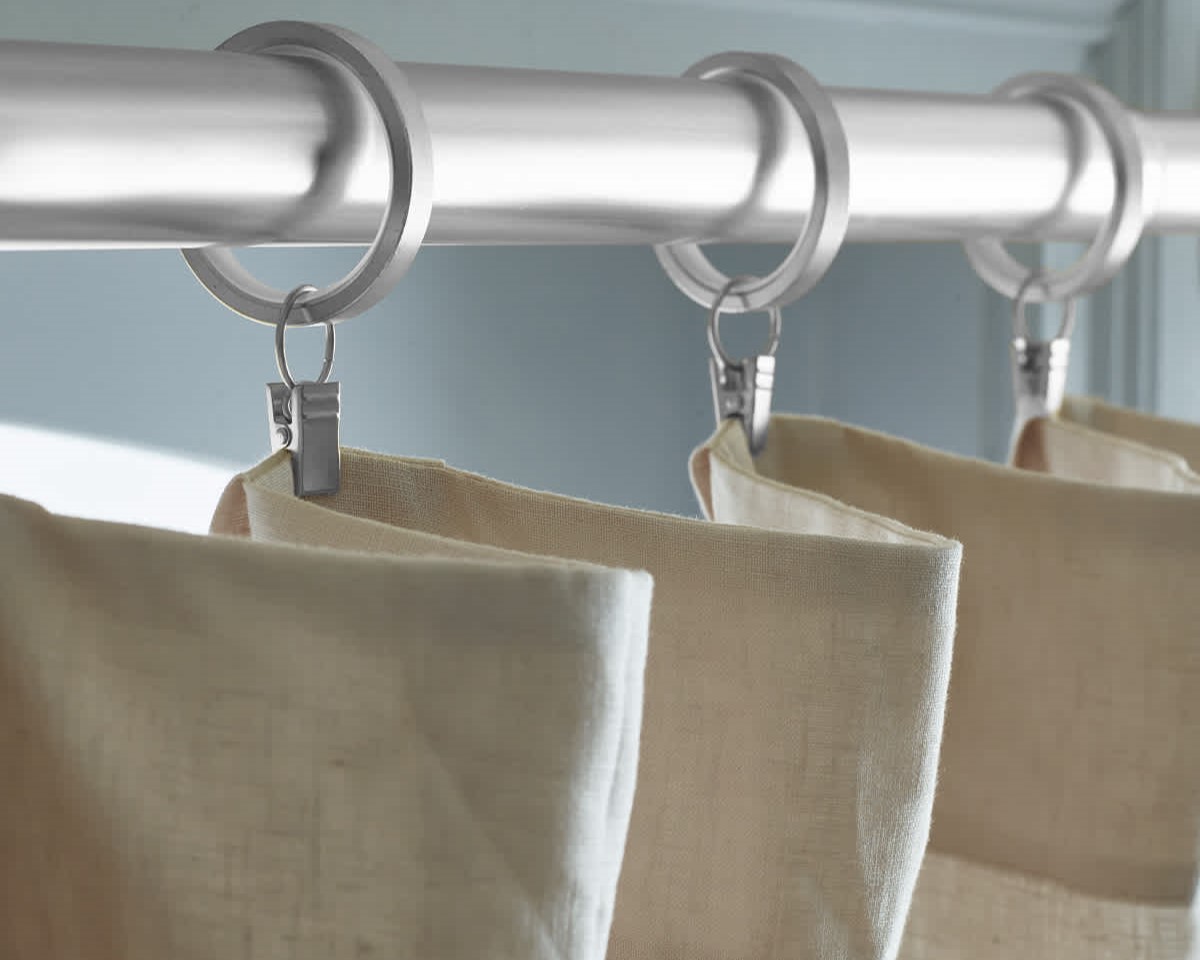
Now that the curtain rod brackets are securely in place, it’s time to attach the curtain hooks to the pleated drapes. The curtain hooks are specially designed to hang pleated drapes and will easily slide onto the curtain rod. Follow these steps to attach the curtain hooks to the pleated drapes:
- Lay your pleated drapes flat on a clean and spacious surface.
- Identify the top edge of the pleated drapes. This is where you will attach the curtain hooks.
- Starting from one end of the drapes, locate the first pleat or hooking point. Typically, pleated drapes have preset pleats or pockets at regular intervals.
- Insert the pointed end of the curtain hook into the pleat or pocket, making sure it is securely fastened.
- Continue attaching the curtain hooks to each pleat or pocket along the top edge of the drapes, spacing them evenly.
- Once all the curtain hooks are attached, gently lift the pleated drapes from the surface to ensure they hang correctly and smoothly.
It’s important to take your time and ensure that each curtain hook is securely inserted into the pleat or pocket. This will prevent the drapes from slipping or falling off the curtain rod once they are hung.
Now that the curtain hooks are attached to the pleated drapes, it’s time to move on to the next step – hanging the pleated drapes on the curtain rod.
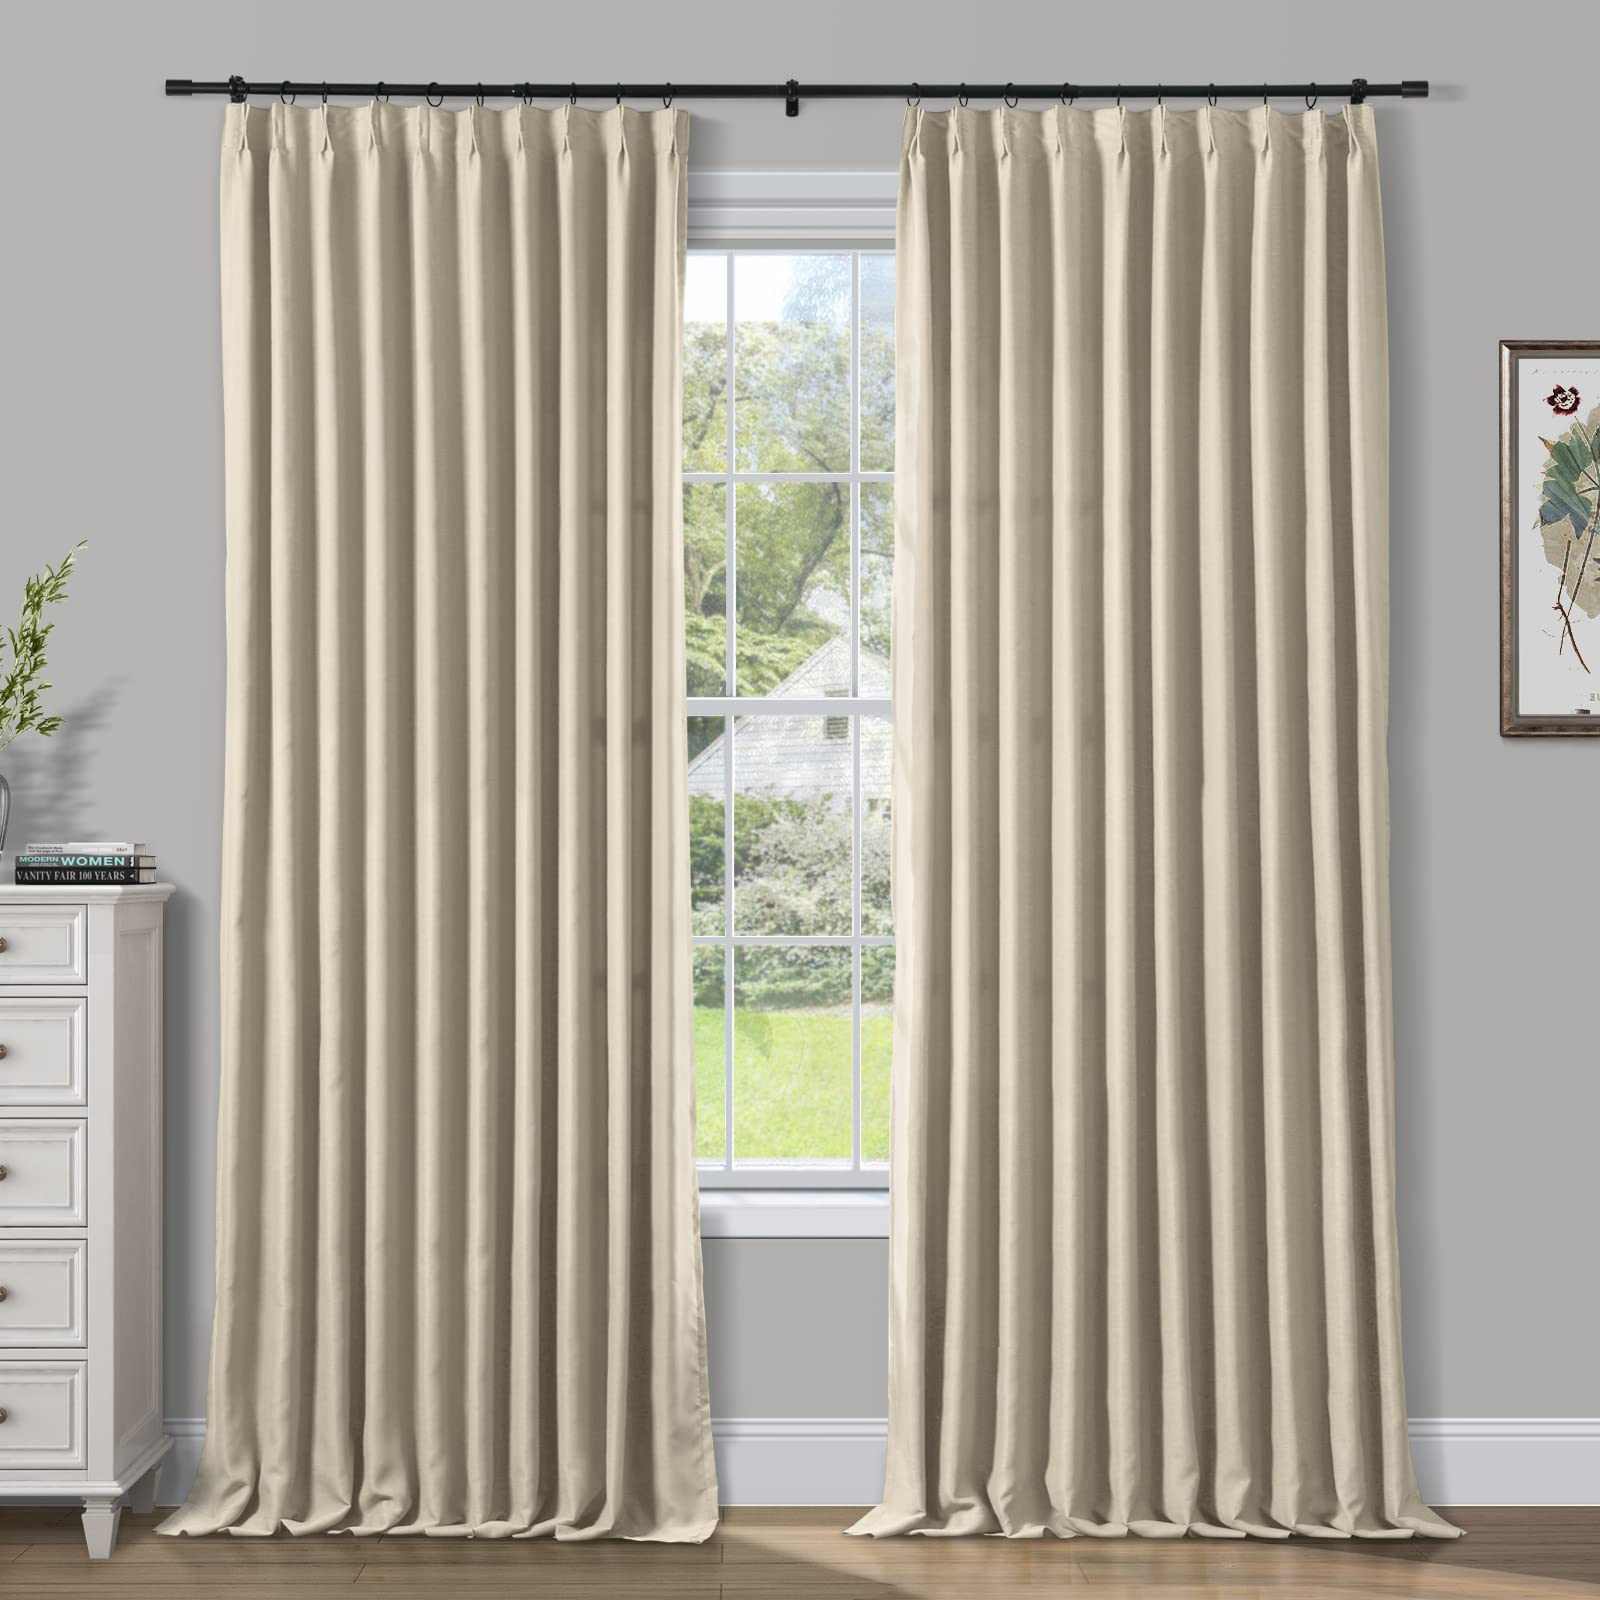
When hanging pleated drapes, use a sturdy curtain rod and ensure it is properly installed to support the weight of the drapes. Place the hooks evenly along the top of the drapes to create a uniform and polished look.
Read more: How To Make Pinch Pleats In Drapes
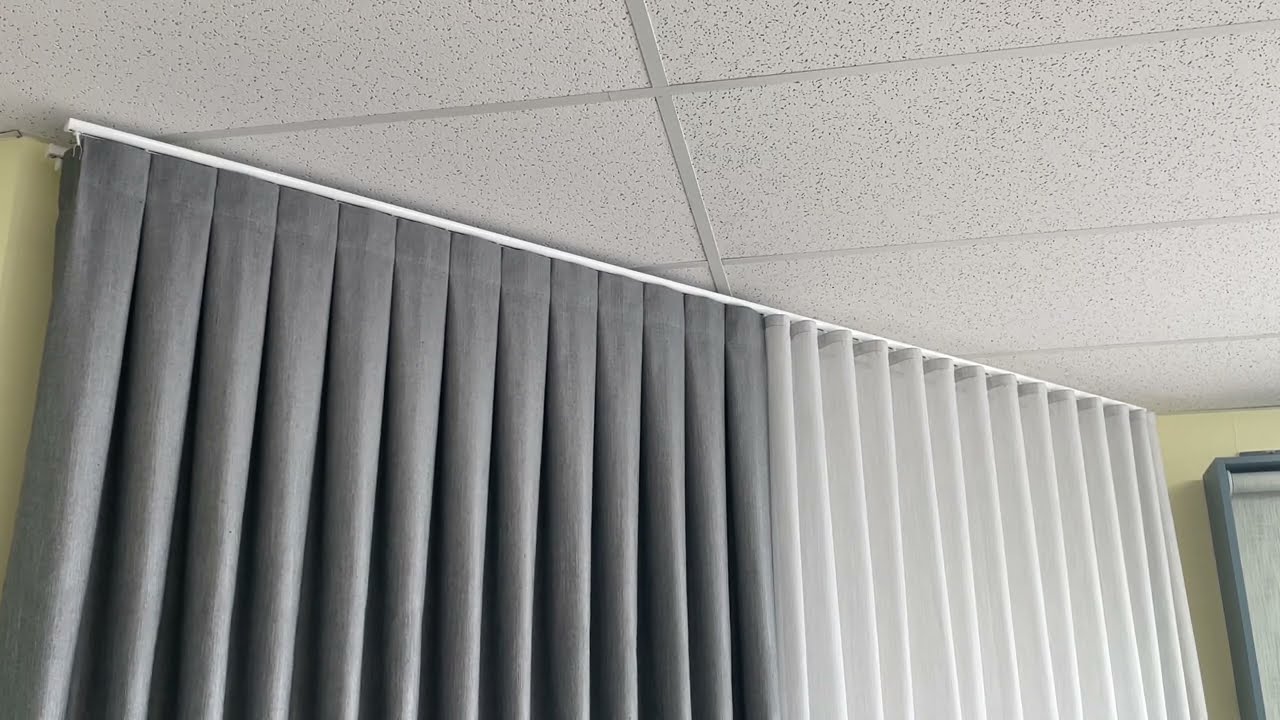
Step 5: Hanging the pleated drapes on the curtain rod
With the curtain hooks securely attached to the pleated drapes, it’s time to hang them on the curtain rod. Properly hanging the pleated drapes will ensure they drape nicely and create an elegant look. Follow these steps to hang the pleated drapes on the curtain rod:
- Carefully lift the curtain rod and position it between the installed brackets.
- Aim to align the ends of the curtain rod with the outer edges of the brackets for a balanced appearance.
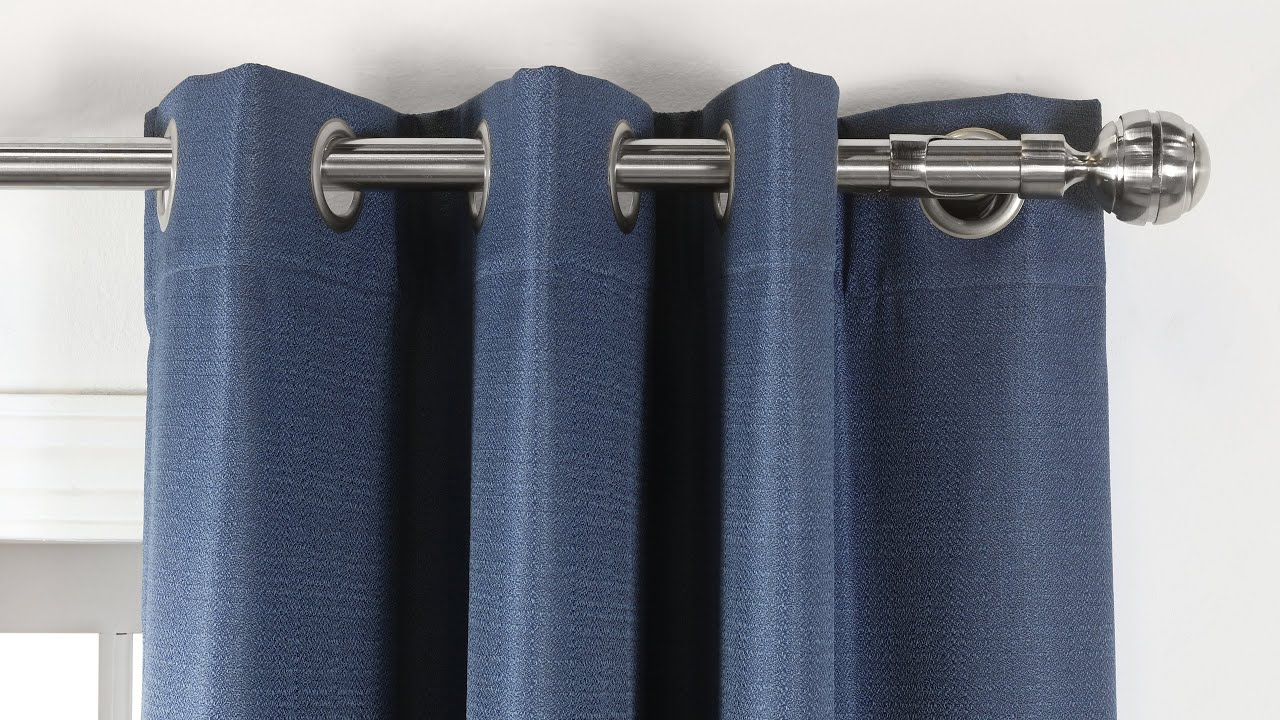
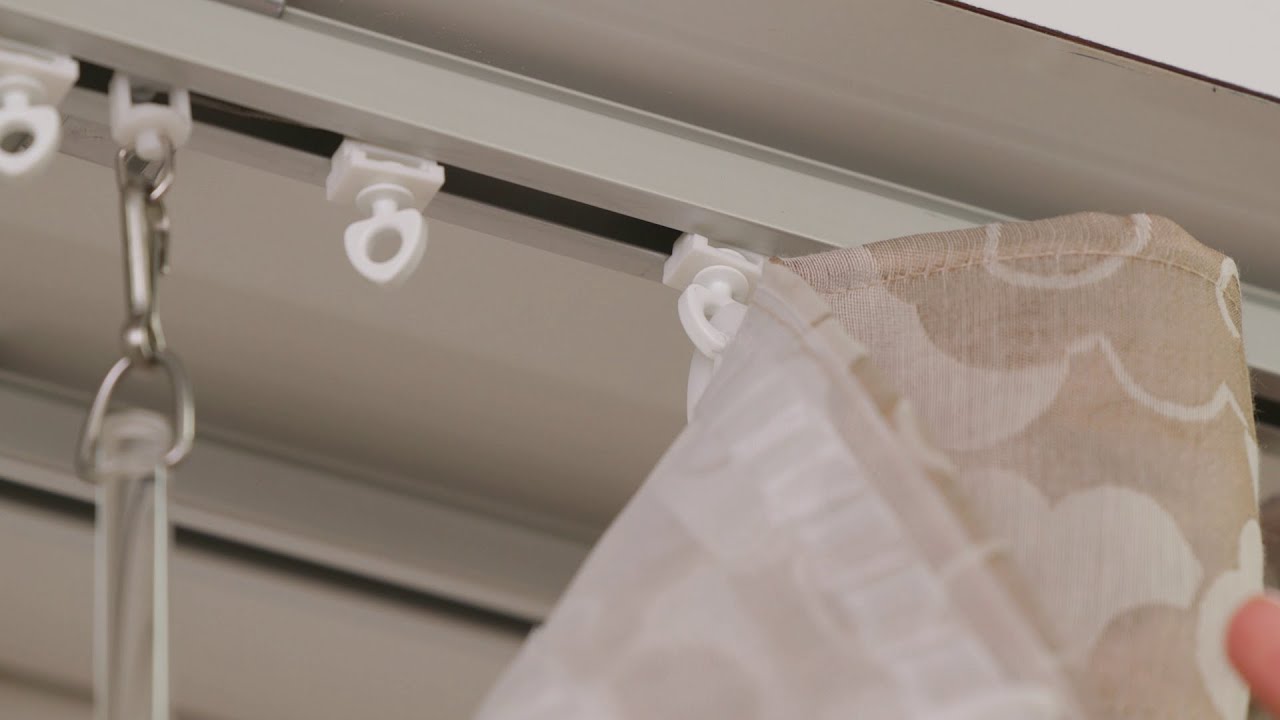
- Slide the pleated drapes onto the curtain rod by inserting the curtain hooks into the rings or eyelets on the rod.
- Ensure that each curtain hook is securely placed in the ring or eyelet, preventing the pleated drapes from slipping off.
- Once all the pleated drapes are hanging on the curtain rod, test their movement by opening and closing them to ensure they slide smoothly.
Take a step back and admire your beautifully hung pleated drapes. Make any necessary adjustments to ensure that the drapes hang evenly and create a visually pleasing appearance.
Congratulations! You have successfully hung your pleated drapes on the curtain rod. Now let’s move on to the next step – adjusting and leveling the drapes.
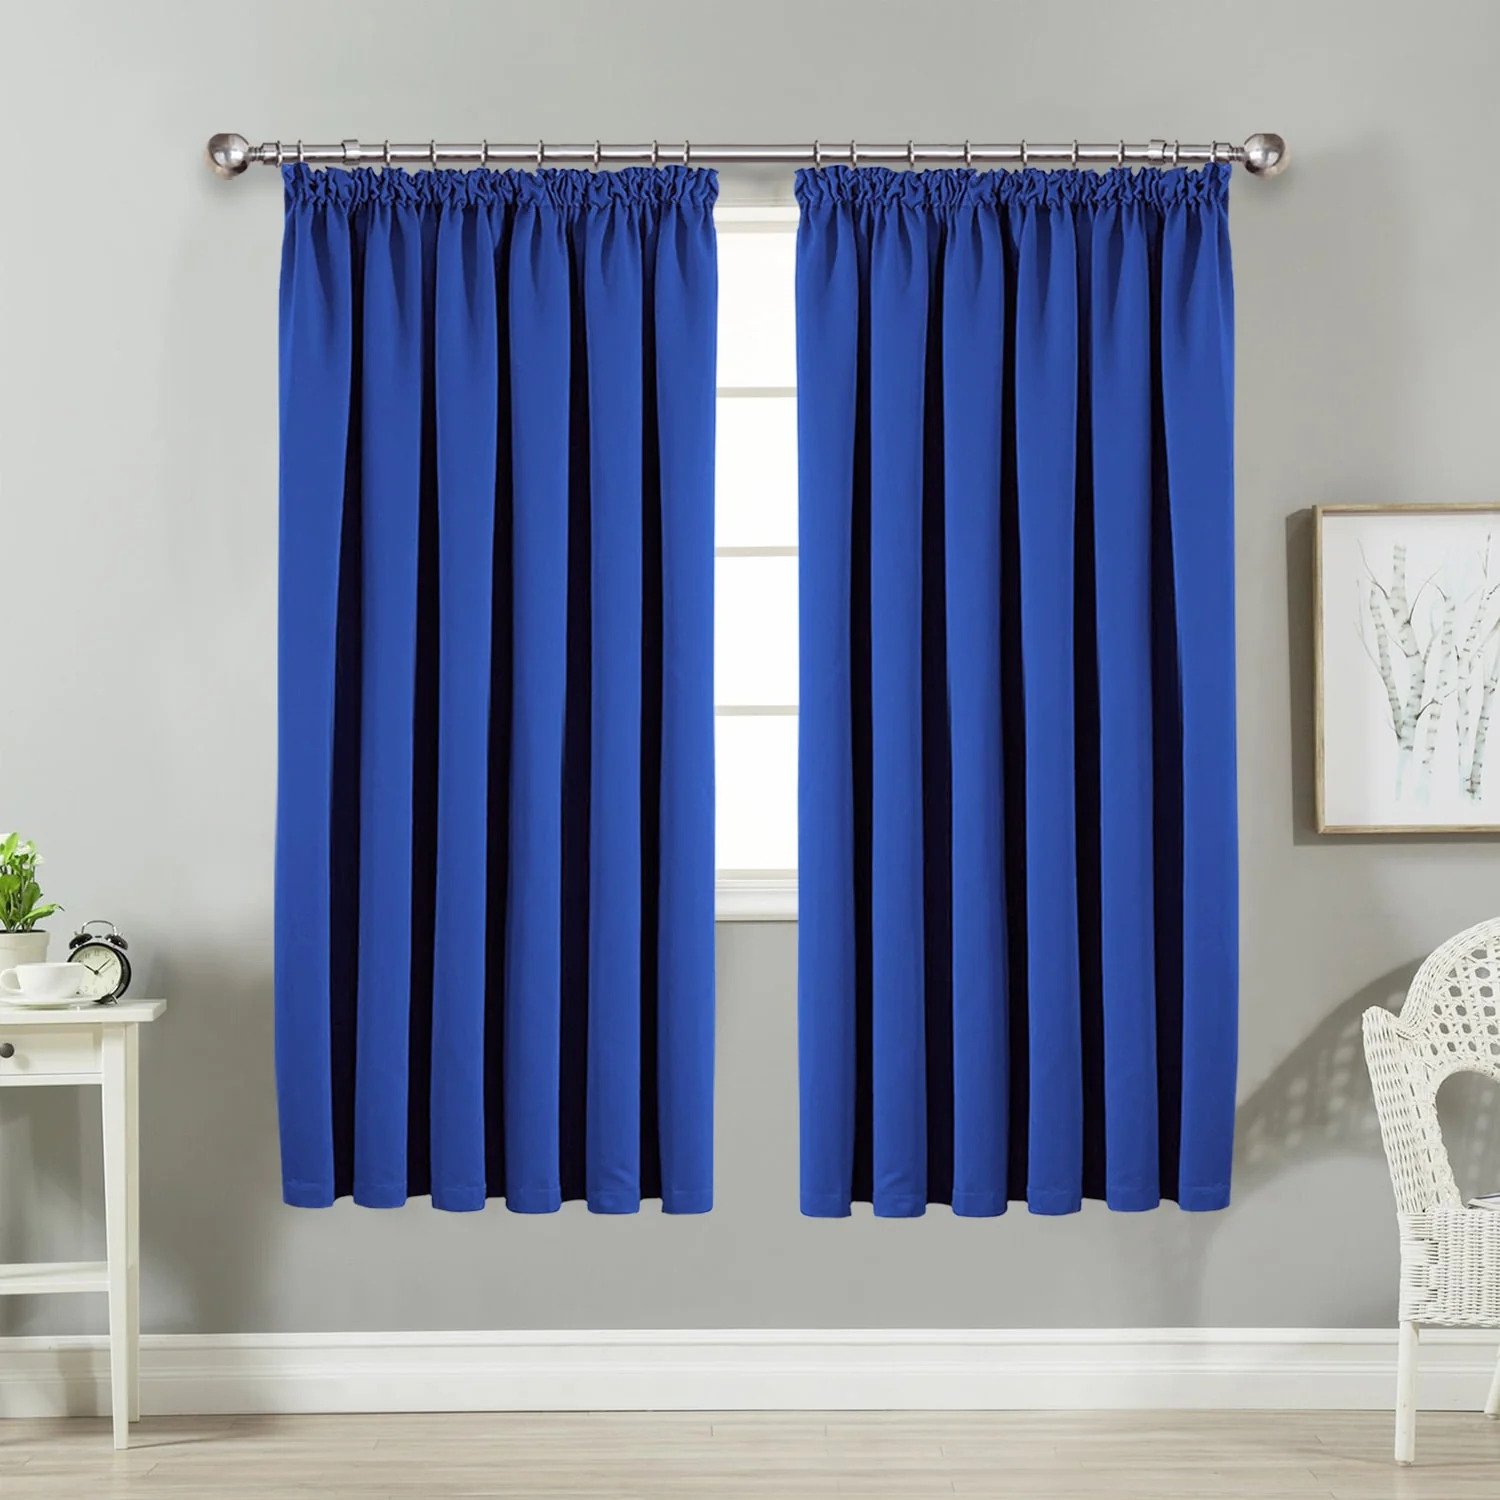
Step 6: Adjusting and leveling the drapes
Once you have hung your pleated drapes on the curtain rod, it’s time to adjust and level them to achieve the perfect look. Properly adjusting and leveling the drapes will ensure that they hang evenly and create a cohesive and polished appearance. Follow these steps to adjust and level your pleated drapes:
- Step back and visually inspect the drapes to identify any areas that may need adjustment.
- If necessary, gently adjust the positioning of the curtain hooks on the curtain rod to ensure the drapes hang evenly.
- Use a level to check if the pleated drapes are straight and level. Adjust the curtain rod if necessary by gently lifting and repositioning it within the brackets.
- If you notice any sagging or unevenness in the drapes, you may need to adjust the tension or support of the curtain rod brackets.
- Make small adjustments as needed, taking care not to damage the pleated drapes or the curtain rod brackets.
- Continue adjusting and leveling the drapes until you are satisfied with their appearance.
It’s important to ensure that your pleated drapes are properly adjusted and level to create a visually appealing and balanced look. Take your time during this step to ensure every detail is perfect.
After adjusting and leveling your pleated drapes, you can move on to the optional step of securing the drapes in place to prevent movement or shifting.
Step 7: Optional steps for securing the drapes in place
While not always necessary, securing your pleated drapes in place can help prevent movement or shifting, especially in areas with high foot traffic or drafty conditions. This step is optional but recommended for added stability. Follow these optional steps to secure your pleated drapes:
- Use curtain tiebacks or holdbacks to hold the pleated drapes in an open position, if desired. This can add a decorative touch while keeping the drapes neatly pulled back.
- Consider using curtain weights or clips at the bottom of the pleated drapes to keep them from billowing or fluttering in the breeze.
- If you want to prevent light from seeping through the gaps on the sides of the pleated drapes, install curtain rod finials or brackets with end caps to cover these areas.
- For added security, you can use a fabric adhesive or double-sided tape to secure the pleated drapes to the sides or bottom edge of the window frame. This will provide extra stability and keep the drapes in place.
- Consider using adjustable curtain tension rods on the sides of the window frame to hold the pleated drapes close to the window and minimize gaps.
Remember, these additional steps are optional and depend on your personal preference and the specific needs of your space. Assess the environment and requirements of your room to determine whether any of these optional steps are necessary.
By following these optional steps, you can ensure that your pleated drapes remain securely in place and maintain their desired appearance over time.
Congratulations! You have successfully hung and secured your pleated drapes. Your room now boasts a stylish and functional window treatment that adds a touch of elegance to your space.
Thank you for following along with our comprehensive guide on how to hang pleated drapes. We hope this step-by-step process has been helpful and has empowered you to complete this DIY project with confidence.
Enjoy the beauty and functionality of your newly hung pleated drapes!
Conclusion
Congratulations on successfully completing the installation of your pleated drapes! By following our comprehensive guide, you have learned how to hang pleated drapes like a pro. Remember, while the process may seem daunting at first, taking it step by step and using the right tools and techniques will ensure a smooth and successful installation.
Starting with gathering the necessary tools and materials, accurately measuring and marking the curtain rod placement, installing the curtain rod brackets securely, and attaching the curtain hooks to the pleated drapes – you covered all the essential steps. You also learned how to hang the pleated drapes on the curtain rod, adjust and level them for a polished appearance, and optionally secure them in place for additional stability.
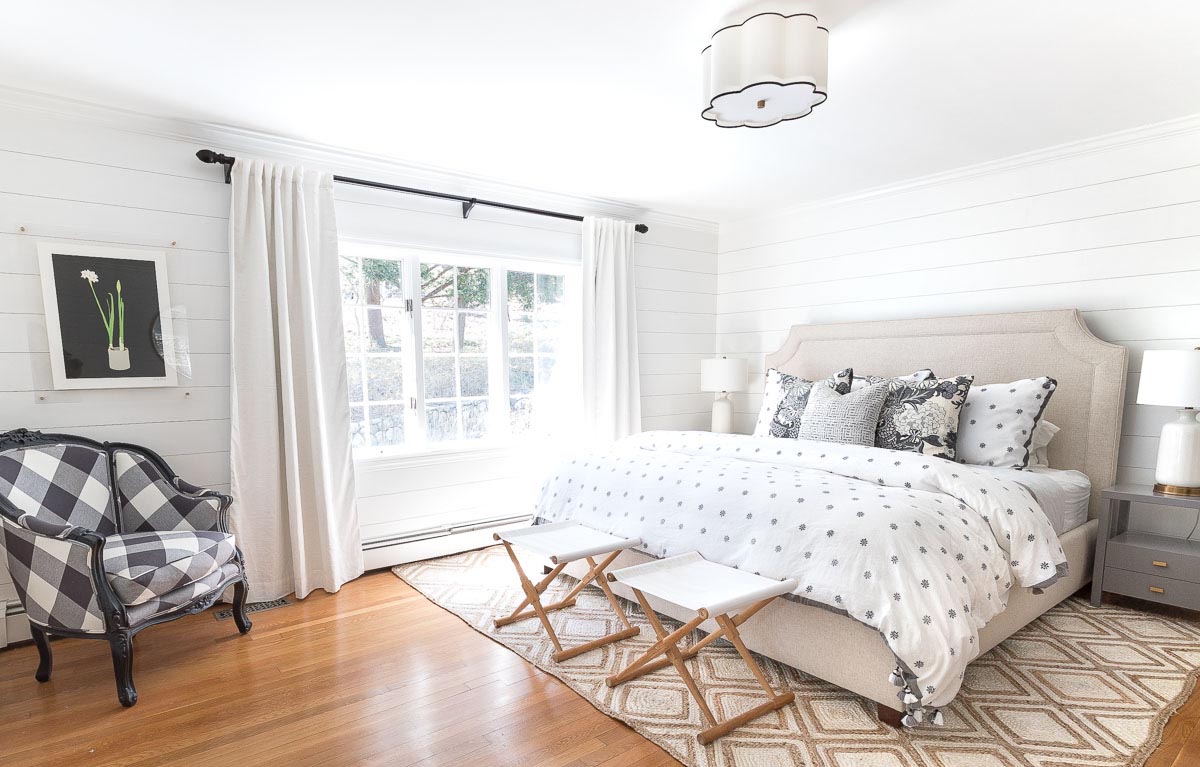
Throughout the process, it’s important to pay attention to detail, ensuring that everything is straight, level, and visually appealing. Properly hung pleated drapes can transform the ambiance of a room, adding elegance, style, and functionality.
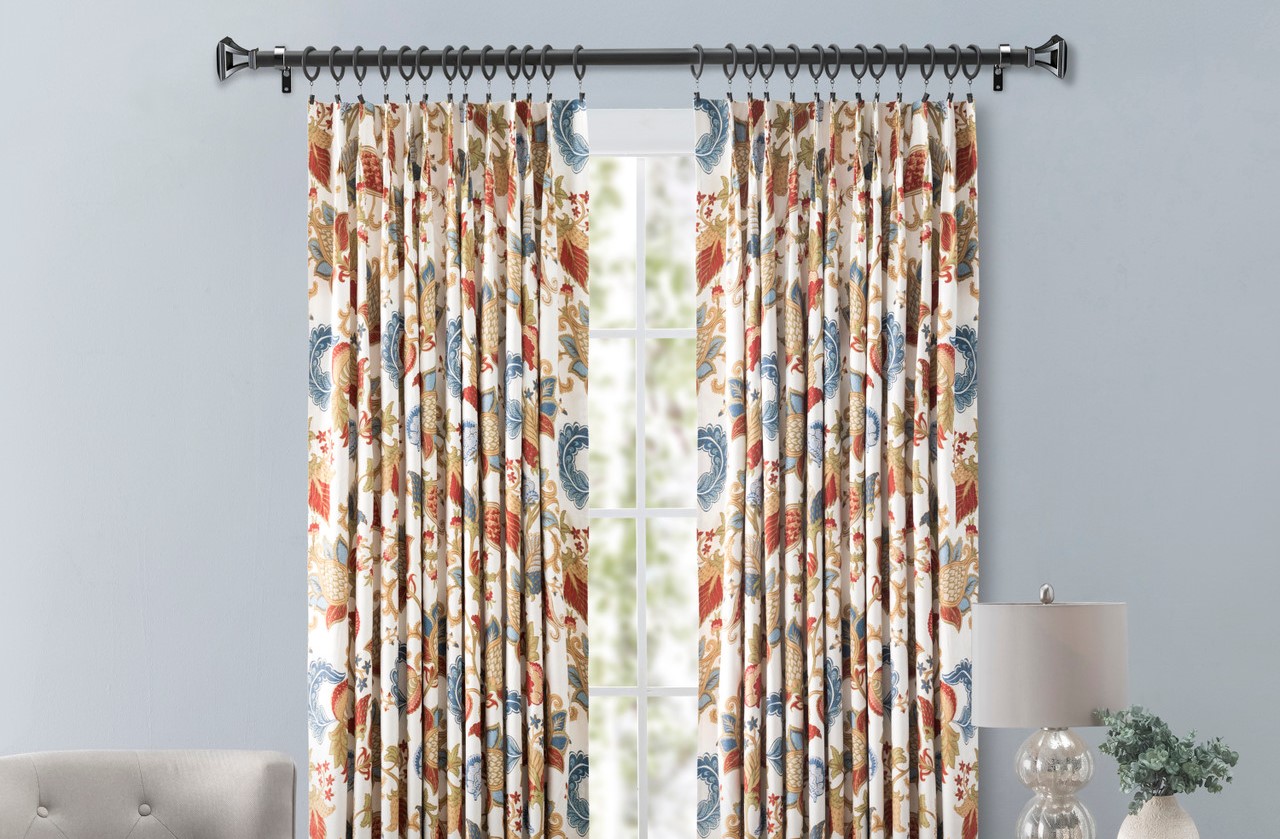
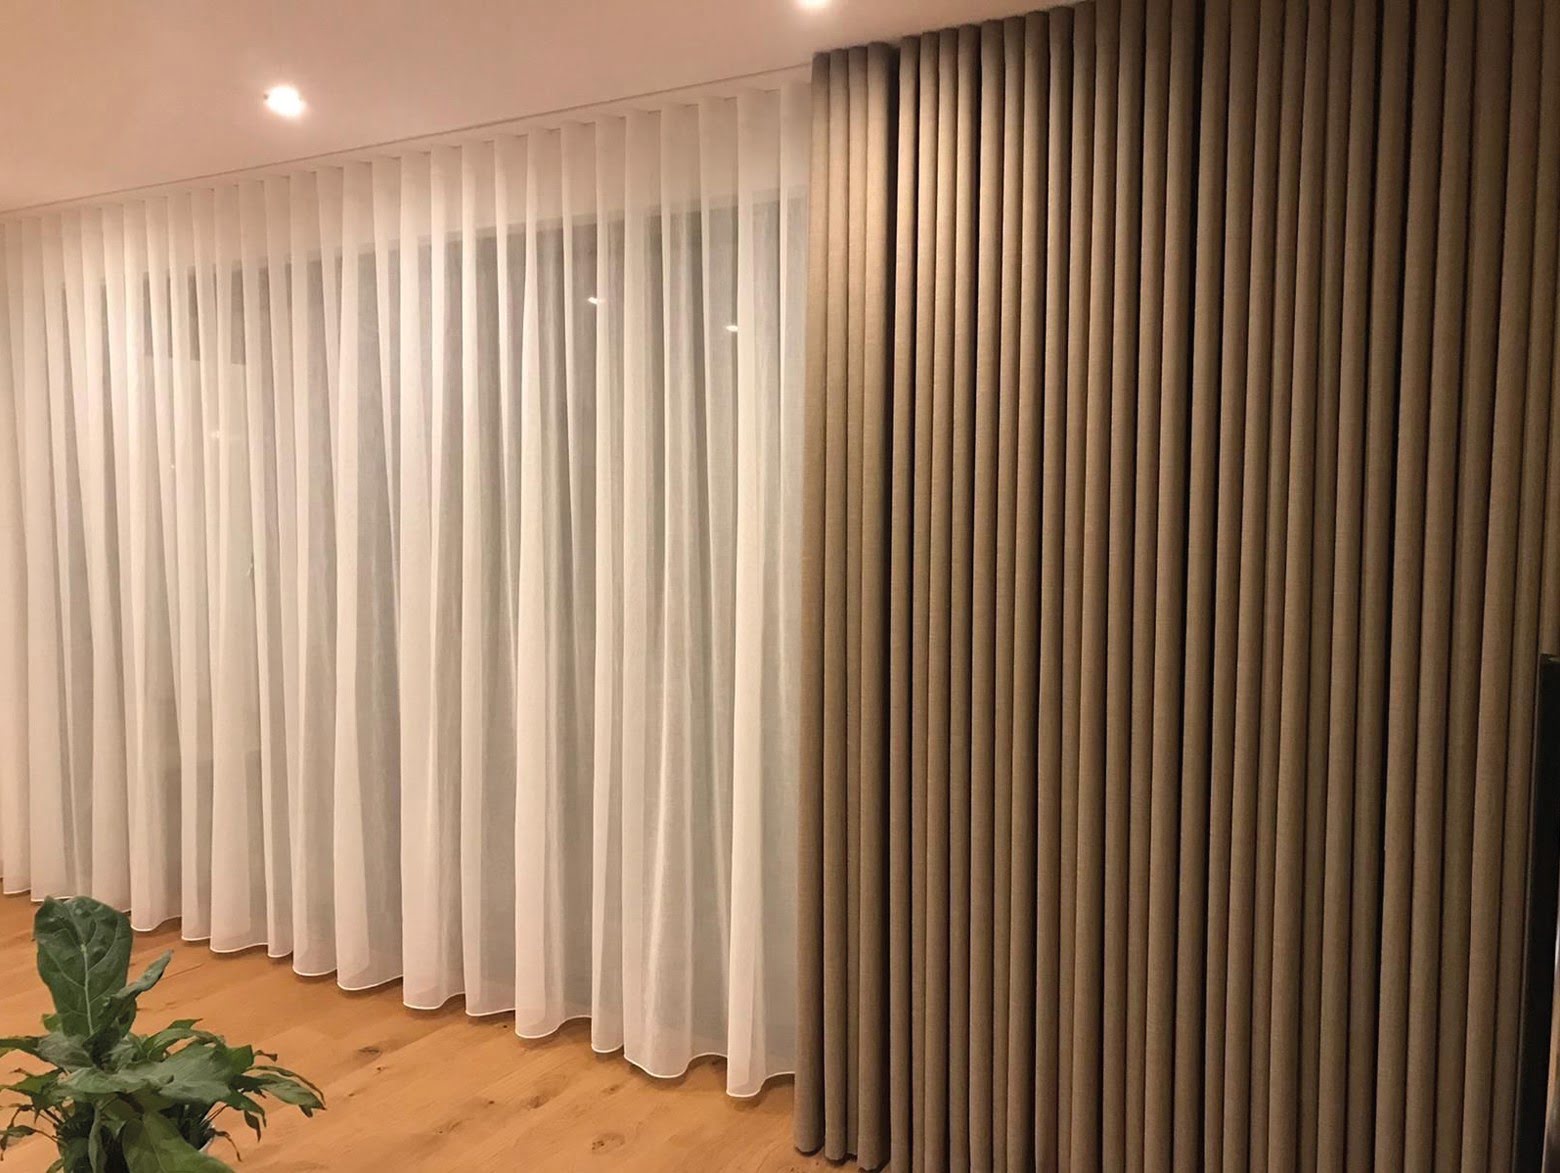
Remember, pleated drapes come in various styles, fabric types, and designs to suit different preferences and home decor. Whether you choose ornate pleats, sheer fabrics, or bold patterns, the installation process remains generally the same.
We hope this guide has empowered you with the knowledge and skills to confidently hang your pleated drapes. Enjoy the beauty and functionality they bring to your space. Get creative with different curtain rod styles, tiebacks, and holdbacks to further enhance the overall look and functionality of your window treatment.
If you ever need to remove or reinstall the pleated drapes in the future, simply follow these steps in reverse order. Remember, practice makes perfect, so don’t be discouraged if it takes a few tries to achieve the desired results.
Thank you for choosing our guide for hanging pleated drapes. We hope it has been informative and helpful. Happy decorating!
Frequently Asked Questions about How To Hang Pleated Drapes
Was this page helpful?
At Storables.com, we guarantee accurate and reliable information. Our content, validated by Expert Board Contributors, is crafted following stringent Editorial Policies. We're committed to providing you with well-researched, expert-backed insights for all your informational needs.

0 thoughts on “How To Hang Pleated Drapes”