Articles
How To Hang Drapes With Clips
Modified: December 7, 2023
Learn how to hang drapes with clips in this informative article. Find step-by-step instructions and helpful tips for achieving the perfect drape installation.
(Many of the links in this article redirect to a specific reviewed product. Your purchase of these products through affiliate links helps to generate commission for Storables.com, at no extra cost. Learn more)
Introduction
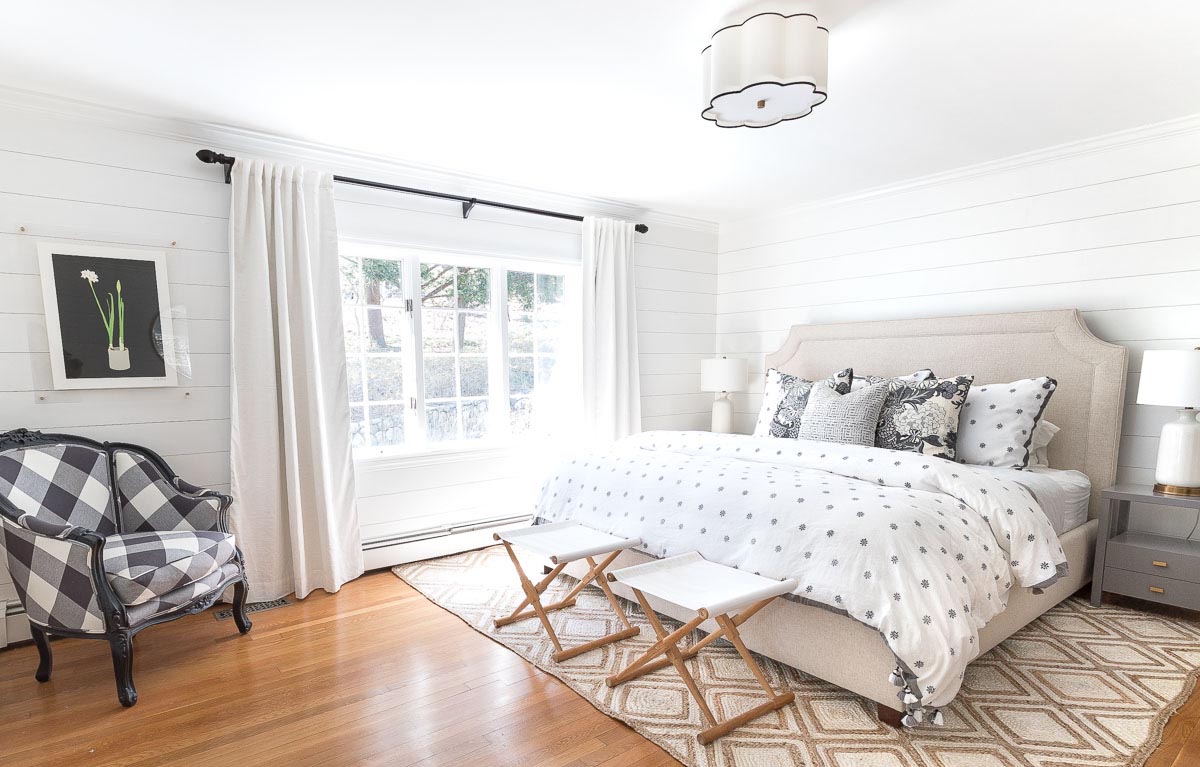
Choosing the right drapes and hanging them properly can instantly transform the look and feel of any room. Drapes not only provide privacy and light control, but they also add a touch of elegance and style to your space. Using clips to hang your drapes is a popular and versatile option that allows for easy installation and adjustment. In this article, we will guide you on how to hang drapes with clips, from selecting the right drapes and clips to the final styling touches.
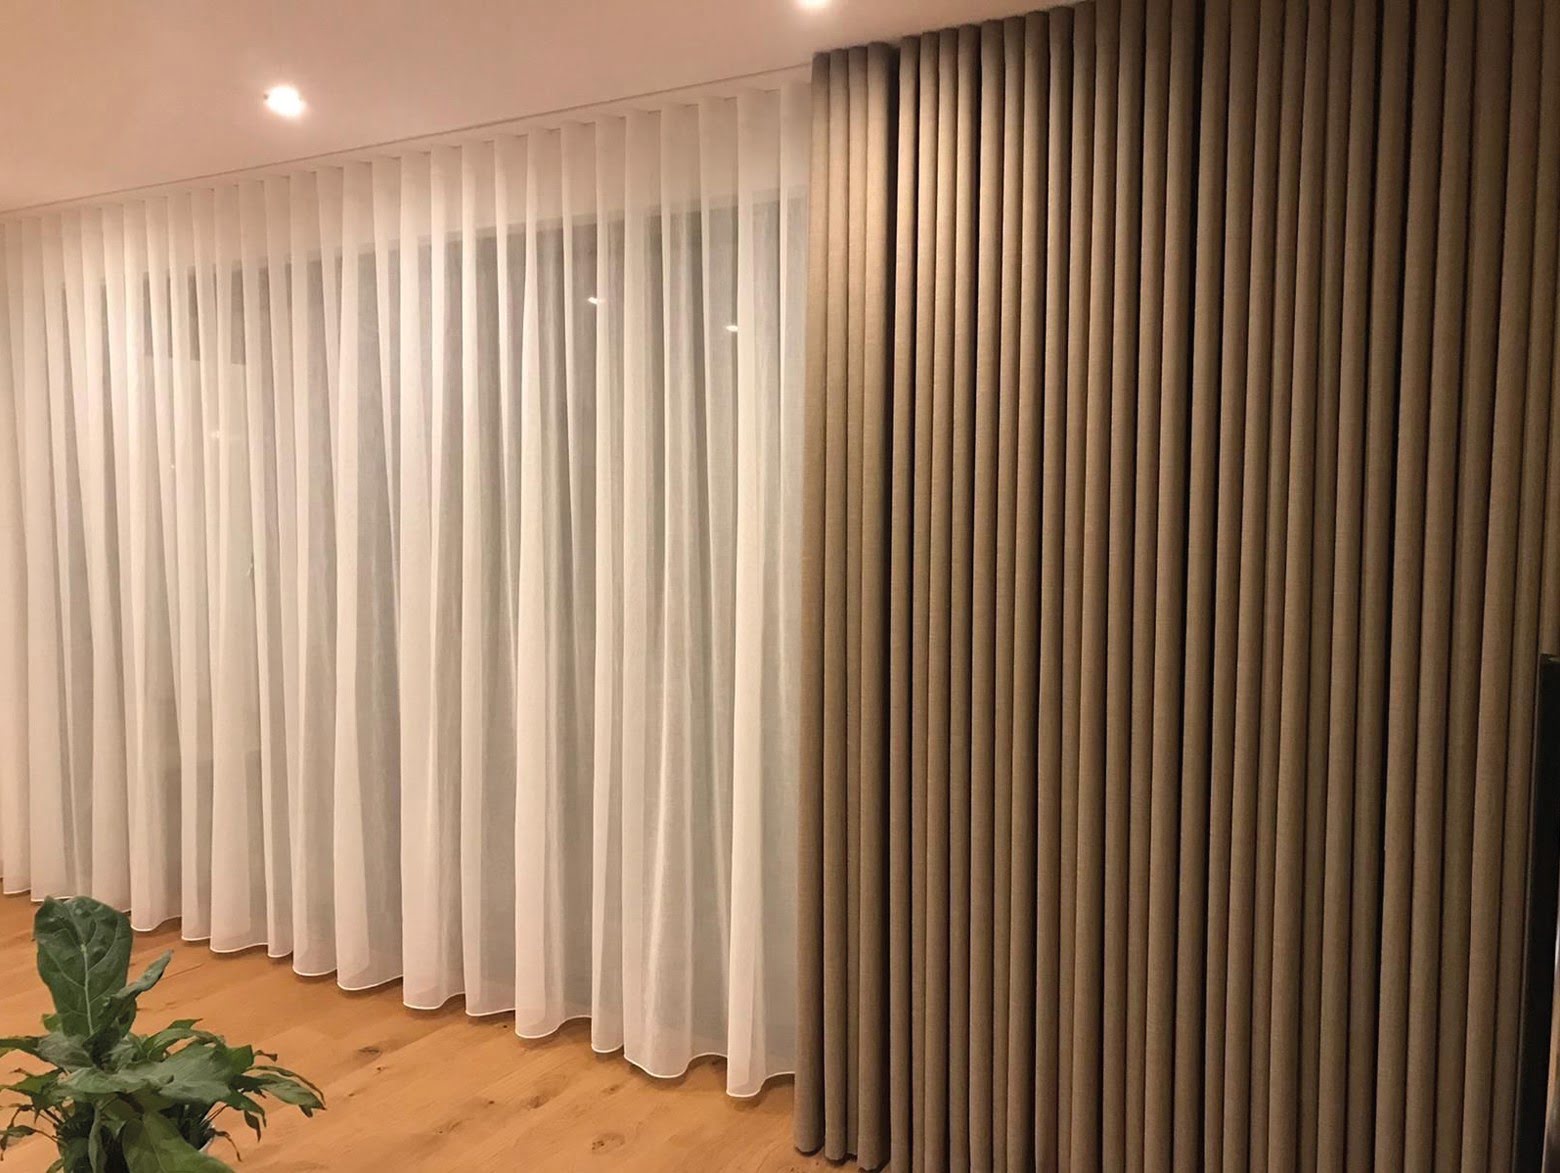
When it comes to selecting drapes, you’ll want to consider both the style and functionality. Start by determining the purpose of the drapes. Are you looking for light-filtering options, room darkening capabilities, or purely decorative drapes? This will help you narrow down your choices. Next, consider the decor and color scheme of your room. Choose drapes that complement and enhance your existing furnishings. Fabric choice is also important. Opt for heavier fabrics like velvet or brocade for formal spaces, while lighter fabrics like linen or cotton are great for a more casual look.
Once you have chosen the perfect drapes, it’s time to select the appropriate clips. Clips come in various styles, such as metal, plastic, or decorative options. Take into account the weight of your drapes and choose clips that can securely hold them without causing any damage. It’s a good idea to have at least one clip per panel, but for heavier drapes, you may need additional clips for extra support.
Before you begin hanging your drapes, measure the height and width of your window. This will help you determine the length of your drapes and the position of the clips on the rod. To achieve a polished look, it’s recommended that the drapes slightly touch the floor or are a couple of inches longer. If you already have existing drapery hardware, ensure that it is in good condition and can support the weight of the new drapes.
In the next section, we will provide step-by-step instructions on attaching the clips to the drapes, determining the placement of the clips on the rod, and hanging the drapes with ease and precision.
Key Takeaways:
- Easily transform any room by selecting the right drapes and clips, measuring and preparing the window, and hanging the drapes with precision. Add personal styling touches for a polished and professional look.
- Achieve a professional and polished look by following step-by-step instructions to attach clips to drapes, determine clip placement on the rod, and style the drapes for a personalized touch. Enjoy the transformation of your space with beautifully hung drapes.
Read more: How To Hang Pleated Drapes
Selecting the Right Drapes and Clips
When it comes to selecting drapes, it’s essential to consider both the style and functionality that will best suit your needs. Here are some key factors to keep in mind before making your decision.
1. Purpose: Determine the primary purpose of the drapes. Are you looking for drapes that will block out light or provide privacy? Or do you simply want drapes that add a decorative touch to your space?
2. Style: Consider the overall style and ambiance of the room. Opt for drapes that match or complement the existing decor. You can choose from a wide variety of styles, from traditional to modern, to suit your personal taste.
3. Fabric: The fabric of your drapes will not only affect their appearance but also their functionality. Heavier fabrics like velvet or brocade can help block out light and provide better insulation, making them suitable for bedrooms or living rooms. Lighter fabrics like linen or cotton can create an airy and casual look, ideal for spaces like kitchens or home offices.
4. Color: Choose a color that complements your room’s color scheme and enhances its overall aesthetic. Consider the impact of different colors on the mood and atmosphere of the room. Lighter colors can make a room appear more spacious, while darker colors can add a cozy and intimate feel.
5. Length: Measure the height of your window and decide on the length of the drapes. You can choose drapes that touch the floor, slightly hover above it, or even pool on the floor for a dramatic effect. Just make sure the length is proportionate to the window and the room.
When it comes to selecting the right clips for your drapes, there are a few factors to consider as well.
1. Material: Clips are available in various materials, such as metal, plastic, or even decorative options. Choose a material that complements the style of your drapes and the overall decor of the room.
2. Weight: Consider the weight of your drapes and choose clips that can securely hold them without bending or causing any damage. If you have heavier drapes, opt for sturdier clips with a stronger grip.
By taking these factors into account, you can ensure that you select drapes and clips that not only enhance the aesthetic appeal of your room but also meet your functional needs.
Measuring and Preparing the Window
Before you start hanging your drapes with clips, it’s crucial to measure and prepare the window properly. This will ensure that your drapes fit perfectly and hang beautifully. Follow these steps to ensure accurate measurements and a seamless installation process.
1. Measure the Width: Use a tape measure to determine the width of the window frame. Start by measuring the inside width of the frame and then add a few inches on each side to allow the drapes to cover the entire window adequately. This extra width will also create the illusion of a larger window when the drapes are open.
2. Measure the Height: Measure the height of the window from the top of the frame to the desired length of the drapes. Consider whether you want the drapes to hang slightly above the floor or puddle elegantly on the floor. Make sure to add a few inches to the height measurement to account for the distance between the rod and the top of the drapes.
3. Prepare the Window: Before hanging the drapes, ensure that the window and surrounding area are clean and free from any obstructions. Remove any existing hardware, curtain rods, or hooks that may interfere with the installation. It’s also a good idea to fix any damaged or loose window frames or trim.
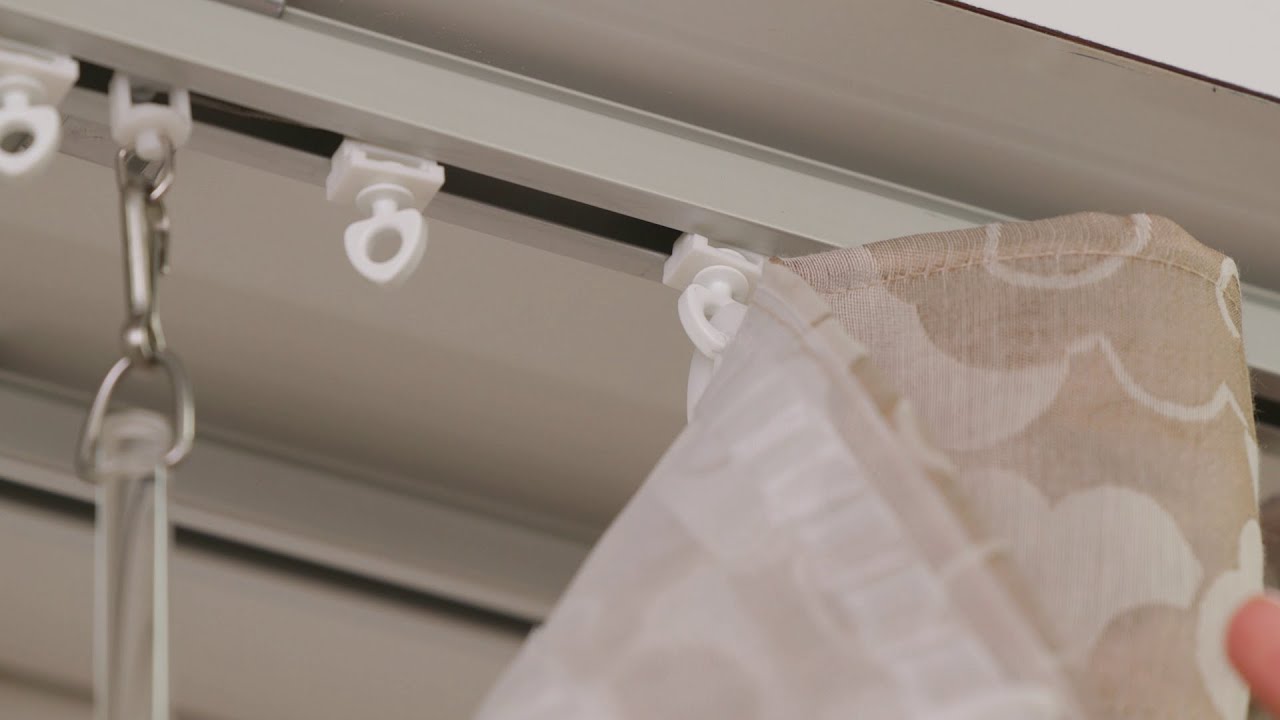
4. Inspect the Drapery Hardware: If you have existing drapery hardware, thoroughly inspect it to make sure it is in good condition. Check if it can support the weight of the new drapes. If the hardware is worn out or damaged, consider replacing it with new and sturdy hardware.
By measuring the width and height of the window accurately and preparing the window area appropriately, you will ensure a successful and smooth installation process for your drapes with clips. Taking the time to properly measure and prepare the window will result in a professional and polished finished look. Now that the window is ready, it’s time to attach the clips to the drapes.
Attaching the Clips to the Drapes
Attaching the clips to your drapes is a straightforward process that will allow you to easily hang and adjust the drapes as needed. Follow these steps to ensure proper attachment of the clips to your drapes.
1. Lay out the Drapes: Lay the drapes flat on a clean surface or a large table. Smooth out any wrinkles or creases to ensure the fabric is evenly spread.
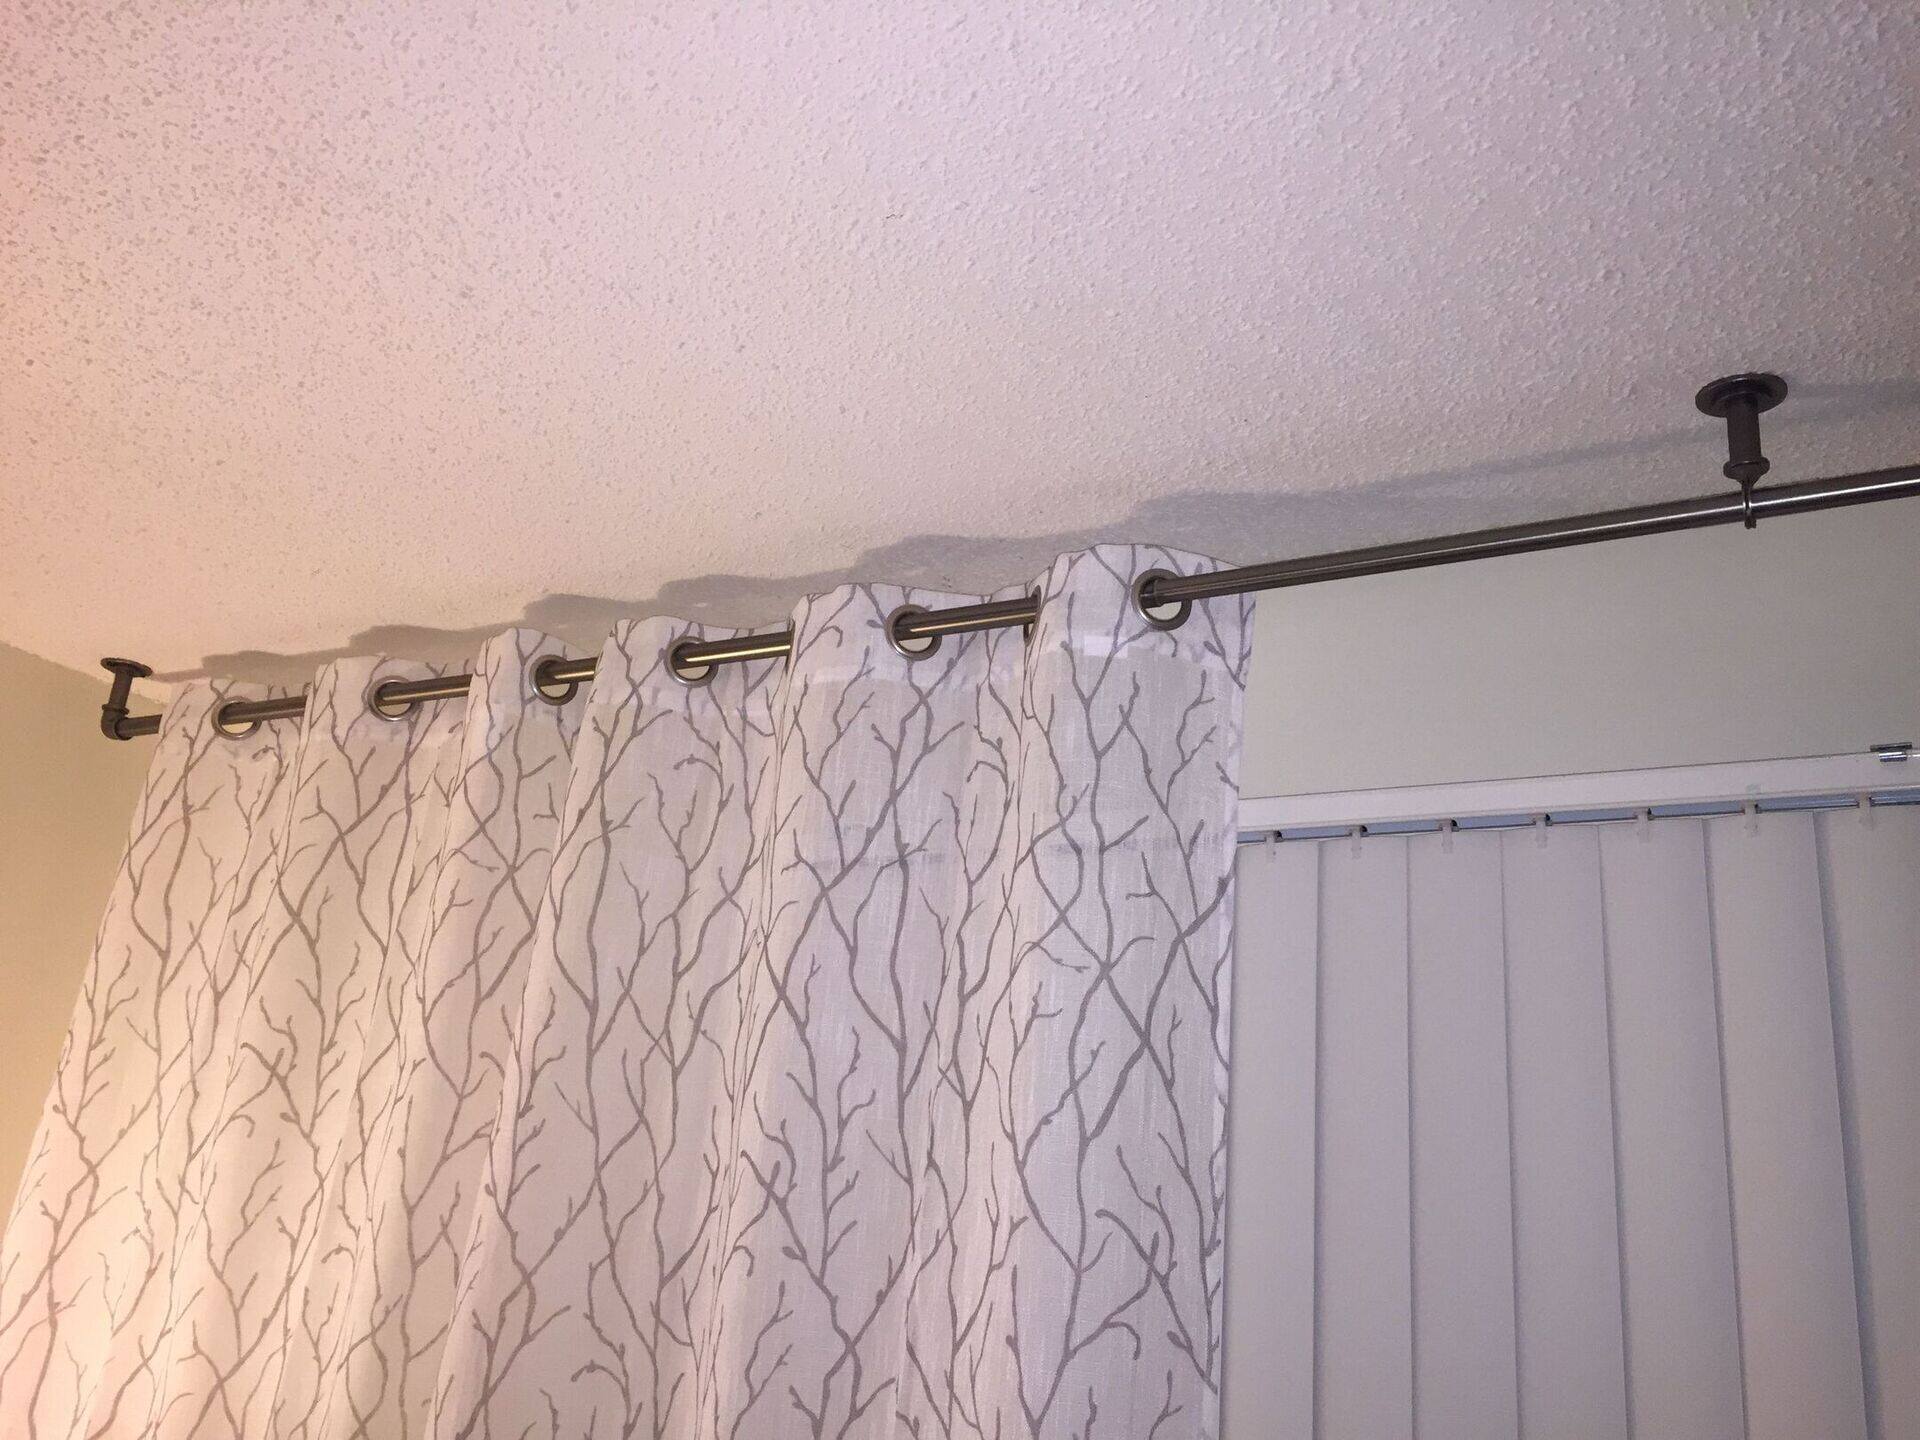
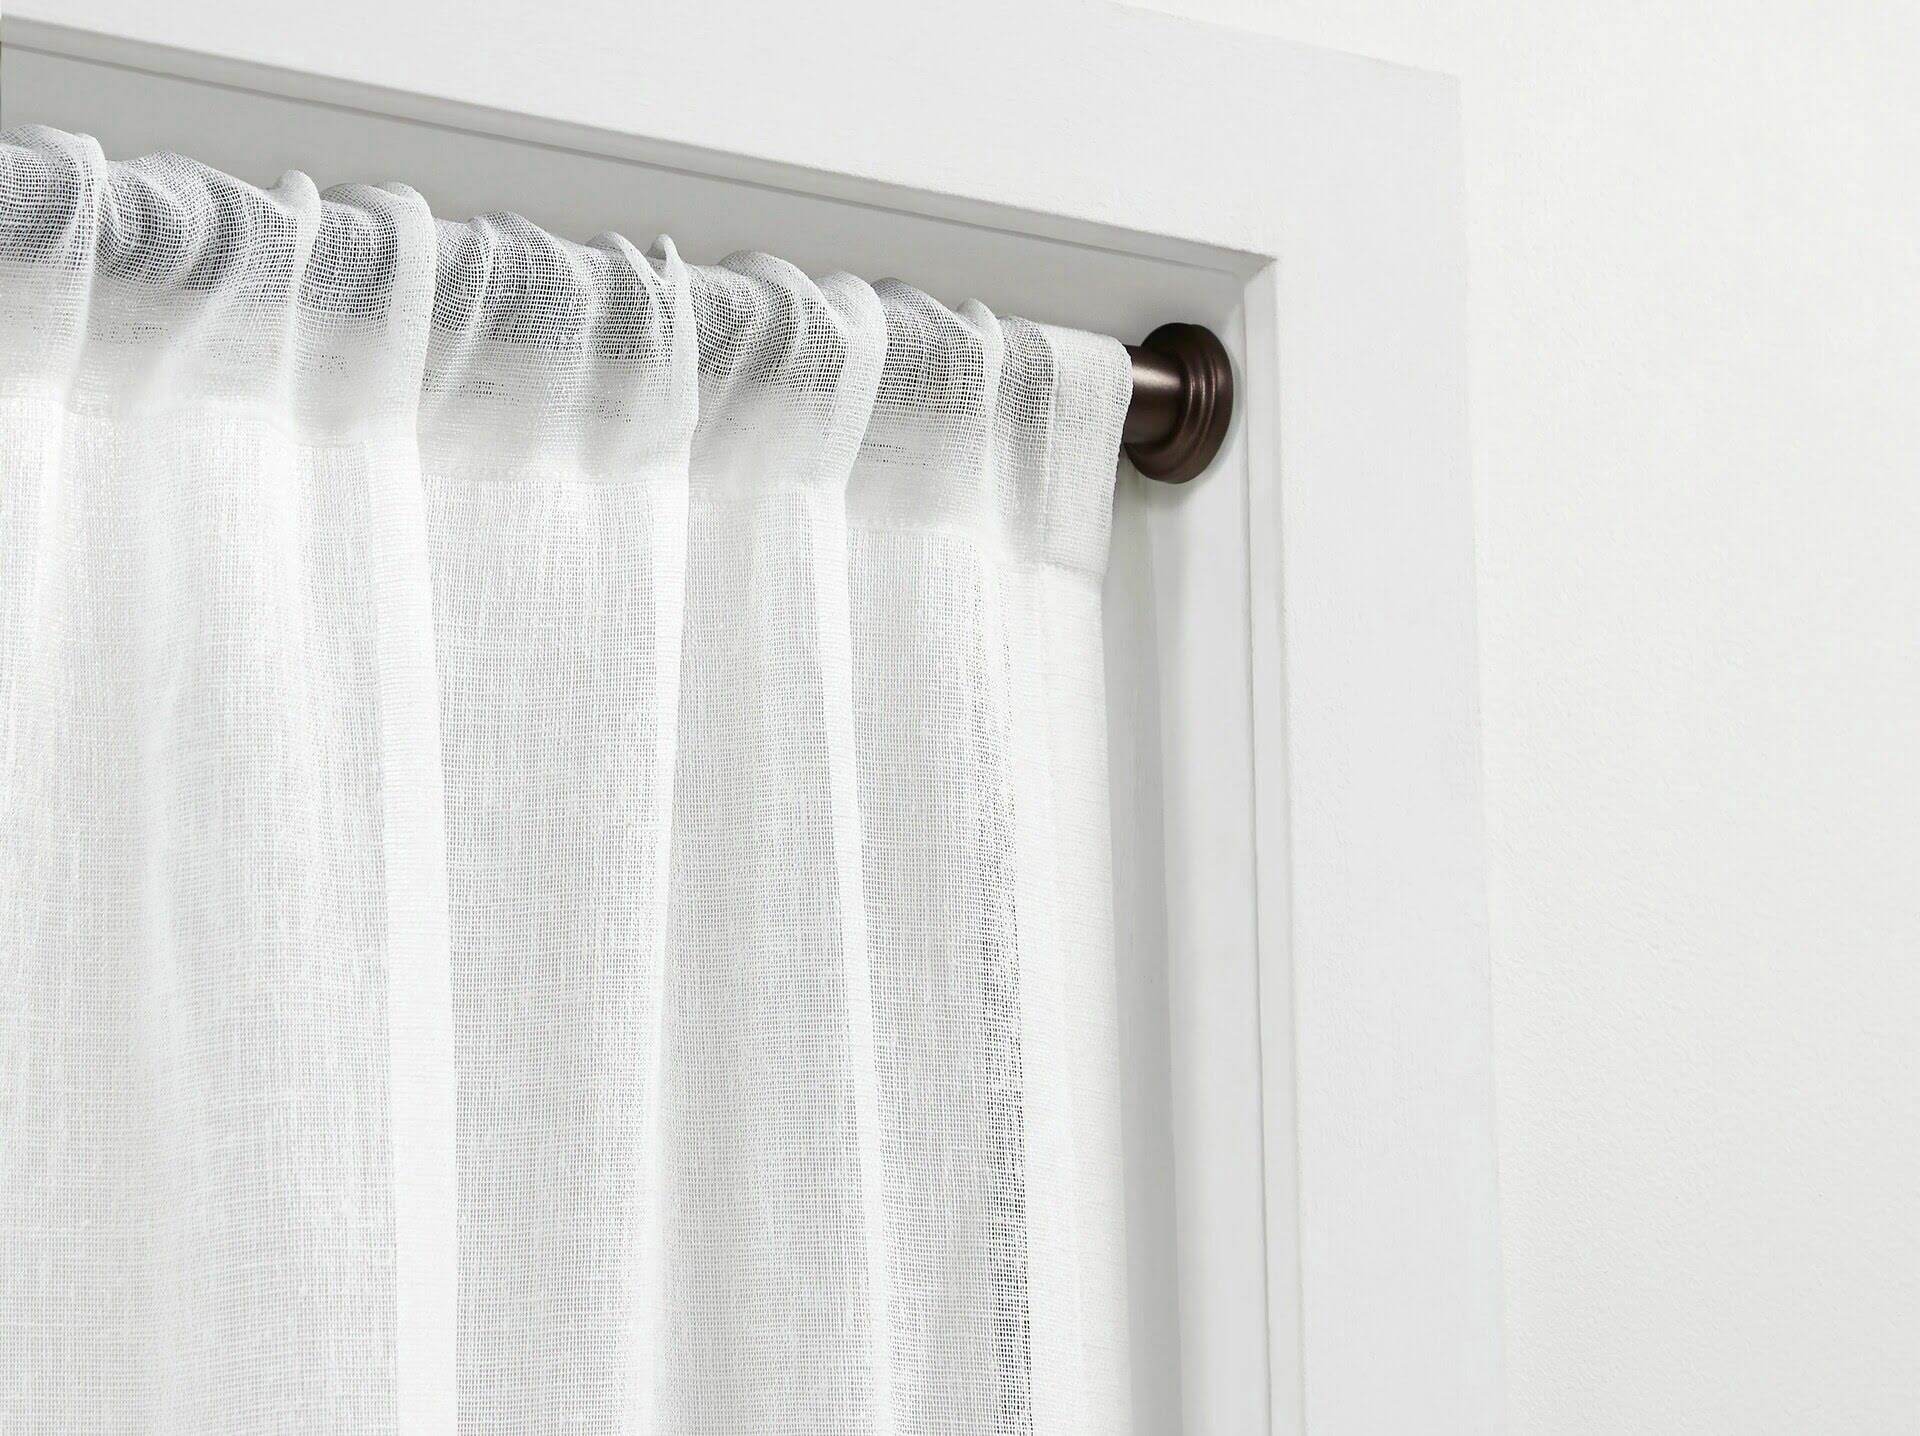
2. Identify the Top of the Drapes: Look for the top seam or header of the drapes. This is where you will attach the clips. Some drapes may have sewn-in loops or tabs specifically designed for attaching clips.
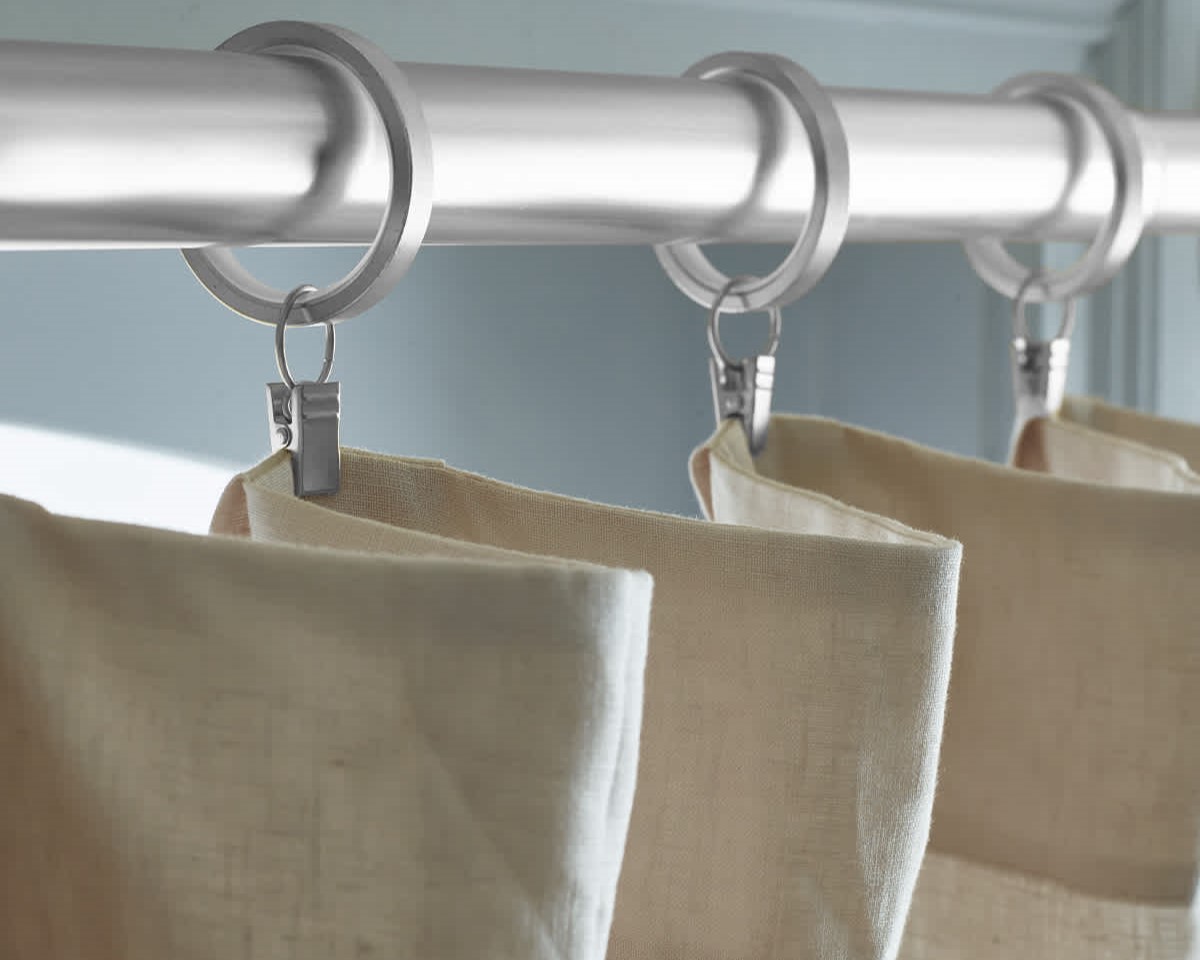
3. Open the Clips: Open each clip by gently pressing the ends or sliding it open, depending on the style of the clip you are using. Ensure that the clip is fully open to accommodate the fabric of the drapes.
4. Attach the Clips: Take one clip and position it on the top edge of the drapes, aligning it with the top seam or header. Depending on the clip style, you may need to slide it onto the fabric or insert it through a loop or tab. Repeat this process for each clip, evenly spacing them along the top edge of the drapes. Use additional clips for heavier drapes to ensure proper support.
5. Secure the Clips: Once the clips are attached, ensure that they are securely fastened to the fabric. Double-check that each clip is properly aligned with the top seam or header to prevent any uneven draping.
6. Smooth Out the Drapes: After attaching all the clips, gently smooth out the drapes to ensure they hang evenly and look neat. Make any necessary adjustments to the positioning of the clips if needed.
By following these steps, you will easily and securely attach the clips to your drapes. Once the clips are in place, it’s time to determine the placement of the clips on the rod.
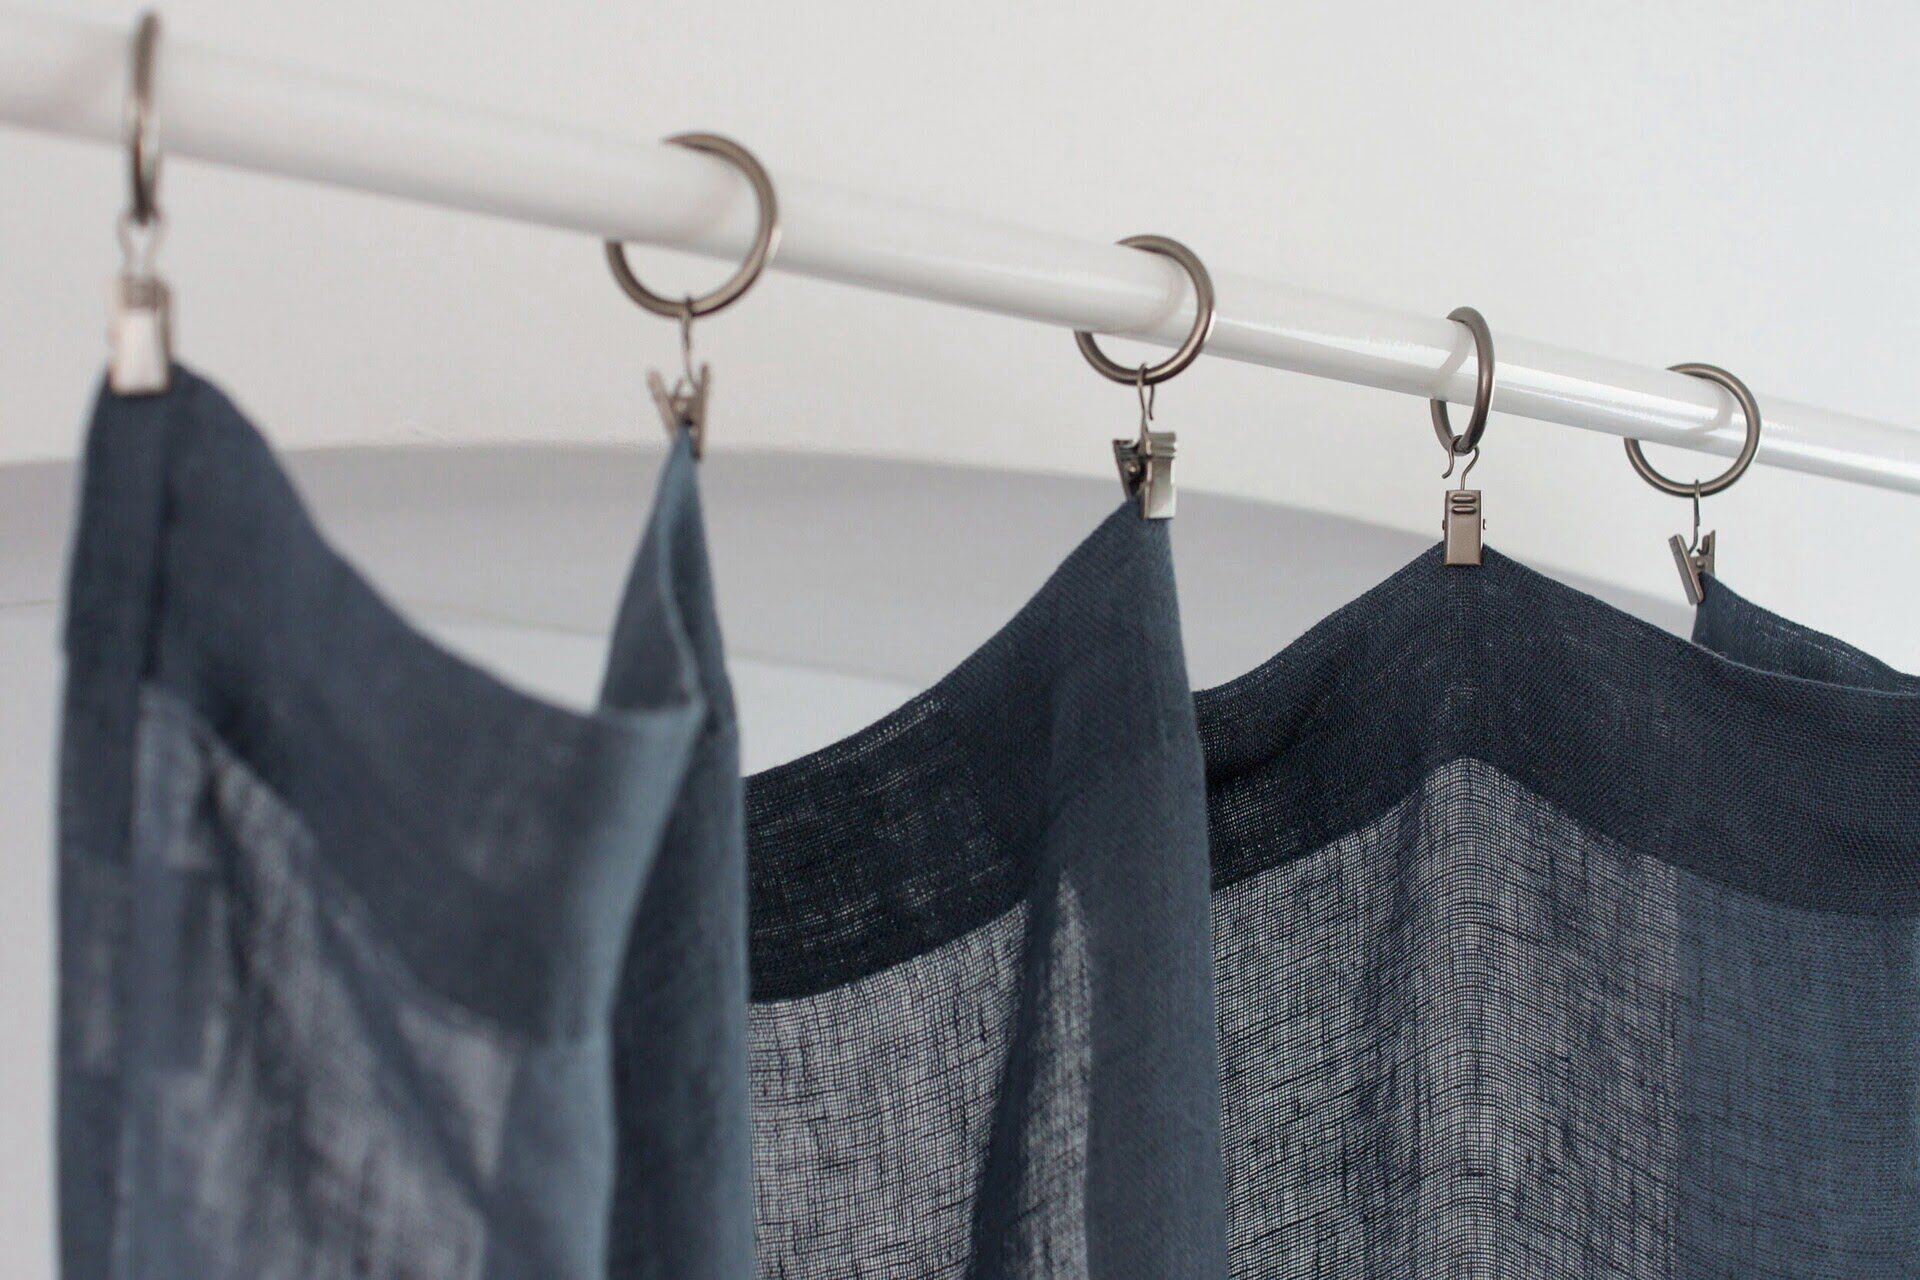
When hanging drapes with clips, make sure to evenly space the clips along the top of the drape to ensure a balanced and uniform look when they are hung.
Determining the Placement of Clips on the Rod
Determining the placement of clips on the rod is crucial to ensure that your drapes hang evenly and create a cohesive and polished look. Follow these steps to determine the proper spacing and placement of the clips on the rod.
1. Count the Clips and Panels: Start by counting the number of clips you have and the number of drapery panels you will be using. Ideally, each panel should have at least one clip, but for wider panels or heavier drapes, you may need to use additional clips for extra support.
2. Divide the Rod: Divide the length of the rod by the number of clips. This will give you an approximate measurement of the spacing between each clip. For instance, if you have six clips and a 60-inch rod, the spacing would be around 10 inches between each clip.
3. Consider the Gather: The gather refers to the fullness of the drapes when pulled closed. If you want a fuller look, you may opt for closer clip spacing. Conversely, if you prefer a more streamlined and taut appearance, you can have wider spacing between the clips.
4. Adjust for Style: Consider the overall style and aesthetic you want to achieve. For a more formal and structured look, position the clips closer to the top of the drapes. For a more casual and relaxed look, you can position the clips slightly lower, allowing the fabric to drape naturally.
5. Evenly Space the Clips: Start by placing the first clip at one end of the rod. Measure the desired spacing from the end of the rod and place the next clip. Repeat this process for the remaining clips, ensuring an even distribution along the length of the rod.
6. Double-check and Adjust: Once all the clips are in place, step back and evaluate the placement. Make any necessary adjustments to ensure that the clips are evenly spaced and create a balanced look when the drapes are hung.
Remember, the placement of clips on the rod will affect the way your drapes hang and the overall visual appeal. Take the time to carefully determine the spacing and positioning for a professional and aesthetically pleasing result. Now that you have determined the placement of clips on the rod, it’s time to hang the drapes.
Read more: How To Hang Grommet Drapes
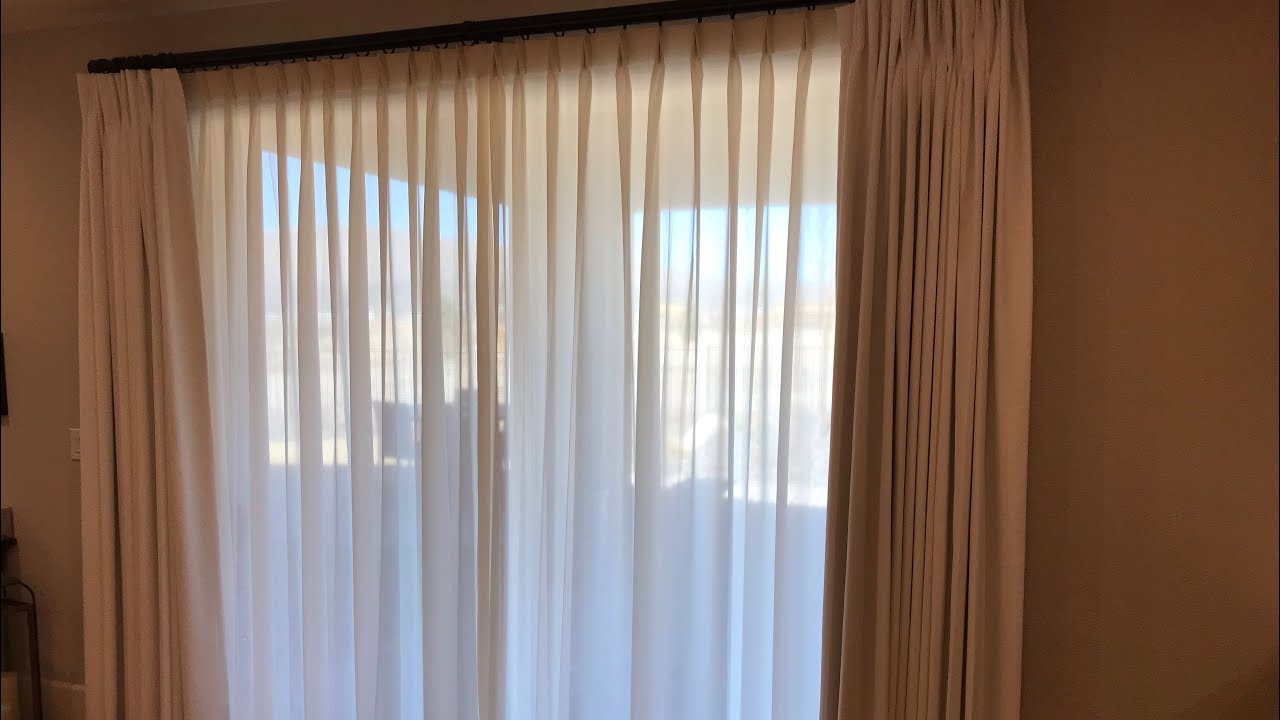
Hanging the Drapes with Clips
Now that you have attached the clips to your drapes and determined the placement on the rod, it’s time to hang the drapes. Follow these step-by-step instructions to ensure a seamless and successful installation.
1. Prepare the Rod: If you haven’t already, install the curtain rod according to the manufacturer’s instructions. Make sure the rod is securely mounted and level.
2. Open the Clips: Open the clips on your drapes by gently pressing the ends or sliding them open, depending on the style of the clip. Ensure that each clip is fully open and ready to receive the rod.
3. Slide the Clips onto the Rod: Starting with the first panel, slide each clip onto the rod while maintaining the desired spacing between each clip. Ensure that the clips are evenly distributed along the length of the rod.
4. Adjust the Drapes: Once the clips are on the rod, make any necessary adjustments to ensure that the drapes are hanging evenly and at the desired length. Gently pull or push the fabric to adjust the fullness and drape of the drapes.
5. Secure the Drapes: Once you are satisfied with the placement and appearance of the drapes, secure the clips in place by gently closing them. Ensure that the clips are securely fastened to the fabric and will not slip or come loose.
6. Repeat for Additional Panels: If you have multiple drapery panels, repeat the process of sliding the clips onto the rod and adjusting the drapes for each panel. Ensure that the spacing and length are consistent for a cohesive look.
7. Step Back and Evaluate: Step back and evaluate the drapes to ensure that they are hanging straight, evenly spaced, and at the desired length. Make any final adjustments as needed to achieve the desired appearance.
By following these steps, you will be able to easily and effectively hang your drapes with clips. Make sure to take your time and carefully adjust the drapes for a polished and professional look. Now that your drapes are hung, it’s time to make any final adjustments and add your personal styling touches.
Adjusting and Styling the Drapes
Once you have successfully hung your drapes with clips, it’s time to fine-tune their appearance and add those final styling touches. Follow these tips to adjust and style your drapes for a polished and cohesive look.
1. Smooth Out the Folds: Take a few moments to smooth out any folds or wrinkles in the drapes. Gently run your hands along the fabric to eliminate any creases and create a clean and even drape.
2. Adjust the Length: If you find that your drapes are slightly longer or shorter than desired, adjust their length accordingly. You can either raise or lower the clips on the rod to achieve the perfect length. Ensure that the drapes are evenly aligned and hanging straight.
3. Create Beautiful Drapery Folds: To achieve a more formal and structured look, create beautiful drapery folds. Start by gathering the fabric at certain points along the rod, creating evenly spaced pleats or swags. Use your hands to shape and arrange the folds until you achieve the desired drape pattern.
4. Add Tiebacks or Holdbacks: If you want to showcase your drapes or allow more natural light into the room, consider adding tiebacks or holdbacks. These decorative accessories can be used to hold the drapes to the side, creating an elegant and open look. Experiment with different tieback styles and positions until you find the perfect arrangement.
5.
6.
7.
By following these tips, you can adjust and style your drapes to achieve a beautiful and personalized look. Remember to consider your personal taste and the overall aesthetic of the room when making styling choices. With a little creativity and attention to detail, your drapes will become a stunning focal point and a reflection of your unique style.
Conclusion
Hanging drapes with clips is a versatile and convenient method that allows you to easily install, adjust, and style your drapes. By following the steps outlined in this article, you can achieve a professional and polished look while enhancing the overall aesthetic of your space.
Start by selecting the right drapes and clips that complement your style and meet your functional needs. Consider the purpose, style, fabric, color, and length of the drapes. Ensure that the clips are durable and can securely hold the weight of your drapes without causing damage.
Measure and prepare the window properly by accurately measuring the width and height of the window and inspecting the drapery hardware. This will ensure that the drapes fit perfectly and hang evenly.
Attach the clips to the drapes by laying them out flat and positioning the clip at the top seam or header. Open the clips, slide them onto the fabric, and ensure they are securely fastened.
Determine the spacing and placement of the clips on the rod by considering the number of clips, the size of the rod, the gather of the drapes, and the desired style. Evenly space the clips along the rod to achieve a balanced look.
Hang the drapes by sliding the clips onto the rod, ensuring that they are properly positioned and evenly spaced. Adjust the length and smooth out any folds or wrinkles for a clean and elegant appearance.
Finally, style and personalize your drapes by adding tiebacks or holdbacks, layering with sheer curtains or valances, or accessorizing with curtain rings or decorative rods. Pay attention to the overall aesthetic of the room and make any final adjustments to achieve a cohesive and visually appealing look.
With these steps, you can hang and style your drapes with clips like a pro. Enjoy the transformation of your space as your newly-hung drapes enhance the beauty, functionality, and ambiance of your room.
Frequently Asked Questions about How To Hang Drapes With Clips
Was this page helpful?
At Storables.com, we guarantee accurate and reliable information. Our content, validated by Expert Board Contributors, is crafted following stringent Editorial Policies. We're committed to providing you with well-researched, expert-backed insights for all your informational needs.


0 thoughts on “How To Hang Drapes With Clips”