Articles
How To Hang Grommet Drapes
Modified: December 7, 2023
Learn how to hang grommet drapes with these helpful articles. Get step-by-step instructions and tips for achieving the perfect drape installation.
(Many of the links in this article redirect to a specific reviewed product. Your purchase of these products through affiliate links helps to generate commission for Storables.com, at no extra cost. Learn more)
Introduction
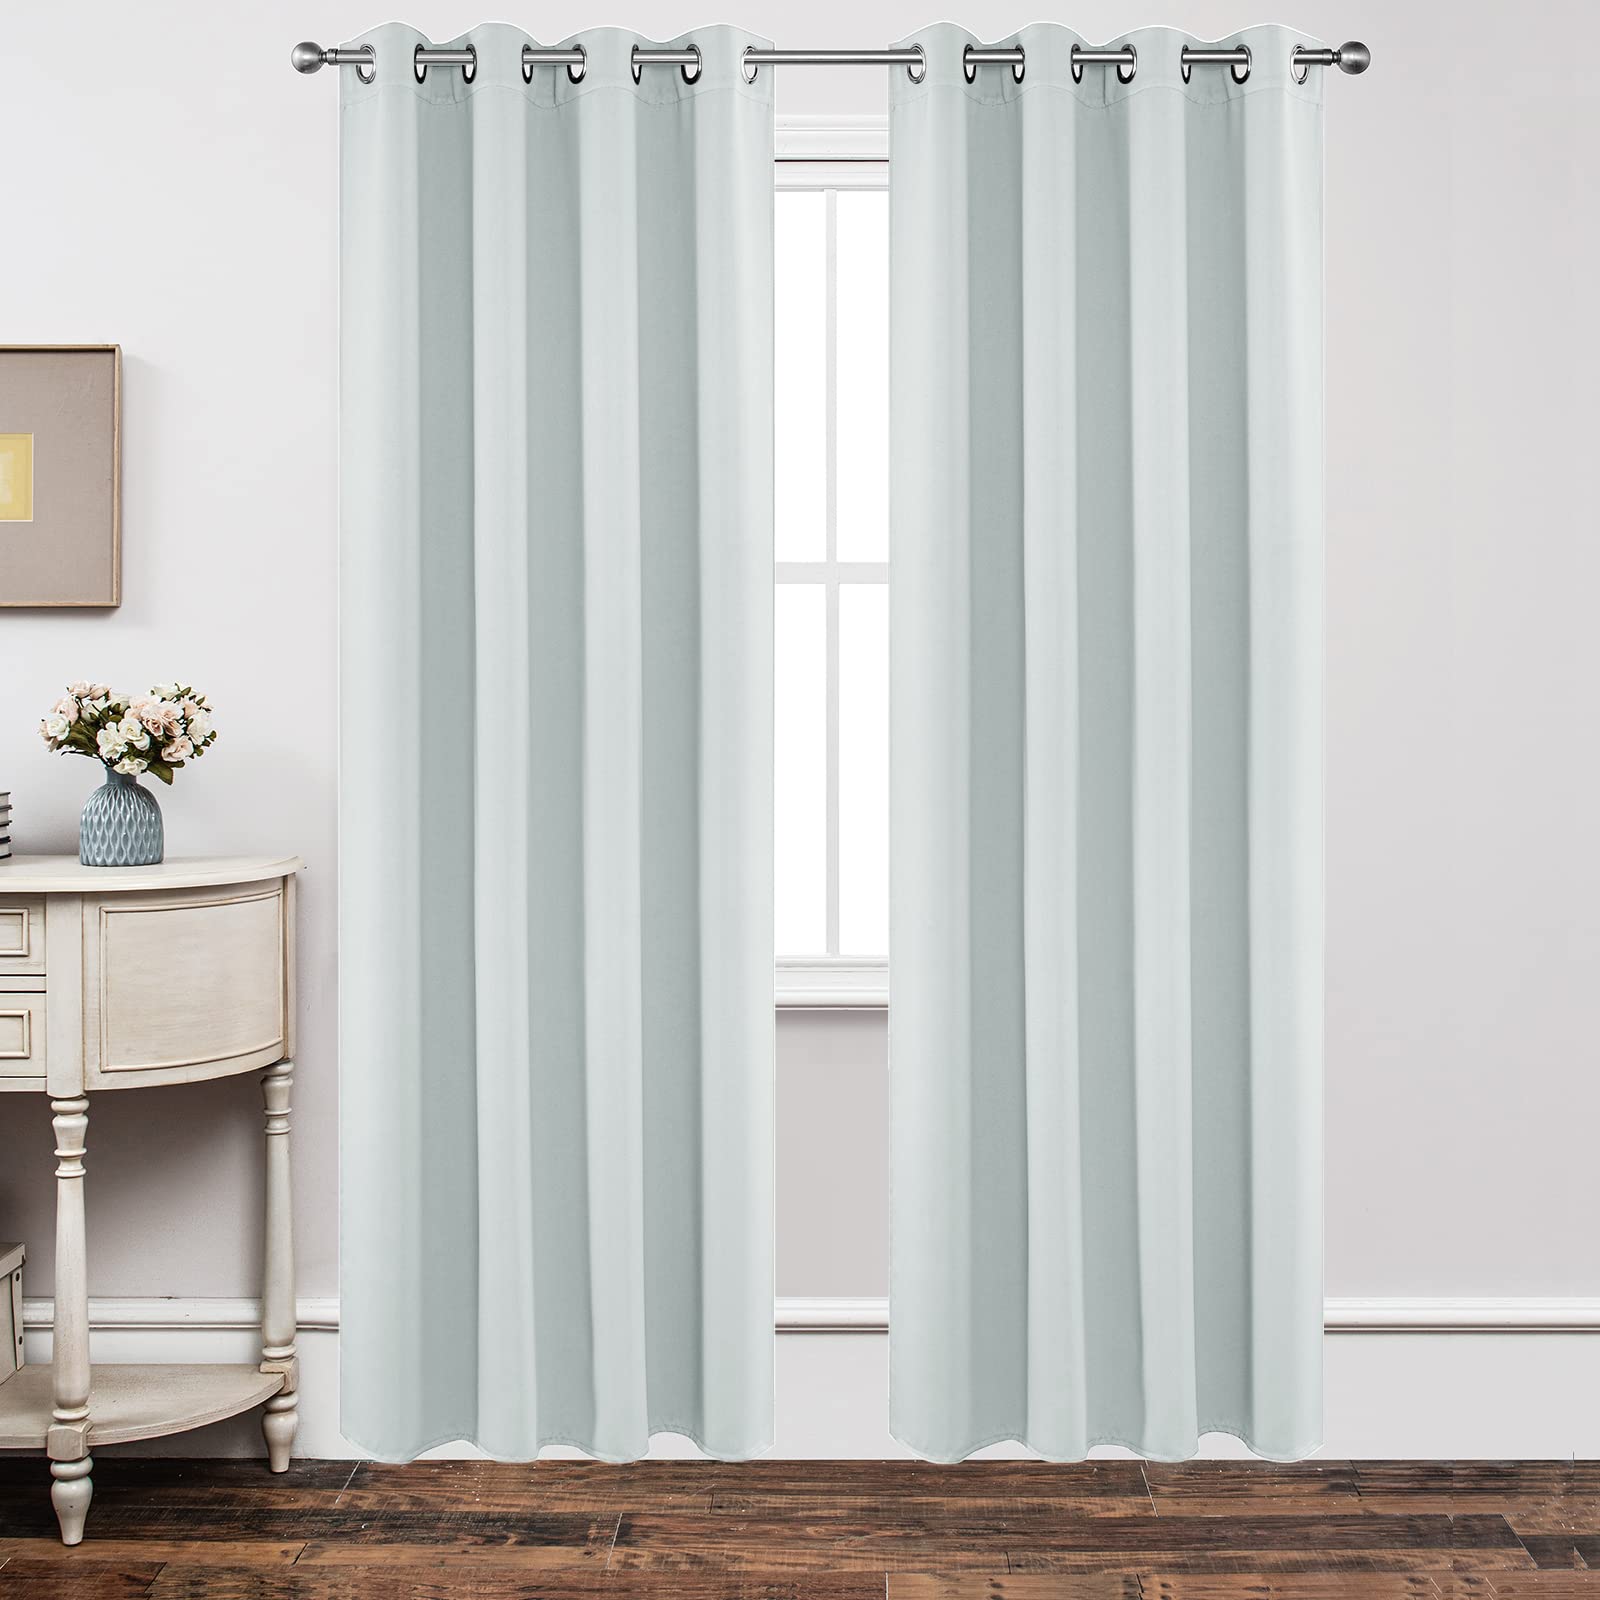
Welcome to our comprehensive guide on how to hang grommet drapes! If you’re looking to add a touch of elegance and style to your windows, grommet drapes are a fantastic choice. Not only do they offer a sleek and modern look, but they are also easy to install on your own. Whether you’re a DIY enthusiast or a newcomer to home improvement projects, this step-by-step guide will walk you through the process of hanging grommet drapes with ease.
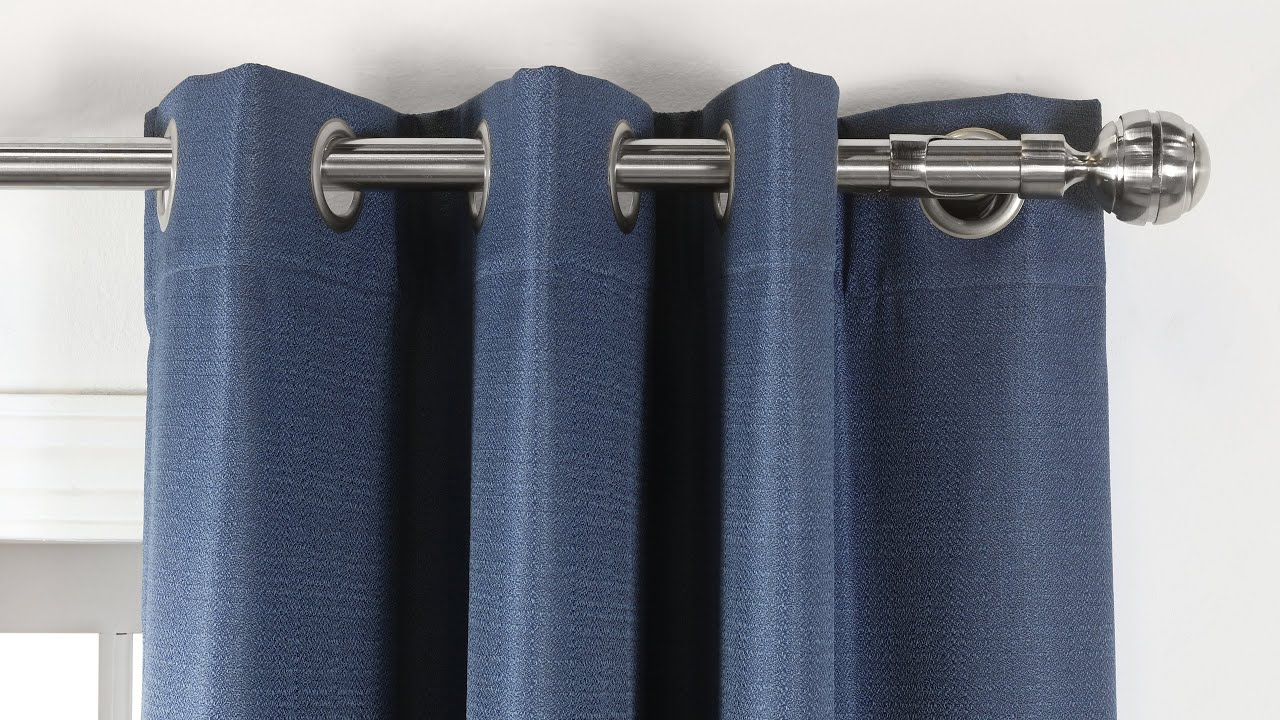
Grommet drapes are curtains that feature metal or plastic grommets along the top edge. These grommets act as reinforced openings where the curtain rod can be placed, allowing for smooth sliding and a clean drape. They are a popular choice for both residential and commercial spaces due to their clean lines, simplicity, and versatility in complementing various interior design styles.
With just a few tools and a little bit of patience, you’ll be able to transform your windows with beautiful grommet drapes. Before we dive into the installation process, let’s first gather the materials you’ll need:
- Grommet drapes of your choice
- Drapery rod
- Electric drill or screwdriver
- Measuring tape
- Pencil
- Level
- Wall anchors, if necessary
Now that you have everything ready, let’s start hanging those grommet drapes!
Key Takeaways:
- Easily transform your windows with grommet drapes by following simple steps for accurate measuring, secure installation, and stylish finishing touches. Enjoy the sleek and modern look with practical functionality.
- Achieve a professional-looking installation and create a stunning window display with grommet drapes. Pay attention to detail, from measuring and marking to adjusting and styling, for a polished and cohesive look.
Read more: How To Make Grommet Drapes
Step 1: Measure and Mark
The first step in hanging grommet drapes is to accurately measure the window and mark the desired height for the drapes. Grab your measuring tape and follow these steps:
- Measure the width of the window: Start by measuring the width of the window frame or the area where you want the drapes to cover. Make sure to add a few inches on each side to allow the drapes to fully cover the window when closed.
- Measure the height of the window: Next, measure the height of the window from the top to the desired location where you want the drapes to end. This can vary depending on your preference and the aesthetic you’re aiming for. For floor-length drapes, measure from the top to the floor. For sill-length drapes, measure from the top to the windowsill.
- Mark the measurement: Once you have the measurements, take a pencil and mark the desired height on the wall or window frame. Use a level to ensure that the marks are straight and even. This will guide you during the installation process.
If you have multiple windows in the same room, repeat this process for each window, ensuring that the measurements and marks align for a uniform look.
It’s also important to consider any obstructions around the window, such as furniture or window treatments, that may affect the placement of the drapes. Take note of these obstructions and adjust your measurements accordingly.
Now that you have accurately measured and marked the window, you’re ready to move on to the next step: installing the drapery rod.
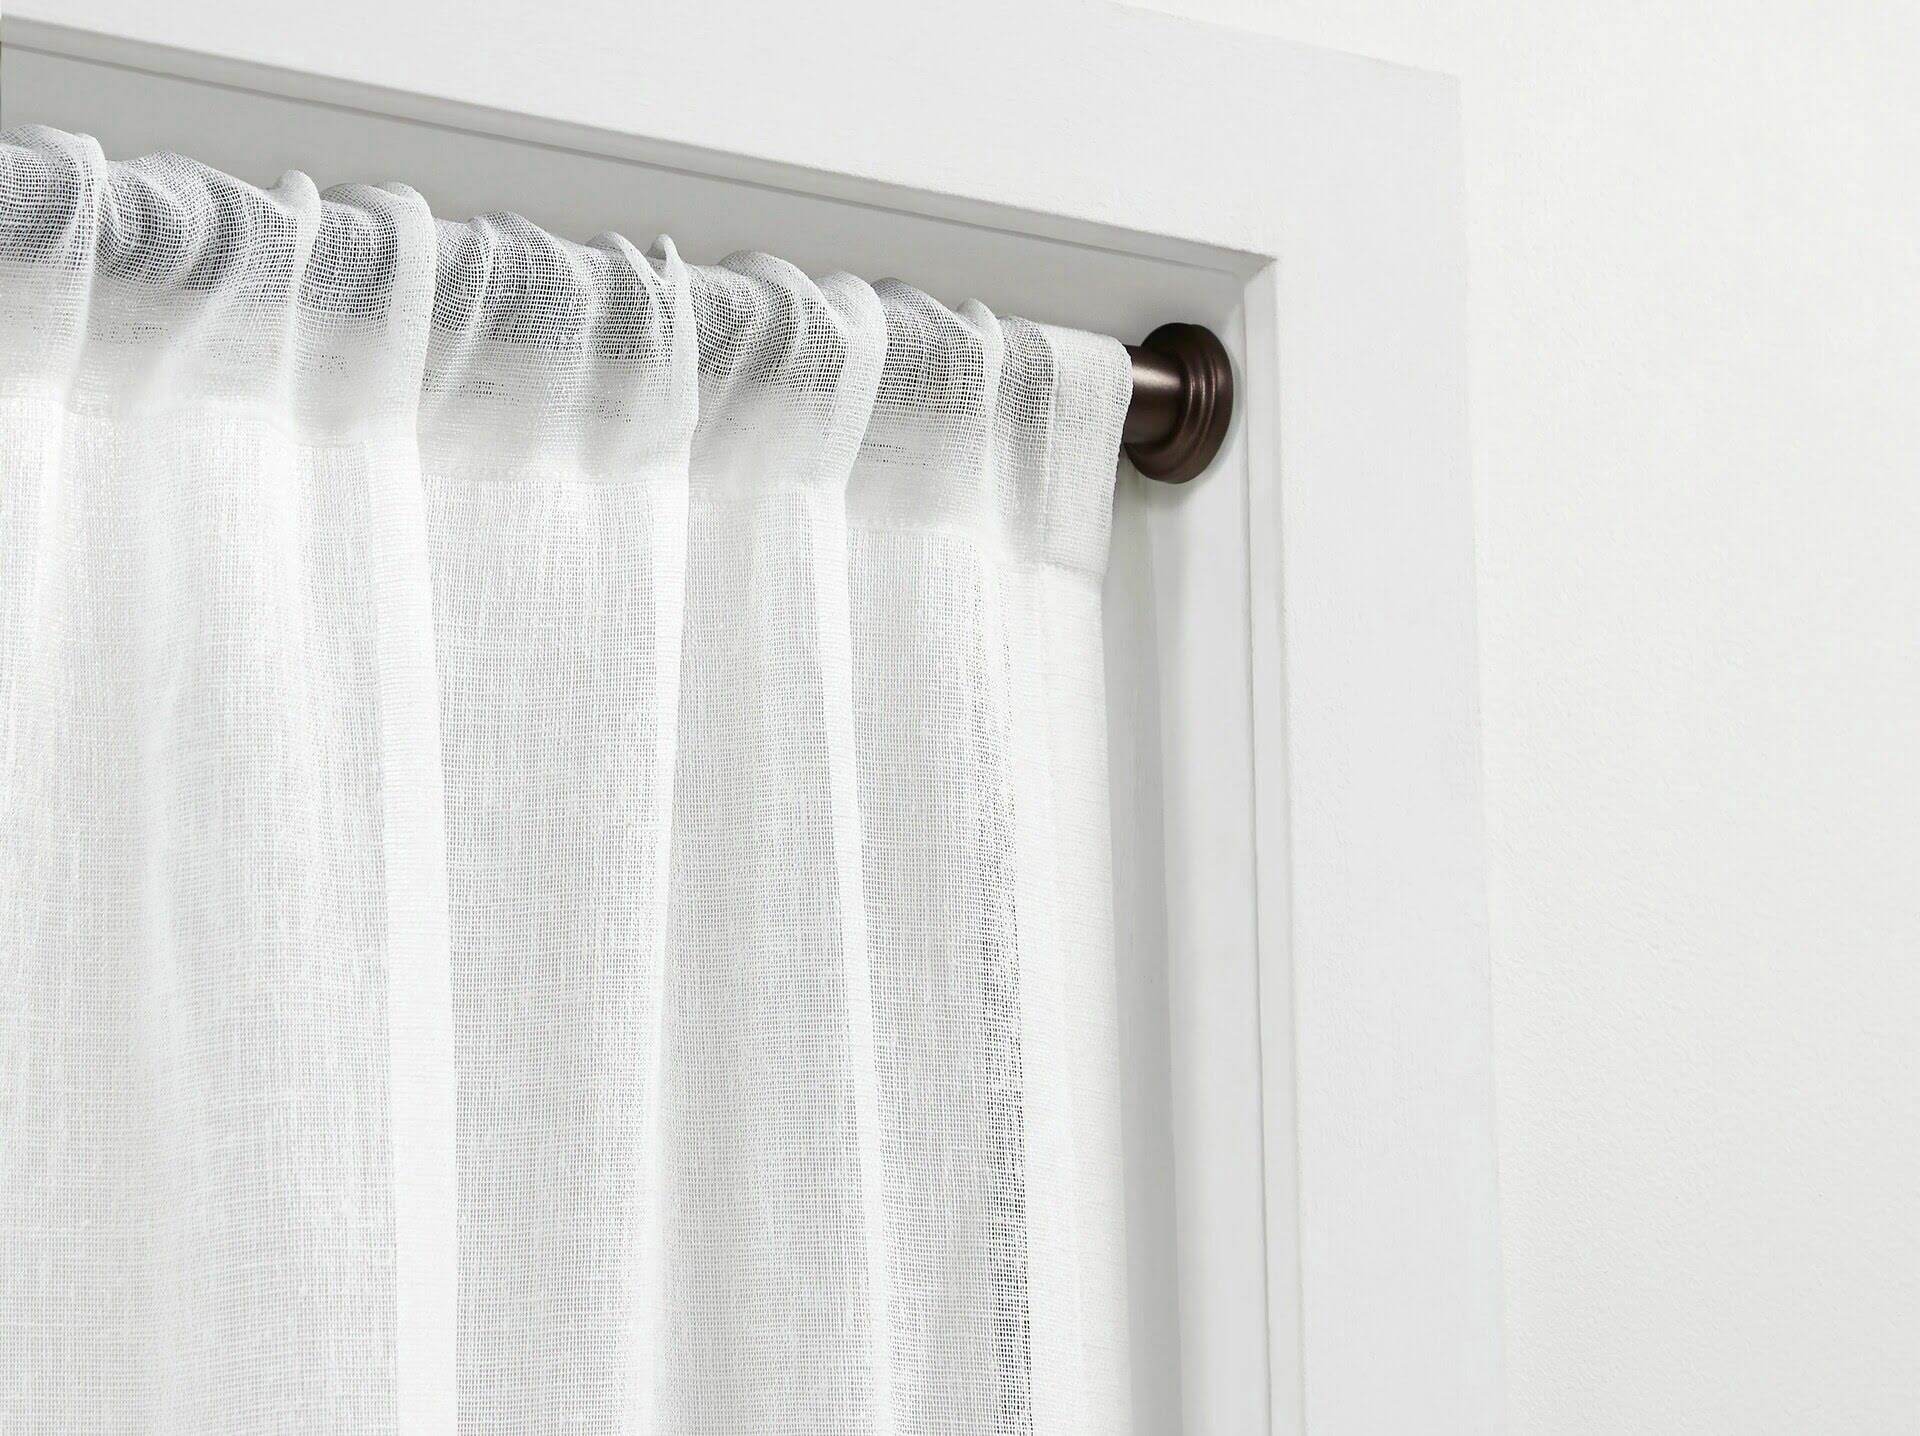
Step 2: Install the Drapery Rod
Now that you have measured and marked the window, it’s time to install the drapery rod. Follow these steps to ensure a secure and level installation:
- Choose the appropriate drapery rod: Select a drapery rod that matches the style and weight of your grommet drapes. Make sure it is long enough to span the width of the window and has sturdy brackets to support the weight of the curtains.
- Locate the mounting brackets: Before drilling any holes, locate the mounting brackets that came with the drapery rod. These brackets will secure the rod in place. Depending on the type of rod, the brackets may need to be placed above the window frame or directly on the frame itself.
- Align and level the brackets: Hold one bracket against the wall or window frame at the desired height, aligning it with the marked measurement from Step 1. Use a level to ensure that the bracket is straight and level. Once aligned, mark the screw holes on the wall or window frame with a pencil.
- Secure the brackets: With the holes marked, use an electric drill or screwdriver to drive the screws into the wall or window frame to secure the brackets. Be sure to use wall anchors if necessary for added stability.
- Attach the drapery rod: With the brackets securely in place, slot the drapery rod into the brackets and slide it all the way through. Make sure the rod is level by using a level to check its alignment. Adjust the rod if necessary.
Once the drapery rod is securely installed and level, you’re ready for the next step: preparing the grommet drapes for hanging.
Step 3: Prepare the Grommet Drapes
Now that you have your drapery rod installed, it’s time to prepare the grommet drapes for hanging. Follow these steps to ensure they are in the best condition and ready for installation:
- Unpack the grommet drapes: Start by carefully unpacking the grommet drapes from their packaging. Lay them flat on a clean surface, making sure to remove any wrinkles or creases.
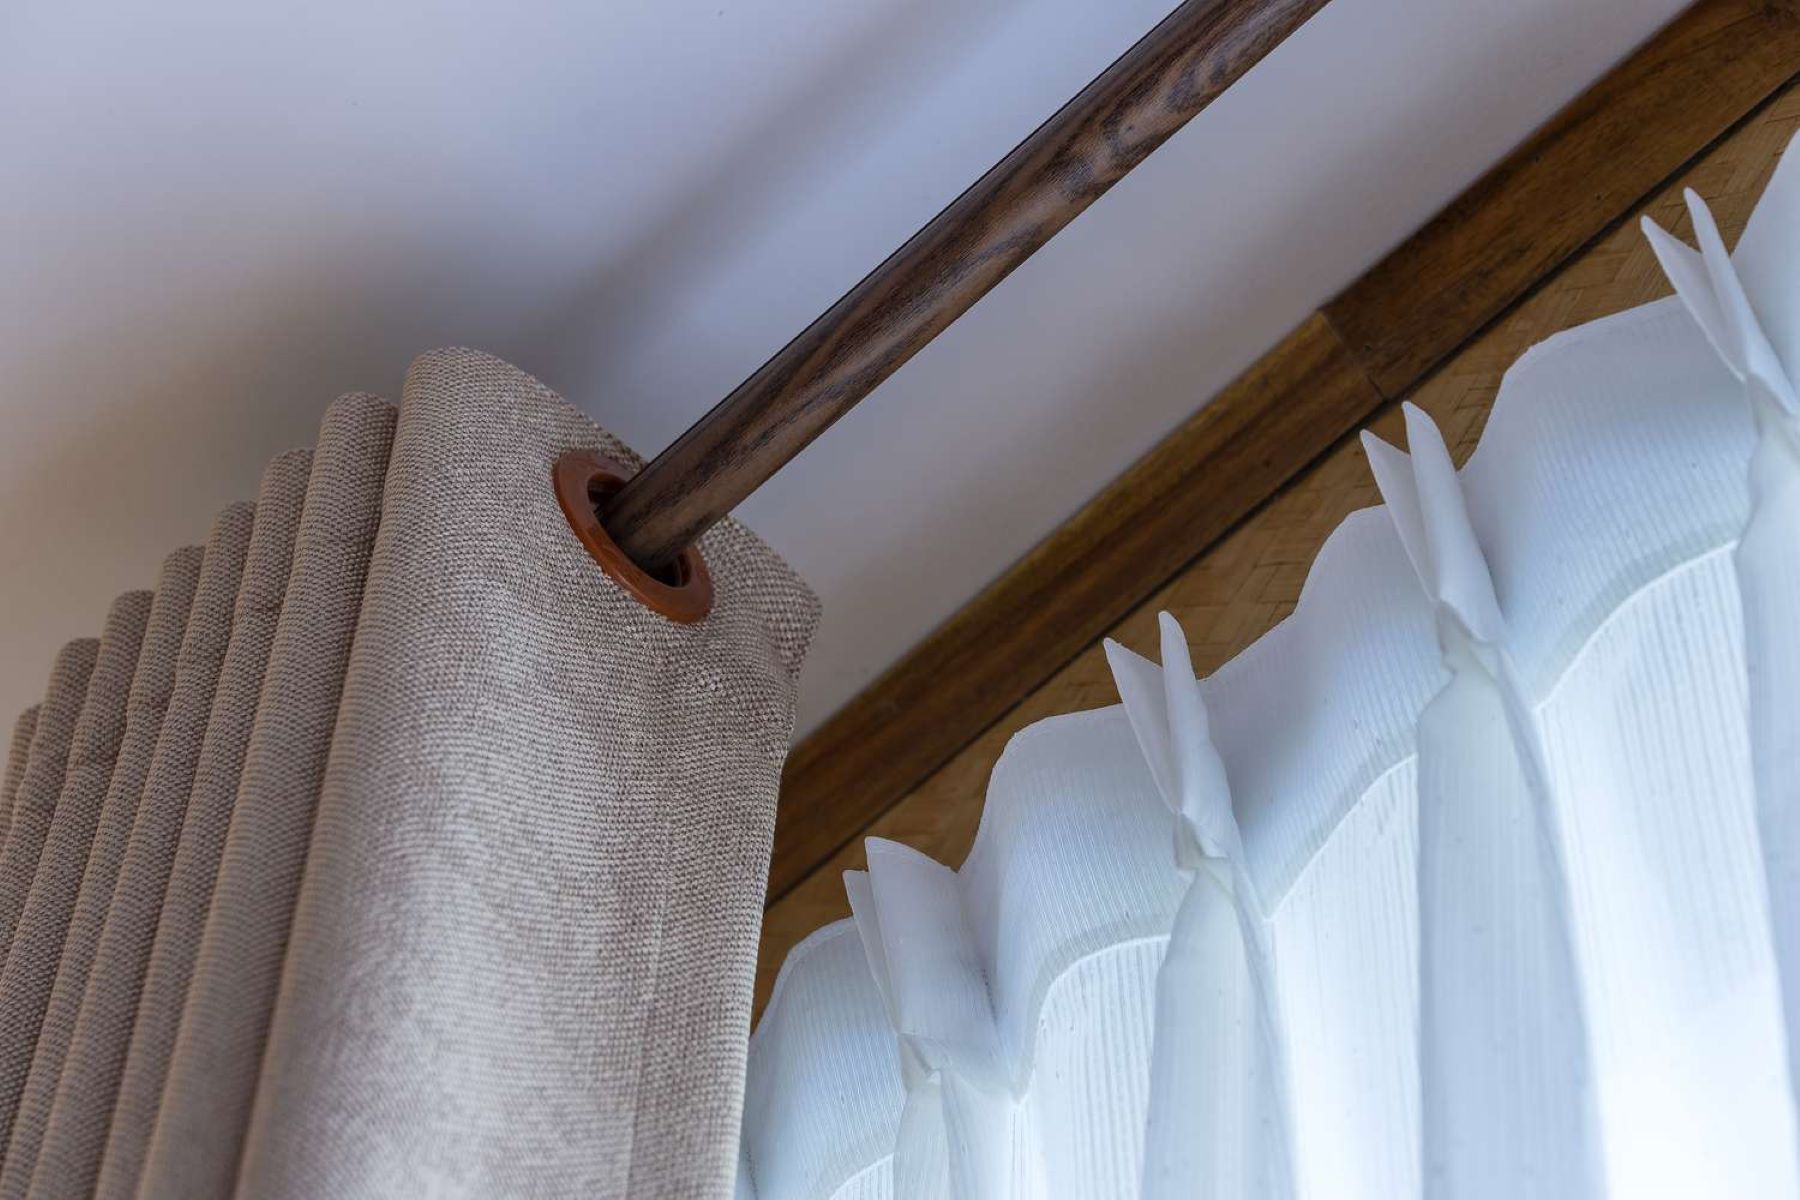
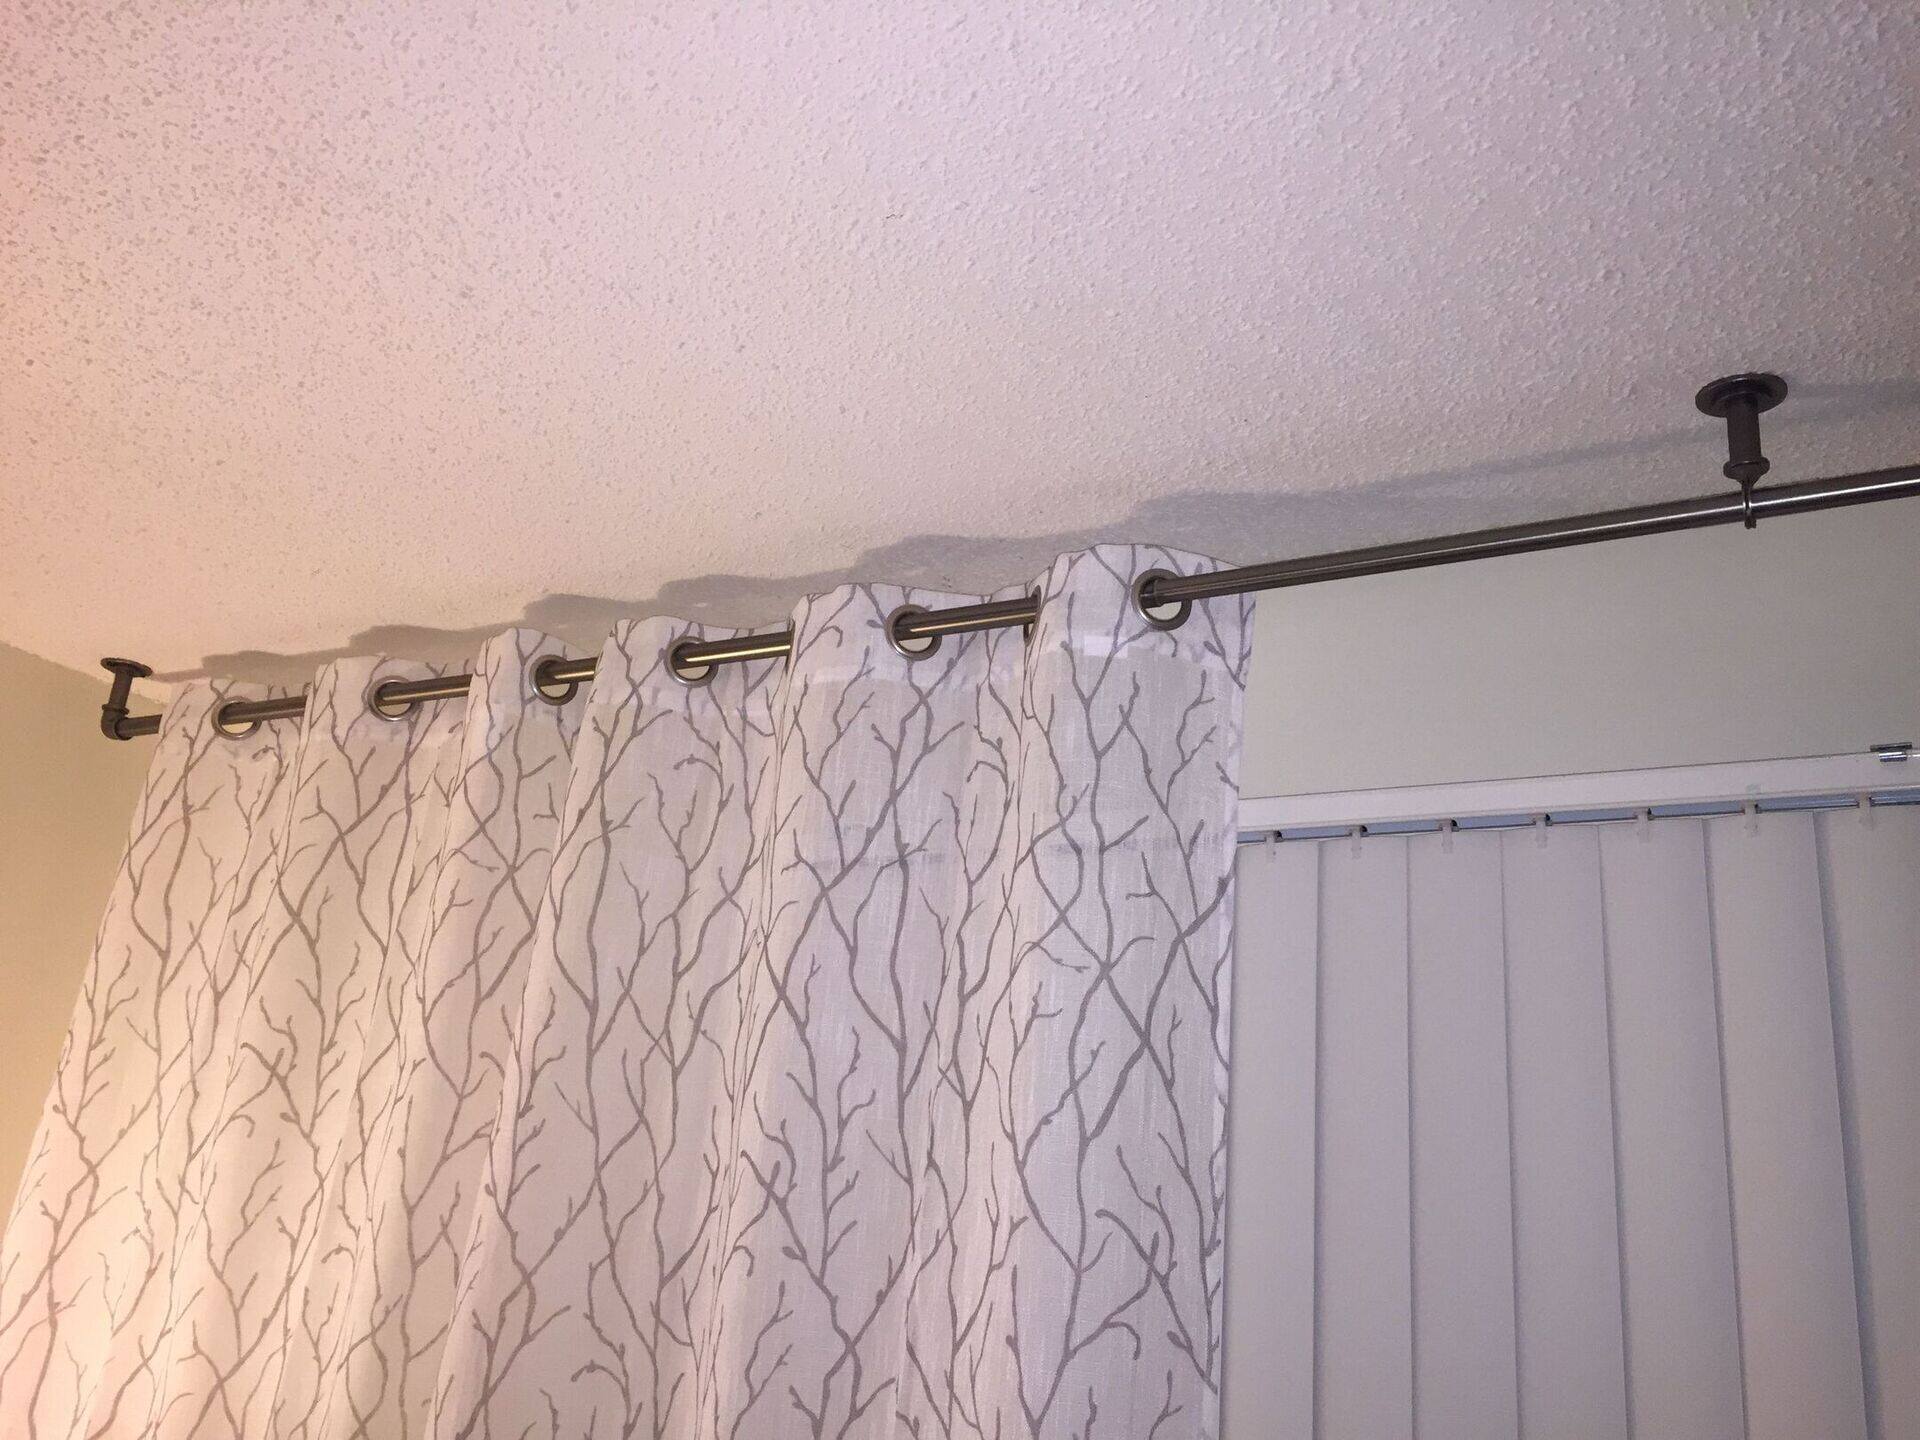
- Inspect the grommets: Take a close look at the grommets along the top edge of the drapes. Ensure that they are intact, not bent or damaged in any way. Grommets that are in poor condition may affect the smooth operation of the curtains on the rod.
- Press or steam the drapes: If your grommet drapes are wrinkled from being folded, you can either press them with a warm iron or use a garment steamer to remove the wrinkles. Be sure to follow the care instructions provided by the manufacturer to avoid damaging the fabric.
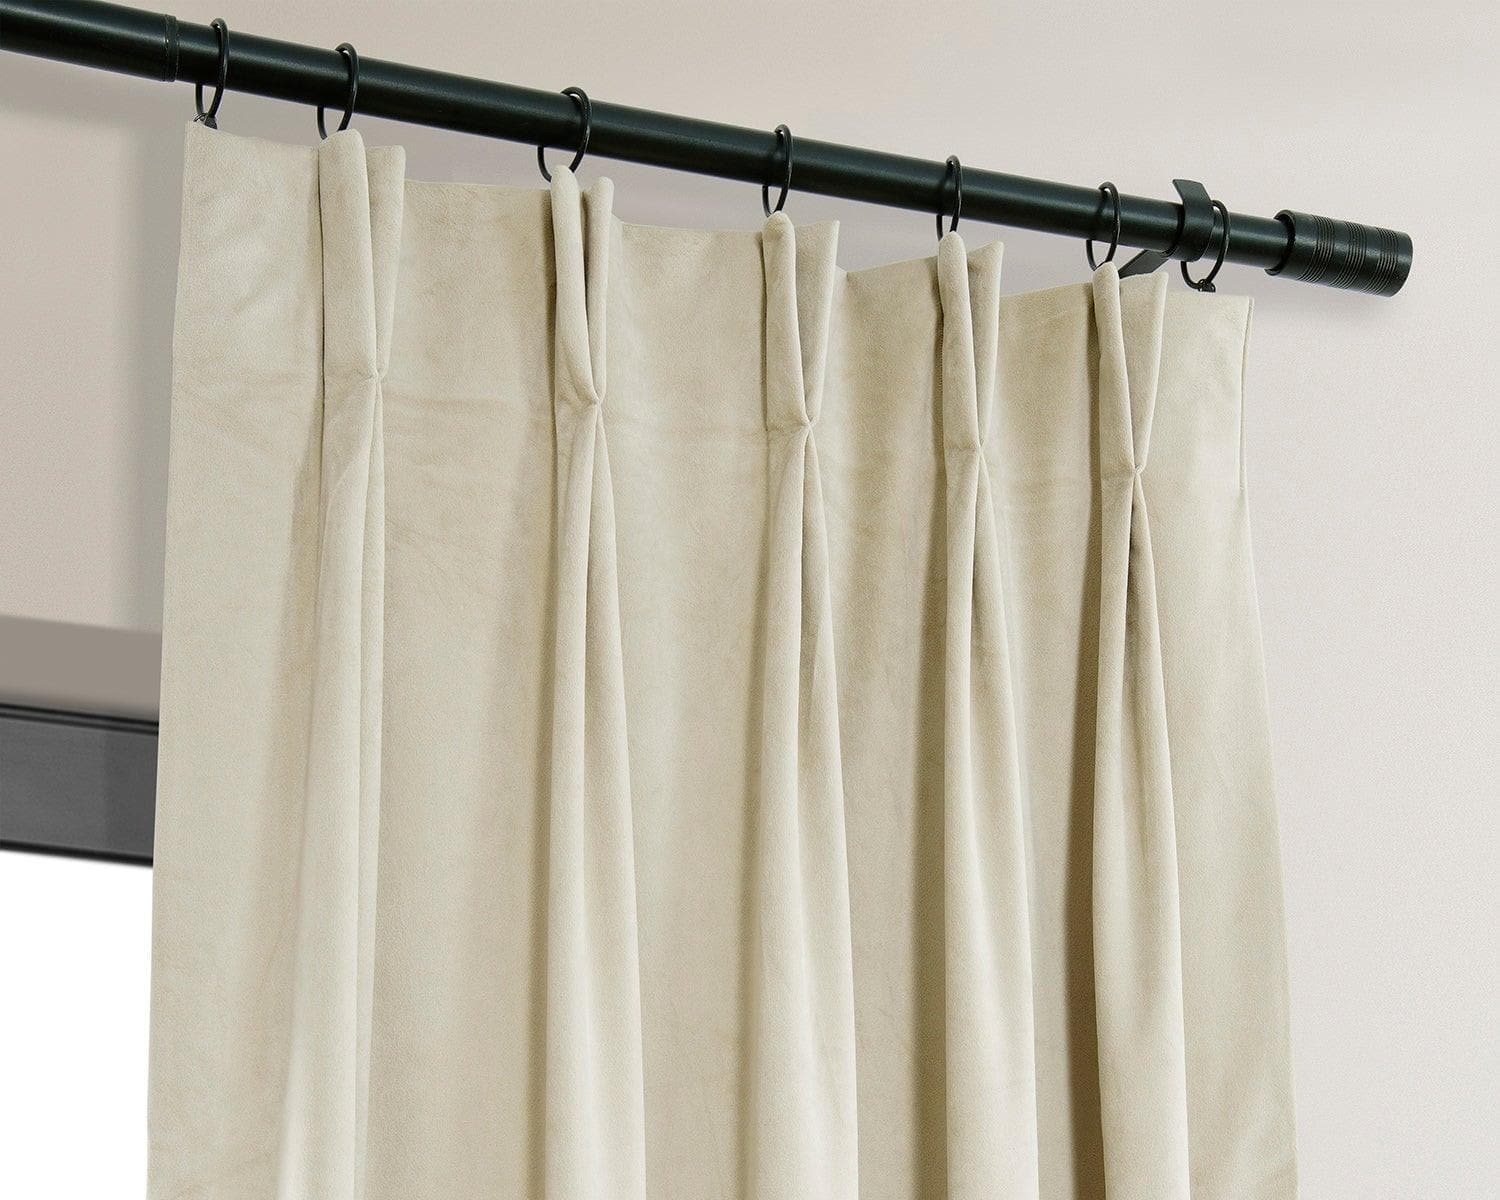
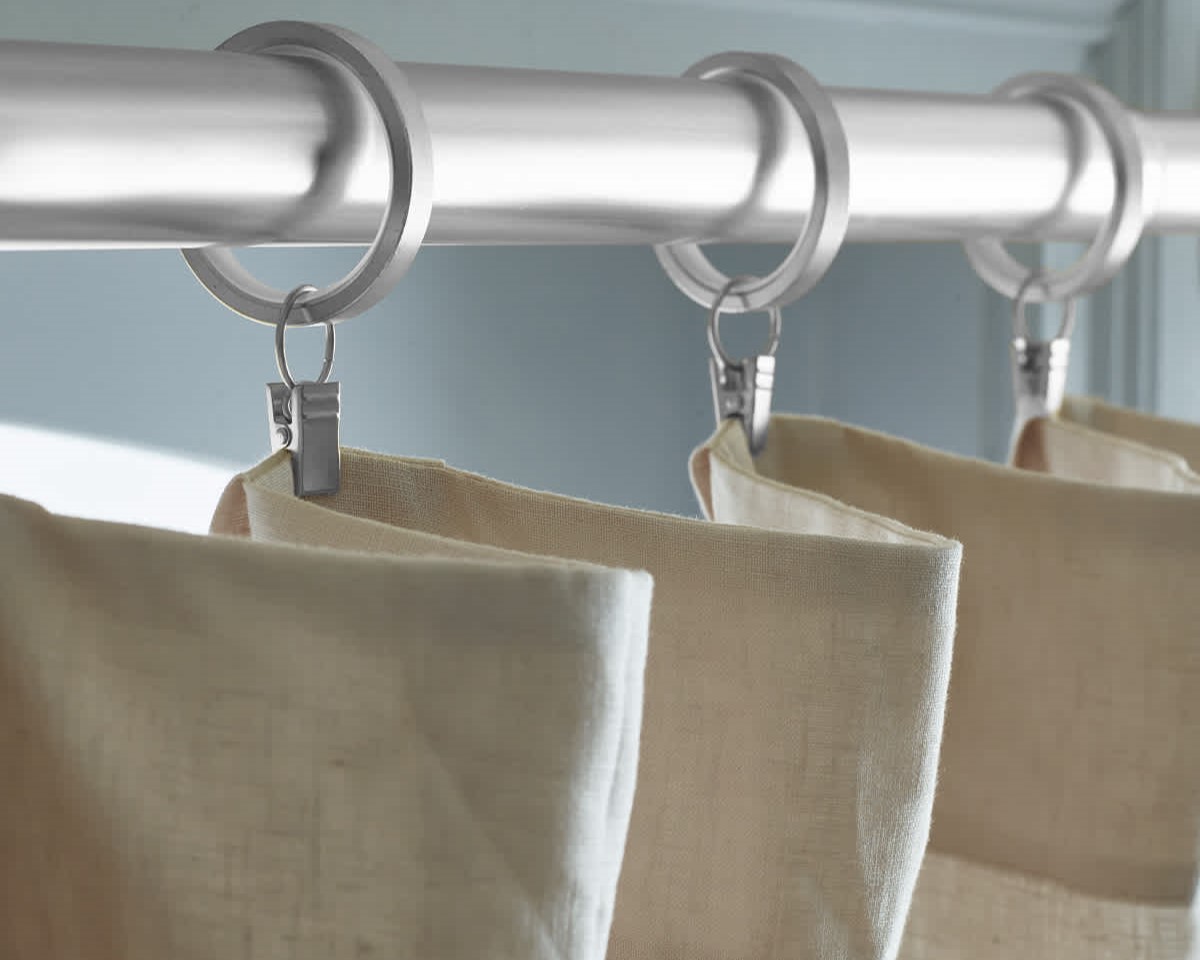
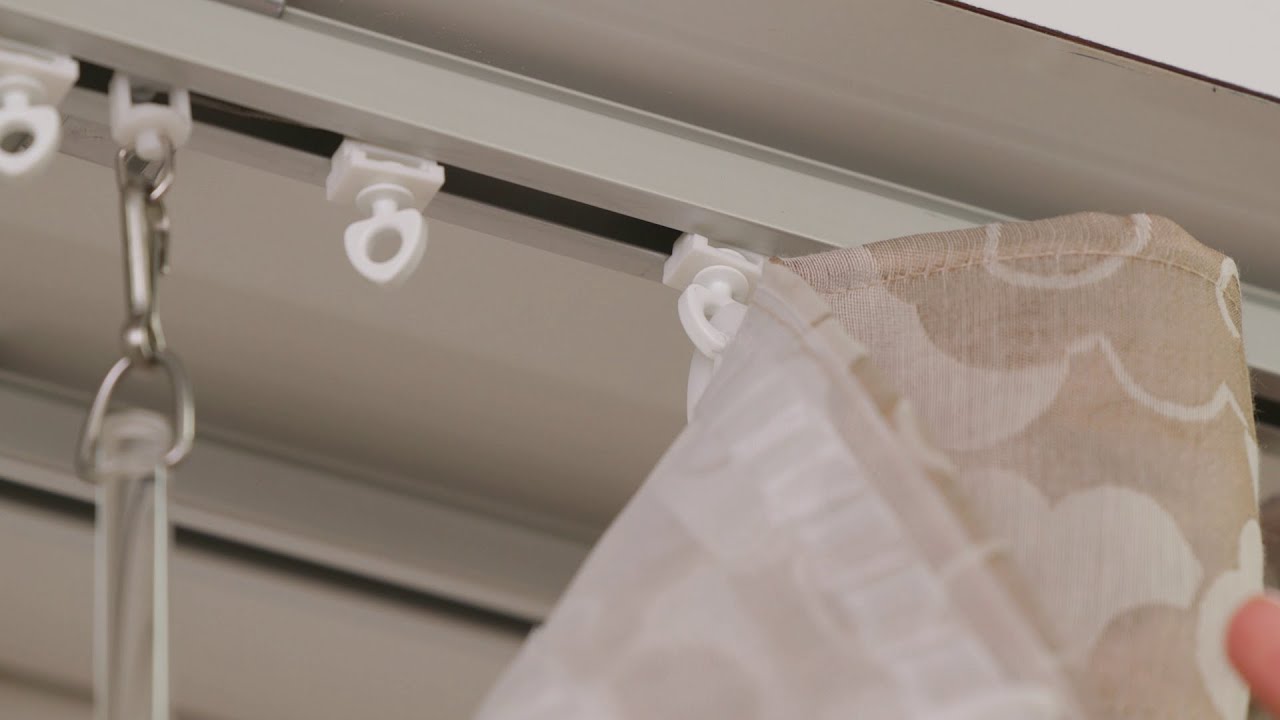
- Attach curtain hooks or rings (optional): Depending on the type of grommet drapes you have, you may choose to attach curtain hooks or rings to the grommets. This can add an extra decorative touch and help the curtains hang more smoothly. Simply slide the hooks or rings onto each grommet, evenly spacing them along the top edge.
- Double-check the length: Before hanging the drapes, double-check the length to ensure they reach the desired height. If necessary, make adjustments by hemming the bottom of the curtains or choosing a shorter rod for a higher placement.
By properly preparing the grommet drapes, you can ensure that they hang beautifully and enhance the overall aesthetic of your window. With the drapes ready, it’s time to move on to the next step: hanging them on the drapery rod.
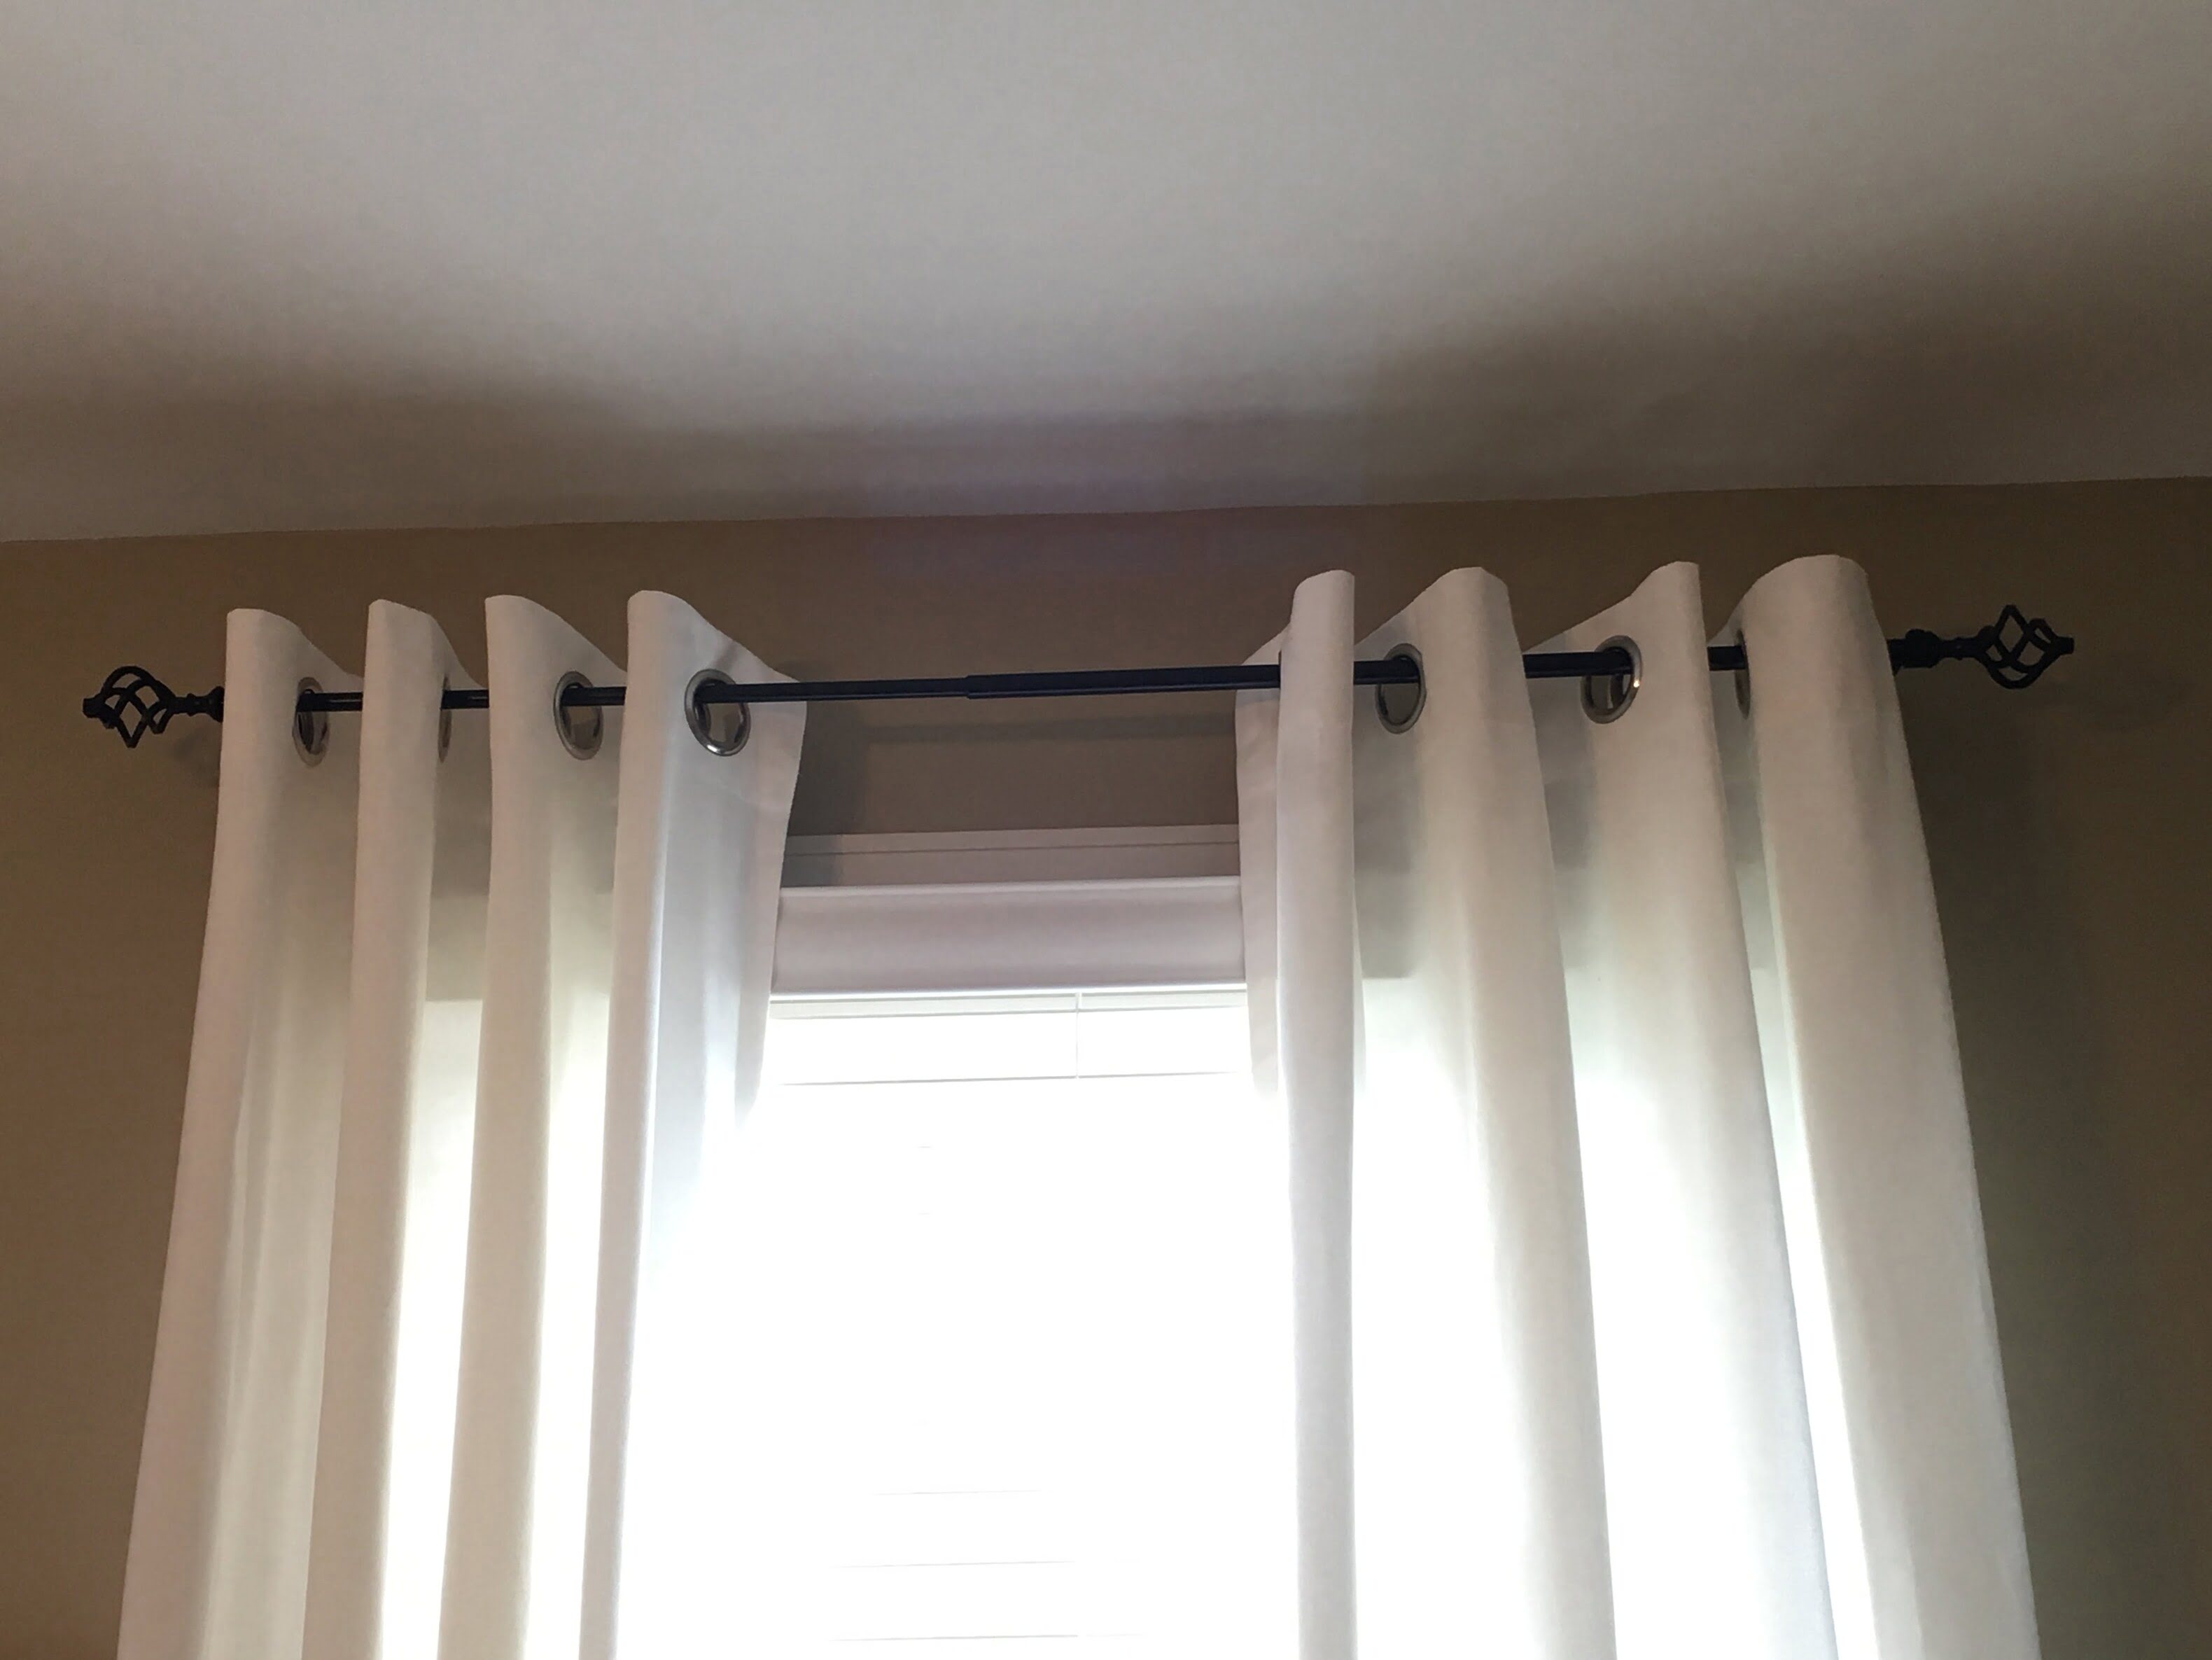
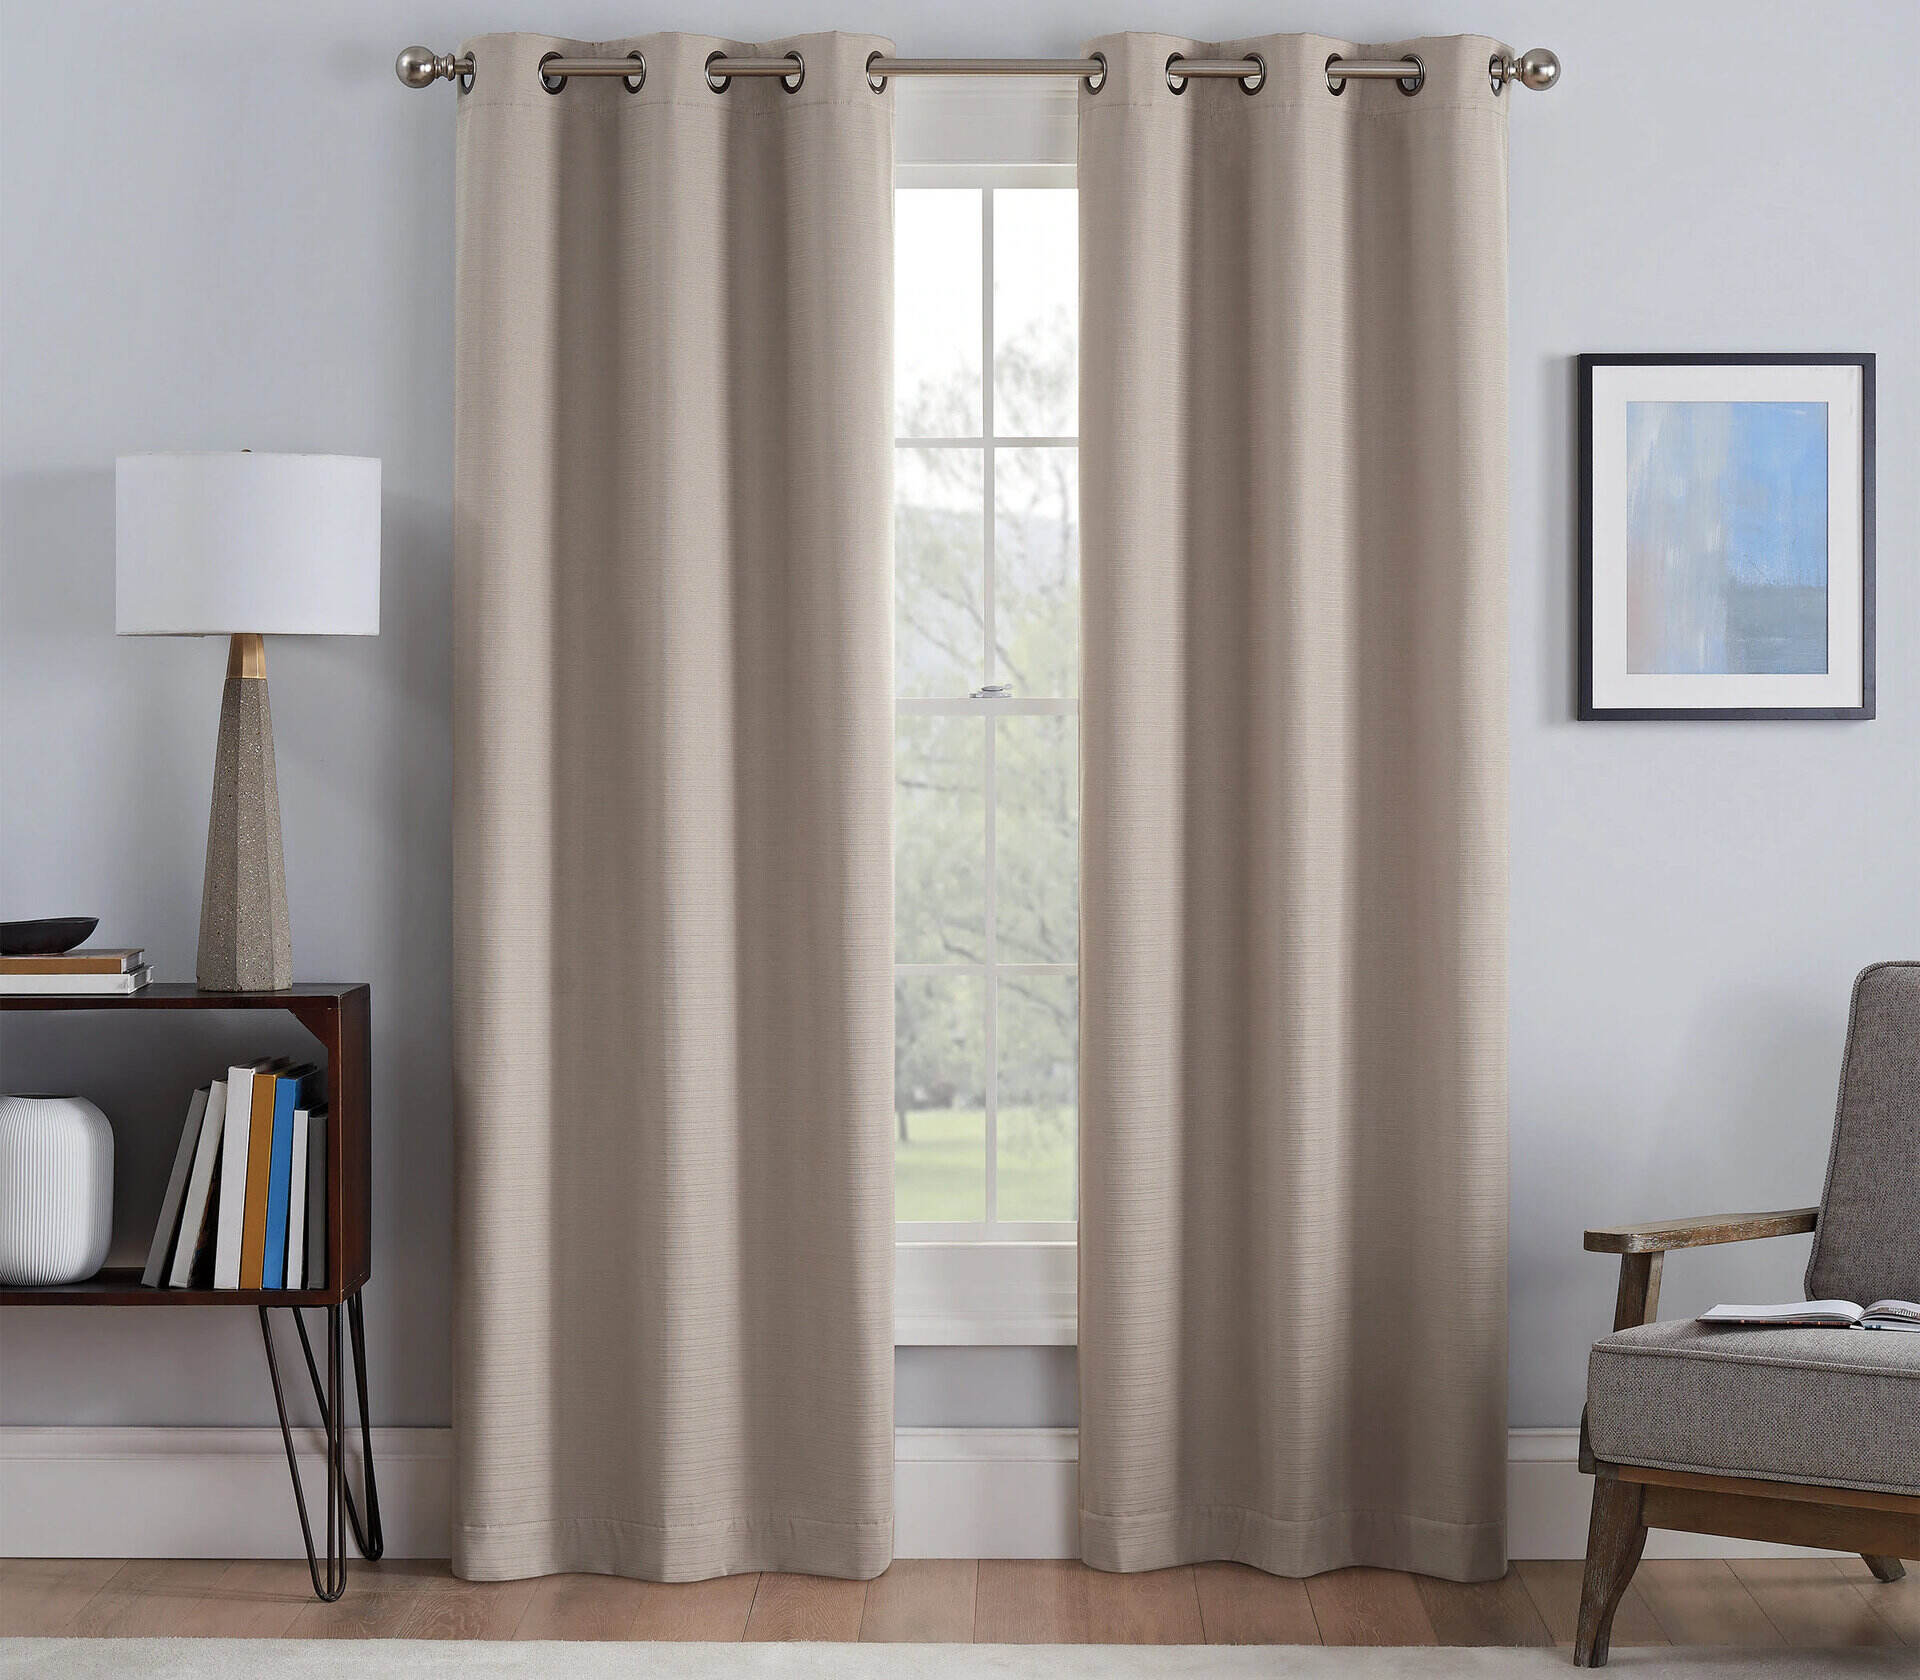
When hanging grommet drapes, make sure to use a sturdy curtain rod that can support the weight of the drapes. Position the grommets evenly along the rod to ensure a balanced and polished look.
Step 4: Hang the Grommet Drapes
With your grommet drapes prepared and the drapery rod in place, it’s time to hang the curtains. Follow these steps for a seamless and professional-looking installation:
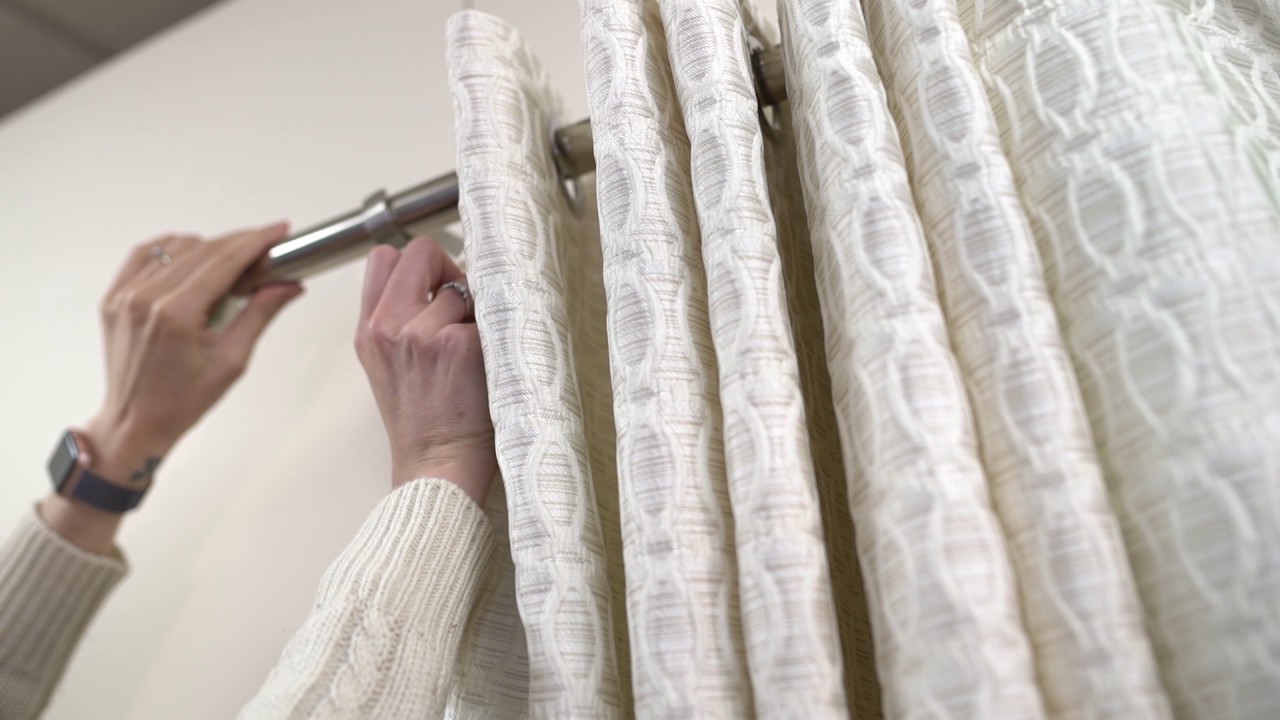
- Open the grommet drapes: Start by fully opening the grommet drapes so that they are spread out and ready to be hung. This will make it easier to slide them onto the rod.
- Slide the drapes onto the rod: Carefully insert the rod through the grommets, starting from one side and sliding it all the way through to the other side. Take your time to ensure that the drapes are evenly distributed along the rod.
- Distribute and adjust the drapes: Once the drapes are on the rod, distribute the fabric evenly across the entire width. Adjust the folds and pleats to ensure a balanced and visually appealing look. Use your hands to gently arrange the drapes as desired.
- Test the sliding motion: Give the grommet drapes a gentle tug to test the sliding motion on the drapery rod. Ensure that they move smoothly and without any obstructions. If you encounter any resistance, adjust the distribution of the fabric or the rod placement until the drapes glide effortlessly.
- Check the alignment: Stand back and assess the drapes’ alignment and how they hang. Use a level to check that they are straight and level along the rod. Make any necessary adjustments by sliding the drapes along the rod until they are perfectly positioned.
By following these steps, you will be able to hang your grommet drapes with precision and achieve a polished and cohesive look for your windows. Now, let’s move on to the final step: adjusting and styling the drapes.
Read more: How To Put Grommets In Drapes
Step 5: Adjust and Style
Now that your grommet drapes are hanging beautifully, it’s time to add the finishing touches and style them to complete the look. Follow these steps to ensure your drapes look their best:
- Adjust the length: Take a moment to assess the length of the grommet drapes. If they are too long and touching the floor, you can hem them to the desired length. Alternatively, if they are too short and not reaching the desired height, consider using curtain clips or rings to raise them slightly.
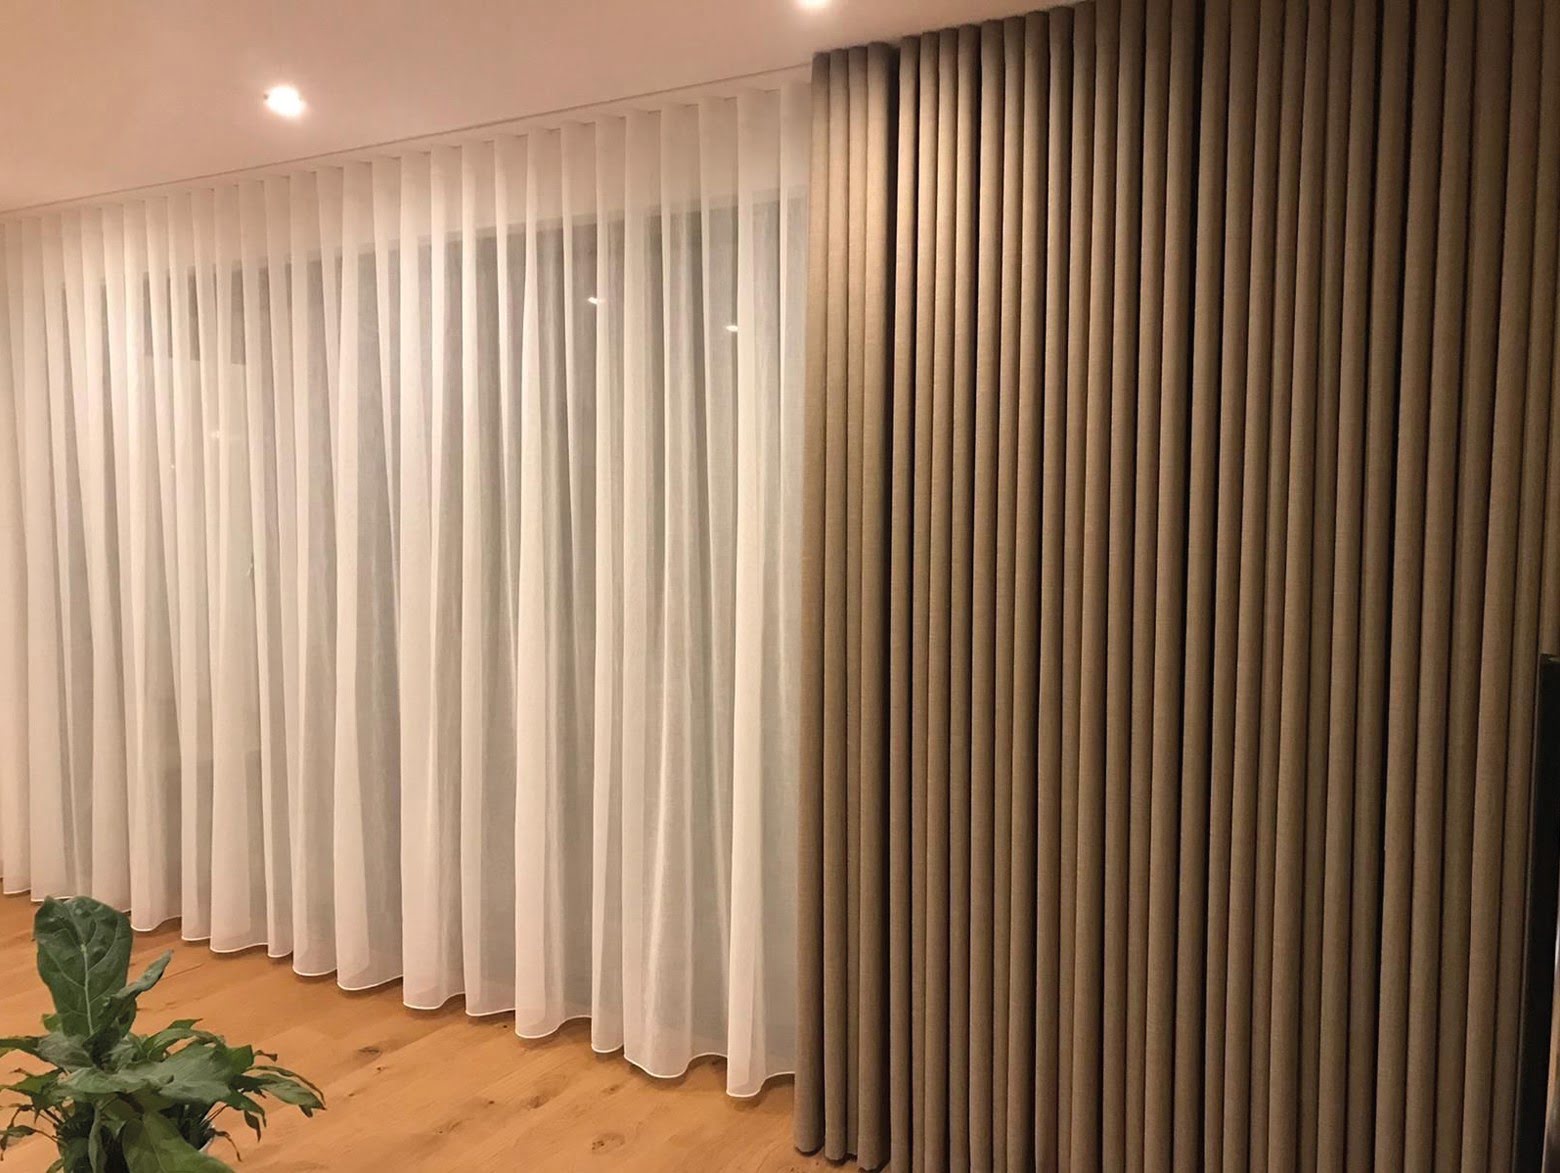
- Arrange the folds and pleats: Take the time to arrange the folds and pleats of the drapes for a neat and uniform appearance. Gently manipulate the fabric to create even pleats and folds, ensuring that they are consistent throughout the length of the drapes.
- Add tiebacks or holdbacks (optional): If you prefer to keep the drapes open during the day, consider adding tiebacks or holdbacks to hold them to the sides. These decorative accessories not only serve a functional purpose but also add an elegant touch to your window treatment.
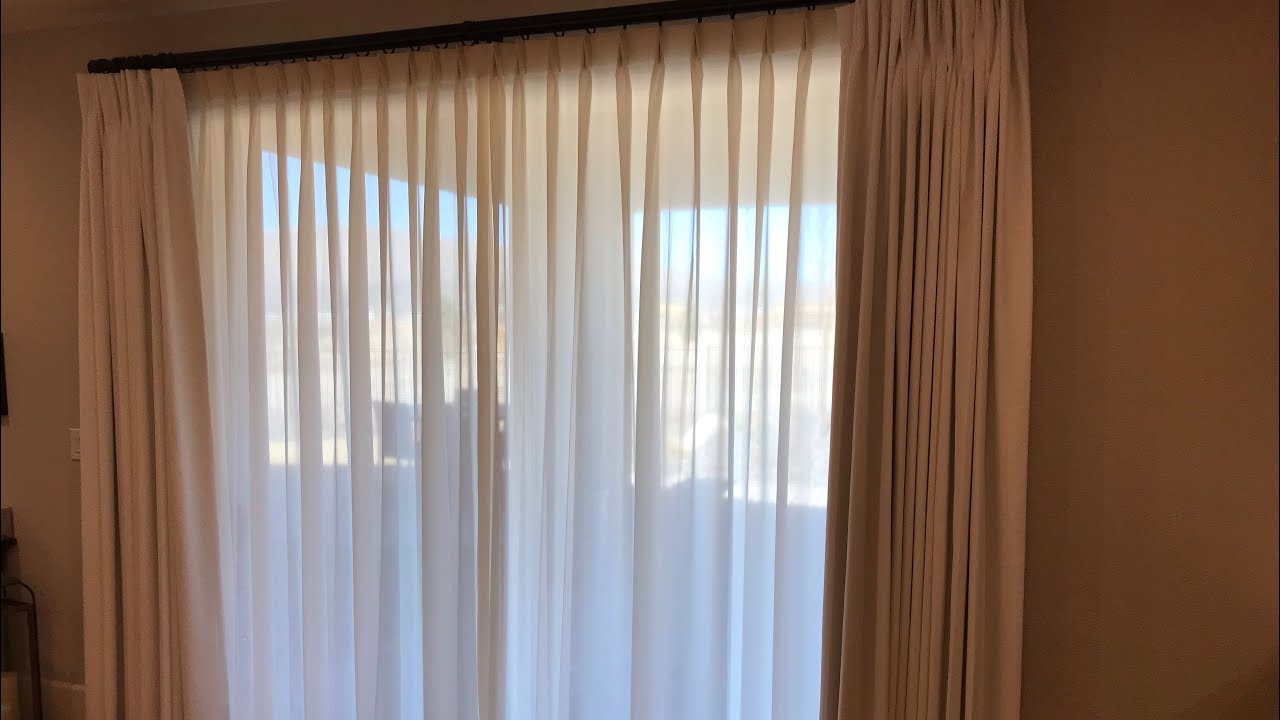
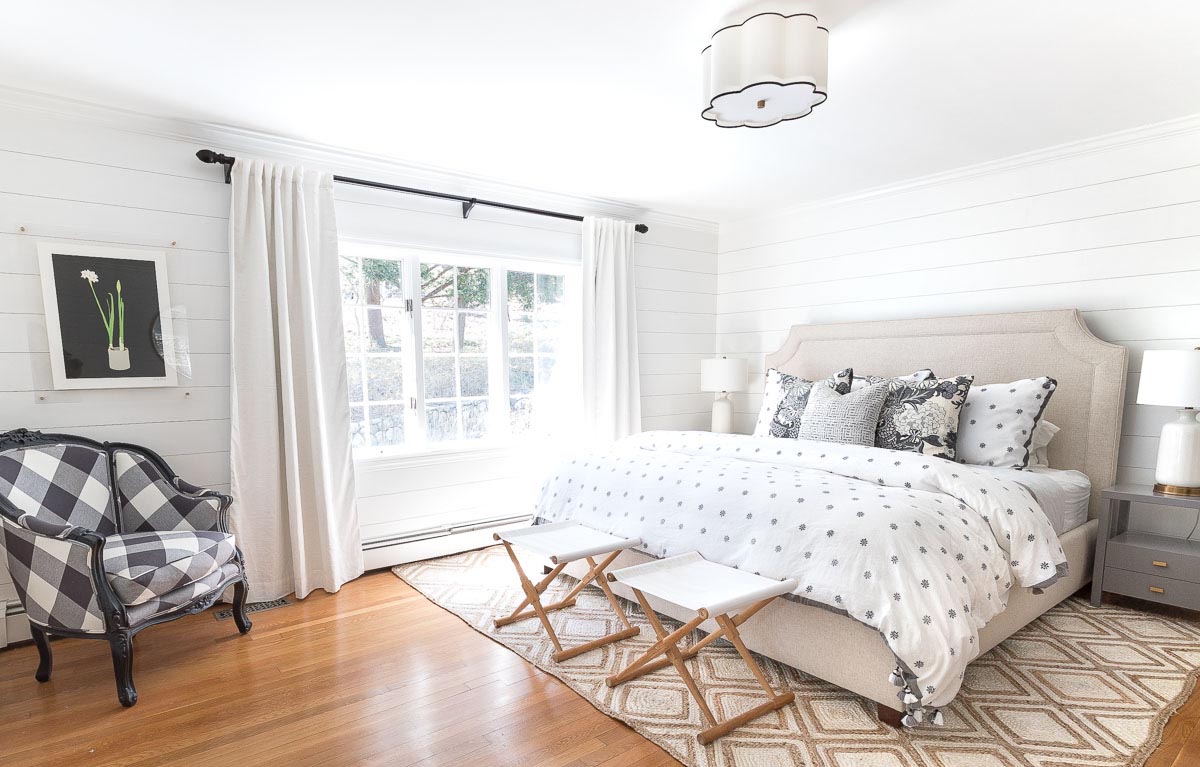
- Add valances or curtains (optional): Depending on your aesthetic preference and the style of your space, you may choose to add valances or sheer curtains in combination with your grommet drapes. These additional layers can provide depth, texture, and visual interest to your window treatment.
- Finalize the styling: Stand back and assess the overall look of your grommet drapes. Make any necessary adjustments to achieve the desired symmetry and cohesion. Step outside the room and view the drapes from a distance to ensure they blend well with the rest of your decor.
Remember, the styling of your grommet drapes is entirely up to your personal taste and the overall design of your space. Experiment with different options to create a look that reflects your style and enhances the ambiance of the room.
With your grommet drapes now adjusted and styled, you have successfully completed the process of hanging them. Enjoy the beauty and functionality of your new window treatment, and revel in the transformed space.
By following these steps and paying attention to detail, you can achieve a professional-looking installation and create a stunning window display with your grommet drapes.
Conclusion
Congratulations! You have successfully learned how to hang grommet drapes. With just a few simple steps, you can transform the look of your windows and enhance the overall aesthetic of your space. Here’s a quick recap of the process:
1. Measure and mark the desired height for the drapes, ensuring accuracy and alignment.
2. Install the drapery rod, making sure it is level and securely attached.
3. Prepare the grommet drapes by unpacking them, inspecting the grommets, and removing any wrinkles.
4. Slide the drapes onto the rod, distribute the fabric evenly, and ensure smooth sliding motion.
5. Adjust and style the drapes by adjusting the length, arranging folds and pleats, and adding decorative accessories if desired.
By following these steps, you can achieve a professional-looking installation and enjoy the benefits of grommet drapes, including their sleek appearance and easy operation.
Remember, take your time during each step and pay attention to details. Proper measuring, marking, and installation will ensure that your grommet drapes fit perfectly and hang beautifully.
Now that you have completed the installation process, sit back, relax, and admire the elegance and style that these grommet drapes bring to your living space. Whether you’re looking to add a touch of sophistication or enhance privacy, grommet drapes offer a practical and stylish solution.
We hope this comprehensive guide has been helpful in your journey to hang grommet drapes. Enjoy the beauty and functionality of your newly adorned windows!
Frequently Asked Questions about How To Hang Grommet Drapes
Was this page helpful?
At Storables.com, we guarantee accurate and reliable information. Our content, validated by Expert Board Contributors, is crafted following stringent Editorial Policies. We're committed to providing you with well-researched, expert-backed insights for all your informational needs.

0 thoughts on “How To Hang Grommet Drapes”