Articles
How To Hang Curtains Rod
Modified: January 19, 2024
Learn how to hang curtains rods with these informative articles. Get step-by-step instructions and expert tips for a perfect window treatment solution.
(Many of the links in this article redirect to a specific reviewed product. Your purchase of these products through affiliate links helps to generate commission for Storables.com, at no extra cost. Learn more)
Introduction
Adding curtains to your windows not only brings a touch of style and elegance to your space, but also offers privacy and controls the amount of light entering the room. One essential step in hanging curtains is installing a curtain rod, which serves as the foundation to support the curtains.
In this article, we will guide you through the process of hanging curtain rods, from measuring and marking to installing the brackets and attaching the rod. By following these steps, you can ensure that your curtains are properly hung and securely in place, creating a beautiful and functional window treatment.
Before we dive into the step-by-step instructions, let’s go over the tools and materials you will need for this project.
Key Takeaways:
- Elevate your space with professionally hung curtains by following these step-by-step instructions, from measuring and marking to adding finishing touches. Enjoy the beauty and functionality of your newly hung curtains!
- Transform the look and feel of any room with the rewarding project of hanging curtains. Create a visually pleasing and symmetrical appearance while adding style and elegance to your space.
Read more: How To Hang Curtains On Traverse Rod
Tools and Materials Needed
Before you begin hanging your curtains, gather the following tools and materials:
- Measuring tape
- Pencil
- Screwdriver
- Level
- Drill
- Stud finder (optional)
- Curtain rod brackets
- Curtain rod
- Screws
- Anchors (if installing on drywall)
Make sure you have all these items handy before you begin the installation process. Having the right tools and materials will help ensure a smooth and successful curtain hanging experience.
Step 1: Measure and Mark
The first step in hanging curtains is to accurately measure and mark the positions where you will install the curtain rod brackets. This is crucial for ensuring that your curtains will be level and centered on the window.
Start by measuring the width of your window. Determine how far above the window you want the curtain rod to be positioned. As a general rule of thumb, it’s recommended to hang the curtains about 4 to 6 inches above the window frame to create the illusion of height and make the window appear larger.
Using a measuring tape, measure and mark the desired height above the window frame on both sides of the window. Use a pencil to make these marks visible.
Next, measure and mark the distance from the window frame where the outer edge of the curtain bracket will be placed. This will depend on personal preference and the width of the curtain rod you are using. Typically, the distance from the window frame to the bracket is around 3 to 6 inches.
Using the level, ensure that the marks you made for the height and distance are straight and level. Adjust as necessary. This will ensure that your curtains hang evenly and look symmetrical once they are installed.
Once you have measured and marked the positions for the brackets on both sides of the window, you are ready to move on to the next step: installing the curtain rod brackets.
Step 2: Install Curtain Rod Brackets
Now that you have measured and marked the positions for the brackets, it’s time to install them. The curtain rod brackets will provide support for the rod and ensure that your curtains stay securely in place.
Start by holding one of the curtain rod brackets against the wall, aligning it with the marked position. Use a pencil to mark the screw holes on the wall through the bracket’s mounting holes.
If you are lucky enough to have studs behind the wall, it’s best to screw the brackets directly into the studs for maximum stability and support. Use a stud finder to locate the studs, and mark the screw hole positions accordingly.
If there are no studs present, you will need to use wall anchors to provide additional support for the brackets. Use a drill to create pilot holes on the marked positions, and then insert the plastic wall anchors. Make sure they are flush with the wall.
Next, align the bracket with the screw holes and insert the screws through the holes into the wall or wall anchors. Tighten the screws using a screwdriver, but be careful not to overtighten and damage the wall.
Repeat this process for the other side of the window, ensuring that the brackets are aligned at the same height and distance from the window frame. Use the level to double-check that the brackets are straight and level before fully tightening the screws.
Once the curtain rod brackets are securely installed on both sides of the window, you are ready to move on to the next step: attaching the curtain rod.
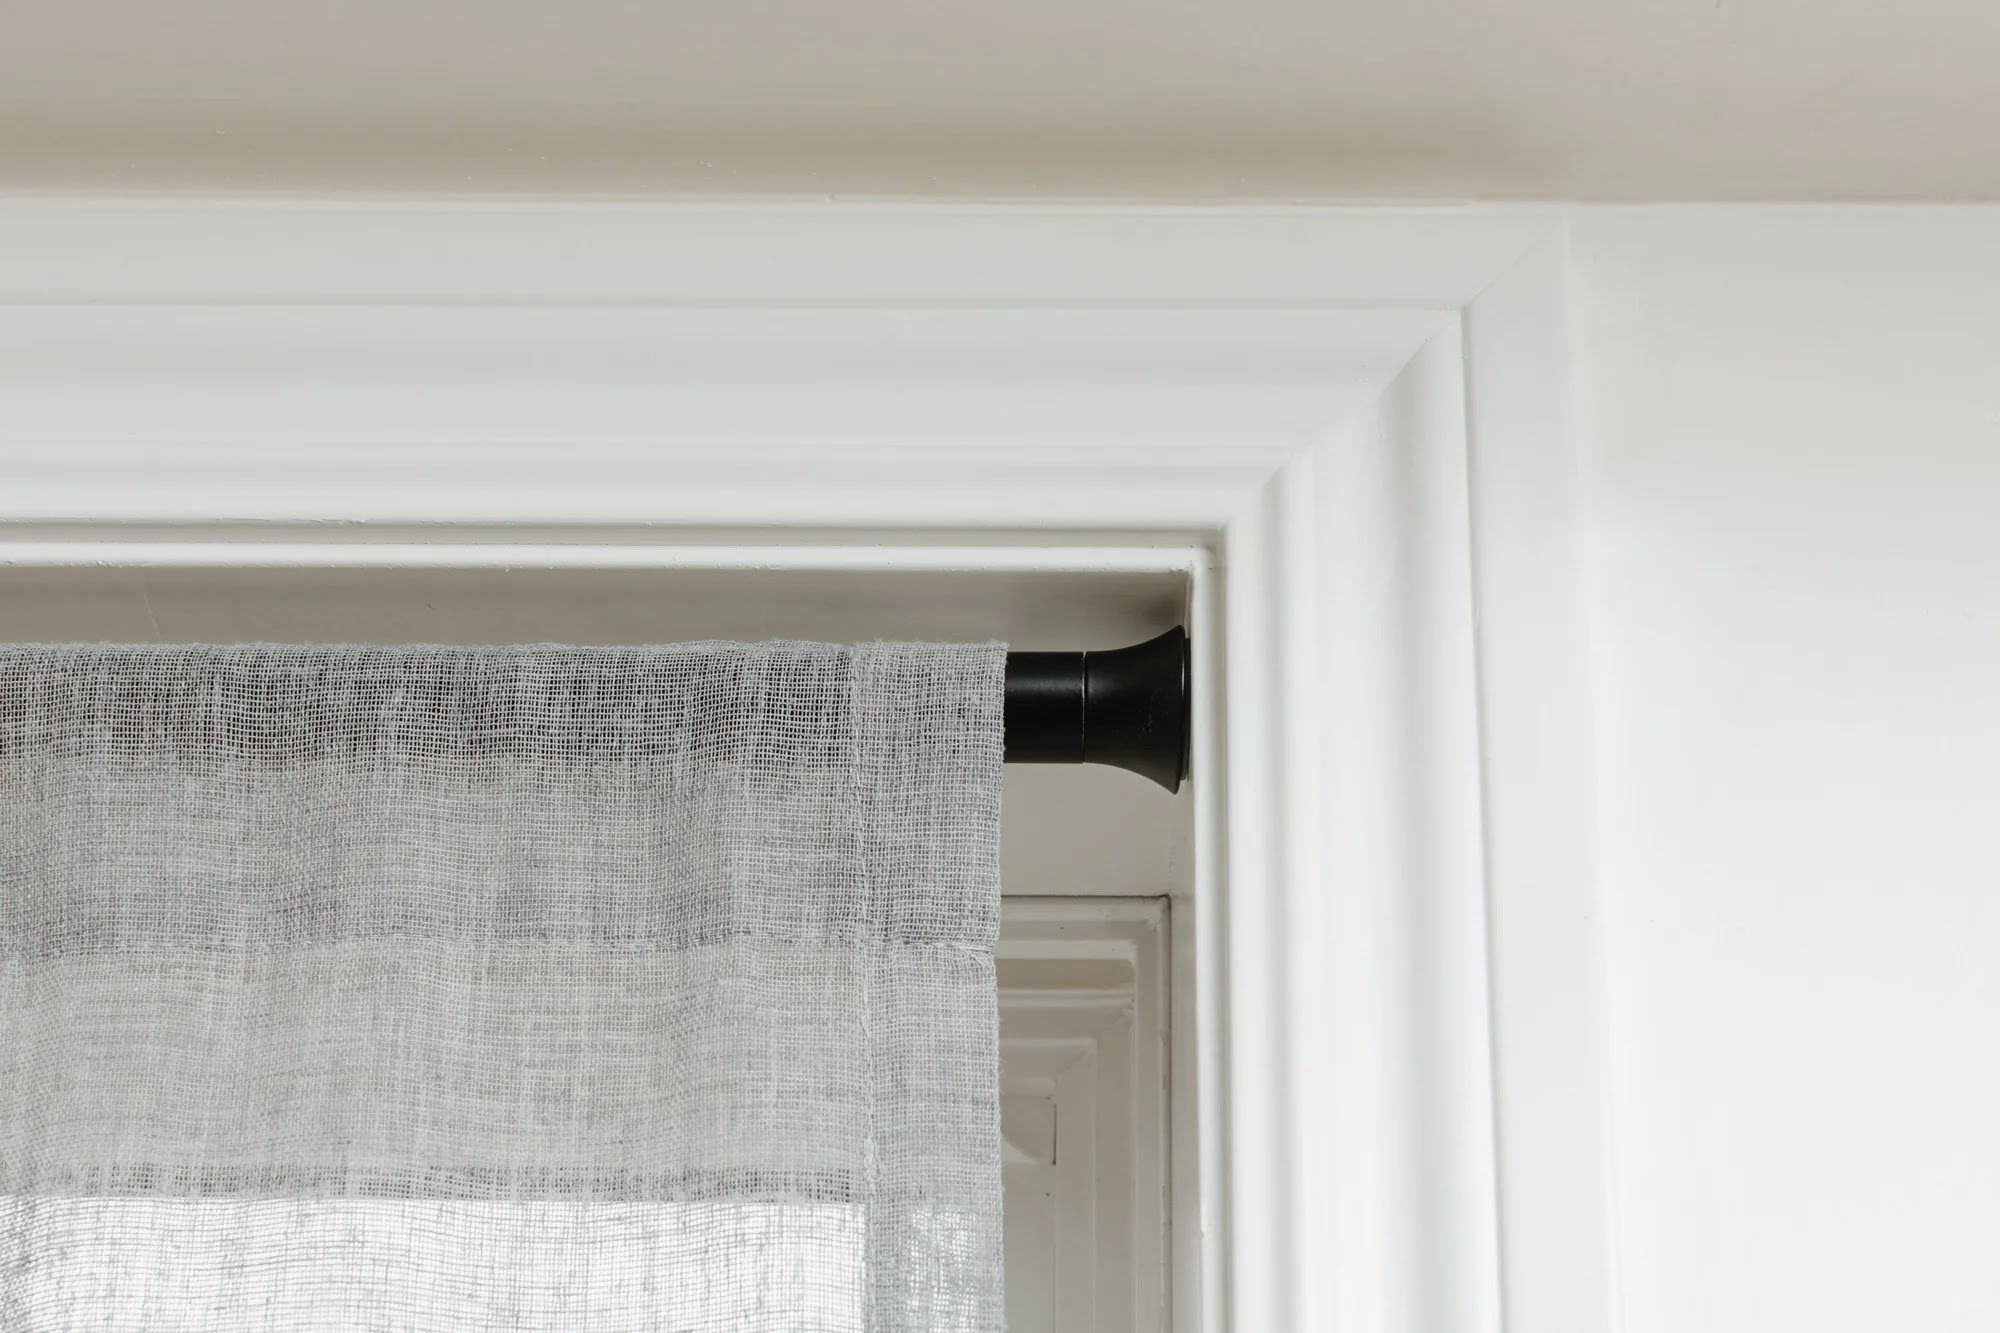
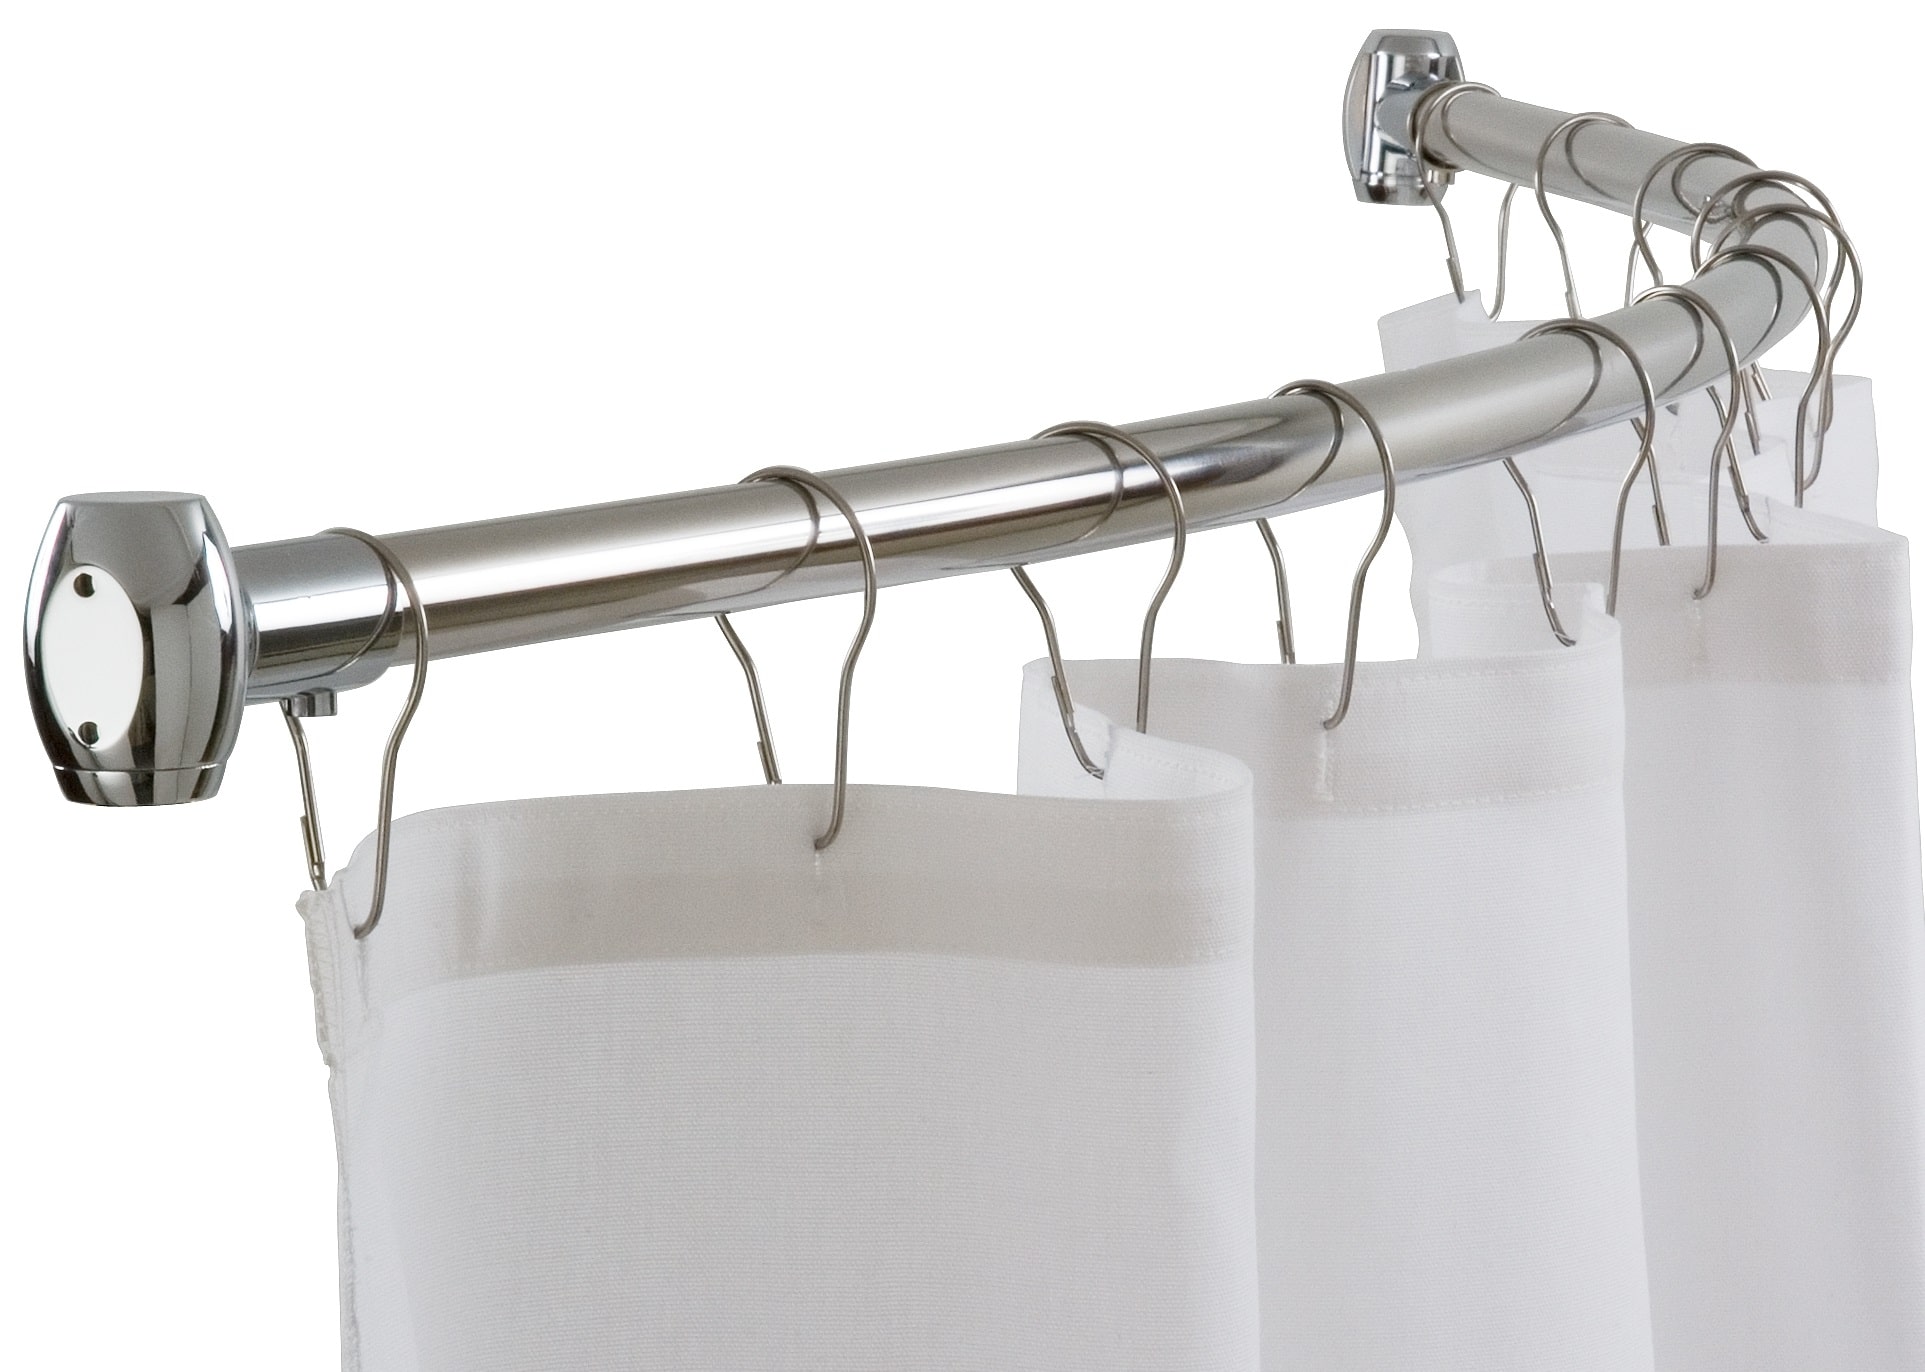
Step 3: Attach Curtain Rod
With the curtain rod brackets securely installed, it’s time to attach the curtain rod. The curtain rod will be the support for your curtains and will be visible once the curtains are hung.
Start by inserting one end of the curtain rod through the bracket on one side of the window. Slide it in until it reaches the center support of the bracket.
Then, carefully insert the other end of the curtain rod into the bracket on the opposite side of the window. Make sure the rod is level and centered within the brackets.
Some curtain rods may have a locking mechanism to secure the rod in place. Follow the instructions provided by the manufacturer to lock the rod into position.
Give the curtain rod a gentle tug to ensure that it is securely held in place by the brackets. If it feels loose or unstable, double-check the bracket installation and make any necessary adjustments.
Once the curtain rod is securely attached, you are ready to move on to the next step: hanging your curtains.
Note: If you are hanging curtain panels with rod pocket or tab top headers, make sure to slide the curtains onto the rod before attaching the rod to the brackets.
When hanging curtain rods, use a level to ensure they are straight. Position the brackets at least 4-6 inches from the window frame to allow the curtains to hang properly.
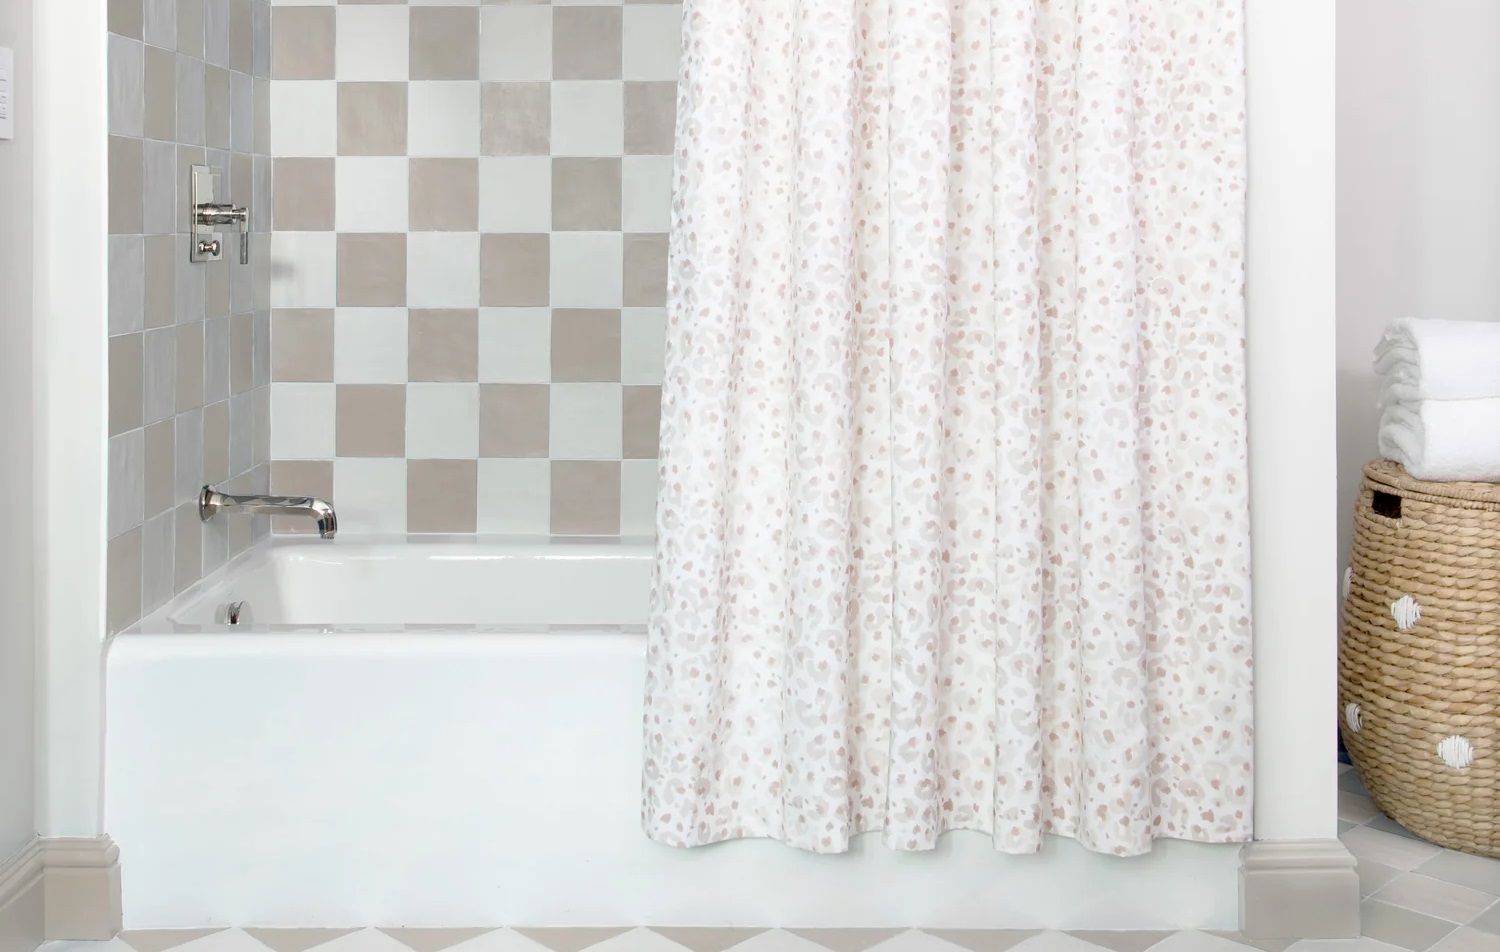
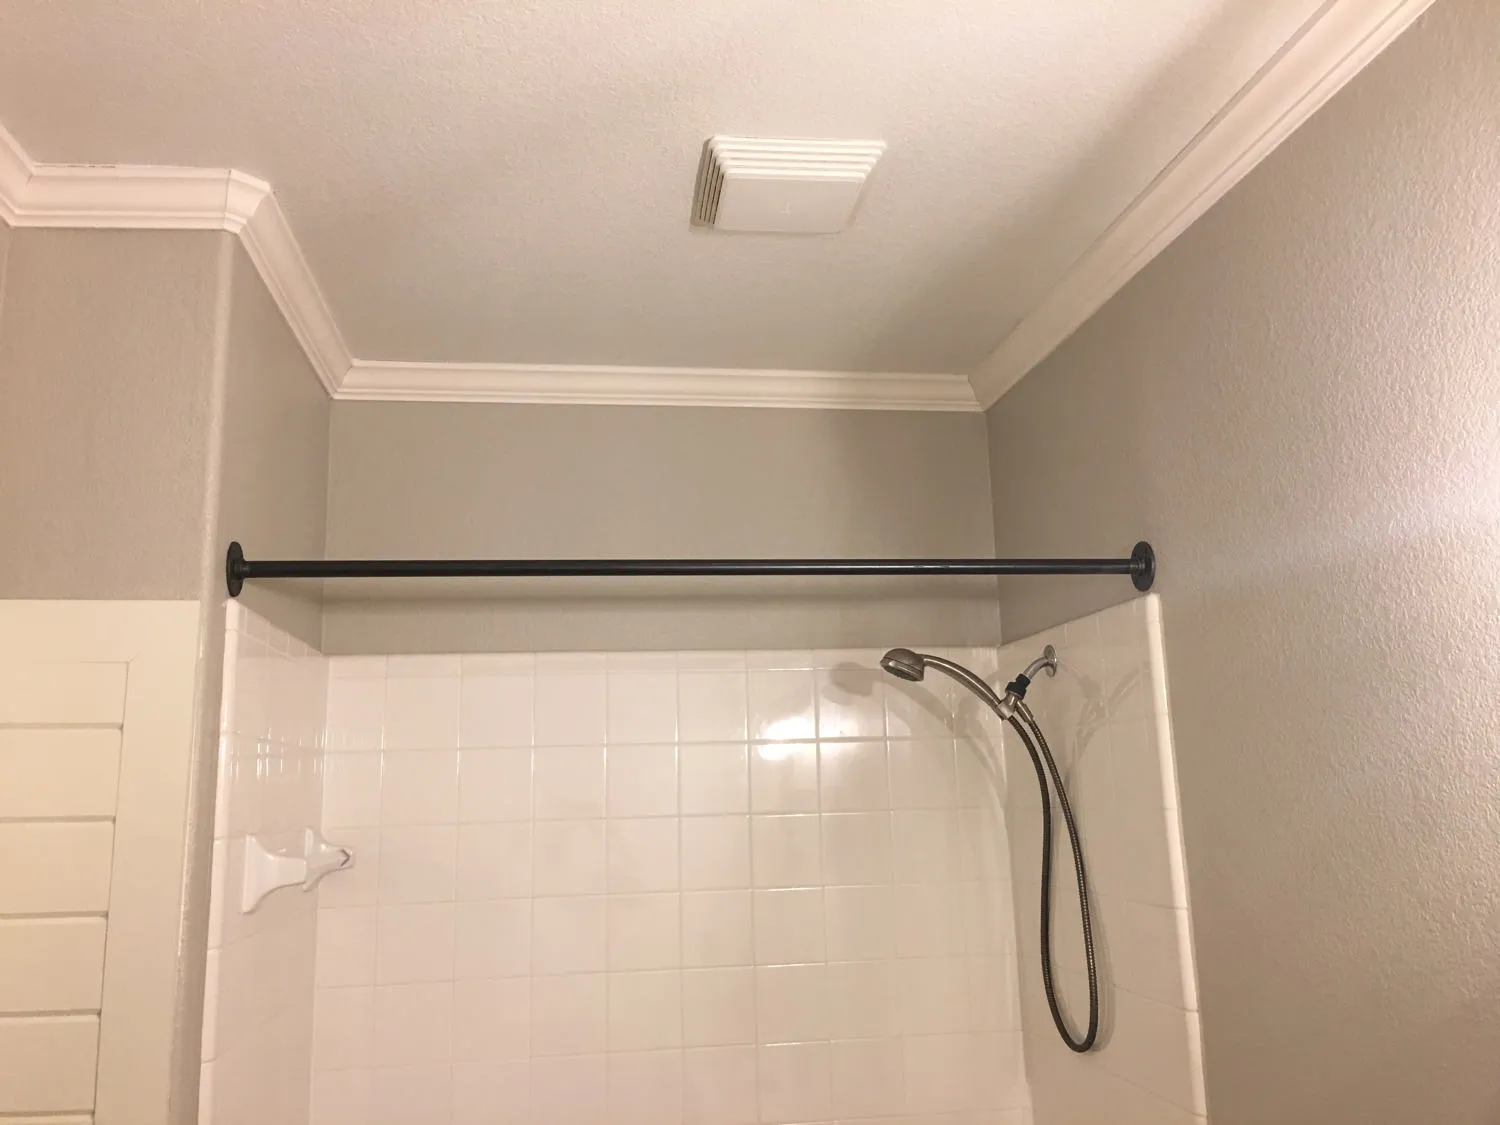
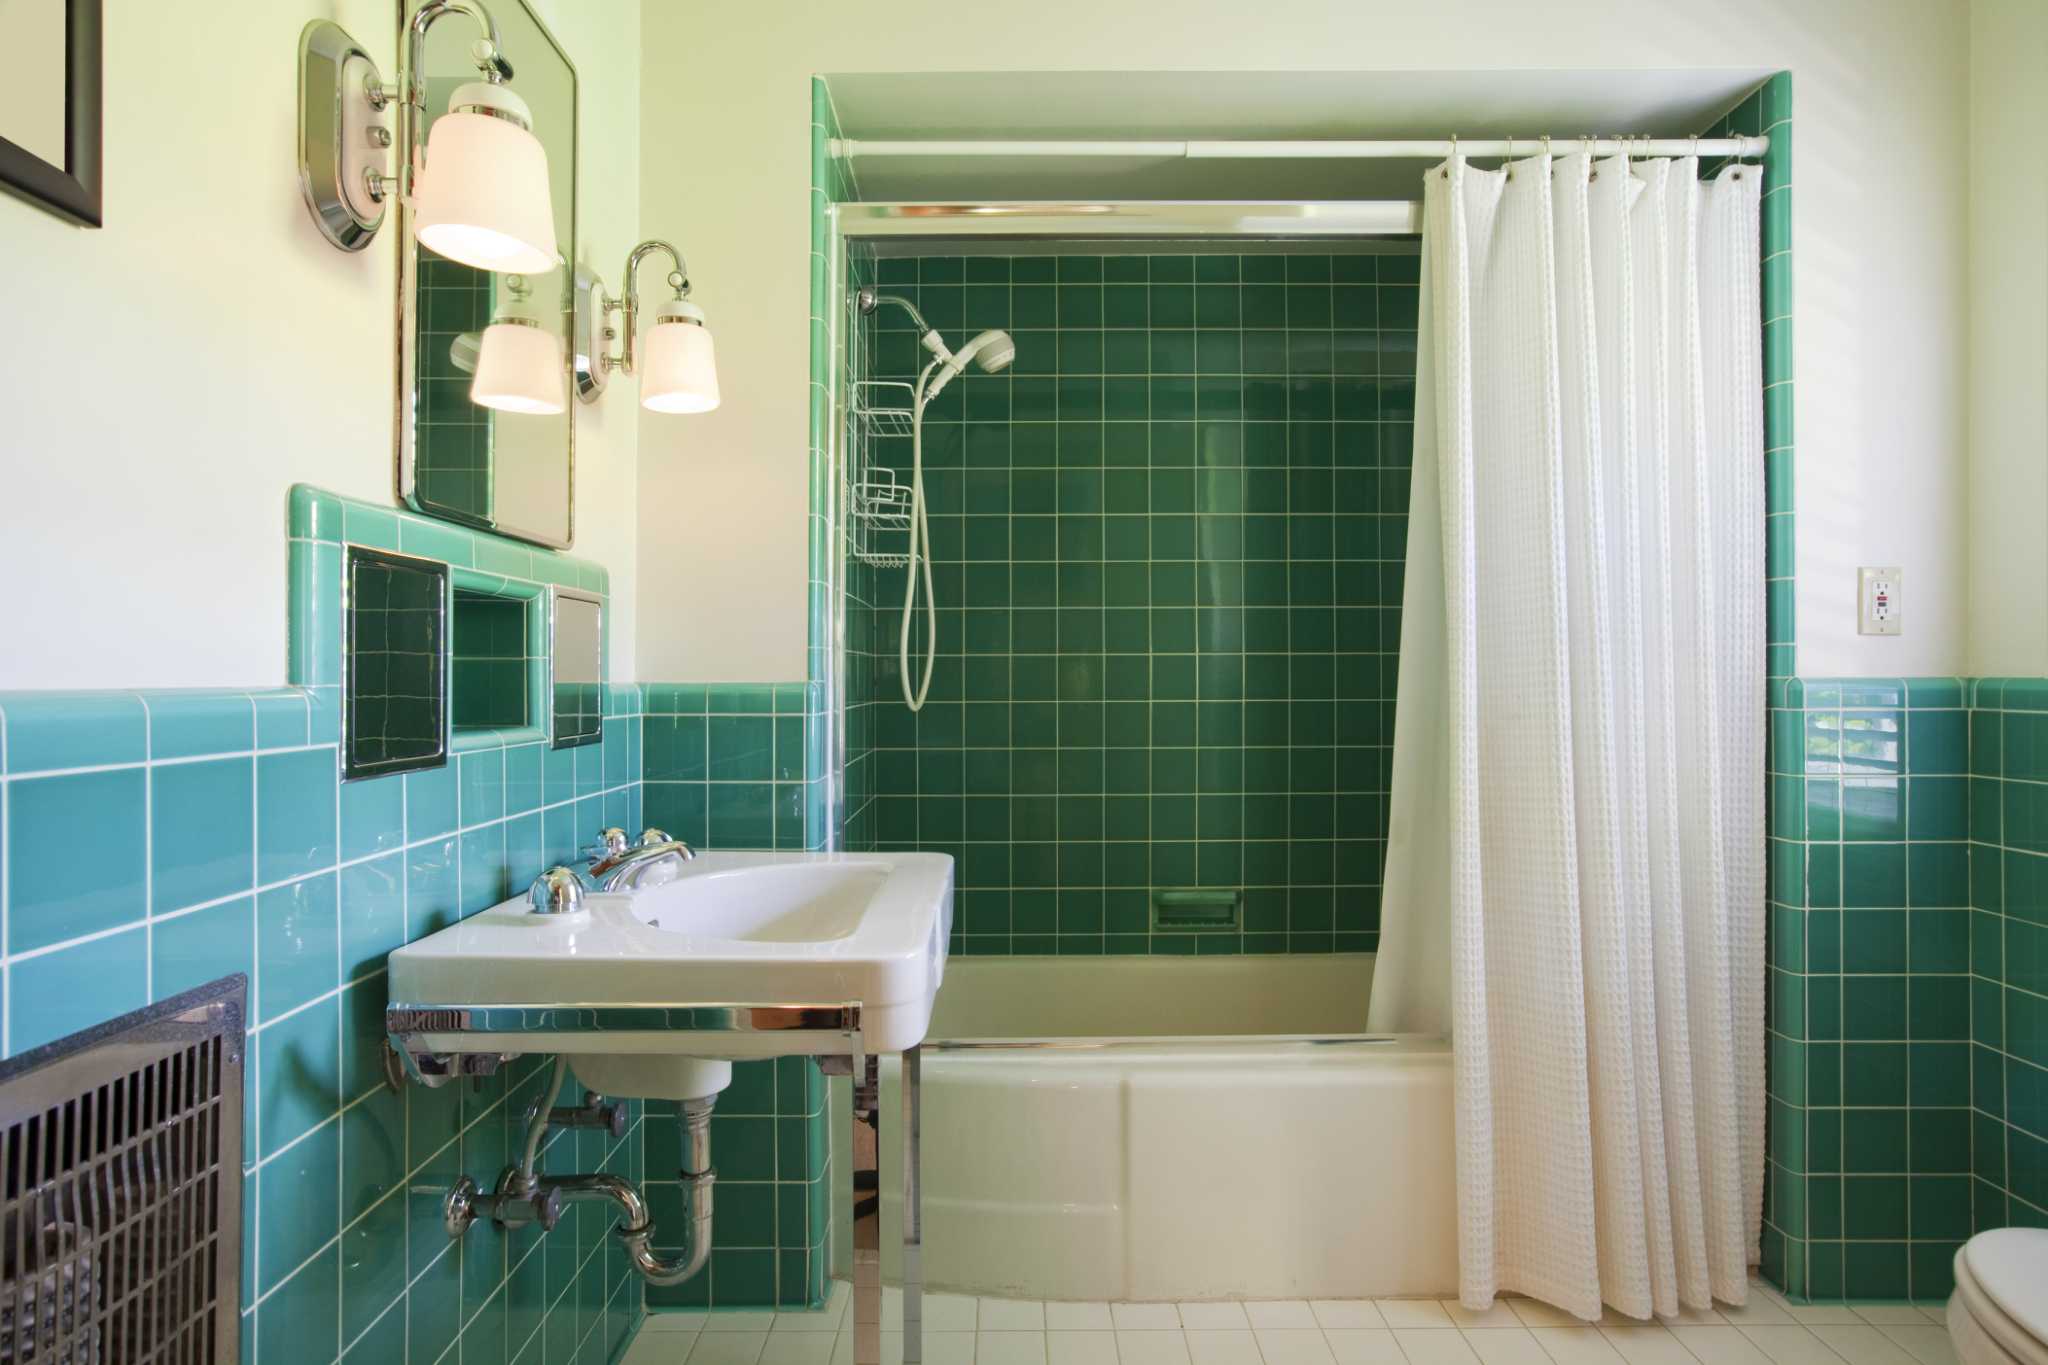
Read more: How High To Hang A Shower Curtain Rod
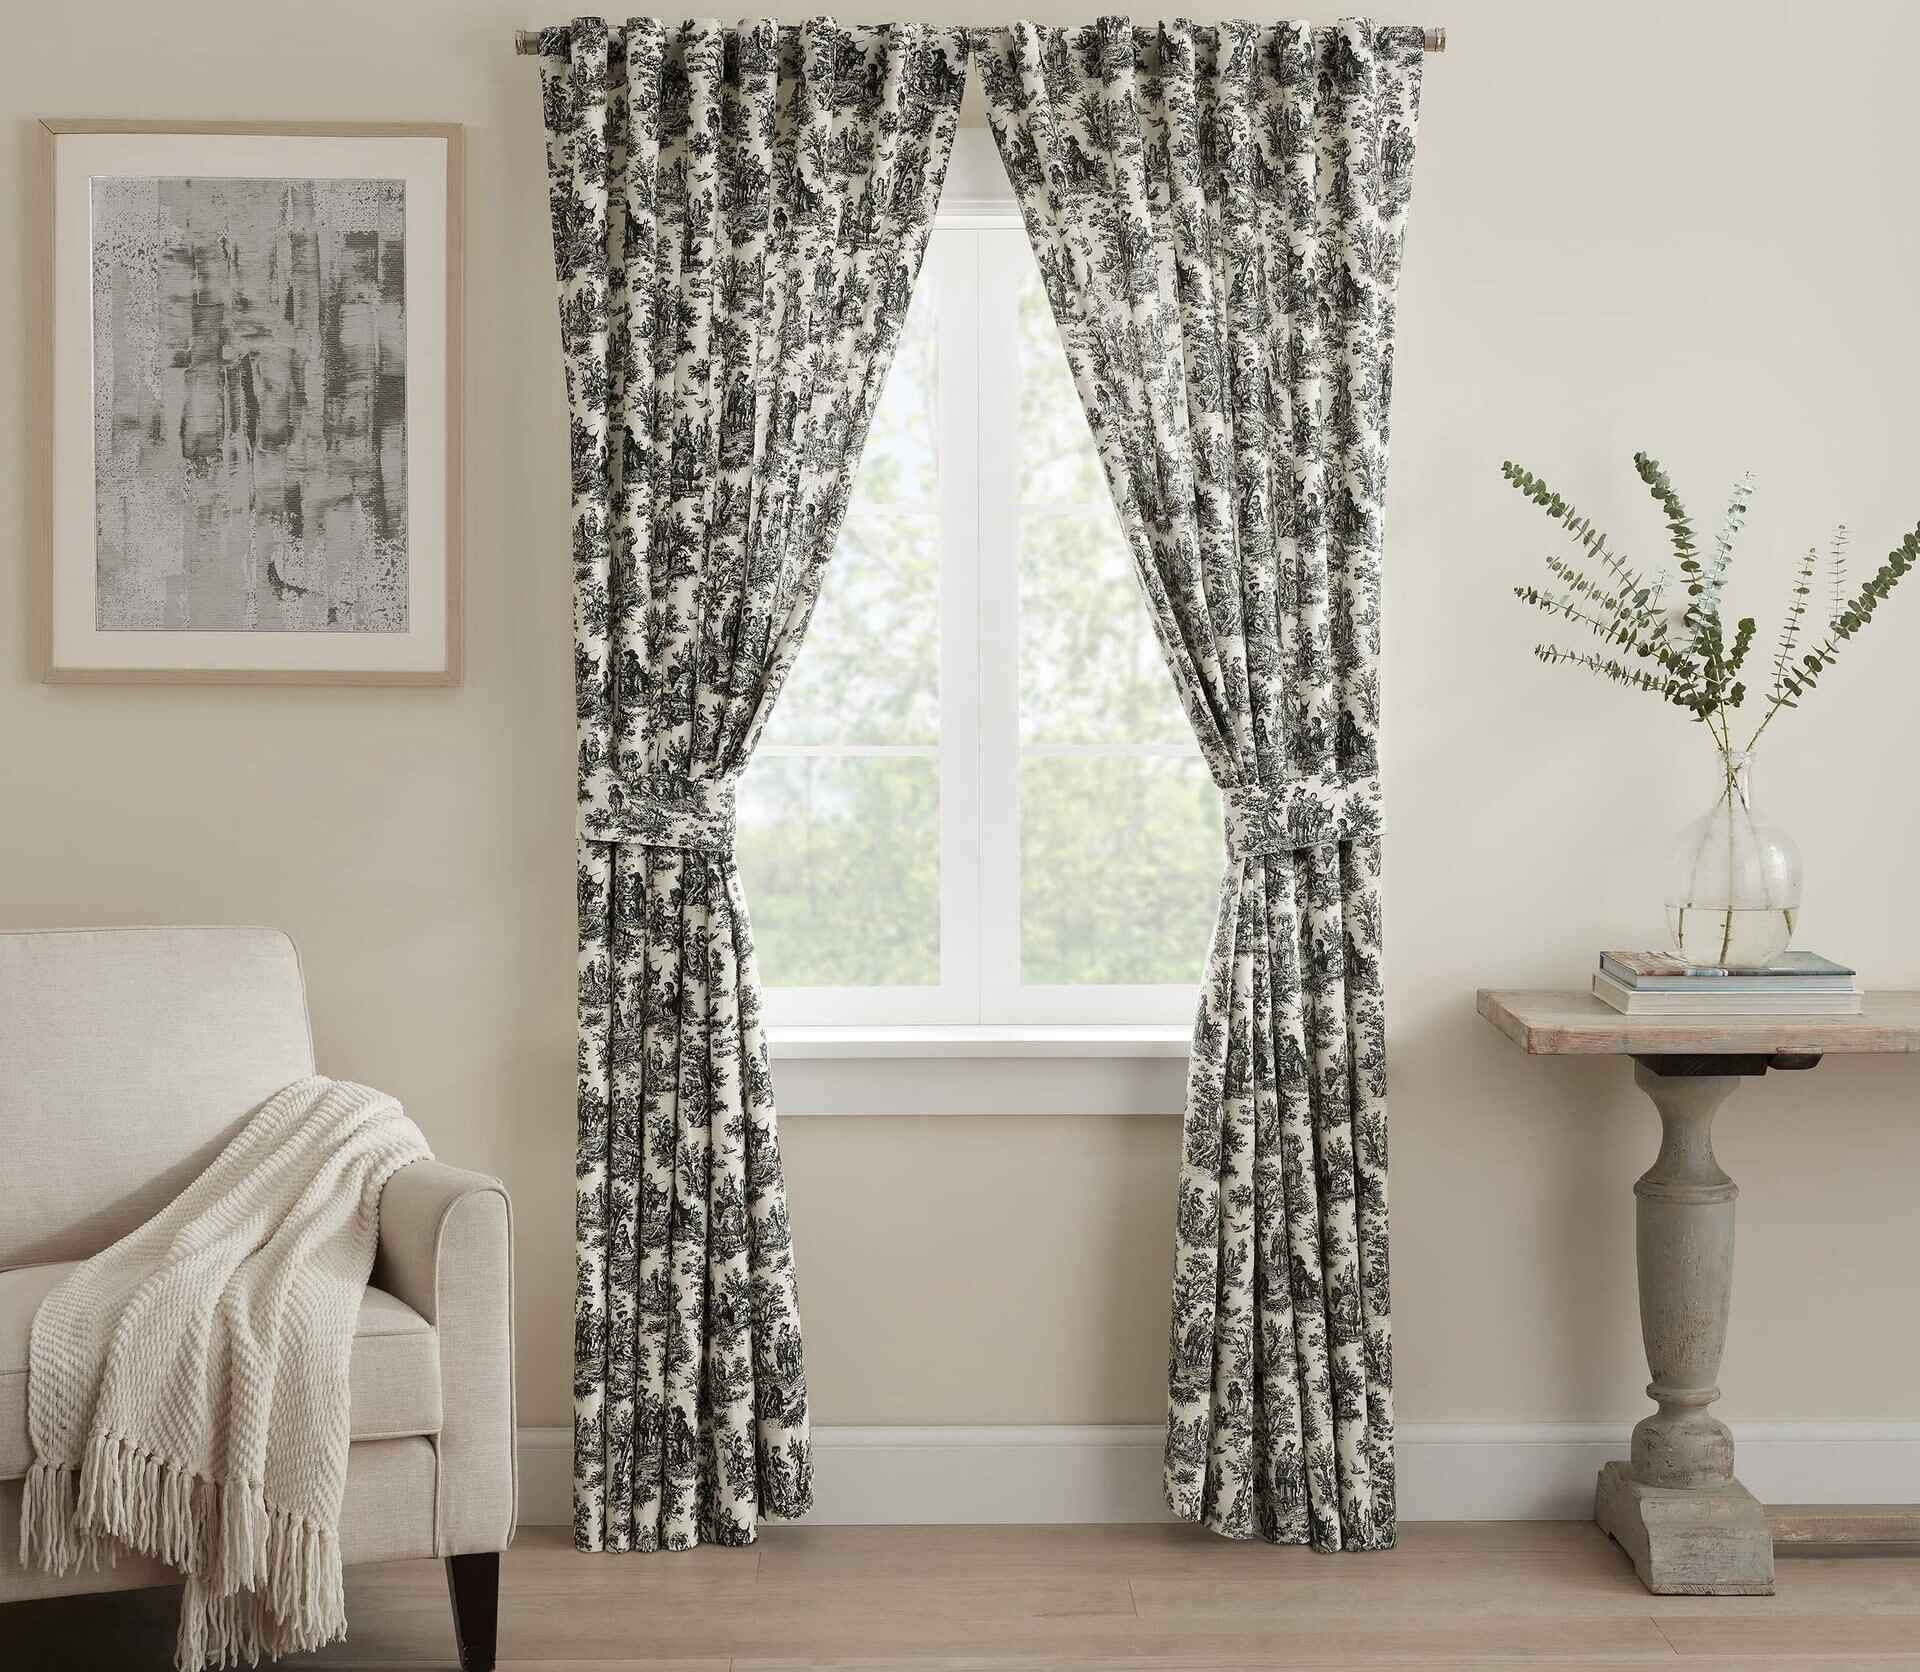
Step 4: Hang Curtains
Now that the curtain rod is securely attached, it’s time to hang your curtains. The method will depend on the type of curtains you have chosen. Here are a few common methods:
1. Rod Pocket Curtains:
– Gently gather the curtain panel along the rod pocket.
– Slide the rod pocket onto the curtain rod, evenly distributing the fabric along the rod.
– Adjust the curtains as necessary to ensure they hang evenly and cover the desired portion of the window.
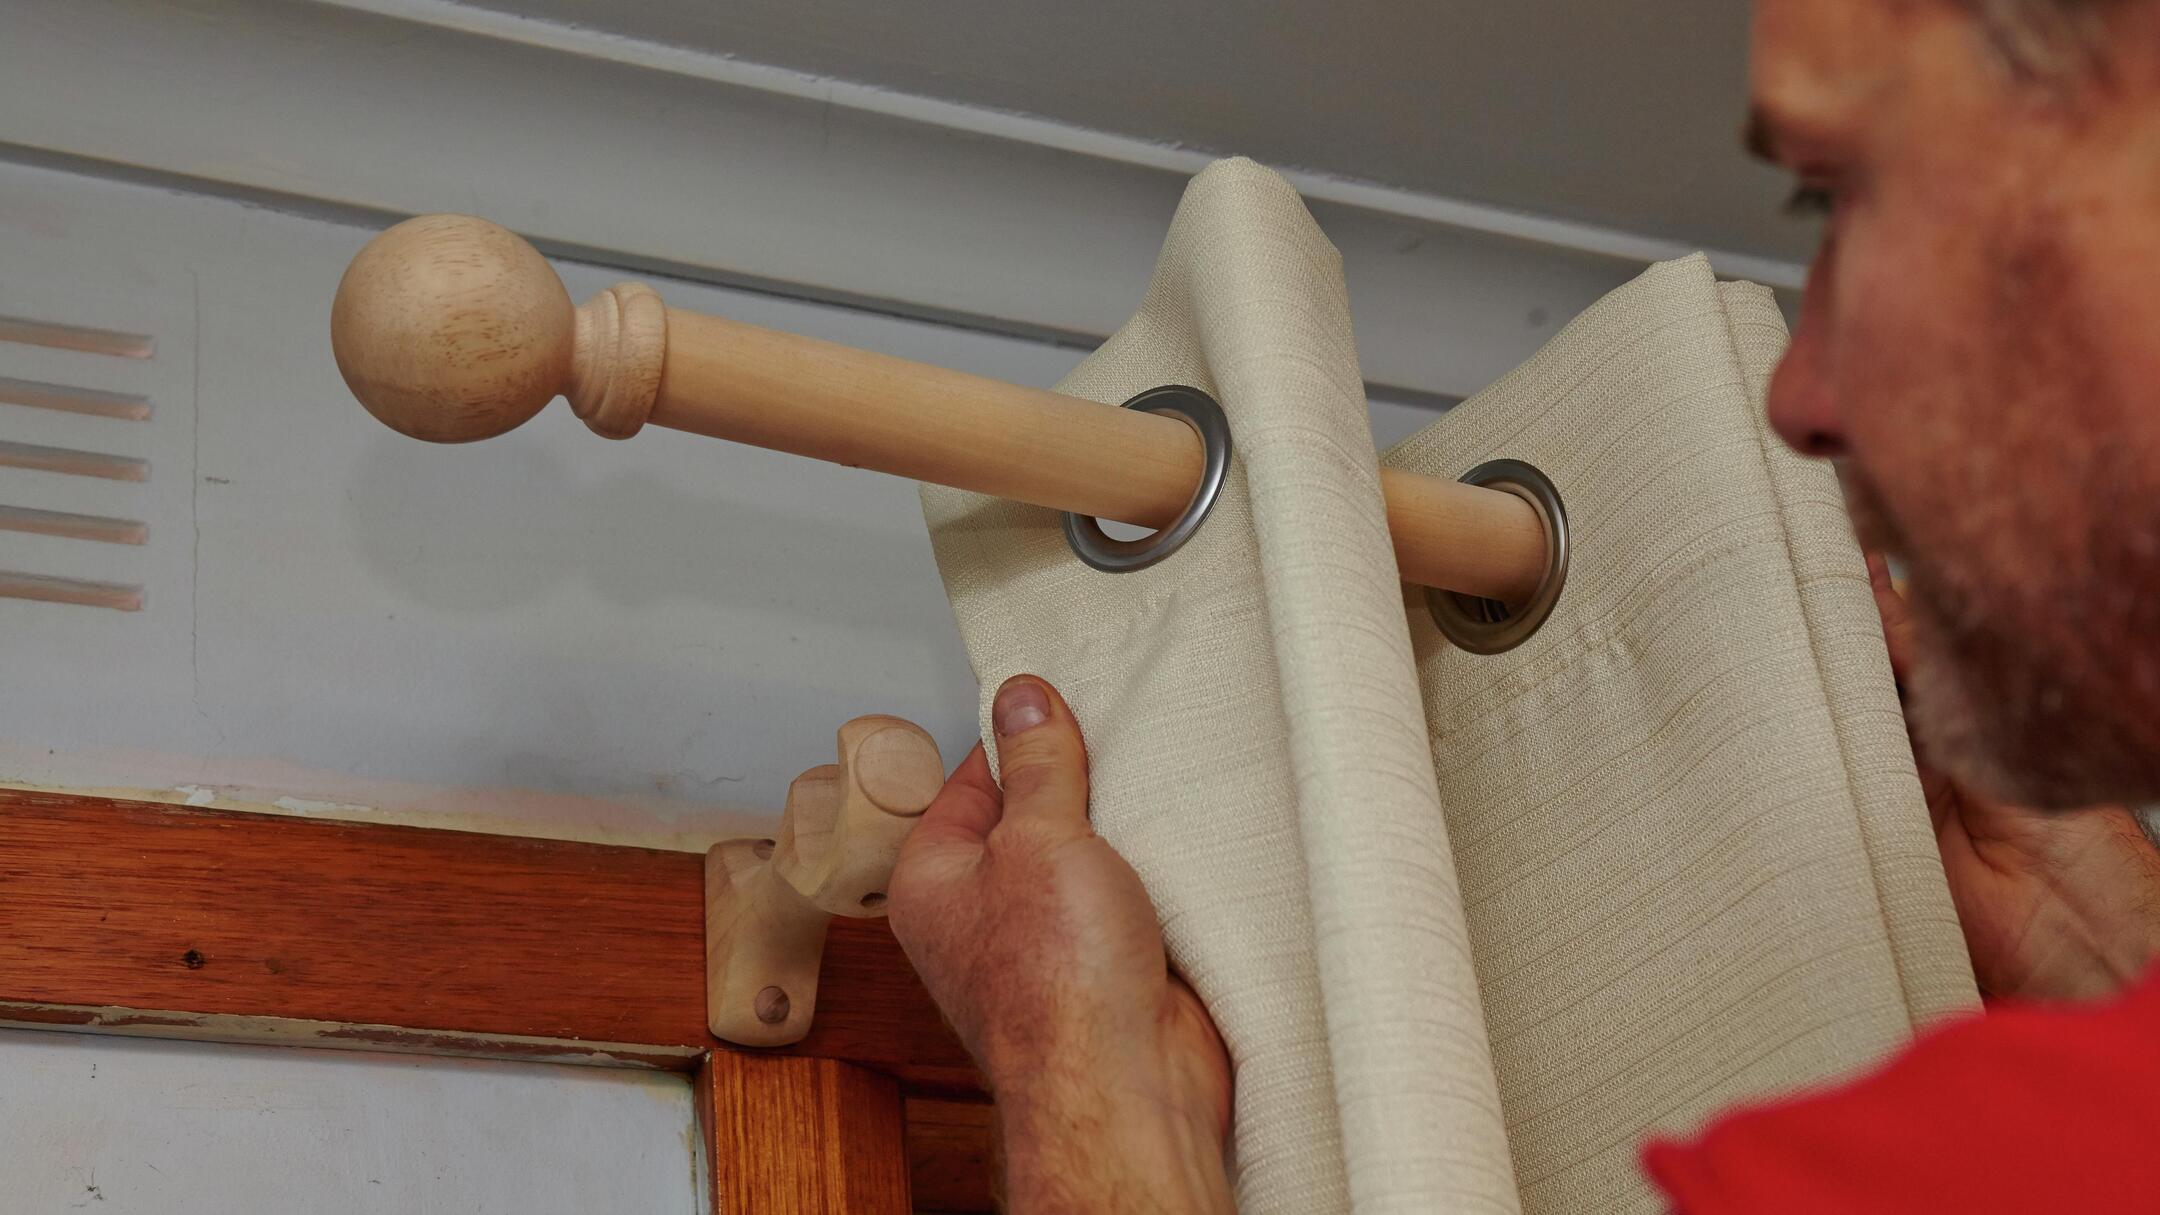
2. Tab Top Curtains:
– Identify the tabs on the curtain panel. These tabs are loops of fabric that will hang directly on the curtain rod.
– Slide the curtain rod through the tabs, distributing the fabric evenly along the rod.
– Adjust the curtains to your desired position and ensure they are hanging evenly.
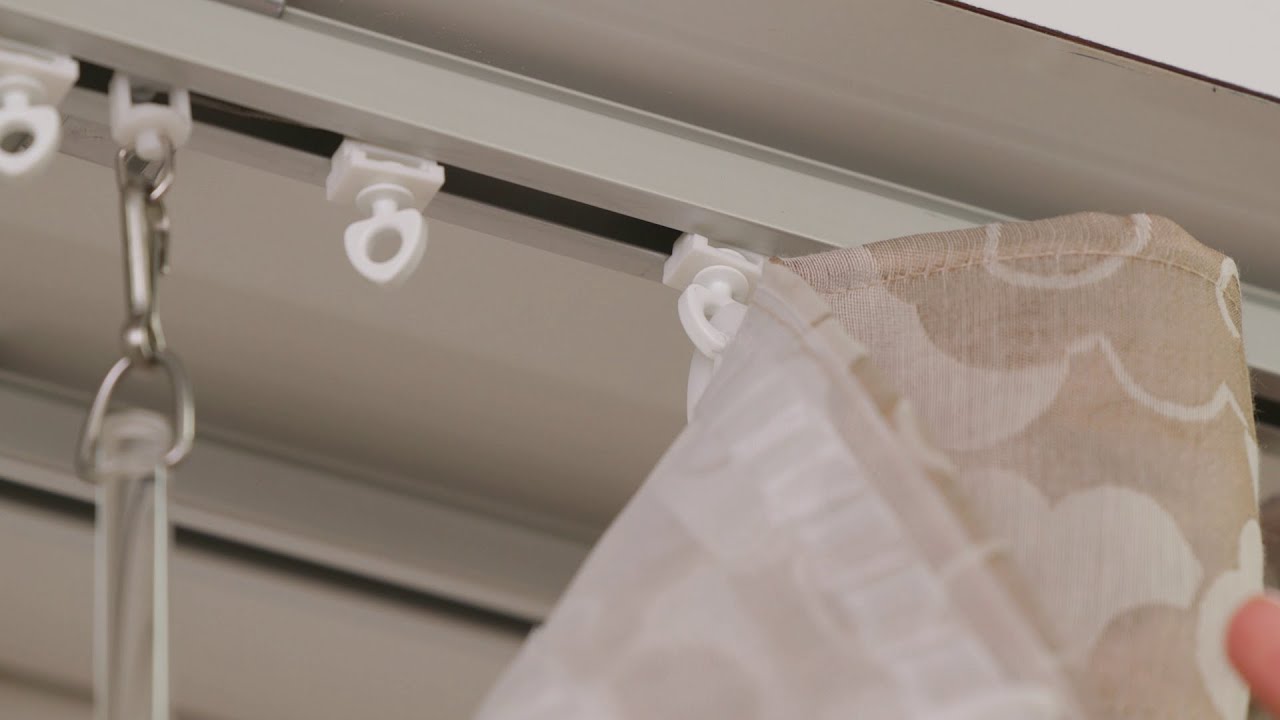
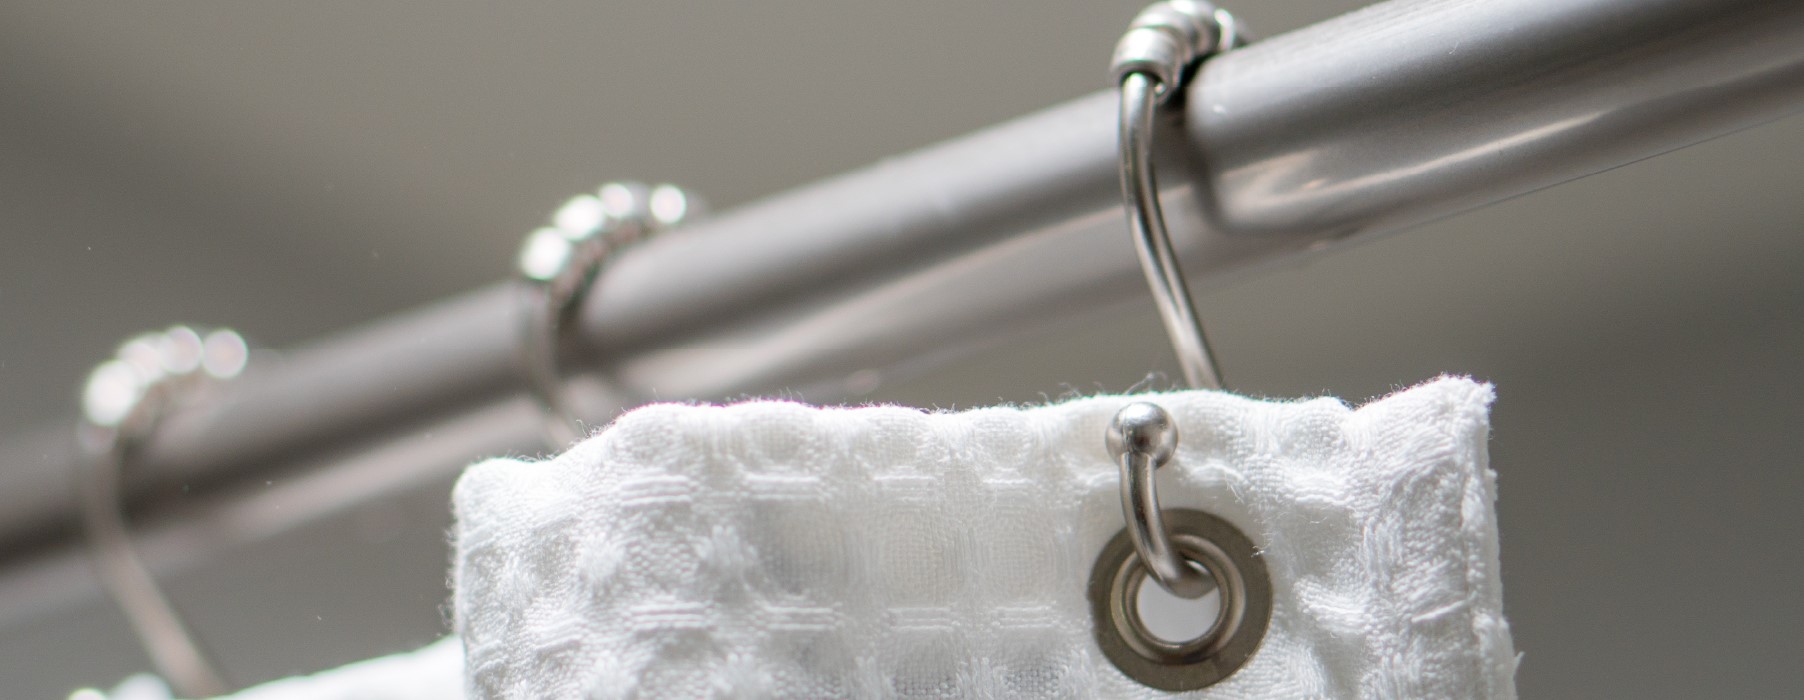
3. Clip Ring Curtains:
– Attach the curtain rings to the top edge of the curtain panel evenly spaced.
– Slide the rings onto the curtain rod, ensuring that they are evenly distributed.
– Adjust the curtains as necessary to ensure they hang properly and cover the desired portion of the window.
Depending on the style and design of your curtains, you may need to follow specific instructions provided by the manufacturer. Take the time to arrange and adjust your curtains until you are satisfied with their positioning and appearance.
Now that your curtains are hung, it’s time to move on to the next step: adjusting and leveling.
Step 5: Adjust and Level
Once your curtains are hung, it’s important to take the time to adjust and level them for a polished and professional look. Here’s how:
1. Check the Length:
– Ensure that the length of your curtains is even on both sides. They should reach the desired height from the floor or window sill.
– If necessary, adjust the curtains by repositioning the rod or making slight adjustments to the panel itself.
2. Level the Rod:
– Use a level to ensure that the curtain rod is straight and level.
– If the rod is not level, adjust the bracket screws slightly to level it out.
– Double-check the levelness before moving on to the next step.
3. Balance the Panels:
– Stand back and observe how the curtains hang and drape.
– Make adjustments to ensure that the fabric is evenly distributed and the panels appear visually balanced.
– This may involve adjusting the gathering or spacing of the curtains on the rod.
Remember, the goal is to achieve a symmetrical and aesthetically pleasing look. Take the time to fine-tune the position and appearance of your curtains, keeping an eye on both sides to ensure they align properly.
Once you are satisfied with how your curtains look, you can proceed to the final step: adding some finishing touches.
Step 6: Finishing Touches
After you’ve adjusted and leveled your curtains, it’s time to add some finishing touches to complete the look. These final steps will help enhance the overall appearance and functionality of your curtain installation.
1. Secure the cords:
– If your curtains have cords or tie-backs, make sure to secure them neatly on either side.
– This will help keep the curtains in place and prevent them from obstructing the window or getting tangled.
2. Smooth out wrinkles:
– If your curtains have any wrinkles or creases, gently steam or iron them to create a smooth and polished appearance.
– Be sure to follow the manufacturer’s instructions and use the appropriate heat settings for the fabric.
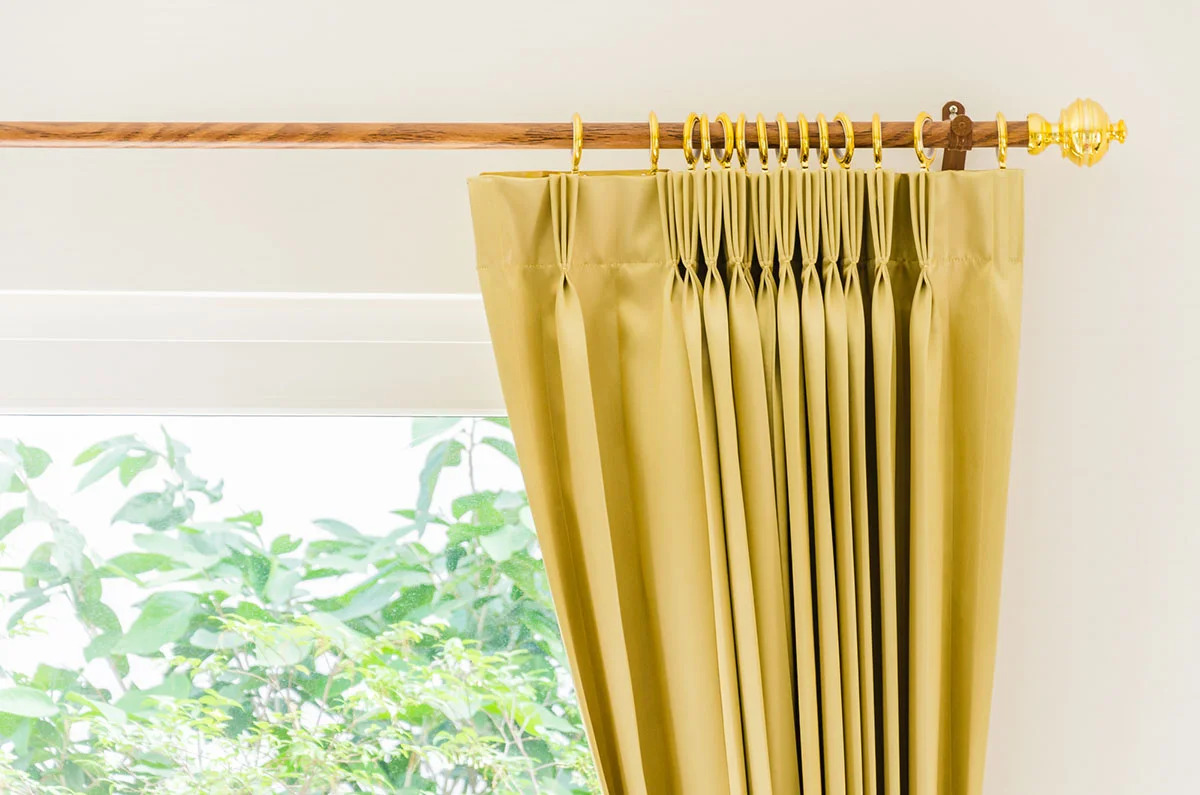
3. Accessorize:
– Consider adding curtain rings, finials, or other decorative elements to enhance the overall look of your curtains.
– These accessories can add a touch of style and personalize your window treatment.
4. Test the functionality:
– Open and close your curtains to ensure they move smoothly along the rod.
– Make any necessary adjustments to the positioning or tension of the curtains to ensure they are easy to operate.
By taking these final steps, you can add those extra details that make your curtains truly stand out. It’s the attention to these small details that can elevate the overall look of your window treatment.
Now that you’ve completed all the steps and added those finishing touches, step back and admire your beautifully hung curtains. Not only do they provide privacy and control over light, but they also add a stylish and cozy touch to your space.
Remember to periodically check the stability of the curtain rod and brackets to ensure they remain secure. And if you ever want to change or update your curtains, you can simply follow these steps to hang a new set.
Enjoy the beauty and functionality of your newly hung curtains!
Conclusion
Hanging curtains is a rewarding project that can transform the look and feel of any room. By following these step-by-step instructions, you can successfully install curtain rods and hang your curtains like a pro.
Remember to start by measuring and marking the positions for the curtain rod brackets, ensuring that they are level and properly aligned with your windows. Install the brackets securely, either into studs or using wall anchors, and attach the curtain rod. Once the rod is in place, hang your curtains using the appropriate method for the curtain style you have chosen.
Take the time to adjust and level your curtains to create a visually pleasing and symmetrical appearance. Pay attention to the length, the levelness of the rod, and the balance of the panels. These small adjustments can make all the difference in achieving a professional result.
Finally, add those finishing touches such as securing cords, smoothing out wrinkles, and accessorizing with decorative elements. These details will elevate the overall look and functionality of your curtain installation.
Now that you have successfully hung your curtains, you can enjoy the privacy, light control, and enhanced aesthetics they provide. Your curtains will not only add style and elegance to your space but also create a warm and inviting atmosphere.
Don’t be afraid to experiment with different curtain styles and colors as you decorate your home. Hanging curtains is a versatile way to express your personal style and enhance the ambiance of your living spaces.
So go ahead, get creative, and enjoy the beauty and functionality of your newly hung curtains!
Frequently Asked Questions about How To Hang Curtains Rod
Was this page helpful?
At Storables.com, we guarantee accurate and reliable information. Our content, validated by Expert Board Contributors, is crafted following stringent Editorial Policies. We're committed to providing you with well-researched, expert-backed insights for all your informational needs.


0 thoughts on “How To Hang Curtains Rod”