
Articles
How To Make Rod Pocket Drapes
Modified: December 7, 2023
Learn how to make stylish rod pocket drapes with our informative articles. Discover tips, techniques, and step-by-step guides for creating beautiful window treatments.
(Many of the links in this article redirect to a specific reviewed product. Your purchase of these products through affiliate links helps to generate commission for Storables.com, at no extra cost. Learn more)
Introduction
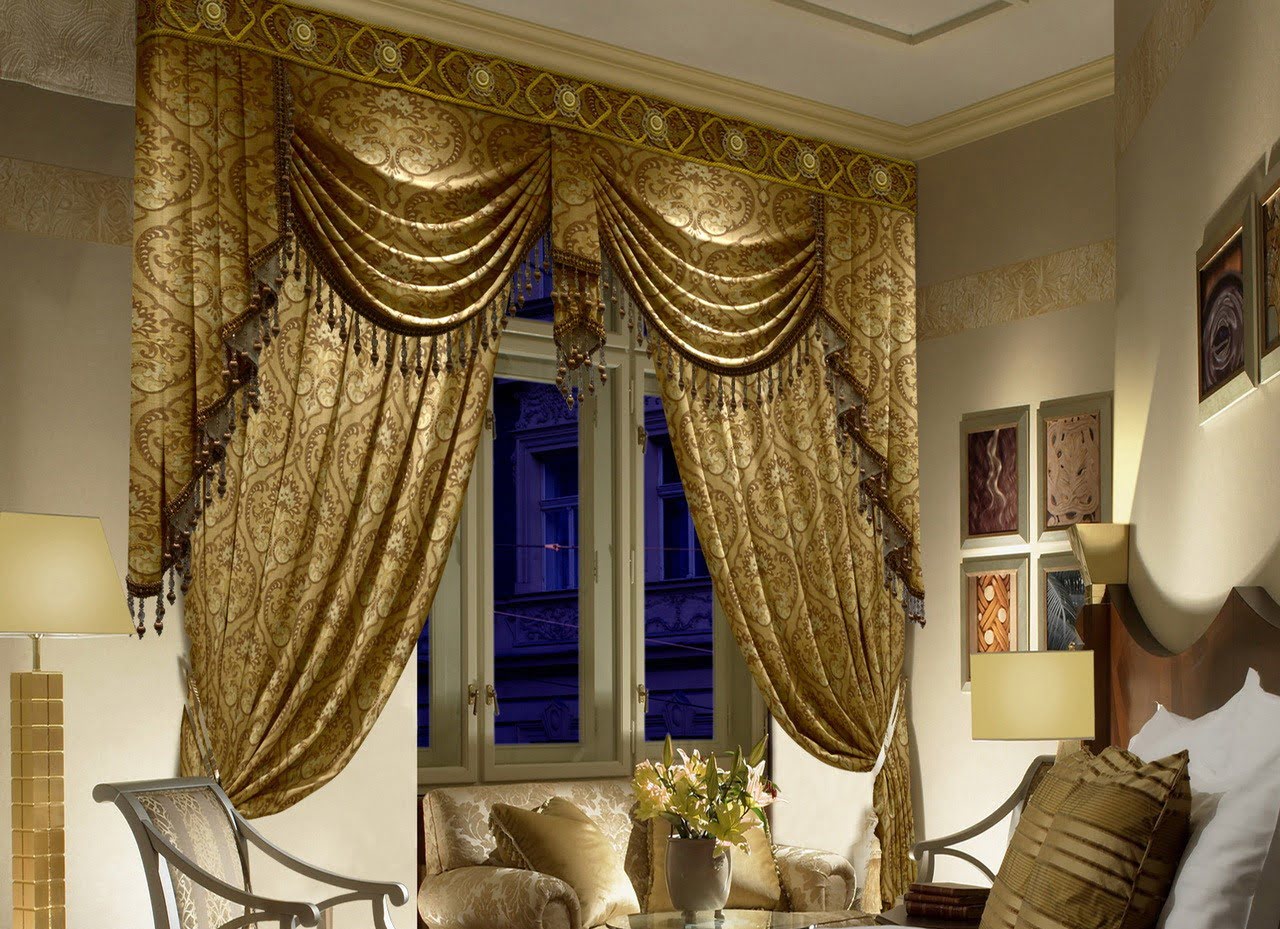
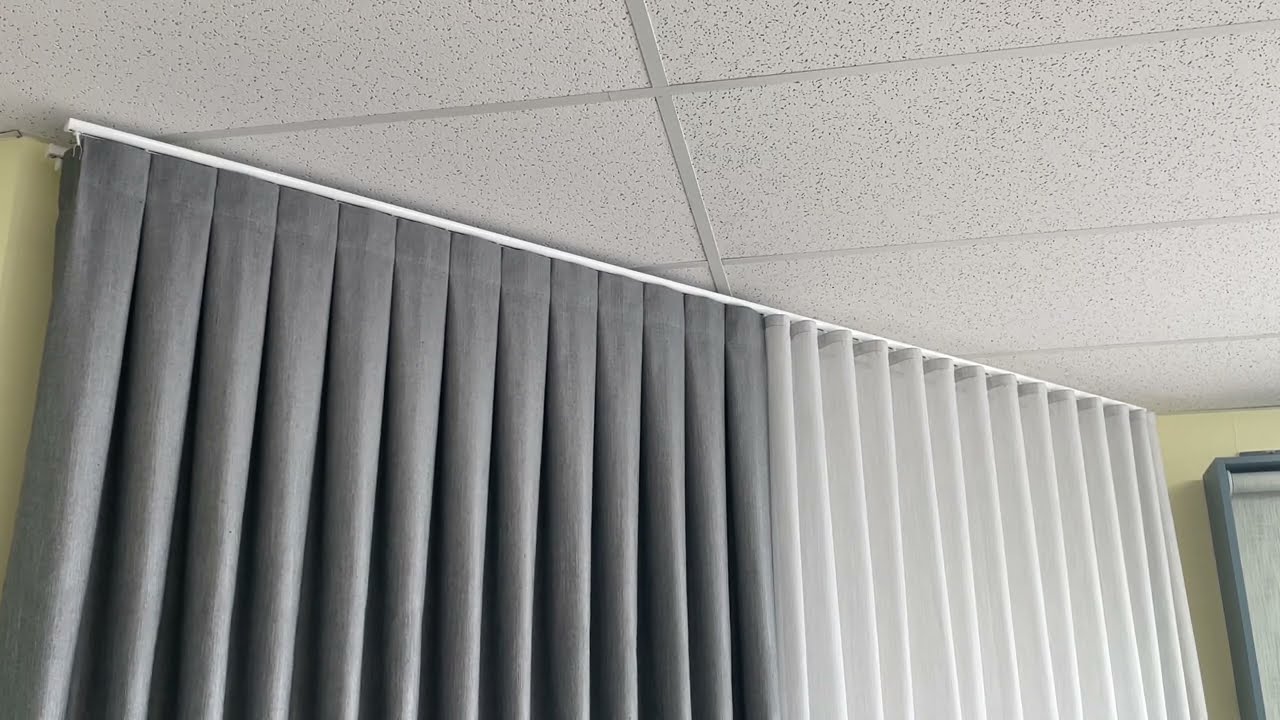
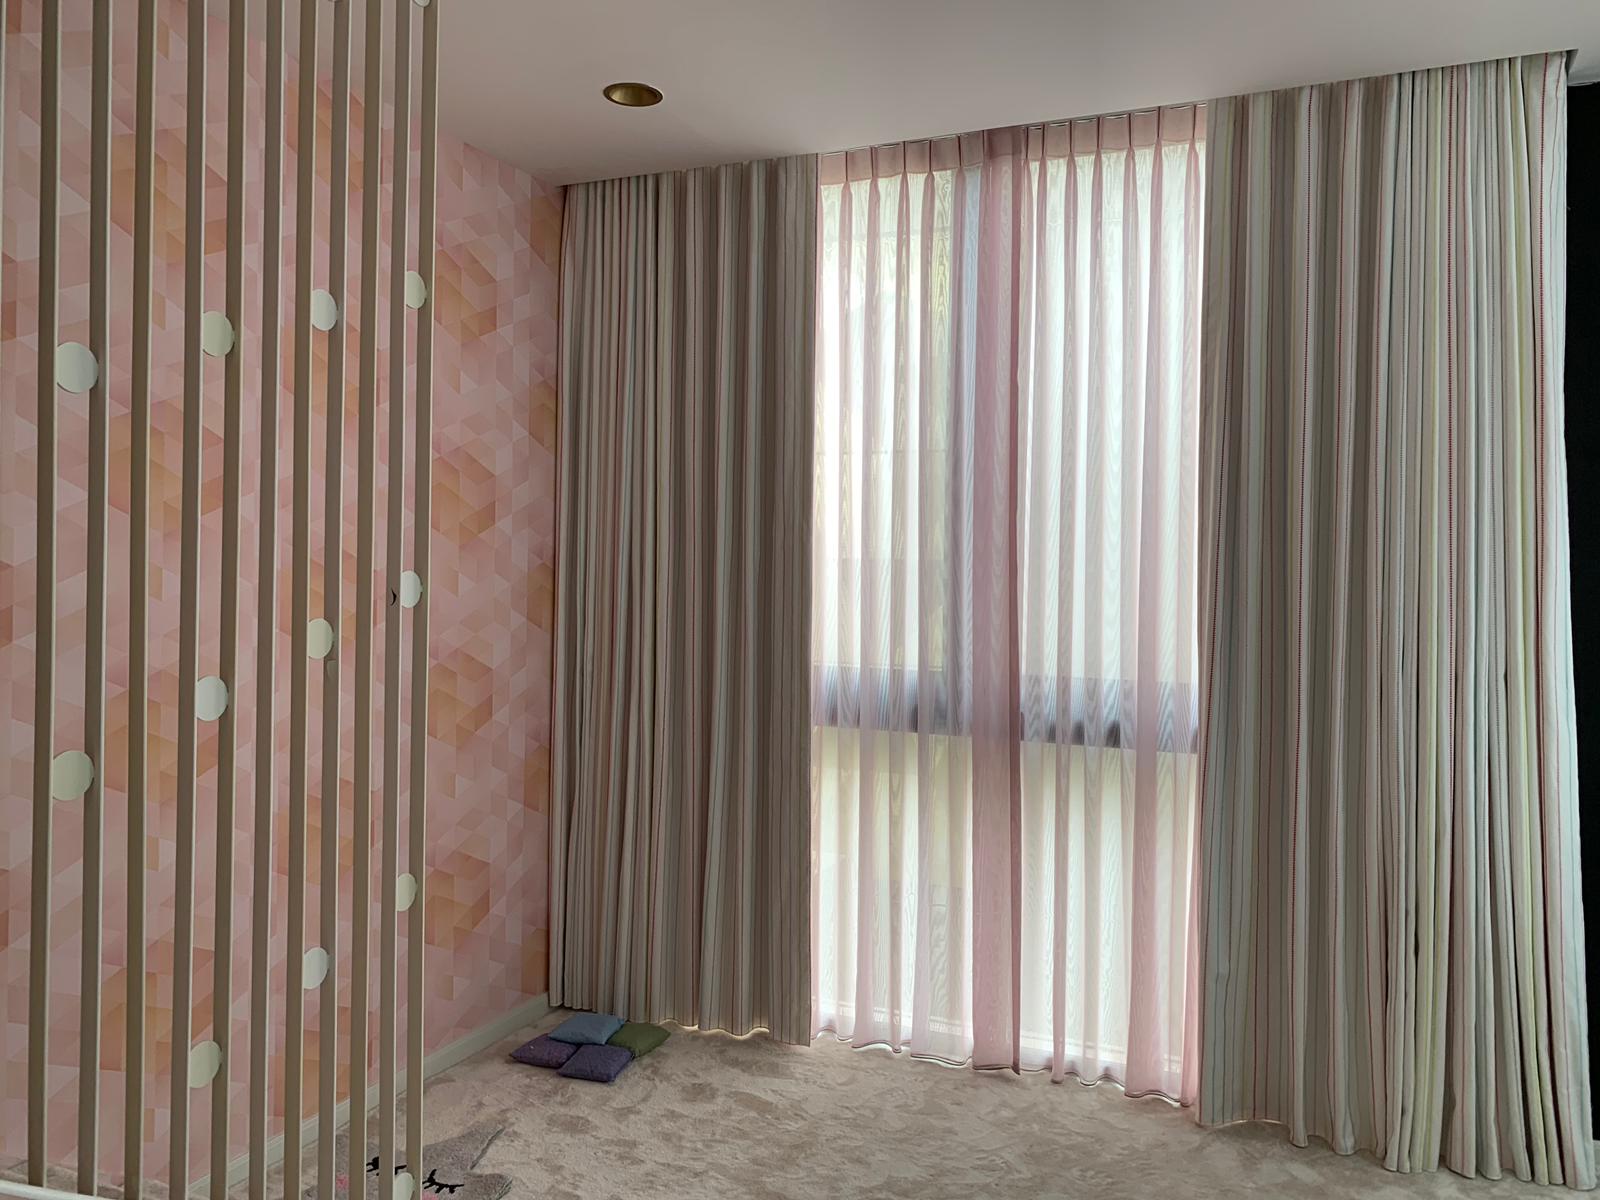
When it comes to dressing up your windows, rod pocket drapes are an elegant and versatile choice. They offer a timeless appeal and can complement any interior style, from traditional to modern. Whether you want to add privacy to your living room or enhance the aesthetic of your bedroom, rod pocket drapes can transform the look of your windows.
In this article, we will guide you through the process of making rod pocket drapes from scratch. We will cover everything from choosing the right fabric to hanging the drapes, ensuring that you have all the information you need to create stunning window treatments that perfectly suit your space.
Before we dive into the nitty-gritty of making rod pocket drapes, it’s essential to understand what they are and how they function. Rod pocket drapes feature a tunnel or pocket at the top, through which a curtain rod slides. This creates a gathered look when the drapes are closed and allows for easy opening and closing. It’s important to choose the right fabric, measure accurately, and sew carefully to achieve professional-looking results.
Now that you have a basic understanding, let’s explore the process of making your own rod pocket drapes, starting with choosing the right fabric.
Key Takeaways:
- Elevate your space with custom rod pocket drapes that reflect your style and enhance functionality. From fabric selection to hanging, create stunning window treatments with timeless appeal.
- Unleash your creativity and personalize your home with custom rod pocket drapes. Master the art of making elegant window treatments that provide beauty, privacy, and insulation.
Read more: What Is Rod Pocket Curtains
Choosing the Right Fabric
Choosing the right fabric for your rod pocket drapes is crucial to achieving the desired look and functionality. Here are some factors to consider when selecting the fabric:
- Weight: The weight of the fabric will determine how the drapes hang. Lighter fabrics, such as voile or sheer materials, create an airy and ethereal effect. Heavier fabrics, like velvet or brocade, add a touch of luxury and provide better insulation.
- Opacity: Determine the level of opacity you want for your drapes. Sheer fabrics allow more light to filter through, providing a soft and diffused glow. On the other hand, opaque fabrics offer complete privacy and block out sunlight effectively.
- Pattern and Color: Consider the overall aesthetic of your space and choose a fabric that complements it. Solid colors offer a timeless and versatile choice, while patterns can add visual interest and personality.
- Durability: Ensure that the fabric you choose is durable and can withstand regular use. Look for fabrics that have a high thread count and are made from quality materials.
- Maintenance: Consider the care requirements of the fabric. Some materials may require special cleaning methods or be prone to wrinkling, while others are easier to maintain.
It’s also a good idea to consider your budget when selecting the fabric for your rod pocket drapes. While high-end materials may provide a luxurious look, there are plenty of affordable options available that can still deliver excellent results.
Visit local fabric stores or explore online fabric retailers to browse through a wide range of options. Request fabric swatches if possible to get a better idea of the color, texture, and feel of the fabrics you are considering. Take your time and choose a fabric that not only matches your aesthetic preferences but also meets your functional needs.
Once you have selected the perfect fabric, it’s time to move on to the next step: measuring for your rod pocket drapes.
Measuring for Rod Pocket Drapes
Accurate measurements are crucial when it comes to making rod pocket drapes that fit perfectly on your windows. Follow these steps to measure your windows and determine the fabric dimensions:
- Start by measuring the width of the window. Measure from the inside of the window frame or the desired width if you want the drapes to extend beyond the frame.
- Decide on the fullness of your drapes. Fullness refers to the amount of fabric used relative to the width of the window. For a more gathered look, you can go for 1.5 to 2 times the width of the window. For a less gathered or tailored look, 1 to 1.25 times the width should be sufficient.
- Multiply the width of the window by the desired fullness factor to calculate the total width of the fabric you will need.
- Next, measure the length of the window from the top to the desired point where you want the drapes to end. This can be just below the window sill, to the floor, or slightly puddled on the floor for a more dramatic effect.
- Add any additional length for hems and allowances to the measured length.
- Consider the position of the rod pocket. Typically, it is recommended to have a rod pocket that is 2-3 inches in height to accommodate most standard curtain rods. However, adjust this measurement based on the size and type of your curtain rod.
Once you have determined the required dimensions, add a few extra inches to account for any errors or adjustments that may need to be made during the sewing process.
Remember to measure each window individually, as size variations are common. It’s also important to ensure that your window frame is level, as any discrepancies can affect the measurements and the appearance of your rod pocket drapes.
With accurate measurements in hand, you are ready to proceed to the next step: cutting and preparing the fabric.
Cutting and Preparing the Fabric
Now that you have your fabric and the precise measurements, it’s time to cut and prepare it for sewing. Follow these steps to ensure that your fabric is ready to be transformed into beautiful rod pocket drapes:
- Start by laying out your fabric on a flat surface, making sure it is smooth and free from wrinkles or creases.
- Using a measuring tape, mark the measurements you obtained earlier on the fabric, using chalk or fabric markers. Be precise and double-check your measurements before making any cuts.
- Using sharp fabric scissors or a rotary cutter, carefully cut along the marked lines to create the fabric panels for your drapes. Take your time and make clean, straight cuts to achieve professional-looking results.
- If your fabric has a pattern, ensure that the pattern matches up across the panels. This will create a cohesive and visually pleasing look when the drapes are hung.
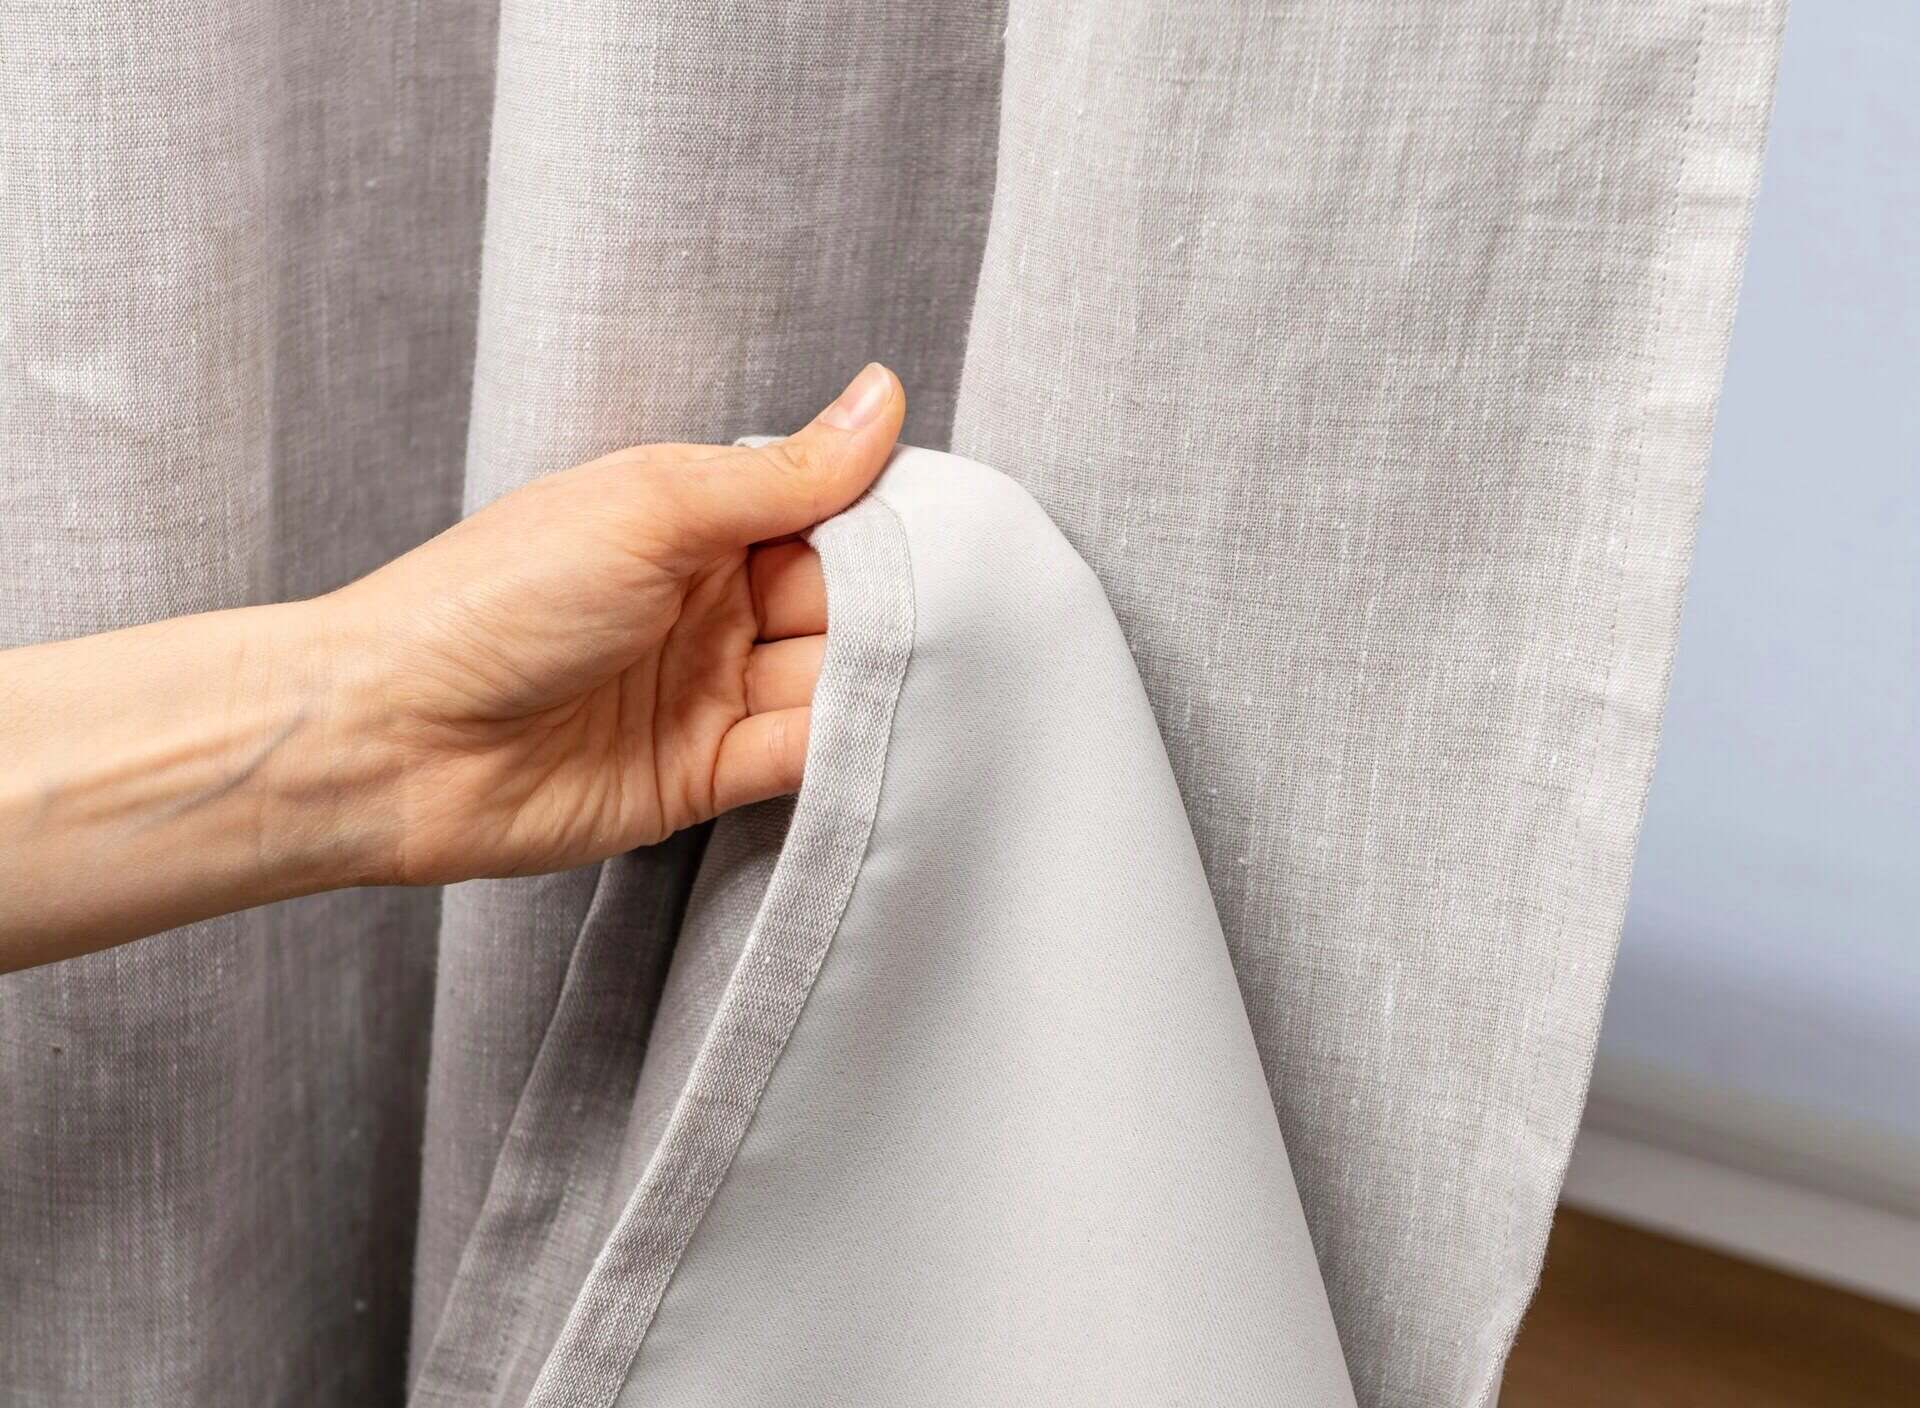
- Once you have cut the panels, it’s time to prepare the edges to prevent fraying. You can either sew a narrow hem along the edges or use a serger to finish the raw edges. Alternatively, you can use fray check or fabric glue to seal the edges if sewing is not an option.
- If your fabric requires ironing, gently iron the fabric panels on a low heat setting to remove any wrinkles or creases. Be cautious with fabrics that are easily damaged by heat.
Remember to handle your fabric with care throughout the cutting and preparation process to avoid any accidental tears or snags. It’s also a good idea to make a practice cut on a scrap piece of fabric to ensure that you are comfortable with the cutting technique before working on your main fabric.
Now that your fabric is ready, it’s time to move on to the next step: sewing the rod pocket for your drapes.
When making rod pocket drapes, be sure to measure the width of your window and add extra fabric for fullness. A good rule of thumb is to multiply the width of the window by 1.5 to 2 for the total width of the fabric panels.
Sewing the Rod Pocket
Creating a sturdy and well-designed rod pocket is the key to ensuring that your drapes hang beautifully. Follow these steps to sew the rod pocket for your rod pocket drapes:
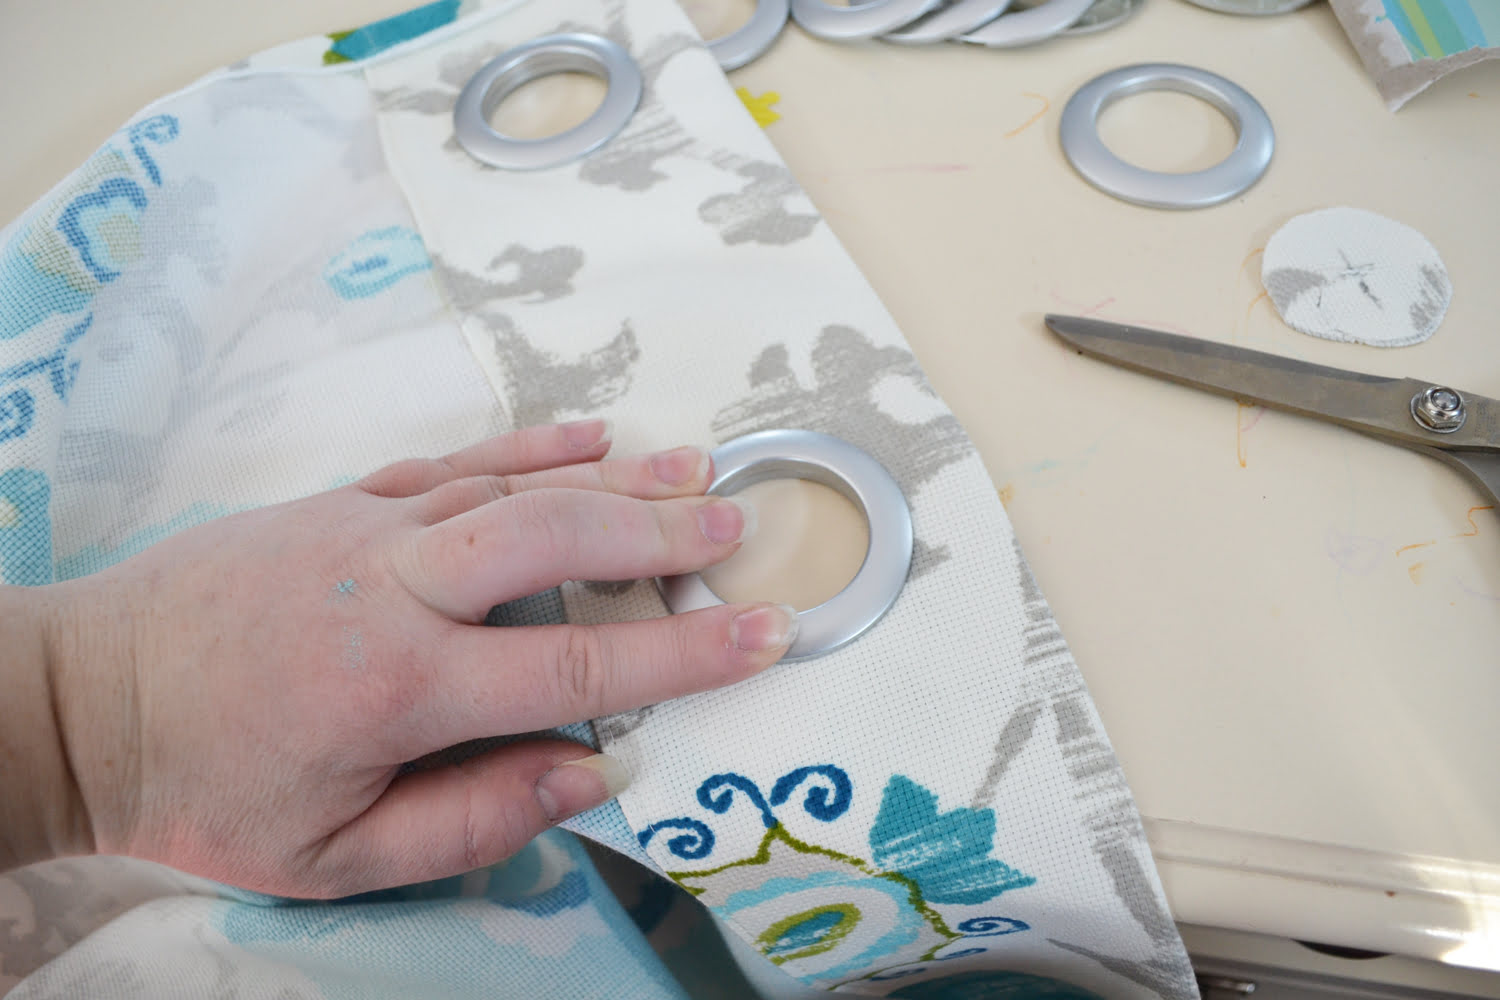
- Start by folding over the top edge of each fabric panel by the desired width of the rod pocket. This is typically around 2-3 inches, but you can adjust it based on the thickness of your curtain rod and the look you want to achieve. Pin the folded edge in place.
- With the fabric folded and pinned, sew a straight stitch along the bottom edge of the folded section, keeping close to the edge. You can also reinforce the stitch by sewing a second row parallel to the first.
- To create the opening for the rod, backstitch at the beginning and end of the sewn section to secure the stitches. This will prevent the thread from unraveling over time.
- Once you have sewn the rod pocket, remove the pins and gently press the fabric with an iron to give it a polished and professional look.
It’s important to ensure that the rod pocket is wide enough to accommodate your curtain rod comfortably. Test the fit by inserting the rod into the pocket to make sure it slides smoothly without any obstructions or tightness.
Remember to repeat this process for each fabric panel, as each panel will have its own rod pocket. Take your time and sew carefully to ensure that all the rod pockets are uniform and well-constructed.
With the rod pockets sewn, you’re one step closer to completing your rod pocket drapes. The next step is to hem the bottom of the drapes for a clean and professional finish.
Read more: How To Hang Drapes On A Traverse Rod
Hemming the Bottom of the Drapes
Hemming the bottom of your rod pocket drapes not only gives them a polished look but also helps to prevent fraying and prolong their lifespan. Follow these steps to hem the bottom of your drapes:
- Start by determining the desired length of your drapes. This can vary depending on your personal preference and the overall look you want to achieve. Measure from the bottom edge of the rod pocket to the desired length and mark it on the fabric with chalk or fabric markers.
- Fold the fabric up along the marked line, wrong sides together, and pin it in place. The width of the hem can vary, but a 1-inch hem is a common choice. Adjust the width according to your fabric thickness and personal preference.
- Once the hem is pinned, sew a straight stitch along the folded edge, keeping close to the edge. Go slowly and remove the pins as you sew. Backstitch at the beginning and end of the hem to secure the stitches.
- For added strength and a neater finish, consider sewing a second row of stitches parallel to the first. This will reinforce the hem and prevent it from unraveling over time.
- Repeat this process for each panel of your drapes, ensuring that the hems are consistent in width and length.
After sewing the hem, gently press it with an iron to give it a crisp and professional look. Be mindful of the heat settings and use a pressing cloth if necessary, especially if you are working with delicate or heat-sensitive fabrics.
Once the bottom hems are complete, your rod pocket drapes are almost ready to be hung. The next and final step is to learn how to properly hang the drapes to achieve a stunning window treatment.
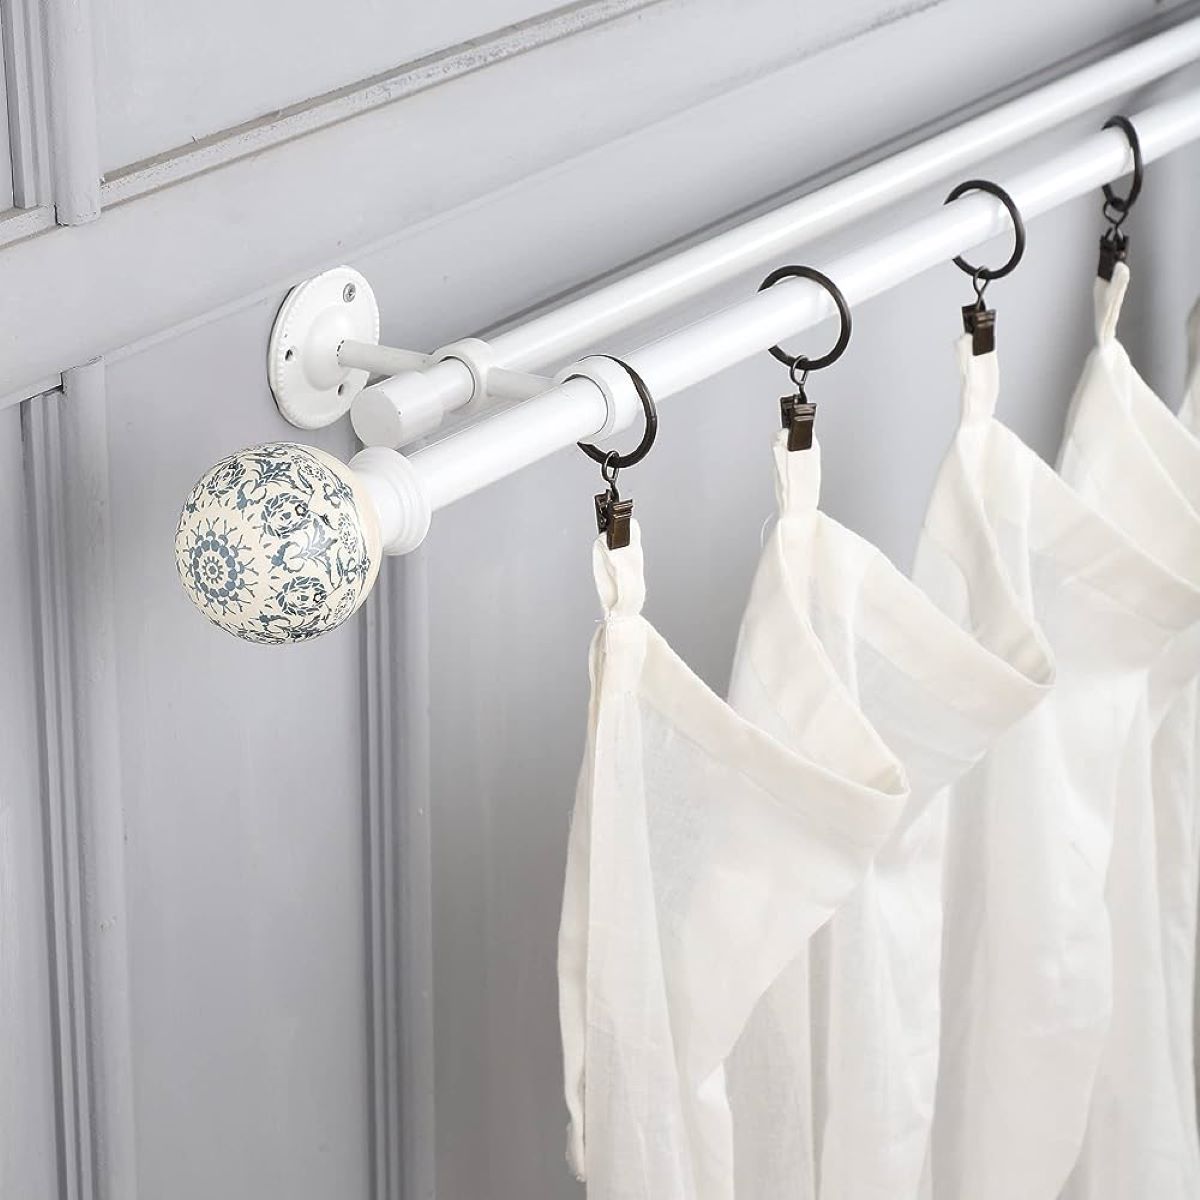
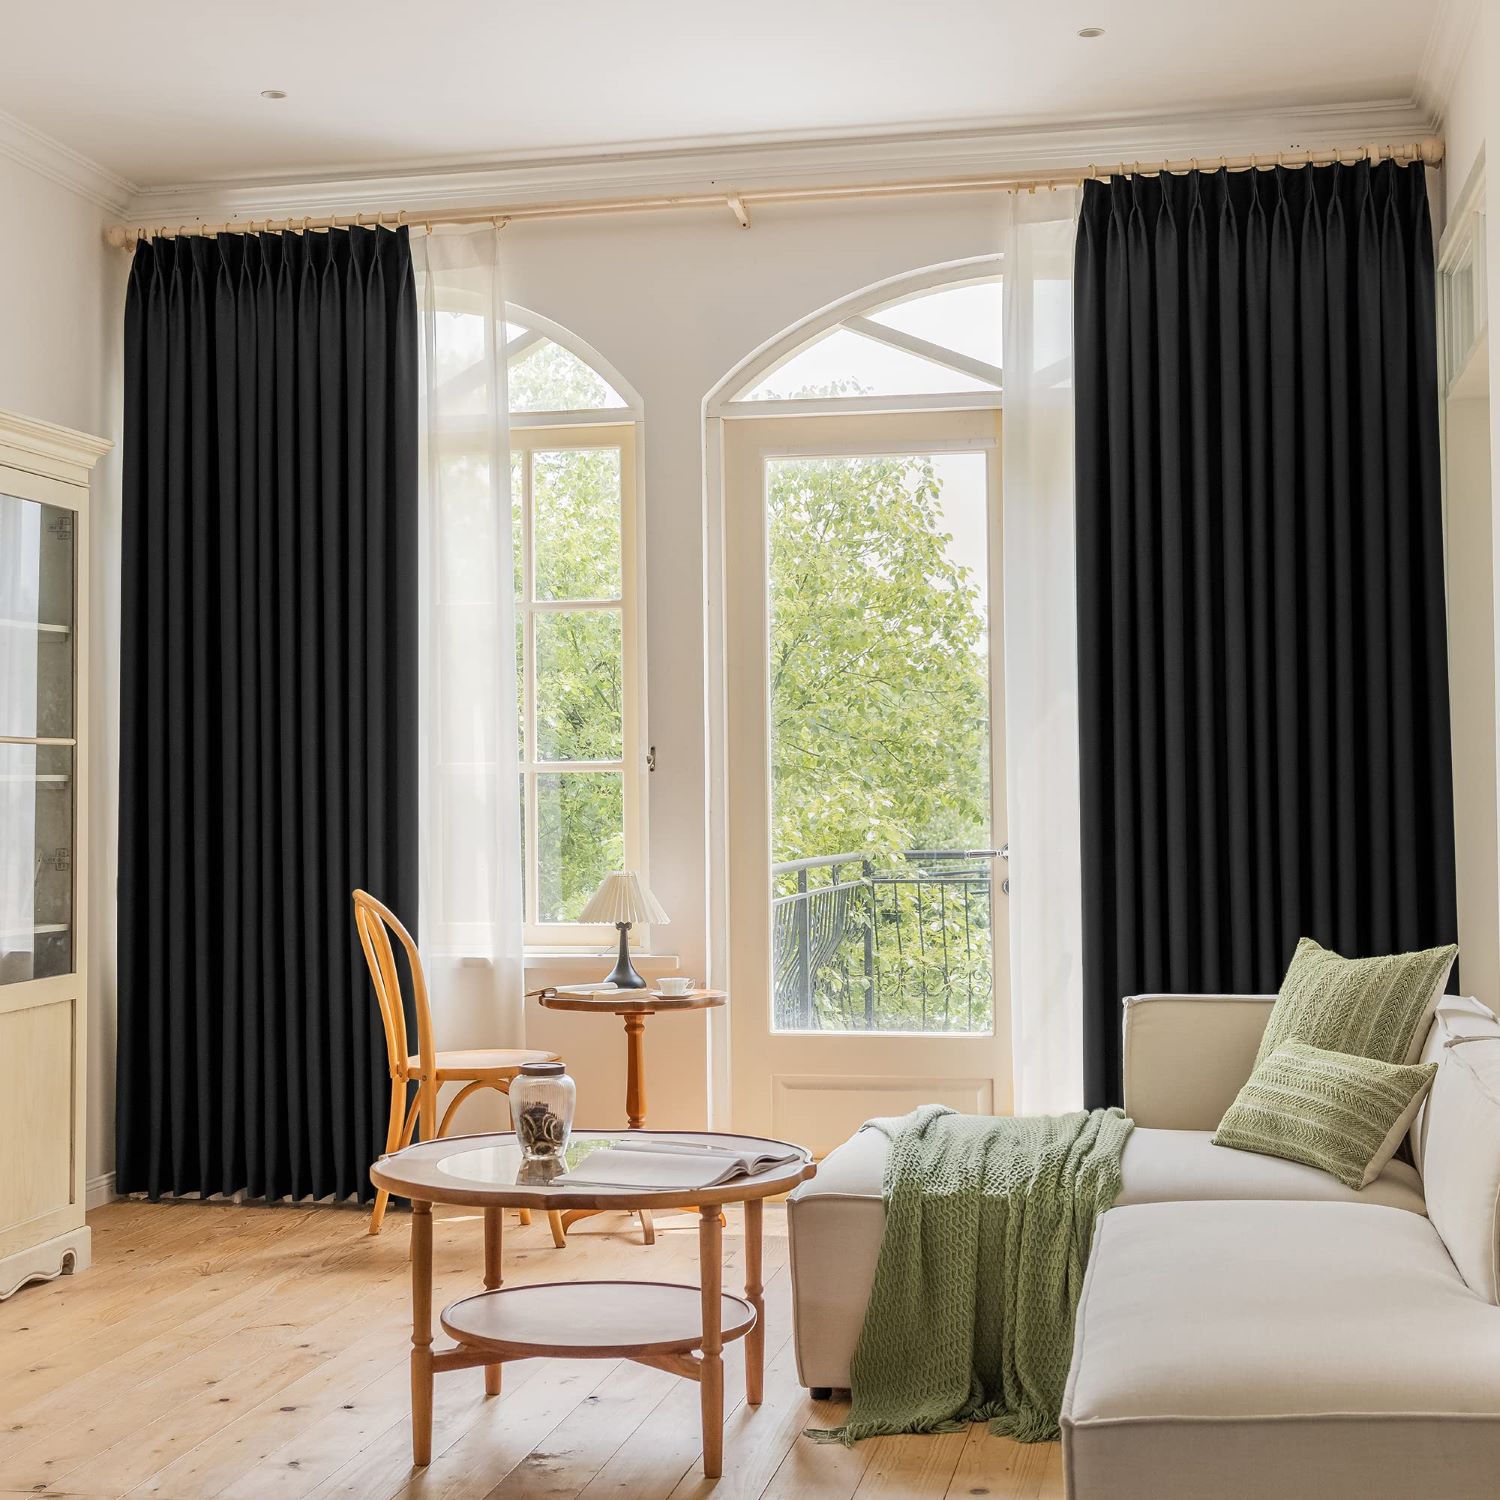
Hanging the Rod Pocket Drapes
Now that you have finished sewing your rod pocket drapes, it’s time to hang them and bring your window treatment to life. Follow these steps to hang your drapes securely and beautifully:
- Start by gathering all the necessary hardware. This typically includes a curtain rod, brackets, screws, a level, and a screwdriver.
- Measure and mark the desired height for your curtain rod brackets. Ensure that the brackets are level and evenly spaced on either side of the window or wall where you plan to hang the drapes.
- Using a screwdriver, attach the brackets securely to the wall or window frame according to the manufacturer’s instructions.
- Slide the rod through the rod pocket of each panel, ensuring that the gathered fabric is evenly distributed along the rod.
- With the help of a friend or family member, place the rod onto the brackets. Make sure the rod is level and centered.
- Once the rod is properly placed on the brackets, secure it in place by tightening any screws or mechanisms provided by the curtain rod’s design.
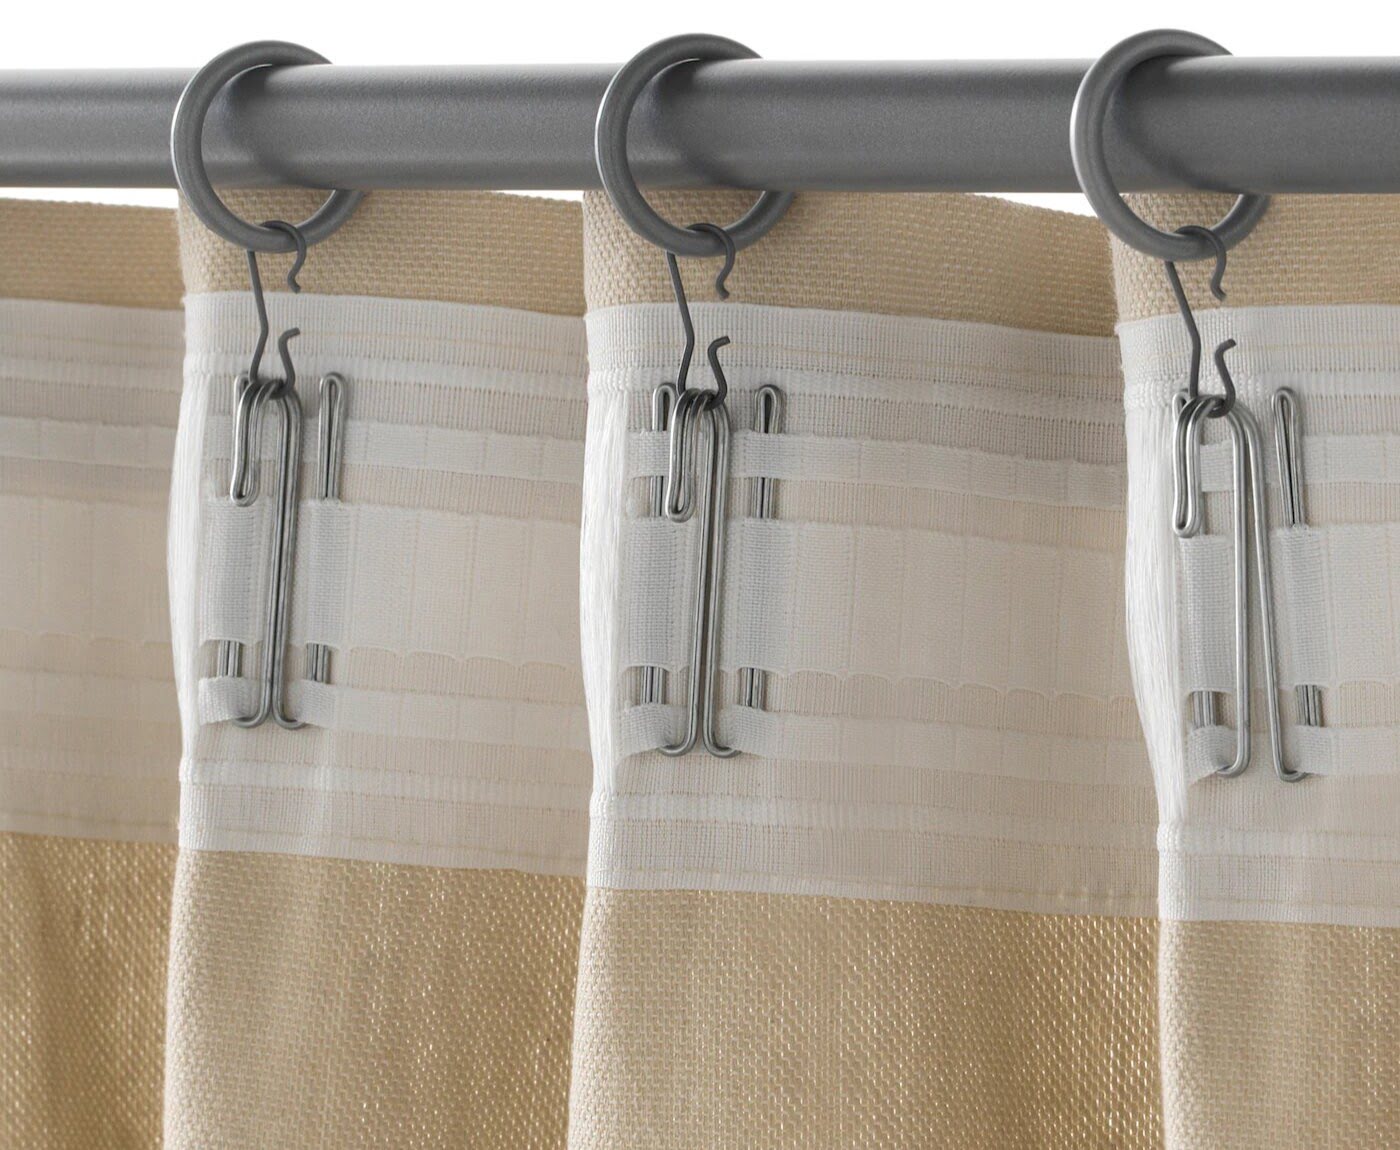
- Adjust the drapes to ensure they are evenly distributed and hang at the desired length. If needed, use curtain rings or clips to create pleats or to adjust the gather of the fabric.
- Step back and admire your newly hung rod pocket drapes. Take some time to adjust the folds and drapes for the perfect look.
Now that your rod pocket drapes are elegantly hanging, take a moment to appreciate the transformation they bring to your space. The carefully selected fabric and meticulous sewing have paid off, creating a stunning window treatment that enhances the overall aesthetic of your room.
Remember to periodically check the stability of the rod and brackets, especially if you open and close the drapes frequently. Tighten any loose screws or hardware to ensure your drapes stay securely in place.
By following these steps, you have successfully created and hung your very own custom rod pocket drapes. Enjoy the beauty and functionality they bring to your space!
As a final note, it’s always beneficial to explore various design ideas, such as adding decorative trims or embellishments to your drapes. Get creative and customize your rod pocket drapes to reflect your personal style and make a statement in your home.
Conclusion
Congratulations on completing your journey to make your own rod pocket drapes! By following the steps outlined in this article, you have learned how to choose the right fabric, measure accurately, cut and prepare the fabric, sew the rod pocket and hem, and finally, hang your drapes to create a stunning window treatment.
Making rod pocket drapes allows you to unleash your creativity and personalize your space with beautiful and functional window coverings. You have the freedom to choose the fabric, pattern, and color that perfectly suits your style and complements your existing decor.
Remember that practice makes perfect. As with any new skill, it may take a few attempts to refine your technique and achieve the desired results. Don’t be discouraged if it doesn’t turn out perfectly the first time. Embrace the learning process and enjoy the satisfaction that comes with creating something with your own hands.
Now that you have mastered the art of making rod pocket drapes, you can apply your newfound knowledge to other window treatments, such as valances or café curtains. Experiment with different fabrics, trims, and embellishments to add your own unique touch.
Not only will your custom-made rod pocket drapes enhance the beauty and ambiance of your home, but they will also serve a practical purpose by providing privacy, light control, and insulation. You have created a functional and stylish solution for your windows.
Remember to maintain your drapes by periodic cleaning and spot-treating to keep them looking fresh and beautiful for years to come. If necessary, take them down and wash or dry-clean them according to the fabric’s care instructions.
We hope this article has provided you with the knowledge and inspiration you need to embark on your rod pocket drape-making journey. Enjoy the process, let your creativity shine, and revel in the joy and pride of transforming your windows into stunning focal points in your home.
Happy sewing and decorating!
Frequently Asked Questions about How To Make Rod Pocket Drapes
Was this page helpful?
At Storables.com, we guarantee accurate and reliable information. Our content, validated by Expert Board Contributors, is crafted following stringent Editorial Policies. We're committed to providing you with well-researched, expert-backed insights for all your informational needs.
0 thoughts on “How To Make Rod Pocket Drapes”