
Articles
How To Hang Ceiling Drapes For A Wedding
Modified: August 22, 2024
Discover the best articles on how to hang ceiling drapes for a wedding, including step-by-step guides and helpful tips for achieving a stunning and elegant ambiance.
(Many of the links in this article redirect to a specific reviewed product. Your purchase of these products through affiliate links helps to generate commission for Storables.com, at no extra cost. Learn more)
Introduction
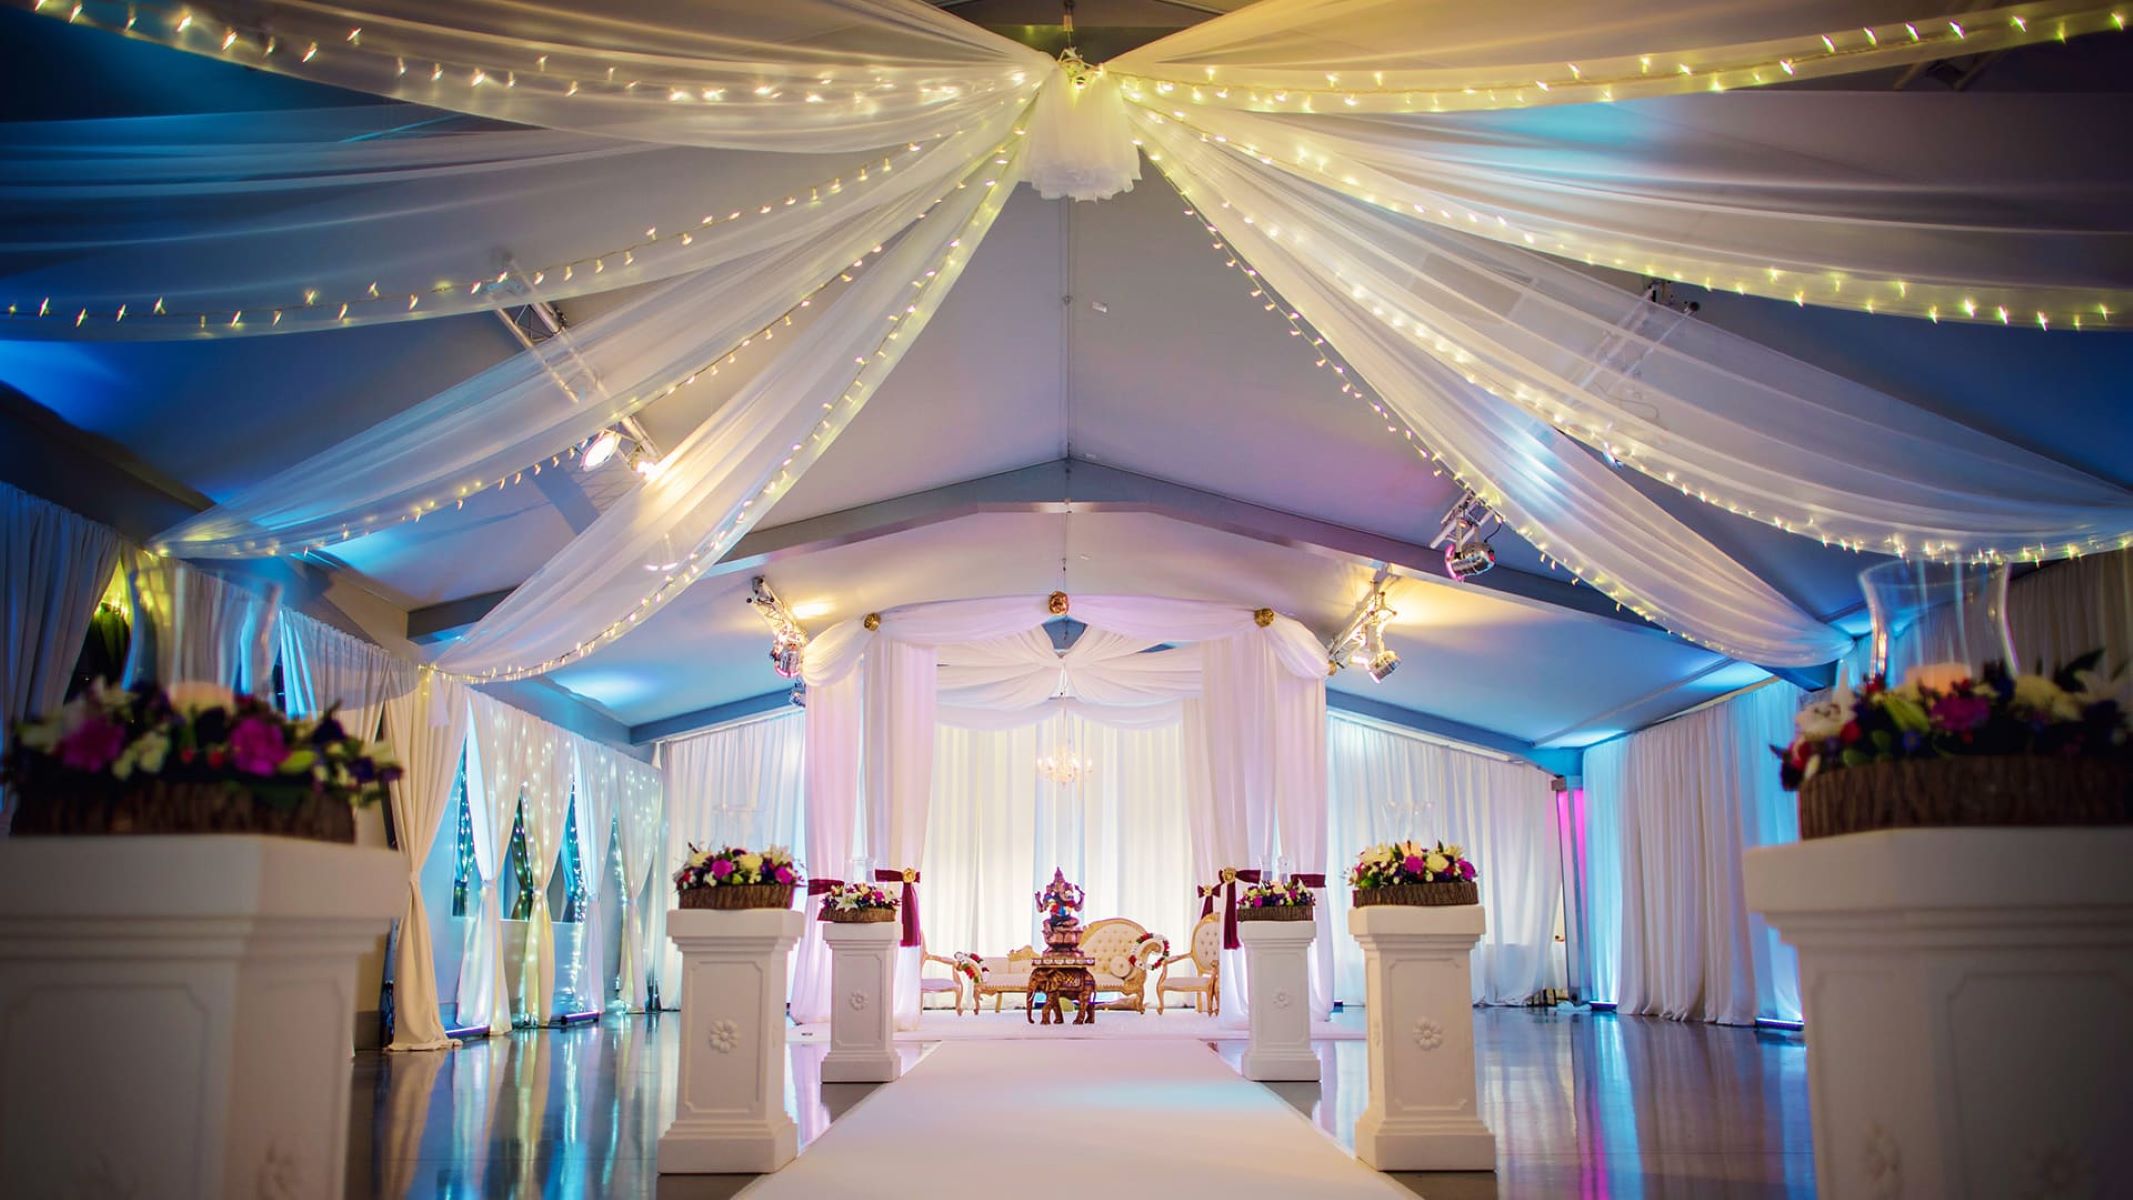
When it comes to creating a dreamy and romantic ambiance for a wedding, hanging ceiling drapes can be a game-changer. Ceiling drapes not only add elegance and sophistication to any venue, but they also create a stunning backdrop for ceremonies, receptions, and other wedding events. In this article, we will guide you through the step-by-step process of hanging ceiling drapes for a wedding, ensuring that you achieve the perfect look for your special day.
Before you start, it’s essential to assess the venue and consider the overall theme or style of your wedding. Whether you’re planning a rustic outdoor wedding or an opulent indoor affair, the right ceiling drapes can elevate the atmosphere and create a truly memorable experience for you and your guests. So, let’s dive into the details and learn how to hang ceiling drapes that will wow everyone.
Key Takeaways:
- Elevate your wedding ambiance with stunning ceiling drapes that create a dreamy and romantic backdrop for your special day. Follow our step-by-step guide for a flawless and visually appealing installation.
- From assessing the venue to adding enchanting decorations, our guide will help you confidently hang ceiling drapes that perfectly complement your wedding theme and style. Embrace the elegance and beauty of ceiling drapes to elevate your wedding to new heights of enchantment.
Step 1: Assess the Venue
The first step in hanging ceiling drapes for a wedding is to thoroughly assess the venue. Take note of the ceiling height, structure, and any existing architectural features that may affect your draping plans. Understanding the layout and dimensions of the space will help you determine the quantity of drapes needed and the best hanging methods.
Consider the overall aesthetic of the venue. Are there any particular areas or focal points where you want to place the drapes? For example, if you have a stage or altar area, you might want to prioritize draping that section to create a focal point for the ceremony or speeches.
Additionally, take note of the colors, textures, and materials used in the venue’s decor. This information will help you choose the right fabric for your ceiling drapes to complement the existing elements and create a cohesive look. It’s also important to consider any restrictions or guidelines set by the venue regarding hanging decorations. Ensure that your draping plans comply with these regulations.
Furthermore, assess the practical aspects of the venue. Are there any obstacles such as chandeliers, beams, or air vents that may impede your draping installation? Take these factors into account when devising your hanging method, as you may need to work around these obstacles or find alternative solutions.
By thoroughly assessing the venue, you’ll have a clear understanding of the space and be better equipped to plan and execute your ceiling draping design.
Step 2: Measure and Plan
After assessing the venue, the next step in hanging ceiling drapes for a wedding is to measure and plan accordingly. Accurate measurements are crucial to ensure that you have enough fabric and that the drapes fit perfectly within the space.
Start by measuring the length and width of the areas where you want to hang the drapes. For example, if you’re draping the entire ceiling or a specific section, measure the width and length of that area. It’s advisable to add a few extra feet to each measurement to account for any fabric gathering or draping techniques you plan to incorporate.
Consider the desired height at which you want the drapes to hang. Will they reach the floor or be shorter? Take into account any furniture or other elements that may be present beneath the drapes. You don’t want the fabric to drag or get tangled with other items in the space.
Once you have the measurements, plan how you will divide the fabric or panels. Depending on the dimensions and your design ideas, you may need to sew or connect multiple panels together to achieve the desired width or length. Be sure to factor in the fabric’s width and how it will be draped or gathered to determine how many panels you need.
Consider the style and design of the drapes as well. Will you opt for a seamless look with one continuous fabric or create a layered effect with different sheer fabrics? Planning these details in advance will help you purchase the correct amount of fabric and ensure a cohesive visual impact.
It’s also essential to consider the practical aspects of hanging the drapes. Are you planning to use a ladder or scaffolding? Determine the height and stability of the structures required for installation. If you’re hiring professionals or a wedding planner, consult with them during the planning phase to ensure that your vision aligns with their expertise and recommendations.
By taking accurate measurements and carefully planning your draping design, you’ll be well-prepared for the next steps of gathering materials and tools.
Step 3: Gather Materials and Tools
Once you have measured and planned your ceiling drapes, it’s time to gather the necessary materials and tools for installation. Here’s a list of items you’ll need to ensure a smooth and successful draping project.
- Fabric: Choose a fabric that matches your wedding theme and desired aesthetic. Consider factors such as color, texture, and opacity. Common choices include chiffon, organza, tulle, or satin. Make sure to purchase enough fabric based on your measurements and design plans.
- Scissors: High-quality scissors will come in handy for cutting the fabric to the desired lengths and for any necessary adjustments during installation.
- Measuring tape: Having a measuring tape will allow you to accurately measure the fabric and ensure precise draping.
- Ladders or scaffolding: Depending on the height of the venue’s ceiling and the areas you plan to drape, you may need ladders or scaffolding to safely reach and hang the fabric. Ensure that the equipment is sturdy and secure.
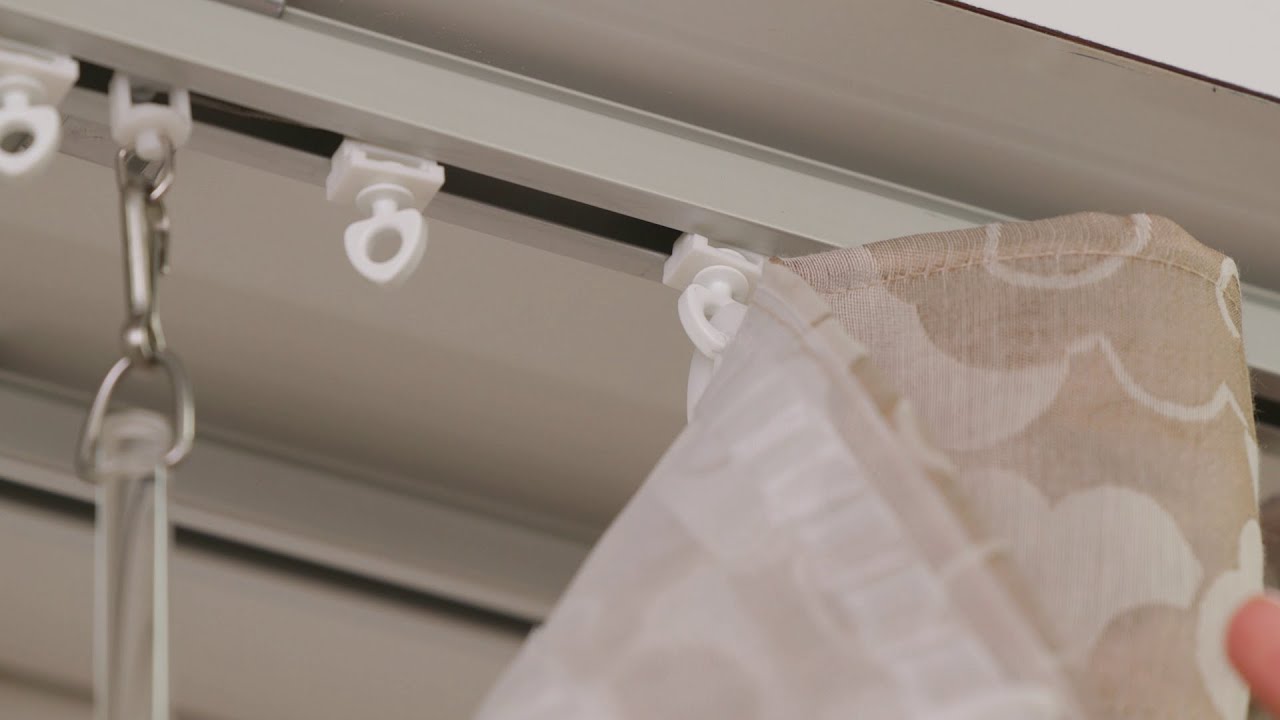
- Hanging materials: Consider the different methods available for hanging the drapes. Options include curtain rod brackets, hooks, zip ties, or fishing line. Choose the appropriate materials based on the venue’s specifications and the weight of the fabric.
- Extension cords: If you plan to incorporate lighting or other decorative elements into the drapes, make sure to have enough extension cords to reach the desired locations.
It’s also helpful to have an assistant or a team of people to help with the installation process. They can hold the fabric in place, assist with measurements, or manage the ladders or scaffolding.
Prior to starting the installation, double-check that you have all the necessary materials and tools. This will help ensure a smooth and efficient process, allowing you to focus on creating the perfect ceiling drapes for your wedding.
Step 4: Prepare the Ceilings
Before you begin hanging the ceiling drapes for your wedding, it’s important to prepare the ceilings to ensure a secure and professional installation. Follow these steps to prepare the ceilings properly:
- Clean the ceilings: Start by thoroughly cleaning the ceilings to remove any dust, cobwebs, or debris. Use a broom or a vacuum with a long attachment to reach high areas. Cleaning the ceilings will not only create a more visually appealing backdrop but also ensure that the drapes adhere properly.
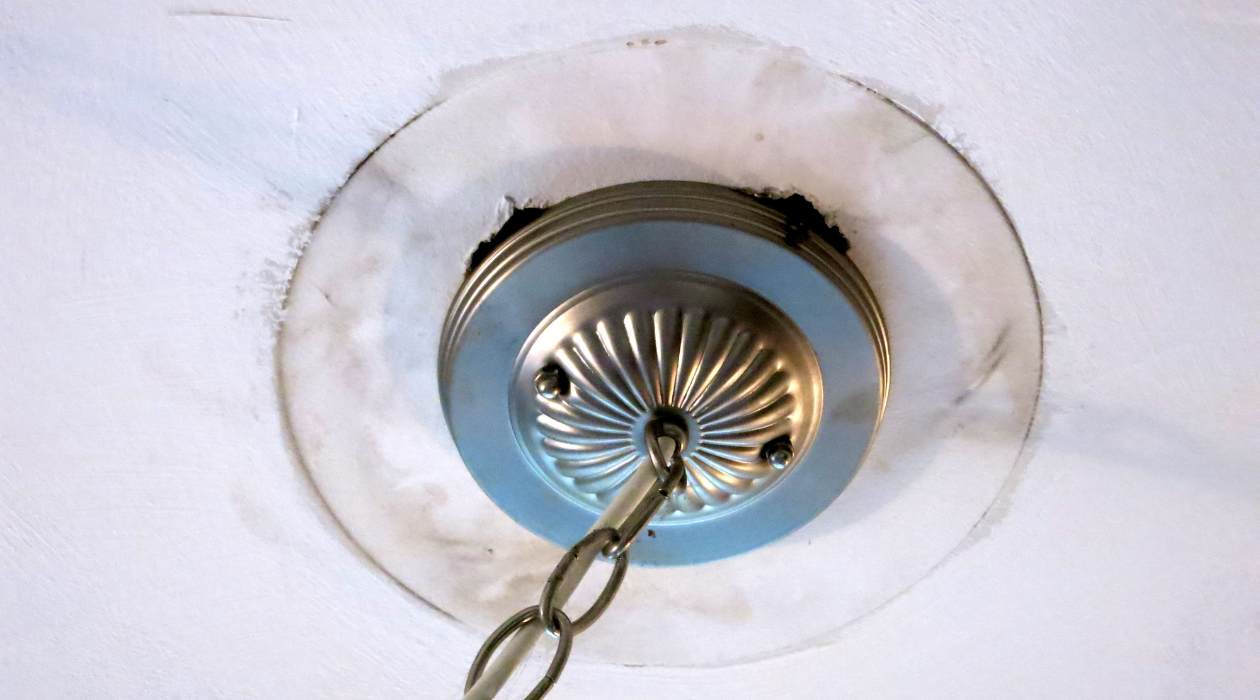
- Locate the ceiling joists or support beams: To ensure the drapes are securely anchored, find the ceiling joists or support beams in the areas where you plan to hang them. Using a stud finder or tapping the ceiling and listening for a solid sound can help you locate these structural elements. Mark the locations of the joists or beams using a pencil or tape measure.
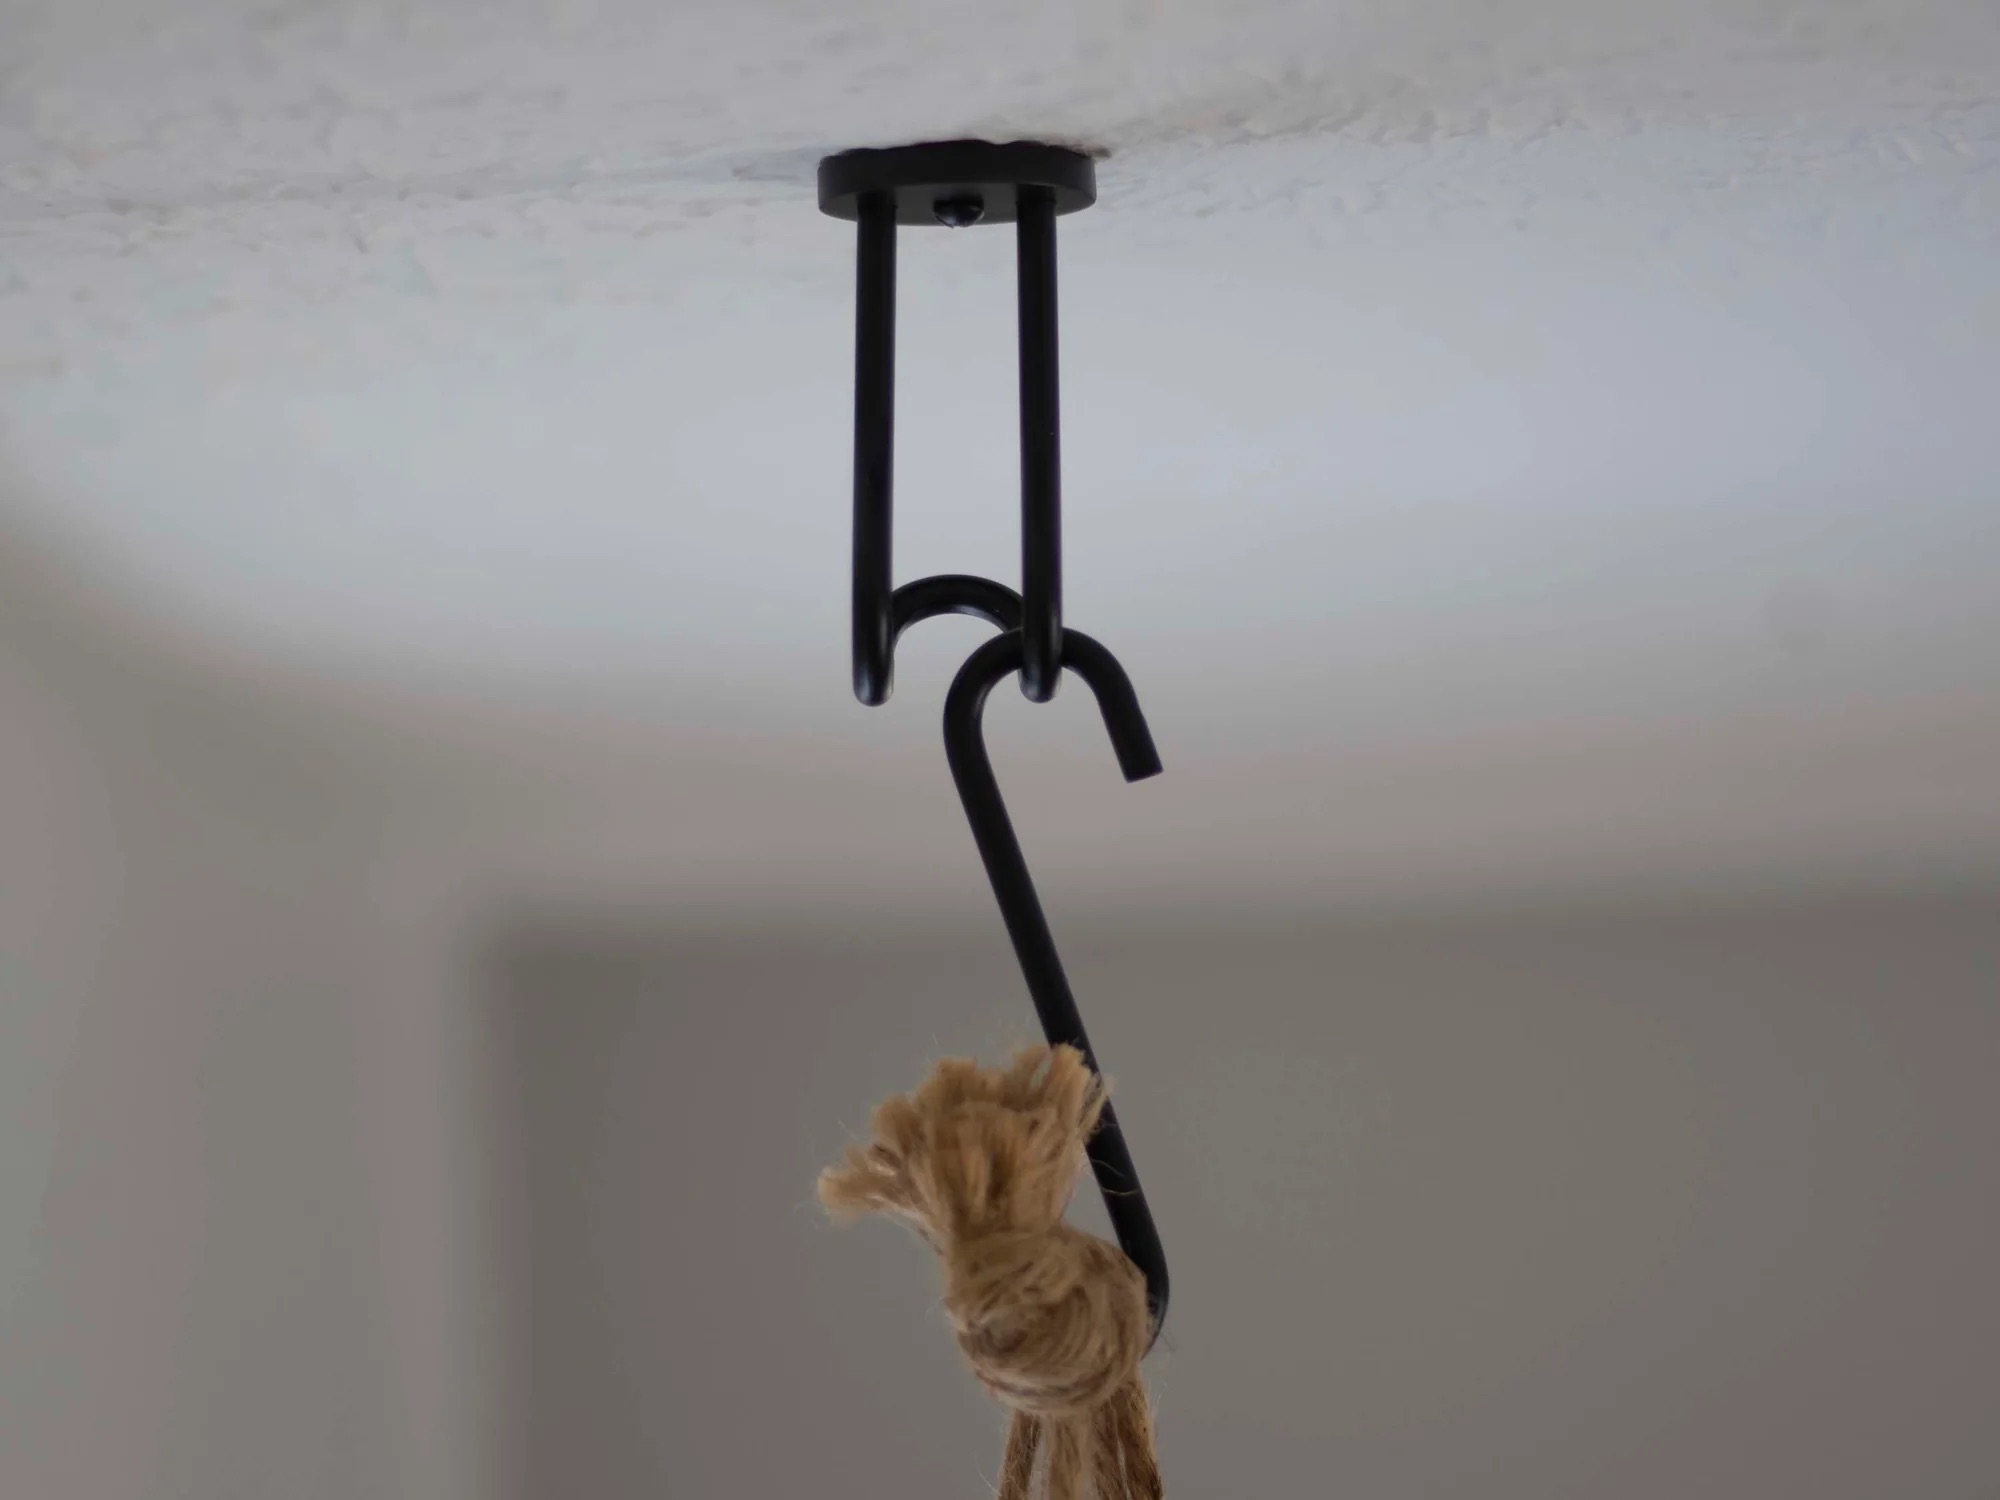
- Prepare the attachment points: Depending on your chosen method of hanging, you may need to install curtain rod brackets, hooks, or other types of attachments. Follow the manufacturer’s instructions and securely mount the brackets or hooks into the ceiling joists or beams. Be sure to use the appropriate hardware for the weight and type of drapes you are using.
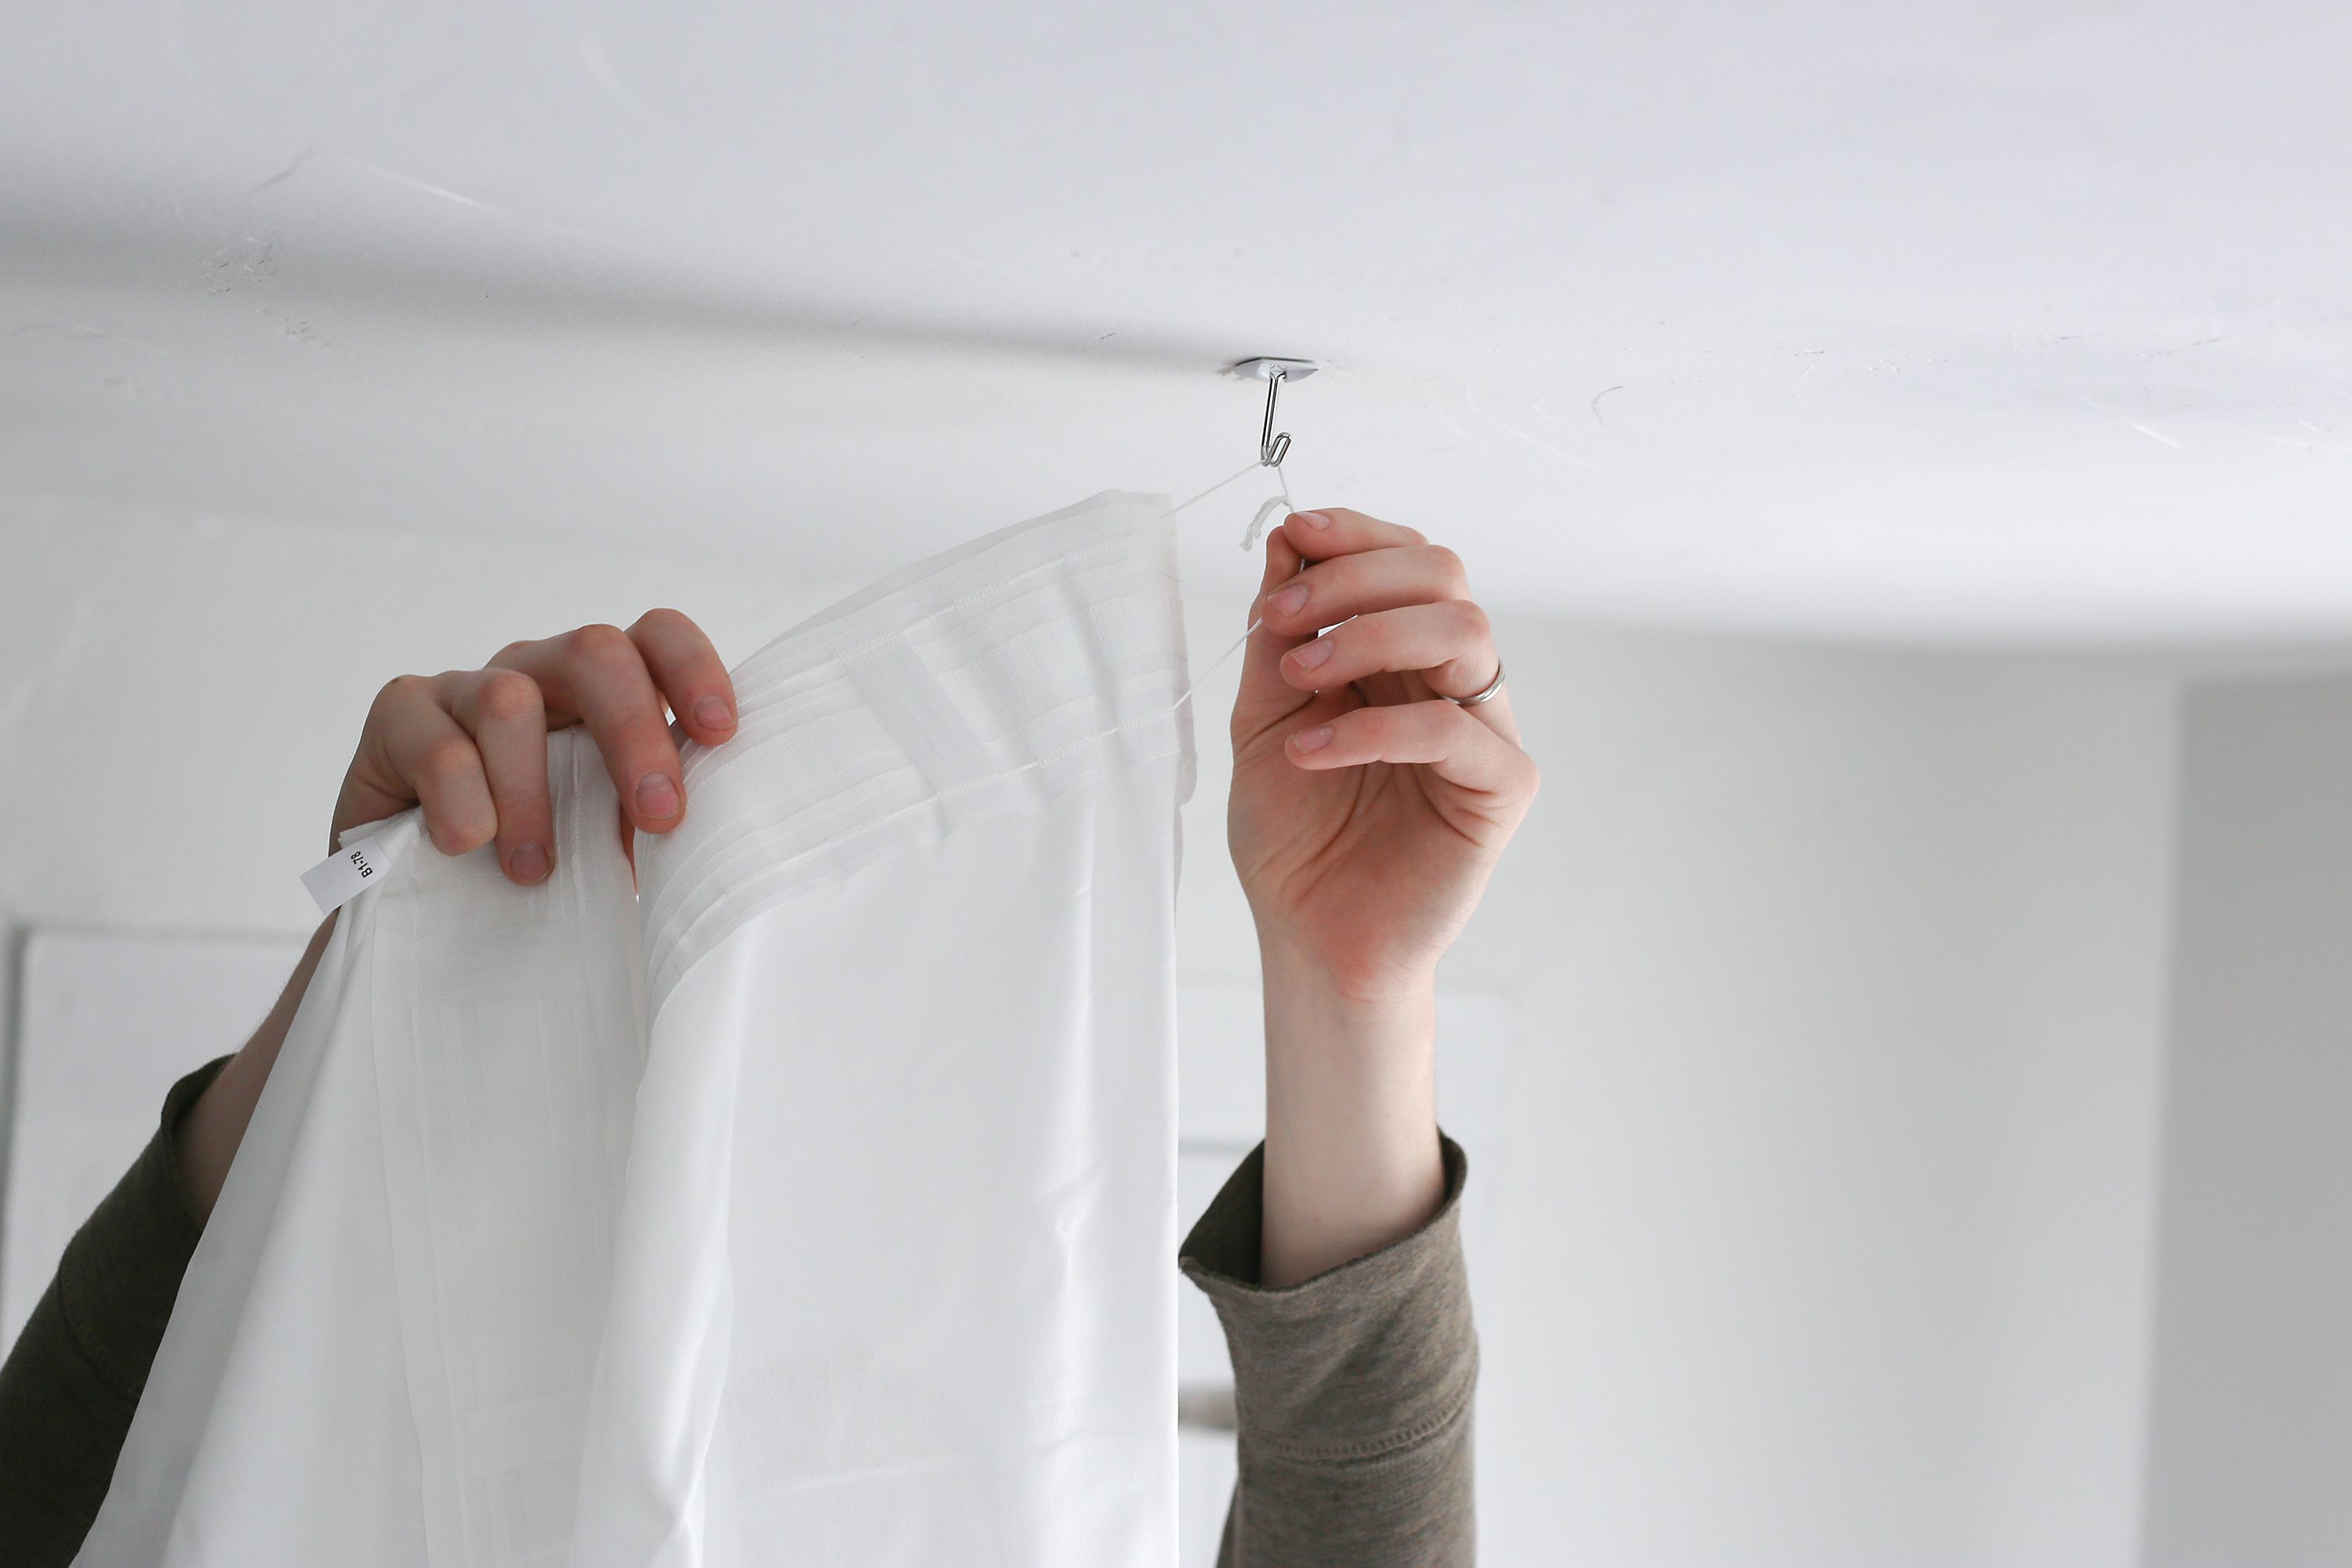
- Consider alternative methods: If the venue does not allow drilling into the ceiling or if you prefer a temporary installation, consider alternative methods such as using adhesive hooks or fishing line. Adhesive hooks can provide a strong hold on the ceiling, while fishing line can create an invisible suspension for lighter fabrics.
- Test the attachment points: Before hanging the drapes, give the attachment points a firm tug to ensure they are secure. This step is crucial to avoid any accidents or unexpected failures during the event. If any attachments feel weak or unstable, reinforce them or consider an alternative method.
By properly preparing the ceilings, you’ll create a stable and secure foundation for your ceiling drapes. This will give you peace of mind and ensure that your drapes stay in place throughout the wedding festivities.
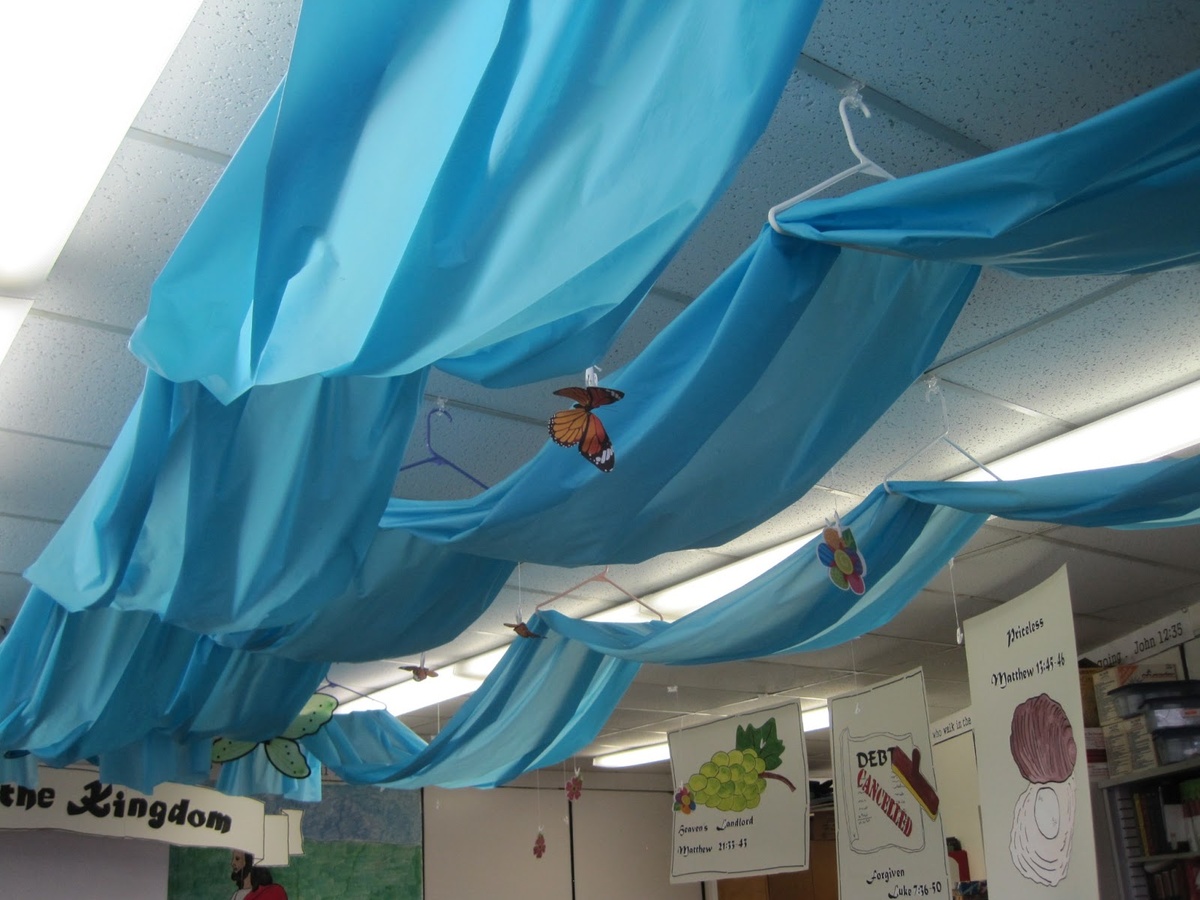
Use a ladder or step stool to reach the ceiling. Use fishing line or clear wire to hang the drapes for a floating effect. Use a level to ensure they are straight.
Read more: How To Hang Greenery At A Wedding
Step 5: Determine Hanging Method
After preparing the ceilings, it’s time to determine the hanging method for your ceiling drapes. The hanging method you choose will depend on factors such as the venue’s structure, your design vision, and the type of drapes you are using. Here are a few common hanging methods to consider:
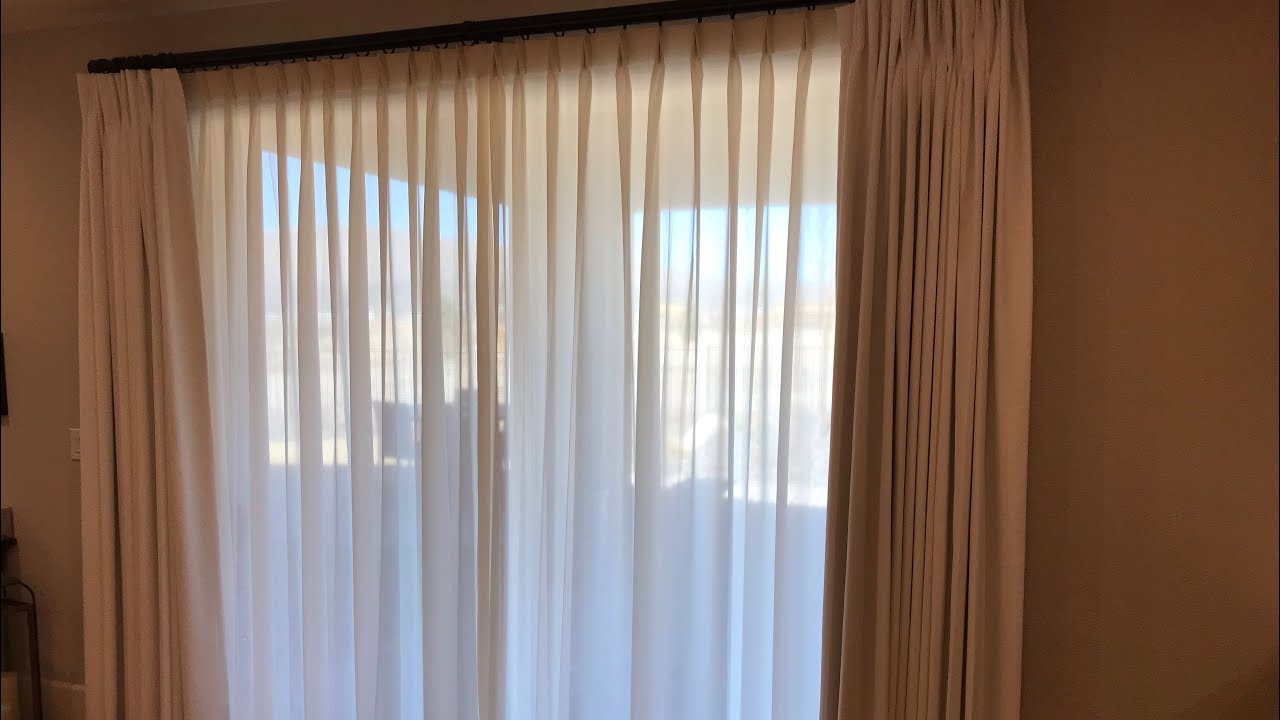
- Curtain rod brackets: If you’re using curtain rod brackets, insert the rod into the brackets and hang the fabric panels onto the rod. This method provides a clean and polished look, especially if you’re using heavier drapes.
- Hooks or clips: Hooks or clips can be attached directly to the fabric and then hung onto the installed curtain rod brackets or other attachment points. This method offers versatility and flexibility, allowing for easy adjustments during the installation process.
- Zip ties: Zip ties are practical and secure for holding lightweight fabrics. Use them to fasten the fabric panels to the attachment points, ensuring a tight and stable hold.
- Fishing line: Fishing line is an excellent option if you want to create a floating or suspended effect with your drapes. Attach the fishing line to the fabric panels and suspend them from the attachment points, creating a visually stunning and ethereal look.
- Adhesive hooks: If you prefer not to drill into the ceilings or want a temporary installation, adhesive hooks can be a viable option. Ensure that the adhesive hooks you use are strong enough to support the weight of the drapes and that they are specifically designed for ceiling use.
Consider the weight and flow of the fabric when choosing your hanging method. Heavier fabrics may require more secure attachments, while lighter fabrics can be more versatile in their hanging options. Additionally, think about the desired drape and gather of the fabric. Experiment with different hanging techniques to achieve the desired aesthetic.
Regardless of the hanging method you choose, take your time to ensure each drape is even and visually appealing. Step back regularly to assess the overall look and make any necessary adjustments to achieve the perfect hanging style.
By carefully selecting the hanging method for your ceiling drapes, you’ll create a visually stunning display that enhances the ambiance and elevates the overall wedding decor.
Step 6: Secure the Drapes
Once you have determined the hanging method for your ceiling drapes, it’s time to secure them in place. This step is crucial to ensure a seamless and flawless installation. Follow these steps to securely fasten the drapes:
- Start by attaching one end of the fabric to the chosen attachment point. Depending on your chosen method, this could be a curtain rod bracket, a hook, or even an adhesive hook. Make sure the fabric is securely fastened.
- Gradually work your way across the ceiling, attaching the fabric at regular intervals. Ensure that the fabric is evenly distributed and properly aligned. Take your time to achieve a smooth and consistent look.
- Use clips, zip ties, or fishing line to as necessary to hold the fabric in place along the attachment points. These securing tools will help keep the fabric in position and prevent any unwanted movements.
- Ensure the drapes are taut but not overly stretched. Smooth out any wrinkles or folds in the fabric as you go along. This will create a clean and polished appearance for your ceiling drapes.
- Step back regularly to assess the overall look and make adjustments as needed. Take note of any areas that may be sagging or need additional support. Use additional clips or fasteners to reinforce any weak spots.
It’s important to consider the safety of your guests when securing the drapes. Ensure that any hanging fabric or attachments are well out of reach to prevent accidents or injuries. Tuck any excess fabric or loose ends out of sight and secure them discreetly as necessary.
Once the drapes are securely fastened, give them a gentle tug to ensure they are stable and hold their position. This final check will give you confidence that the drapes will remain in place throughout the wedding festivities.
By properly securing the drapes, you’ll create a visually stunning and cohesive display that adds romance and elegance to your wedding venue.
Step 7: Add Additional Decorations
After securing the drapes, you can take your ceiling decoration to the next level by adding additional elements and decorations to enhance the overall aesthetic. These decorations can complement the drapes and further elevate the ambiance of your wedding venue. Here are some ideas to consider:
- Fairy lights or string lights: Adding twinkling lights can create a magical and enchanting atmosphere. Weave the lights through the drapes or drape them across the ceiling to add a beautiful glow to the space.
- Floral accents: Consider incorporating fresh flowers or faux floral arrangements into the ceiling drapes. You can attach small bouquets or garlands to the fabric or create floral chandeliers that hang from the drapes.
- Hanging lanterns or paper lanterns: These decorative objects can add a whimsical touch to the ceiling drapes. Hang them at various heights throughout the drapes to create visual interest and a soft ambient lighting effect.
- Fabric bunting or ribbons: Add splashes of color and texture by attaching fabric bunting or ribbons to the drapes. This can be particularly effective for outdoor or rustic-themed weddings.
- Chandeliers or hanging ornaments: To create a more luxurious and extravagant look, consider hanging chandeliers or decorative ornaments from the ceiling drapes. These eye-catching elements can add a touch of glamour and sophistication to the venue.
When adding additional decorations, make sure they are securely attached and balanced throughout the draping design. Consider the weight and size of the decorations to ensure they do not overpower the drapes or compromise their stability.
Be mindful of any lighting or electrical requirements for the additional decorations. Consult with a professional if necessary to ensure that the venue’s electrical system can support the added lighting elements.
By incorporating these additional decorations, you can transform the ceiling drapes into a breathtaking display that complements your wedding theme and creates a memorable atmosphere for you and your guests.
Step 8: Test and Adjust
Before considering your ceiling drapes installation complete, it’s crucial to test and make any necessary adjustments to ensure everything looks and functions as intended. Follow these steps to perform a thorough test and make any needed adjustments:
- Step back and assess the overall appearance of the ceiling drapes. Look for any areas that may need additional adjustments or enhancements.
- Check the fabric for any wrinkles, folds, or uneven draping. Smooth out any imperfections and ensure the fabric hangs evenly throughout the installation.
- Test the lighting elements, such as fairy lights or hanging lanterns, to make sure they are functioning properly and creating the desired illumination and ambiance.
- Walk through the venue and view the drapes from different angles and perspectives. This will allow you to identify any areas that need further tweaking, such as ensuring the drapes are evenly distributed or adjusting the heights of any hanging decorations.
- Get feedback from others, such as your wedding planner, venue coordinator, or trusted friends or family members. Sometimes a fresh pair of eyes can spot any minor issues that may have been overlooked.
- Make any necessary adjustments or enhancements based on your observations and feedback. This might involve repositioning the fabric, securing the drapes more tightly, or adding or removing certain decorations.
- Ensure the adjustments do not compromise the safety of your guests. Double-check that any hanging elements or attachments are secure and out of reach.
- Once you are satisfied with the final result, take photos or videos to document the beautiful work you’ve accomplished.
By testing and adjusting your ceiling drapes, you can guarantee a flawless and visually stunning installation that will enhance the ambiance of your wedding venue.
Remember, every venue and draping project is unique, so it’s essential to be adaptable and creative as you navigate the installation process. Enjoy the experience and let your creativity shine through as you bring your vision to life.
Read more: How To Drape A Ceiling With Fabric
Conclusion
Creating an enchanting and romantic atmosphere for your wedding is a dream that can come true with the addition of ceiling drapes. By following the step-by-step guide outlined in this article, you can confidently hang ceiling drapes that will transform your wedding venue into a stunning backdrop for your special day.
From assessing the venue and measuring carefully to securing the drapes and adding additional decorations, each step plays a crucial role in achieving the desired effect. Through thorough planning, attention to detail, and a touch of creativity, you can create a mesmerizing ceiling draping design that perfectly complements your wedding theme and style.
Remember to assess the venue to determine the appropriate draping approach, measure and plan meticulously to ensure a seamless fit, and gather the necessary materials and tools for installation. Preparing the ceilings is essential for a secure foundation, and determining the hanging method is key to achieving the desired draping style.
Once the drapes are securely hung, consider adding additional decorations such as lighting, floral accents, or lanterns to enhance the ambiance and create a magical atmosphere. Lastly, perform a thorough test and make any necessary adjustments to ensure a flawless and visually appealing installation.
With these steps and your creativity, your ceiling drapes will be the centerpiece of your wedding decor, creating a memorable and romantic setting for you and your guests. So, embrace the elegance and beauty of ceiling drapes and watch as they elevate your wedding to new heights of enchantment.
Frequently Asked Questions about How To Hang Ceiling Drapes For A Wedding
Was this page helpful?
At Storables.com, we guarantee accurate and reliable information. Our content, validated by Expert Board Contributors, is crafted following stringent Editorial Policies. We're committed to providing you with well-researched, expert-backed insights for all your informational needs.


0 thoughts on “How To Hang Ceiling Drapes For A Wedding”